How to Paint Shutters
Repaint exterior shutters that hold their color: pull them off the house, identify the material, scuff sand, Stix primer on vinyl, two coats acrylic, dry flat on a rack.

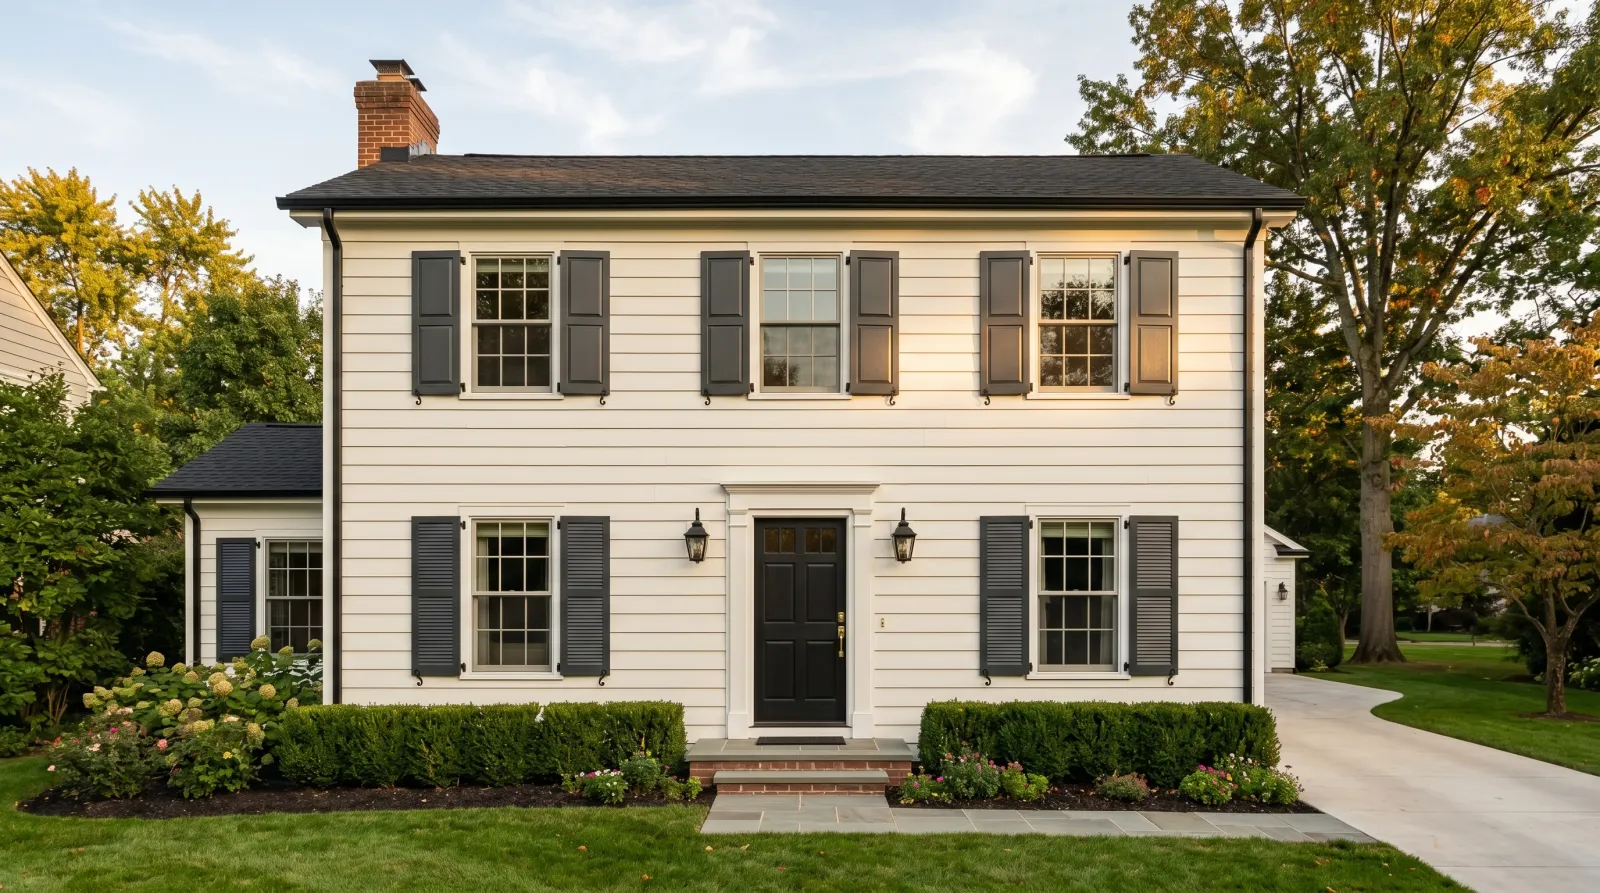
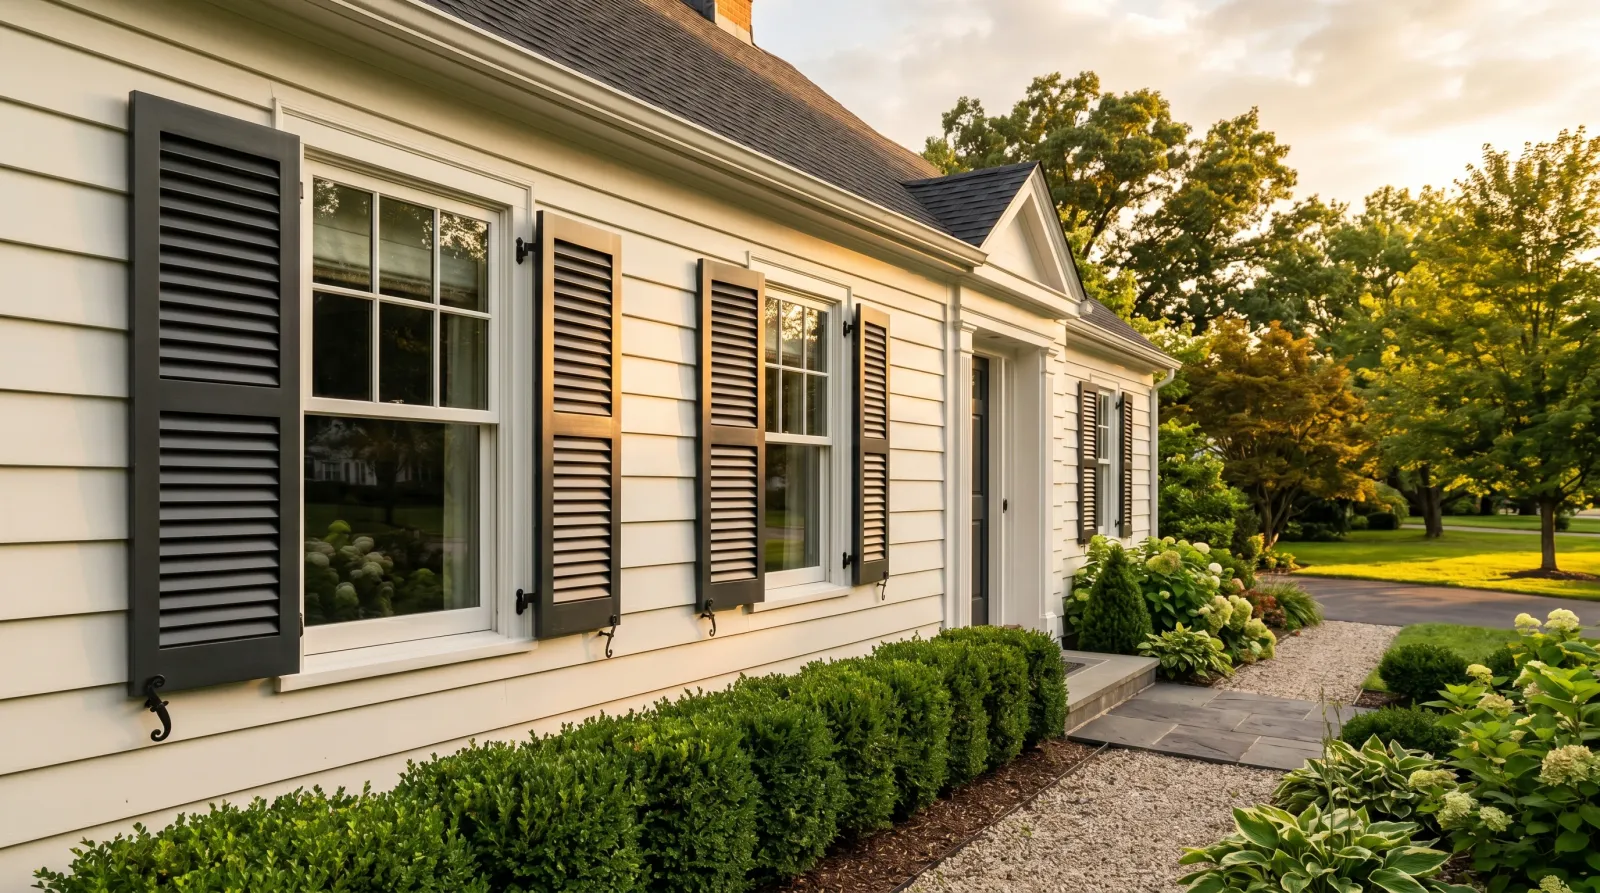
Faded shutters are the cheapest curb-appeal fix on the front of an American house. Two hours of prep, two thin coats, one weekend, and the elevation reads new.
Two rules matter. Take the shutters off the house. Prime vinyl with a real bonding primer. Skip either and the job comes back to you in two summers.
What You’ll Get
Six matching shutters in a deep, even satin film. No drips on the louver edges, no lap marks across the face, no chalky bleed-through from underneath. Five summers on a south exposure, longer on a north.
Honest Take on Difficulty and Time
| Approach | Active time | Calendar time | Skill |
|---|---|---|---|
| Off the house, brush and mini roller | 2–3 hrs | Saturday + Sunday reinstall | Easy |
| On the house, off a ladder | 4–5 hrs | One long Saturday | Medium |
| Sprayer, shutters in garage | 1 hr | Setup/cleanup eats the savings | Medium |
Off the house is the right call for almost every homeowner. Shutters come off in fifteen minutes with a drill, work on a sawhorse goes twice as fast as a ladder, and the finish is cleaner because you’re painting horizontal.
Identify the Substrate First
The substrate decides the primer. Don’t skip this step.
- Vinyl. Hollow, plastic-light, faint mold seam on the back. Most production homes built after 1995. Wants INSL-X Stix and a quality exterior acrylic topcoat.
- Composite. Royal, Mid-America, Atlantic Premium, NuWood. Denser than vinyl, smooth back with reinforcement ribs. Behaves like vinyl for paint purposes; bonding primer first.
- Wood. Dull thud, visible grain, often pine or cedar. Older homes and custom builds. Wants a thin oil primer on bare wood (Zinsser Cover Stain) before the topcoat.
Wrong primer for the substrate is the failure mode. Latex direct on vinyl is the call that peels.
What You’ll Need
Paint and Primer
- Topcoat: Benjamin Moore Aura Exterior Satin or Sherwin-Williams Emerald Exterior Satin. Either is a 100% acrylic with high resin loading and the color retention to survive a south exposure. See the best exterior paint round-up for the broader exterior conversation.
- Bonding primer (vinyl and composite): INSL-X Stix Acrylic Bonding Primer.
- Oil primer (bare-wood shutters only): Zinsser Cover Stain.
Tools
- 2.5 inch Wooster Silver Tip angled sash brush for the louver edges and field
- 4 inch Wooster Pro Doo-Z mini roller, 3/8 inch nap, for the flats between louvers
- A folding cabinet drying rack, or two sawhorses with dowels laid across
- Cordless drill or impact driver
- 220-grit sanding sponges, Krud Kutter, plastic baggies and a Sharpie
See the exterior trim brush round-up if the Silver Tip isn’t in the kit. The mini roller is the unsung tool here. It lays a flatter film between louvers than a brush does.
Step 1 — Take the Shutters Off the House
Screws out, shutters off, hardware bagged and labeled per window. Easier than working on a ladder.
Most shutters mount with four screws hidden behind plastic plugs at the corners. Pop the plugs with a flat screwdriver, back the screws out with a drill, and the shutter lifts off. Six shutters in twenty minutes.
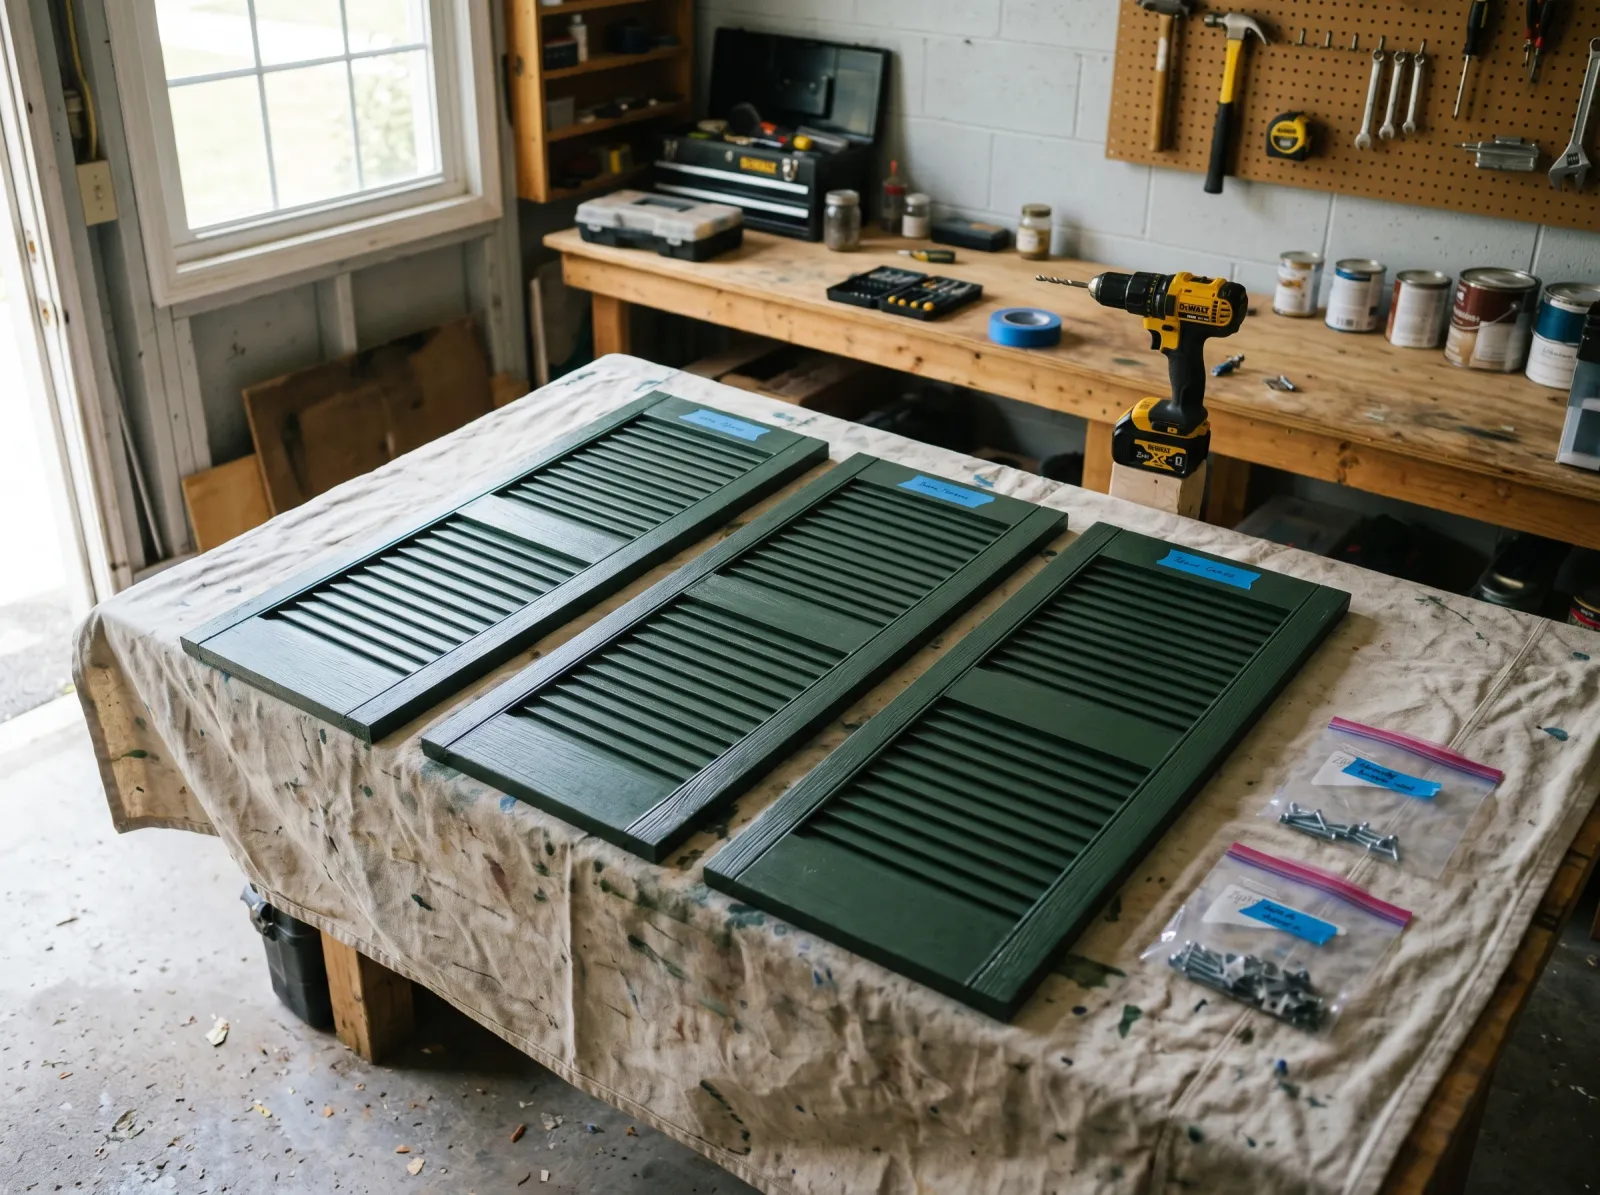
Bag the screws and plugs per window. Label each baggie with painter’s tape: “front-left”, “front-right”, “north-bedroom-left”. Original screws back in original holes matters on a siding face that’s been weathering for fifteen years.
Watch out for: snapped plastic plugs. Order replacements before you start if the shutters are over ten years old; the plastic gets brittle.
Step 2 — Wash, Scuff-Sand, Identify Damage
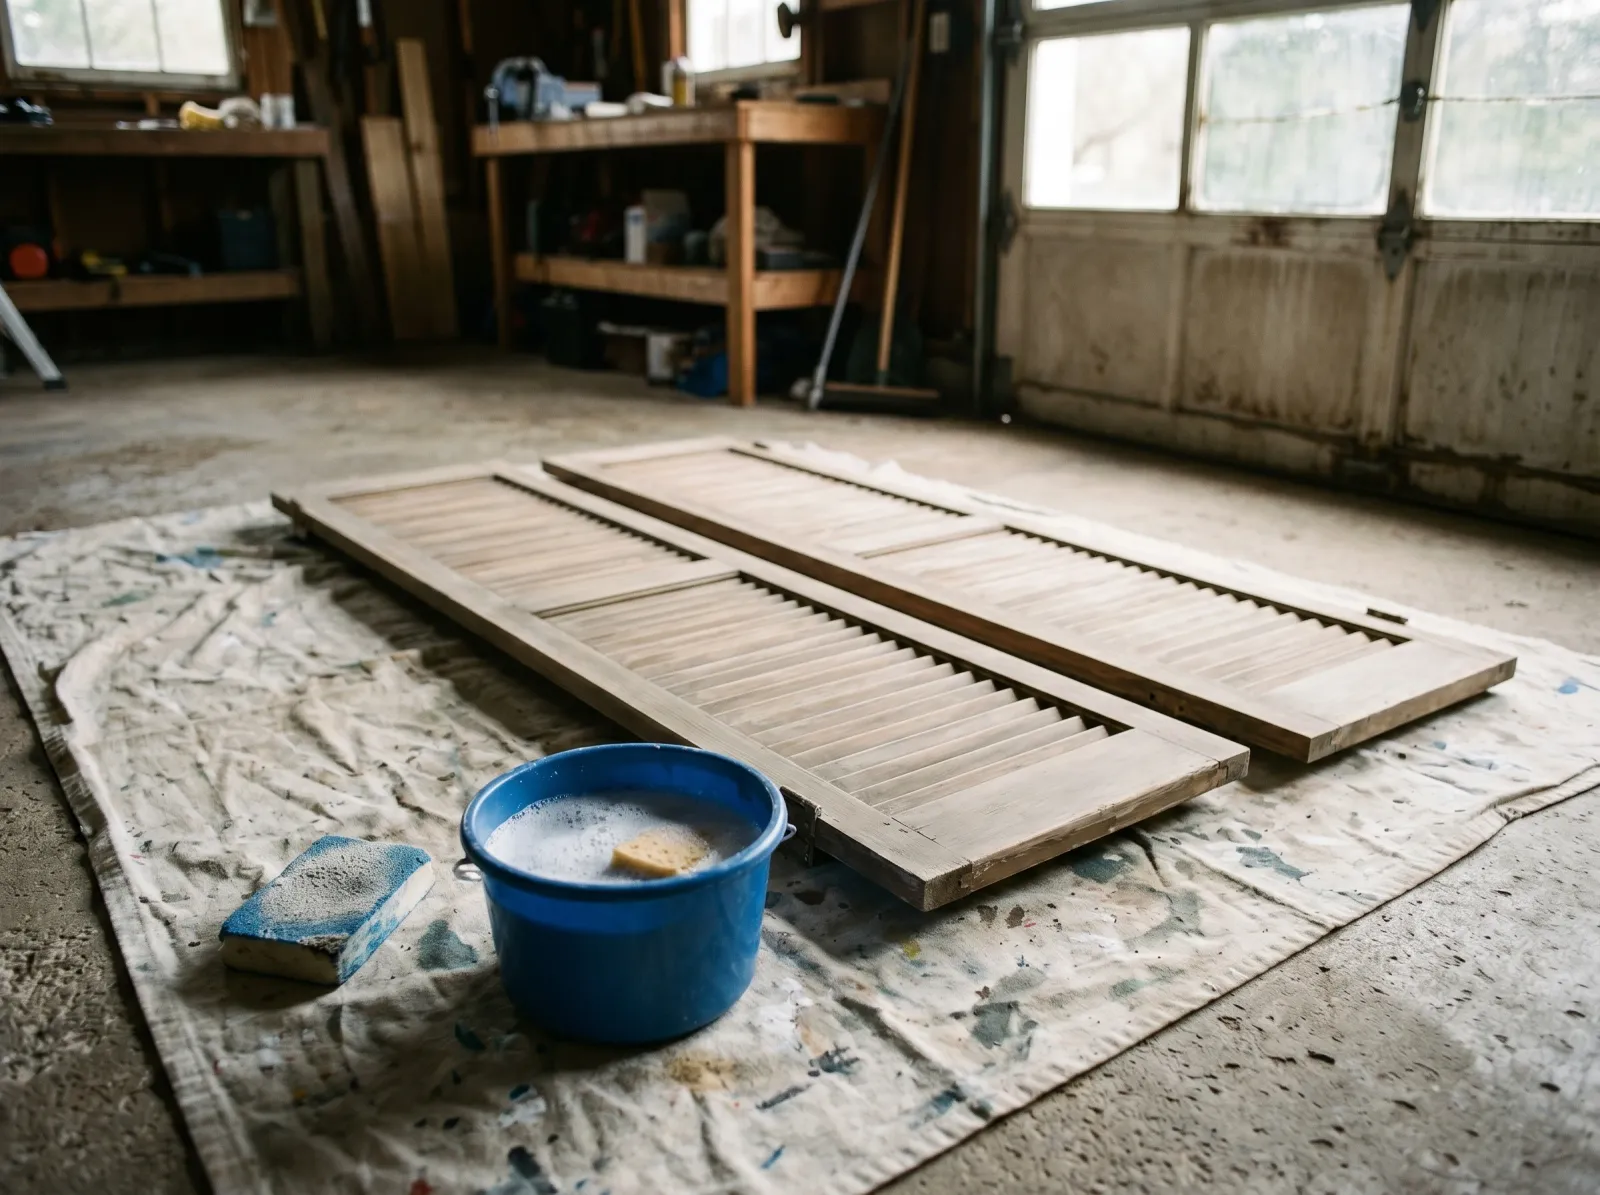
Degreaser scrub, hose rinse, dry. Then a 220 sponge over every face to dull the factory sheen.
Lay the shutters flat on the drop cloth. Mix Krud Kutter per label and scrub every face and louver edge with a stiff nylon brush. Rinse, flip, repeat the back. Wood dries in an hour in sun, vinyl in twenty minutes.
Scuff every face and every louver with a 220-grit sanding sponge. You’re not removing paint; you’re killing the factory sheen so the primer can bite. Three passes per louver edge with the sponge folded over the edge does it. Wipe the dust off with a damp microfiber.
For wood shutters, mark any bare-wood areas or knots bleeding tannin with a pencil for the next step.
Watch out for: skipping the scuff on vinyl because it “looks dull already.” Sun-faded vinyl is chalky, not dulled. The chalk has to come off or the primer rides on top of it and lifts at the first cold snap.
Step 3 — Prime the Vinyl Set, Spot-Prime the Wood

Thin coat of Stix across both faces. Two hours flash. The bite is in the primer, not the topcoat.
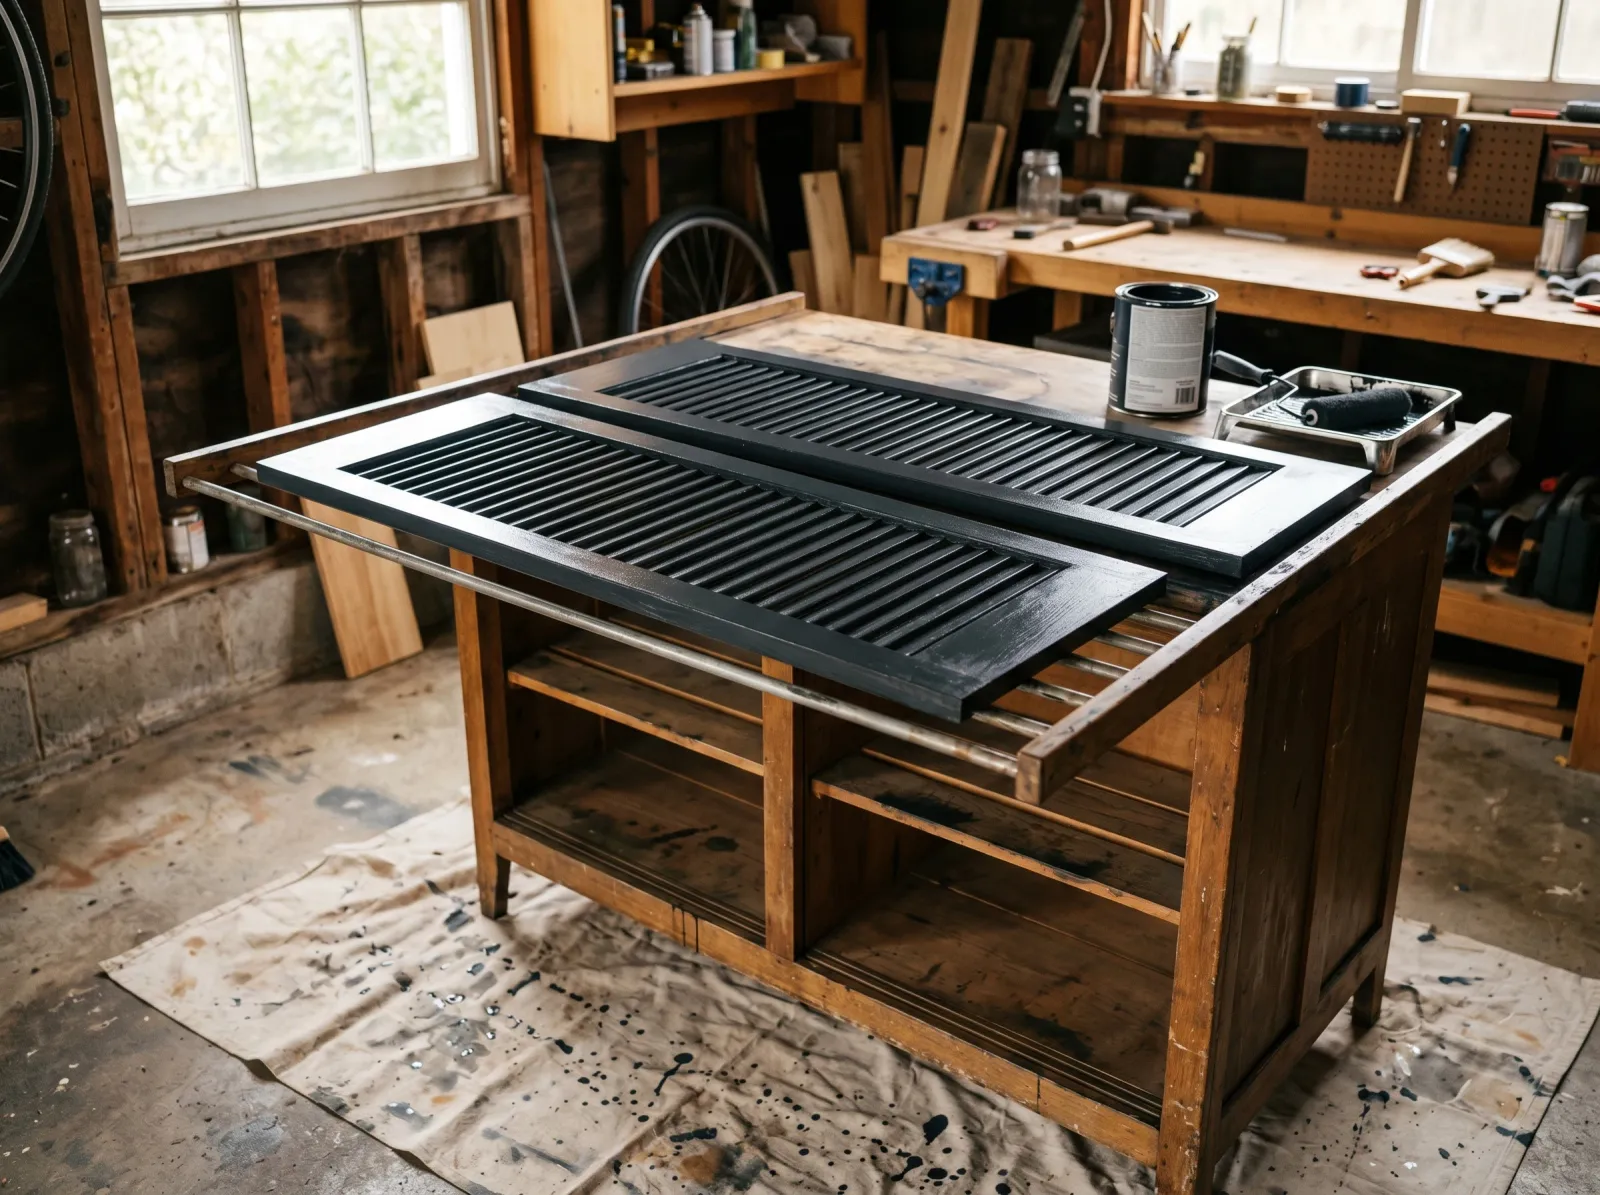
Brush a thin coat of Stix on every face and louver edge of the vinyl and composite shutters. Cut the louver edges with the sash brush, lay the field with the mini roller, back-brush to even the mil thickness. Two hours flash, flip, same drill on the back.
For wood shutters, brush Cover Stain on every bare-wood spot and every marked knot. Two hours dry. Sand the primed areas with the 220 sponge to feather the edge into the surrounding paint.
Don’t tint Stix toward a deep color. Buy Stix tinted to a mid-grey at the BM dealer, or use the topcoat in a thin first coat as the color-primer pass.
Watch out for: thick primer in the louver pockets. Stix runs in a recessed corner faster than topcoat does. Brush the louver tight, then back-brush the field to pull the wet primer back across.
Step 4 — Two Thin Coats, Flat on the Rack
Shutters flat on a drying rack so the louver edges don’t drip. Two thin coats, four hours apart.
Check surface temperature with the back of your hand. Warm, not hot. Aura and Emerald want four hours between coats at 70 degrees, longer if the garage is cooler.
Cut the louver edges first. Pull the sash brush along each louver from the hinge side outward, two strokes, no loaded fourth pass. Roll the flats between louvers with the mini Doo-Z, light pressure, head moving the long way across the shutter. Back-brush the rolled section to feather the edge into the cut work.
Lay the wet shutter flat on the drying rack. Flat matters. Stand a freshly painted shutter on edge and gravity pulls paint into the bottom louver pocket; you get a drip ridge across the bottom rail that telegraphs from twenty feet.
Second coat, same order, same technique. Two thin coats beat one heavy coat every time.
Step 5 — Reinstall, Touch Up the Screw Heads
Twenty-four hours cured. Back on the house with the original screws, hardware reseated, paint touch-up at the screw heads.
Twenty-four hours after the second coat, the film is hard enough to handle. Carry the shutters out one at a time, run the screws back in on a low torque setting. Snug, not tight; over-torquing the screw head presses a divot into soft paint.
Dab the screw heads with a 1 inch artist’s brush loaded with topcoat. Pop the plastic plugs back in. Stand back twenty feet from the curb and check the line. Done.
Cure Schedule
| Time after final coat | What’s safe |
|---|---|
| 4 hours | Pull tape, handle the shutter edges with a clean rag |
| 24 hours | Reinstall on the house |
| 7 days | Light rinse with a hose, no pressure |
| 30 days | Full cure, mild detergent wash |
Common Mistakes
- Latex direct on vinyl. Peels in sheets at the first hot summer. Stix or no project.
- Painting on the house off a ladder. Drips on the lap below every louver, brush marks at the cut, and a finish that reads cheap from the curb. Pull the shutters.
- One heavy coat on a louvered surface. Sags into every louver pocket, telegraphs from twenty feet. Two thin coats, flat on the rack.
- Stacking wet shutters on edge. Paint runs into the bottom rail, dries as a visible ridge, the curb-appeal job ruined by gravity. Flat on the rack.
- Reinstalling at twelve hours. Soft film, screw-head divots, back of the shutter sticks to siding the first hot day. Twenty-four minimum.
Maintenance
Six to eight years on a north or east exposure with Aura or Emerald. Four to six on a south- or west-facing elevation. The bottom louver and bottom rail fade first because they collect water and pollen. Keep a labeled quart of leftover topcoat in the garage. A touch-up at year three on a south exposure adds three years to the next full repaint.
Cost
| Item | Cost |
|---|---|
| Aura or Emerald Exterior Satin (1 gallon) | $85 |
| INSL-X Stix Bonding Primer (1 quart) | $24 |
| Wooster Silver Tip 2.5 inch angled sash | $18 |
| Doo-Z mini roller, tray, two sleeves | $16 |
| Sanding sponges, Krud Kutter, tack cloth | $18 |
| Drop cloth, painter’s tape, baggies | $14 |
| Total | ~$175 |
What’ll Bite You in Two Years
The bottom rail and louver edges on the south side of the house. Sun cooks the resin, water sits in the bottom louver pocket, and the south exposure runs hotter than the rest. Cut corners on the scuff sand or skip Stix on vinyl and the south-side bottom rail tells on you first — a chalky stripe at year two that looks shabby from the curb. Hit the bottom rail twice with primer on south- and west-facing shutters. Cheap insurance against a repaint two years early.