How to Paint Pocket Doors
Painting pocket doors without taking them off the track. How to mask the pocket, paint both faces and the edges, and the dry time that keeps the door from sticking inside the wall.

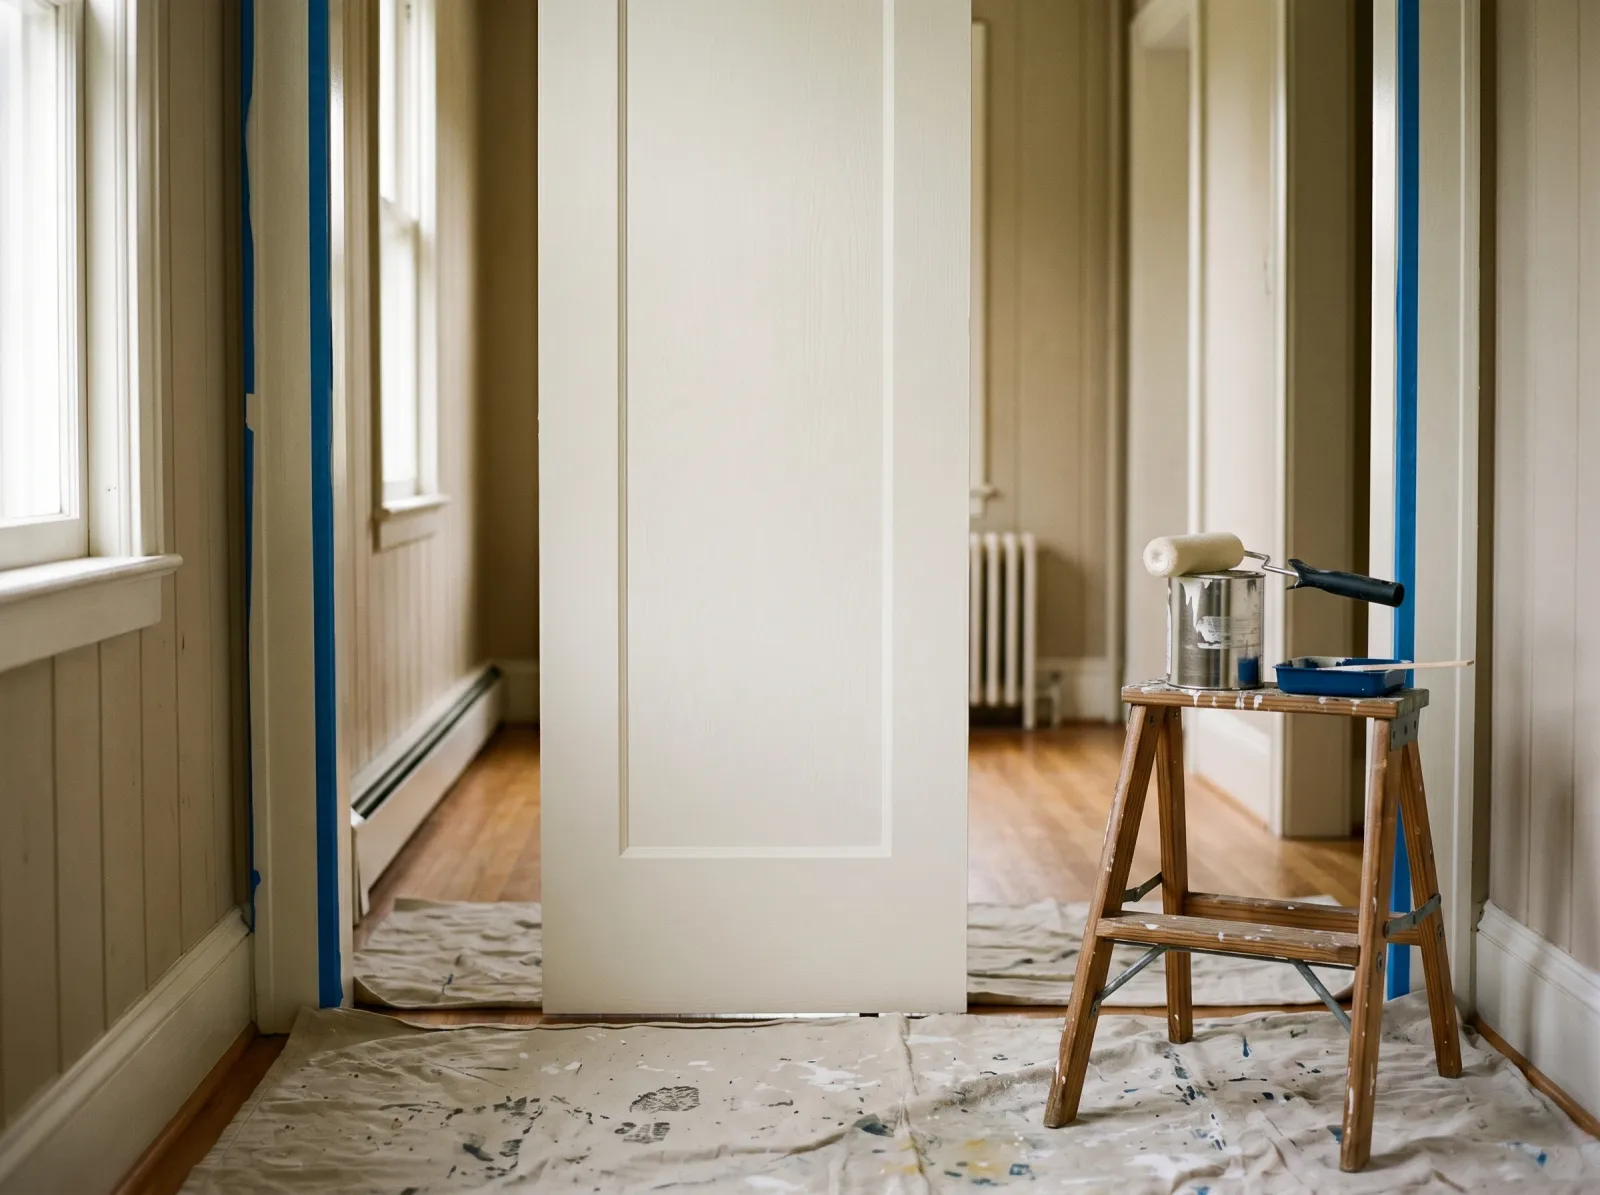
Okay, so you’ve got a pocket door. The kind that slides sideways into a slot in the wall instead of swinging on hinges. They’re great until you want to repaint one, and then your brain snags on the obvious problem: half the door lives inside the wall. How do you paint a thing you can’t fully see, and what happens to the wet paint when it slides back into a tight slot?
Here’s the thing. You don’t take it down, you don’t need a sprayer, and the door does not have to come off the track. You paint it in two passes, one for each side, by sliding it out of the way of itself. The real risk isn’t the painting. It’s putting the door back into the pocket before the paint is hard, which glues it shut. We’ll get the timing right so that doesn’t happen.
TL;DR
- Don’t remove the door from the track. Slide it fully open, paint the exposed face and the leading edge, let it dry, slide it the other way, paint the second face and the trailing edge.
- Mask the pocket opening with tape and paper so paint and sanding dust don’t drift into the slot.
- Keep the edge coats thin. Thick paint on the edges is what makes a pocket door stick.
- Use satin or semi-gloss to match your existing trim. A foam mini-roller for the flats, an angled brush for the panel grooves and edges.
- The big one: leave the door parked open while it cures. Don’t slide it into the pocket for 24 hours, and go easy on it for a week.
What You’ll Get
One repainted pocket door, done over a weekend, that slides as smooth as it did before. Both faces, both edges, no paint sealed inside the wall, no sticking.
Honest Take on Difficulty and Time
A standard pocket door takes about 6 working hours of actual effort, spread across a weekend so the paint can dry between sides. The painting itself is easy. A door is a flat panel. The fiddly parts are masking the pocket so dust and paint stay out, and the patience to wait between coats so you don’t trap the door.
This is a notch harder than painting a normal hinged door, and the difference is entirely the dry time. With a regular door you can prop it open anywhere. A pocket door wants to live in the wall, and a wall is the one place wet paint must not go. If you’re impatient, this project will bite you. If you can leave a door open for a day, you’re fine.
If your door is bare wood, badly chipped, or you want a sprayed glass finish, that’s a different and longer job that does involve taking it off the track. Most repaints aren’t that. Most repaints are a tired door that needs a fresh coat, and that’s what this guide covers.
What You’ll Need
Paint and Primer
A quart of door and trim paint in satin or semi-gloss (a low-shine or shiny finish that wipes clean, which is what doors are supposed to be). A waterborne alkyd enamel like BM Advance, SW ProClassic, or INSL-X Cabinet Coat self-levels well and dries hard, which matters on a door that has to slide past a frame without rubbing off. A quart covers both faces and the edges of one standard door with some left for touch-ups.
You only need primer in three cases: the door is bare wood, the old finish is glossy and slick, or you’re going from a dark color to a light one. For glossy or slick, a bonding primer (INSL-X Stix or Zinsser Bulls Eye 1-2-3 Plus) gives the new paint something to grab. If the existing finish is sound and you’re staying in the same color family, a 220-grit scuff is enough and you can skip priming. If your door has an old yellowed varnish on it, the guide to painting over varnished wood trim walks through that prep.
See the best paint for trim and doors for SKU picks, and the sheen guide if you’re stuck between satin and semi-gloss.
Tools
A 2.5-inch angled brush for the panel grooves and the edges. A 4-inch foam mini-roller for the flat faces, which lays paint smoother than a brush and faster than you’d think. A drill or screwdriver to take off the edge pull, a baggie and a Sharpie for the screws, painter’s tape, a 220-grit sanding sponge, a tack cloth, and a drop cloth.
The one extra a pocket door wants that a normal door doesn’t: a flashlight, so you can see into the slot and check that nothing wet is touching the frame.
Step 1 — Slide It Open and Take Off the Hardware
Slide the door as far open as it goes, so most of the slab is out of the pocket. Pocket doors have a recessed edge pull (the little flush handle set into the leading edge so it can slide past the frame). Unscrew it and any face hardware, drop the screws in a labeled baggie, and set them somewhere you won’t knock them over.
If there are old screw holes or a previous handle’s footprint, press spackle or wood filler into them with the putty knife, scrape flush, let it dry, and sand smooth with the 220 sponge.
Watch out for the edge pull screws being painted over from a previous job. Score around the head with a utility knife before you turn the screwdriver so you don’t strip it or tear the wood.
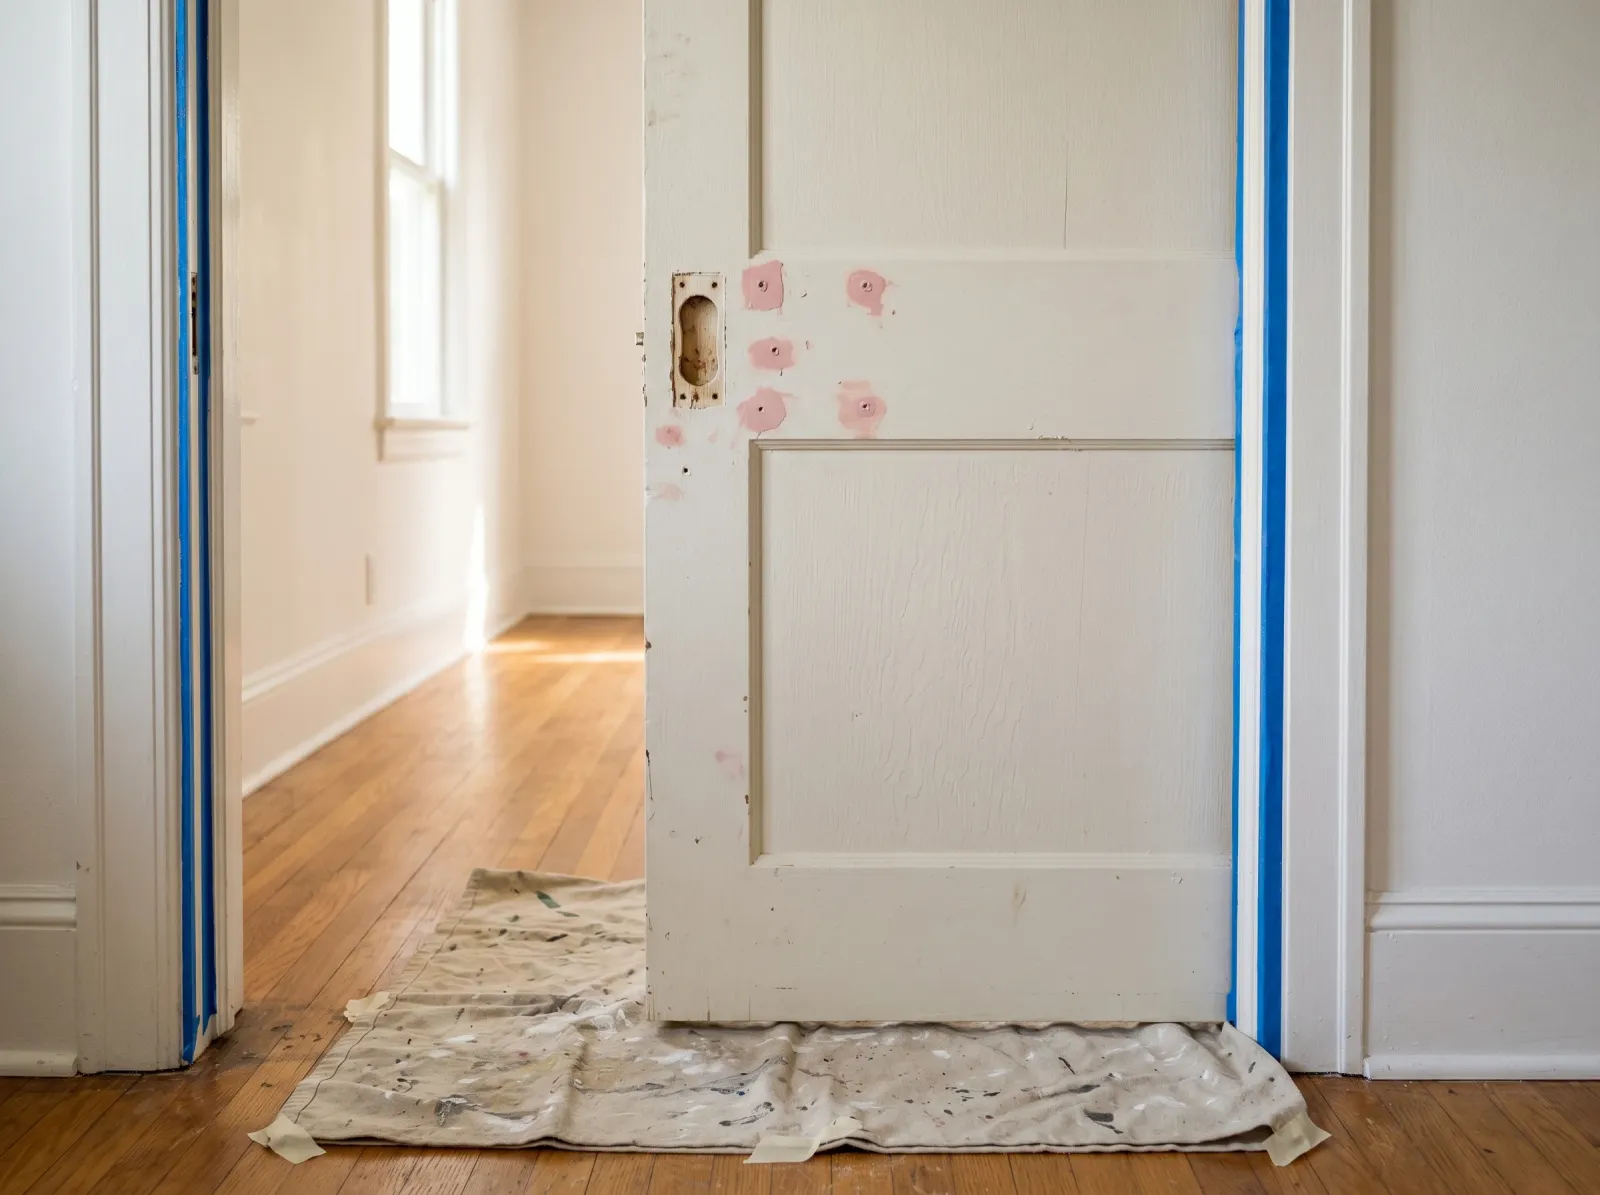 The door slid all the way out, the edge pull bagged, old holes filled and ready to sand.
Step 2 — Mask the Pocket and Scuff the Door
This is the step that separates a pocket door from a regular one. The slot in the wall is an open mouth waiting to catch sanding dust and paint drips. Mask it. Run painter’s tape along the top and bottom of the pocket opening and fold a strip of craft paper or a folded length of tape across the slot to seal it. You want a closed surface where the wall opening was.
Now scuff the whole exposed face with the 220-grit sanding sponge until the old sheen goes dull. Dull means the new paint can bite. Wipe the dust off with the tack cloth. If you’re priming, brush and roll one thin coat of bonding primer now, let it dry per the can, and scuff it lightly again.
Watch out for sanding dust drifting into the pocket even with the slot taped. Vacuum the floor at the doorway before you open the paint so you’re not rolling grit into the finish.
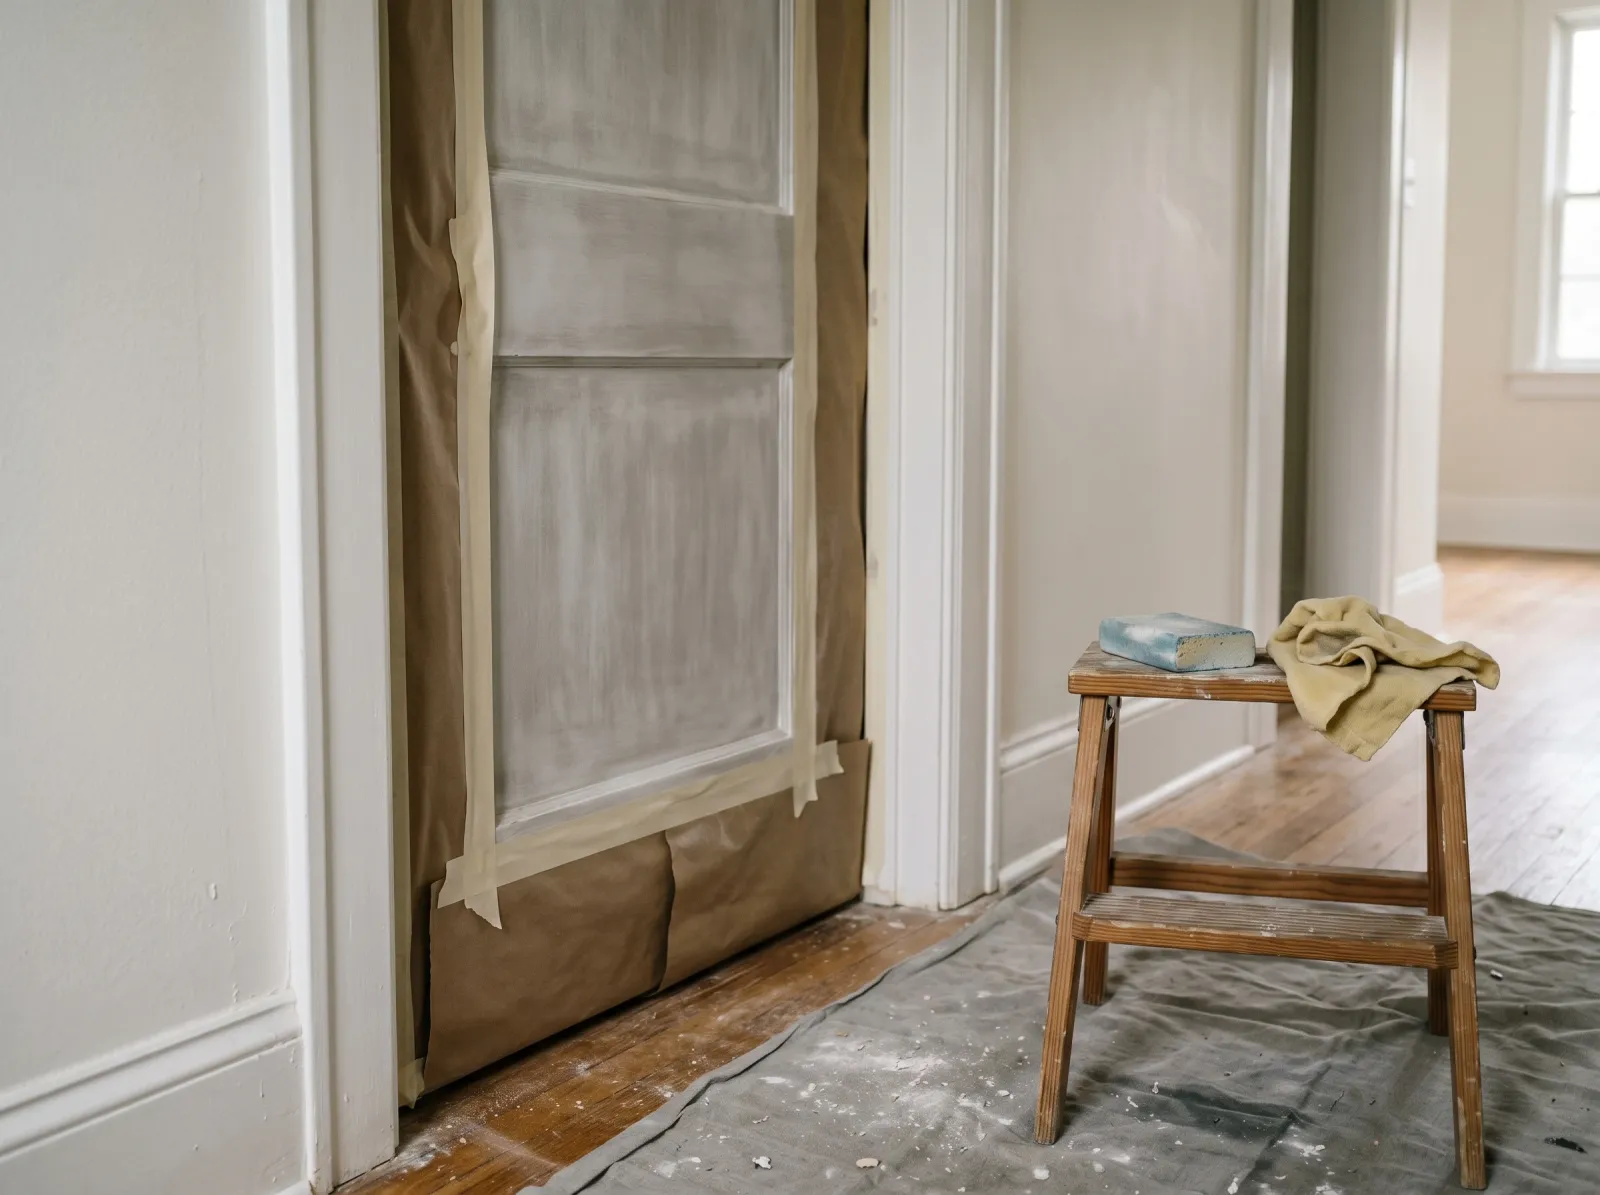 Tape and paper sealing the slot, the face scuffed hazy and ready for paint.
Step 3 — Paint the First Face and the Leading Edge
With the door slid fully open, paint the exposed face. If it’s a panel door, brush the recessed grooves and the panel frames first with the angled brush, working the paint into the corners. Then roll the flat areas with the foam mini-roller while the brushed parts are still wet so they blend. Two thin coats beat one thick one.
Paint the leading edge now too, the vertical edge that has the pull, since it’s sticking out where you can reach it. Keep this coat thin. A door edge that gets a thick build of paint will rub against the frame and stick later.
Let the first coat dry the full recoat time on the can (often 4 to 16 hours for a waterborne enamel), then do the second coat. Don’t rush it. The door is going nowhere.
Watch out for drips running down into the panel grooves. Check them for the first ten minutes and brush them out while wet.
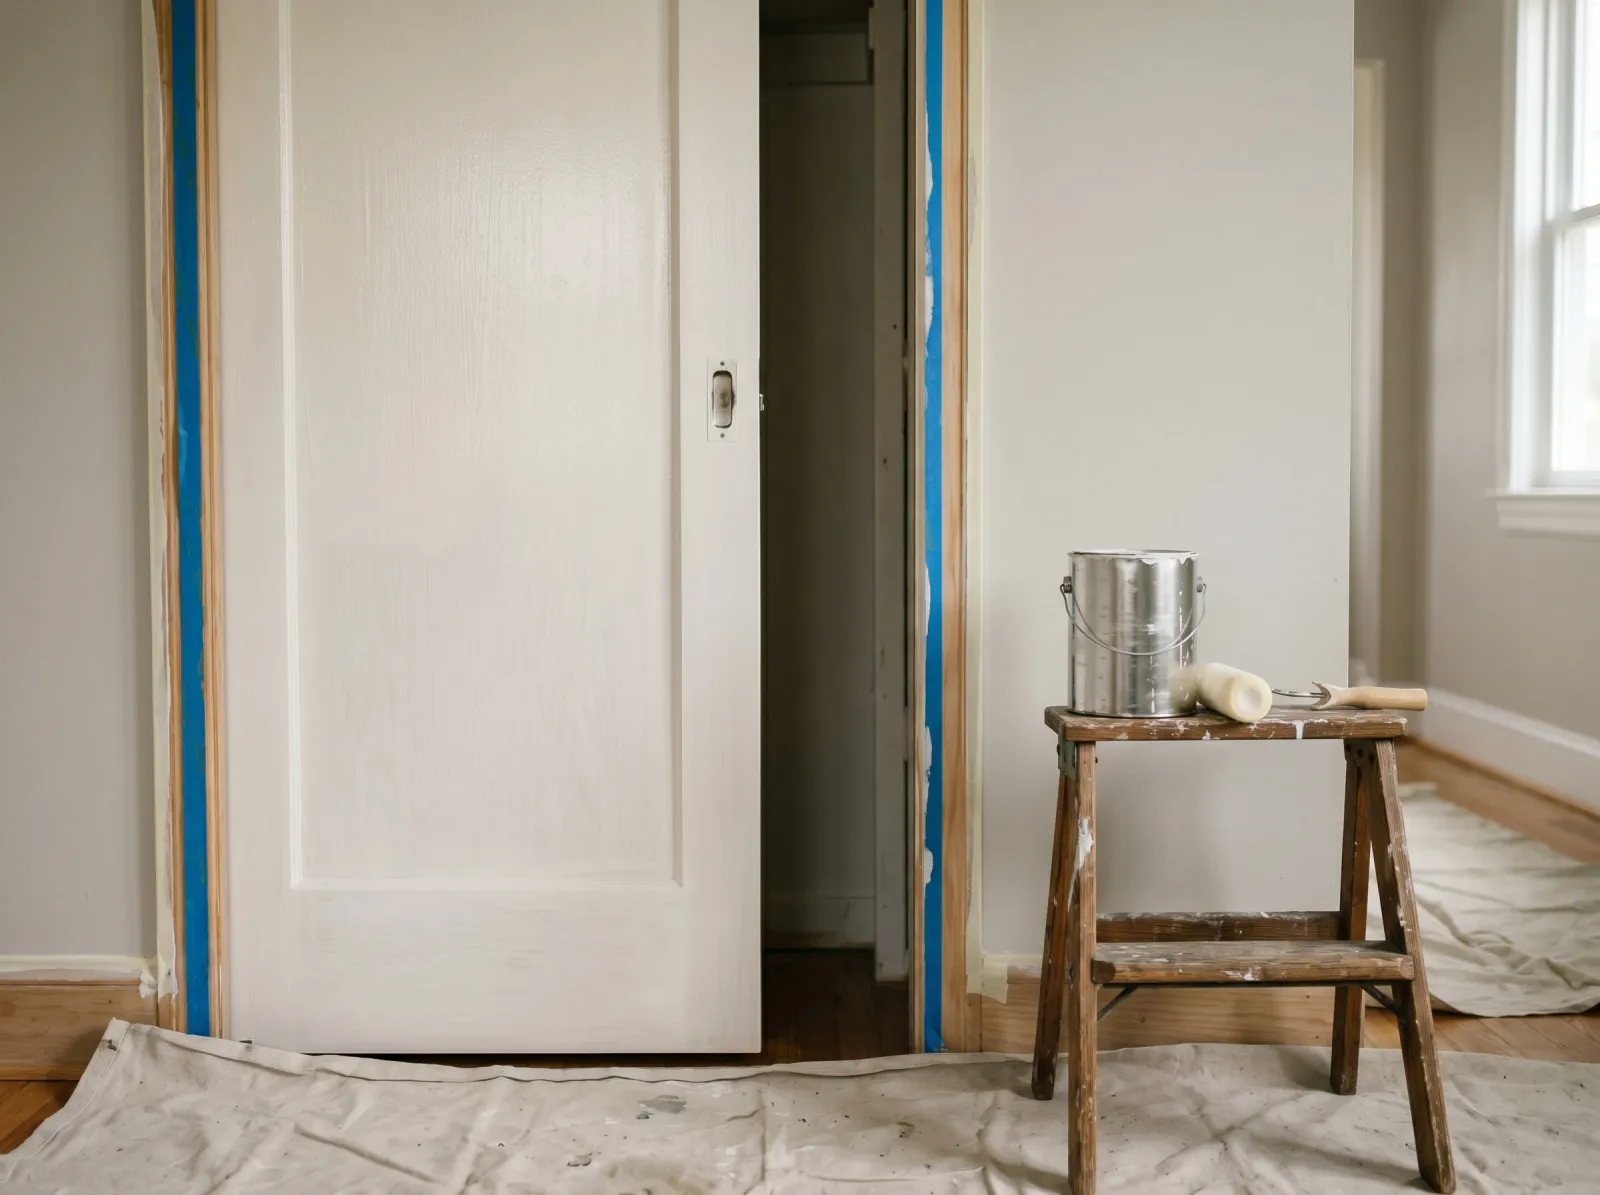 First coat on the exposed face and the leading edge, brushed into the grooves and rolled smooth on the flats.
Step 4 — Slide It the Other Way, Paint the Second Face
Once the first face is at least touch-dry (a few hours, longer is better), slide the door the opposite direction. The face that was hidden in the pocket now swings out into the doorway where you can paint it. Same routine: brush the grooves, roll the flats, two thin coats.
This is also when you get the trailing edge, the vertical edge that normally lives deep in the pocket. Slide the door until that edge is exposed at the doorway opening and coat it thin, same as the leading edge. The top edge of the door almost never shows and you can leave it bare, which is one less surface to worry about for sticking.
Watch out for the freshly painted first face brushing against the pocket frame as you slide the door across. If it’s not fully dry, the frame leaves a mark and the door picks up a scuff. Give that first side plenty of dry time before you slide.
 Door slid the opposite way to expose the second face and the trailing edge for their coats.
Step 5 — Cure, Wax the Track, Reinstall
Here’s where most pocket-door paint jobs go wrong, so go slow. Leave the door parked open while the paint cures. Don’t slide it into the pocket for a full 24 hours. The paint will feel dry to the touch in a few hours, but the film stays soft for days, and a soft film pressed against the pocket frame grabs and tears.
After 24 hours, rub a little paste wax or a dry PTFE spray along the track and the bottom rollers so the door glides instead of dragging. Reinstall the edge pull. Slide the door slowly the first few times and watch for any spot that rubs or sticks. If you feel a catch, a light pass with the 220 sponge on that exact spot, then a wipe, usually clears it.
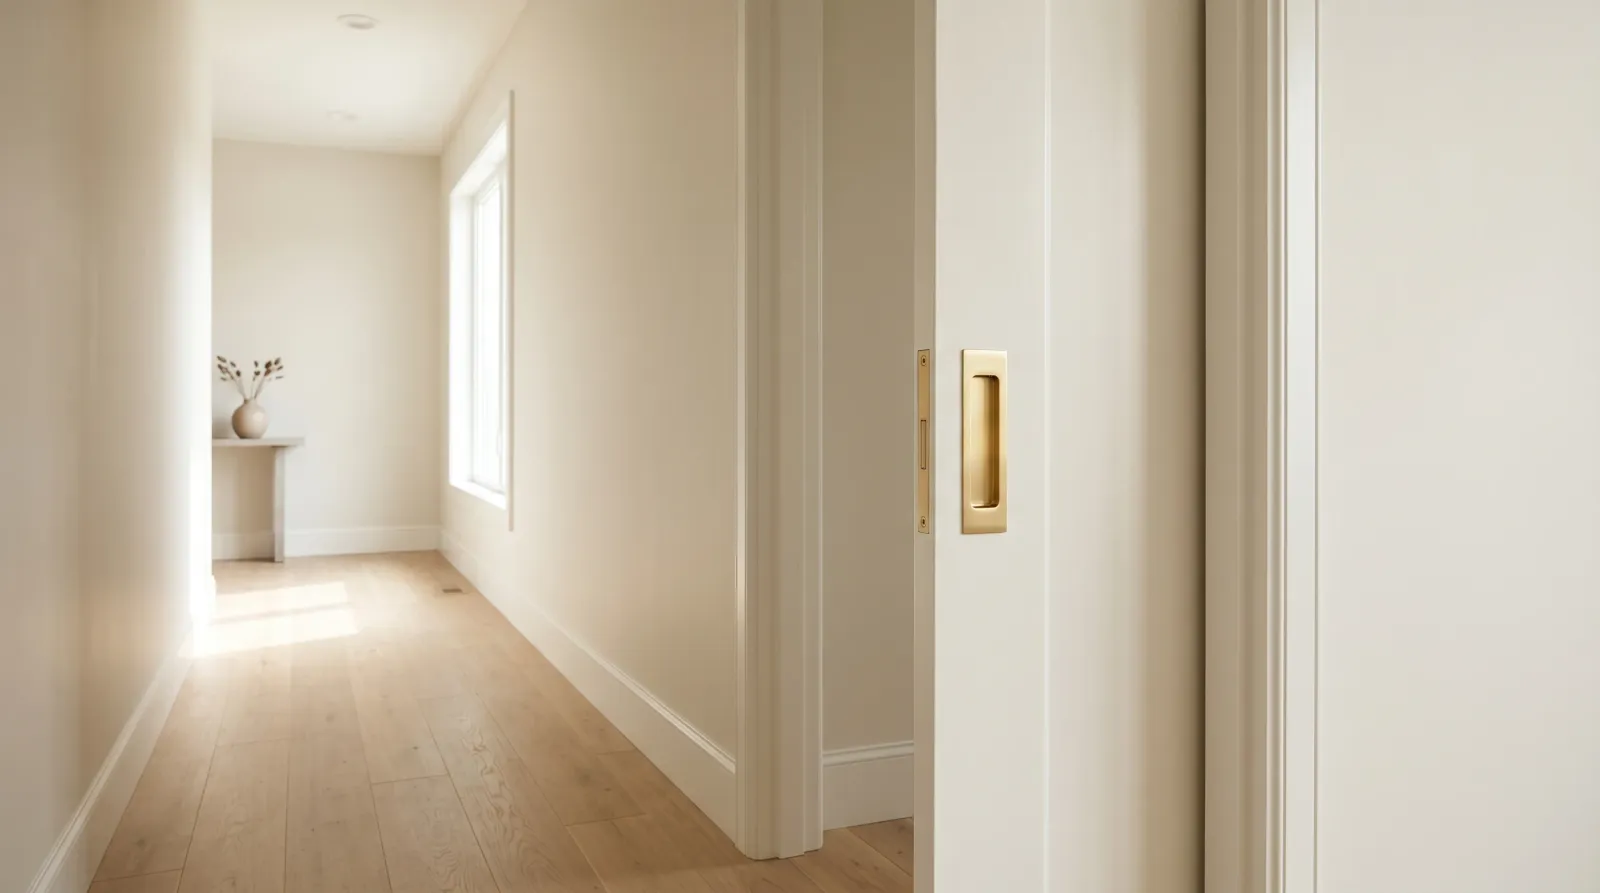 Edges hard, pull reinstalled, track waxed, door gliding clean.
Common Mistakes
- Sliding the door into the pocket before the paint cures. This is the big one. Touch-dry is not cured. The soft film grabs the frame inside the wall, peels, and now you’ve got a stuck door and a torn finish you can’t even see to fix. Leave it parked open 24 hours minimum.
- Loading the edges thick. A heavy build on the leading or trailing edge makes the door rub the frame and stick. Edges get thin coats, always thinner than the faces.
- Skipping the pocket mask. Sanding dust and paint drift into the open slot, settle on the track and the hidden frame, and turn into grit that the door drags through every time it slides. Tape and paper over the opening before you sand.
- Not scuffing a glossy old finish. New paint over slick semi-gloss peels at the edges within weeks. A 220 scuff or a bonding primer gives it grip.
- Forgetting the trailing edge. People paint both faces and the leading edge, then call it done, and there’s a strip of old color showing every time the door opens. Slide the door to expose that hidden edge and coat it too.
Cure Schedule
| Time after final coat | What’s safe |
|---|---|
| 2–4 hours | Touch dry, leave it parked open |
| 24 hours | Slide it into the pocket gently, wax the track first |
| 7 days | Normal daily sliding |
| 30 days | Full cure, wipe down with mild soap |
Maintenance and Touch-Ups
A waterborne enamel door holds up for 8 to 12 years before it needs a refresh, longer than a wall because doors don’t get sun or moisture the way exterior surfaces do. The wear shows up at the edge pull and the leading edge where hands and the frame touch.
For a chip, dab the leftover paint on with a small artist’s brush. Don’t feather it across the panel or the touch-up reads brighter than the cured paint. Re-wax the track once a year or whenever the door starts to drag, which keeps the slide smooth and stops the edges from rubbing the finish off.
Cost Breakdown
| Item | $ |
|---|---|
| Door and trim paint, 1 quart | $25 |
| Bonding primer, 1 quart (optional) | $15 |
| Foam mini-roller, sleeves, brush | $25 |
| Tape, drop cloth, spackle, sanding sponge | $20 |
| Total | $65–$85 |
Numbers are mid-tier enamel. Drop the primer if your door doesn’t need it and you’re closer to $50. Top-shelf enamel pushes it toward $90.
FAQ
Do I have to take the pocket door off the track to paint it? No, and you probably shouldn’t. Pulling a pocket door off the track means removing the casing trim and lifting it off the rollers, which is a real headache. For a normal repaint you slide it out, paint the exposed part, let it dry, slide it the other way, and paint the rest.
How do I paint the edge that disappears into the wall? Slide the door fully open and paint the leading edge while it sticks out. Once both faces are dry, slide the door almost shut and paint the trailing edge while it’s exposed at the doorway. Keep both edge coats thin so the door doesn’t rub and stick.
Why does my pocket door stick after painting? Either you slid it into the pocket before the paint cured and the soft film grabbed the frame, or you painted the edges too thick. Wait the full dry time, leave the door open while it cures, and keep edge coats thin.
What sheen should a pocket door be? Satin or semi-gloss, matched to your existing trim and doors. Satin hides flaws a little better, semi-gloss wipes cleaner. Flat shows every handprint and won’t wipe.
Can I paint a pocket door with a brush, or do I need a sprayer? A brush and a small foam roller are all you need and the right call for a door staying on the track. Spraying gets a glassier finish but means taking the door down and masking the whole hallway.