How to Paint a Living Room
Painting a living room? Here is the order that works: trim, ceiling, walls. How much paint to buy, how to move furniture, and what to do if it goes wrong.


Okay, so the living room is the room everybody sees, it’s usually the biggest one in the house, and it’s stuffed with furniture you don’t want to drag outside. That’s what makes it feel like a bigger deal than it is. Here’s the thing: it’s the same job as any room, just with more wall and more stuff in the way.
This guide does the order that works best for a first-timer. Trim first. Then ceiling. Then walls. The fiddly trim gets done while your hand is steady, and the walls feel like the reward at the end.
What You’ll Get
A fully repainted living room (walls, ceiling, trim) in one weekend, with clean edges and an even color that holds up for years. The room will feel bigger and brighter, especially if you’re going lighter.
Honest Take on Difficulty and Time
A standard living room takes a first-timer about 14 working hours over two days. It’s an easy project, just a long one. The difficulty climbs if you have tall walls, a vaulted ceiling, or a two-story foyer attached, because then you’re up on a tall ladder and that slows everything down.
Day one: clear and protect the room, patch holes, tape off, paint the trim. Day two: roll the ceiling, then two coats on the walls. Add 24 hours of dry time before furniture goes back against the walls and 48 before you hang anything.
A great room with 12-foot walls is closer to three days. Use an extension pole long enough to reach without a ladder where you can. Reaching overhead off the top step for hours is how people get hurt.
What You’ll Need
Paint and Primer
A gallon and a half of wall paint in eggshell (a soft low-shine finish that hides wall flaws and still wipes clean). For trim, a quart of semi-gloss (the shinier, wipeable finish trim is supposed to have). For the ceiling, a gallon of flat ceiling paint. Flat hides drywall ripples; eggshell on a ceiling shows every one.
A standard 14-by-16 room with 8-foot ceilings takes about 1.5 gallons of wall paint for two coats. A great room with tall walls can take 2 to 3, so measure before you buy. The paint coverage and gallons guide walks through the math.
Going dark-to-light, covering a water stain, or painting fresh drywall patches? Spot-prime those areas with stain-blocking primer (Zinsser BIN or KILZ Original). Not the whole room. Just the trouble.
See the best interior wall paint round-up for picks, and the sheen guide if you’re stuck between eggshell and satin.
Tools
A 2.5-inch angled brush for cutting in (brushing a clean band of color along the trim and ceiling where the big roller can’t reach). A 9-inch roller frame, two 3/8-inch nap microfiber sleeves, a tray, an extension pole, a 6-foot step ladder, tape, spackle, and two canvas drop cloths. Living rooms have a lot of floor.
The brush is where you don’t go cheap. A $4 brush sheds bristles into your paint and leaves a ragged cut line. A $14 Wooster or Purdy holds a clean edge for years. Picks are in the best paint brushes round-up.
Step 1 — Clear and Protect the Room
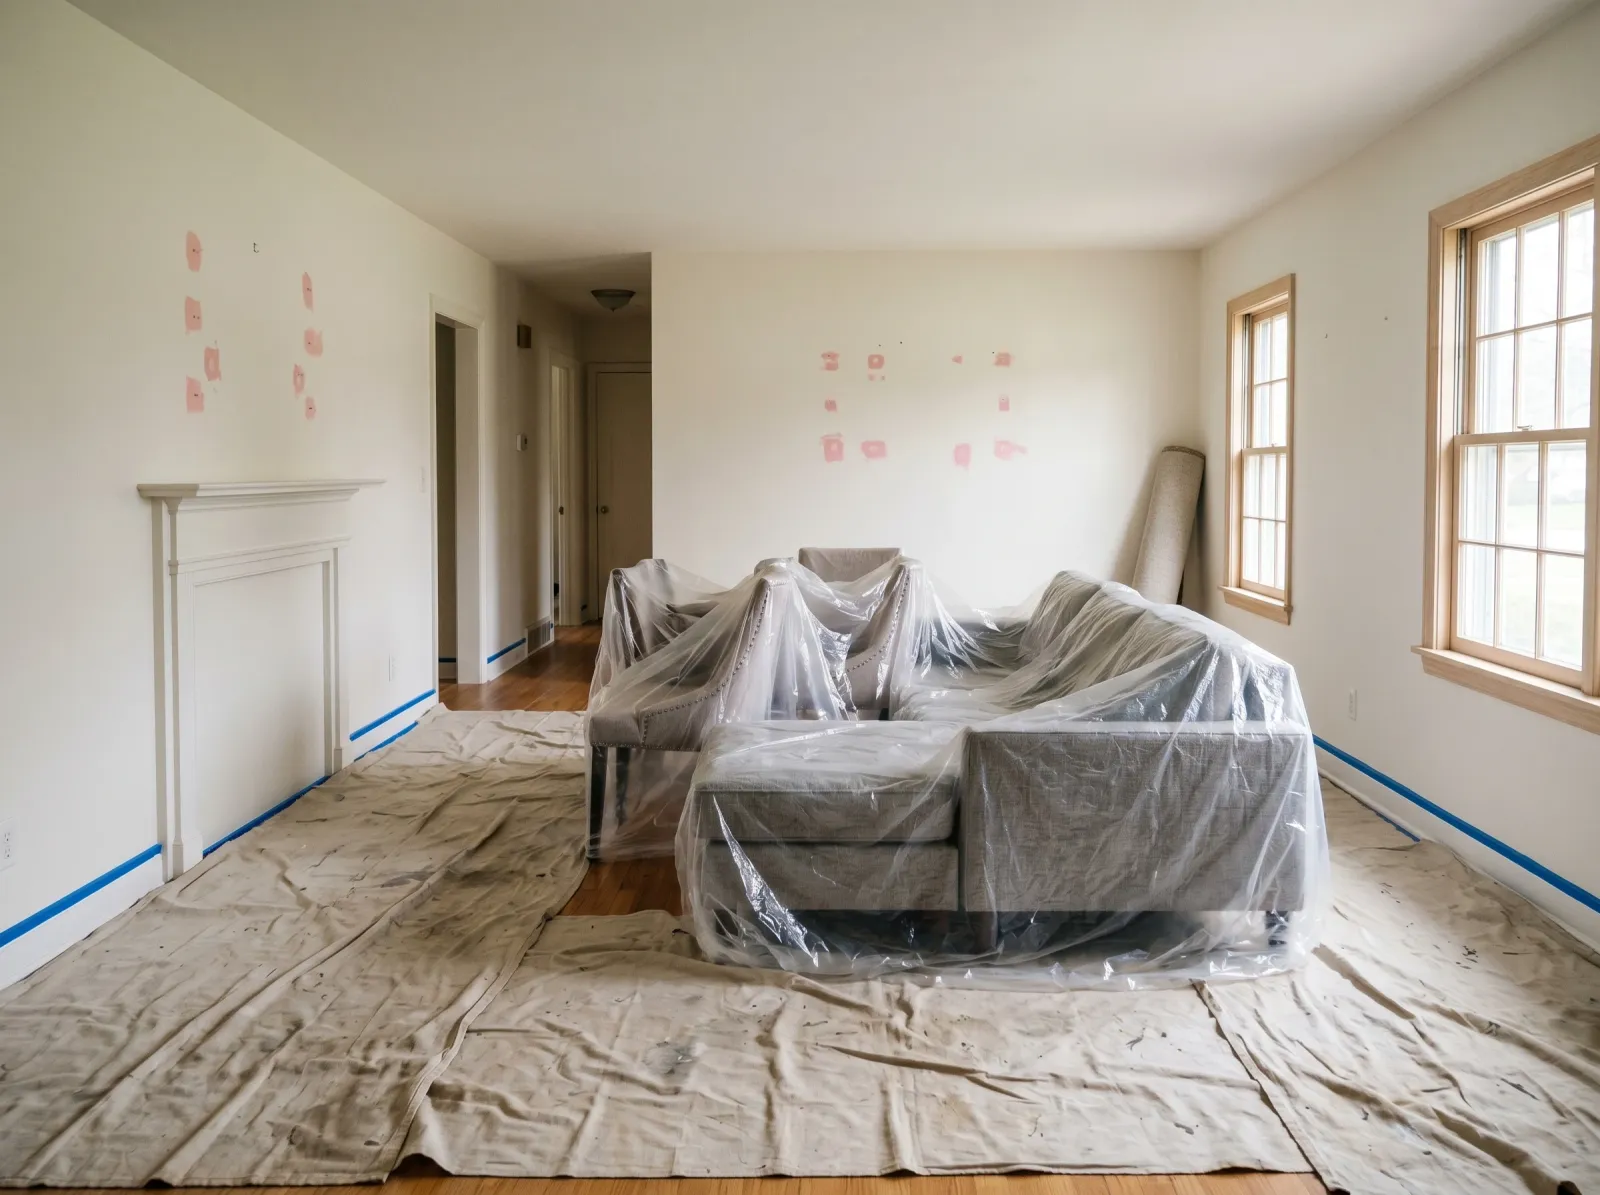
Big furniture out of the room or pulled to the center under plastic, nail holes spackled, tape along the floor and ceiling line.
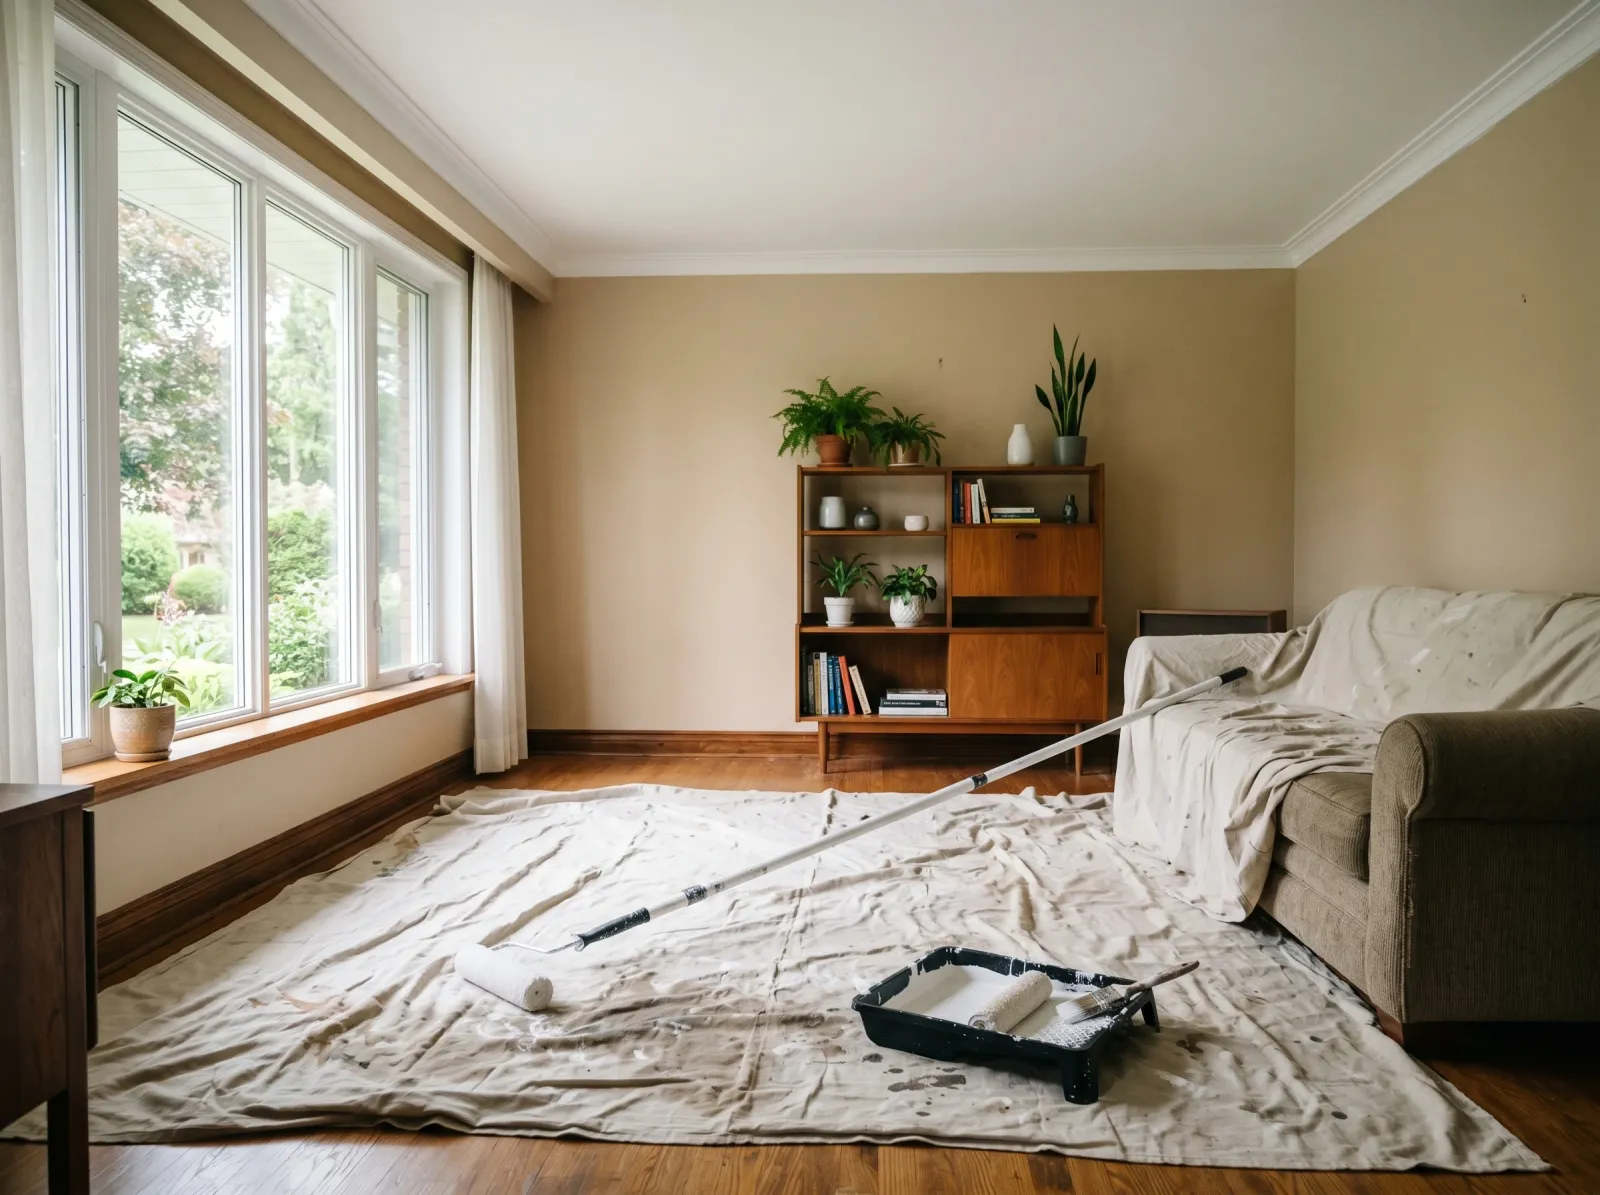
Carry out what you can carry. Lamps, side tables, art, the rug. Push the sofa, entertainment center, and anything heavy to the center and leave a working gap of at least 4 feet at every wall. Wrap the centered furniture in plastic sheeting so roller mist doesn’t settle on it.
Take down curtains and rods, outlet covers, switch plates, and wall vents. Bag the screws and label the bag. Cover the floor along each wall with a canvas drop cloth, and one over the center pile too.
Then patch. Press spackle into every nail hole and crack, scrape flush, let it dry 30 minutes, and sand smooth. DryDex goes on pink and turns white when dry, which is the whole point.
Watch out for outlet covers stuck with old paint. Don’t yank them. Score the edge with a utility knife first or you’ll tear the drywall paper.
Step 2 — Tape Everything Off
Run painter’s tape along the top of the baseboards, around every window and door casing, and at the ceiling line if your ceiling is a different color (it usually is). Press the edge down hard with your thumbnail or a putty knife. That press is what stops bleed, paint sneaking under the tape and leaving a fuzzy line on the wood.
Living rooms often have a fireplace, built-ins, or a mantel. Tape around those too, and where wall meets stone or brick, press the tape into the texture with a credit-card corner so paint doesn’t wick under it.
Lay your drop cloths against the wall you’re starting on. Canvas soaks up drips and doesn’t slide around like plastic.
Step 3 — Paint the Trim First
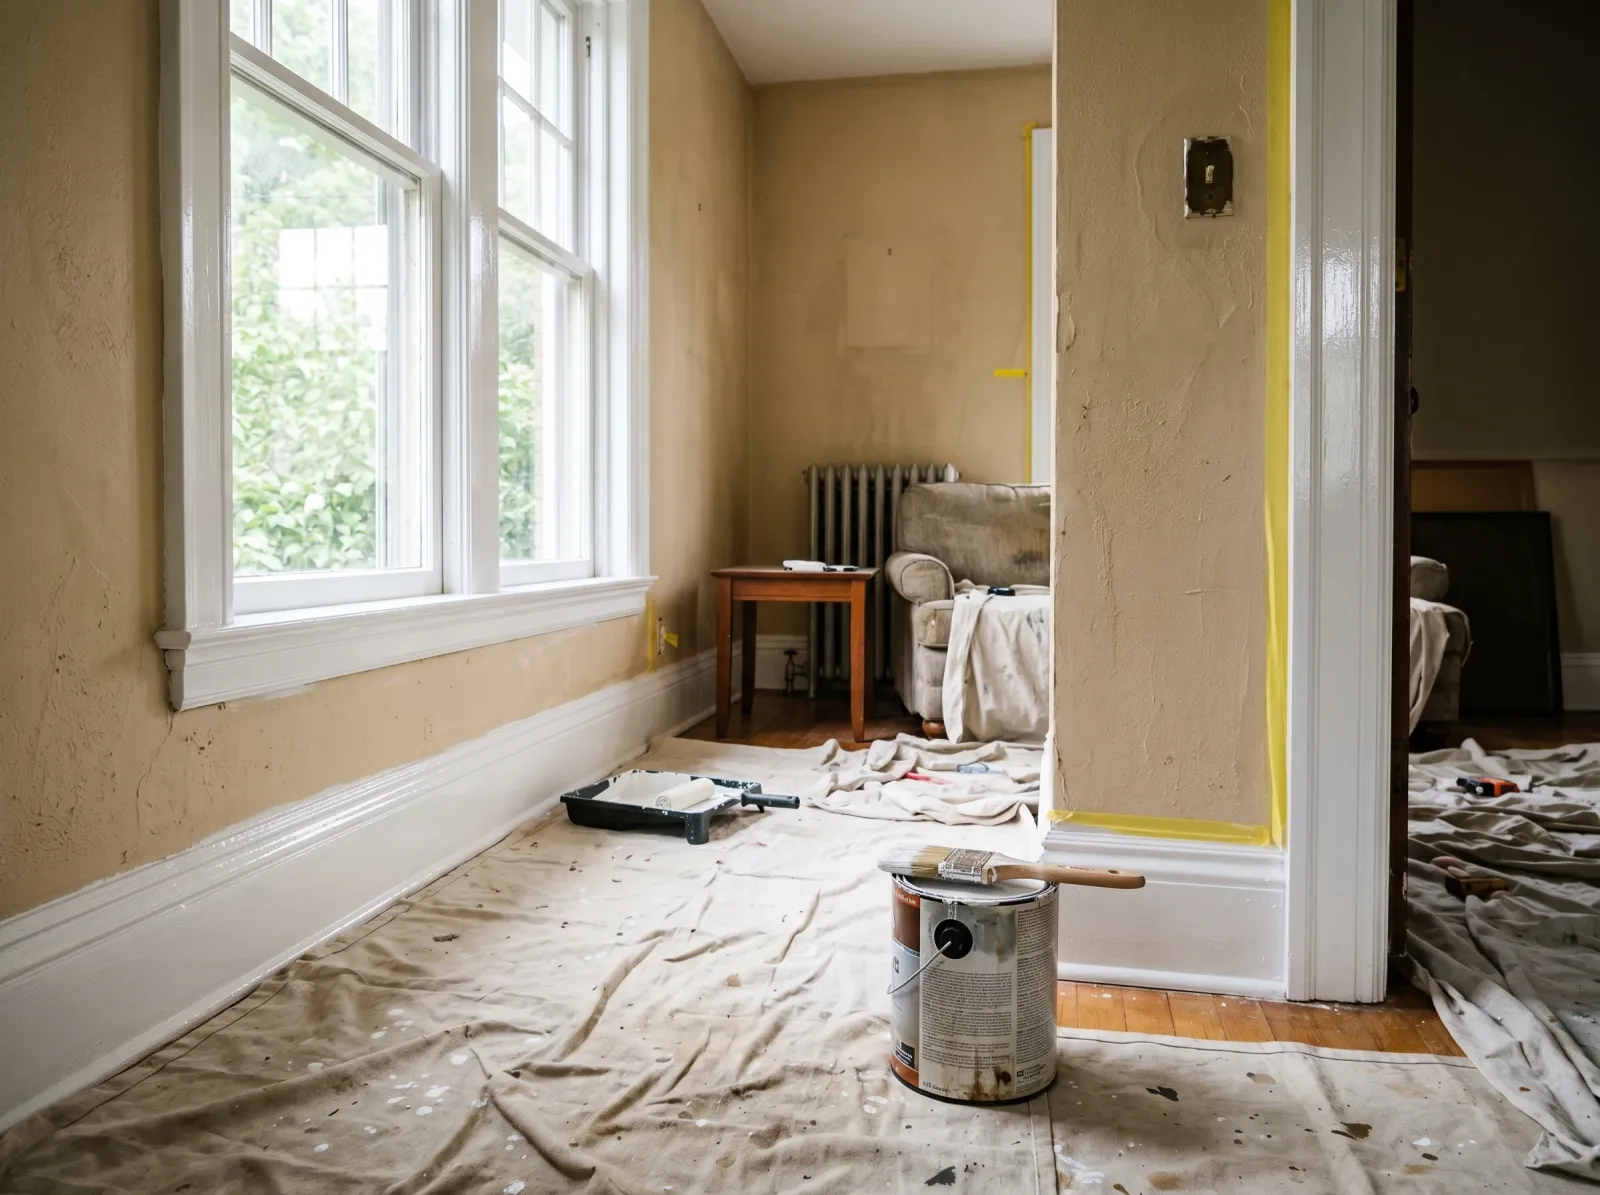
Baseboards, window casings, and door frames in semi-gloss, done while you’re fresh.
Start with the baseboards, then window casings, then door frames. Use the 2.5-inch angled brush, dipped only a third of the way in. A fully loaded brush drips.
Brush in long smooth strokes along the grain of the wood. Two thin coats beat one thick one. Let the first dry the time on the can (usually 4 hours for water-based) before the second.
Watch out for drips along the bottom edge of the baseboard. Check that edge every few minutes for the first half hour and brush out any sag while it’s wet. A drip you catch wet is nothing. A drip you find dry has to be sanded flat and recoated.
Trim eats most of day one. That’s normal for a big room. The walls go faster tomorrow. For the full version, see the baseboard painting guide.
Step 4 — Roll the Ceiling
Flat ceiling paint hides every drywall ripple. Rolled one direction across the whole ceiling with the extension pole.
Put on safety glasses. Rolling overhead means paint mist, and you don’t want it in your eyes.
Cut in around the edge of the ceiling first with the brush, a 2-inch band along the wall line. Then roll the rest with the extension pole. Load the roller, roll off the excess, and work the ceiling in big W-shapes, filling each one before you reload.
Roll the whole ceiling in one direction and keep a wet edge. If you let one section dry before you blend the next into it, you get a faint line called a lap mark. The lap marks fix covers how to even them out if they show up.
One coat usually covers a ceiling. If the old color ghosts through after it dries, do a second.
Step 5 — Cut in the Walls
Trim and ceiling are dry, so now the walls. Same routine as the trim: angled brush, dip a third of the way, smooth even strokes. Cut in a 2- to 3-inch band along the ceiling, the floor, and around windows, doors, the fireplace, and every outlet.
The tape is there to protect you, so brush right onto it.
The trick that matters: cut in one wall and roll it before the band dries. If the brushed edge dries before the roller reaches it, you’ll see a picture-frame outline of different texture around the wall. Working wall-by-wall keeps everything wet and blended.
Step 6 — Roll the Walls

Brush the edges first, then roll the big flats in W-shapes, one wall at a time.
Pour wall paint into the tray about a third full. Load the roller, roll it on the ramp until it’s evenly coated (not dripping, not dry), then onto the wall.
Same W-shape as the ceiling. Start in a top corner, make a W about 3 feet wide, fill it in with up-and-down strokes, then move along the wall, overlapping the wet edge by a few inches. Don’t stop in the middle of a wall for a break. The wet edge dries and you’ll see the seam in side light.
The first coat will look patchy and thin. Don’t panic. You will need a second coat, and almost every wall paint looks bad after one. Let it dry the time the can says (usually 4 hours), then roll the second the same way. The color fills in and evens out. You’ll know it when you see it on the second pass.
A living room has more wall than a bedroom, so pace yourself. Finish one wall fully before you set the roller down.
Step 7 — Pull the Tape and Reset the Room

Second coat dry, tape peeled at an angle, furniture back, drop cloths folded.
Pull the tape while the last coat is still slightly tacky, not bone dry. Pull slow at a 45-degree angle. Wait until the paint fully cures and dry paint chips off with the tape, leaving you to touch up edges.
Take the drop cloths outside and shake them off. Wash the brush and roller sleeves under warm water until it runs clear. Furniture goes back against the walls after 24 hours, art and curtains at 48.
Common Mistakes
- Skipping the trim and rolling walls first. Pros cut clean against trim freehand. For your first big room you can’t yet, so do trim first and let tape protect you on the walls.
- Not protecting the center furniture. People cover the walls’ floor but leave the sofa pile uncovered, then find a fine grit of dried roller mist all over it. Wrap the center in plastic.
- Loading the roller too heavy. A dripping roller leaves ridges and runs. Roll it on the tray ramp until it stops dripping before it touches the wall.
- Recoating before the first coat dries. The roller drags the under-layer up and you get a streaky mess. If the can says 4 hours, wait 4 hours.
- Pulling the tape too late. Bone-dry paint cracks along the tape edge. Pull while it’s still slightly tacky.
- Ignoring the light. Living rooms have the most windows, so the color shifts hard between morning and night. Test on the actual wall before you commit, or you’ll repaint.
Cure Schedule
| Time after the second coat | What’s safe |
|---|---|
| 1 hour | Pull the tape |
| 4 hours | Touch dry, don’t bump it |
| 24 hours | Furniture back against the walls |
| 48 hours | Hang art and curtains |
| 7 days | Wipe scuffs with a damp cloth |
| 30 days | Full cure, scrubbable, washable |
What to Do If It Goes Wrong
A few things go wrong for everyone. Here’s the fix for each.
You got paint on the floor. Wet paint wipes off hardwood or tile with a damp rag for the first ten minutes. Dry paint scrapes off with a plastic putty knife or an old credit card. On carpet, blot, don’t rub.
The walls have roller streaks after the second coat. Usually an unevenly loaded roller or not enough overlap on the wet edge. Let it dry fully, sand lightly, and roll a third coat. Light streaks vanish on the third pass. The roller marks fix goes deeper if they don’t.
You hate the color. Live with it a week. Color reads different at every hour and your eye adjusts faster than you’d think. If you still hate it on day eight, repaint. If you only wanted color on one wall, that’s an accent wall, a smaller and lower-risk job.
Maintenance and Touch-Ups
Eggshell living room walls hold up 7 to 10 years, longer if the room is low-traffic. Trim lasts 10 to 15 unless it gets banged up.
Most marks on a living room wall are scuffs, not damage, so try a damp microfiber cloth first. For a real scratch, dab leftover paint on with a small artist’s brush, just the scratch, or you’ll see the edge. For a ding, spackle, sand, then dab paint on with a small piece of roller so the texture matches. Keep a quart of each color labeled with the room name.
Cost Breakdown
| Item | $ |
|---|---|
| Wall paint, 1.5 gallons eggshell | $70 |
| Ceiling paint, 1 gallon flat | $30 |
| Trim paint, 1 quart semi-gloss | $20 |
| Brushes, roller, tray, sleeves | $40 |
| Tape, two drop cloths, spackle, plastic sheeting | $40 |
| Total | $200 |
Numbers are mid-tier paint (Behr Premium Plus or BM Regal Select). Cheaper runs about $140, top-shelf (BM Aura, SW Emerald) closer to $260. A great room with tall walls adds another gallon or two of wall paint.