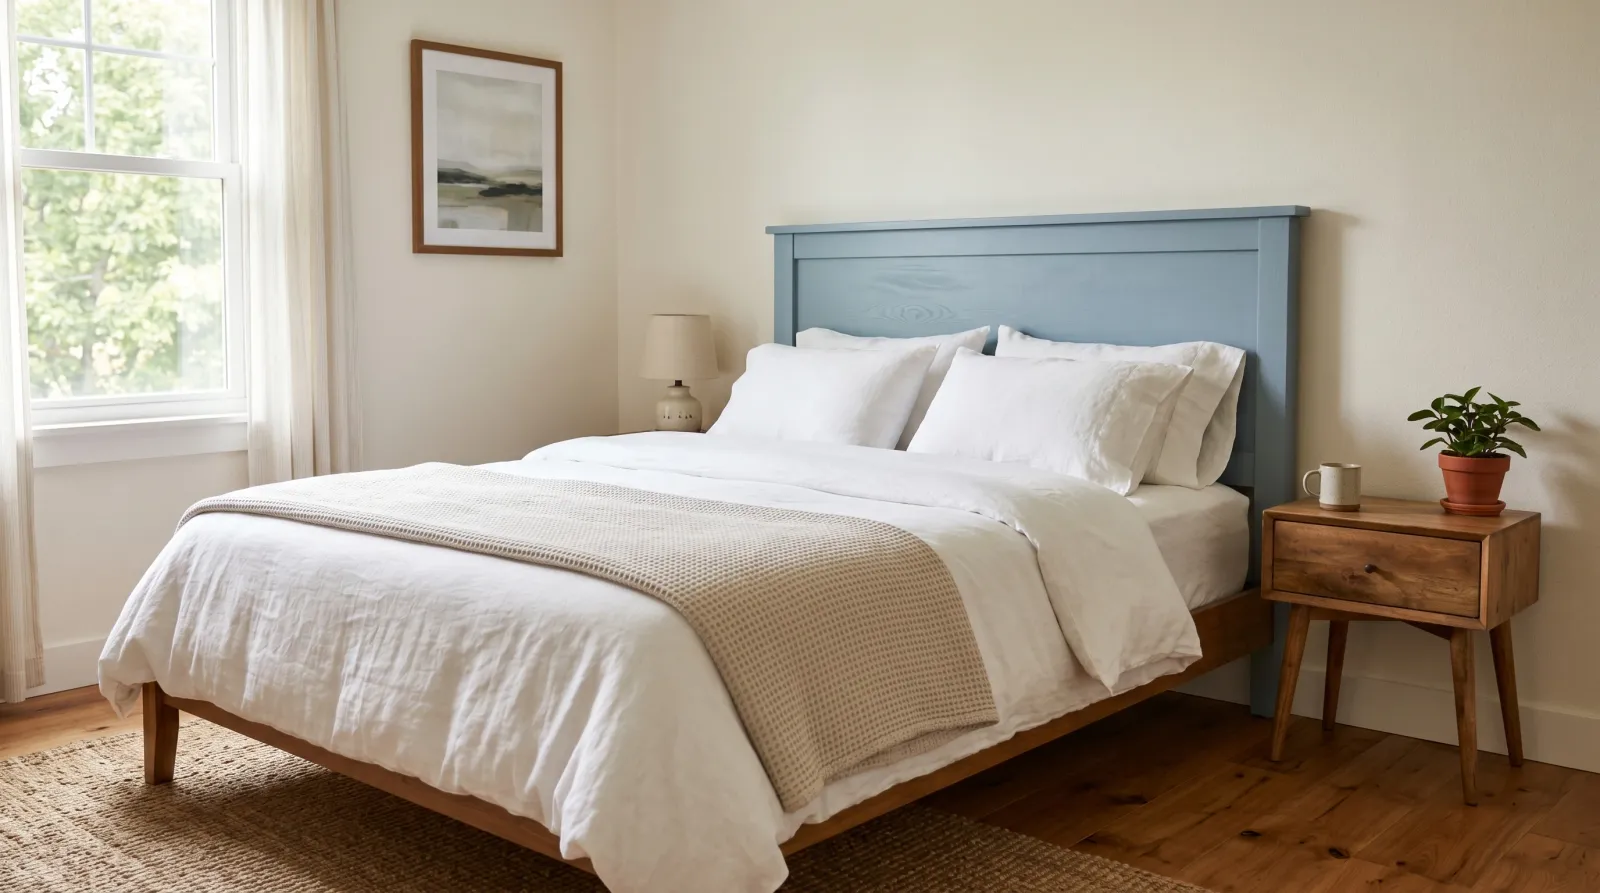
How to Paint a Headboard
Painting a headboard the right way: how to tell wood from veneer or upholstery, the prep that stops peeling, and the enamel that wipes clean by your pillow.

Okay, so you’ve decided the headboard has to go. The honey-oak finish from the early 2000s, or the glossy black laminate that came with the frame, or a thrift-store find that’s the right shape and the wrong color. You don’t want to buy a new bed. You want to paint the one you have. The thing nobody tells you up front: a headboard isn’t quite like painting a dresser, because you sleep pressed against it. The finish has to survive your hands, your hair, and the back of your head every night.
That changes one thing about how you do it. The rest is straightforward. Don’t worry.
What You’ll Get
A headboard that looks like it belongs to the room instead of the room you used to have. A weekend of work, a week of cure before you lean on it hard, and a finish that wipes clean for years. On a thrifted or hand-me-down frame, the math is friendly: maybe $30 for the headboard, $50 in materials, and you have something that reads like a $300 piece.
Honest Take on Difficulty and Time
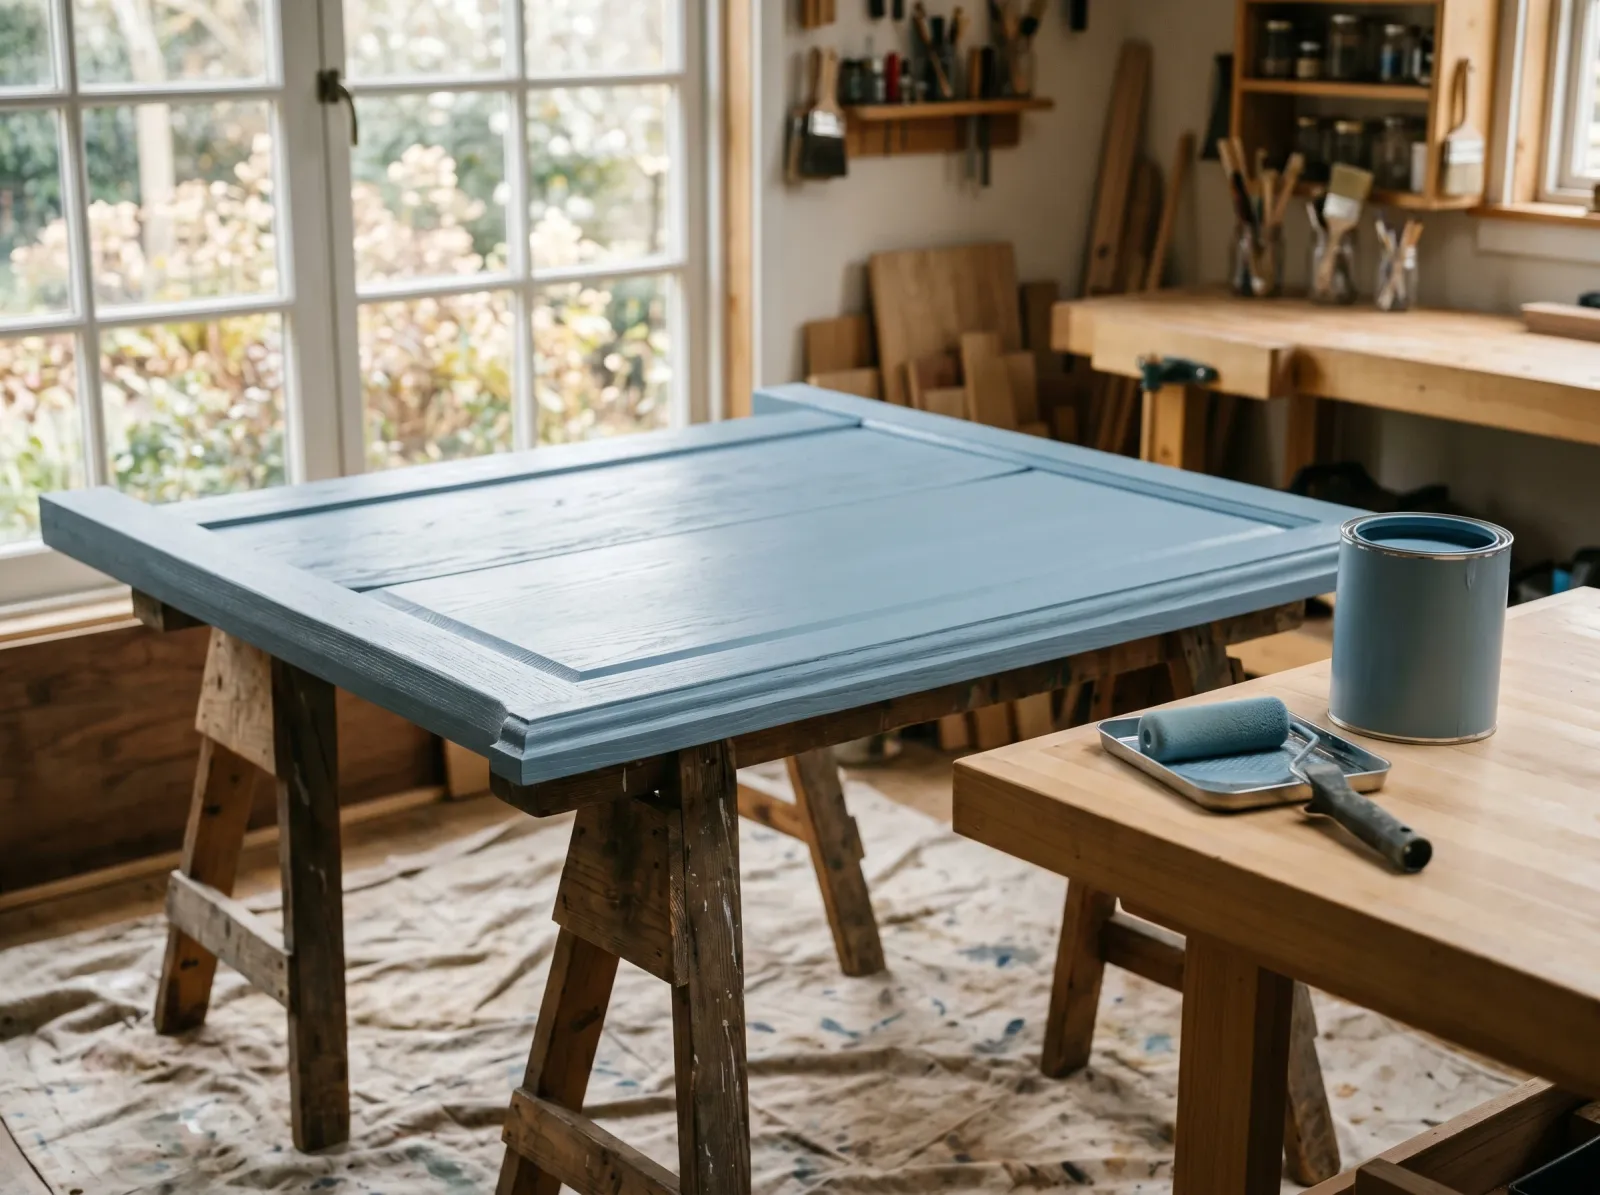
This is one of the easier paint projects. No ceiling, no ladder, no taping off a whole wall. A headboard is one flat-ish object you can lay across two sawhorses and paint at waist height.
The hard part is the same as every furniture project: patience between coats, and not sleeping against it before it cures. Here’s the realistic timeline.
| What you’re painting | Active time | Total elapsed |
|---|---|---|
| Real wood, sound finish, enamel | 3-4 hrs | 1 weekend + 1 week cure |
| Veneer or laminate, primed first | 4-5 hrs | 1 weekend + 1 week cure |
| Upholstered, chalk paint + fabric medium | 4-6 hrs | 2 weekends + cure |
If anyone tells you it’s a two-hour job, they’re not counting the prep or the dry time between coats. Prep is most of the job, same as always.
What You’ll Need
Paint and Primer
For most headboards, a 1-quart can of waterborne cabinet/furniture enamel (BM Advance, SW Emerald Urethane, or INSL-X Cabinet Coat). Enamel is paint that dries to a hard, washable shell, which is exactly what you want where your head and hands touch it nightly. Satin or semi-gloss sheen. A quart covers a standard headboard with two coats and some left over.
For a softer, matte look on a headboard you won’t lean on much (a guest room, a footboard you never touch), chalk paint works. It needs a top coat to survive contact, though. More on that below.
A 1-quart can of bonding primer (INSL-X Stix or Zinsser Bulls Eye 1-2-3 Plus) if your headboard is veneer, laminate, or has a glossy factory finish. Bonding primer is the coat that grabs slick surfaces so your paint doesn’t peel. See what bonding primer actually does if you’re not sure you need it.
For the SKU-by-SKU comparison, the best furniture paint round-up has the picks lined up side by side.
Tools
A 2.5-inch angled brush for the spindles, edges, and any carved detail. A 4-inch foam-mini roller for the flat panels (it lays a smoother film than a brush on big faces). Painter’s tape, a canvas drop cloth, a 220-grit sanding sponge, a tack cloth, and a screwdriver or drill to get the headboard off the bed.
The brush is where you don’t cheap out. A $4 brush sheds bristles into your finish and leaves streaks. A $14 Wooster or Purdy lays a clean line and lasts years. Picks are in the best paint brushes round-up.
A Quick Note on What You’re Painting
Before Step 1, figure out what your headboard is made of, because it decides whether you prime.
Solid wood with a matte or eggshell finish: scuff and paint. The easiest case.
Solid wood with a glossy lacquer or polyurethane finish: scuff hard with 220, or it’ll be slick under the paint.
Veneer (a thin layer of real wood over particleboard): scuff gently so you don’t sand through the veneer, then bonding primer.
Laminate or melamine (a printed plastic film, common on cheap frames): bonding primer is non-negotiable. Skip it and the paint comes off in sheets.
Upholstered fabric: a different animal. Skip down to the upholstery note.
Not sure if it’s real wood or veneer? Run a fingernail across an edge. Real wood grain catches; plastic film stays slick and uniform. The denatured-alcohol test from the old wood furniture guide sorts out shellac, lacquer, and polyurethane in two minutes if you want to be sure.
Step 1 — Detach the Headboard and Lay It Flat
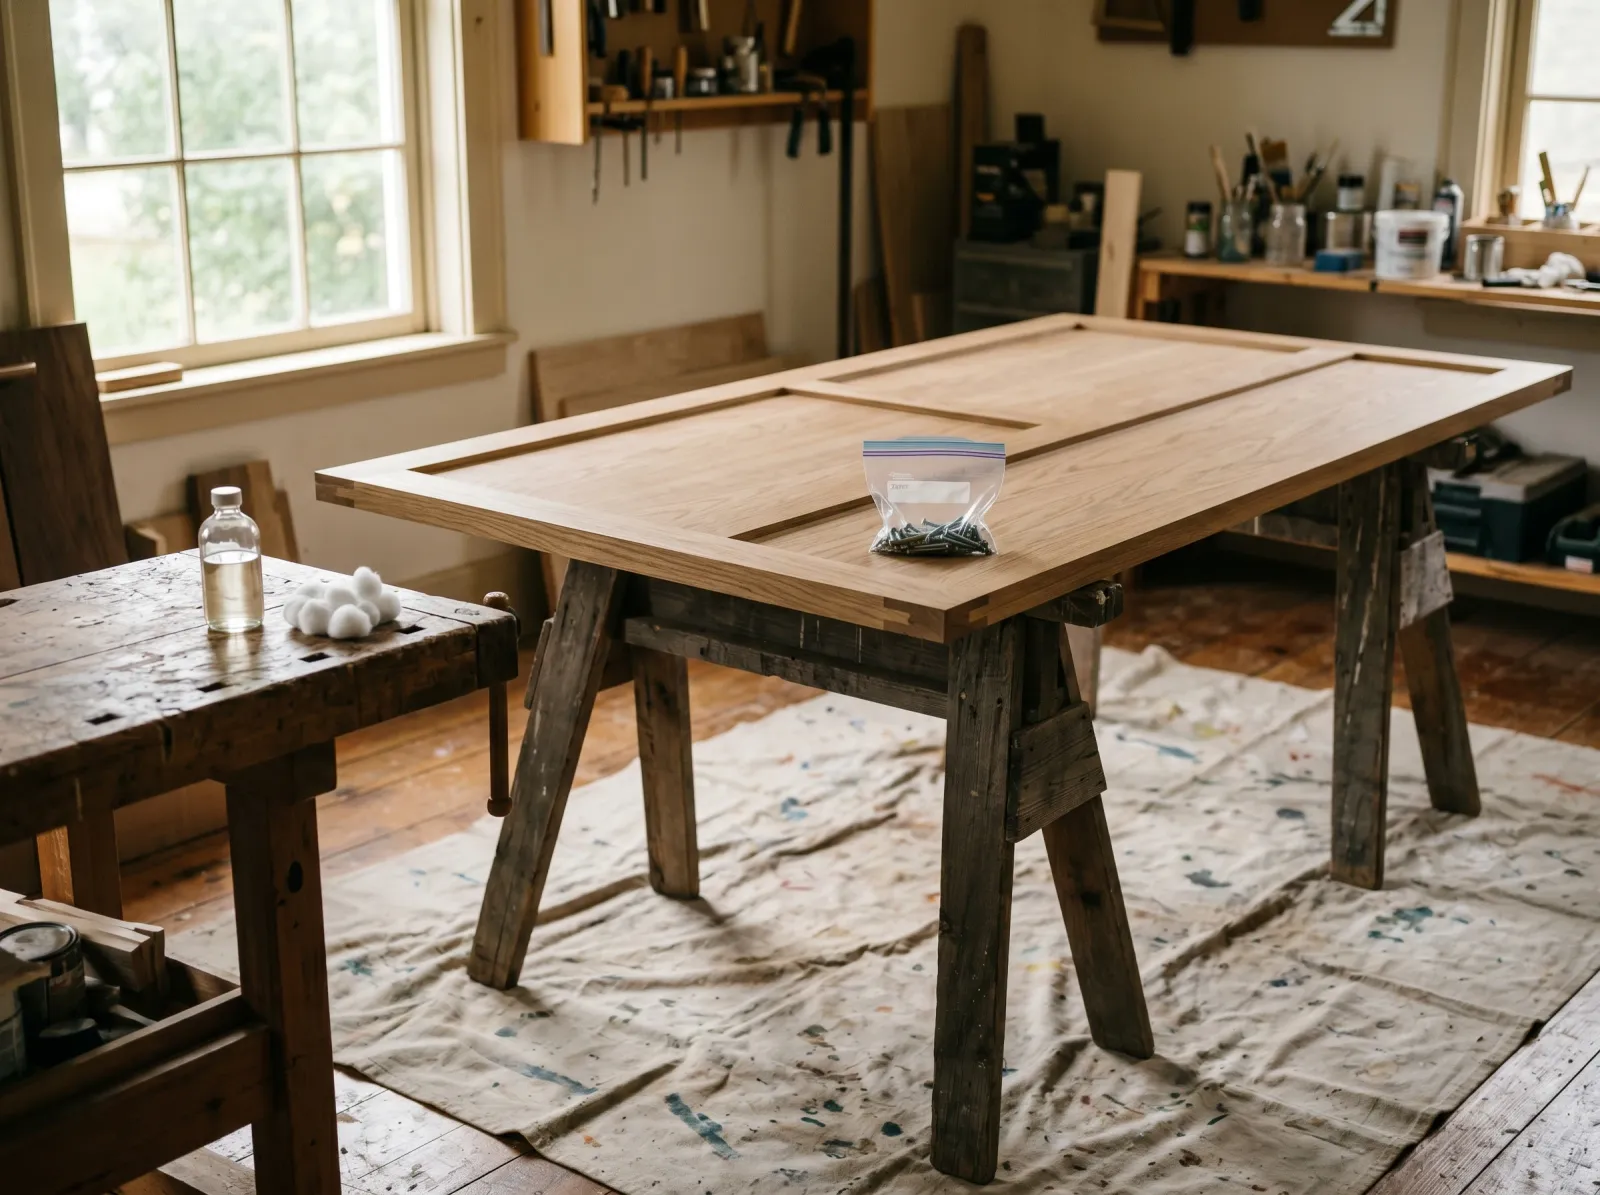
Off the frame, flat, screws bagged. Painting flat beats painting upright every time.
Pull the mattress away and unbolt the headboard from the bed frame. Most attach with two to four bolts at the legs. Put the bolts in a labeled baggie. You will lose them otherwise, and the replacement hardware store run is annoying.
Carry the headboard somewhere with airflow and lay it flat across two sawhorses, a pair of chairs, or a drop cloth on the floor. Painting flat means gravity helps you instead of fighting you. No runs, no drips down the spindles.
Watch out for headboards that don’t detach (built-in, or bolted in a way you can’t reach). If yours is stuck, pull the mattress, tape off the frame and the wall behind it, drape everything, and paint upright. It’s harder but doable.
Step 2 — Scuff-Sand and Clean
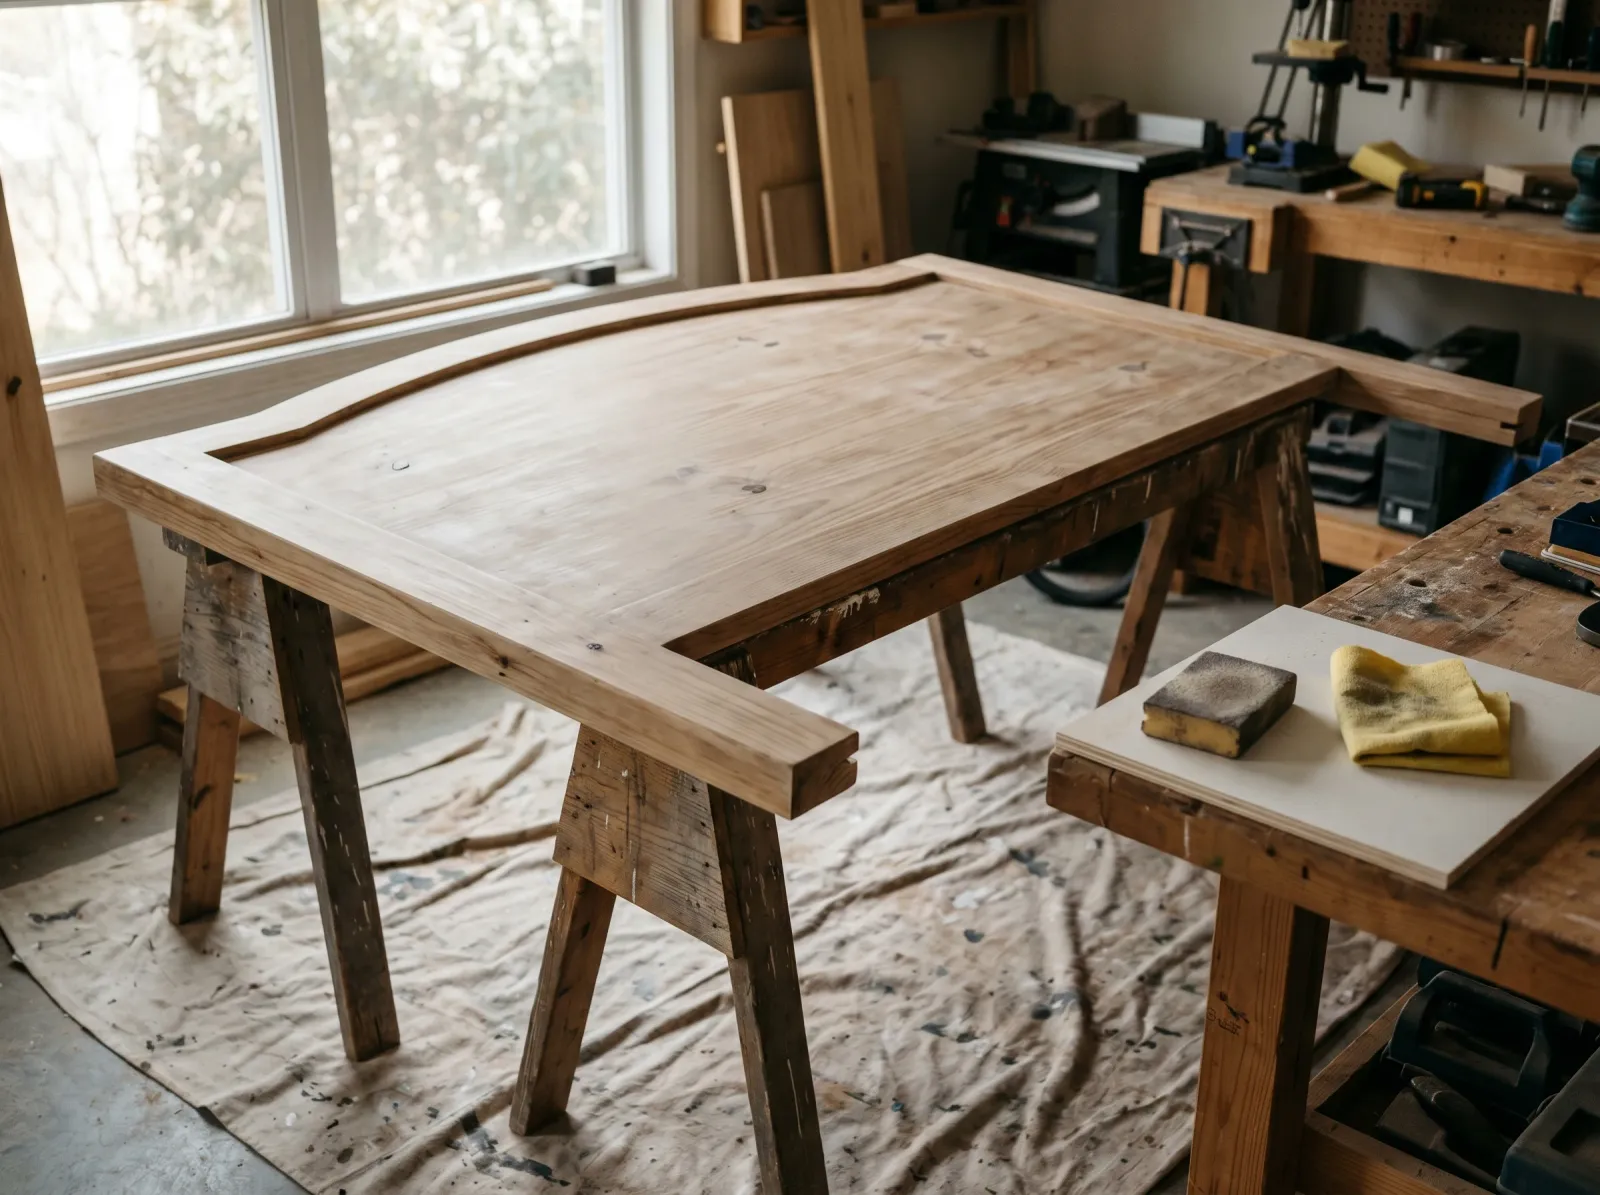
A light 220 scuff over every face. You’re dulling the shine, not stripping to bare wood.
Take the 220-grit sponge over every surface you plan to paint. You’re not stripping the old finish, just knocking the gloss off so the next coat has something to grip. The surface should go from shiny to slightly hazy. Get into the spindles and carved bits with the corner of the sponge.
On veneer, go light. The real-wood layer on top is thin, sometimes paper-thin, and sand too hard and you’ll cut through to the particleboard underneath.
Vacuum the dust, then wipe everything down with a tack cloth (a sticky cheesecloth that lifts the last fine dust a rag leaves behind). Paint over dust and you get a gritty finish you can feel.
Step 3 — Prime If Your Surface Needs It
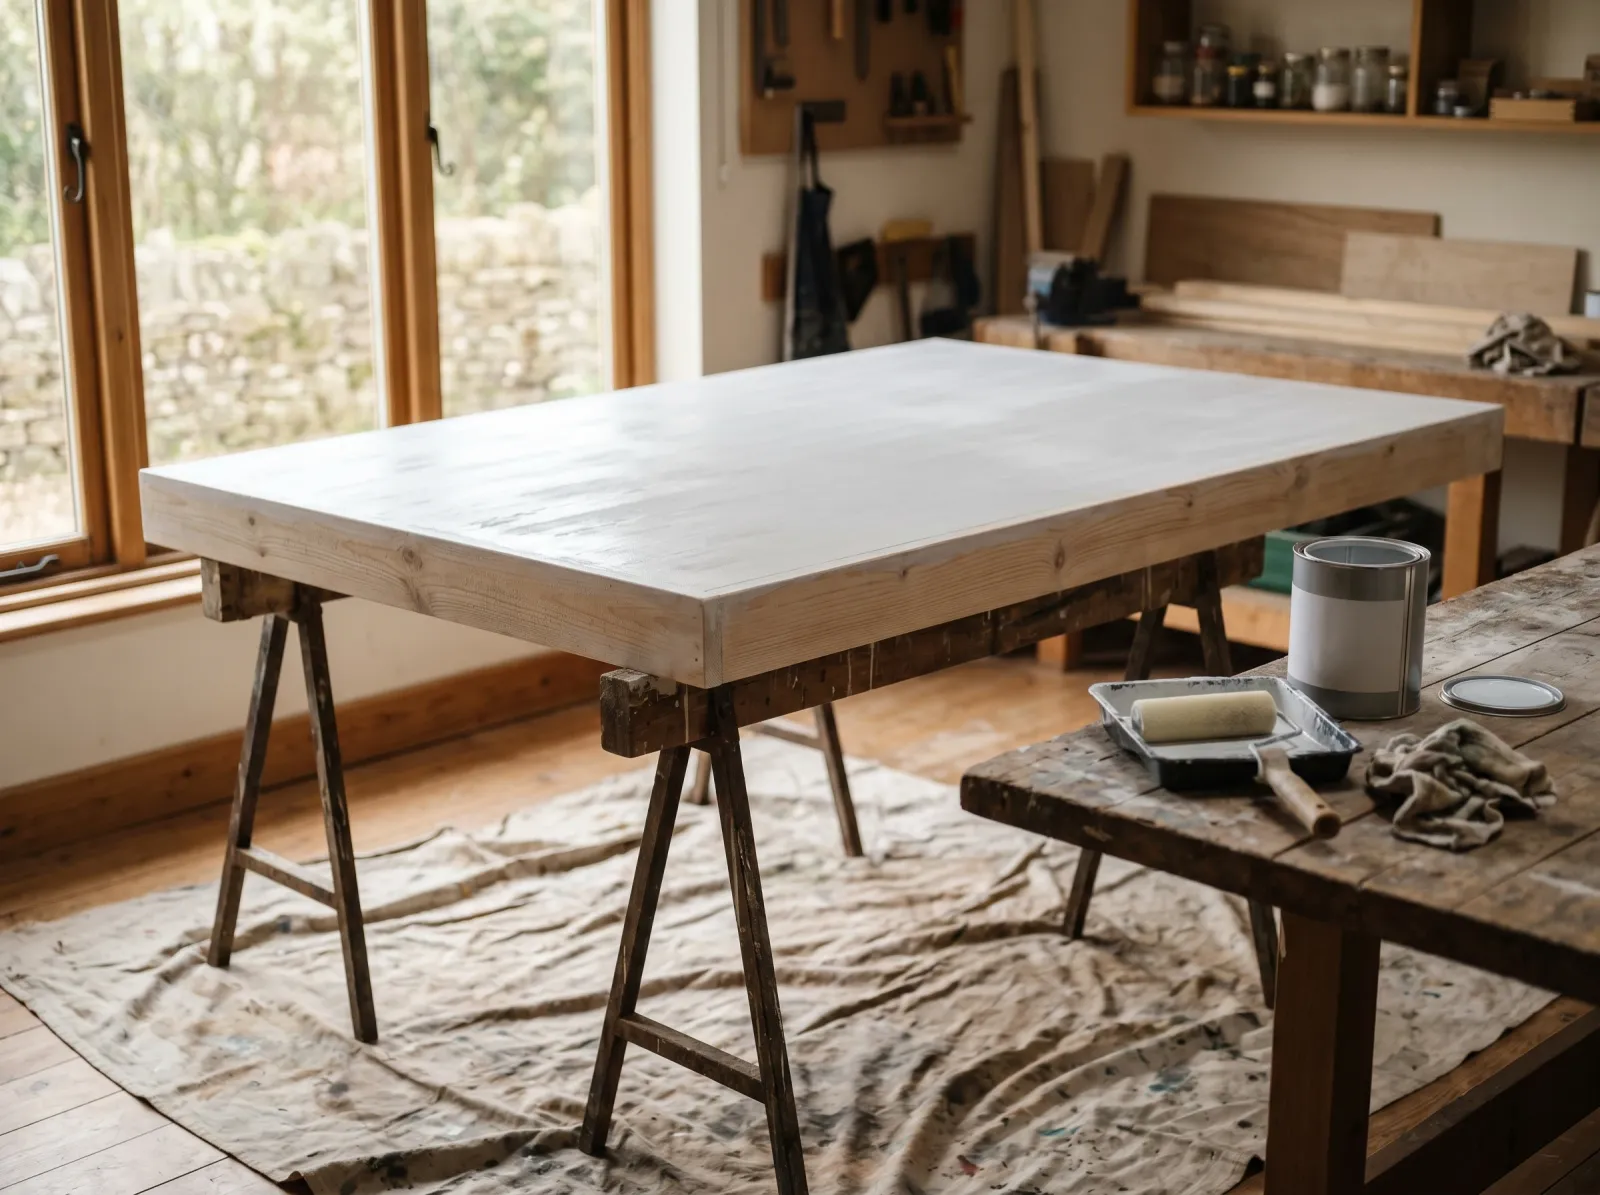
Veneer, laminate, and glossy factory finishes get one coat of bonding primer first.
Skip this step only if you’ve got solid wood with a sound matte finish and you’re chalk-painting. Everything else gets a coat of bonding primer.
Roll the flat panels with the foam-mini, brush the spindles and detail with the angled brush. One coat of Stix is enough; let it dry overnight. Light scuff with 220 to knock down any nibs, tack-cloth again. If your headboard had old water rings or a stained, blotchy finish bleeding through, a shellac-based primer like Zinsser BIN locks it in better than a standard bonding primer.
Step 4 — Paint, Two Thin Coats
First coat of color. It’ll look thin and patchy. That’s normal. The second coat fills it in.
Roll the flat panels, brush the rest. Dip the brush only a third of the way in and tap once on the inside of the can. A loaded brush drips, and drips on a horizontal panel dry as bumps you can’t sand out without going back to primer.
The trick that makes enamel look sprayed instead of brushed: add Floetrol at about 5% (roughly 6 ounces a gallon, less for a quart). Floetrol is a latex extender that keeps the paint wet a few seconds longer so the brush marks flow out and self-level. Without it, enamel can hold ridges.
Two thin coats beat one thick coat. Thick coats sag, dry unevenly, and never cure as hard. Let the first coat dry the full time on the can (BM Advance wants 16 hours; read yours) before the second. Don’t rush it. Recoat too soon and the brush drags the first coat up into wrinkles.
Watch out for the spindle drips. On a slatted or spindled headboard, paint pools in the inside corners where the spindle meets the rail. Check those corners a few minutes after you coat them and brush out any sag while it’s wet.
Step 5 — Top Coat (Chalk Paint Only), Then Reattach
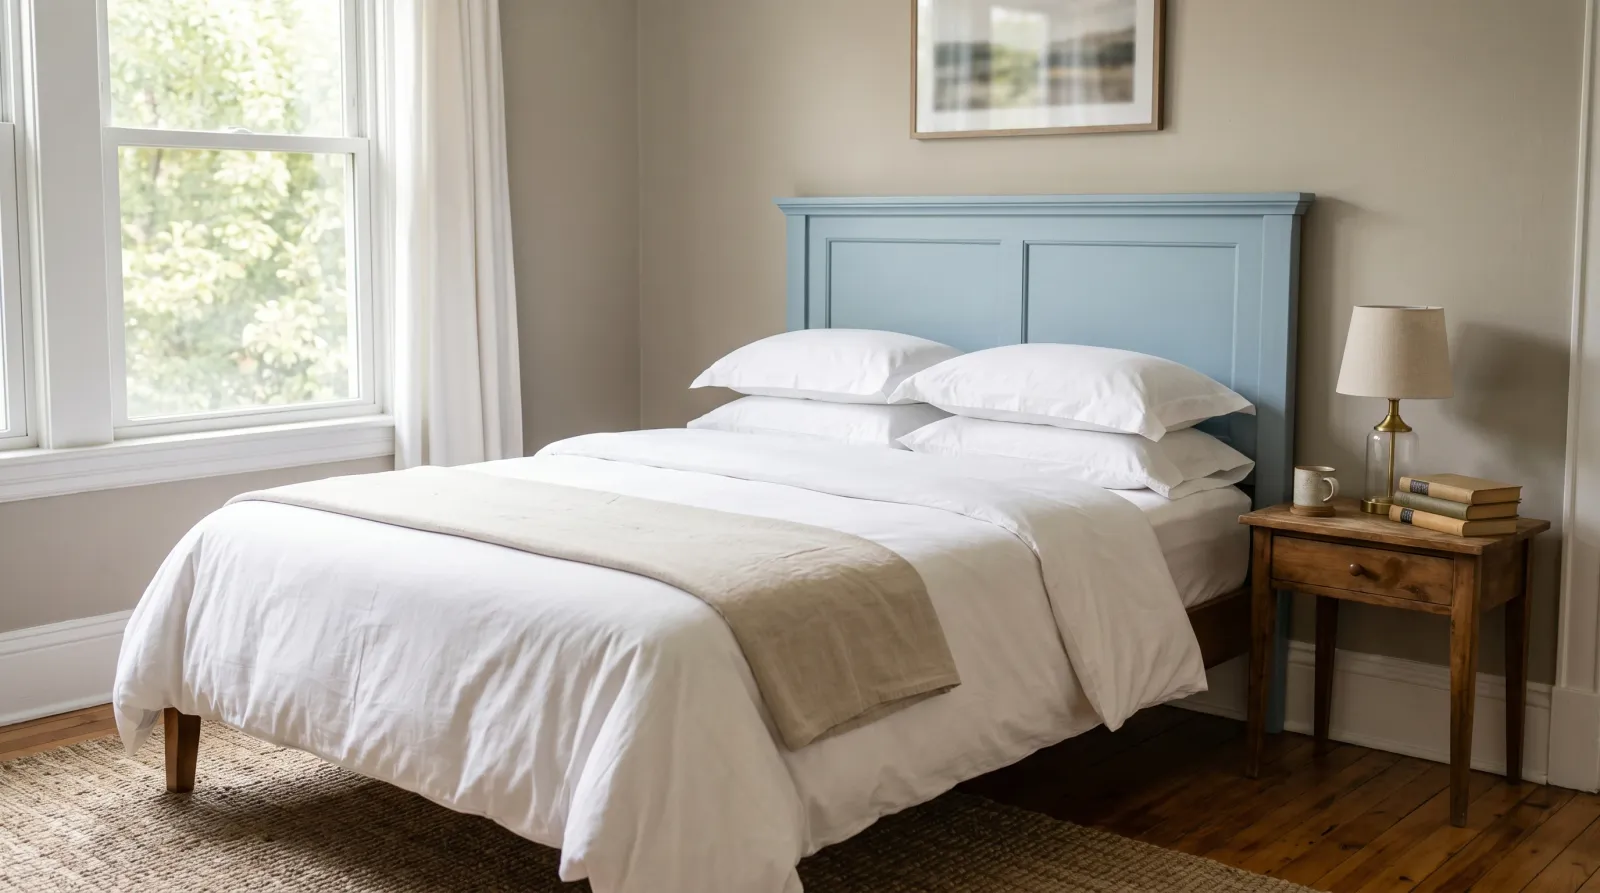
Cured, bolted back on, bedding back. The whole room reads different.
If you used cabinet enamel, you’re done painting. Enamel is self-sealing; the cure is the seal. No top coat.
If you used chalk paint, it needs a top coat or it won’t survive your head and hands. Chalk paint without a sealer rubs off on contact. Use Minwax Polycrylic in matte: water-clear, won’t yellow over a pale color, two thin coats with a soft synthetic brush. Skip clear furniture wax on a headboard. Wax has a faint amber tint that yellows whites, and it’s not durable enough for nightly contact anyway.
Let it cure (see the schedule below), then bolt the headboard back to the frame and remake the bed.
Common Mistakes
- Skipping bonding primer on veneer or laminate. The topcoat peels off in sheets within months. No paint, chalk paint included, bonds to slick factory laminate without a bonding primer underneath. This is the single most common headboard-paint failure.
- Using flat wall paint to save money. Flat paint scuffs and burnishes the first night you sit up against it. You’ll see a shiny worn patch right at pillow height. Use a cabinet enamel or top-coated chalk paint.
- Sleeping against it before it cures. Lean on enamel at day two and you print the weave of your pillowcase or the pattern of your hair into the soft film. It’s permanent once it cures over the dent. Give it the full week.
- Painting the headboard upright when you didn’t have to. Drips run down the spindles, the bottom edge where it meets the mattress gets missed, and the whole thing takes twice as long. Take the ten minutes to detach it and lay it flat.
- Recoating before the first coat dries. The brush drags, the second coat lifts the first, and you get wrinkles like rumpled fabric. The only fix is sanding back to primer. Set a timer to the can’s recoat window.
Cure Schedule
| Time after the final coat | What’s safe |
|---|---|
| 4 hours | Touch dry; don’t lean on it |
| 24 hours | Re-handle gently, reattach to the frame |
| 7 days | Sleep against it nightly |
| 30 days | Full cure; wipe down with mild soap, shrugs off hair oil |
Chalk paint sealed with polycrylic keeps hardening for a couple weeks past the 30-day mark. Treat it gently in the first month either way.
Maintenance and Touch-Ups
A cabinet-enamel headboard holds up for 8 to 12 years before it wants a refresh, longer than most furniture because it doesn’t get opened and closed like a drawer. Chalk paint sealed with polycrylic runs 5 to 8 years.
For a chip or a scuff, dab the original paint on with a small artist’s brush and feather it lightly. Don’t repaint a whole panel for one chip; the fresh paint reads slightly brighter than the cured coat and you’ll see the seam. Keep the leftover quart labeled with the room name so you can match it later.
Cost Breakdown
| Item | Cost |
|---|---|
| Cabinet enamel or chalk paint (1 quart) | $25-$45 |
| Bonding primer (1 quart, if needed) | $15 |
| Top coat (polycrylic, chalk paint only) | $15 |
| Angled brush + foam-mini roller | $25 |
| Sponge, tack cloth, tape, Floetrol | $20 |
| Total | $50-$90 |
A thrifted headboard at $30 plus $60 in materials lands around $90, for something that looks custom.
A Specific Recommendation
First headboard, solid wood, sound finish: a quart of Benjamin Moore Advance in satin, a Wooster Silver Tip, a 220 sponge, and a splash of Floetrol. Detach and scuff Saturday morning, first coat Saturday afternoon, second coat Sunday. Reattach Monday, sleep easy by next weekend.
Laminate or veneer frame: same plan, but prime with INSL-X Stix first and don’t skip it. The primer is the only thing standing between your weekend and a peeling mess in three months.