How to Paint a Garage Floor
Painting a garage floor that lasts: test for moisture, etch the concrete, prime, then roll two thin coats of epoxy or latex floor paint. The prep is the whole job.

A painted garage floor that peels in a year wasn’t a paint problem. It was a prep problem. Concrete comes off the trowel sealed tight and slick, and no coating sticks to slick. The etch is the whole job. The rolling part is the easy hour at the end.
Here’s the rule. Test the slab for moisture, get the oil off, etch it open, then coat it. Do that and the floor holds for a decade. Skip the etch because the can says “no prep needed” and you’ll be scraping tire-shaped peels off the concrete next summer.
What You’ll Get
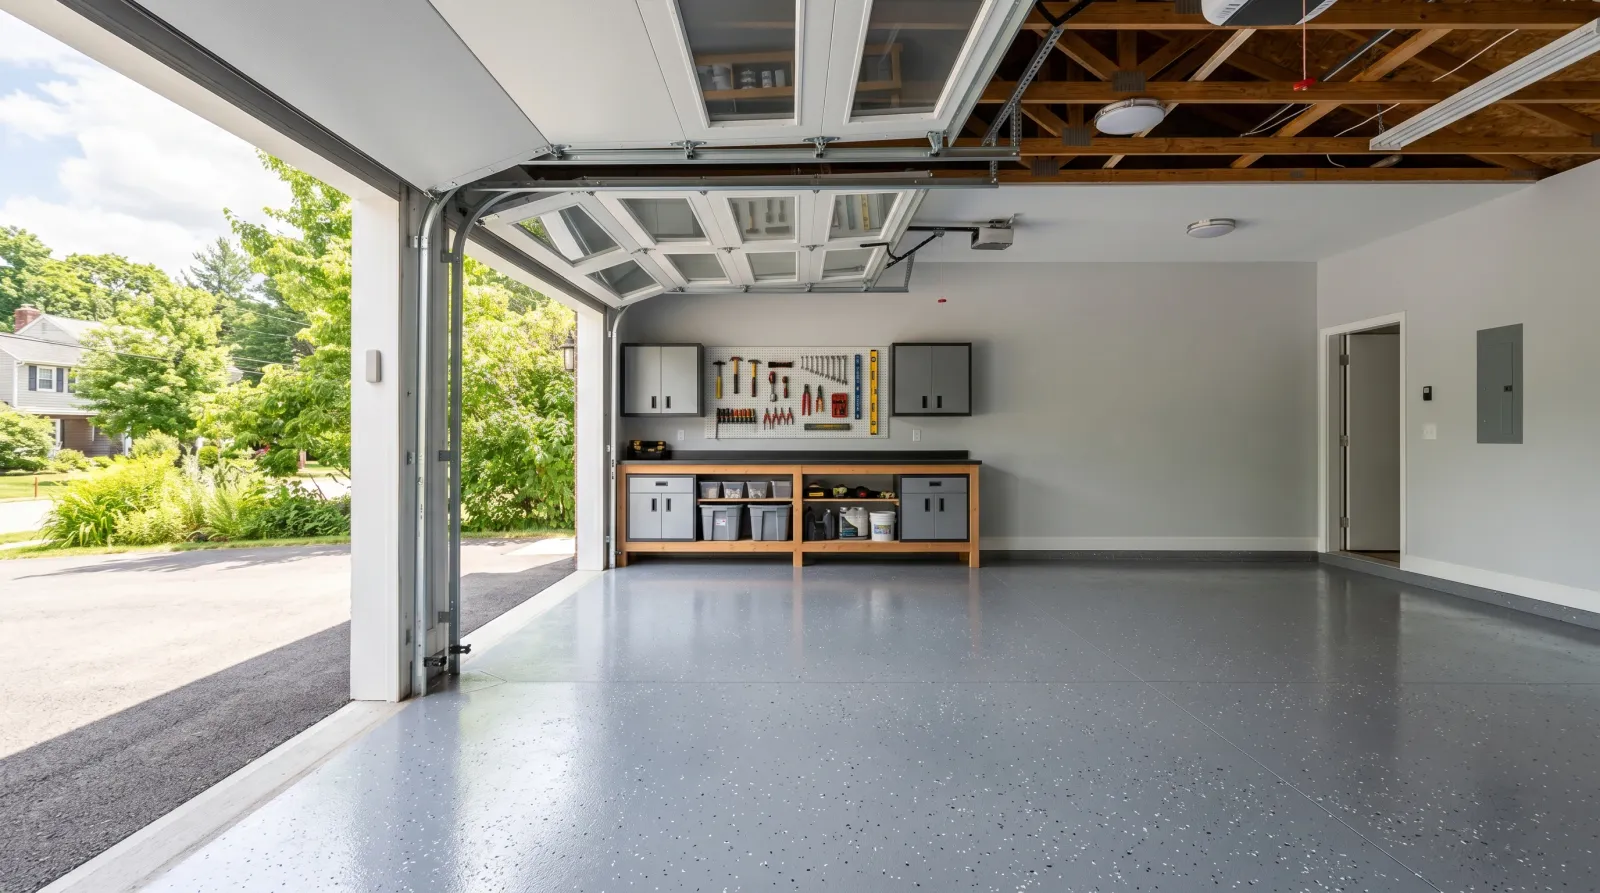
A sealed, easy-to-sweep garage floor that resists oil drips, brake fluid, and road salt. The coating brightens the whole bay because concrete drinks light and a finished floor bounces it back.
Honest Take on Difficulty and Time
This is a medium project, not a hard one. The work is one weekend. The waiting is the long part.
Realistic schedule: Saturday is clear, degrease, etch, rinse, dry. Sunday is patch cracks and roll the first coat. Monday is the second coat. Then you stay off it. Foot traffic at 3 days, park on it at 7 minimum. A two-part epoxy wants close to two weeks before a hot tire touches it.
| Bay size | Active work | Off-the-floor cure |
|---|---|---|
| One-car (about 250 sq ft) | 6-8 hrs over two days | 7 days |
| Two-car (about 450 sq ft) | 9-12 hrs over a weekend | 7-14 days |
The single thing that bites people: they rush the cure and park on it Wednesday. Don’t.
What You’ll Need
Paint and Primer
Pick your coating first, because it sets the whole prep. Two real choices.
Two-part epoxy (Rust-Oleum EpoxyShield, or a pro-grade kit). Harder film, resists hot-tire pickup, laughs off oil. It mixes part A into part B, gives you a short pot life, and demands a real cure. This is what goes under a daily driver. See the best garage floor paint round-up for the kits worth buying.
One-part latex floor paint (INSL-X Tuff-Crete, or an acrylic concrete & garage paint). Rolls like wall paint, recoats forever, costs less. Fine for a storage bay or a workshop that sees light traffic. It won’t take hot-tire abuse the way epoxy does.
For primer, a bare or chalky slab wants a bonding or etching primer. Many epoxy kits ship the etch and the primer step built in. A previously coated floor in good shape can skip primer once it’s scuffed and clean. The residential concrete floor guide covers the material-specific prep if your slab is rougher than average.
Tools
A stiff deck brush or push broom to scrub the etcher in. A garden sprayer for wetting and rinsing. A wet/dry shop vac to pull the rinse water off, because a floor that won’t dry won’t take coating. A 9-inch floor-rated roller cover on a 3/8-inch nap, an extension pole, a 2.5-inch angled brush for cutting in along the walls and door track, a tray with liners.
Wear the respirator and goggles for the acid etch. Muriatic acid fumes are no joke in a closed garage. Open the door. Roller and brush picks live in the roller round-up.
Step 1 — Clear It Out and Kill the Oil
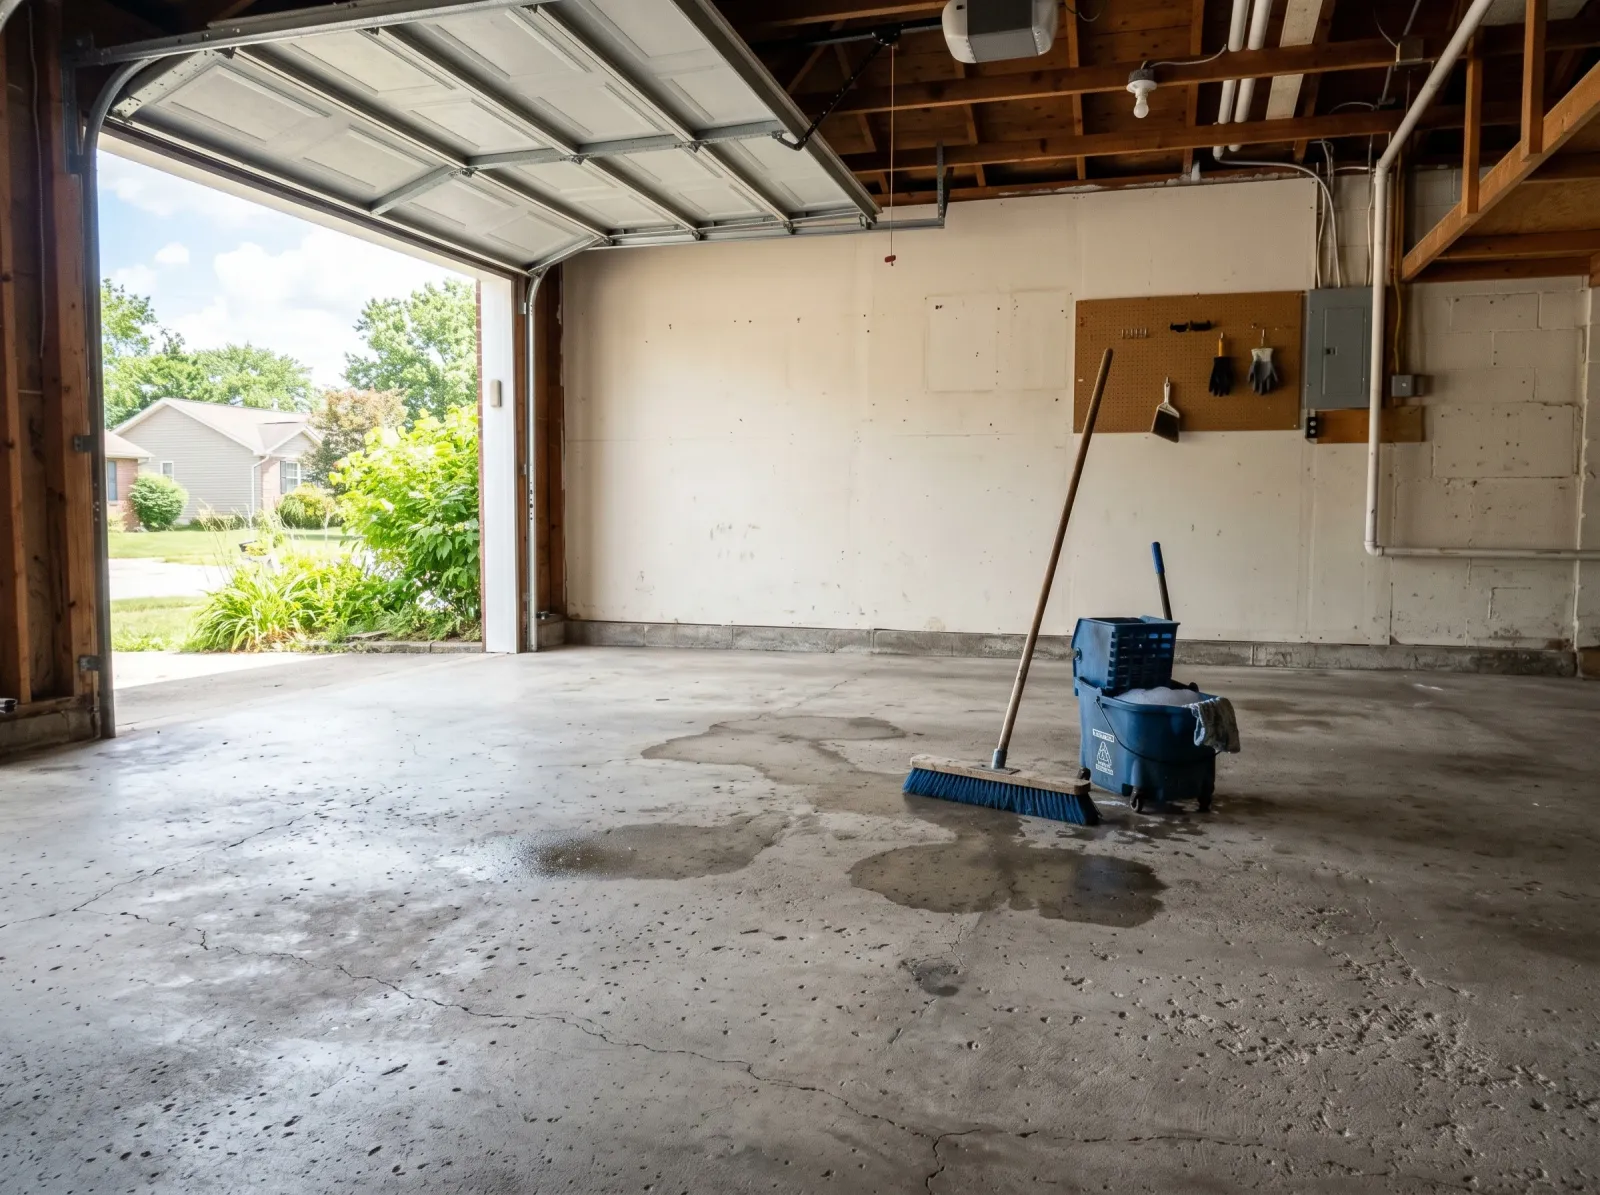
Everything off the floor, oil stains scrubbed with degreaser, the slab swept bare and bone dry.
Empty the bay. Everything out. Sweep, then vacuum the corners and the expansion joints where grit hides.
Hit the oil stains with degreaser. Spray, let it dwell, scrub with the deck brush, rinse. Old oil that soaked in years ago may take two passes. Coating laid over an oily spot won’t bond, and that’s where the first peel starts.
Watch out for the parking spots. The two darkest patches under where the engine sits are almost always oil-soaked. Scrub those hardest.
Step 2 — Test for Moisture Before You Spend a Dime on Paint
Do this before you etch. Tape a 2-foot square of plastic sheet flat to the slab, seal all four edges with tape, and walk away for 24 hours.
Lift it the next day. Dry underneath, you’re clear to coat. Beads of water on the plastic or a dark wet shadow on the concrete means the slab is wicking moisture from the ground, and any coating you put down will blister and lift. A new slab needs 28 days minimum before it’s cured enough to coat.
A wet slab isn’t a paint problem you can solve with a better can. It’s a drainage and vapor problem under the floor. If it fails the test, fix the moisture source first or skip the coating. Efflorescence (the white chalky bloom) is the same story; see how efflorescence works for why coating over it fails.
Step 3 — Etch the Concrete
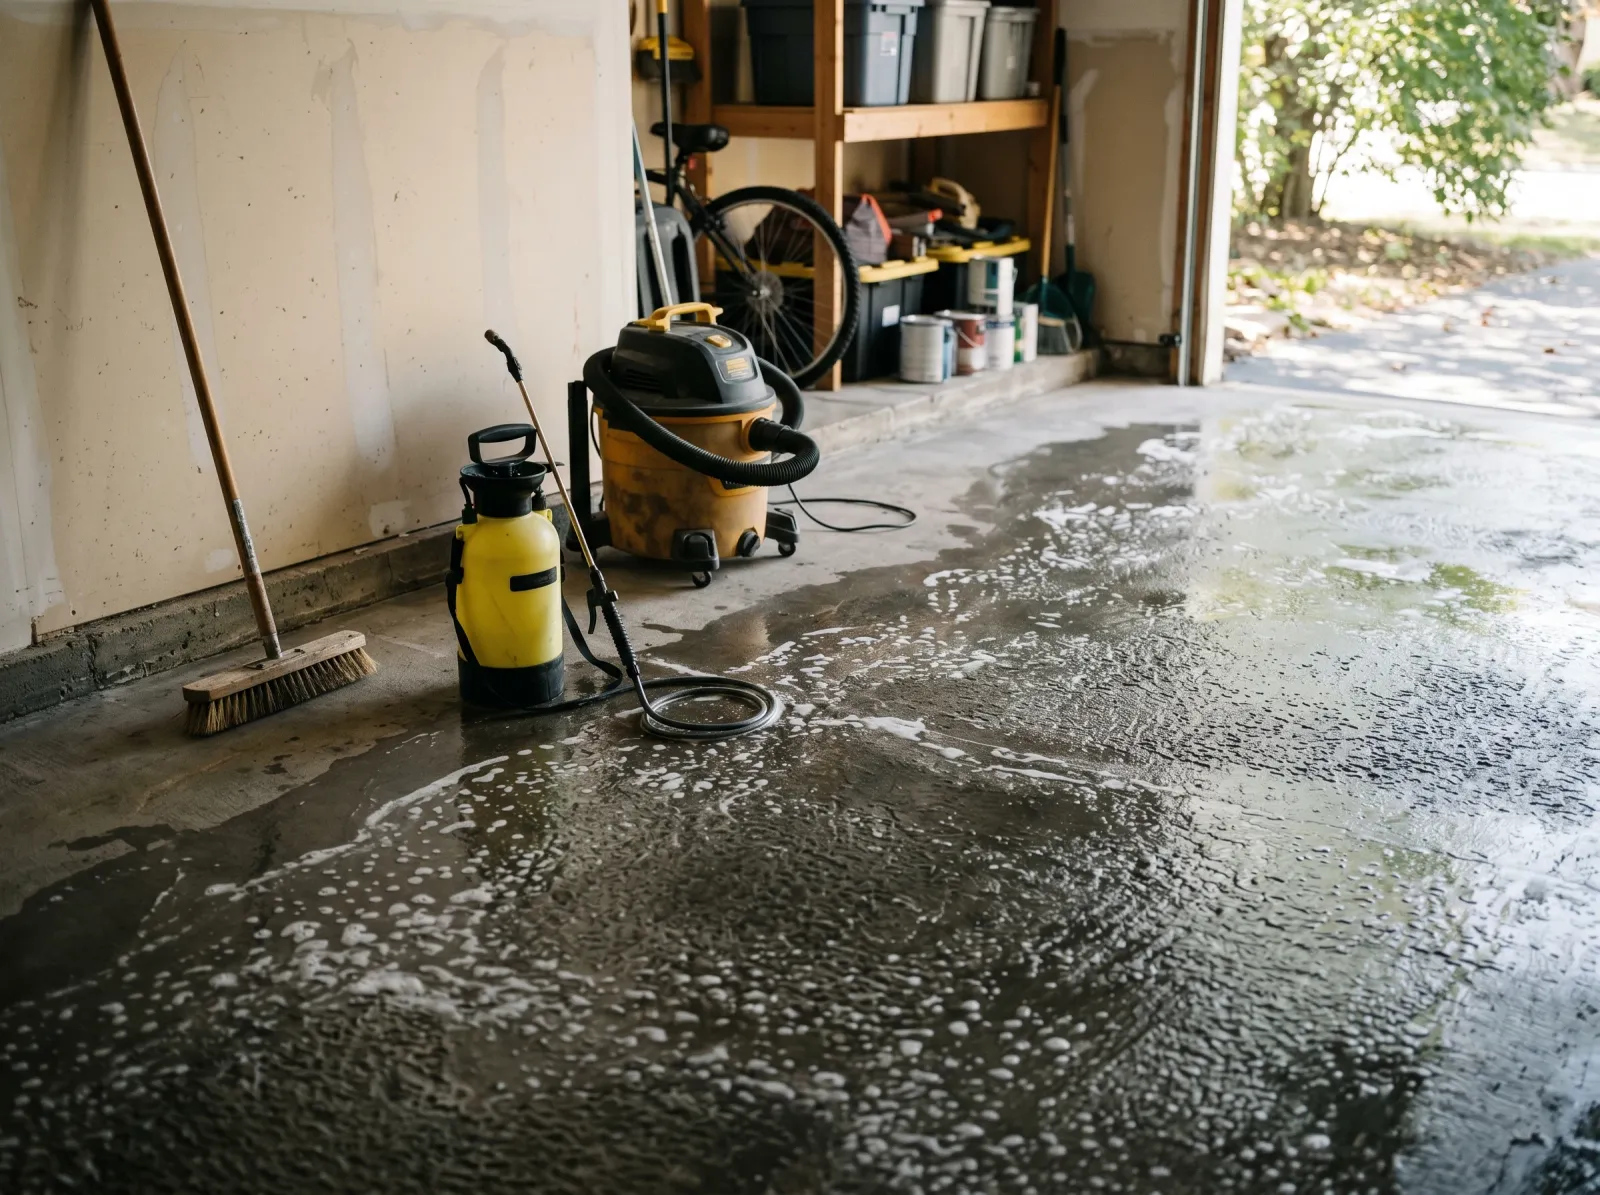
Etcher scrubbed in, foamed, rinsed clean, and vacuumed dry. The slab now feels like 120-grit sandpaper.
Wet the slab first. Etcher goes onto damp concrete, never dry. Mix per the label (or 1 part muriatic acid to 3 parts water, acid into water, never the reverse). Work a section at a time so it doesn’t dry before you scrub.
Scrub it in with the deck brush. It’ll fizz and foam where it’s biting the concrete. No fizz means a sealer is still on the slab and you’ve got more cleaning to do. Let it dwell the label time, usually 10 minutes.
Rinse hard, twice, and vacuum the water up with the shop vac between rinses. Acid residue left behind wrecks adhesion. Run your bare hand across the dry slab. It should feel like 120-grit sandpaper. Glassy spots didn’t take. Re-etch them.
Watch out for rinse water running into a floor drain or the yard. Neutralize acid runoff per your local rules. Baking soda in the rinse bucket knocks it down.
Step 4 — Patch Cracks and Pits
Let the etched slab dry fully. A garden hose worth of rinse water can take overnight to clear out of the concrete. Damp concrete won’t take patch or coating.
Fill cracks with a concrete crack filler, knock down any high spots, and trowel patching compound into spalls and pits flush with the surface. Let the patches cure the time on the tub. A patched crack will always read faintly through the coating, but flush and sealed beats an open crack that water gets into and pops back open.
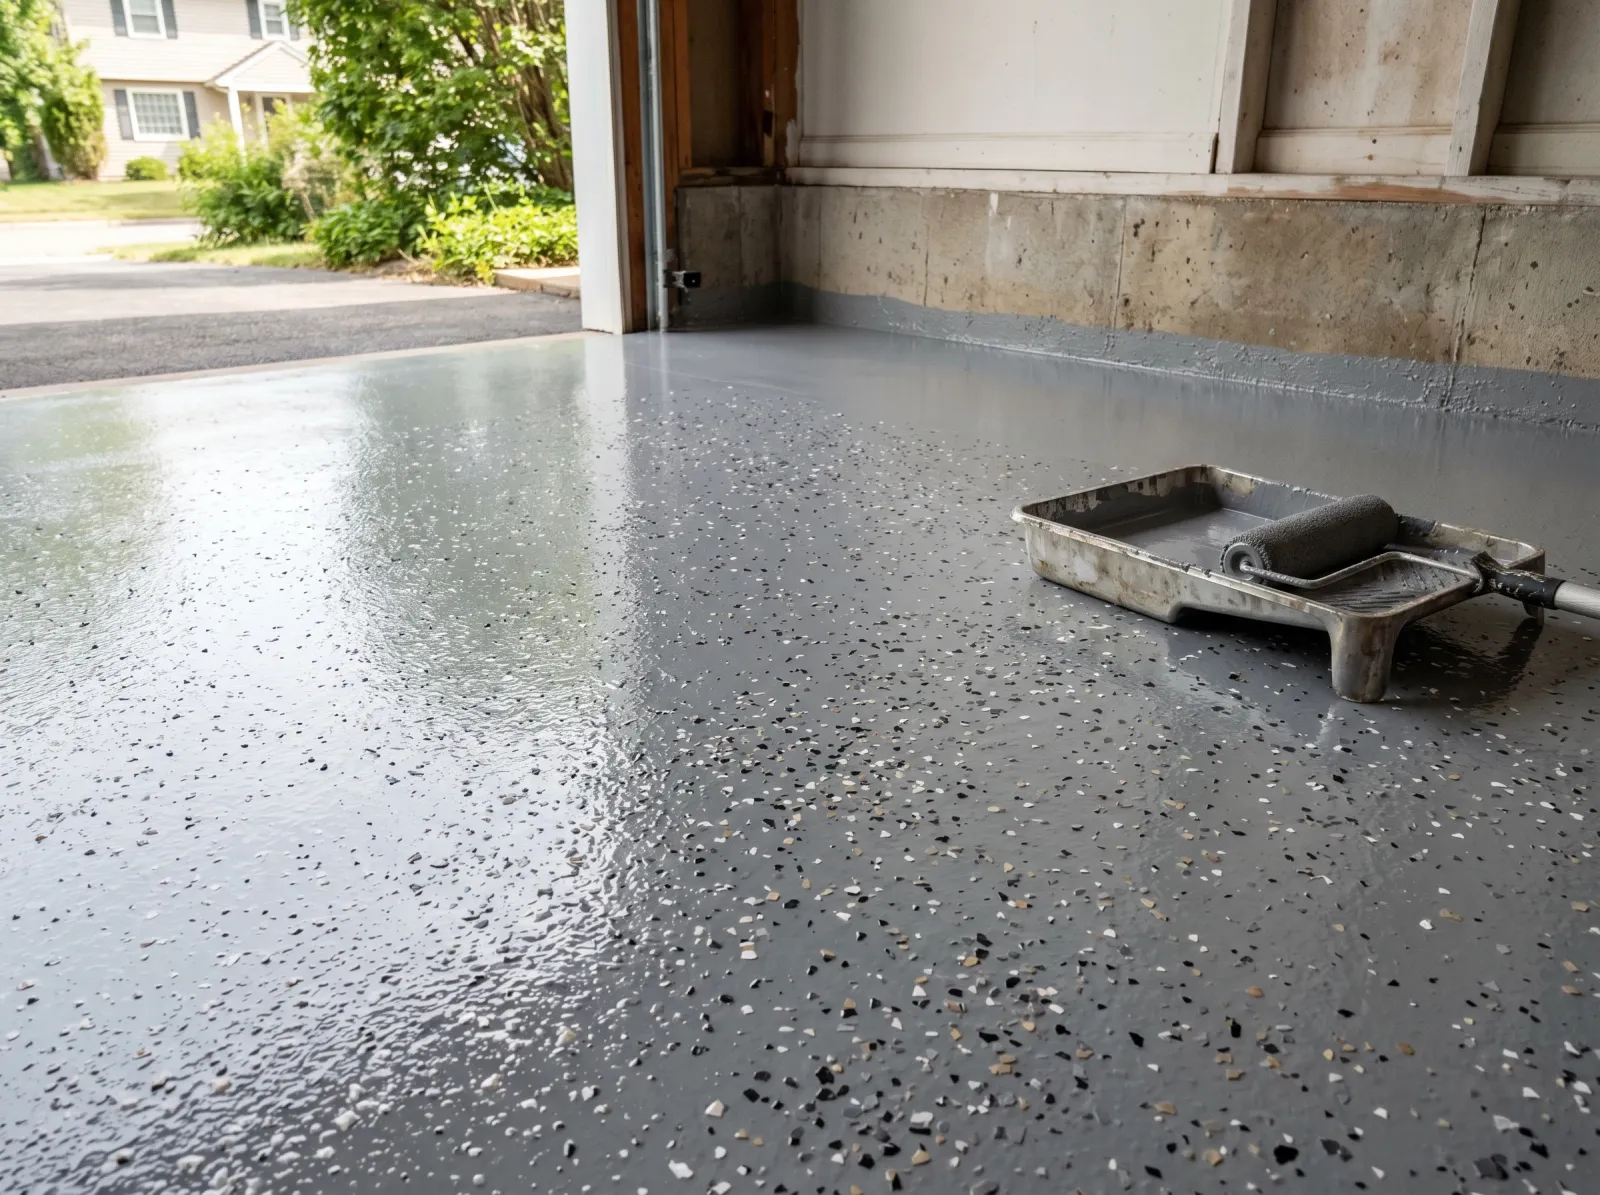
Step 5 — Cut In and Roll the First Coat

Cracks and pits patched flush, then the first thin coat of floor coating rolled on from the back wall toward the door.
If you’re using epoxy, mix part A into part B and let it sit the induction time the kit gives you. That rest is not optional. Mix only what you’ll use inside the pot life, because mixed epoxy hardens in the bucket whether you’ve used it or not.
Cut in along the walls, the door track, and around posts with the brush first. Then roll. Start at the back wall and work toward the open door so you’re never painting yourself into a corner. Roll thin. A thin coat bonds and cures right; a thick puddle stays soft underneath and peels later.
Watch out for the pot-life clock with epoxy. Keep moving. A two-car bay can outrun a single kit’s working time if you dawdle, and a half-cured batch goes on lumpy.
Step 6 — Second Coat and the Chips
Second coat rolled while the first cured, decorative chips scattered into the wet finish for grip and to hide tire marks.
Recoat in the window the can gives you, usually the next day for epoxy, 4 hours for latex. The first coat soaks into the etched concrete and looks thin and patchy. That’s normal. The second coat builds the color and the sheen.
If you want the speckled look, broadcast the decorative chips into the wet second coat by tossing them up and letting them flutter down. Chips do real work beyond looks: they add grip on a wet floor and they hide tire scuffs. Most kits include a clear topcoat over the chips. Roll that last, thin and even.
Step 7 — Cure, Then Reload
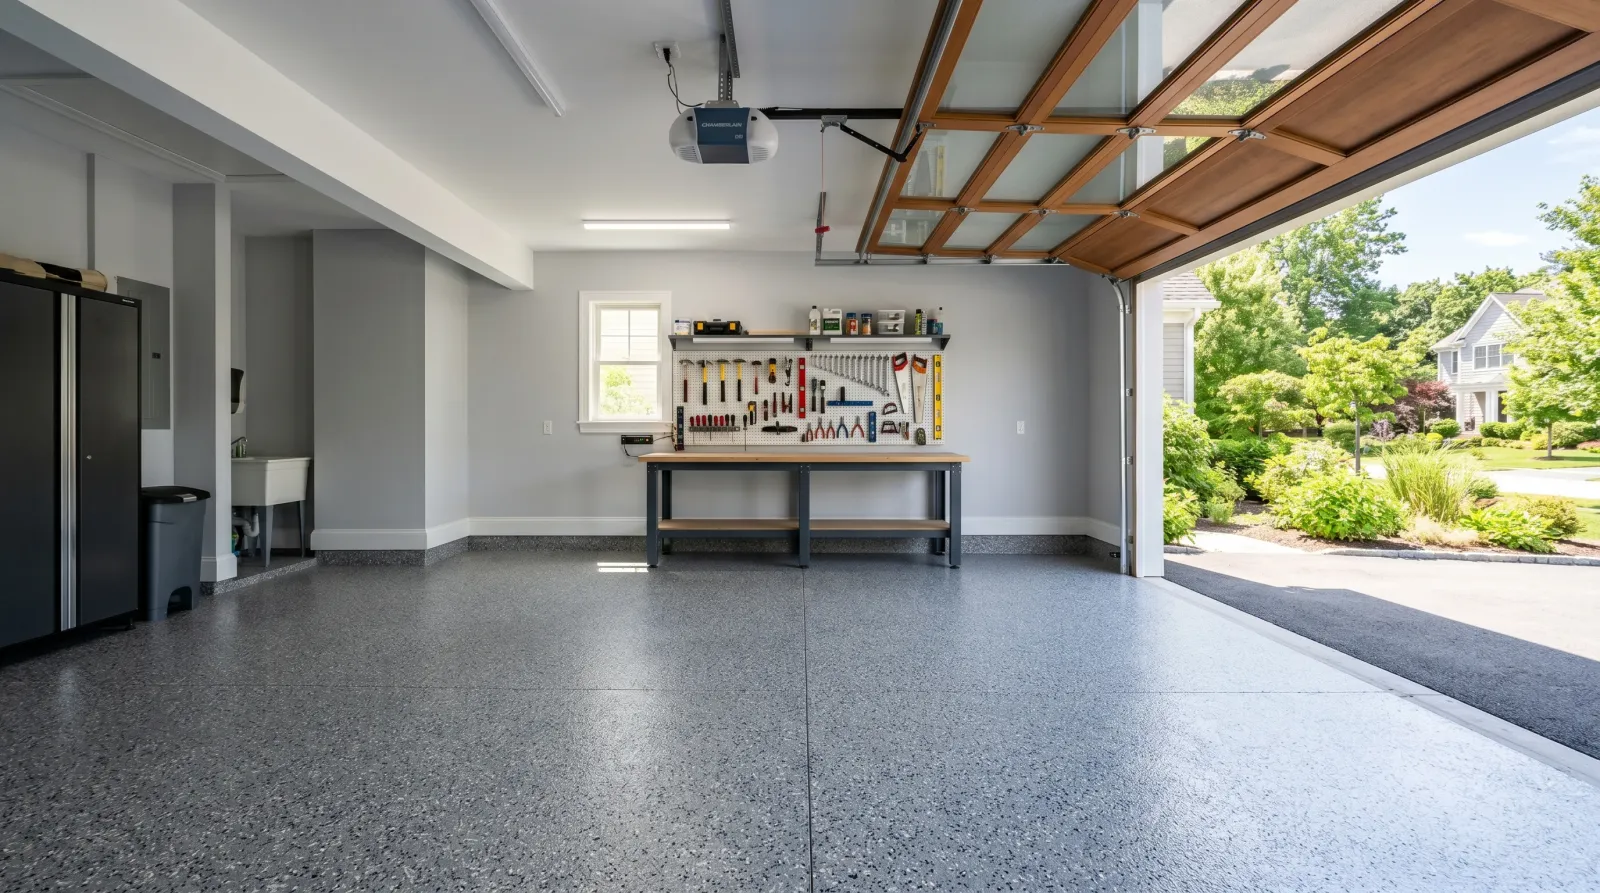
A week later. Workbench back, tools on the wall, and you can finally park on it.
Now you wait, and waiting is the part people fail. Stay off it 24 hours. Light foot traffic at 3 days. Workbench and shelving back at about a week. Park a car at 7 days for latex, 7 to 14 for epoxy, longer if the garage runs cold.
Cold slows cure to a crawl. Below 60 degrees, add days. A coating that feels hard to your thumb can still be soft underneath where a hot tire grabs it. When in doubt, give it the extra two days.
Common Mistakes
- Skipping the etch because the can says “self-priming.” Self-priming on a vertical wall, maybe. On a slick troweled slab, no. Bare concrete needs the etch to open the pores or the coating peels in tire-shaped chunks the first winter.
- Coating a slab that’s wicking moisture. The plastic-sheet test takes 24 hours and saves the whole job. Coat a wet slab and it blisters off from underneath no matter how good the paint is.
- Parking on it too soon. Hot-tire pickup is the failure I get called about most. The film feels dry but isn’t cured. Wait the full 7 to 14 days.
- Rolling it on thick to “save a coat.” A heavy coat stays soft under the skin and peels. Two thin coats beat one thick one every time.
- Coating over an old failing coating. New paint over loose paint just makes a bigger peel. Scrape everything that isn’t stuck, feather the edges, re-etch the bare concrete.
Cure Schedule
| Time after final coat | What’s safe |
|---|---|
| 24 hours | Walk on it, light foot traffic |
| 3 days | Move shelving back, set tools down |
| 7 days | Park on it (latex), workbench loaded |
| 7-14 days | Park on it (epoxy), full traffic |
| 30 days | Fully cured, wash with a degreaser |
Maintenance and Touch-Ups
A good epoxy floor holds 10 years or more in a home garage. Latex floor paint runs 3 to 5 before high-traffic lanes start to wear. Sweep grit off regularly; grit under a tire grinds the finish like sandpaper.
For a worn spot or a chip down to concrete, scuff the area with sandpaper, wipe clean, and dab fresh coating in with a small roller piece, not a brush, so the texture matches. Keep the leftover hardener and resin sealed; epoxy has a shelf life and goes thick in the can after a year or two. Mark the lid with the color and the date.
Cost Breakdown
| Item | $ |
|---|---|
| Epoxy kit or latex floor paint (1-2 gal) | $75-$220 |
| Etcher or muriatic acid | $15-$30 |
| Degreaser | $10-$15 |
| Crack filler + patch compound | $20-$35 |
| Roller, brush, tray, pole | $35 |
| Tape, plastic, gloves, respirator | $25 |
| Total | $180-$360 |
Low end is one-part latex on a one-car bay. High end is a quality two-part epoxy kit with chips and topcoat on a two-car. The etcher and the test plastic are the cheapest insurance on the list. Buy them before the expensive coating.