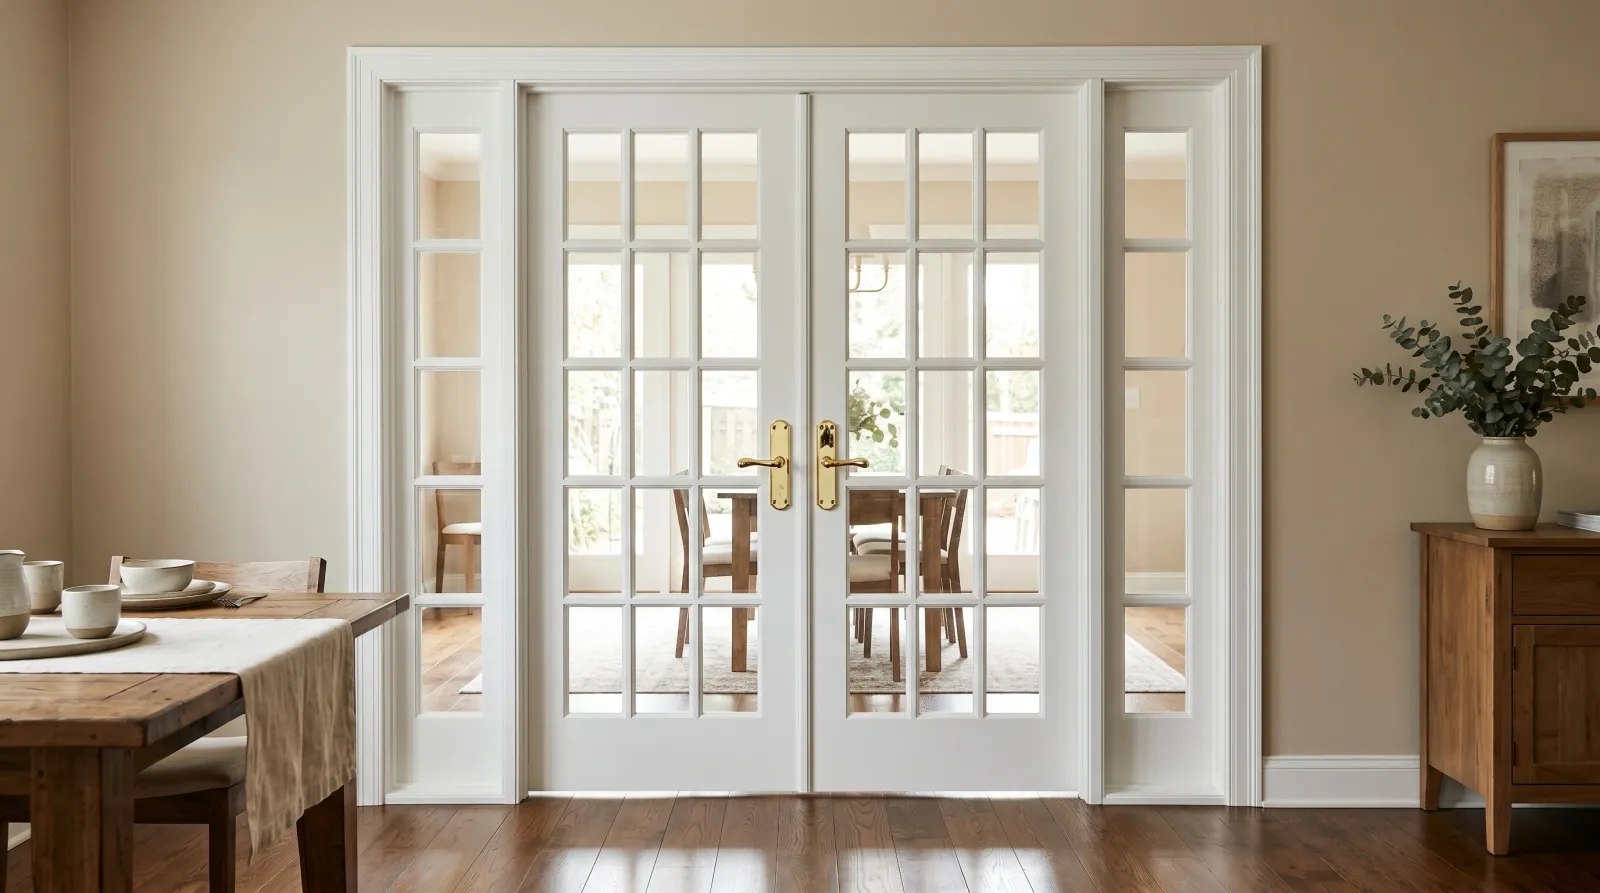
How to Paint French Doors
Painting French doors without the glass mess: prep, the two ways to handle the panes, the right enamel, and how to get a smooth finish on all those little muntins.

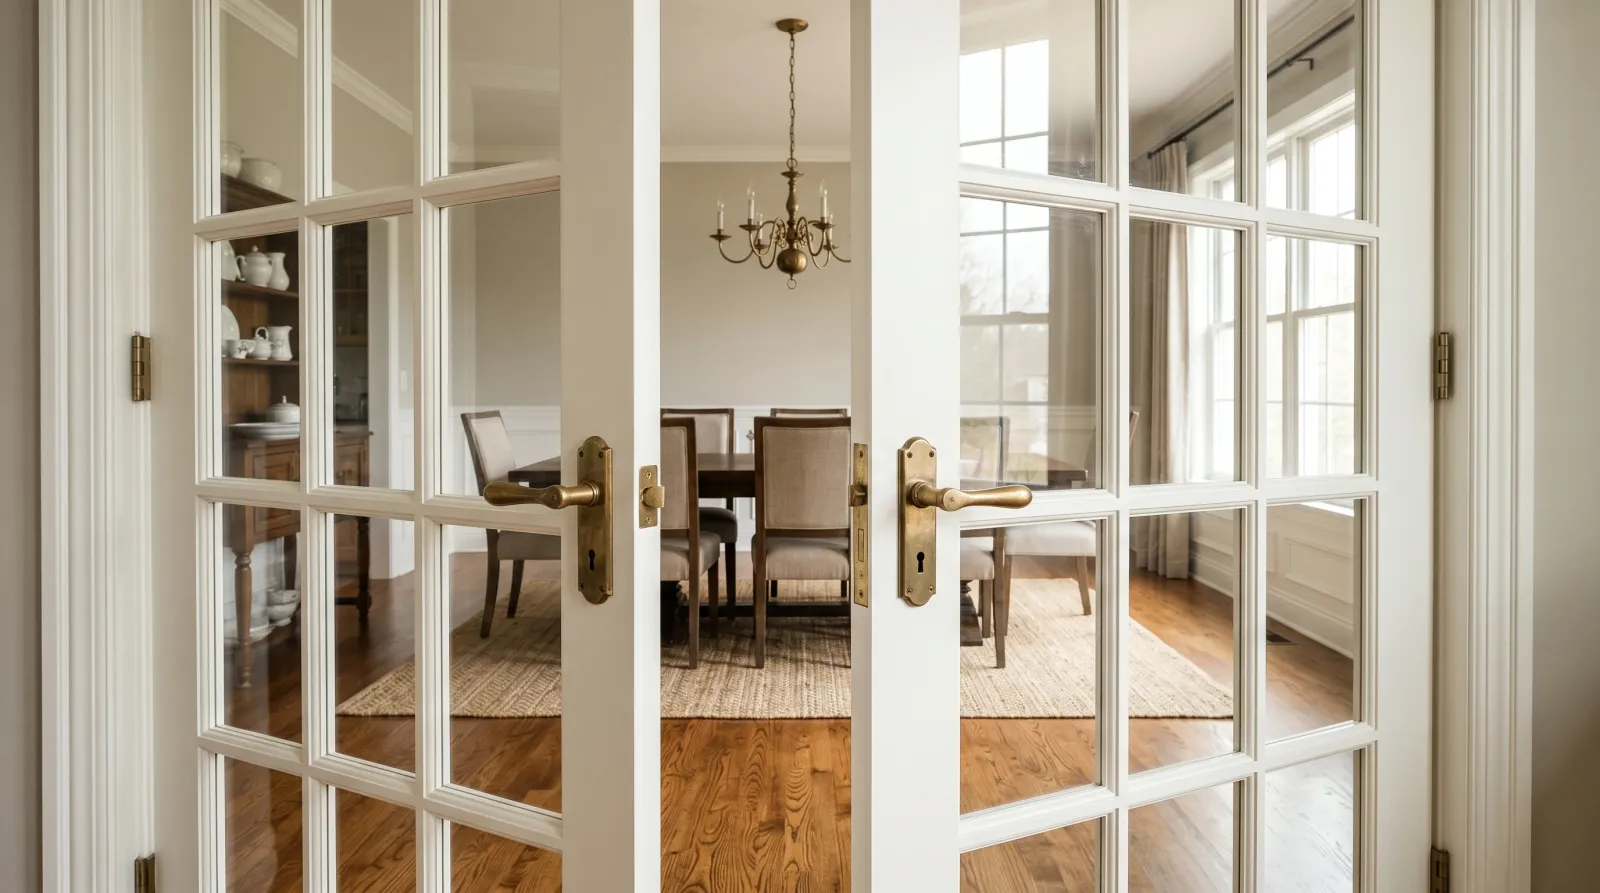
Okay, so you’ve got a pair of French doors and they’re looking tired, and every time you think about repainting them your eye lands on the glass. All those little panes. All those skinny wood strips between them. The dread isn’t the painting. It’s the feeling that you’re going to end up with paint smeared across every pane and a line that wanders like a kid’s coloring book.
Here’s the thing: you have two clean ways to handle the glass, and neither one is hard. You either tape the panes off, or you paint right onto the glass on purpose and scrape it clean later. I’ll walk you through both. Pick the one that fits your nerves.
What You’ll Get
A pair of interior French doors with a smooth, hard enamel finish and crisp clean lines where the wood meets the glass. From across the room they’ll look like new doors.
Honest Take on Difficulty and Time
This is a notch harder than a flat slab door, and the reason is the panes. There’s a lot of fiddly brushwork on the muntins (those skinny wood strips dividing the glass), and you have to keep the line clean. The flat parts (the stiles and rails, meaning the outer frame of the door) go fast.
Realistic time for a pair of standard 15-pane doors: about 6 working hours of actual brushing across a weekend, plus dry time between coats. Most of the active time is the muntins. The big flat faces take twenty minutes.
If you take the doors down and lay them flat, the paint levels itself and you’ll get a smoother finish with less effort. If you leave them hanging, it’s doable, just slower and a little more careful.
What You’ll Need
Paint and Primer
A 1-quart can of enamel in satin or semi-gloss. You want a waterborne alkyd (a water-based paint that flows and cures like the old oil-based stuff without the smell). Benjamin Moore Advance, Sherwin-Williams ProClassic, or INSL-X Cabinet Coat all do this. They self-level, which means the brush marks flow out flat as the paint dries. On a door covered in skinny muntins, that matters.
A pair of doors uses about half a quart for two coats. Buy the full quart. The leftovers are your touch-up supply for the next decade.
Primer only if the doors are bare wood, glossy, or you’re jumping from a dark color to a light one. A bonding primer (Zinsser Bulls Eye 1-2-3 Plus or INSL-X Stix) grabs slick old finishes that paint alone slides off. If your doors are already painted a similar color and the finish is sound, scuff-sand and skip the primer.
See the best trim and door paint round-up for the full SKU comparison, and the sheen guide if you’re stuck between satin and semi-gloss.
Tools
A 1.5-inch angled sash brush is the whole game here. The narrow head fits between the panes and the angled tip lets you cut a clean line along the muntin without slopping onto the glass. A wide brush won’t fit. A small foam or mohair mini-roller handles the flat stile and rail faces fast and leaves no brush texture.
The brush is where you don’t cheap out. A $4 brush sheds bristles into the paint and won’t hold an edge on a skinny muntin. A $12 Wooster or Purdy keeps its point. Picks are in the best paint brushes round-up.
Glass: Tape It or Scrape It
Two valid paths. Decide before you start.
Tape the panes. Run FrogTape Delicate Surface tight against the wood edge of every pane, press the edge down hard with a fingernail so paint can’t bleed under, and paint freely. Slower to set up, cleaner to finish. Best for a first-timer or anyone with an unsteady hand.
Paint and scrape. Skip the tape. Brush the muntins and let a thin line of paint lap onto the glass on purpose. Once it’s dry, run a single-edge razor scraper along the wood edge and the paint peels off in a clean strip. A tiny paint line bonded to the glass edge seals out moisture better than a taped gap. Faster once you’ve done a few panes, and the line is sharper than tape ever gives you.
I’d tape your first pair. Scrape the next one once you trust your hand.
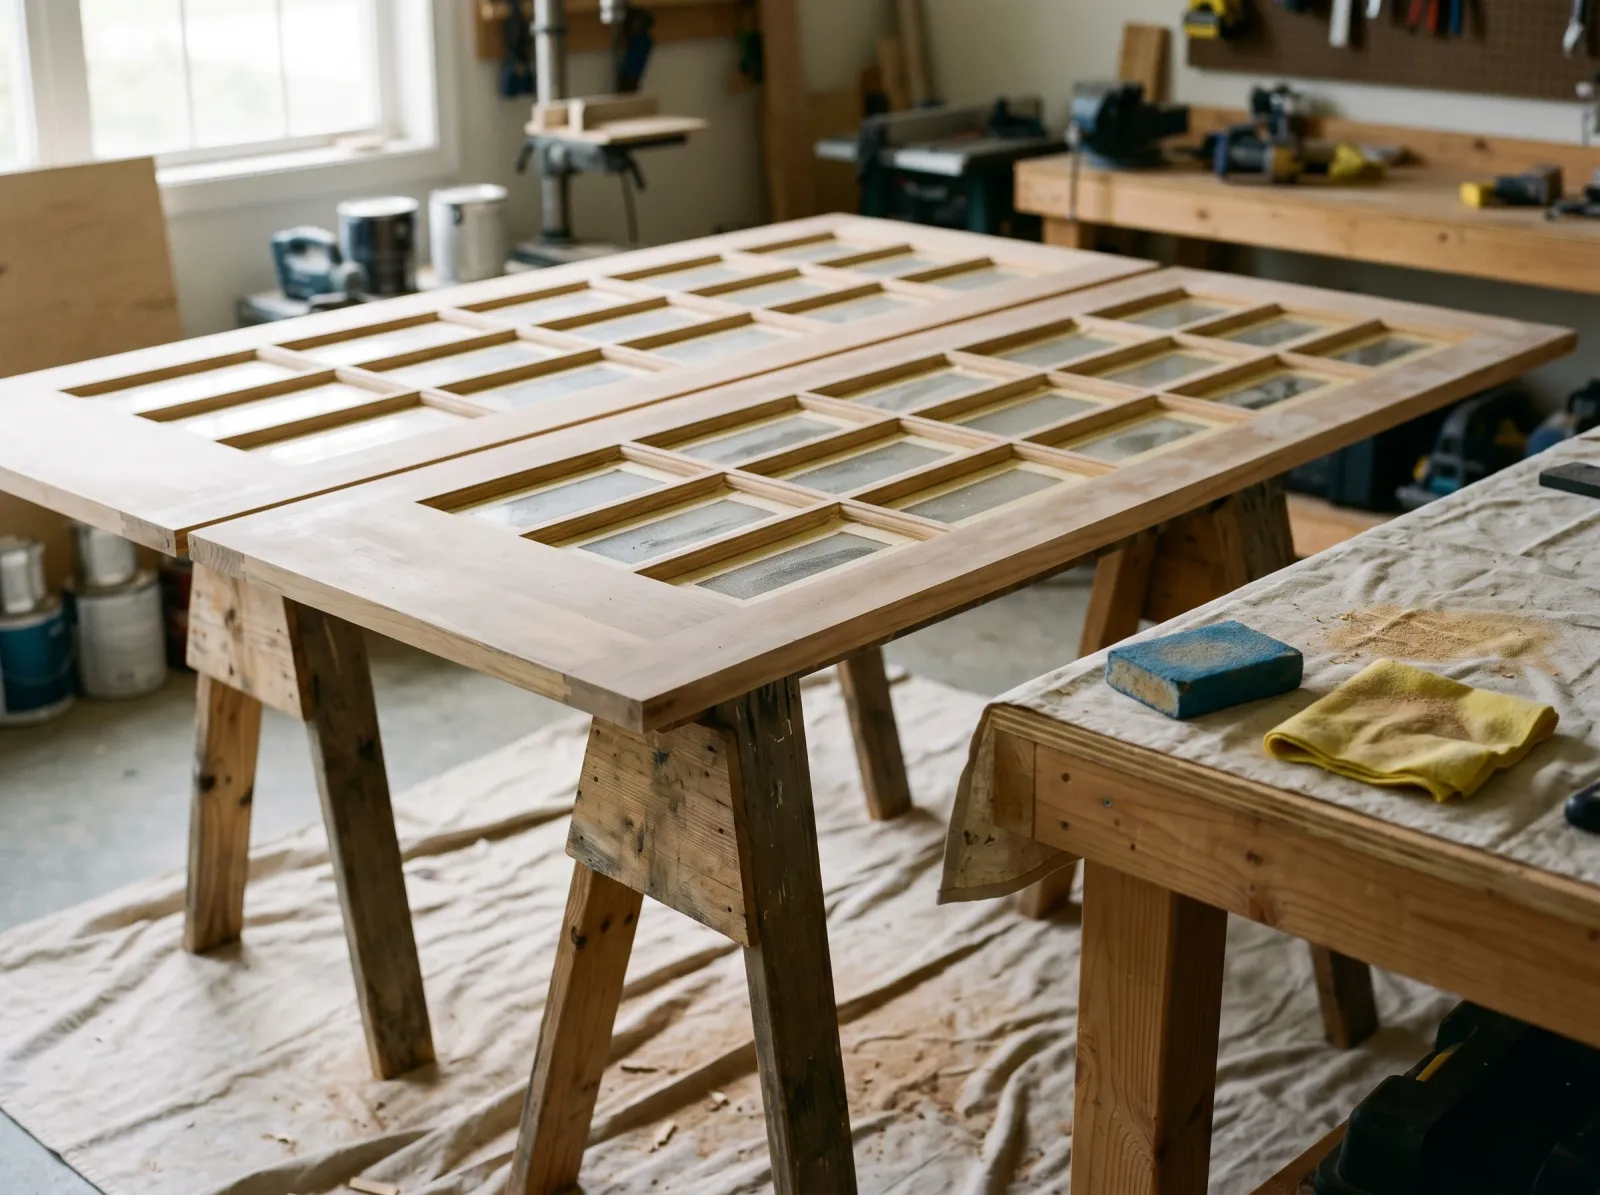
Step 1 — Take the Doors Down (or Don’t) and Pull the Hardware
Decide whether the doors come down. Flat on sawhorses is easier and gives a better finish, but heavy doors and painted-shut hinge screws can make it more trouble than it’s worth. If you leave them hung, wedge a putty knife under the bottom edge so the door can’t swing while you brush.
Either way, take off the lever handles, the latch, and the strike plate. Drop the screws in a labeled baggie. Tape over the hinges if the door stays up, or unscrew them too if it comes down.
 Doors down, hardware bagged, every pane masked at the wood edge.
Watch out for hinge screws painted over from a past job. Scrape the paint out of the screw slot with a utility knife first so the driver bites. Strip the head and you’re drilling it out.
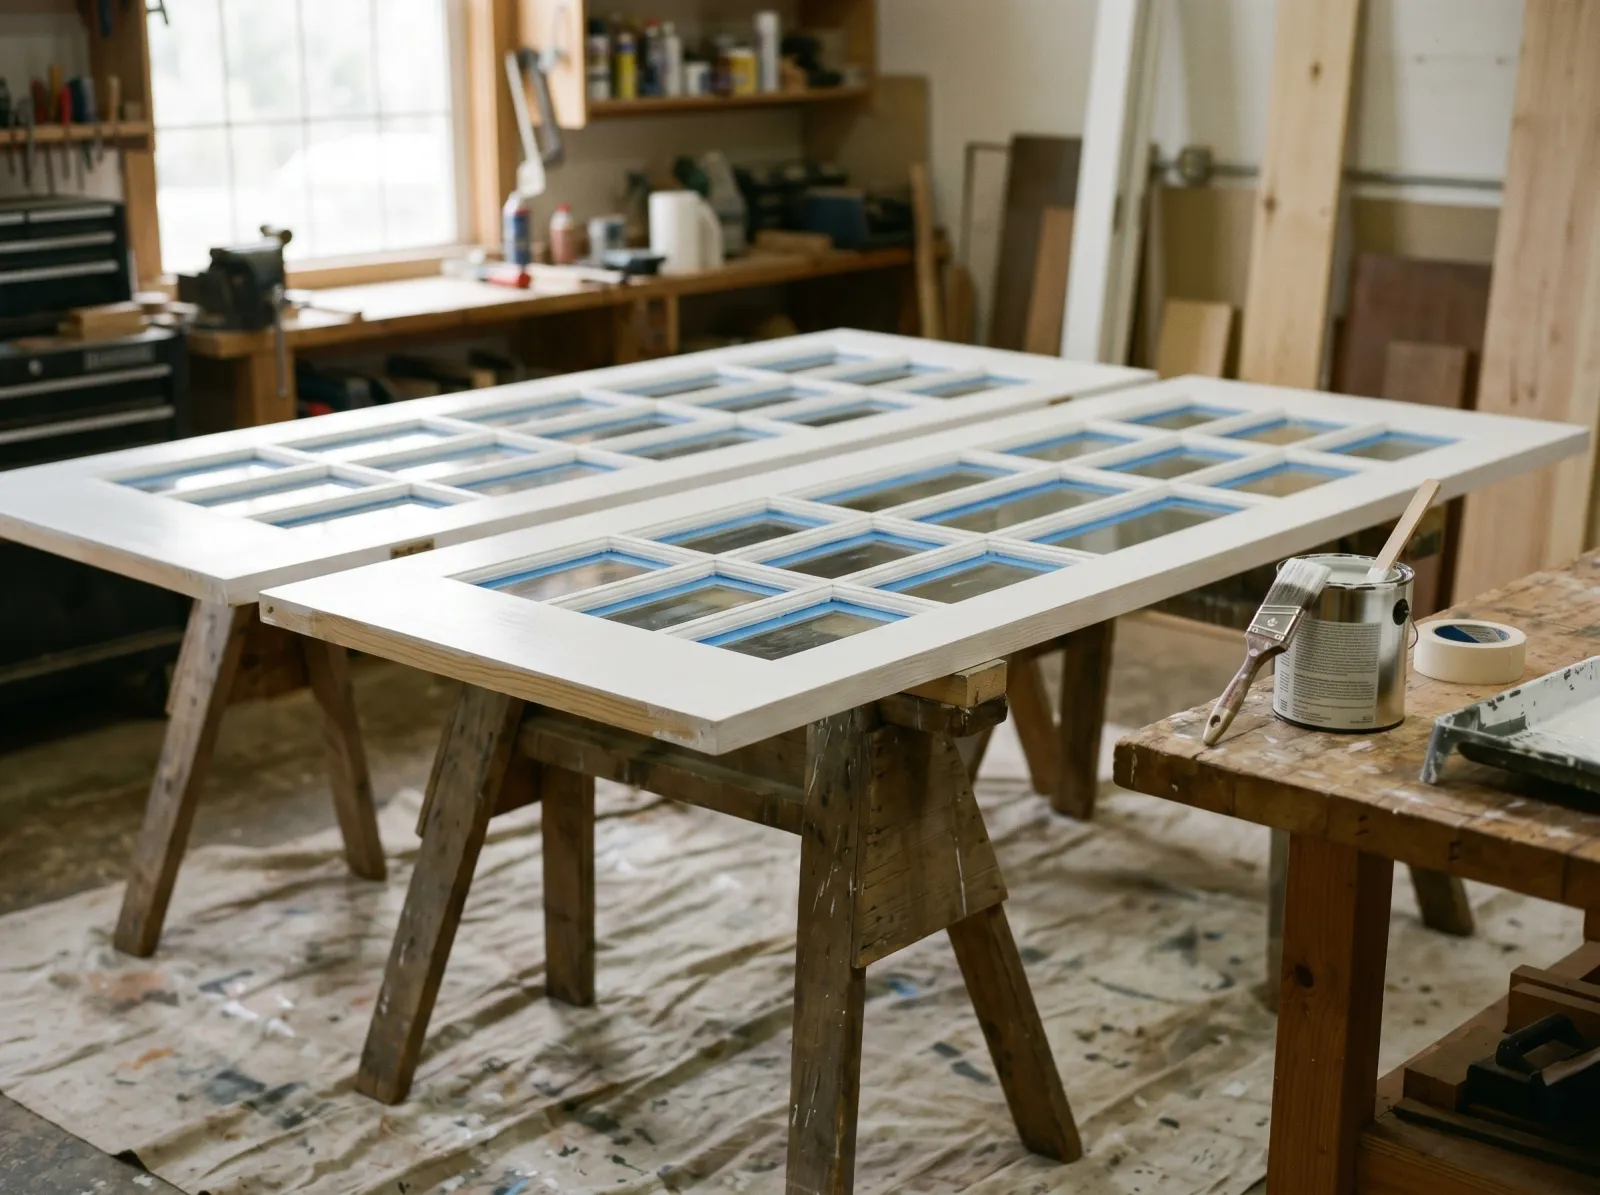
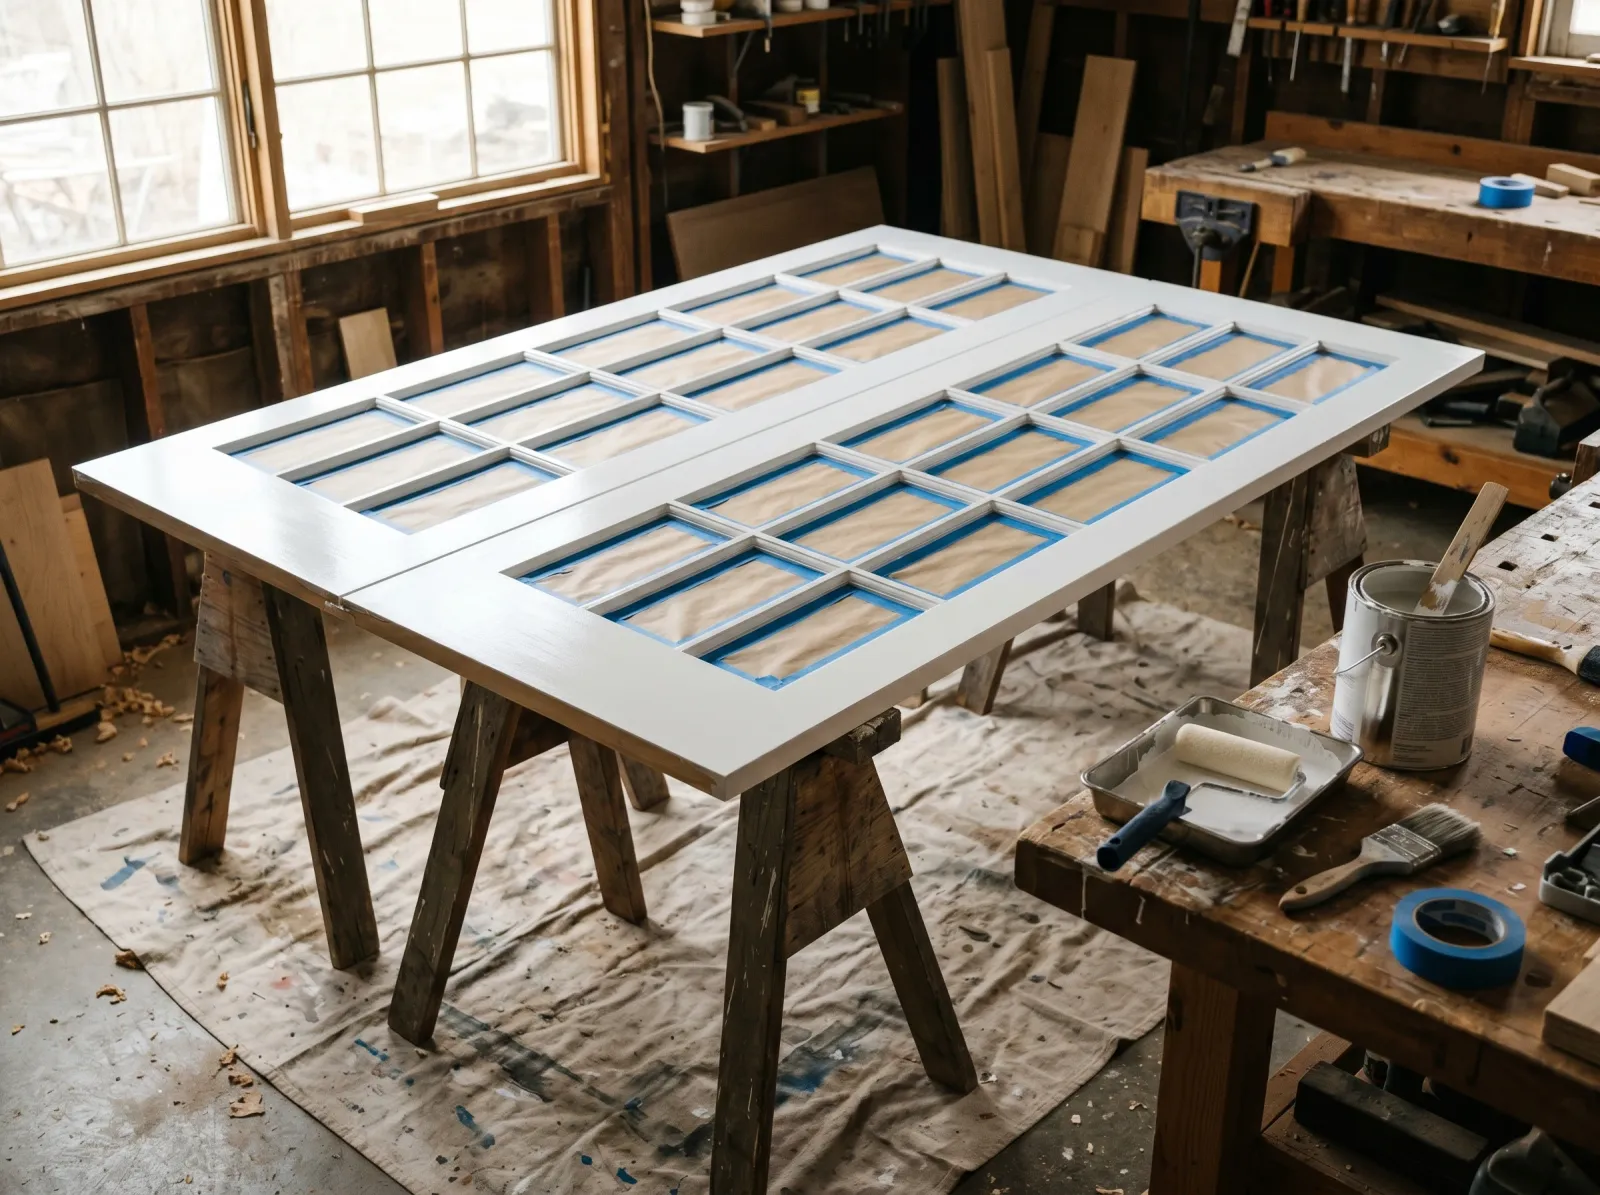
Step 2 — Mask the Glass and Scuff the Wood
If you’re taping, do it now. Press tape along the wood edge of every pane and burnish the edge with a fingernail. Take your time. A loose tape edge is where bleed happens.
Then scuff every painted face with a 220-grit sanding sponge. You’re dulling the old gloss so the new paint can grip, not stripping it down to wood. The surface should look hazy, not shiny. Wipe the dust off with a tack cloth (a sticky cheesecloth that lifts dust the rag leaves behind).
 A light scuff dulls the gloss so the enamel grabs. Tack cloth gets the dust.
Watch out for dust left in the corners where the muntin meets the pane. Paint over grit and you get bumps you can’t sand out of a skinny strip.
Step 3 — Brush the Muntins First, Then the Flats
Always the fiddly parts first, while you’re fresh and the flats are still clean to lean against. Load the 1.5-inch brush lightly, dip a third of the way, and tap once on the inside of the can. Brush each muntin in one direction along its length. Add a capful of Floetrol per cup of paint so it stays wet and levels out instead of holding brush marks.
Do all the vertical muntins, then all the horizontal ones, then the panels and the flat stiles and rails. On the flats, the mini-roller is faster and leaves no texture. Tip the roller edges back smooth with the brush so the flat and the muntin match.
 First coat on. Thin and patchy is exactly what a first coat should look like.
First coat looks thin and streaky. Don’t panic and pile more on. Two thin coats beat one thick one every time. A thick coat sags, drips into the corners of the panes, and never cures as hard.
Step 4 — Let It Dry, Then Lay Down the Second Coat
Read the can, but waterborne alkyds like BM Advance want a long recoat window: 16 hours, sometimes overnight. Recoat too soon and the brush drags the soft first coat up into wrinkles, and the fix is sanding back to bare wood.
Once it’s properly dry, scuff lightly with the 220 sponge to knock down any nibs, tack it clean, and lay the second coat the same way: muntins first, flats last. This coat fills in even and smooth.
 Second coat levels out smooth. Flat on sawhorses, the enamel can’t sag.
Watch out for going back over a strip that’s started to set up. Once the paint begins to skin, dragging the brush through it leaves ridges. One pass, then leave it alone.
Step 5 — Clean the Glass, Rehang, Reinstall the Hardware
If you taped, pull the tape while the paint is still slightly tacky, not bone dry, at a 45-degree angle. Dry paint cracks and lifts at the tape edge. If you painted and scraped, wait until it’s fully dry, then run the razor scraper along each wood edge to clean the glass. Hold the blade flat and pull in one direction.
Reinstall the hinges and rehang the door, then put the lever and strike plate back. If the door binds against the frame, the paint built up too thick on the edge; let it cure another day before you sand the binding spot.
 Tape pulled, glass scraped clean, hardware back on, doors swinging free.
Common Mistakes
- Painting the muntins last. You lean a hand or a brush on a wet flat reaching into the panes and smear it. Muntins first, flats last, every time.
- Loading the brush too heavy on the panes. Paint pools in the inside corner where the muntin meets the glass, sags, and dries as a thick bead. Dip a third of the way and tap off the excess.
- Closing the door before it’s cured. A door that swings against the stop while the edge is soft sticks and tears a chunk off when you open it. Leave it propped open at least overnight, longer in humid weather.
- Skipping Floetrol on the muntins. Without it, the enamel sets too fast on a narrow strip and locks in every brush mark. A capful per cup buys you the open time to let the marks level out.
- Pulling tape after the paint is fully dry. The film bridges the tape edge and tears a ragged line into your fresh paint. Pull it while it’s still slightly tacky.
Cure Schedule
| Time after the second coat | What’s safe |
|---|---|
| 1 hour | Pull the tape |
| 4 hours | Touch dry, don’t handle |
| 24 hours | Rehang and reinstall hardware, gently |
| 3 days | Normal daily use, latch and swing |
| 30 days | Full cure, wipe down and scrub |
Waterborne alkyds stay soft longer than wall paint. Don’t let two freshly painted edges touch (a door against its frame, two doors meeting in the middle) until at least day three, or they bond together and peel when you pull them apart.
Maintenance and Touch-Ups
A satin or semi-gloss enamel on interior French doors holds up 8 to 12 years before it needs redoing. The glass edges and the lever area wear first, because that’s where hands land.
For a scuff, wipe with a damp microfiber cloth first. Most marks are dirt. For a real chip, dab the leftover enamel on with a small artist’s brush, just the chip, not a feathered patch, or the touch-up reads brighter than the cured paint and you’ll see the seam.
Cost Breakdown
| Item | $ |
|---|---|
| Door enamel, 1 quart satin | $30 |
| Bonding primer, 1 quart (if needed) | $18 |
| 1.5-inch angled brush + mini-roller | $20 |
| Tape, Floetrol, sanding sponge | $20 |
| Total | $70–$90 |
Mid-tier waterborne alkyd (BM Advance or SW ProClassic). Skip the primer on already-painted doors and you’re closer to $50.