How to Paint a Foyer or Entryway
Painting a foyer or entryway? Pick a scrubbable sheen for the scuffs, handle the tall stairwell wall safely, and put two coats down. Every step explained.

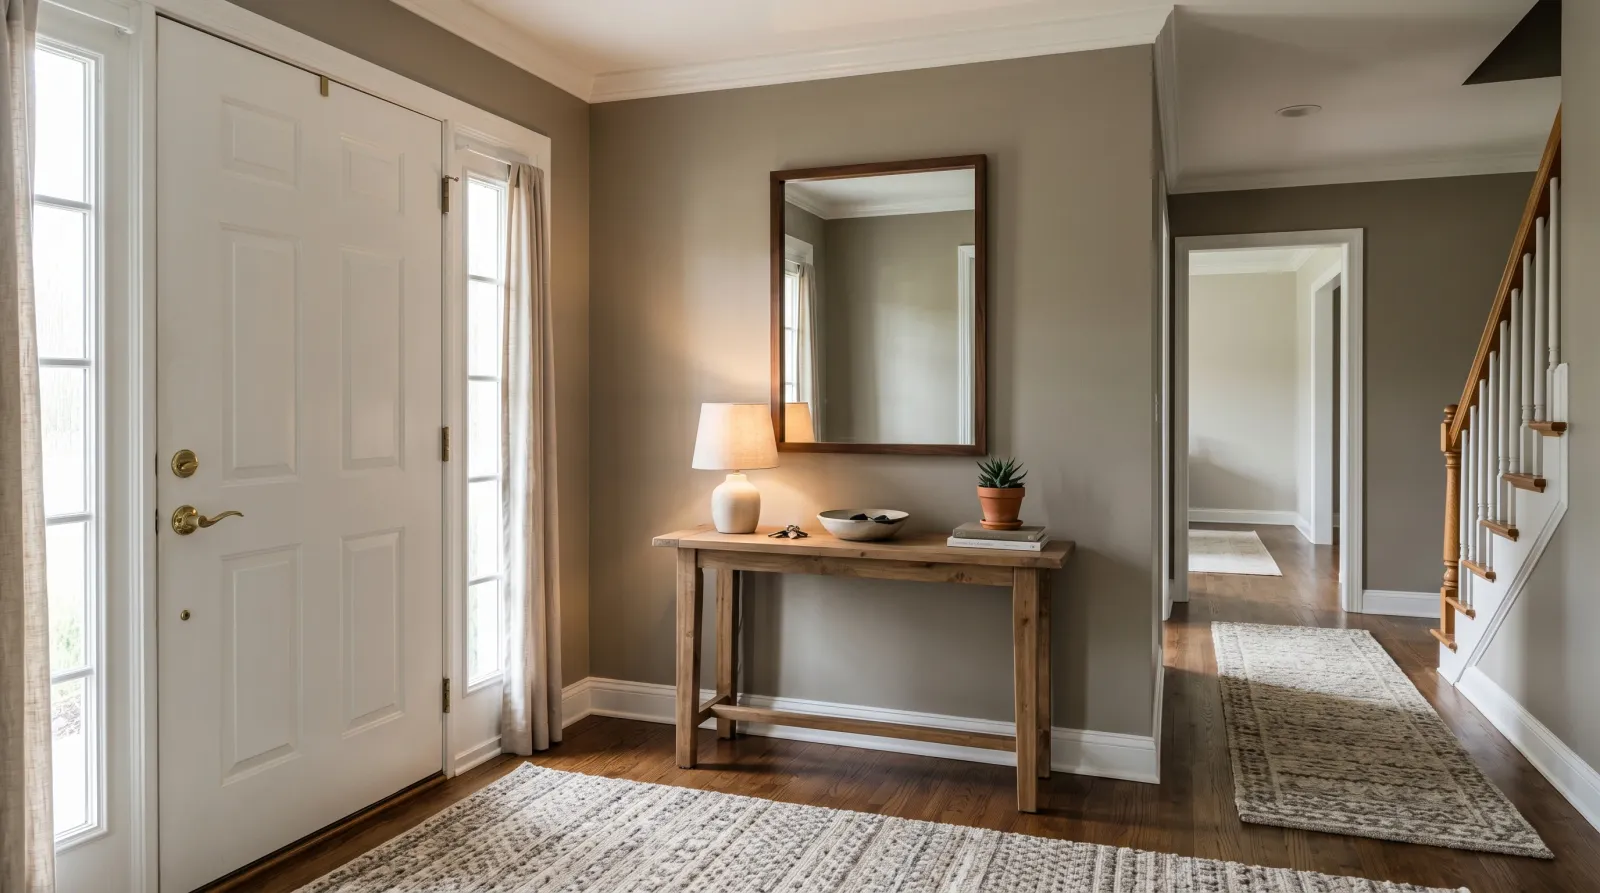
Okay, so the foyer is the first thing anyone sees when they walk in, and you’ve decided it’s time it stopped looking tired. Here’s the thing nobody warns you about an entryway: it’s the dirtiest wall in your house. It doesn’t look dirty. But everyone who comes through brushes a shoulder against it, drops a bag, swipes the light switch with grocery hands. So this project is less about color and more about picking a finish that takes the abuse and washes clean.
The other wrinkle is the tall wall. A lot of foyers have a staircase running up one side, and that stairwell wall can climb 16 or 18 feet. We’ll deal with that safely. Don’t worry, you don’t need scaffolding.
What You’ll Get
A foyer that looks fresh, wipes clean when somebody scuffs it with a backpack, and holds up for years instead of months. The trim and front door read crisp, and the tall wall is done without you balancing on a ladder you shouldn’t be.
Honest Take on Difficulty and Time
A small entry off the front door is an easy one-day job. The thing that bumps a foyer from easy to medium is the stairwell wall. If you’ve got a two-story entry, the height adds setup time, and you’ll spend a chunk of the project just getting your ladder situation right.
| Foyer type | Active time | Total elapsed |
|---|---|---|
| Small entry, normal ceiling | 4–5 hrs | One Saturday |
| Standard foyer, 9-foot ceiling | 6–7 hrs | One full day |
| Two-story foyer with stairwell wall | 8–10 hrs | One weekend |
The honest part: if you have a tall stairwell wall and you’re nervous about heights, split it with a friend or hire out the high wall. The painting is easy. The ladder work is where people get hurt.
What You’ll Need
Paint and Primer
A 1-gallon can of finish paint in satin (a soft low-shine finish that wipes clean, a step shinier than eggshell). Satin is the right call here because the entryway gets touched constantly and you want to be able to wash it. The sheen guide walks through the trade-off if you’re torn between satin and eggshell.
A quart of semi-gloss for the trim, the door casing, and the stair railing. Semi-gloss takes hand wear better than the walls and wipes down easily.
Primer only if you need it. Skip it for a same-color refresh. Use a bonding or stain-blocking primer (Zinsser BIN or KILZ Adhesion) if you’re going from a dark color to a light one, covering scuffs that won’t wash off, or painting over old glossy trim. Bare or stained drywall patches want a spot of primer too. For the full rundown on prepping drywall before paint, see the drywall painting guide.
Tools
A 2.5-inch angled brush for cutting in (painting the clean edge along the trim, the ceiling, and the angled stair stringer where the roller can’t reach). A 9-inch roller frame, two 3/8-inch microfiber sleeves, a tray, and a long extension pole. The pole matters more here than in a normal room because of the tall wall.
The ladder is the part to get right. A regular step ladder won’t sit level on stairs. You want a multi-position (articulating) ladder, the kind where one leg extends longer than the other so it stands level on a staircase. They rent for about $20 a day if you don’t own one.
Step 1 — Clear the Entry and Wash the Walls
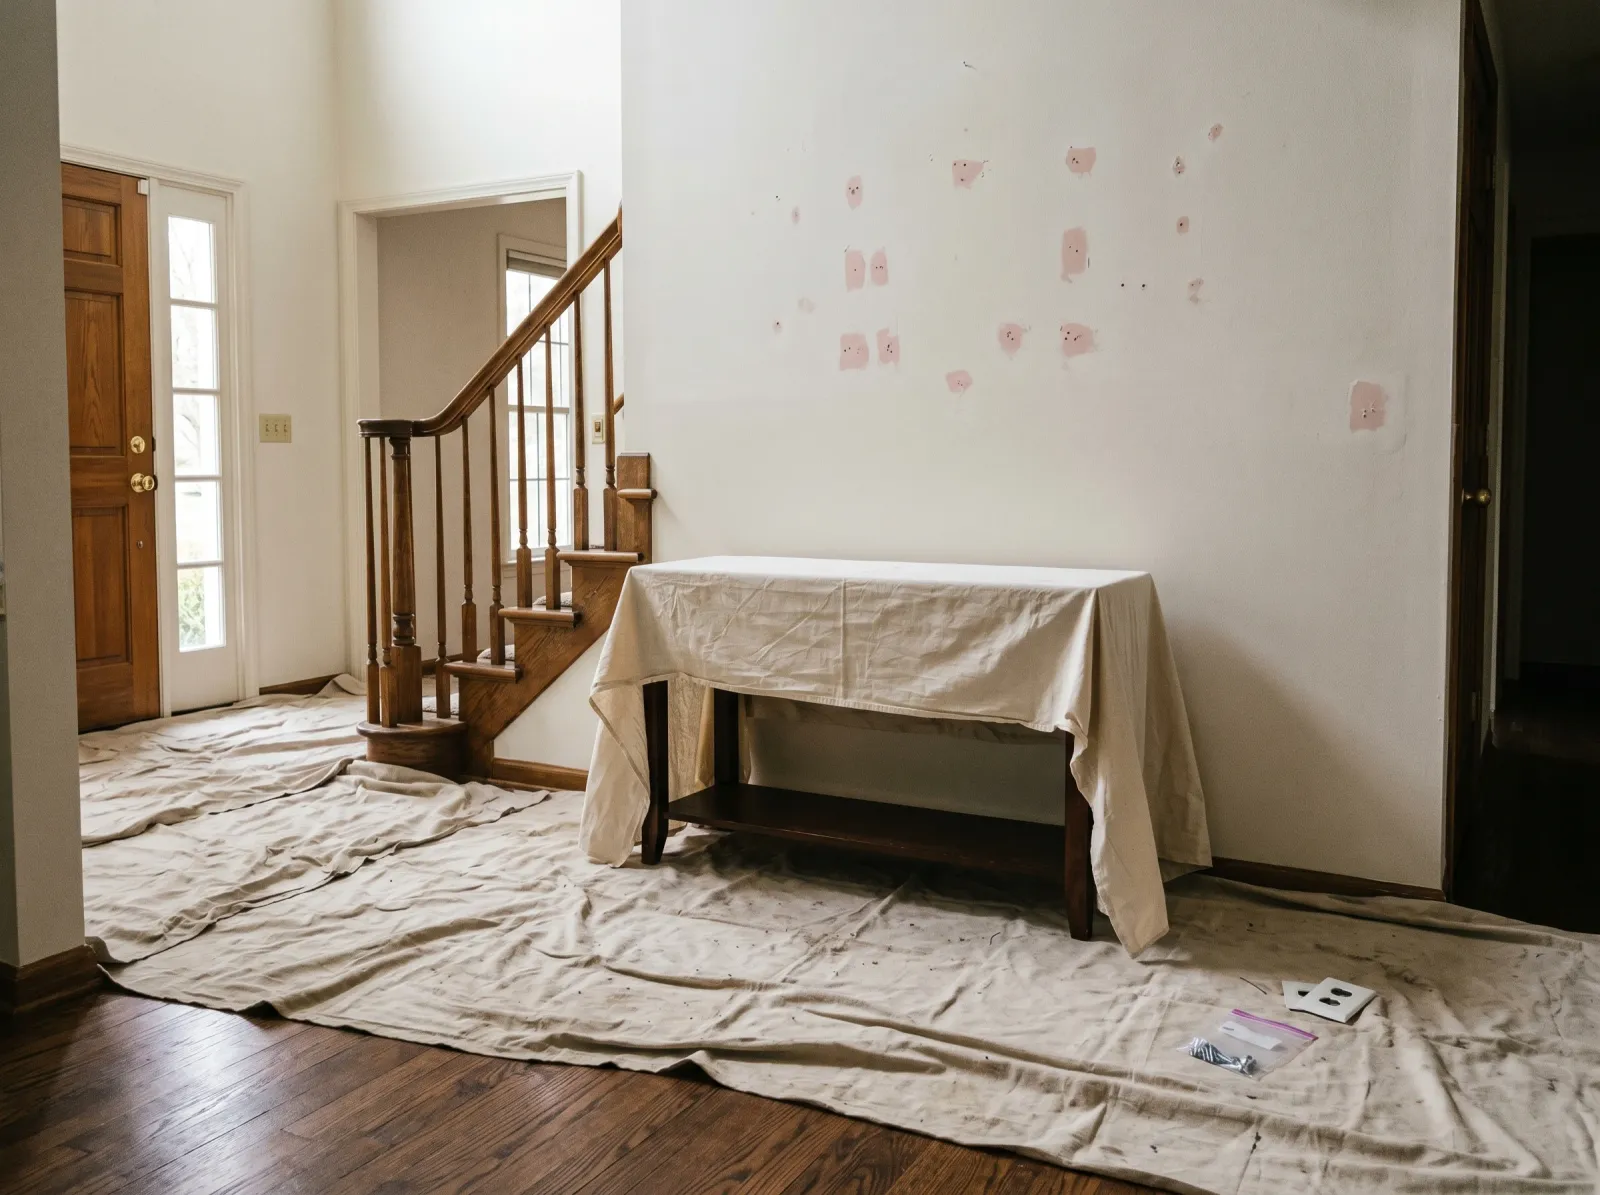
Console table pulled out and draped, scuffs washed off the wall, nail holes spackled, switch plates removed.
Move the console table, the coat rack, and anything else out of the way. Take down the mirror and any art. Pull the outlet and switch plates off and bag the screws.
Now wash the high-touch zones. Wipe around the light switch, the thermostat, and door-handle height with a sponge and dish soap, or run a Magic Eraser over the obvious scuffs. This is the step most people skip, and it’s the one that matters most. Rinse and let it dry.
Patch nail holes and dings with spackle, let them dry 30 minutes, then sand flush with the 220-grit sponge.
Watch out for the grime band at hand height. It’s invisible until you wipe it and the sponge comes away gray. Paint laid over greasy fingerprints peels right there within a few months.
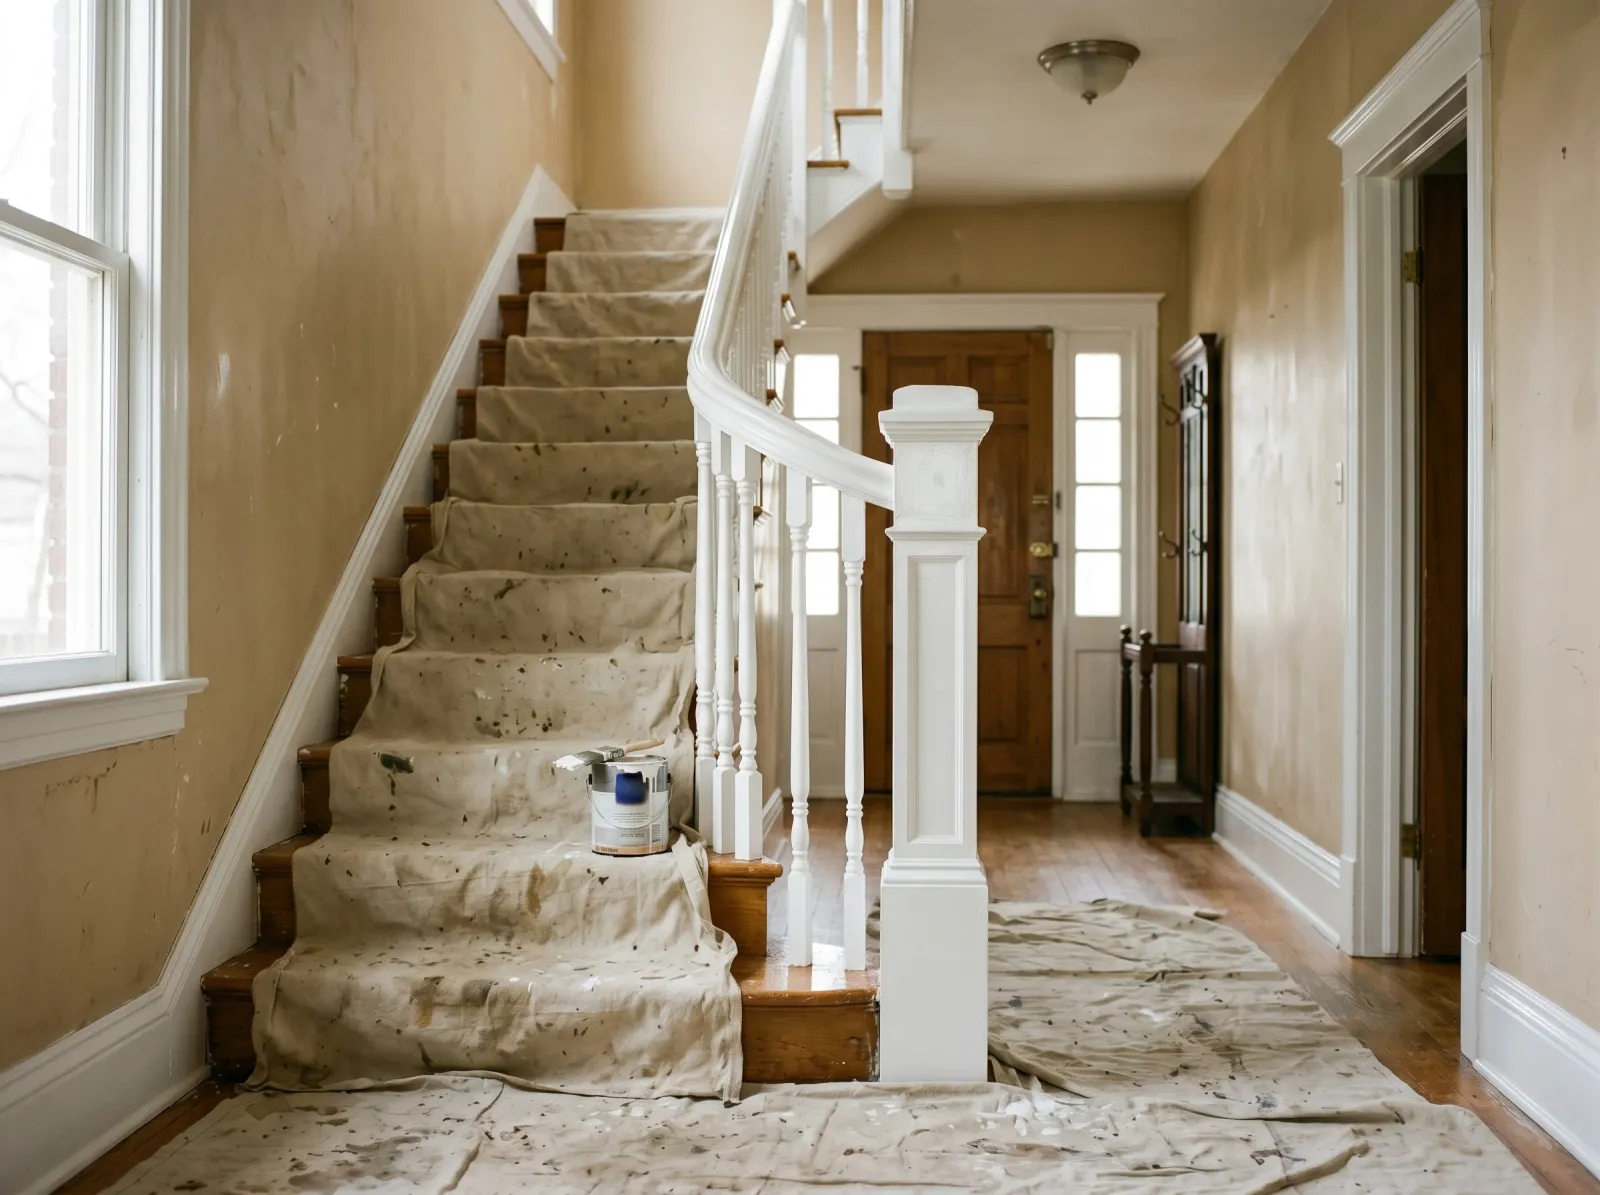
Step 2 — Tape Off and Set Up Your Ladder

Painter’s tape along the baseboards, door casing, and stair stringer. A multi-position ladder set up to reach the tall stairwell wall.
Run painter’s tape along the top of the baseboards, around the door casing, along the ceiling line, and down the angled stair stringer (the board that runs up the side of the steps under the railing). Press every edge down hard with your thumbnail so paint doesn’t bleed under it. Bleed is paint sneaking past the tape and leaving a fuzzy line.
Lay the canvas drop cloth over the floor and the stair treads. Tape it down on the stairs so it can’t slide under your feet.
Set up the multi-position ladder on the stairs and check it stands dead level before you ever climb it. Wiggle it. If it rocks, reset it. This is the most dangerous part of the whole job.
Watch out for a ladder leaning against the wall on stairs. The feet land on different steps, the ladder wants to slide sideways, and you go down with it. Use the articulating ladder set level, or a plank between a step ladder and a tread. Never the lean.
Step 3 — Paint the Trim and Railing First
Baseboards, door casing, and the stair railing in semi-gloss. The fiddly part is done while you’re fresh.
Start with the trim while your hand is steady. Baseboards first, then the door casing, then the stair railing and any newel post. Use the 2.5-inch angled brush and dip it only a third of the way in so it doesn’t drip.
Brush in long smooth strokes following the grain. Two thin coats beat one thick one. Let the first dry the time on the can (usually about 4 hours for water-based trim enamel) before the second.
If you’re tackling the railing in detail or want the door done right, the front door guide and the baseboard guide go deeper on those pieces than I will here.
Watch out for drips down the face of the baseboard. Check the bottom edge every few minutes for the first half hour and brush out anything that’s pooling while it’s still wet.
Step 4 — Cut In, Then Roll the First Coat
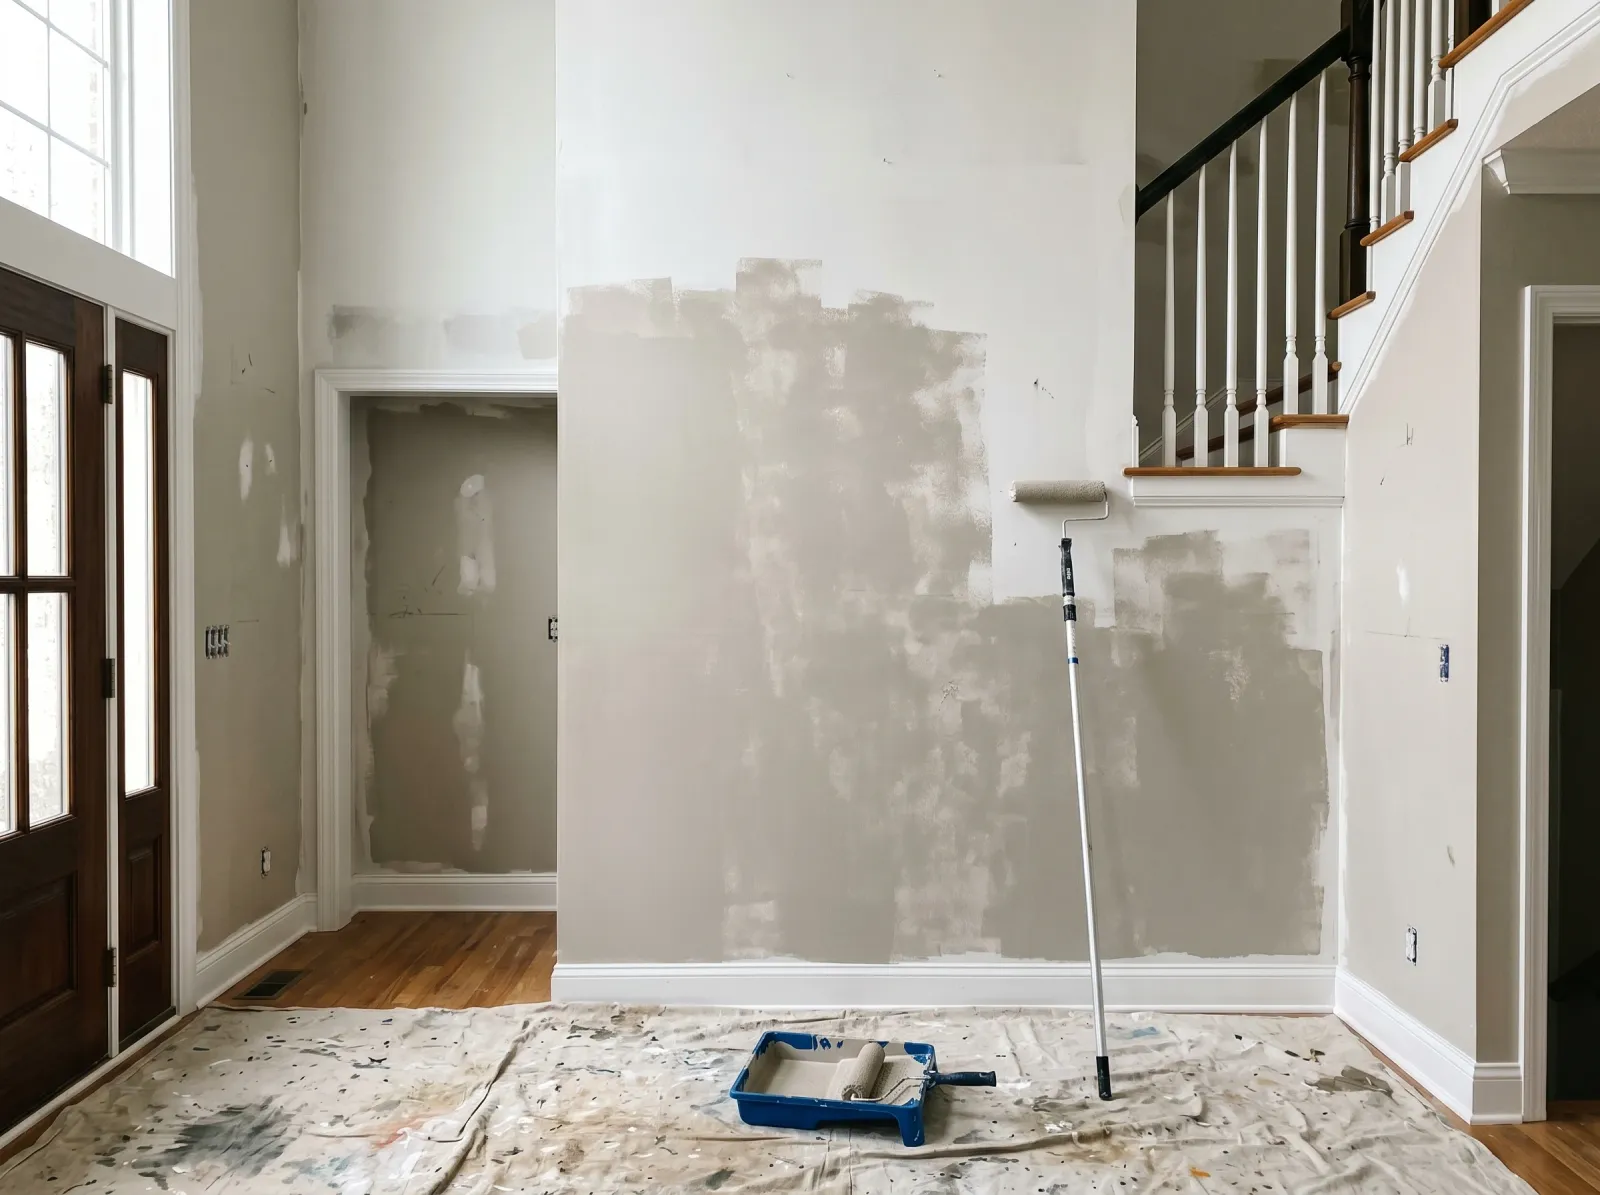
Cut in at every edge, then rolled with an extension pole. The first coat looks patchy. That’s normal.
Cutting in means brushing a 2-inch band of wall color along every taped edge before the roller touches the wall. Do the ceiling line, the trim, around the door, and along the stair stringer.
For the high stairwell wall, cut in the top edge first. Tape the brush to the extension pole so you’re not reaching off the top of the ladder. Get the high edges done, then come down and cut in the reachable parts normally.
Pour paint into the tray, load the roller, roll the wall in a big W about 3 feet wide, then fill it in. Keep the roller about an inch off the cut-in band so the wet edges blend as you cross. Use the pole for the tall sections so you can roll from the stairs without climbing.
The first coat will look streaky and thin. It always does. Don’t keep going back over it. You’ll fix all of it on coat two.
Watch out for stopping in the middle of the tall wall. The wet edge dries and you’ll see the seam in side light. On a tall wall, roll top to bottom in full passes and keep a wet edge moving across.
Step 5 — Second Coat, Then Pull the Tape
Wait the recoat window on the can (usually 2 to 4 hours). Knuckle-test the wall. If it’s dry and not tacky, go again. Second coat goes on the same way: cut in, then roll, keeping the cut-in wet when the roller reaches it.
The color fills in and evens out on the second pass. You’ll know it when you see it.
Pull the tape while the second coat is still slightly tacky, about 30 to 60 minutes after you finish rolling. Pull slow, at a 45-degree angle, in one continuous strip. Wait until the paint is bone dry and the cured film cracks along the tape edge when you pull.
Common Mistakes
- Using flat or matte to hide bad drywall. It hides flaws for a month, then the entryway scuffs and you can’t wash it without rubbing a dull spot into the wall. Satin minimum. If you truly can’t stand the shine, eggshell, but expect to repaint sooner.
- Skipping the wall wash. Hand grime around the switch and at handle height is invisible and greasy. Paint over it and that exact spot peels by spring. Two minutes with a sponge prevents it.
- Leaning a ladder against the stairwell wall. The feet sit on different steps, the ladder slides, you fall. Use a multi-position ladder set level on the treads or a proper plank setup. This is the mistake that sends people to the ER, not a streaky wall.
- One coat on a high wall to avoid going back up. It reads thin and patchy, especially in the raking light a tall window throws. Plan for two coats from the start so the ladder setup only happens once.
- Rolling the tall wall in sections with breaks. The wet edge dries between sections and the seam shows. Work in full top-to-bottom passes and keep moving.
Cure Schedule
| Time after the second coat | What’s safe |
|---|---|
| 30–60 min | Pull the painter’s tape |
| 2 hrs | Touch dry; don’t bump it |
| 24 hrs | Hang the mirror, put the table back |
| 7 days | Wipe scuffs with a damp cloth |
| 30 days | Full cure; scrub with a little soap if needed |
Maintenance and Touch-Ups
Satin walls in a foyer hold up about 5 to 7 years before the high-traffic zones dull from washing. That’s shorter than a bedroom, and it’s the price of a washable finish in the busiest spot in the house.
Wipe scuffs with a damp microfiber cloth and a drop of dish soap once the paint is past its 30-day cure. Most marks are dirt, not damage. For a real gouge, spackle, sand, and dab leftover paint with a small piece of roller (not a brush, so the texture matches). Keep a labeled quart of both the wall satin and the trim semi-gloss for the inevitable bag scrape.
Cost Breakdown
| Item | $ |
|---|---|
| Wall paint, 1 gallon satin | $40 |
| Trim paint, 1 quart semi-gloss | $20 |
| Brush, roller, tray, sleeves, pole | $40 |
| Tape, drop cloth, spackle | $25 |
| Multi-position ladder rental (if needed) | $20 |
| Total | ~$125–$145 |
Numbers are mid-tier paint. A small entry with a normal ceiling and no ladder rental runs closer to $90. A two-story foyer that needs two gallons and a rental day runs closer to $180.