How to Paint a Deck (vs Stain)
Painting a deck the right way: when paint beats stain, how to prep old boards, the primer that holds, and the two-coat plan that survives a few winters.

Painting a deck is the job people do when staining isn’t enough anymore. The boards are gray, the grain’s gone splintery, there’s old flaking paint on half of it, and stain would just make all that damage shinier. Paint covers it. That’s the case for paint.
It’s also the finish that peels the fastest if you rush the prep. A deck takes sun, rain, standing puddles, and shoes, all on a flat surface that holds water instead of shedding it. Paint that isn’t bonded to clean, dry wood comes off in sheets by the second spring. Most of this guide is prep, because prep is where the job is won or lost.
What You’ll Get
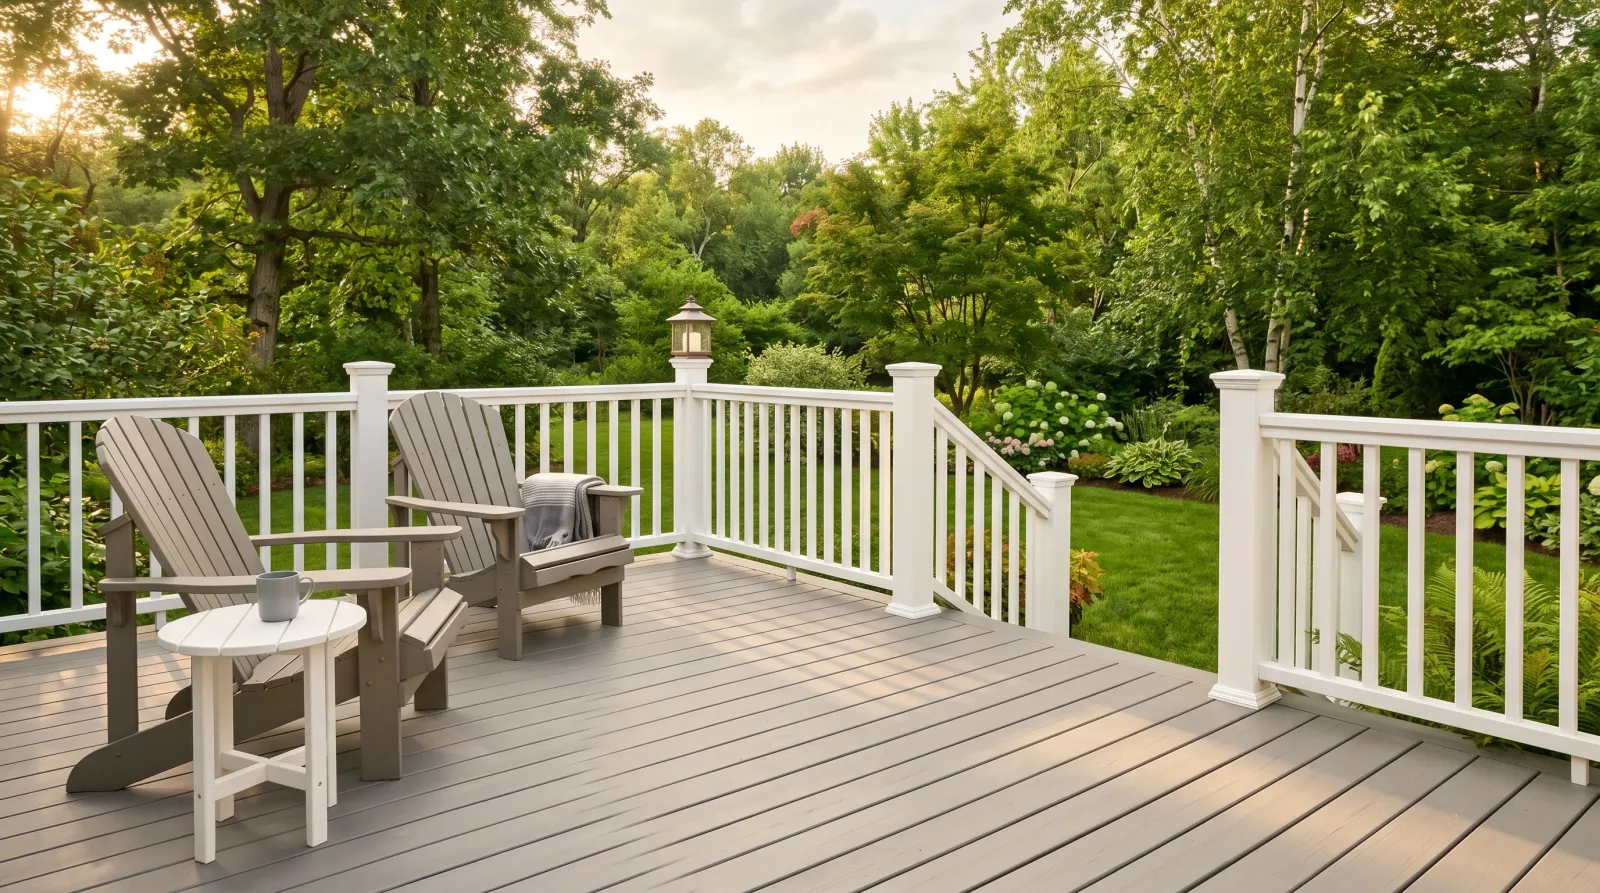
A solid, even-colored deck that hides ugly old boards and holds up for three to five years before it needs a refresh. If you’ve got nice wood and want the grain to show, you want stain instead, and the paint vs stain breakdown sorts out which side of that line your deck is on.
Honest Take on Difficulty and Time
This is a two-day job with dry time bolted onto both ends. You can’t compress it.
Day one is all prep: scrape, wash, dry. The washing has to dry for two or three dry days before you touch it with primer, so the active days aren’t back to back. Day two is repairs and primer. Day three is two finish coats with a recoat wait between them. Then the deck stays roped off for the better part of a week while it cures.
If somebody tells you they painted a deck in an afternoon, ask them to look at it in eighteen months. The wash-and-dry window decides whether the paint holds.
When to Paint and When to Stain
Quick gut check before you buy anything.
Paint the deck if the boards are old and gray, the surface is splintering, there’s already paint on it, or you want a solid color that matches the trim. Paint fills and hides.
Stain the deck if the wood is sound, you like the grain, and the boards still take water without splitting. Stain soaks in, won’t peel, and shows the wood. The best deck stains round-up covers the picks.
One hard rule: once a deck is painted, it stays painted. You don’t go back to stain without stripping every bit off, and stripping a deck is a worse weekend than painting one. Decide now.
What You’ll Need
Paint and Primer
- A floor-rated finish. Either a 100 percent acrylic deck-and-floor paint or a solid-color deck stain built for foot traffic. Behr Premium Porch & Patio Floor Paint, BM Arborcoat Solid, and KILZ Over Armor all hold on horizontal boards. A 200-square-foot deck takes about 1.5 gallons for two coats.
- Exterior wood primer for bare or freshly stripped boards. Zinsser Cover Stain or KILZ Adhesion. Primer is what grips the wood. The finish grips the primer. Skip it on bare wood and the whole film lets go in a year.
- Deck cleaner and brightener. A percarbonate cleaner for mildew and dirt, an oxalic-acid brightener for the gray. Don’t use wall paint and don’t use exterior siding paint. Neither is built for puddles and shoes.
Tools
- A pressure washer, 1,500 to 2,500 PSI, with a 25-degree tip. Rent one if you don’t own one.
- A stiff deck brush on a pole, a pump sprayer for the cleaner, a paint scraper, and a putty knife.
- A 4-inch exterior brush and a 2.5-inch angled sash brush for cutting in between boards and around posts.
- A 9-inch roller frame with a 1/2-inch nap exterior sleeve and an extension pole. The thicker nap is what works the paint into the rough board surface and the gaps.
The roller nap matters more than on a wall. A deck board isn’t smooth, and a thin nap skates over the texture and leaves bare low spots. Half-inch nap, every time.
Step 1: Scrape, Wash, and Dry
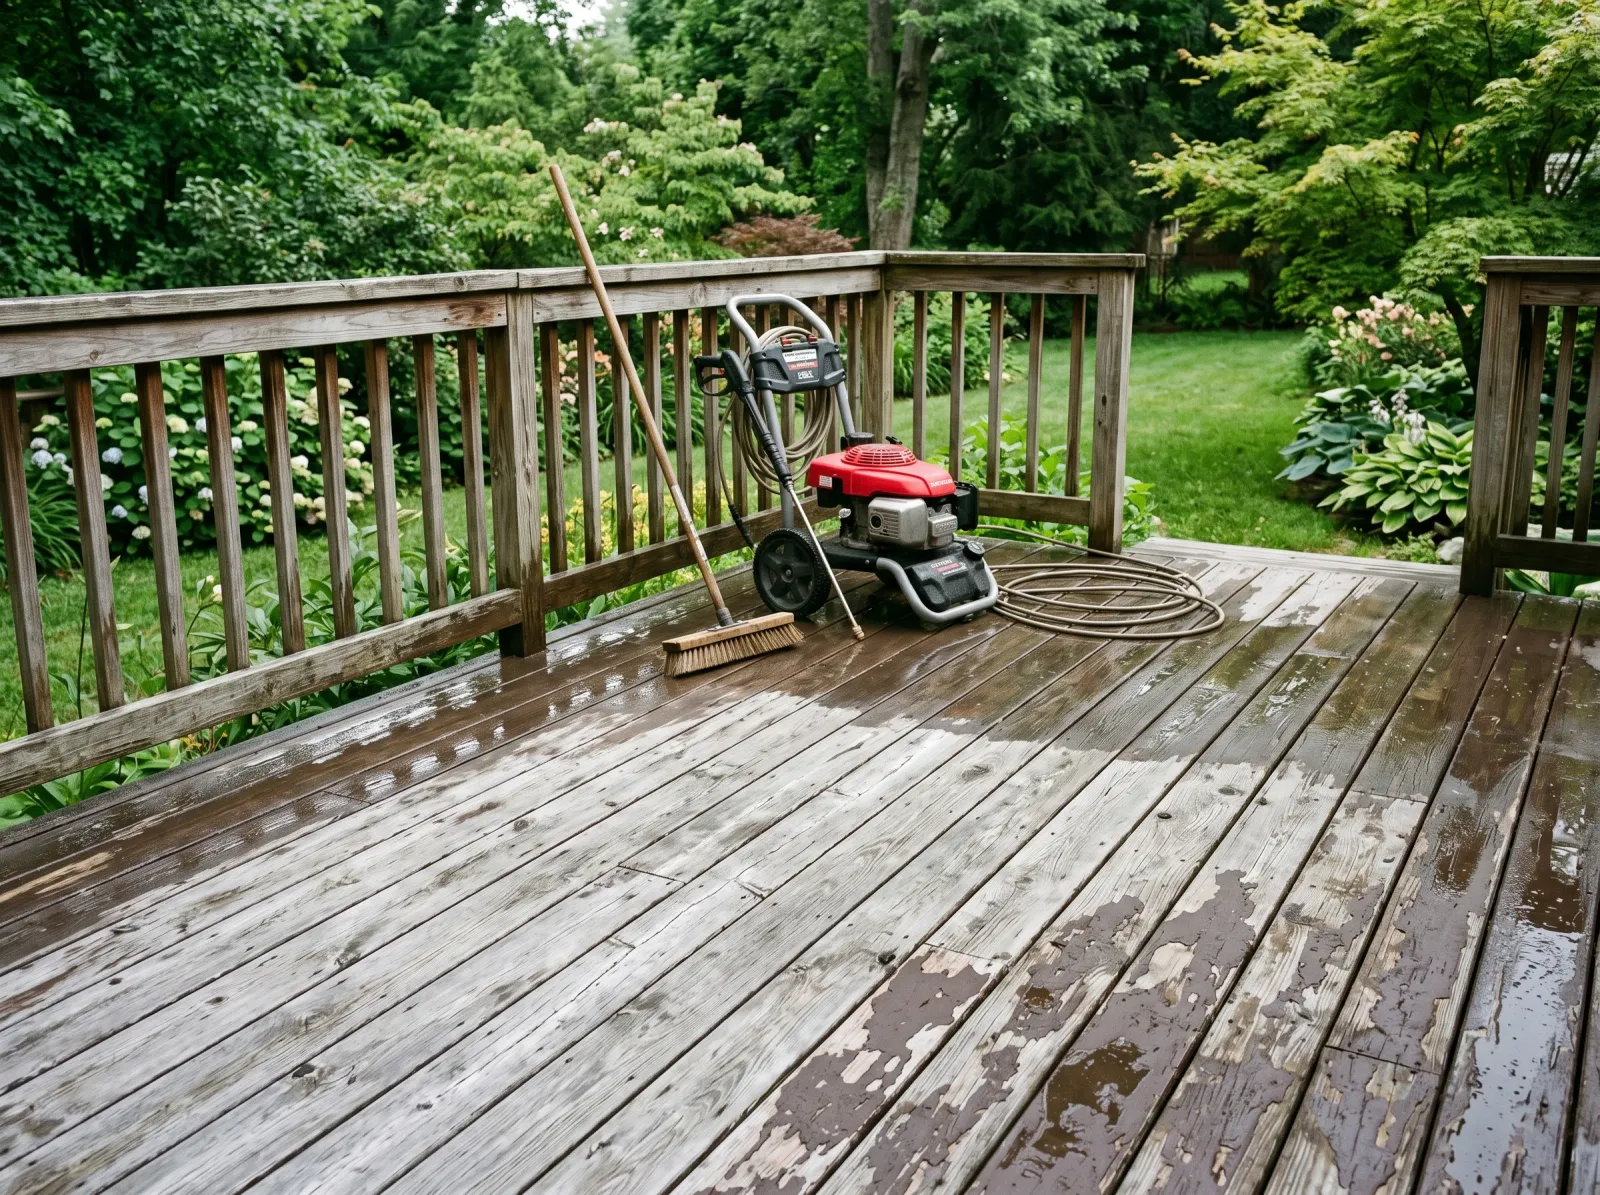
Loose old paint scraped off, the whole deck pressure-washed, boards left to dry to bare gray wood.
Scrape off everything loose first. Any old paint that’s flaking, peeling, or lifting at the edges comes off with the scraper. Paint that’s still stuck tight stays. You’re removing the failures, not stripping the whole deck.
Then wash it. Spray on the cleaner, scrub it in with the stiff brush along the grain, let it sit the time on the label, then pressure-wash it off. Keep the tip moving and about a foot off the boards. Park the wand in one spot and you’ll carve fuzzy grooves into soft wood that show through the paint forever. If the deck’s gone gray, hit it with the oxalic brightener after the cleaner to pull the color back.
Watch out for going too hard with the washer. More PSI is not better. You want dirt and loose fiber gone, not a chewed-up surface.
Now the part people skip: let it dry. Two or three dry days, longer if it’s humid. Bare wet wood won’t bond to anything.
Step 2: Repair, Sand, and Reset Fasteners
Walk the deck once it’s dry. Drive any popped screws back down, and swap rusted fasteners for galvanized or stainless ones. Fill splits and old screw holes with exterior wood filler, let it cure, then sand it flush.
Sand the edges where you scraped old paint so there’s no ridge between bare wood and the paint you left on. A ridge telegraphs through the finish coats. Feather it flat with 80-grit, then knock it smooth with 120. Scuff-sand any remaining glossy old paint so the new coat has tooth to grip.
Watch out for the board ends and any spot where two boards butt together. End grain drinks water. That’s where rot starts and where paint fails first, so make sure those spots are sound before you go on.
If your deck is newer pressure-treated lumber, it may still be too wet from the treatment to paint at all. Sprinkle water on a board. Beads up, it’s too wet, wait. Soaks in, you’re clear. The full story on that is in the guide to painting pressure-treated wood.
Step 3: Prime the Bare Wood
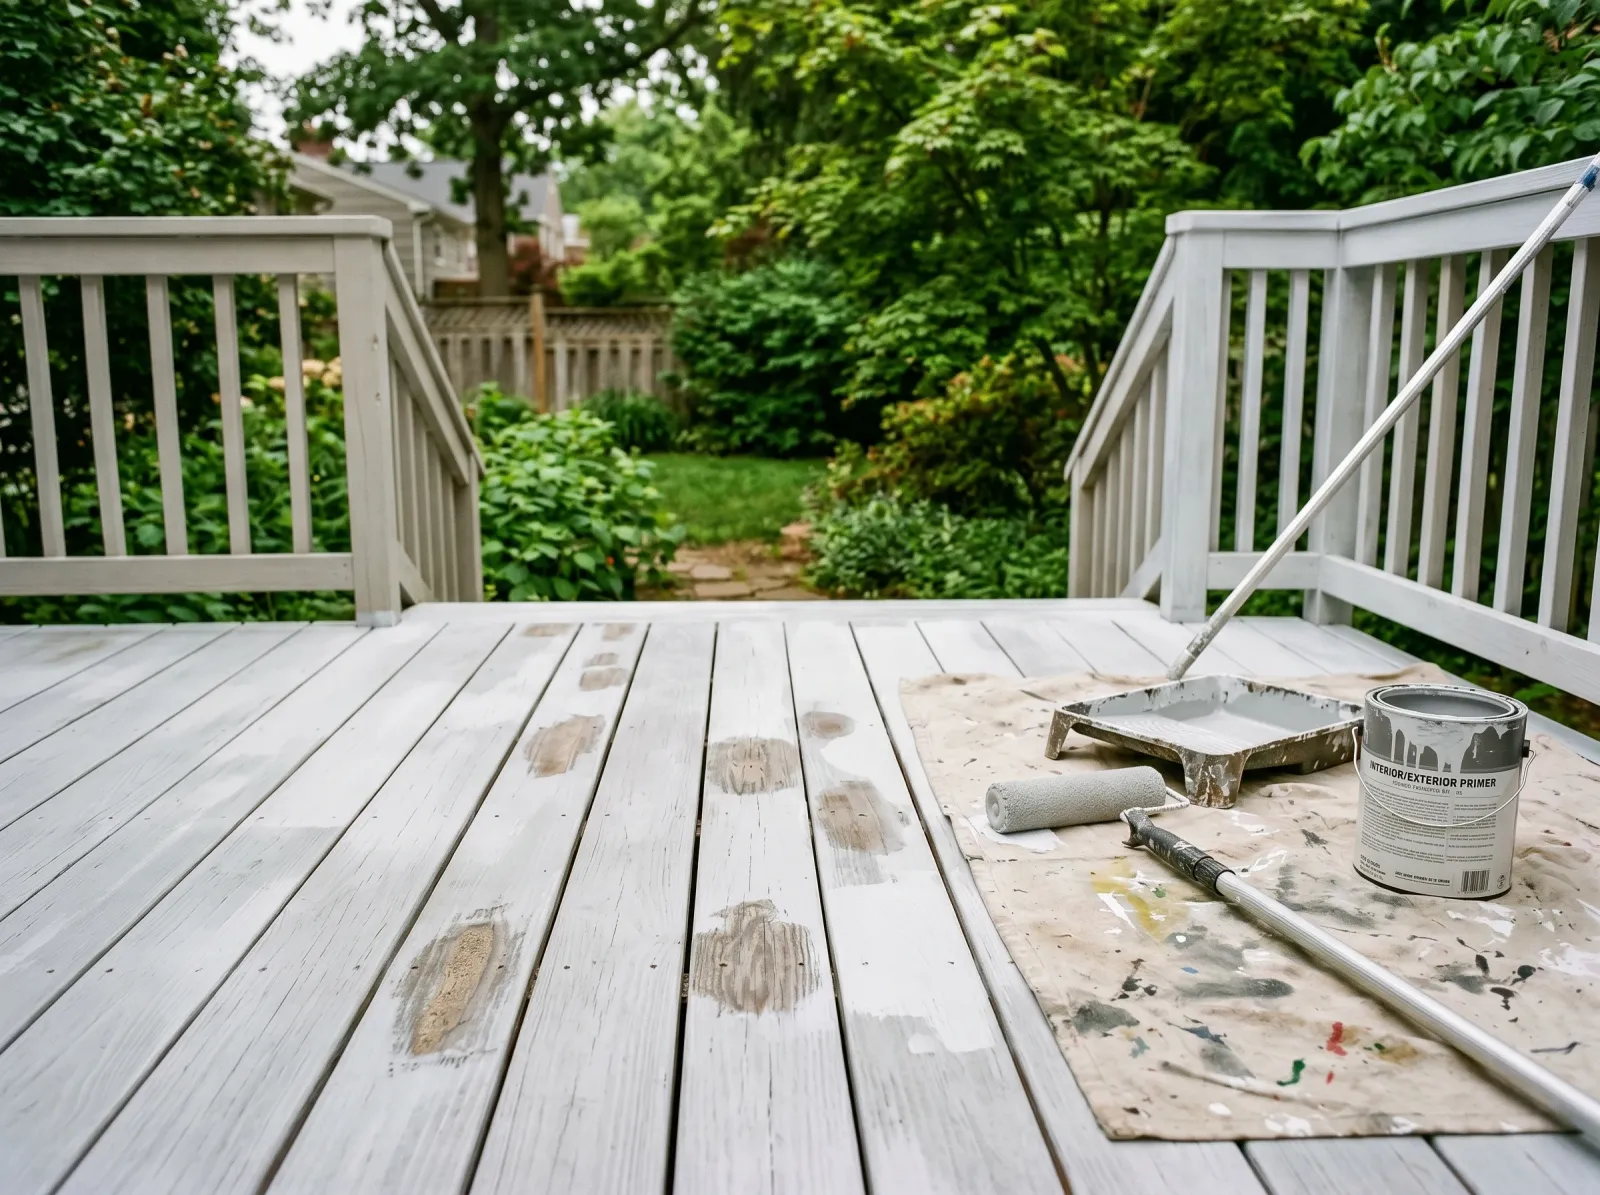
Splits filled, popped screws reset, bare boards coated in a single primer coat.
Prime every bare and stripped board with the exterior wood primer. Cut in the gaps between boards and around the posts with the brush, then roll the open field. Work the primer into the board edges and the gaps, not just the top face. Water gets into a deck through the sides and seams, and primer there is what slows it down.
If your deck held a sound coat of old paint that you scuffed, you don’t need to prime it. Spot-prime the bare patches where you scraped and leave the rest.
Let the primer dry the full time on the can before any finish goes on. Tape off the house wall and the bottoms of any posts you’re not painting now, so the primer line stays clean.
Step 4: Roll the First Finish Coat
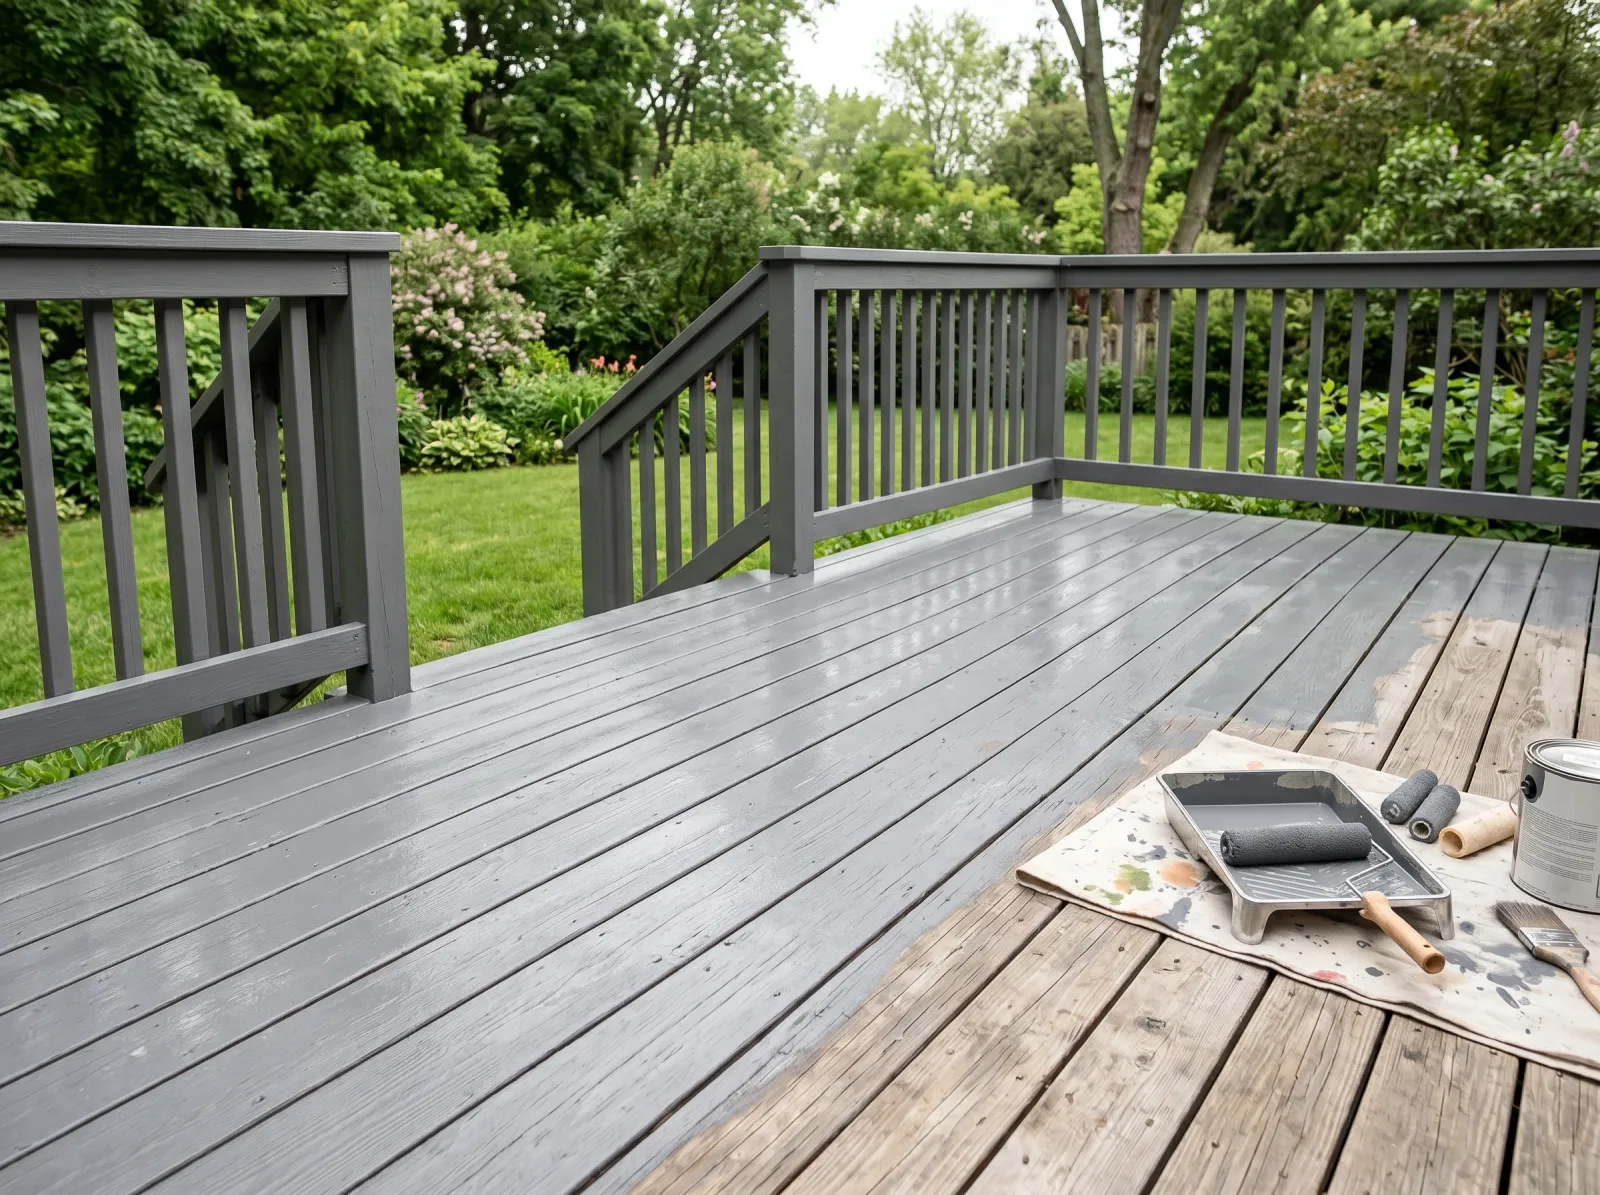
Rails and post bases cut in first, then the first finish coat rolled along the board grain.
Do the railings, balusters, and post bases first with the brush. Those are the fiddly parts, and you want them done while you’re fresh and before you’re walking on wet floor paint. Then move to the deck surface.
Cut in along the house wall and the deck edges, then roll the field. Roll along the length of the boards, with the grain, one or two boards wide at a time. Keep a wet edge: finish a full board run before you stop, the same way you’d never stop in the middle of a wall. Stop mid-board and the lap line shows the first time the sun rakes across it.
Watch out for loading the roller heavy to go faster. A flooded roller pools paint in the gaps between boards, and pooled paint in a gap never fully dries. It stays soft, traps grit, and peels. Load it medium and let the nap do the work.
The first coat will look thin and a little blotchy. That’s normal. The second coat fixes it.
Step 5: Second Coat, Then Leave It Alone
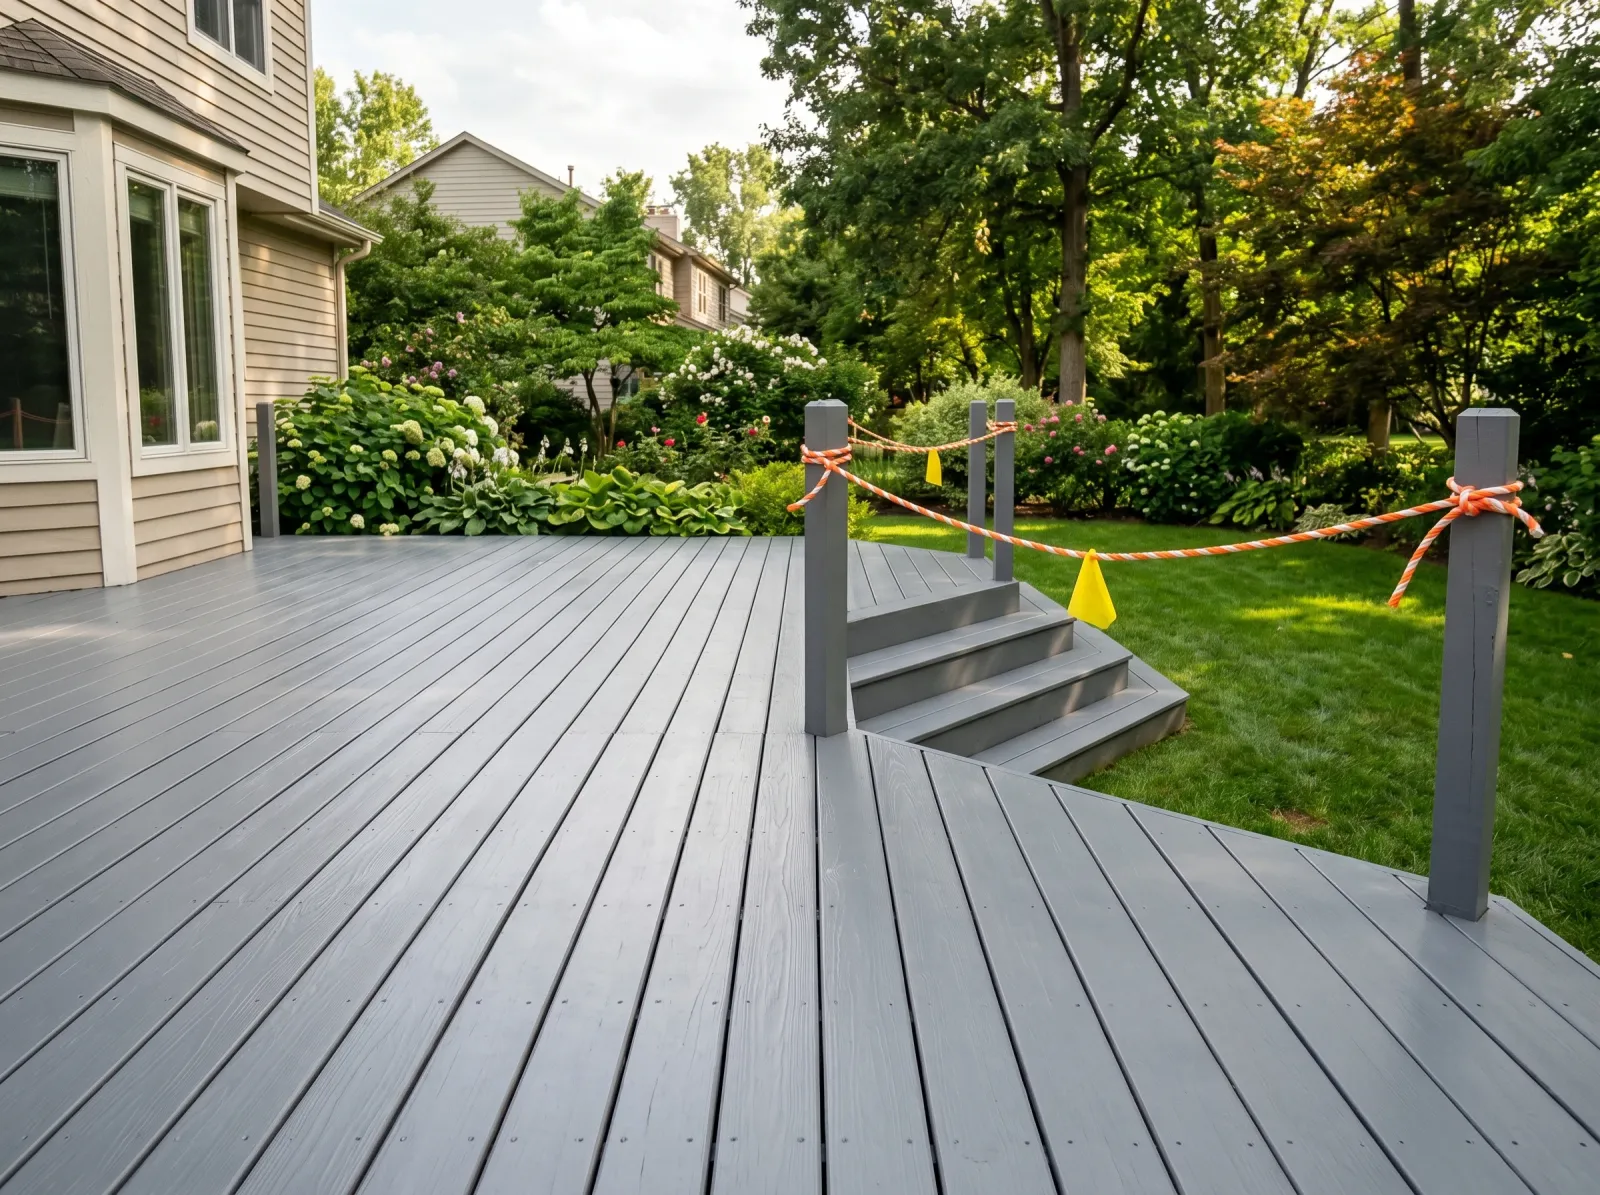
Second coat rolled even, the deck roped off to keep traffic and pets off while it cures.
Wait the full recoat window on the can, usually 4 to 6 hours for an acrylic, longer if it’s cool or damp. Touch a board with a knuckle; if it’s dry and not tacky, go. Roll the second coat the same way, along the grain, keeping the wet edge.
Two coats is the whole point. One coat wears through at the high-traffic lines and the stair treads within a season and shows every seam. Two builds the film that survives sun and rain.
Then rope it off. No foot traffic, no furniture, no dog. Deck paint goes touch-dry fast but cures slow, and the cure is what gives it the toughness to take shoes. Walk on it at hour two and you’ll leave prints that never come out.
Step 6: Furniture Back, Deck in Use
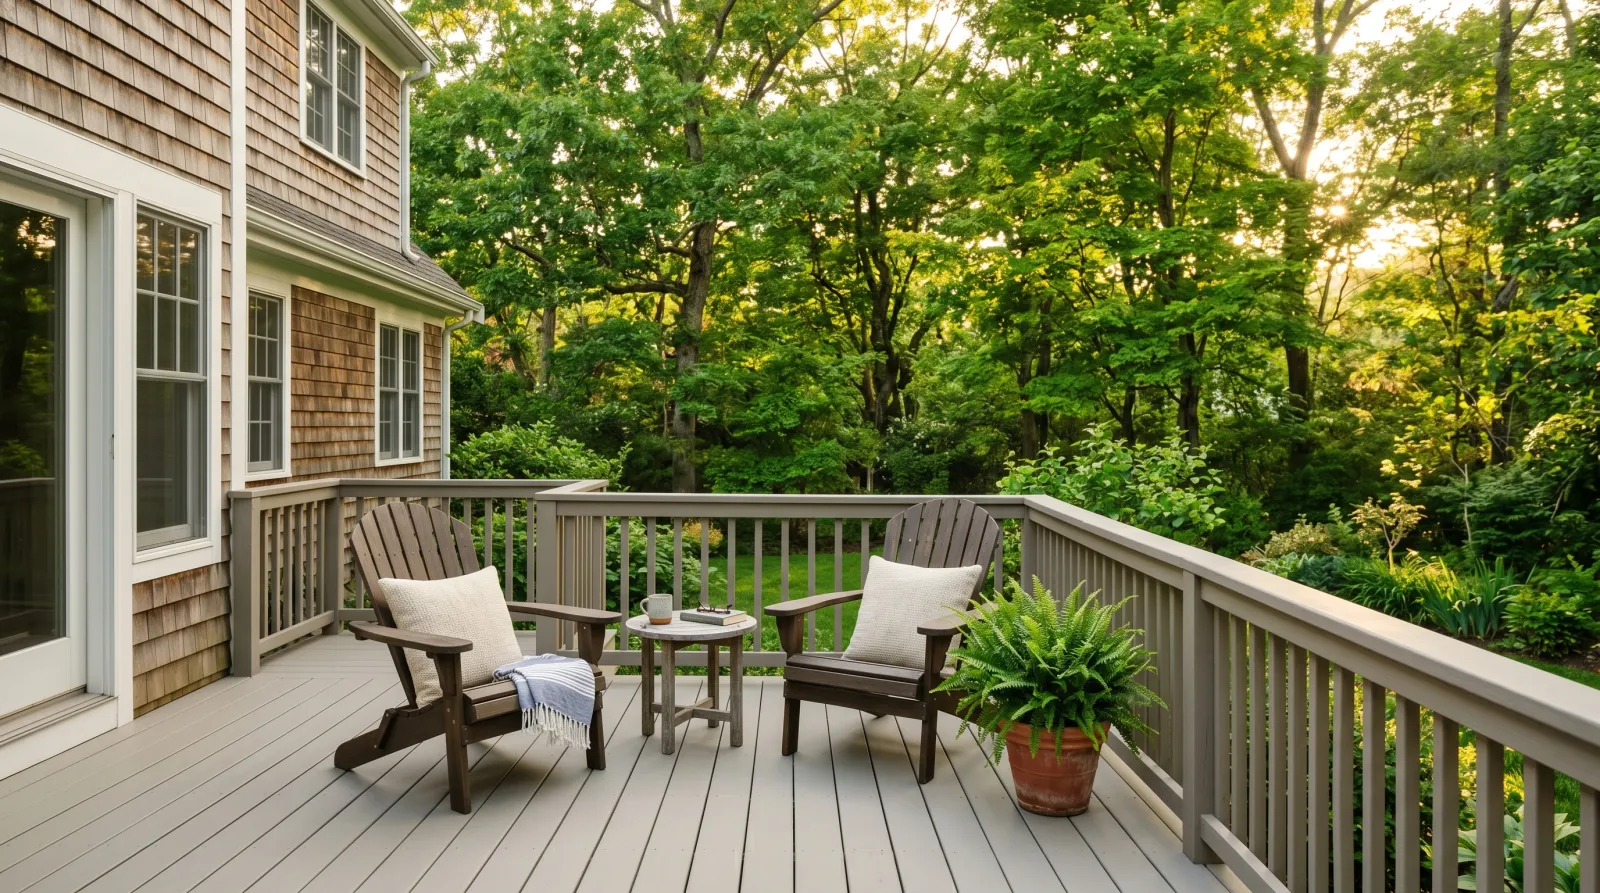
A week later, fully cured, furniture back on and ready for the season.
Wait at least 24 hours for light foot traffic and a few days before the furniture goes back. Heavy planters and grills wait a full week. Set a metal furniture foot on paint that hasn’t cured and it bonds to the film, then tears it when you slide the chair.
Pull the tape off the house wall and post bases. Put the pads back under the furniture feet. Done.
Common Mistakes
- Painting wet wood. The single most common deck failure. The boards look dry on top hours after washing but the wood inside is soaked. Paint over it and trapped moisture pushes the film off from the back. Give it two or three dry days.
- Using the wrong product. Wall paint and siding paint go on a deck all the time and fail every time. Neither handles standing water or shoes. Use a floor-rated deck paint or a solid-color deck stain.
- One coat to save a day. It wears through at the door, the stairs, and the traffic path within a season, and the seams show. Two coats. Always two coats.
- Flooding the gaps between boards. A heavy roller pools paint in the seams where it never dries. The soft paint traps dirt and peels. Load medium.
- Walking on it too soon. Touch-dry isn’t cured. Foot traffic at hour two leaves prints, and furniture feet at day one tear the film. Rope it off and wait. The full peeling-paint fix covers what to do if it lets go anyway.
Cure Schedule
| Time after the second coat | What’s safe |
|---|---|
| 4–6 hours | Touch dry, pull the tape |
| 24 hours | Light foot traffic |
| 3 days | Furniture back |
| 7 days | Grills, heavy planters, normal use |
| 14–30 days | Full cure, hose it down, scrub if needed |
Maintenance and Touch-Ups
A painted deck holds three to five years before it needs attention, sooner on the stairs and the traffic path than the corners. Sweep and rinse it a couple of times a year so grit doesn’t grind the finish down.
For a worn spot, scuff-sand the edges, spot-prime any bare wood, and brush on two coats of the leftover finish. Keep a quart with the color and code on the lid. When the whole deck dulls and the traffic lines wear through, clean it, scuff it, and roll a fresh coat over the sound paint. You won’t strip back to wood again unless it all fails.
Cost Breakdown
| Item | $ |
|---|---|
| Deck paint, 1.5 gallons | $70–$130 |
| Exterior primer, 1 gallon | $30–$45 |
| Deck cleaner + brightener | $25–$40 |
| Filler, screws, sandpaper | $20–$35 |
| Brushes, roller, sleeves, tape | $30–$45 |
| Pressure washer rental (if needed) | $40–$80/day |
| Total | $120–$280 |
Numbers are for a 200-square-foot deck with mid-tier product. Own the pressure washer already and you drop the rental line.
Here’s what’ll bite you in two years if you cut the corner: a deck painted over damp wood, or with one coat, peels along the stair treads and the door threshold first. That’s the traffic line. Get the wood dry and put two coats down, and you won’t be back out there with a scraper next spring.