How to Paint Pressure-Treated Wood: The Moisture Rule and the 6-Month Wait
How to paint pressure-treated lumber without peeling: the under-15% moisture check, the 6-month dry-down, stain-blocking primer, and the acrylic latex topcoat.

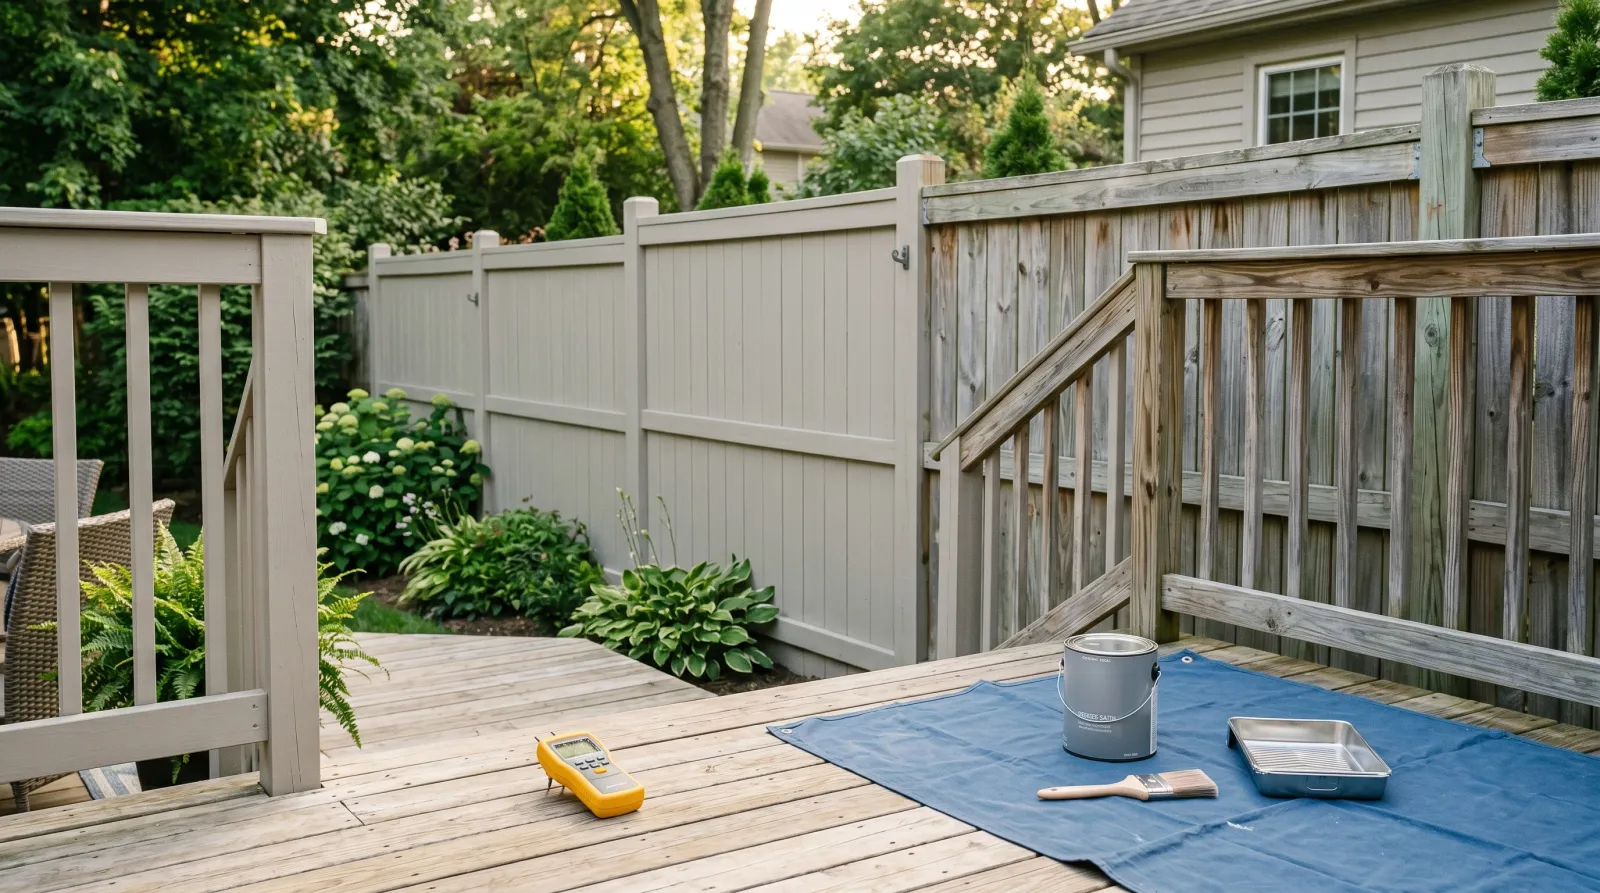
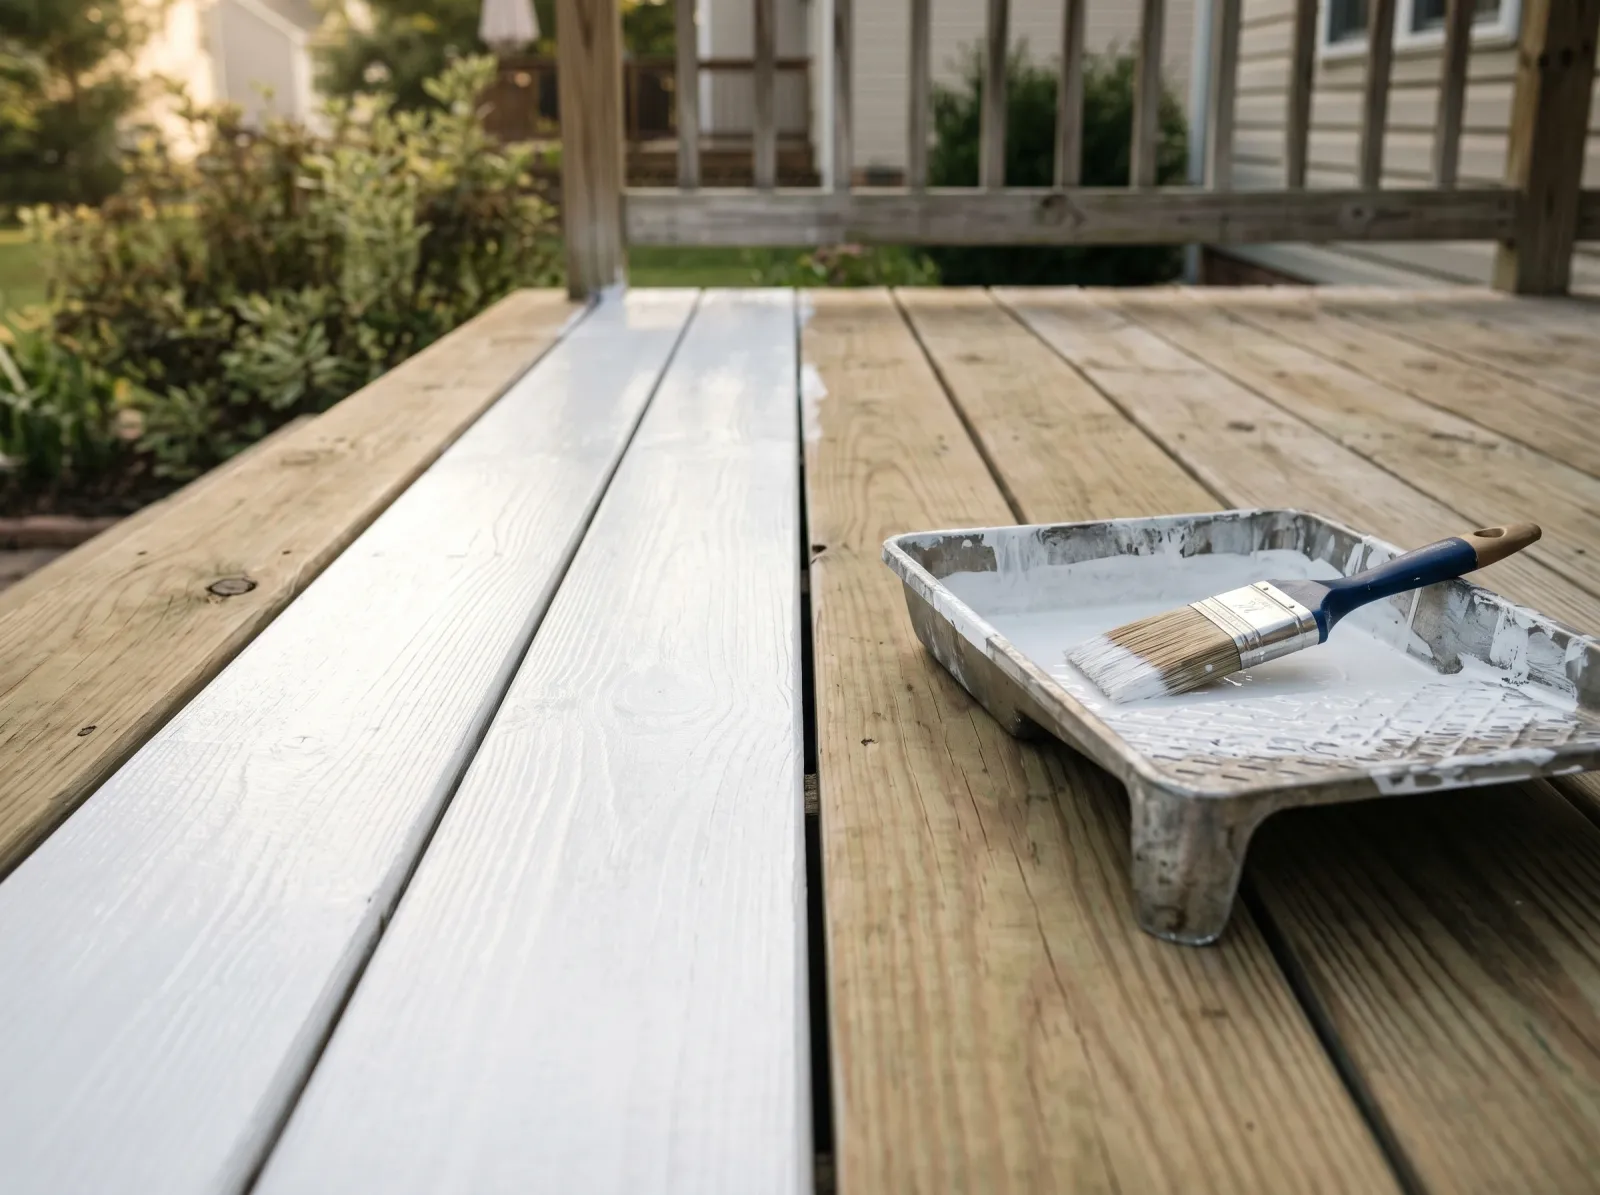
Pressure-treated lumber shows up wet from the plant. Paint it that week and the film peels off in a season. The whole job is built around one number and one wait: moisture content under 15%, and most boards take about six months to get there.
TL;DR
- Wait: 6 months on standard PT, 2–3 months on KDAT, longer in humid climates
- Test: moisture meter on three boards, all under 15% before priming
- Wash: deck cleaner, stiff brush, full rinse, 48 hours of dry weather
- Sand: 120-grit, knock down the mill glaze, don’t fuzz the grain
- Primer: oil-based stain-blocking (Zinsser Cover Stain or KILZ Original Exterior)
- Paint: 100% acrylic latex exterior, two coats
- Cure: 30 days before pressure-washing the finished surface
- Skill: medium. The wait is the hard part. The prep is straightforward.
What Is Pressure-Treated Wood
Pressure-treated lumber is softwood (usually southern yellow pine) forced under pressure with a waterborne preservative so it resists rot, fungus, and insects in ground-contact or weather-exposed builds. The current chemistry is mostly copper-based (ACQ, MCA, CA-C), which is why fresh PT carries a green or brown tint. The treatment process drives the preservative deep into the cells using a lot of water, and that water is the whole reason this guide exists. Standard PT can leave the yard at 35–75% moisture content. Paint or stain bonded to wet PT pushes off the surface as the water works its way out.
KDAT, or kiln-dried-after-treatment, is the same lumber run through a kiln after treatment. It ships at around 19% and saves you about four months of waiting.
Materials and Tools
Materials
- Pinless moisture meter (Wagner or General Tools, around $35)
- 100% acrylic latex exterior paint (Behr Premium Plus, SW SuperPaint, or BM Aura Exterior)
- Zinsser Cover Stain or KILZ Original Exterior oil-based primer
- Deck cleaner (Krud Kutter Deck and Fence, or oxalic acid for tannin stains)
- 120-grit sanding discs and a backup pack of 80-grit
- Drop cloths, painter’s tape, plastic for shrubs
Tools
- 5-inch random-orbit sander
- 2.5-inch angled sash brush (Wooster Silver Tip or Purdy Clearcut)
- 4-inch mini roller with 3/8-inch nap for smooth boards, 1/2-inch for rough
- 9-inch roller for fence panels and large deck sections
- Pump sprayer for cleaner, garden hose for rinse
- N95 respirator, eye protection, nitrile gloves
Why Pressure-Treated Is Tricky
PT looks like regular framing lumber, which is the trap. It isn’t. Three things make it different from kiln-dried pine or cedar.
Moisture. The treatment process saturates the cells with waterborne preservative. The board feels heavy and damp at the yard for a reason. Lay paint over it and the water has to leave somewhere — it leaves through the film, and the film blisters and peels off.
Surface chemistry. The copper compounds that stay behind once the water evaporates leave a slick film at the surface. Latex paint doesn’t bond well to that film. Solvent-based primers do, which is why this is one of the substrates where oil primer still beats water-based bonding primer.
Mill glaze. Most PT boards are surfaced at the mill, and the planer crushes the surface fibers into a slick layer. Paint sees that layer the same way it sees plastic — nothing to grip. The sander fixes it.
Step 1: Check Moisture Content
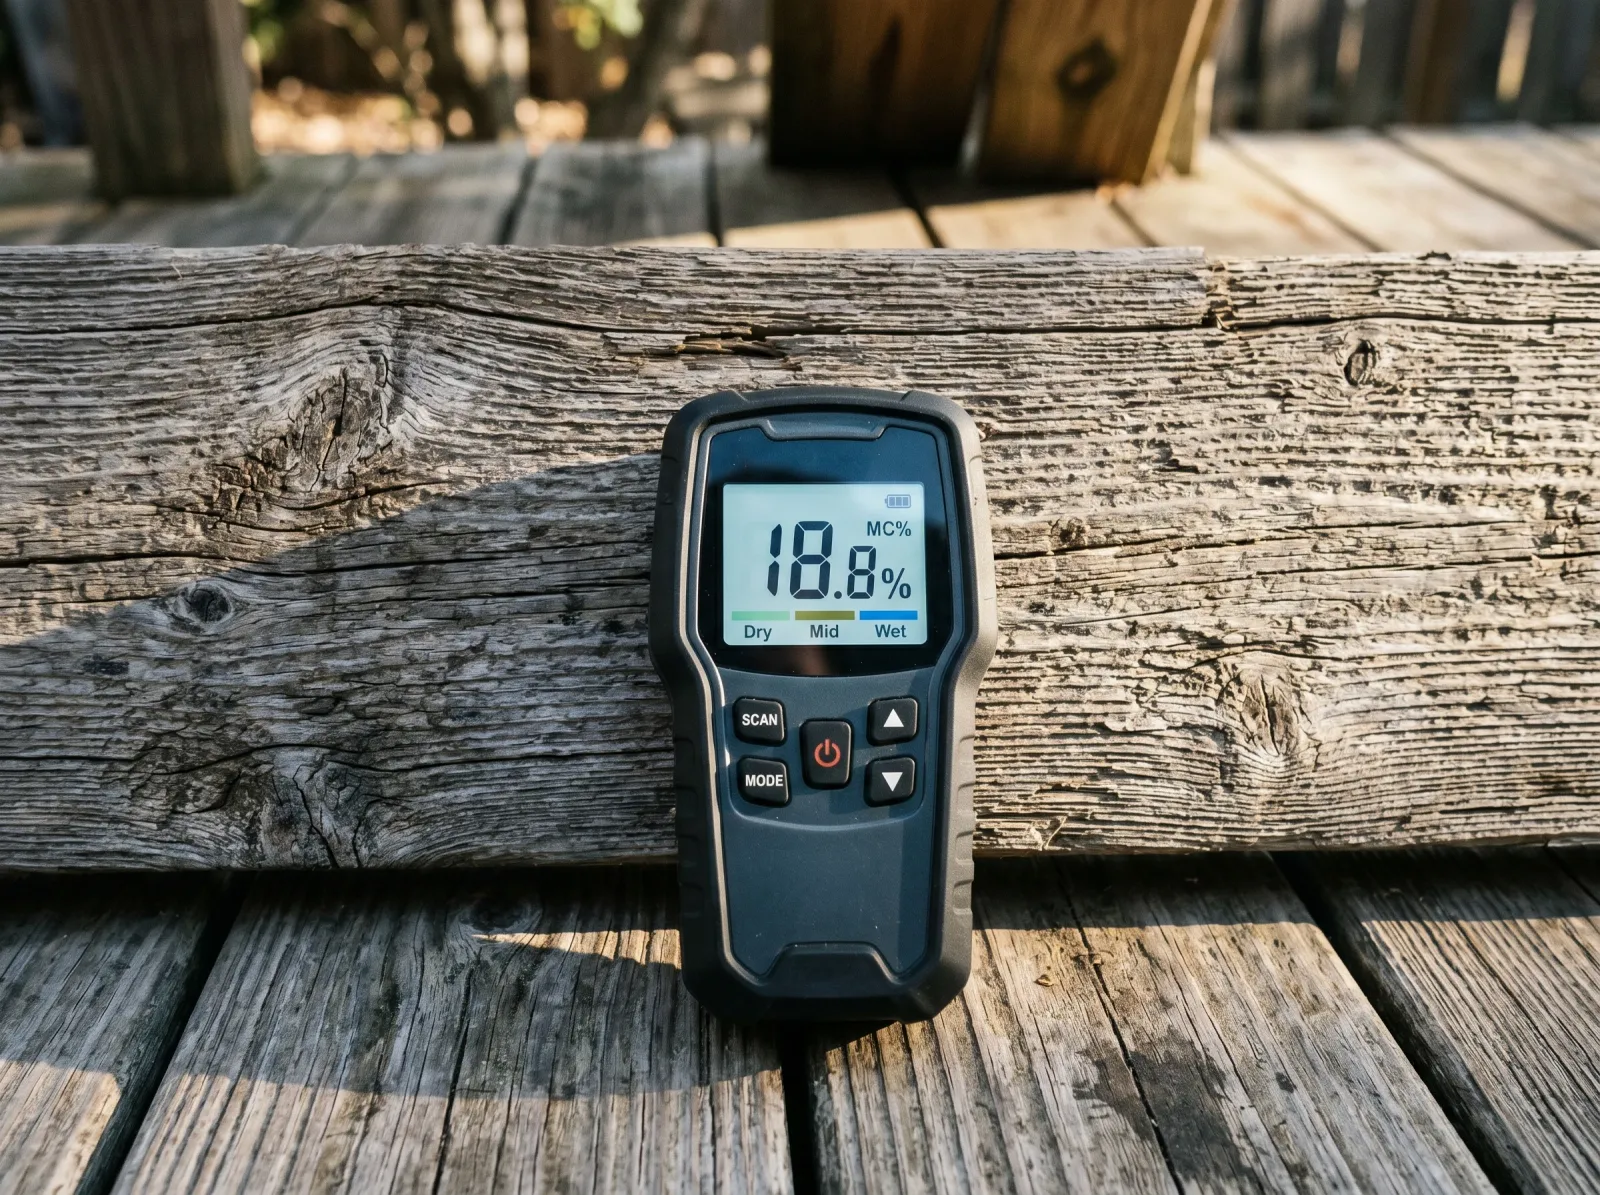
Pinless moisture meter on the broad face of three boards. All three under 15% before primer goes anywhere near the wood.
Buy a pinless moisture meter. Wagner Orion or General Tools both run about $35 and read accurately on softwood. Pin meters work too but leave two little holes per check.
Press the meter flat against the broad face of three boards in different spots on the deck or fence — one in shade, one in sun, one near a ground-contact post. All three need to read under 15%. If any one of them reads over 15%, wait two more weeks and test again. The board near the post is usually the slowest to dry.
The field shortcut if you don’t have a meter: sprinkle water on the board. Soaks in within 10 seconds, the wood is dry enough to start prep. Beads up and sits there, the wood is still pushing moisture out.
How long the wait actually takes:
| Lumber type | Climate | Typical wait |
|---|---|---|
| Standard PT, ground-contact rated | Dry / Mountain West | 3–4 months |
| Standard PT, ground-contact rated | Humid / Southeast | 6–12 months |
| Standard PT, above-ground rated | Most of the US | 4–6 months |
| KDAT (kiln-dried after treatment) | Most of the US | 2–3 months |
| Old PT (≥ 2 years old, unpainted) | Any | Test before assuming |
Six months is the safe default people quote. It’s about right for above-ground PT in a normal climate. KDAT cuts it short. Humid summer in zone 9 stretches it.
Step 2: Wash the Wood
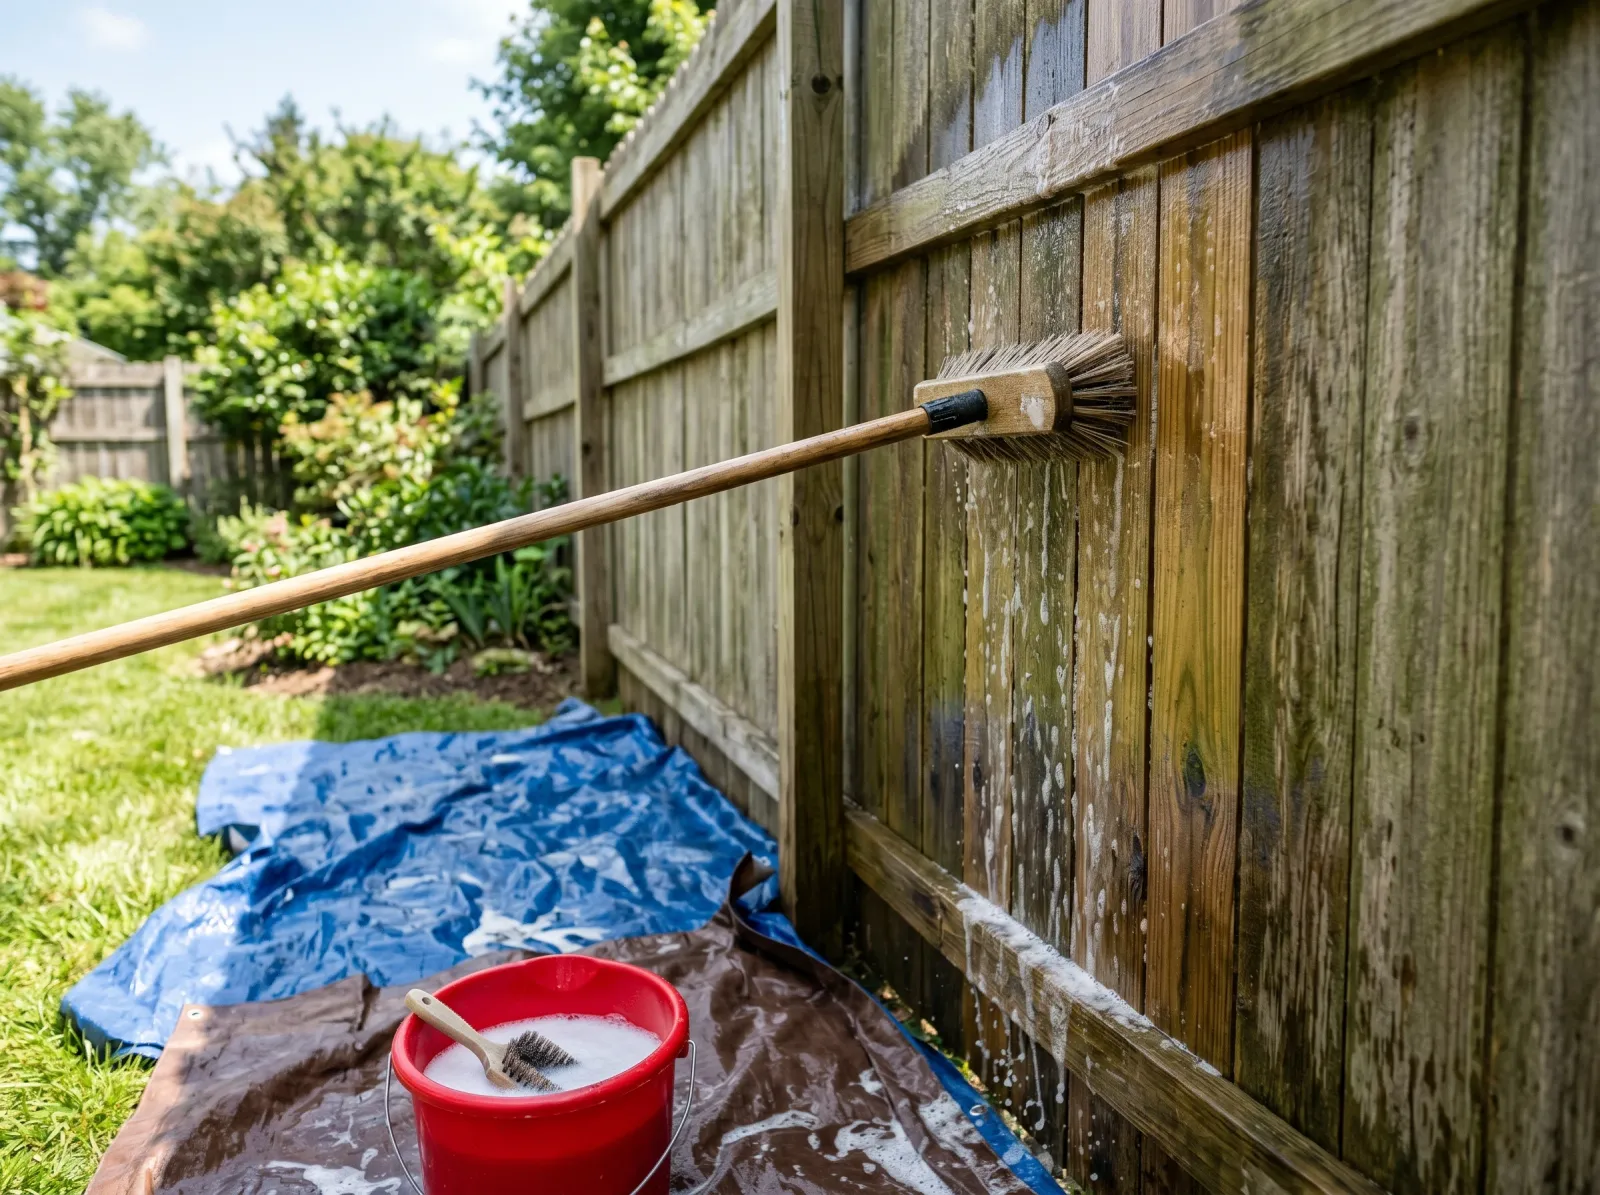
Deck cleaner with a stiff brush, full rinse, then 48 hours of dry weather. Mill glaze and surface chemistry both have to go.
Mix deck cleaner per the label. Krud Kutter Deck and Fence is the workhorse. For tannin streaks or black iron stains around fasteners, switch to oxalic acid (sold as wood brightener). Wet the boards first so the cleaner doesn’t dry on the surface, then scrub with a stiff long-handled brush. Work top down. Let it dwell five minutes. Rinse hard with a garden hose.
Skip the pressure washer if you can. PT pine is softer than cedar and fuzzes up fast. If you’re set on pressure-washing, 1,200 PSI ceiling, 25-degree tip, 18 inches off the wall, fan the spray.
Then 48 hours of dry weather before you sand. Damp wood sanded with 120-grit fuzzes immediately and you’ll fight the fuzz the rest of the job.
Step 3: Sand to Break Mill Glaze
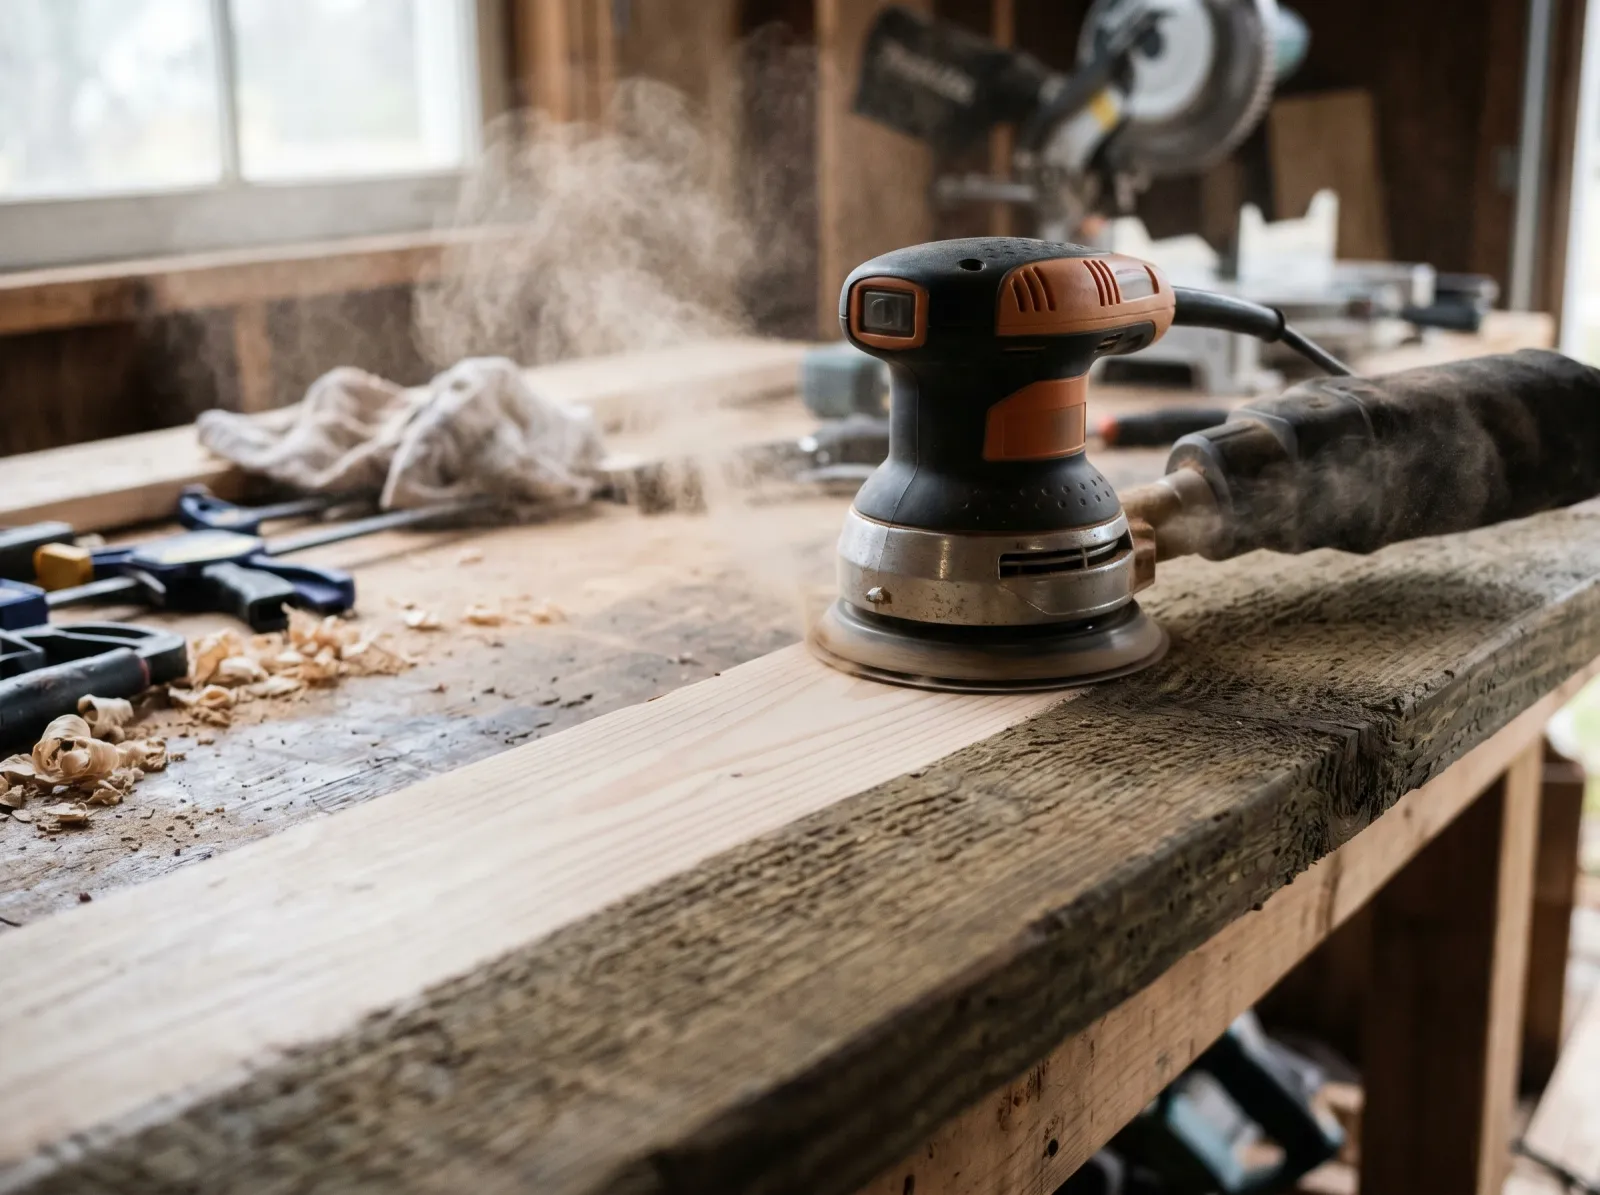
120-grit on a random-orbit. Just enough to dull the surface. Don’t fuzz the grain.
The point of sanding is not to remove material. It’s to dull the slick mill-finish surface so primer bites. 120-grit on a 5-inch random-orbit sander, light pressure, one pass per square foot of board face. The surface should go from slightly shiny to uniformly matte. Stop there.
Edges and cut ends get a quick hit with 80-grit by hand. Cut ends are end-grain, which is thirstier than face grain and the most common spot for early peeling on PT decks. Sand them lightly, then prime them heavy at step 5.
Vacuum the dust off. Tack cloth or a damp rag for the corners. Don’t skip this — fresh PT dust is irritating in the lungs and any dust left on the surface kills primer bond.
Safety callout. PT dust contains copper-based preservative residue. N95 minimum, eye protection always, nitrile gloves while sanding. Don’t burn PT scraps in a fire pit or wood stove — the smoke carries the same compounds. Bag the dust, throw it in regular trash; it’s not hazardous waste at residential quantities.
Step 4: Spot-Fix Damage and Fasteners
Set any proud screws or nails flush. Countersink stainless or hot-dipped fasteners 1/16 inch below the surface. PT moves seasonally and proud fastener heads telegraph through the paint within a year as round circles where the film cracks. Fill with exterior wood filler (Minwax High Performance or Bondo wood filler). Sand flush at 30 minutes. Spot-prime the fill before the next step.
Splits or checks longer than 4 inches get caulked with stretchy elastomeric (Sashco Big Stretch or OSI Quad Max). Standard acrylic caulk is rated for 25% movement and PT moves more than that.
Step 5: Prime
Zinsser Cover Stain on cut ends, knots, and the whole field. Oil-based, so it bonds through any residual treatment chemistry.
Oil-based stain-blocking primer is the spec on PT. Zinsser Cover Stain is the default. It’s alkyd, blocks tannin and copper bleed, recoats in two hours, and bonds to mill-glazed PT in a way water-based primers don’t. KILZ Original Exterior is the other workhorse and slightly cheaper at the big-box. Both belong in this section; pick whichever your local store stocks.
Brush the cut-in around posts and trim with a 2.5-inch angled sash. Roll the field with a 3/8-inch nap on smooth PT or 1/2-inch nap on rough-sawn. Back-brush behind the roller while the primer is wet to drive it into the grain. One full coat is enough on most PT. Heavy copper bleed (you’ll see green or brown stains coming through after the first coat dries) gets a second thin coat.
Cure 24 hours before topcoat. Cover Stain says recoat at 2 hours; on PT, give it 24 so the alkyd hardens and the residual moisture under it has time to equalize.
Why not water-based bonding primer? Insl-X Stix and Zinsser Bulls Eye 1-2-3 are good products. They bite onto a lot of substrates. PT isn’t one of them. The combination of waterborne preservative, mill glaze, and residual surface moisture defeats the bond on a high enough percentage of jobs that I won’t risk it. Oil here. Latex on the topcoat.
Step 6: Two Finish Coats of Acrylic Latex
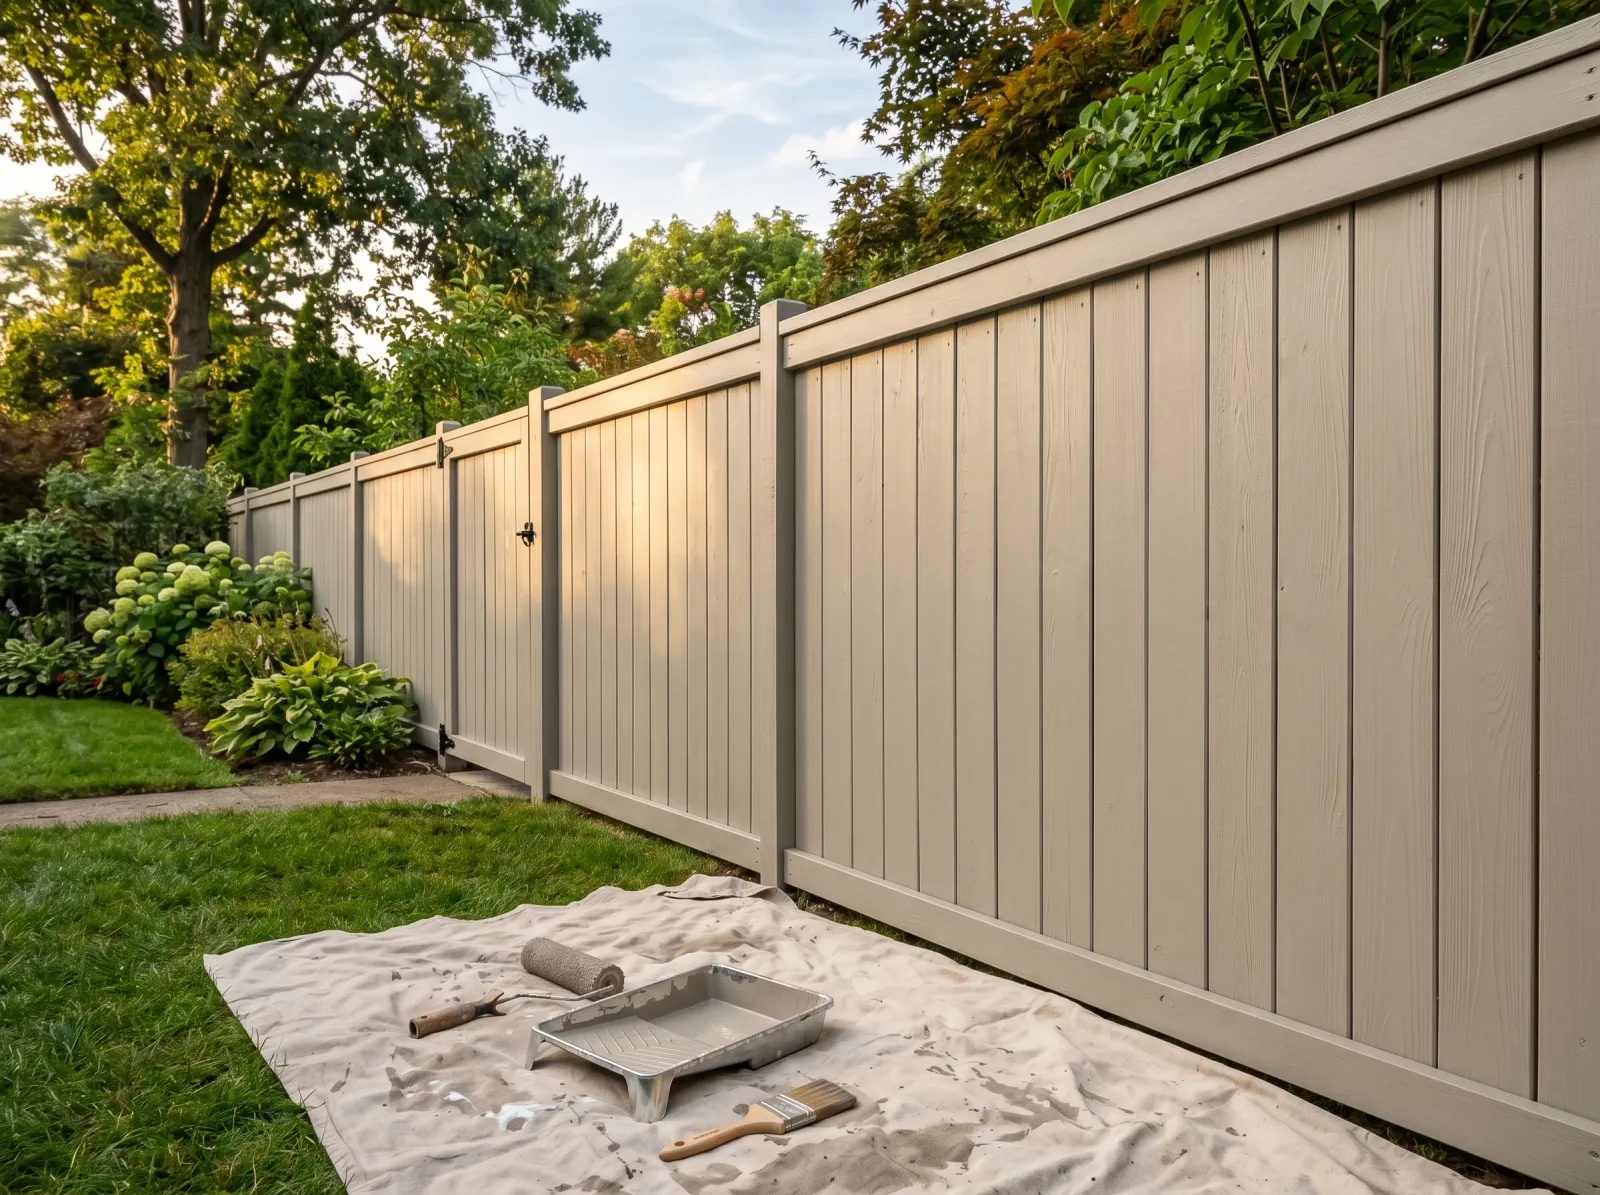
Brush and back-roll. Two thin coats build mil thickness without sagging. Drive the paint into the grain.
100% acrylic latex exterior. Two coats, four hours between them, brushed and back-rolled. Behr Premium Plus Exterior is the value pick at Home Depot. Sherwin-Williams SuperPaint Exterior is the contractor default if you have an SW account. Benjamin Moore Aura Exterior is the long-haul choice on a fence or deck rail you don’t want to touch again for a decade. All three carry enough acrylic binder to handle the seasonal movement PT boards put a film through.
If you want the grain to show, run a solid-color acrylic stain instead. Same primer rule. The film is thinner but the bond is the same.
Cut in around posts, end caps, and the deck-to-house junction first. Roll the field. Back-brush each board before moving on. Stop mid-board and you get lap marks, and lap marks show up the second the morning sun hits them.
Watch the dew point. Most acrylics want 50°F minimum, 90°F maximum, and at least 5°F above dew point so the film dries before condensation hits. South-facing fence sections get painted early morning or late afternoon, never noon. PT in direct sun runs 30°F hotter than the air and the paint flashes the solvent off before the film levels.
Two thin coats beat one thick coat every time. One thick coat sags, alligators, and never reaches full cure.
Step 7: Cure
Touch-dry in 2–4 hours. Recoat-dry in 4. Full cure runs 30 days. During cure, don’t pressure-wash, don’t drag furniture across a painted deck, don’t lean a ladder against a fresh fence panel.
For deck boards specifically: 7 days minimum before light foot traffic. 30 days before heavy traffic or a grill. Walking on a soft film prints shoe patterns into it that lock in permanently.
Common Mistakes
- Painting straight off the truck. Standard PT ships at 35–75% moisture content. The film peels off in sheets inside one season. Test first; wait six months by default.
- Skipping the sand. Mill glaze is slick. Primer and topcoat both peel off it. 120-grit on the broad faces, 80-grit by hand on the cut ends.
- Water-based bonding primer instead of oil. Stix and 1-2-3 are great elsewhere, but on PT the bond fails too often. Cover Stain or KILZ Original Exterior, both oil.
- Clear water-repellent under the paint. Traps moisture against the film. Skip it. The oil primer is the seal.
- Pressure-washing fresh PT to “clean” it. Fuzzes the grain. Use a brush and rinse with a garden hose.
- One thick coat instead of two thin. Standard PT moves seasonally and a thick film cracks at the joints. Two thin coats handle the movement.
- Cheap contractor-grade exterior topcoat. Low binder load chalks in two years on a south face. Spend up.
Maintenance and Longevity
Properly painted PT lasts 5–8 years on a fence, 4–6 on a deck floor that gets foot traffic, 8–10 on rail and balustrade that mostly just sees weather. Painted PT decks fail at the screw lines and at the cut ends first; watch for hairline cracks and re-prime any breakthrough spots within a season.
Wash annually with diluted Krud Kutter and a soft brush, no pressure washing. Touch up at year 3 if the south-facing sections start chalking. The full recoat is at year 6–8 on a fence and year 4–6 on a deck floor.
Skipping the moisture wait is what’ll bite you in two years. Standard PT looks dry on the surface inside a month, but the cells are still wet halfway through. Paint laid over that wood feels solid for the first winter and then sheets off the south face when summer heat drives the trapped water through the film. Test the moisture, wait the wait, prime with oil, and the job holds.
Related
Frequently asked questions
How long should pressure-treated wood dry before painting?+
What kind of paint should I use on pressure-treated wood?+
Can you paint pressure-treated wood right after buying it?+
Do I need to prime pressure-treated wood?+
How do you tell if pressure-treated wood is dry enough to paint?+
What is mill glaze on pressure-treated lumber?+
Does pressure-treated wood need to be sealed before painting?+
- How to paint exterior wood — substrate guide
- How to paint a wood fence — full project
- Best exterior paint — round-up
- How to fix peeling exterior paint
- Oil-based vs water-based paint