How to Paint a Crib (Non-Toxic and Baby-Safe)
Painting a crib safe means zero-VOC paint and a full cure before baby sleeps in it. The right products, the real timeline, and the prep that makes it last.


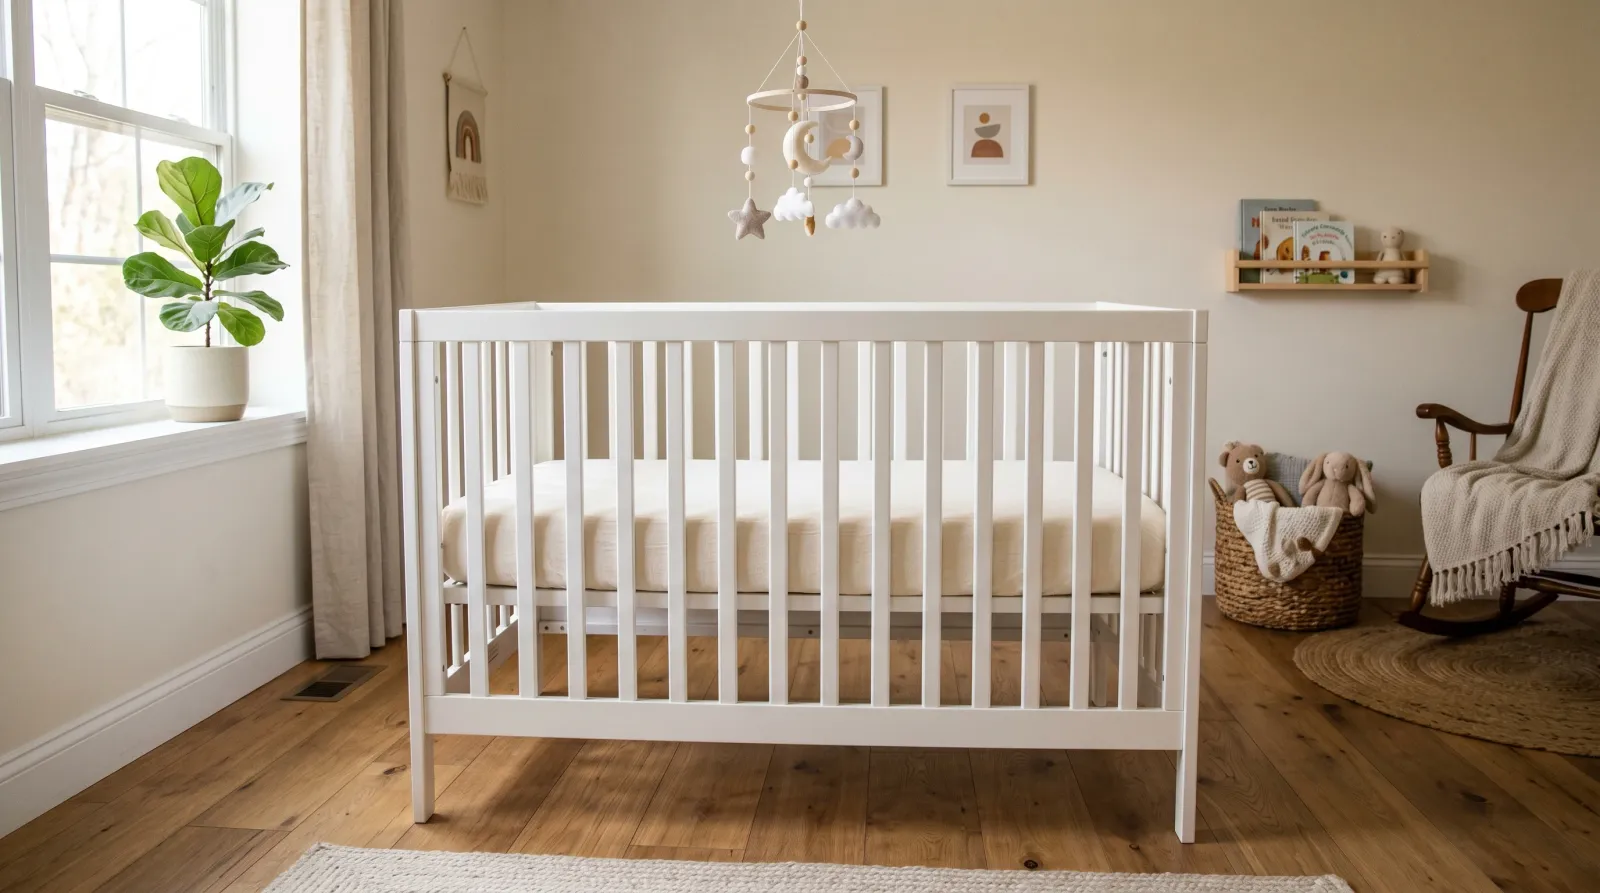
Okay, so you have a crib. Maybe it’s a hand-me-down from your sister, maybe it’s a yard-sale find, maybe it’s a perfectly good new one in a color you can’t live with. And the one thing stopping you from painting it is the fear that you’ll do something that hurts the baby. That fear is the right instinct. A crib is the one piece of furniture a child spends twelve hours a day breathing next to and, eventually, chewing on.
Here’s the thing: painting a crib safely isn’t hard. It’s two decisions and one long wait. The decisions are which paint and which topcoat. The wait is the full cure before the baby sleeps in it. Get those right and the rest is ordinary furniture painting.
What You’ll Get
A crib that looks like new, finished in a paint that’s safe to breathe and safe to chew, sealed so it survives a teething baby. A weekend of work, then about a month of patience before it goes back in the nursery.
Honest Take on Difficulty and Time
The painting is easy. Easier than a room, honestly, because there’s no ceiling and no ladder. The catch is the timeline, and this is the part people get wrong.
Active work is one weekend. The cure is 30 days. That’s not a typo and it’s not me being overcautious. Zero-VOC paint feels dry in hours and looks done the next morning, but the film keeps hardening and releasing trace amounts for about a month. You want that finished before the baby is sleeping inches from it and gumming the rail.
So plan backward from the due date. If the baby comes in July, paint in May. Don’t paint the crib the week before.
| Stage | Active time | Elapsed |
|---|---|---|
| Disassemble, clean, sand | 1–2 hrs | Saturday morning |
| Prime | 1 hr | Saturday afternoon |
| Two coats of paint | 2 hrs | Sunday |
| Topcoat | 1 hr | Sunday evening |
| Cure before use | none | 30 days |
What You’ll Need
Paint and Primer
The whole project lives or dies on the paint. You want zero VOC, which means volatile organic compounds, the solvents that off-gas and give fresh paint its smell. (If you want the full version of why those matter indoors, see what VOCs are.) For a crib, zero is the target, not “low.”
Three lines that are genuinely made for this: Benjamin Moore Natura, ECOS Paints, and Lullaby Paints, which is marketed specifically for cribs and nursery furniture. All three are water-based and carry a clean indoor-air certification. A quart covers a standard crib with two coats and leftovers.
You also need a bonding primer, because most cribs have a slick factory finish that paint won’t stick to. INSL-X Stix or Zinsser Bulls Eye 1-2-3 Plus, water-based, one coat. (More on choosing one in the best primer round-up.)
For the SKU-by-SKU comparison, the best zero-VOC paint round-up has the picks. Buy satin or semi-gloss sheen, never flat. A baby drools and leaks on a crib daily, and you need a surface you can wipe.
Tools
A 2-inch angled brush for the spindles and routed details, a 4-inch foam-mini roller for the flat rails and panels, a 220-grit sanding sponge, a tack cloth, a drop cloth, and a cordless drill for the hardware. Nothing exotic.
Step 1 — Take It Apart, Clean It, Bag the Hardware
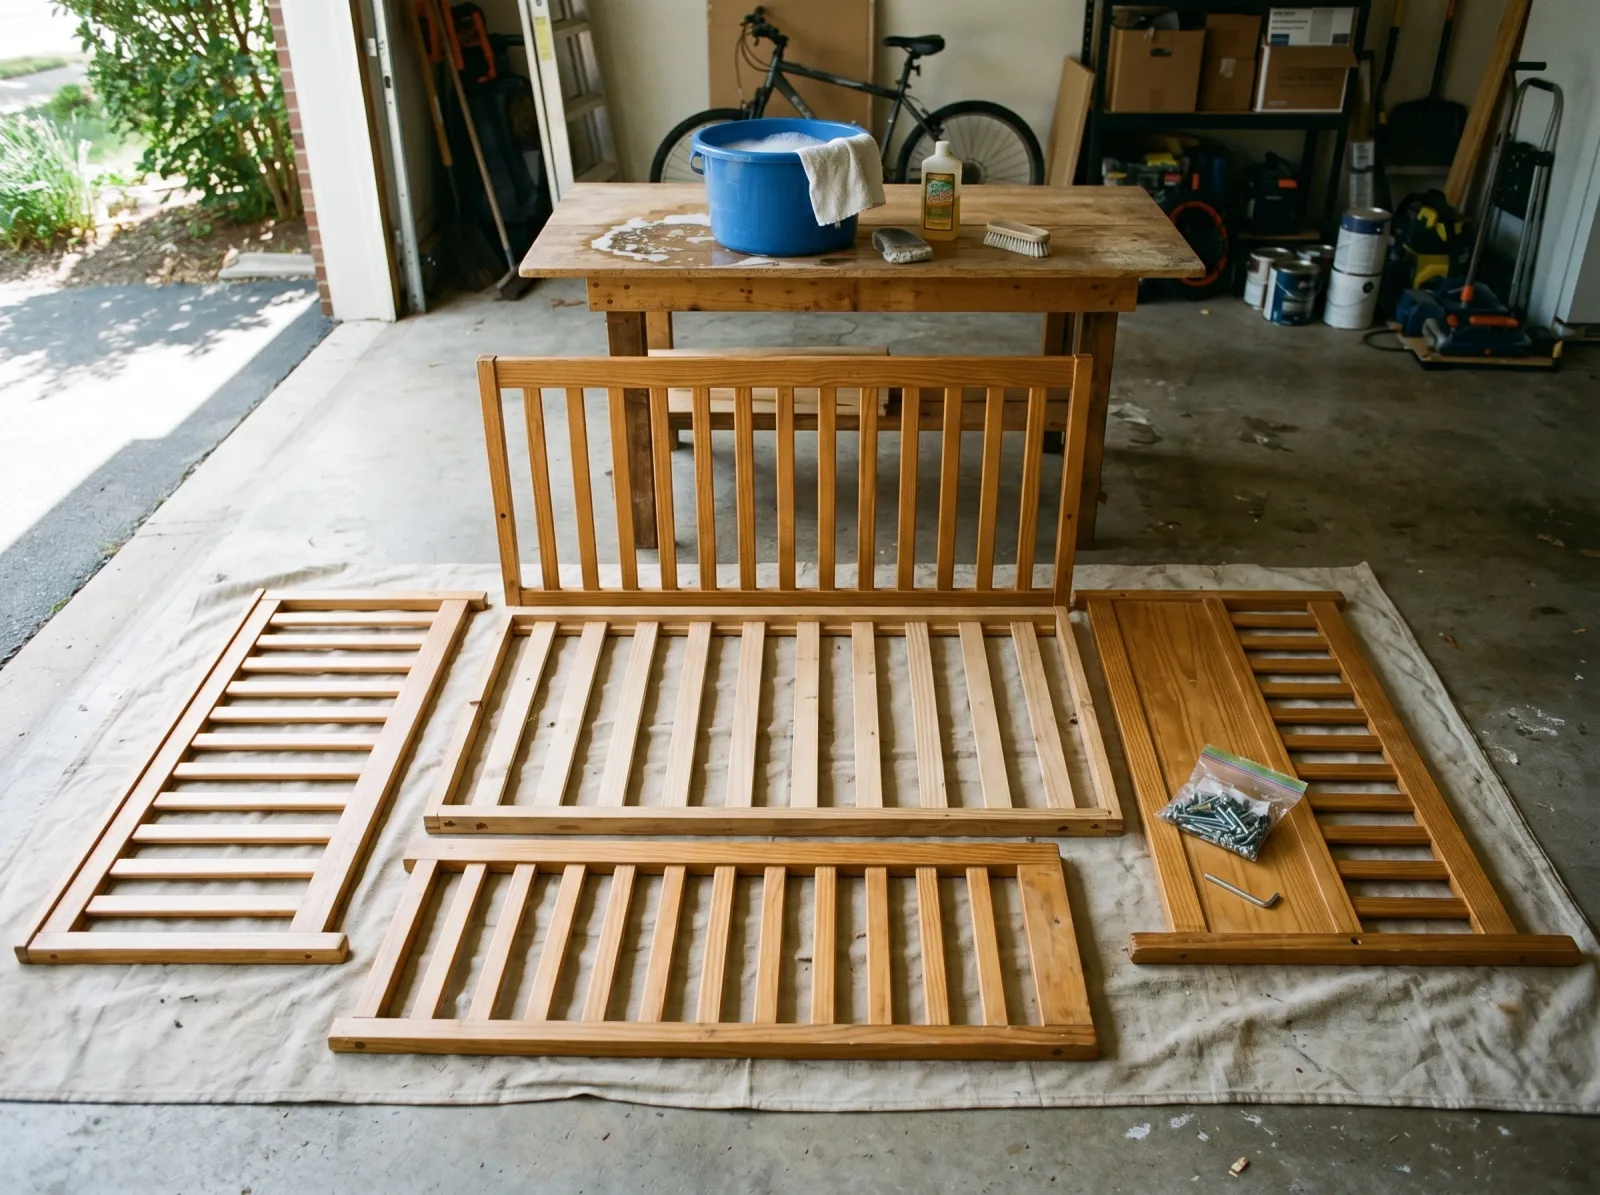 Rails and panels off, every screw in a labeled baggie, the old finish washed down.
Before anything, if the crib is old or you don’t know its history, test for lead. A hardware-store lead swab takes two minutes. A US crib sold new in the last few decades is lead-free by law, but a pre-1978 hand-me-down is a real risk. If the test is positive, stop and read the lead section in the FAQ before you touch sandpaper.
Lead clear? Take the crib apart. Unscrew the rails from the end panels, pull the mattress base, and lay everything flat. Drop every screw and bolt into a labeled baggie. You will lose them otherwise, and crib hardware is not generic.
Wash every surface with mild dish soap and a damp rag. Cribs carry an invisible film of skin oil and old furniture polish that paint won’t bond through. Let it dry fully.
Watch out for painting the crib assembled. You’ll get drips in the joints, miss the inside faces of the spindles, and the parts will dry stuck together at the contact points. Flat and apart is the only way.
Step 2 — Scuff-Sand and Prime
 A light 220 scuff, then one coat of water-based bonding primer on every face.
Scuff every surface with the 220-grit sponge. You’re not stripping, just roughing the gloss so the primer grabs. The finish should look hazy, not shiny, when you’re done. Vacuum the dust and wipe with a tack cloth.
Then one coat of bonding primer. Roll the flat rails and panels with the foam-mini, brush the spindles and corners with the 2-inch angled brush. One coat of Stix or 1-2-3 Plus is enough. Let it dry overnight, then knock down any nibs with a light 220 pass and tack-cloth again.
Watch out for drips pooling between the spindles. Brush them out while wet. A dried drip in a tight spot is a pain to sand.
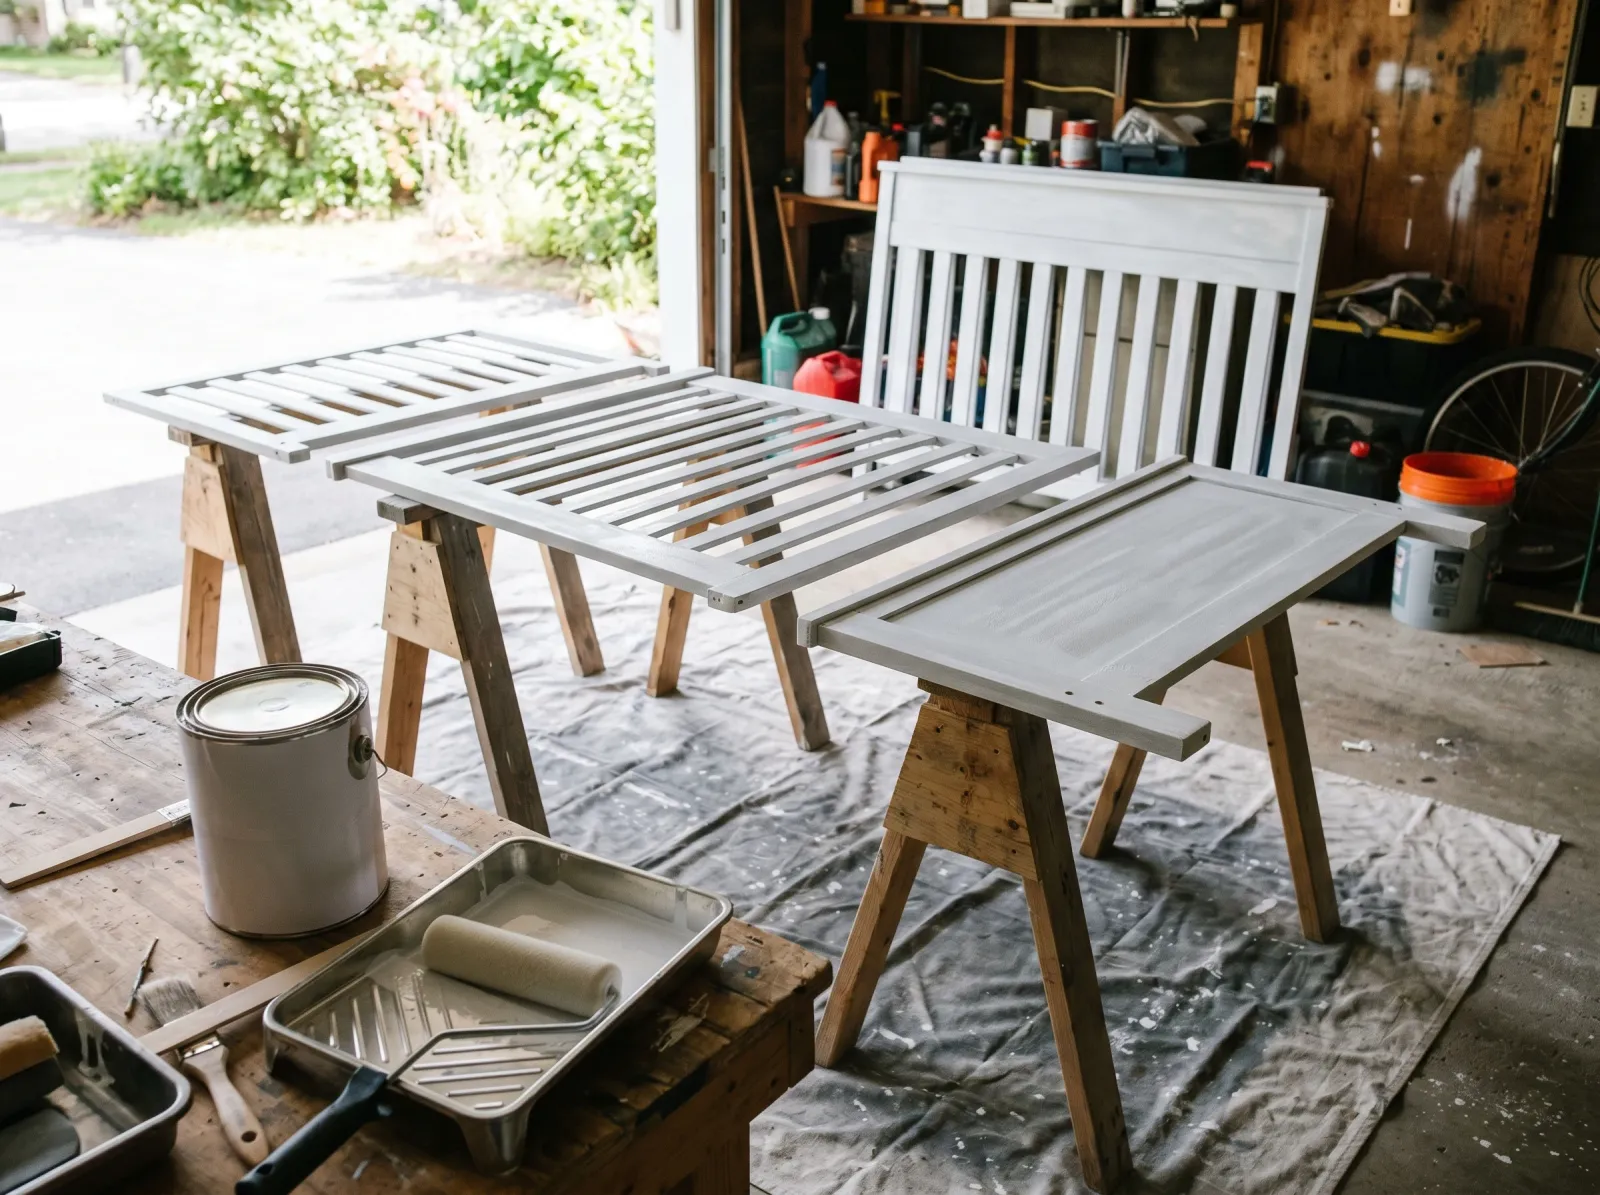
Step 3 — Two Thin Coats of Zero-VOC Paint
 Thin even coats, rolled on the flats and brushed on the spindles.
Two thin coats beat one thick coat every time. Thick paint sags on the vertical spindles and never cures as hard, which is exactly what you don’t want on a chewable surface.
Roll the flat faces, brush the spindles and the routed edges. Dip the brush only a third of the way in and tap once on the side of the can. Keep the coats thin. Let the first coat dry the full time on the can label (usually 2 to 4 hours for zero-VOC water-based) before the second.
Paint the inside faces of the rails too, the parts that face the mattress. That’s where the baby’s hands and mouth land most.
Watch out for the over-loaded brush on spindles. Paint runs down a vertical rod and dries as a ridge. Light coats, check for runs for the first ten minutes.
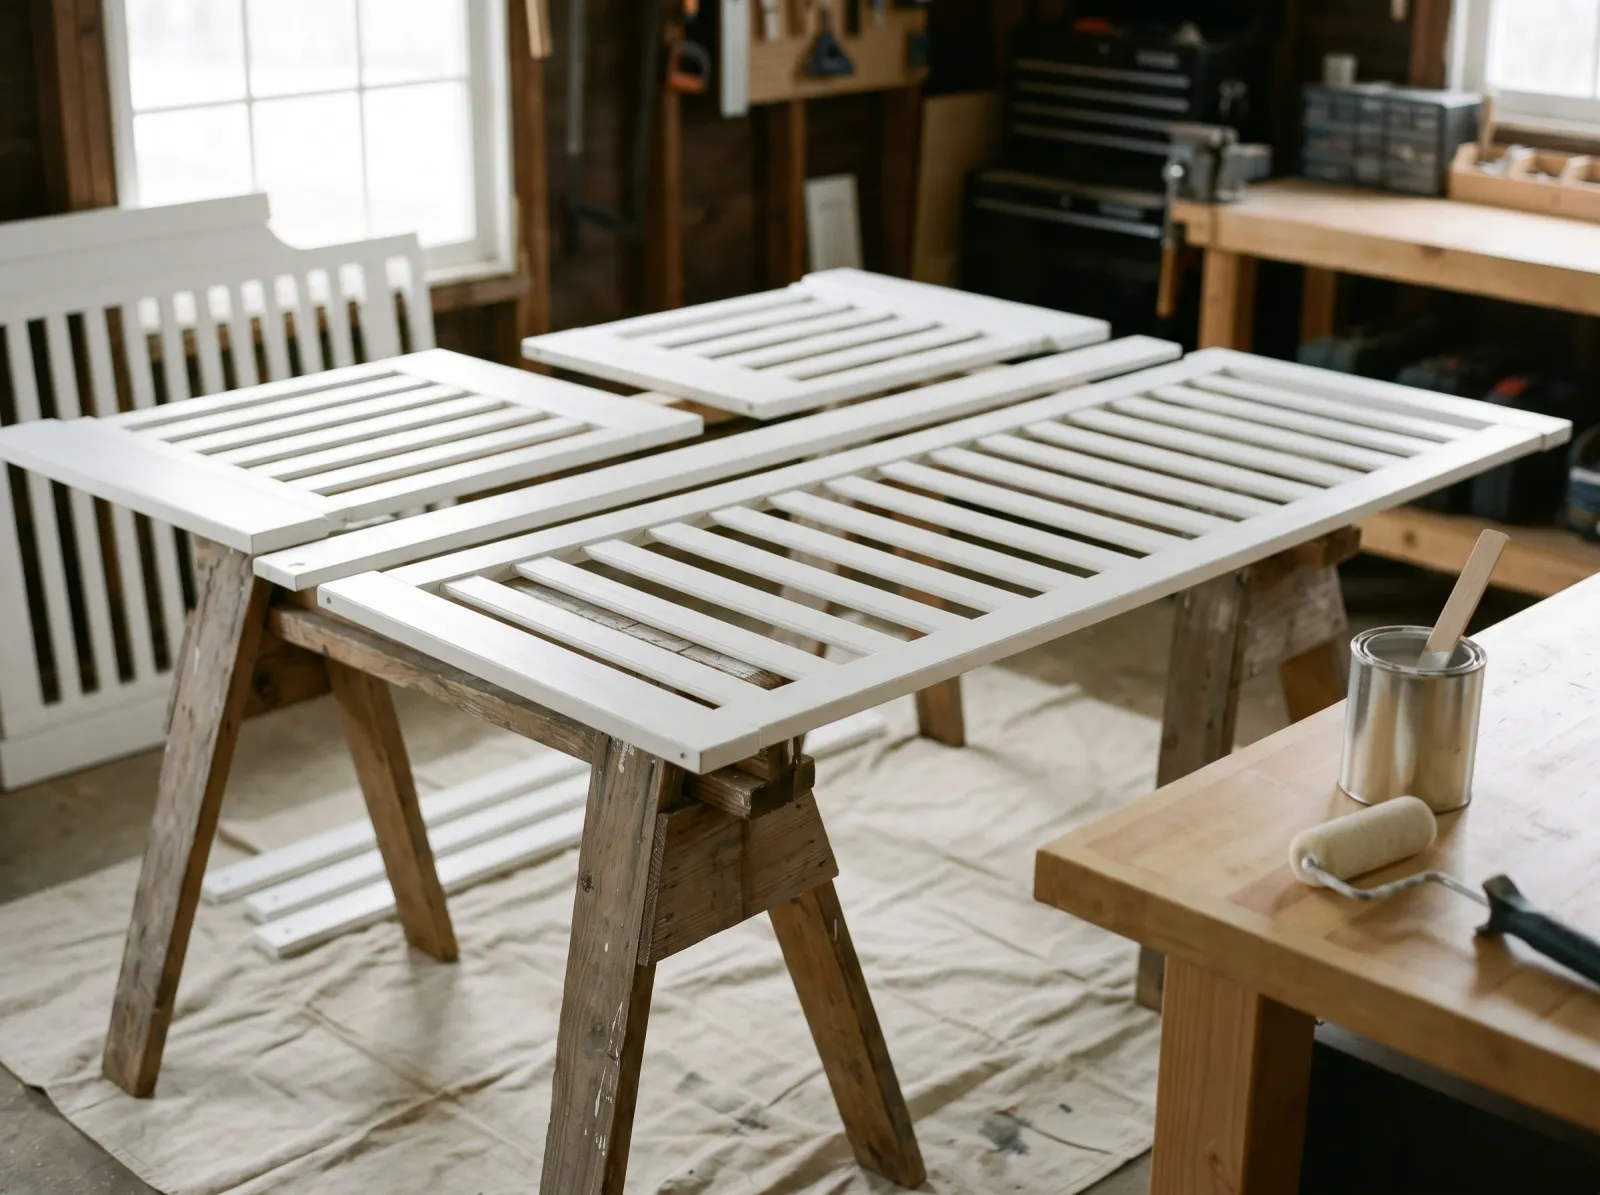
Step 4 — Seal It with a Clear Topcoat
 A water-based clear topcoat so the finish survives teething, then the long cure.
A topcoat isn’t optional on a crib. The baby will gnaw the top rail, and a clear sealer is what stands between little teeth and your paint. Use a water-based clear like Minwax Polycrylic or ECOS Clear, in satin. Water-based, so it dries water-clear and won’t yellow your white over time. Oil-based polyurethane ambers, and it has solvents you don’t want here anyway.
Two thin coats, brushed on with a soft synthetic brush. Light, even, no puddling. Let each coat dry the time on the can.
This is the same logic as sealing chalk paint on any furniture. If you want the broader version of topcoat choices, the furniture repainting guide covers polycrylic versus wax in detail. For a crib, it’s polycrylic every time. Wax has an amber tint and isn’t chew-safe.
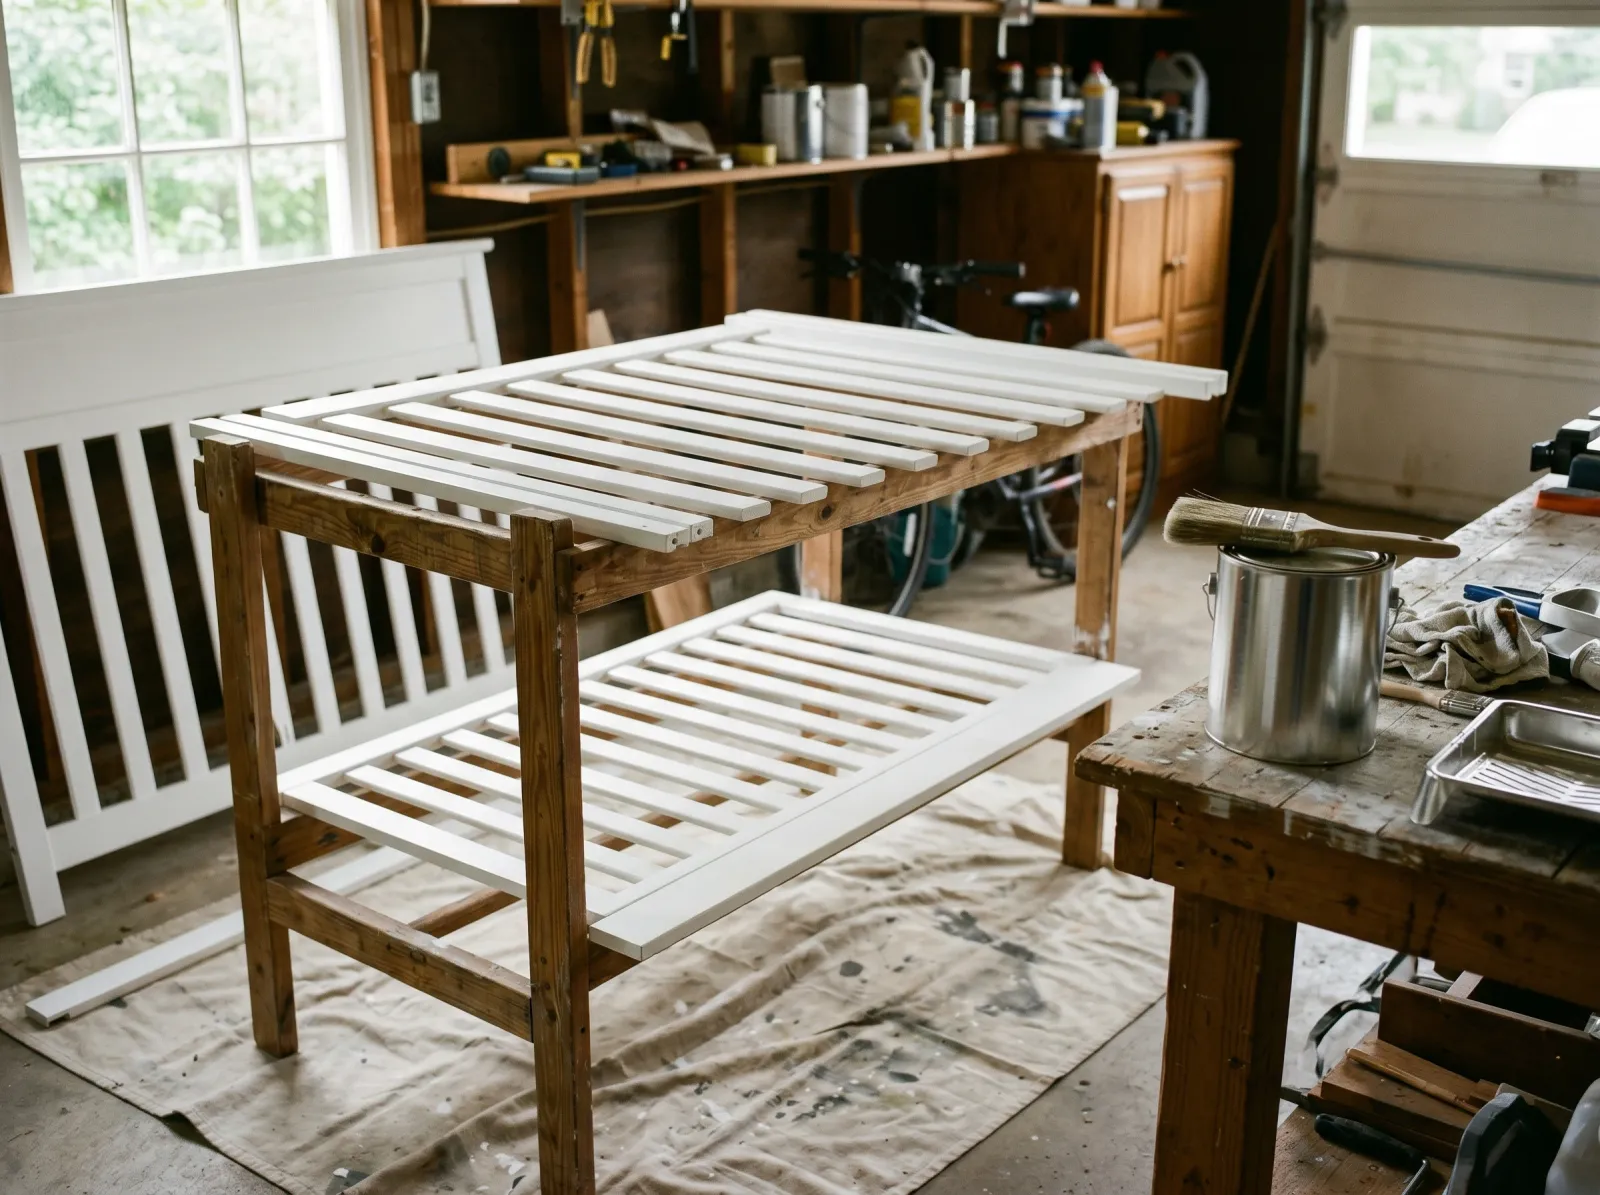
Step 5 — Cure, Then Reassemble
 Hardware back in, rails tight, mattress in. Fully cured and ready.
Here’s where patience does the work. Leave the parts spread out, off each other, somewhere with airflow for the full 30 days. Don’t stack the rails, or they’ll fuse at the contact points and tear when you pull them apart.
A garage, spare room, or covered porch works. You want air moving over every surface so the film cures evenly and the last trace of off-gassing clears.
After 30 days, reassemble. Reinstall the hardware, tighten every bolt (cribs are required to be rock-solid, no wobble), drop the mattress base back in. Give the whole thing a wipe with a damp cloth. Now it’s ready.
Common Mistakes
- Putting the baby in it before a full cure. This is the big one. Zero-VOC still off-gasses trace amounts for about a month, and uncured paint stays soft and chewable-off. Dry is not cured. Wait the 30 days.
- Using “low-VOC” instead of zero-VOC. Low still has solvents. For a crib, zero is the standard. Read the can, look for a Greenguard Gold or comparable cert.
- Skipping the bonding primer. Factory crib finishes are slick, and paint peels off in flakes a baby could put in their mouth. One coat of Stix or 1-2-3 Plus is non-negotiable on anything that isn’t raw wood.
- Skipping the lead test on an old crib. A pre-1978 crib can have lead paint, and sanding it spreads lead dust, the worst-case scenario. Two-minute swab first, every time.
- No topcoat. Bare painted rails chip and chalk where the baby chews. Seal with a water-based polycrylic so the finish holds.
Cure Schedule
| Time after final coat | What’s safe |
|---|---|
| 4 hours | Touch dry; don’t move the parts |
| 24 hours | Re-handle gently, still curing |
| 7 days | Reassemble if you must, but keep baby out |
| 30 days | Full cure; safe to sleep in and chew on |
The 30-day line is the one that matters. Everything before it is “looks done, isn’t.”
Maintenance
A primed, painted, and sealed crib holds up for years, easily past the time any one kid needs it. Wipe spills and drool with a damp cloth and mild soap; the satin sheen and the topcoat make that easy.
For a chip, clean the spot, dab a little of your leftover paint with a small artist’s brush, let it cure a few days, then a dab of topcoat over it. Don’t repaint a whole rail for one chip; the touch-up reads brighter until it cures and blends.
Cost
| Item | Cost |
|---|---|
| Zero-VOC paint (1 quart) | $20–$45 |
| Bonding primer (1 quart) | $15 |
| Clear topcoat (1 pint) | $12 |
| Brush, foam roller, sponge | $20 |
| Tack cloth, drop cloth | $10 |
| Total | $50–$110 |
A hand-me-down crib plus $80 in materials beats a new $250 crib, and you get the color you actually want.
A Specific Recommendation
First crib, unsure where to start: a quart of Lullaby Paints or Benjamin Moore Natura in satin, a quart of INSL-X Stix, a pint of Minwax Polycrylic in satin, and a 2-inch angled brush. Test for lead Friday night, wash and sand Saturday morning, prime Saturday afternoon, two coats Sunday, topcoat Sunday night. Then leave it alone for a month. Mark the date on the calendar so you’re not tempted to rush it.