How to Color-Block a Wall
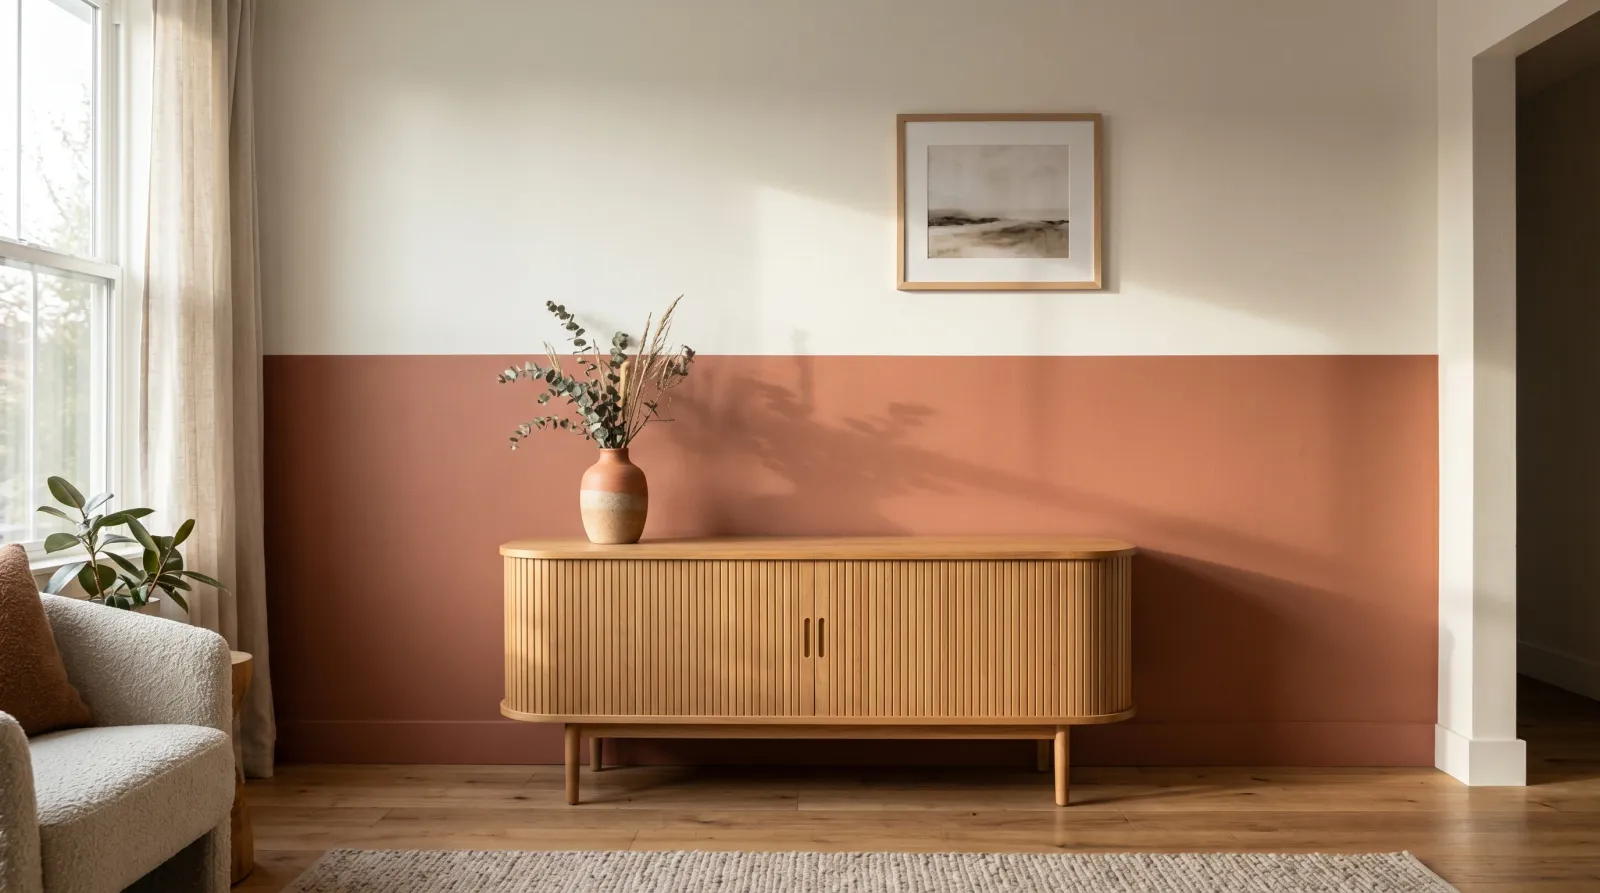
How to color-block a wall the way a stylist would: choosing two shades that sit well together, taping a clean line, and the order that keeps the edge crisp.

A color block is two colors agreeing to share a wall. One line between them, and everything depends on that line: how straight it is, how clean the edge reads, and whether the two shades actually want to sit next to each other or spend the next five years quietly arguing.
That second part is the one people skip. They tape a beautiful line between a warm putty and a cool slate, and the wall never settles. The colors pull in different directions and the eye keeps snagging on the seam. So before any tape comes out, we talk about which two colors to put up there.
What You’ll Get
One feature wall split into two colors by a single crisp line, done in an afternoon. From across the room it should read as one considered choice, not two leftover paints meeting by accident.
Honest Take on Difficulty and Time
This is an easy project with one hard inch: the line. Everything else is rolling paint inside a box. Plan an afternoon for a single block, plus overnight dry time before you decide whether you love it.
The line is where beginners lose the project. Bleed under the tape, a wobble from a freehand level, a seam that goes fuzzy on textured drywall. The steps below exist almost entirely to protect that one edge. Get the line right and the rest forgives you.
Choosing the Two Colors
This is the part a stylist obsesses over and a tutorial usually rushes. The colors carry the whole effect.
Start with undertone. Two colors that share an undertone sit together quietly, even at high contrast. A clay terracotta and a soft warm white both pull warm, so the line between them feels intentional. Pair that same clay with a grey-blue that reads cool and the wall never relaxes; the seam looks like two rooms colliding. If you’re unsure which way a color leans, the guide to reading undertones walks through how to spot the green hiding in a beige or the pink in a white.
Then think about lightness. You want enough gap in how light each color reads that they separate cleanly across the line. This is where LRV earns its keep. LRV is the light reflectance value, a 0-to-100 number on the back of most paint chips telling you how light or dark a color reads. Two colors twenty or more LRV points apart will read as distinct blocks. Closer than that and the line softens into a suggestion, which can be lovely on purpose and disappointing by accident. The explainer on LRV covers how to read those numbers off the chip.
A few pairings that almost always behave:
| Lower block | Upper block | Why it works |
|---|---|---|
| Warm clay / terracotta | Soft warm white | Shared warm undertone, big lightness gap |
| Deep forest green | Pale sage | One color, two depths, same family |
| Muted navy | Warm griege | Both quiet, navy grounds the lighter top |
| Soft black | Bone white | Maximum contrast that still reads calm |
The safest move of all: take one color you love and pair it with a much paler or much deeper version of the same chip. Same undertone guaranteed, because it’s the same pigment. The line does the drama for you.
Test both colors on the actual wall, in a wide swatch, at the hour you use the room most. A pairing that sings in midday sun can go muddy under warm evening LEDs. Color is a felt thing, not a chip thing, and the wall is the only honest test.
What You’ll Need
Paint and Primer
A quart of each color in the same sheen. Eggshell or matte both work; matching them matters more than which one you pick. A quart covers roughly 90 square feet over two coats, plenty for one block on a standard wall. For full sheen reasoning, the sheen guide covers what each finish does to the way a color reads.
You usually don’t need primer for a color block over an existing painted wall in good shape. The exception is going very dark over very light, or vice versa, where you’ll want a coat of tinted primer so the new color covers in two passes instead of four.
Tools
A 2-inch angled brush for the edge, a mini foam roller and a small nap roller for the field, low-tack delicate-surface tape, and a level you trust. The tape is the one thing not to cheap out on; delicate-surface tape releases clean and seals flat. Picks live in the painter’s tape round-up.
Step 1 — Clean, Patch, and Mark the Block
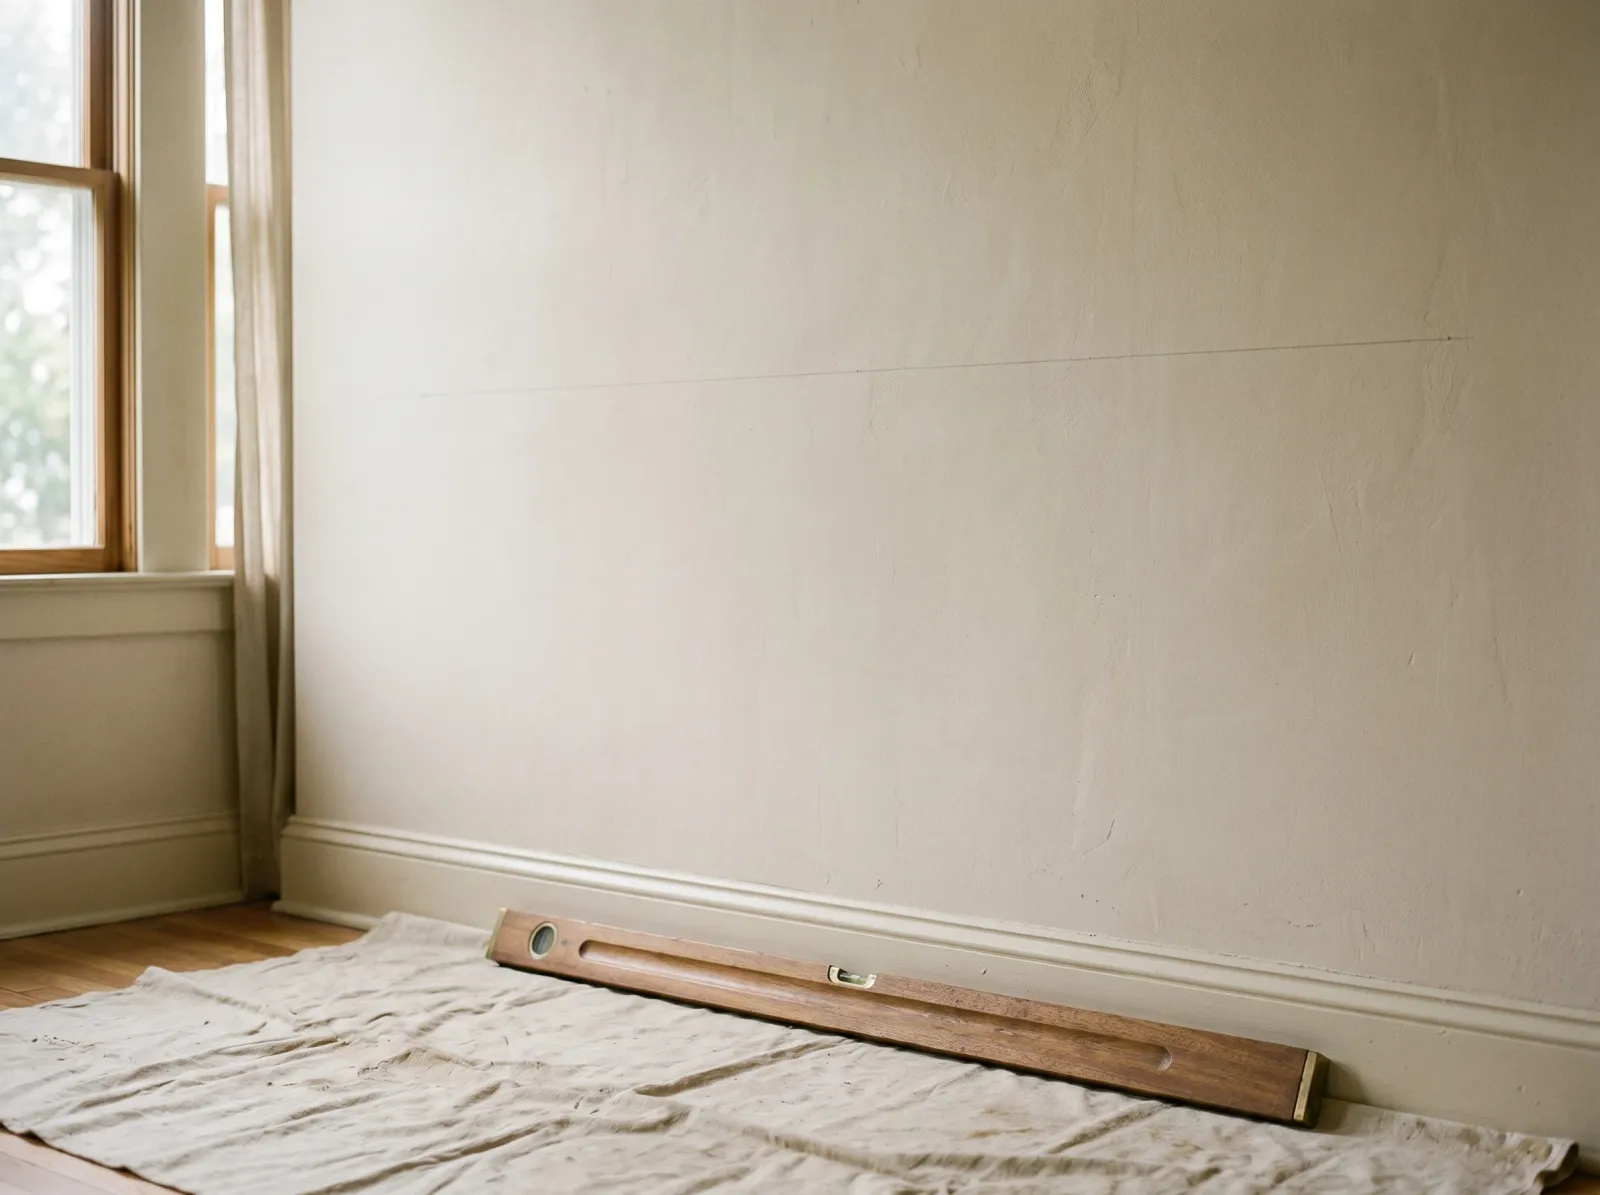 A pencil line drawn against a level, the block mapped before any tape goes down.
Wipe the wall down so the tape has a clean surface to grab. Patch any nail holes inside the block with spackle, let it dry, sand smooth. A hole that shows up after the color goes on is a hole you’ll repaint around.
Now mark the line. Decide the height (see the FAQ on where to land it) and draw a light pencil line using a level or a laser. A long bubble level works; a laser level is faster and dead accurate across a wide wall. Mark the whole perimeter of the block, not just the dividing line.
Watch out for trusting your eye on the level. A line that’s off by half a degree looks fine on the wall and screams crooked once the color goes in next to it.
Step 2 — Tape the Line and Seal the Edge
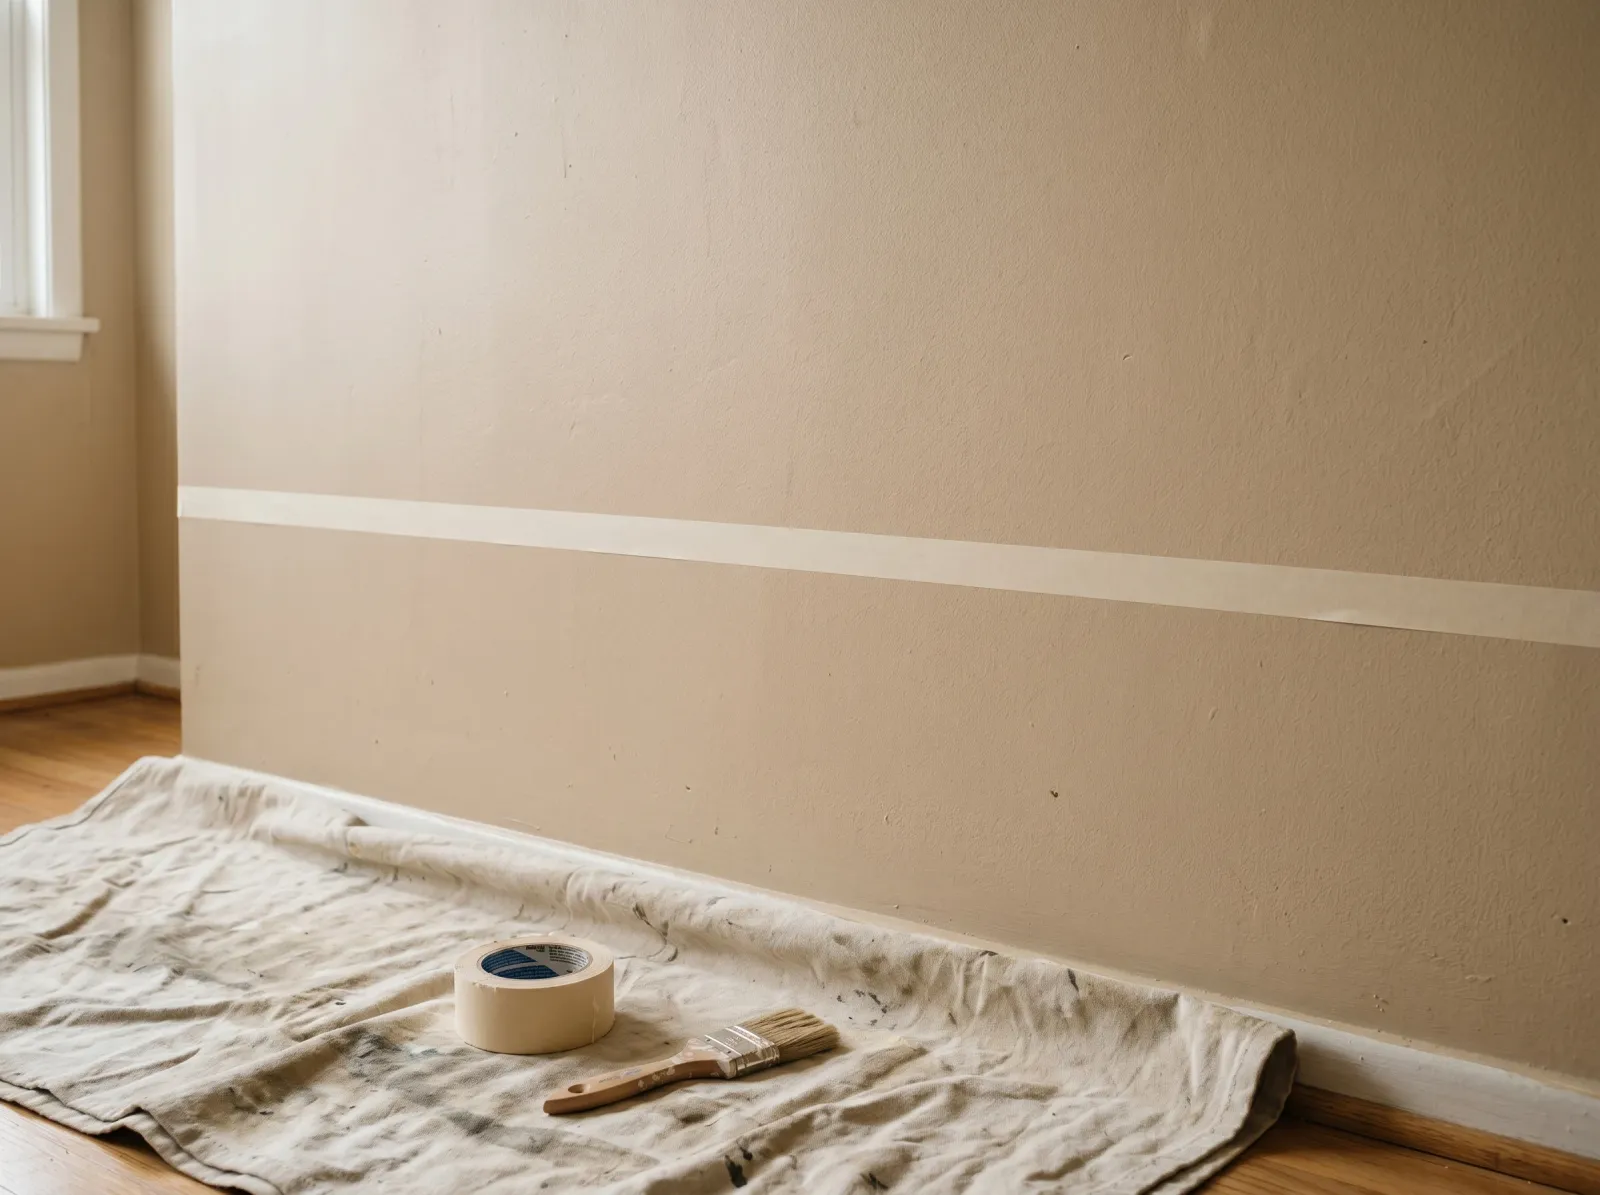 Low-tack delicate tape pressed flat along the pencil line, the edge sealed hard with a fingernail.
Lay the tape along the pencil line on the side that will stay the base color, so the tape protects the part you’re not painting. Press the whole length down, then burnish the painting edge hard with a fingernail or a plastic card. You’re closing every gap where paint could sneak under.
Here’s the move that makes the line crisp. Before the new color, brush a thin pass of the base wall color over the taped edge and let it dry. Any paint that wicks under the tape is the base color, so it disappears. When the second color goes on, the tape edge is already sealed and there’s nowhere for it to bleed.
Watch out for stretching the tape as you apply it. Stretched tape pulls back slightly as it relaxes and your straight line goes wavy.
Step 3 — Roll the First Coat of the New Color
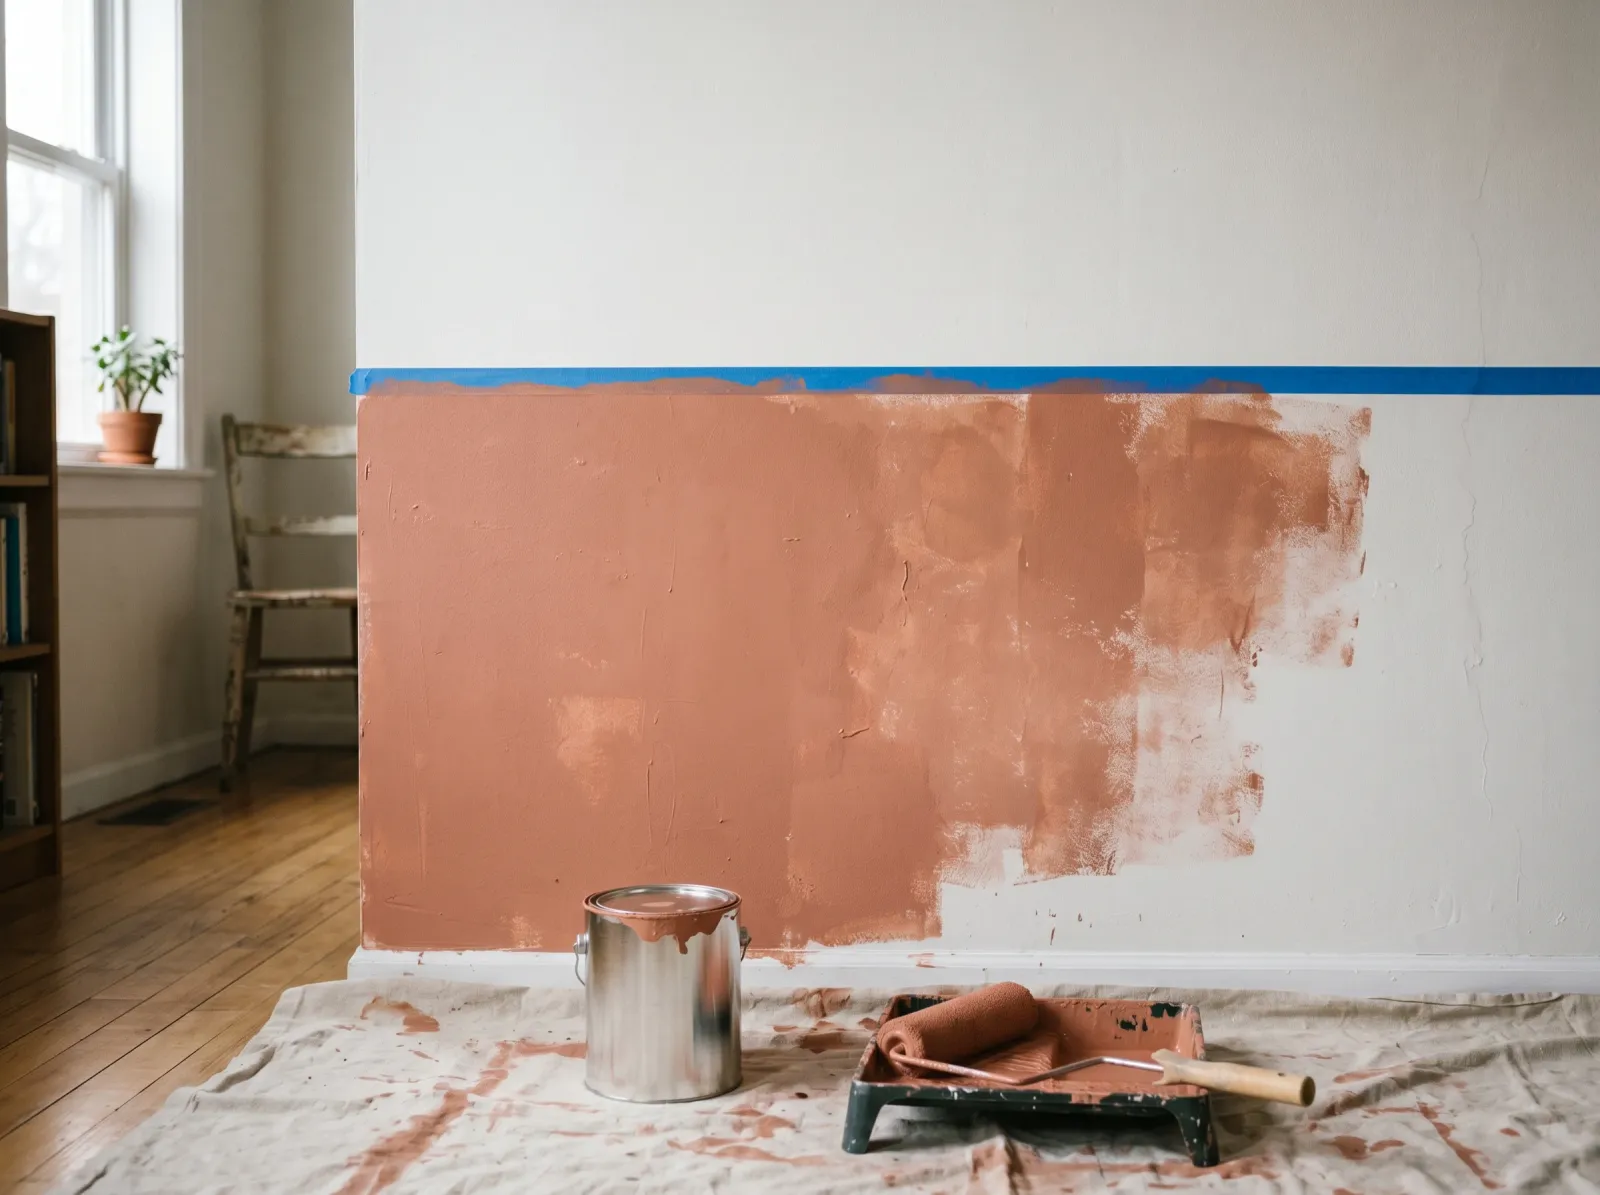 A thin seal pass of the base color over the tape, then the first coat of the new shade rolled into the block.
Cut in along the tape with the angled brush, then fill the block with the roller. Keep the brush strokes light right at the tape edge; you want a thin film there, not a heavy bead that drips under.
The first coat will look patchy and a little translucent. That’s normal. Don’t chase it with more paint while it’s wet. Let it dry the time the can says, usually about four hours for water-based wall paint, before the second coat.
Step 4 — Second Coat, Then Pull the Tape
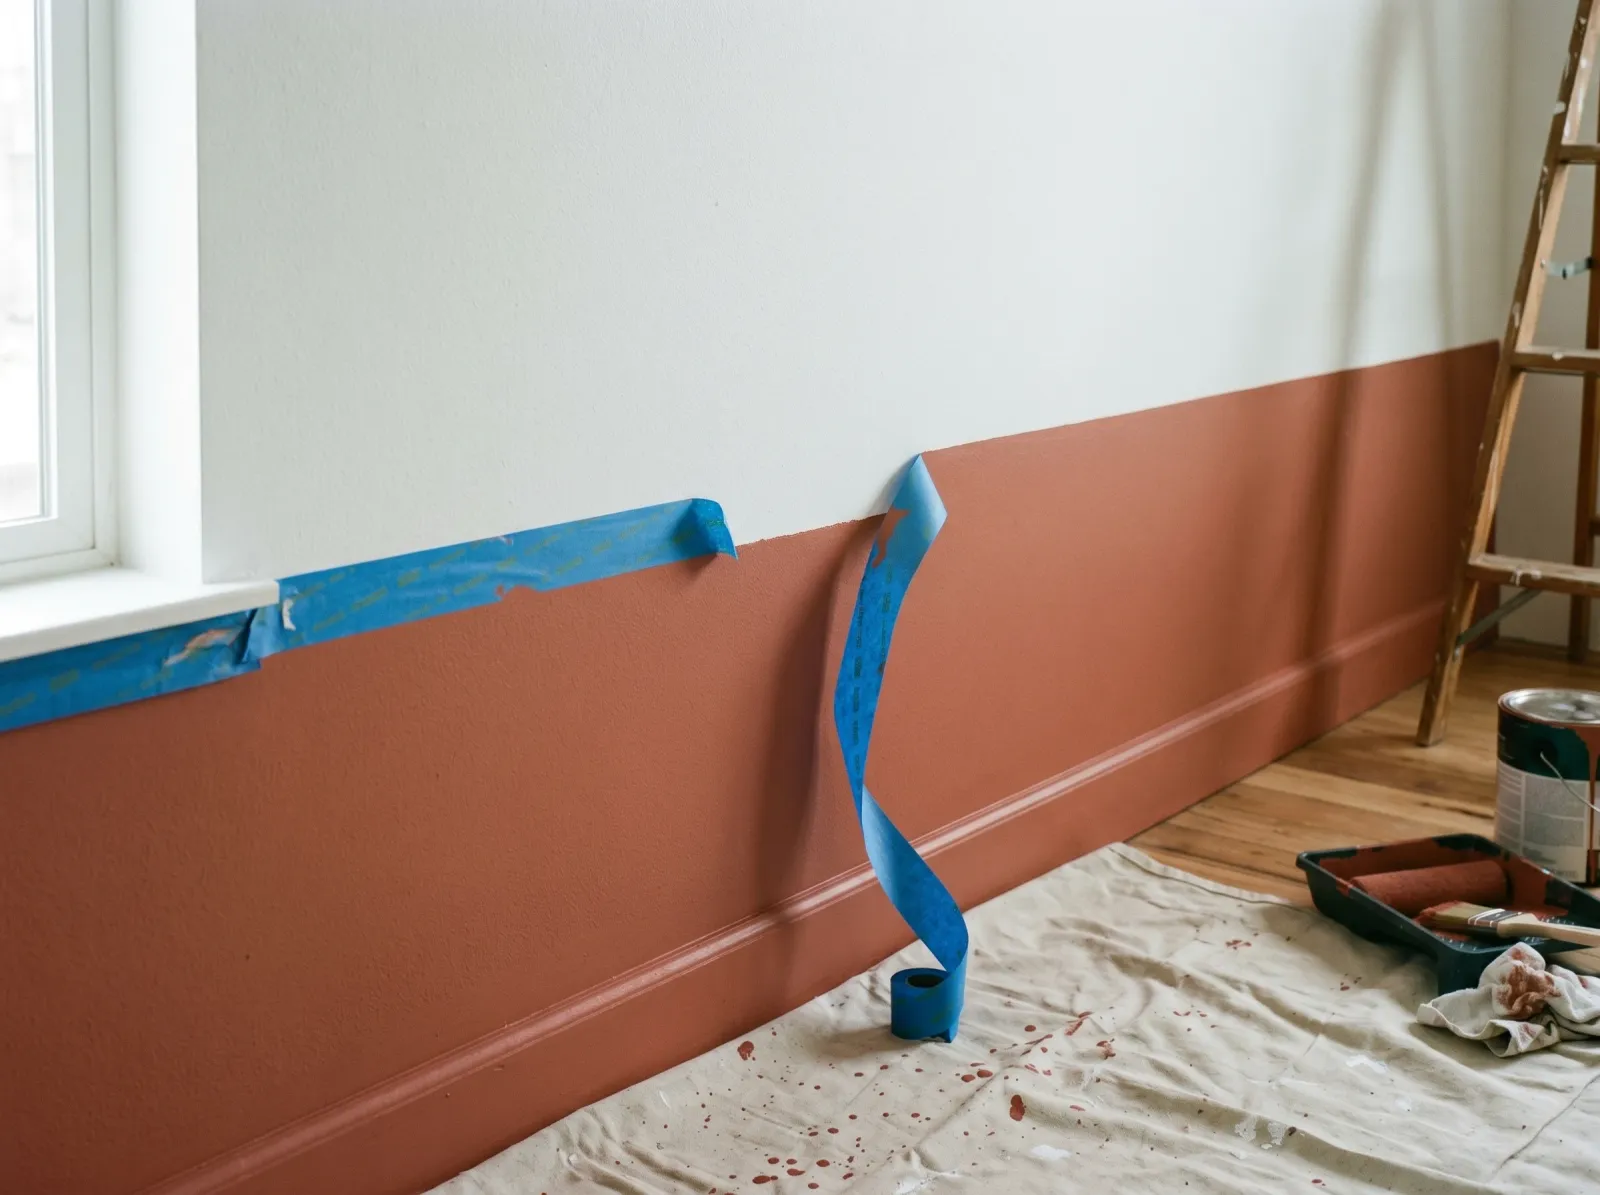 Second coat on, tape peeled back slow while the paint is just barely set, revealing a clean seam.
Roll the second coat. The color fills in and evens out. This is when the block stops looking like a project and starts looking like a decision.
Pull the tape while this coat is still slightly tacky, not bone dry. Peel slow, at a low angle, back over the tape on itself. Tacky paint releases clean; dry paint forms a film that bridges the edge and tears a ragged line when the tape comes off. If you missed the window, score along the edge with a fresh blade before pulling.
Watch out for the temptation to leave the tape “just until tomorrow.” That’s the single most common way a clean line goes ragged.
Common Mistakes
- Pairing colors that fight on undertone. A warm shade against a cool one never settles, no matter how sharp the line is. Match the undertone first; the line is the easy part.
- Skipping the base-color seal pass. This is the trick that separates a crisp line from a fuzzy one. Without it, the second color wicks under the tape and you get a feathered edge you can’t fix without redoing the whole block.
- Landing the line dead center. A 50/50 split reads static. Drop it to chair-rail height or push it up to two-thirds, and the wall gains some movement.
- Mismatched sheens. Matte on one side and eggshell on the other makes the seam catch light differently on each side, so the line shows even where the colors are close. Same sheen on both sides, always.
- Pulling the tape too late. Cured paint bridges the tape edge and tears. Pull while it’s tacky, or score the edge first.
- Color-blocking heavy texture and expecting a razor line. Tape can’t seal flush against orange-peel walls. On texture, accept a softer line or run the seam behind furniture.
Cure Schedule
| Time after the second coat | What’s safe |
|---|---|
| Slightly tacky | Pull the tape |
| 4 hours | Touch dry, don’t lean anything on it |
| 24 hours | Hang art, move furniture back against the wall |
| 7 days | Wipe gentle scuffs with a damp cloth |
| 30 days | Full cure, washable |
Maintenance and Touch-Ups
A color block holds up exactly like any other painted wall, which is to say years, not months. The only spot that ever needs attention is the line itself, and only if it gets bumped.
For a touch-up at the seam, re-tape a short section, seal the edge with the base color again, and dab in your leftover paint with a small brush. Keep both quarts labeled with the wall and the color code from the lid so a match is easy later.
Cost Breakdown
| Item | $ |
|---|---|
| Two quarts of wall paint | $30–$50 |
| Delicate-surface tape | $8 |
| Brush and mini roller | $20 |
| Drop cloth, spackle, sanding sponge | $12 |
| Total | $70–$90 |
If you already own the brush, roller, and level, a single block lands closer to $45 in just paint and tape. The cheapest way to color-block well is to spend the small money on good delicate tape and the patience on the line.