How to Paint a Closet Interior
Painting a closet interior is the easiest room in the house if you get the prep right. Sheen, ventilation, what to do with the shelves, and the order that keeps you from trapping yourself in a corner.

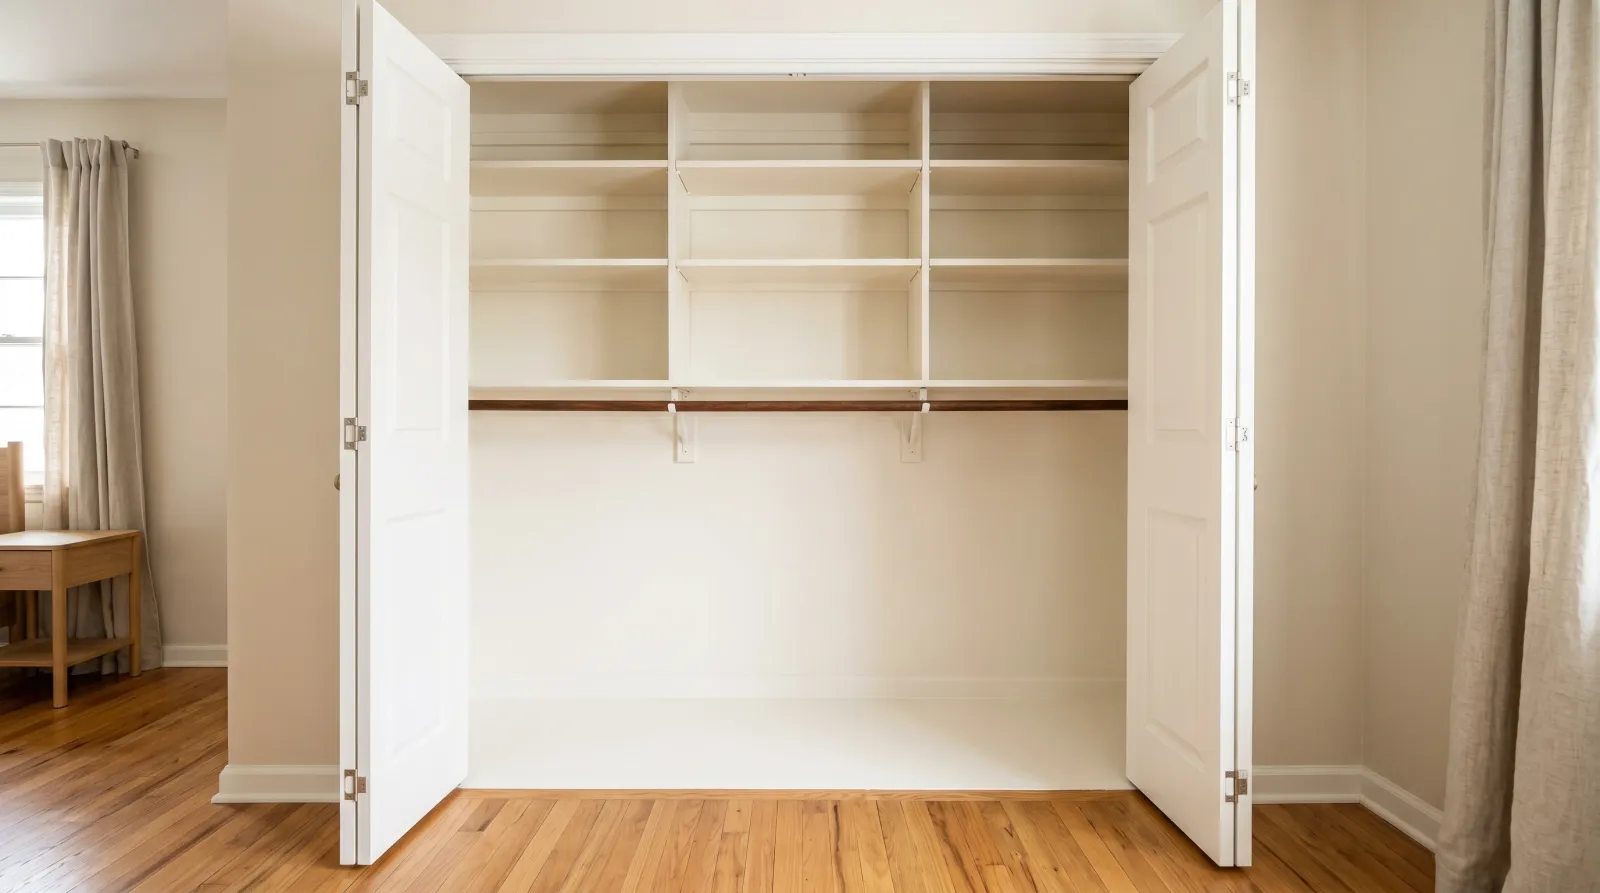
Okay, so the closet is the one spot in the house that never gets painted. You moved in, the walls of the bedroom got done, and the inside of the closet stayed whatever scuffed builder-beige it was on day one. Maybe there’s a water stain up in the corner. Maybe the back wall is gouged from years of hangers. And now you’ve decided to fix it, and you’re standing there wondering how you even paint a box this small without painting yourself into the corner.
Here’s the thing: a closet is the easiest paint project in the house. It’s small, nobody’s grading it from three feet away, and the worst that happens is you do a second coat. The two things that trip people up are the tight space and the lack of air. Both have simple fixes. Let’s go.
What You’ll Get
A clean, bright closet interior in one afternoon. White walls bounce light around so you can actually see what you’re grabbing, and a wipeable finish that doesn’t scuff every time a sleeve brushes past.
Honest Take on Difficulty and Time
A reach-in closet (the shallow kind with sliding or bifold doors) takes about three hours of actual work, spread across an afternoon. Empty it and prep, cut in and roll one coat, wait, roll the second. Then leave it overnight before clothes go back.
A walk-in closet is a bigger job, closer to a full day, because there’s a lot more wall and corners eat your time. Every inside corner has to be cut in by brush, and a walk-in has six or eight of them.
The space is the real challenge, not the skill. You’re working in a box with no room to step back, often with a shelf at face height. The fix is to take the shelves out and bring in a light. Both make a cramped job feel almost roomy.
What You’ll Need
Paint and Primer
A quart of wall paint in satin or semi-gloss (a finish with a little shine that wipes clean, unlike flat). A reach-in closet drinks about a quart for two coats. A walk-in needs closer to a gallon. Satin is the safe default. Step up to semi-gloss for a damp closet, a mudroom closet, or any closet that takes daily abuse.
Skip primer unless you need it. A normal repaint going light-over-light doesn’t want primer. If you’ve got a water stain, raw drywall from a patch, or you’re covering a dark color, spot-prime just those areas with Zinsser BIN or KILZ Original. For the deeper sheen question, see the sheen guide.
Tools
The big change from a regular room: ditch the 9-inch roller. It won’t fit a reach-in closet and it bangs the side walls. Use a 4-inch or 6-inch mini roller instead. Get a 2.5-inch angled brush for cutting in (painting the edges and corners a roller can’t reach), a small tray, painter’s tape, and a drop cloth.
The one tool nobody mentions: a light. A clip-on work light or a battery shop light. A closet is dark, and you cannot judge coverage in the dark. You’ll think you’re done, turn off the light, and find holidays (missed spots that show as thin patches) the next morning. Brush picks live in the best paint brushes round-up.
Step 1 — Empty It and Take the Shelves Down
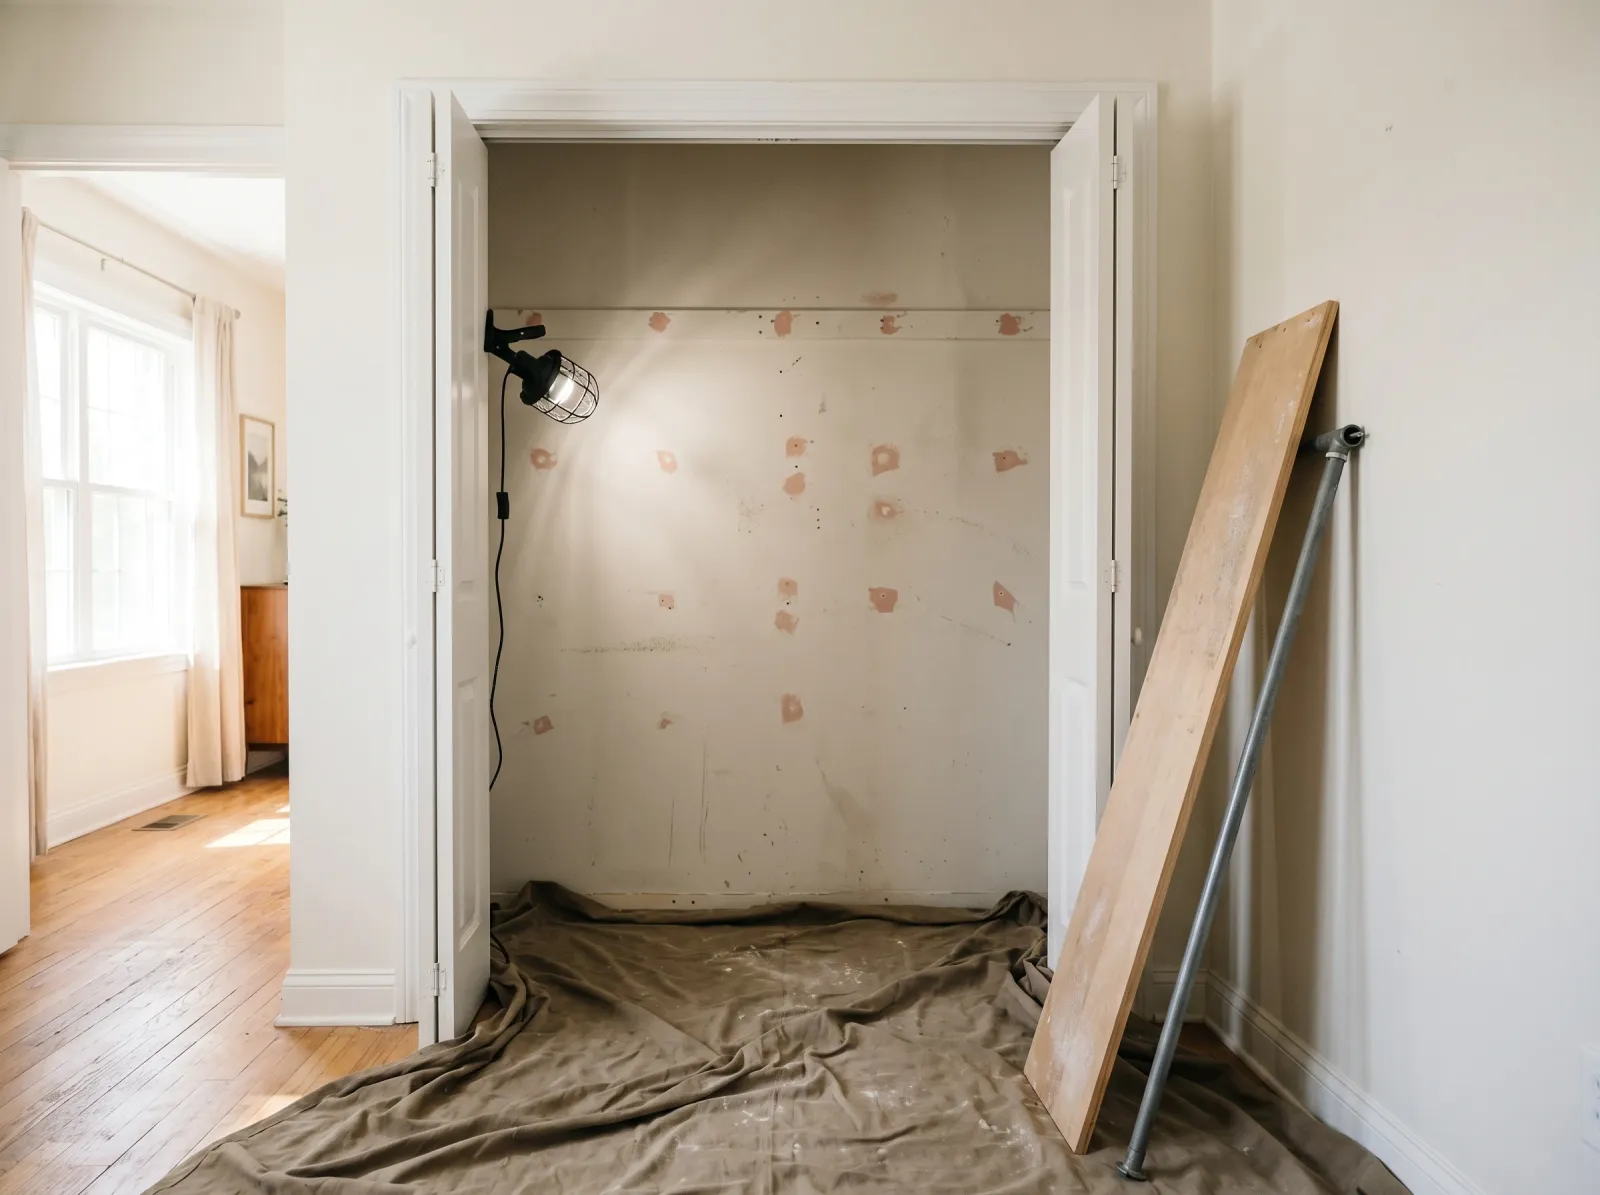 Everything out, the rod and brackets unscrewed, anchor holes spackled, floor covered.
Pull everything out. Clothes, boxes, that one shoe you’ve been looking for. Then unscrew the closet rod and the shelf. Most reach-in shelves sit on a few brackets and come down in five minutes with a screwdriver or drill. Put the screws in a labeled bag.
Yes, you can paint around the shelves. No, you shouldn’t if they come down easily. Paint pools in the corner where a shelf meets the wall, and you’ll never reach the strip of wall hiding behind the rod. Taking them out is faster than taping around them.
Spackle the old bracket holes if you’re moving the shelf, or any anchor holes you want gone. Press a little DAP DryDex in with the putty knife, scrape flush, let it dry, sand smooth with the 220 sponge.
Watch out for wire shelving clipped into plastic wall anchors. Don’t yank the anchor out, you’ll tear a chunk of drywall. Unscrew the shelf and leave the anchors, or back them out gently and spackle the hole.
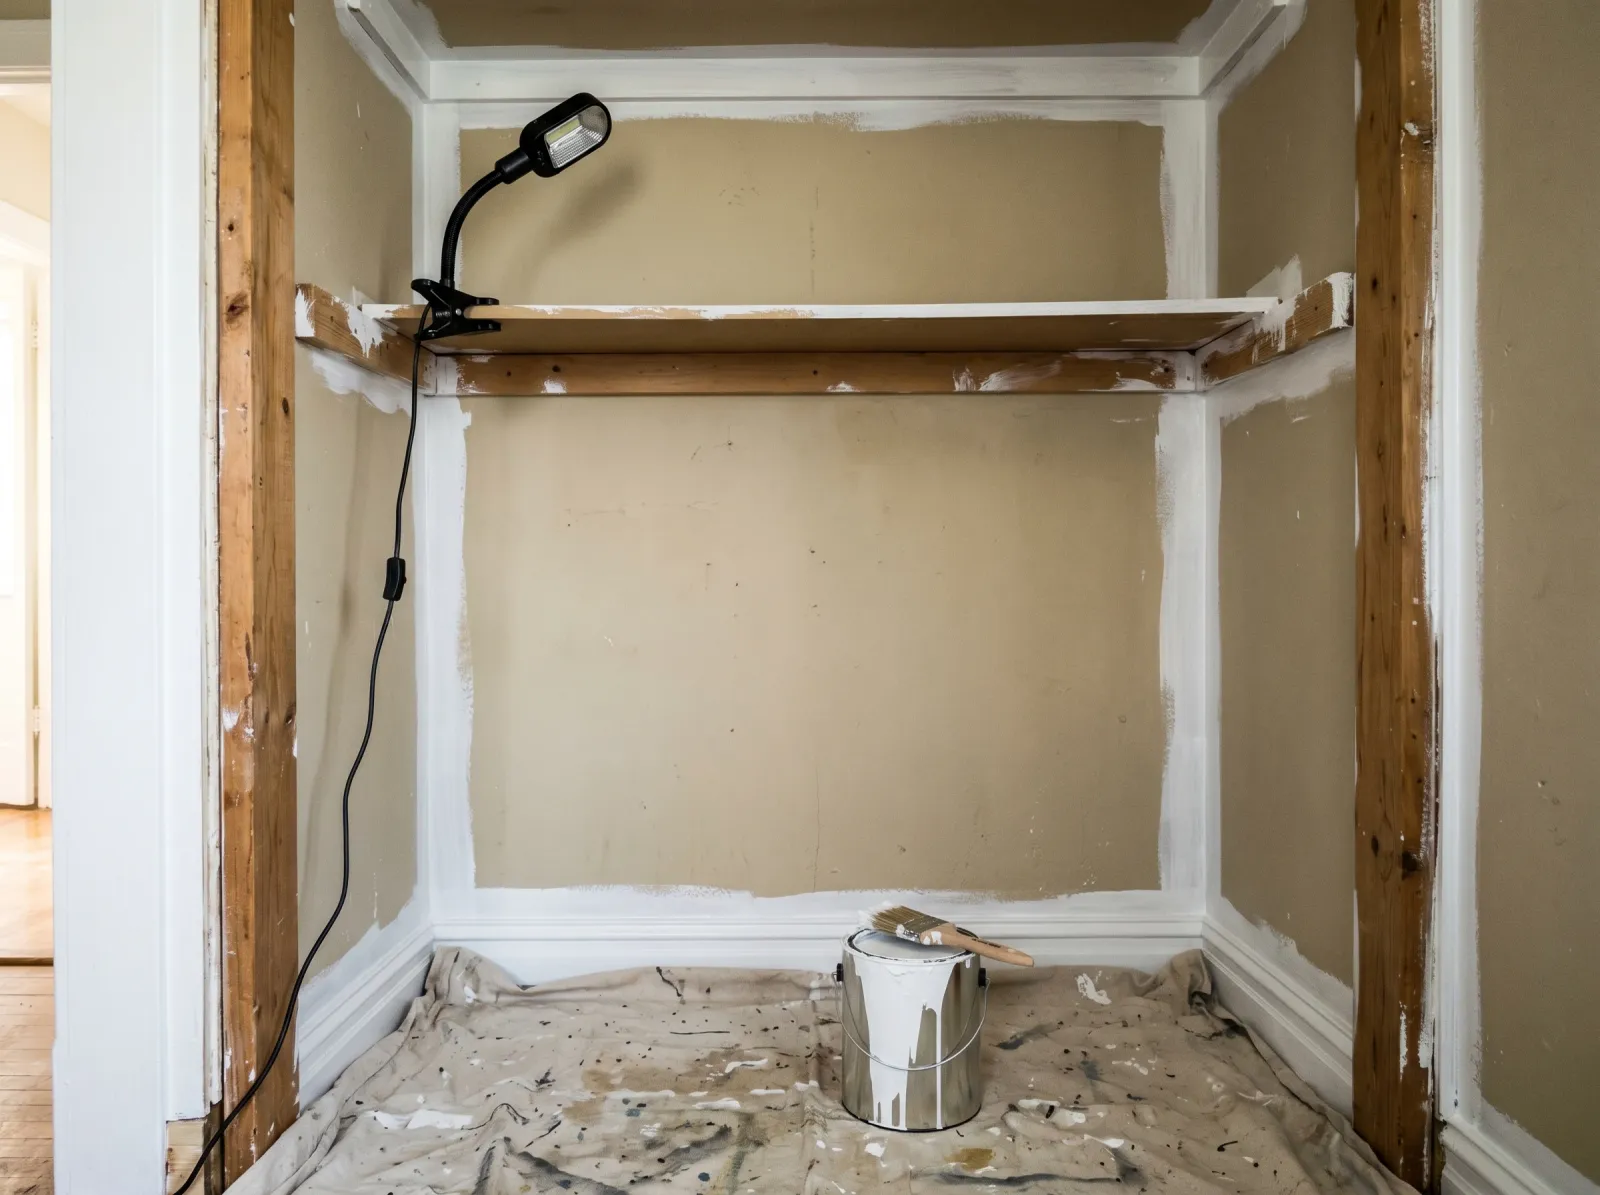
Step 2 — Tape, Cover, and Open a Window
Lay the drop cloth across the closet floor. Tape the door casing and the trim where the closet meets the room. If the ceiling of the closet is a different color, tape that corner line too.
Now the part that matters most in a closet: air. A closet is a sealed box with no airflow, so paint fumes build up fast even with low-VOC paint. Open the closet door all the way, open a window in the room, and set a box fan in the bedroom doorway pointing out. You want air moving through, not stewing in the box with you. If you want the full story on what’s actually off-gassing, here’s what VOCs are and why they matter.
Watch out for painting a windowless closet with the door shut. The fumes concentrate, you get a headache, and you stop noticing the smell, which is the dangerous part. Keep the air moving the whole time.
Step 3 — Cut In the Edges
 Brush the corners, the back wall edges, and around the door frame before the roller comes out.
Clip your light somewhere high so it lights the back wall. Then cut in with the 2.5-inch angled brush. Dip a third of the way, tap off the excess, and paint a 2-inch band into every inside corner, along the ceiling line, around the door frame, and down the vertical corners.
A closet has more corners per square foot than any other room, which is why the brush does most of the work here. Take your time on the corners. The roller can’t reach them, so whatever the brush lays down is what you get.
Watch out for the back corners where two walls and the ceiling meet. Light from your work lamp throws shadows there and it’s easy to leave a thin spot. Lean in and check it directly.
Step 4 — Roll the Walls
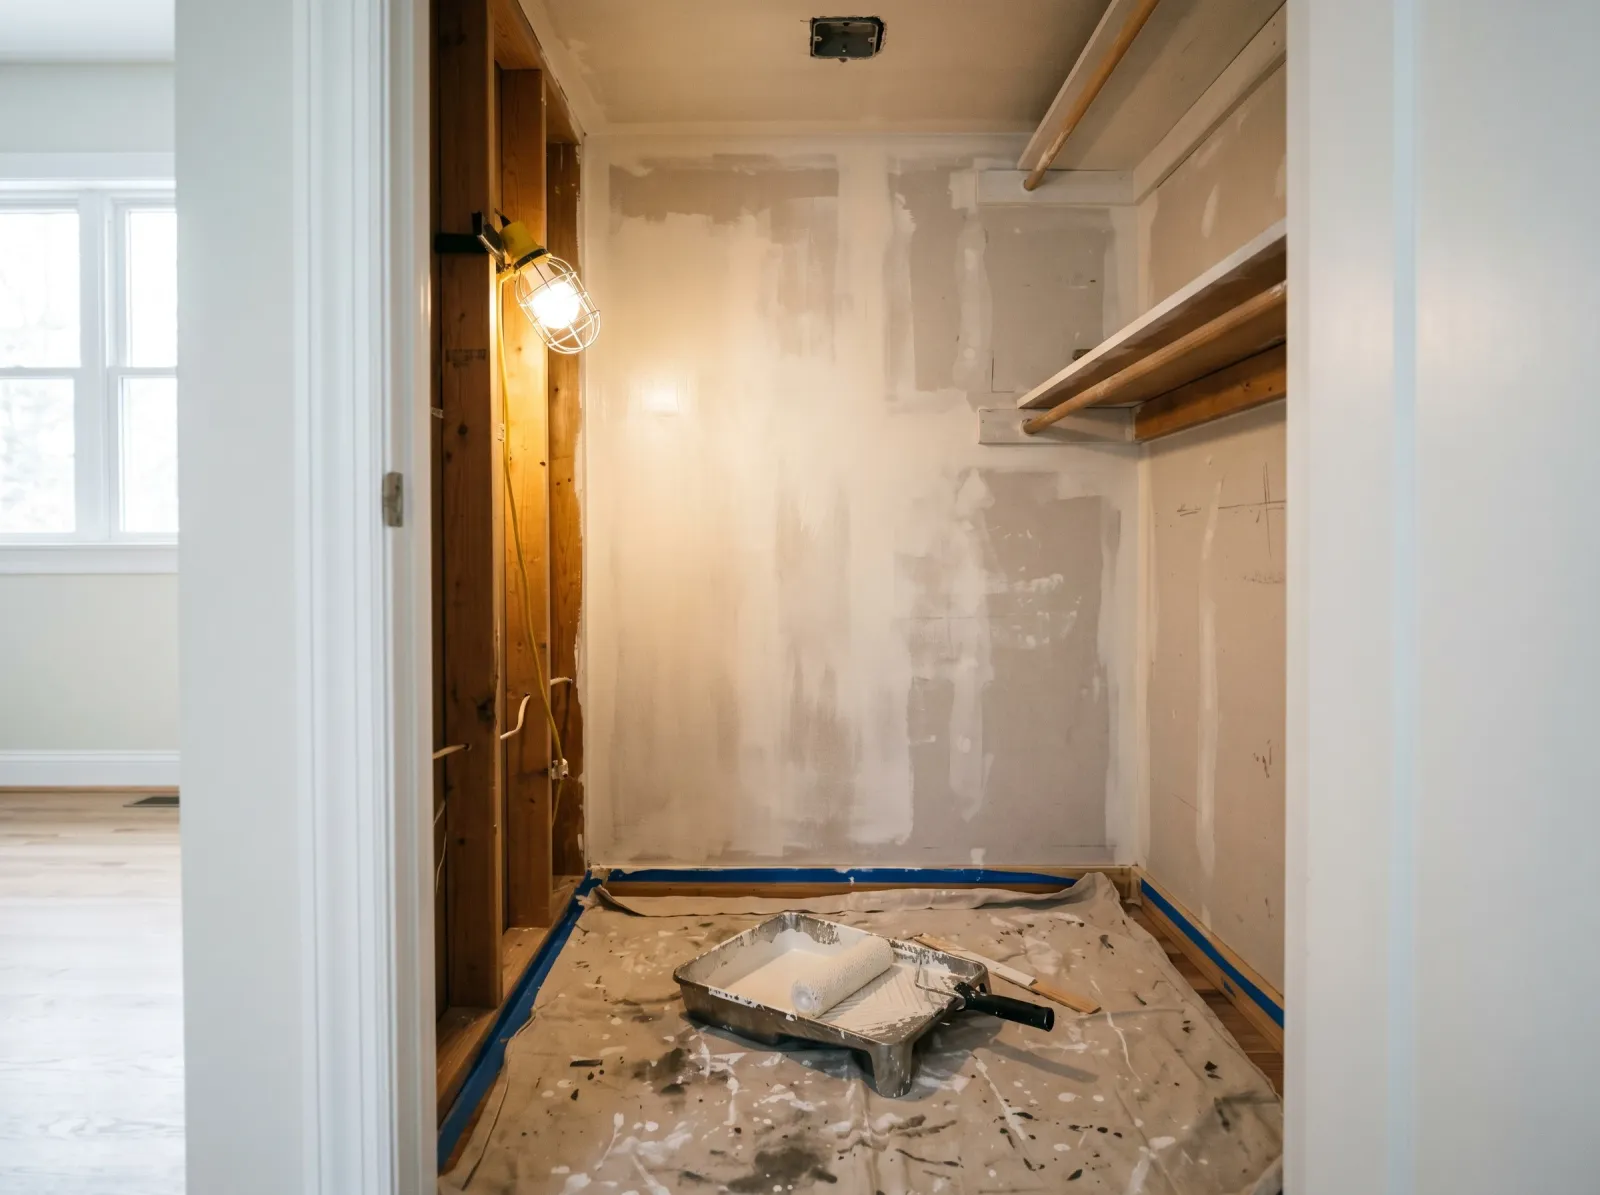 A mini roller fills the flats. The first coat looks patchy and thin. That’s normal.
Load the mini roller in the tray, roll off the excess, and fill in the flat parts of each wall right up to your cut-in lines. Roll in a small W-shape, then fill it in. The mini roller is the move here. It fits the shallow depth and won’t smack the side walls like a full-size roller does.
Do the back wall first, then the two side walls, then the inside face of the wall the door is on. Working back to front means you’re not reaching past wet paint.
The first coat will look thin and patchy. It always does, and in a closet’s bad light it looks worse than it is. Don’t panic and don’t pile on more paint to fix it. Let it dry the time on the can (usually about 4 hours for water-based wall paint), then roll a second coat. The second coat is where it evens out. You’ll know it when you see it.
How Do You Paint a Closet Without Taking Everything Out?
Sometimes you can’t empty the closet, or the shelving is built in and won’t come out. You can still do it, it’s just slower and the result is a notch worse.
Tape the front edge of every shelf and the brackets. Push whatever you can to the center and drape it. Cut in around all the shelf edges with a small brush, which is fiddly and eats time. Use a mini roller or even a small foam roller for the wall strips between shelves. You’ll miss the wall directly behind a deep shelf, so decide ahead of time whether that hidden strip matters. For most closets, it doesn’t, because nobody ever sees it.
If the shelving is white wire grid that you can’t remove, just paint the wall behind it as best you can with a 3-inch brush poked through the grid. It won’t be perfect. In a closet, perfect behind a wire shelf is not a goal worth chasing.
Step 5 — Pull the Tape and Reinstall
 Even coverage, tape pulled, the rod and shelf reinstalled. Done.
Pull the tape while the last coat is still slightly tacky, not bone dry, at a 45-degree angle, slow and steady. Dry paint can chip off with the tape if you wait too long.
Let it dry. Reinstall the shelf brackets and rod once the paint is dry to the touch (about 4 hours), but wait overnight before you load it up with clothes and boxes that lean on the wall. Fresh paint stays soft for a while, and a heavy hanging garment pressed against a half-cured wall leaves a mark.
Common Mistakes
- Using flat paint. Flat scuffs the first time a sleeve drags past and you can’t wipe it clean. A closet’s whole job is taking abuse from clothes and boxes. Satin or semi-gloss, every time.
- Painting it a dark color. A closet has no light. Paint it charcoal or navy and you’ve built a cave where you can’t tell black socks from blue. Go white or a very pale neutral so the space stays findable.
- Working in the dark. You’ll swear it’s covered, turn off the work light, and find thin patches the next morning. Bring a clip-on light and check the corners directly before you call it done.
- Sealing yourself in with the fumes. A windowless closet with the door shut concentrates the smell fast. Open the door, open a window, run a fan. Stop if you get a headache.
- Painting around shelves that would’ve come out in five minutes. Taping and cutting around brackets takes longer than unscrewing them, and the corners come out worse. If it unscrews easily, take it down.
- Loading clothes back too soon. A heavy coat pressed against a wall that’s dry-to-touch but not cured leaves a permanent dent or transfer mark. Wait overnight.
Cure Schedule
| Time after the second coat | What’s safe |
|---|---|
| 1 hour | Pull the tape |
| 4 hours | Touch dry; reinstall shelf and rod |
| Overnight | Hang clothes, light loads |
| 7 days | Press boxes against the wall, normal use |
| 30 days | Full cure; wipe scuffs with a damp cloth |
Maintenance and Touch-Ups
A satin or semi-gloss closet interior holds up for 8 to 12 years, longer than a regular wall because nobody’s washing it or banging furniture into it. Most “damage” is just transfer marks from clothes, which wipe off with a damp microfiber cloth.
For a real scuff or a hanger gouge, dab leftover paint on with a small artist’s brush. Keep the leftover quart labeled with the closet’s location. In a closet, a touch-up almost never shows because the light is bad and nobody inspects the walls. This is the one room where you don’t have to be precious about it.
Cost Breakdown
| Item | $ |
|---|---|
| Wall paint, 1 quart satin | $20 |
| Mini roller, frame, sleeves, tray | $15 |
| Tape and drop cloth | $12 |
| Spackle and sanding sponge | $8 |
| Total | $55 |
A reach-in closet runs about $55 in materials if you’re buying everything new, less if you already have tape and a drop cloth from another project. A walk-in needs a gallon instead of a quart, which pushes it to roughly $70 to $90. Compare that to repainting a whole room start to finish and the closet is the cheapest, fastest win in the house.