How to Paint Chair Rail and Wainscoting
Painting chair rail and wainscoting the right way: prep, the order that keeps your lines clean, the sheen that wipes, and how to keep a tidy two-tone edge.

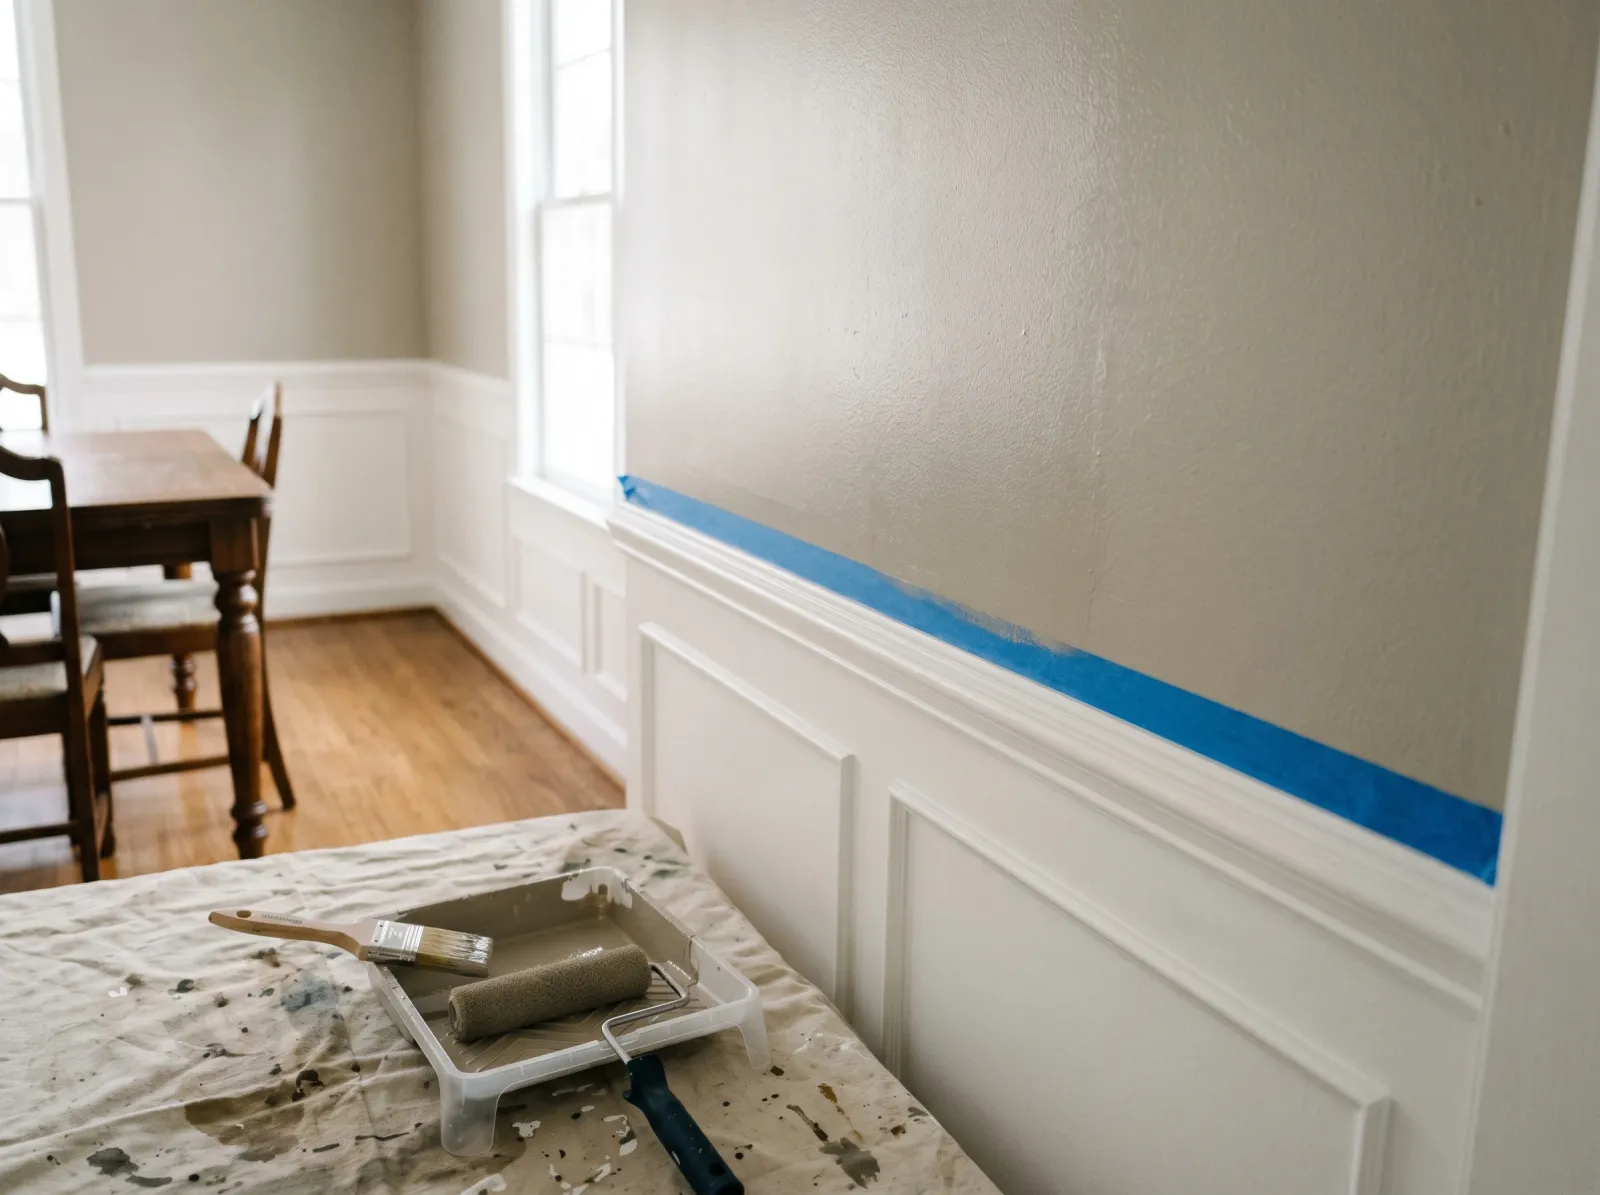
Okay, so the molding is on the wall. The chair rail runs around the room, the wainscoting panels sit below it, and the whole thing is begging for paint. The part that worries most people is not the painting. It is that one line. The line where the lower color meets the upper color, running level all the way around the room, where one wobble shows from across the room. That line is the whole job. Get it clean and the room looks built-in. Get it fuzzy and it looks like a weekend project.
Here is the thing: the clean line comes from caulk and tape order, not from a steady hand. You do not have to be good at freehand. You have to be good at masking. I’ll show you the order.
What You’ll Get
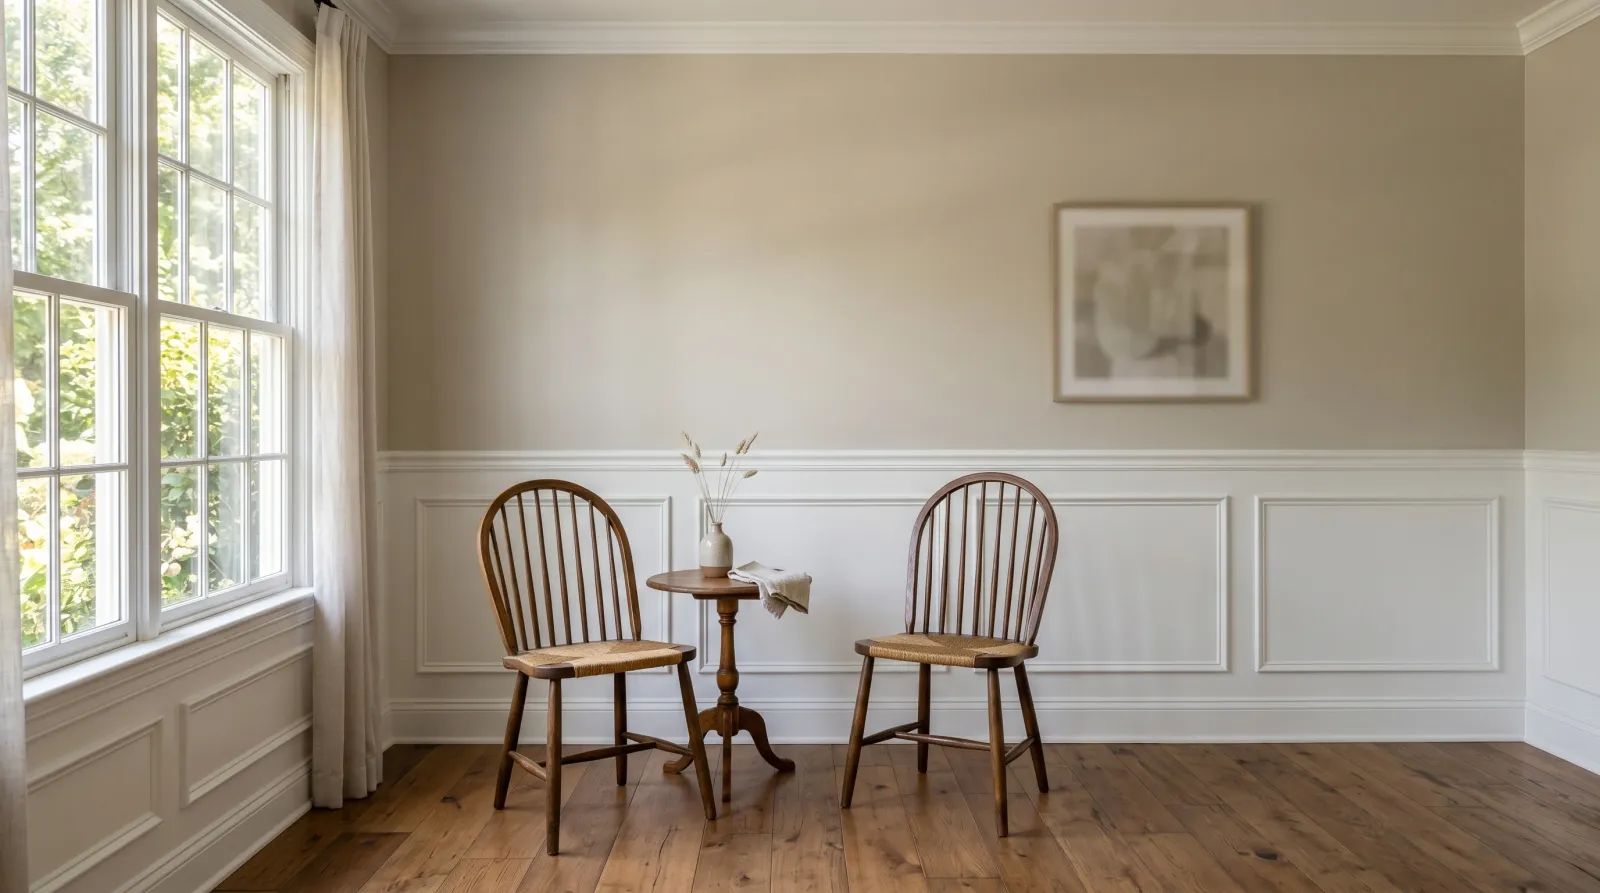
A two-tone lower wall with crisp wainscoting below a clean chair rail, the kind that makes a plain dining room or hallway look finished. One weekend, plus dry time before furniture goes back.
Honest Take on Difficulty and Time
This is a notch harder than painting a plain room, and the reason is the line, not the surface area. Cutting in around panel frames is slow, and caulking takes patience the first time you do it.
Realistic time for an average dining room: about 8 working hours over a weekend. A few hours of prep and caulk on day one, paint the rail and wainscoting, let it cure overnight, then paint the wall above on day two. If the molding is bare and needs priming, add a coat and an overnight.
If you are painting the lower section a different color than the upper wall (the usual reason people add a chair rail), the line is unavoidable work. Budget for it.
What You’ll Need
Paint and Primer
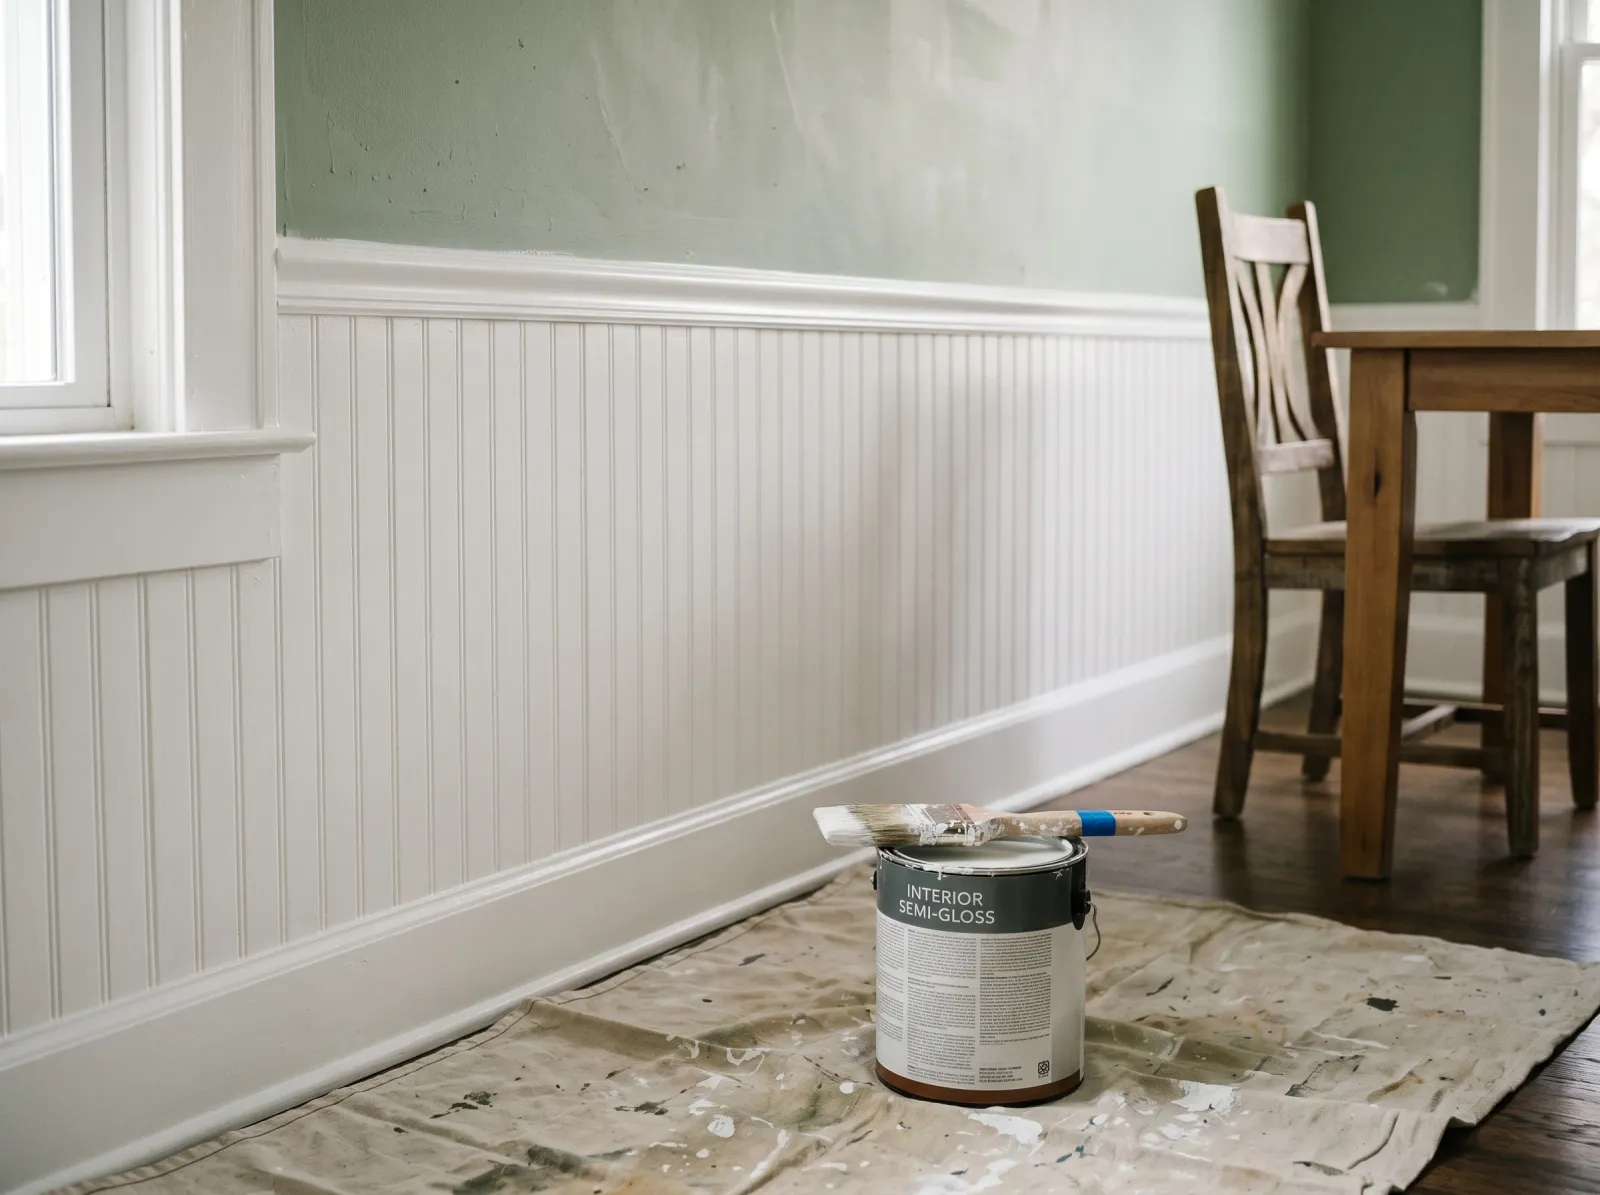
For the rail and the wainscoting, trim and cabinet enamel in semi-gloss or satin. This is the part that gets touched, scuffed, and mopped against, so it needs a finish that wipes clean. BM Advance, SW ProClassic, or INSL-X Cabinet Coat all cure hard and level out brush marks. A quart covers the chair rail and the wainscoting in an average room.
For the wall above, eggshell (a soft low-shine wall finish). You may already have the leftover gallon from when the room was painted. If you are choosing fresh, see the best interior trim paint round-up for the lower-section pick and the sheen guide if you are torn between semi-gloss and satin on the rail.
If the molding is bare wood, raw MDF, or a slick prefinished panel, you need one coat of bonding primer (a primer that grabs surfaces paint slides off of). Raw MDF drinks paint at the cut edges and goes fuzzy without it. New MDF molding is common, so check before you skip this. The MDF painting guide covers why those cut edges behave the way they do.
Tools
A 2-inch angled brush for the rail and the panel frames, a 4-inch foam mini-roller for the flat panel field, painter’s tape, paintable caulk and a gun, spackle, and a 220-grit sponge. The caulk gun is the tool people forget. You cannot get a clean two-tone line over an un-caulked gap, because paint creeps into the gap and feathers. Brush picks live in the best paint brushes round-up.
Step 1 — Patch, Caulk, and Tape
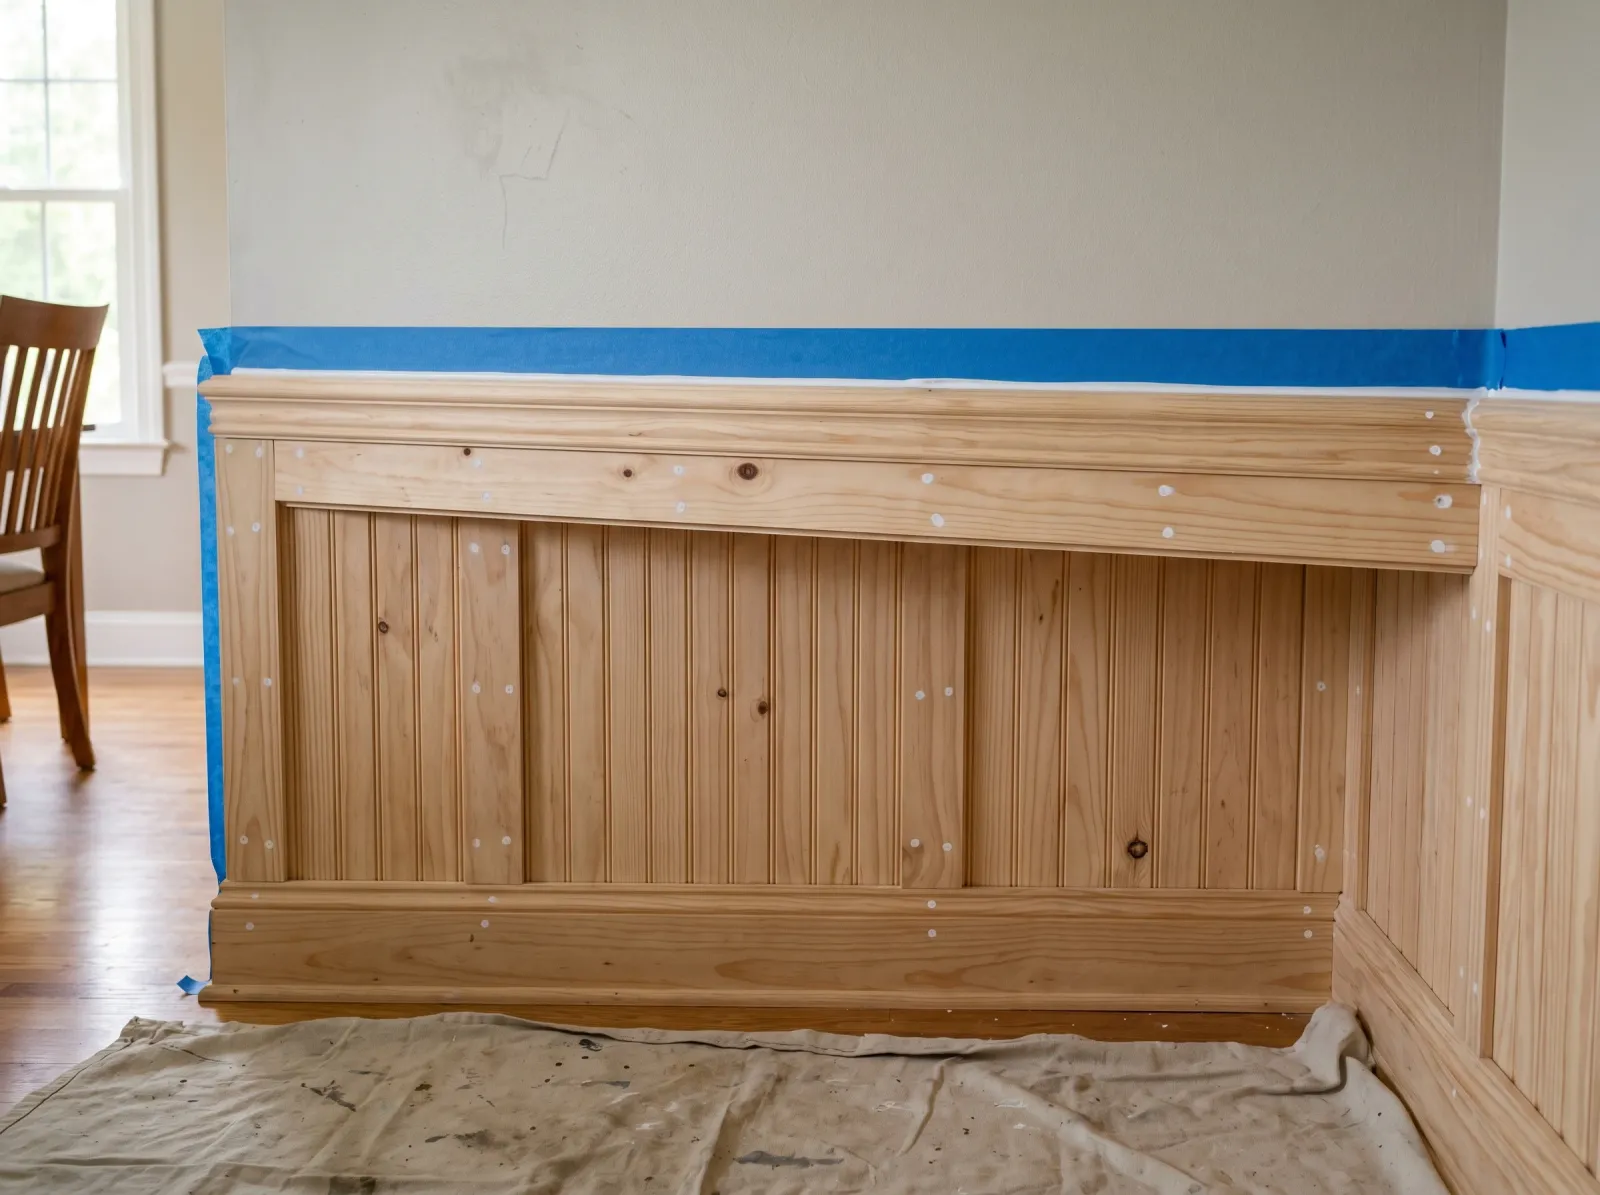 Nail holes filled, the top of the rail caulked into the wall, tape masking above and below.
Press spackle into every nail hole with the putty knife, scrape flush, let it dry, then sand smooth with the 220 sponge. Then caulk. Run a thin bead of paintable caulk along the top edge of the rail where it meets the wall, along the seams between panel pieces, and anywhere the molding doesn’t sit flush. Smooth each bead with a wet fingertip in one pass. Caulk is the flexible filler that closes the gap so paint can’t sneak in and feather. It is what turns a gappy install into a clean line.
Tape the wall above the rail and the baseboard below it. Press the tape edge down hard with your fingernail so paint doesn’t bleed under.
Watch out for over-caulking. A fat bead that you didn’t tool smooth dries lumpy and shows under semi-gloss. Thin bead, one wet-finger pass, wipe the extra on a rag.
Step 2 — Prime the Bare Spots
 Bare wood, raw MDF, and slick panels get one coat of bonding primer. Painted-before molding can skip it.
Skip this whole step if the molding was painted before and the old finish is sound. Just scuff it with the 220 sponge and wipe it down.
For bare wood, raw MDF, or prefinished panel, roll one coat of bonding primer on the flats with the foam mini-roller and brush it into the panel frames. Let it dry, then knock down any nibs with the sponge. One coat is enough. Primer is for grip and for sealing the thirsty MDF edges, not for color.
Step 3 — Paint the Wainscoting, Then the Rail
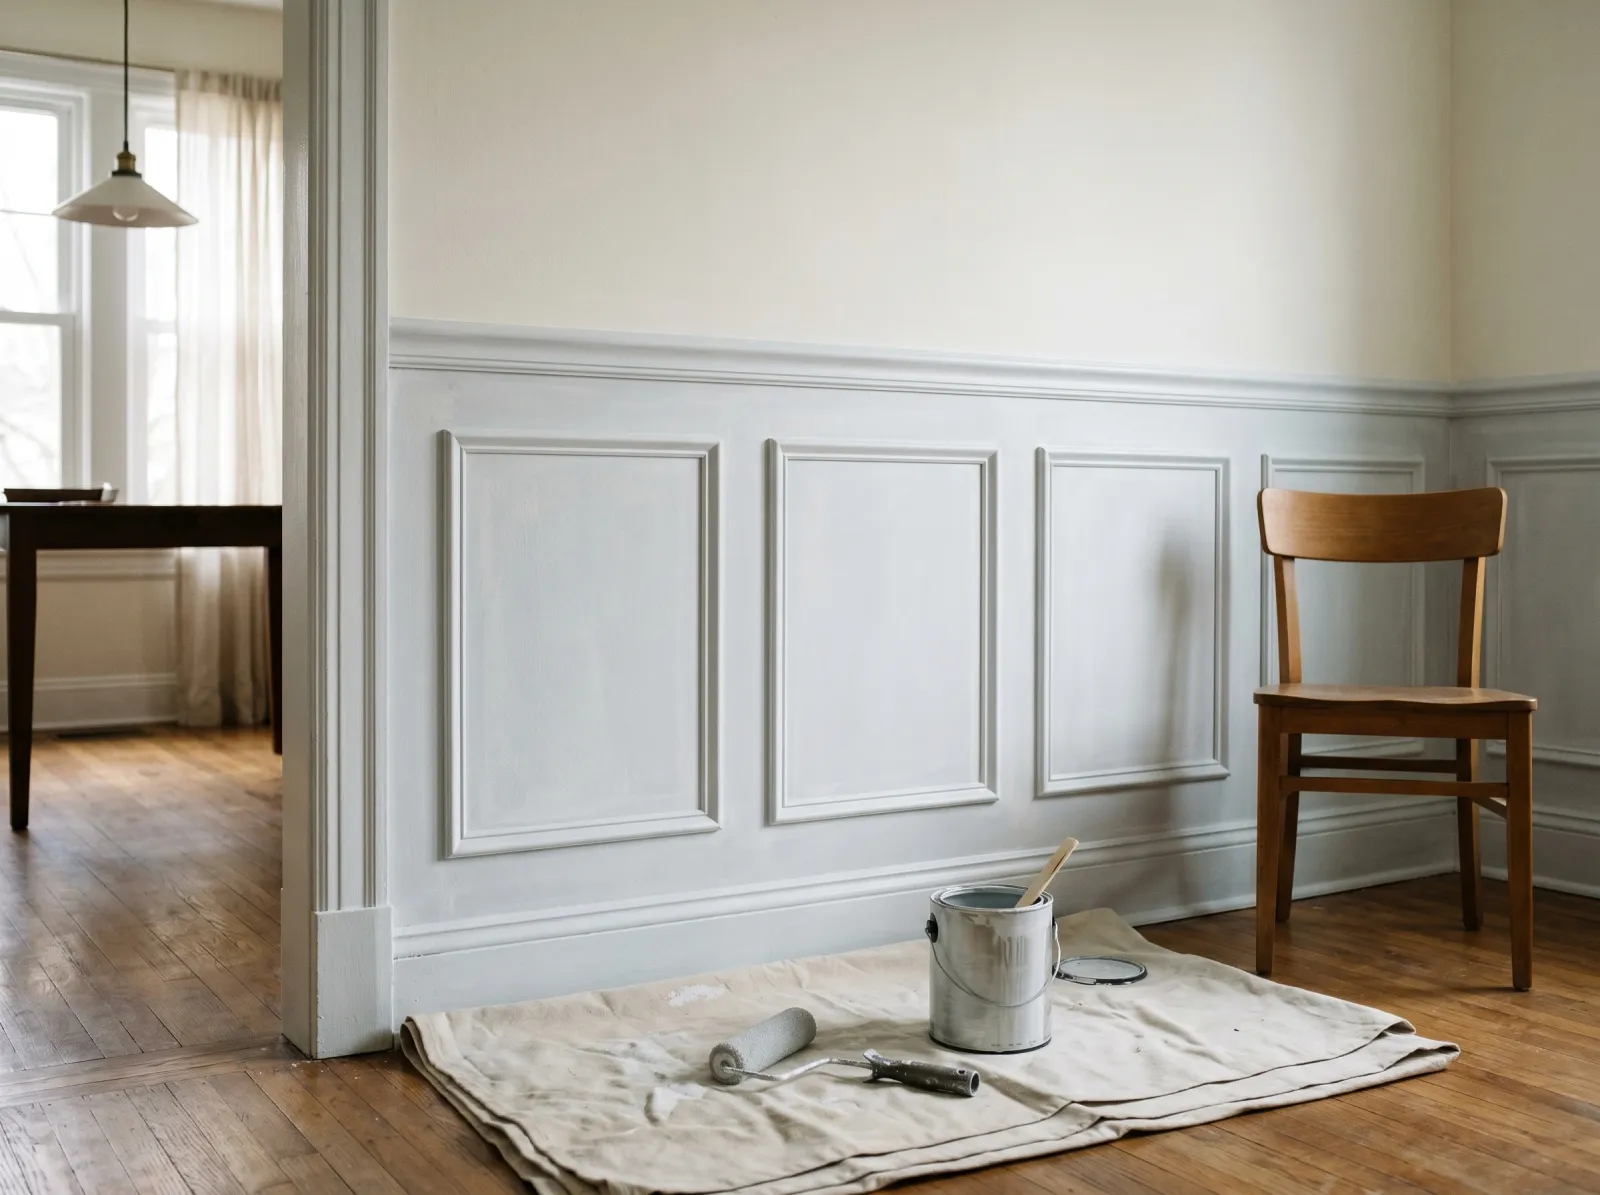
 Brush the panel frames, roll the flat panels, then cap it all with the rail.
Start low and work up. Brush the recessed panel frames first with the 2-inch angled brush, getting into the corners, then roll the flat panel field with the foam mini-roller while the brushed edges are still wet so they blend. Paint the chair rail last so it caps the wainscoting in one clean run.
Two thin coats beat one thick coat. Enamel sags if you load it on heavy, and it never cures as hard. Let the first coat dry the time the can says (usually a few hours, longer for waterborne alkyds like Advance), then do the second.
Watch out for drips at the bottom edge of the panel frames and along the underside lip of the rail. Enamel pools there. Check those spots every few minutes for the first half hour and brush out any drip while it’s still wet.
Step 4 — Cut In the Wall Color Above
 Re-tape on the cured rail, seal the tape edge with rail color, then paint the wall.
Let the rail cure for the day. Now tape onto the top edge of the cured rail, not the fresh wall. The hard semi-gloss takes tape cleanly and lets go without lifting.
Here is the trick that gives you the perfect line. Before you paint the wall color, run a thin pass of the rail color over the tape edge and let it dry. This seals the tape. Any paint that creeps under the tape is now rail color, which is the same as the rail, so it never shows. Then cut in the wall color along the rail and roll the rest of the wall. When you pull the tape, the line is sharp.
Pull the tape while the wall paint is still slightly tacky, at a 45-degree angle, slow.
Common Mistakes
- Skipping the caulk. A gap between the rail and the wall lets paint feather into it, and no amount of careful taping fixes a fuzzy line that comes from an open seam. Caulk first, every time.
- Taping onto fresh paint. If you tape the rail before it has cured, the tape pulls the finish off when you remove it. Let the rail cure overnight before you mask it for the wall coat.
- Not sealing the tape edge. Plain tape lets the wall color bleed under and you get a ragged line. Seal the edge with the rail color first so any bleed is invisible.
- Eggshell on the wainscoting. The lower wall takes abuse. Flat or eggshell down there scuffs and won’t wipe clean. Use semi-gloss or satin enamel below, eggshell only above.
- Rolling the flat panels with a nap roller. A regular roller leaves stipple texture that clashes with the smooth brushed frames. Use a foam mini-roller on the panel field for a smooth finish.
Cure Schedule
| Time after the final coat | What’s safe |
|---|---|
| 1 hour | Pull the tape while slightly tacky |
| 4 hours | Touch dry, don’t bump it |
| 24 hours | Push furniture back near the wall |
| 7 days | Wipe scuffs with a damp cloth |
| 14-30 days | Full cure, scrubbable, chair backs can lean |
Waterborne alkyd enamels stay soft for the first couple of weeks. A chair back resting against fresh semi-gloss too soon can stick and pull a shiny mark. Give it the time.
Maintenance and Touch-Ups
Semi-gloss wainscoting holds up for 10 to 15 years, longer than the wall above it, because the harder enamel takes the daily knocks better than wall paint does. Most marks on the lower section are scuffs from shoes and chairs, not real damage. A damp microfiber cloth lifts them.
For a real chip or scratch, dab the leftover enamel on with a small artist’s brush, just the chip, not a whole panel. The caulk line at the top of the rail is the spot most likely to crack over the years as the house moves. When it does, scrape the old caulk out with the 5-in-1 tool, re-caulk thin, and dab the rail color over it.
Keep a labeled quart of the rail color and a note of the wall color code from the lid. Touch-ups are a five-minute job when you have the paint on hand.
Cost Breakdown
| Item | $ |
|---|---|
| Trim enamel, 1 quart semi-gloss | $25 |
| Wall paint (often leftover) | $0-$25 |
| Bonding primer, 1 quart | $15 |
| Caulk, spackle, tape | $20 |
| Brush, foam roller, sponge | $25 |
| Total | $85 |
That assumes you reuse the room’s existing wall paint. Buying fresh wall paint and top-tier enamel pushes it toward $110. Bare-bones, with leftover wall paint and a mid-tier enamel, runs closer to $50.
If you came here from a bigger project, the baseboard painting guide covers the trim run below the wainscoting, and the two-tone walls guide goes deeper on splitting a wall into two colors without a rail to hide the seam.