How to Paint a Board-and-Batten Wall
Painting a board-and-batten wall the right way: caulk every seam, prime the bare wood, then two coats of semi-gloss. Every term defined, every snag fixed.

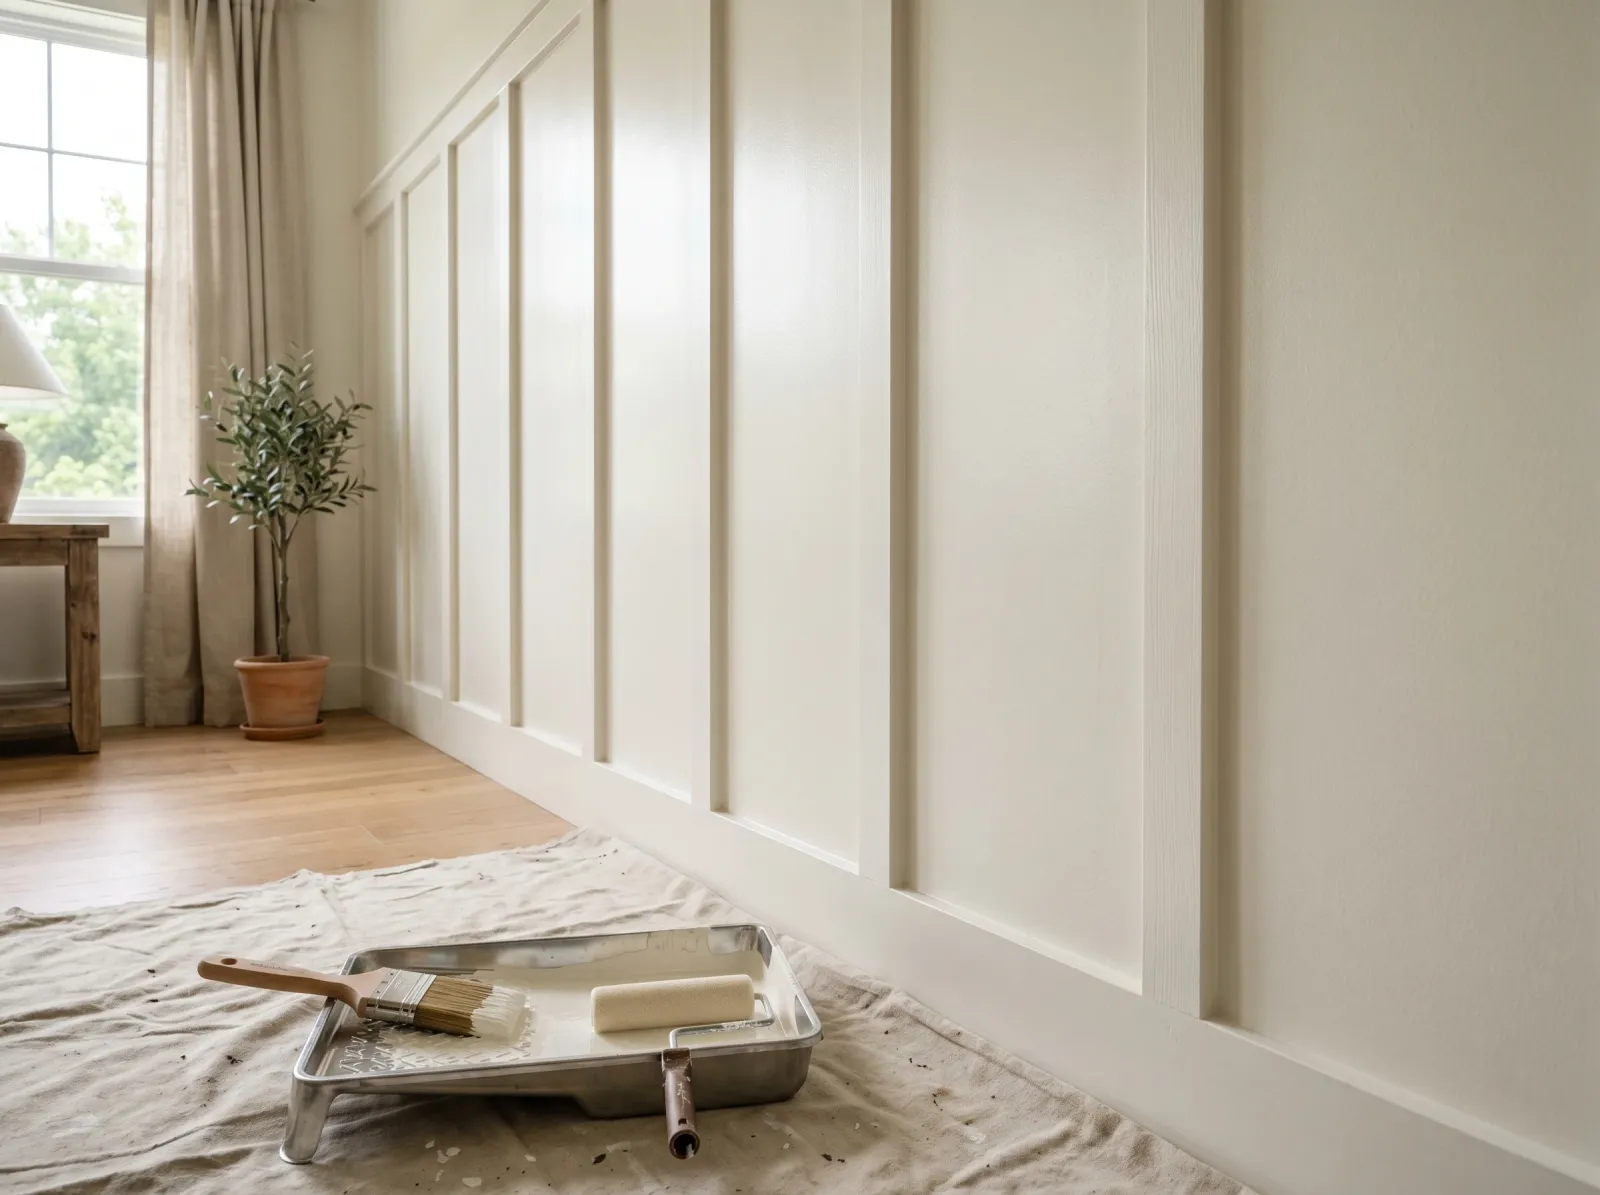
Okay, so the boards are up. You spent a Saturday nailing battens to the wall, and now you’re looking at a hundred little seams and nail holes, wondering how the photos online have walls that look like one solid piece of trim. Here’s the thing: the magic isn’t in the painting. It’s in the caulk. The filling and smoothing is what turns a stack of separate boards into millwork.
Don’t worry about the boards looking rough right now. Every board-and-batten wall looks like a craft project before the caulk goes on. By the time you pull the tape, the seams disappear.
What You’ll Get
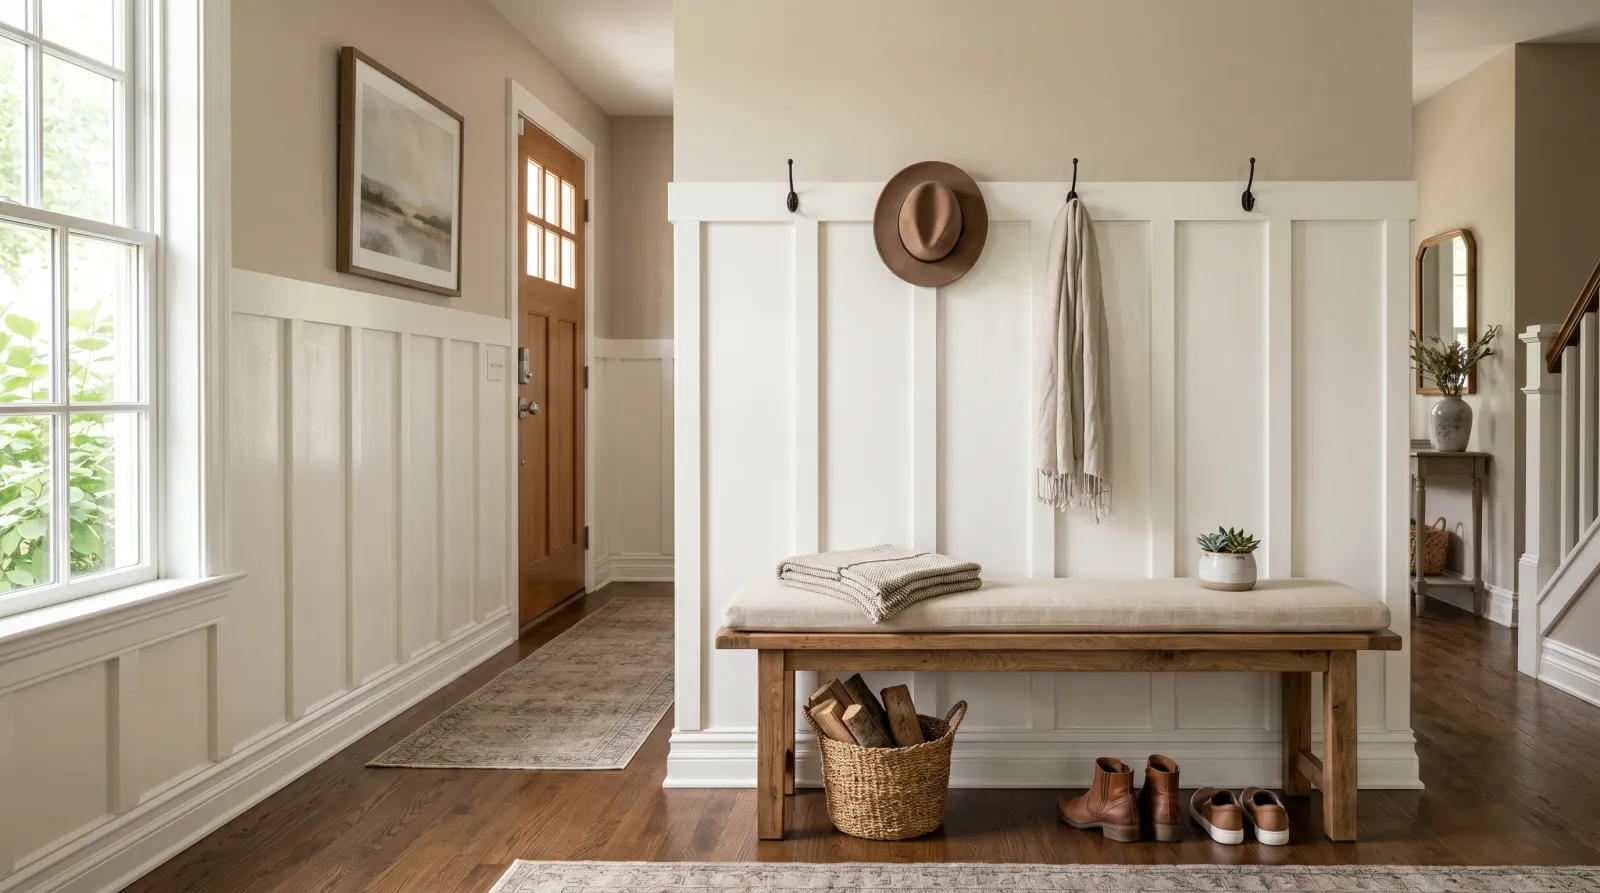
A board-and-batten wall that reads as one continuous piece of painted trim, no shadow lines at the seams, in a durable semi-gloss that wipes clean. The kind of wall that makes an entryway look built-in instead of glued-on.
Honest Take on Difficulty and Time
A notch harder than rolling a flat wall, but not because the painting is hard. It’s the prep. A standard wall to chair-rail height (about 36 to 40 inches up) takes one weekend.
Day one is filling: caulk every seam, fill every nail hole, sand it smooth, then let the caulk and filler dry overnight. Day two is primer in the morning, two coats of paint in the afternoon. The active painting is maybe three hours. The rest is filling and waiting.
Rush the caulk and paint over it wet, and it cracks and you redo it. The slow part stays slow on purpose.
What You’ll Need
Paint and Primer
A quart of semi-gloss trim paint. Semi-gloss is a shiny finish that wipes clean and catches light along the battens, which is what sells the millwork look. A wall to chair-rail height needs about a quart for two coats. For SKU picks see the best interior trim paint round-up, and if you’re torn between semi-gloss and satin, the sheen guide walks through both.
A quart of stain-blocking primer (Zinsser BIN or KILZ Original) if your battens are bare. Bare MDF soaks up paint like a sponge and the cut edges swell. Pine knots bleed a yellow stain through finish paint. Primer seals both. Pre-primed boards just need a scuff-sand.
Tools and Supplies
The two that matter most:
- Paintable acrylic latex caulk (DAP Alex Plus or any white painter’s caulk) and a caulk gun. This is the whole trick. Get the kind that says “paintable” on the tube. Silicone caulk repels paint and you’ll end up with shiny streaks the finish won’t cover.
- A 2.5-inch angled sash brush for the battens and a small 4-inch foam roller for the flat sections. The foam roller leaves no brush marks, which keeps the wall reading smooth.
Plus spackle for nail holes, 120- and 220-grit sanding sponges, painter’s tape, a damp rag for smoothing caulk, a canvas drop cloth, and a step stool. The brush is where you don’t cheap out; a good Wooster or Purdy holds a clean edge for years. Picks are in the best paint brushes round-up.
Step 1 — Fill the Nail Holes and Caulk Every Seam
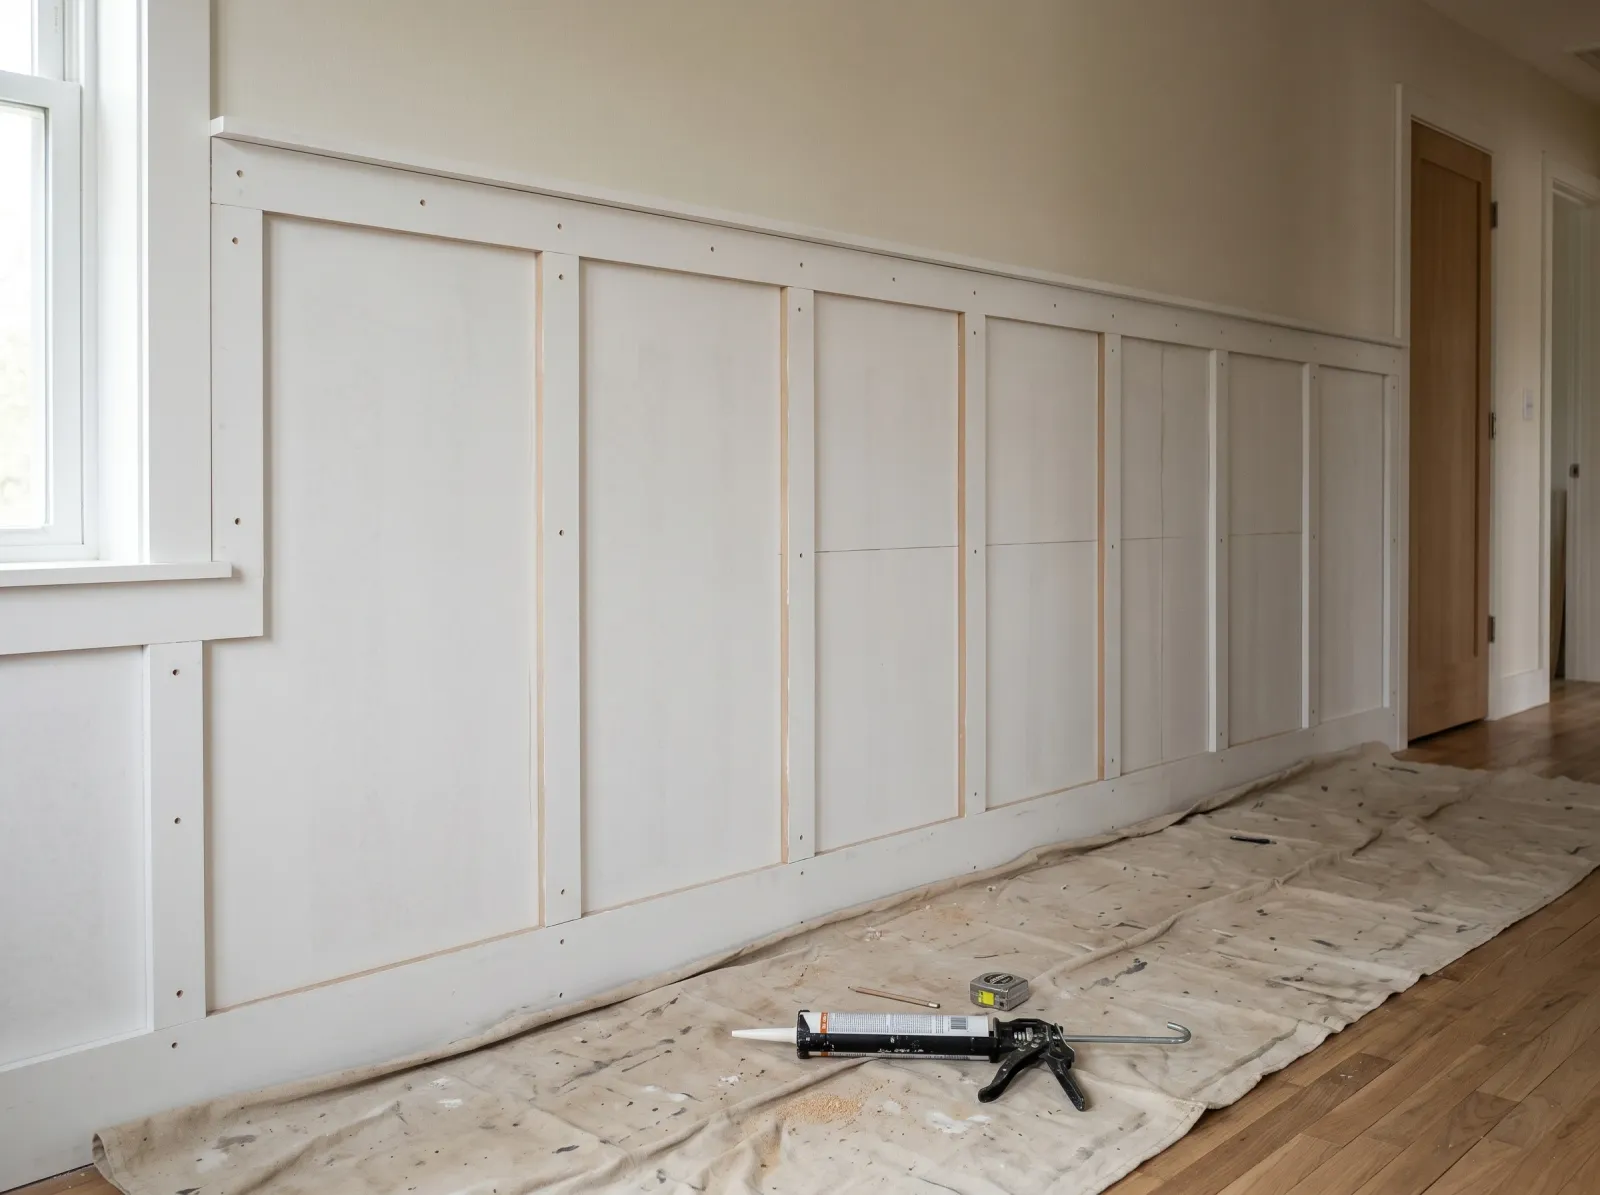
The boards are nailed to the wall, every seam and nail hole still raw, drop cloth down along the baseboard.
Lay the drop cloth along the baseboard. Start with the nail holes. Press a little spackle into each one with the putty knife, scrape flush, and move on. You’ll have a lot of them; brad nails leave a dimple every foot or so.
Now the caulking, which is the real work. Run a thin bead of paintable caulk down both long edges of every batten, where the wood meets the flat wall, and where the battens meet the top rail and baseboard. Wipe each bead smooth with a damp finger, pressing it into the gap and wiping away the excess. Fill the shadow line, don’t build a fat ridge.
Watch out for too much caulk. A thick bead cracks as the wood moves with humidity, and it takes forever to dry. Thin and wiped flush is what you want. If you can still see a faint gap after wiping, run a second thin pass; don’t glob it on.
Let everything dry. Filler is usually ready in 30 minutes, but caulk needs longer. A thin bead might cure in a couple hours; give it overnight if you ran it heavy. Paint over wet caulk and it cracks.
Step 2 — Sand Smooth and Tape Off
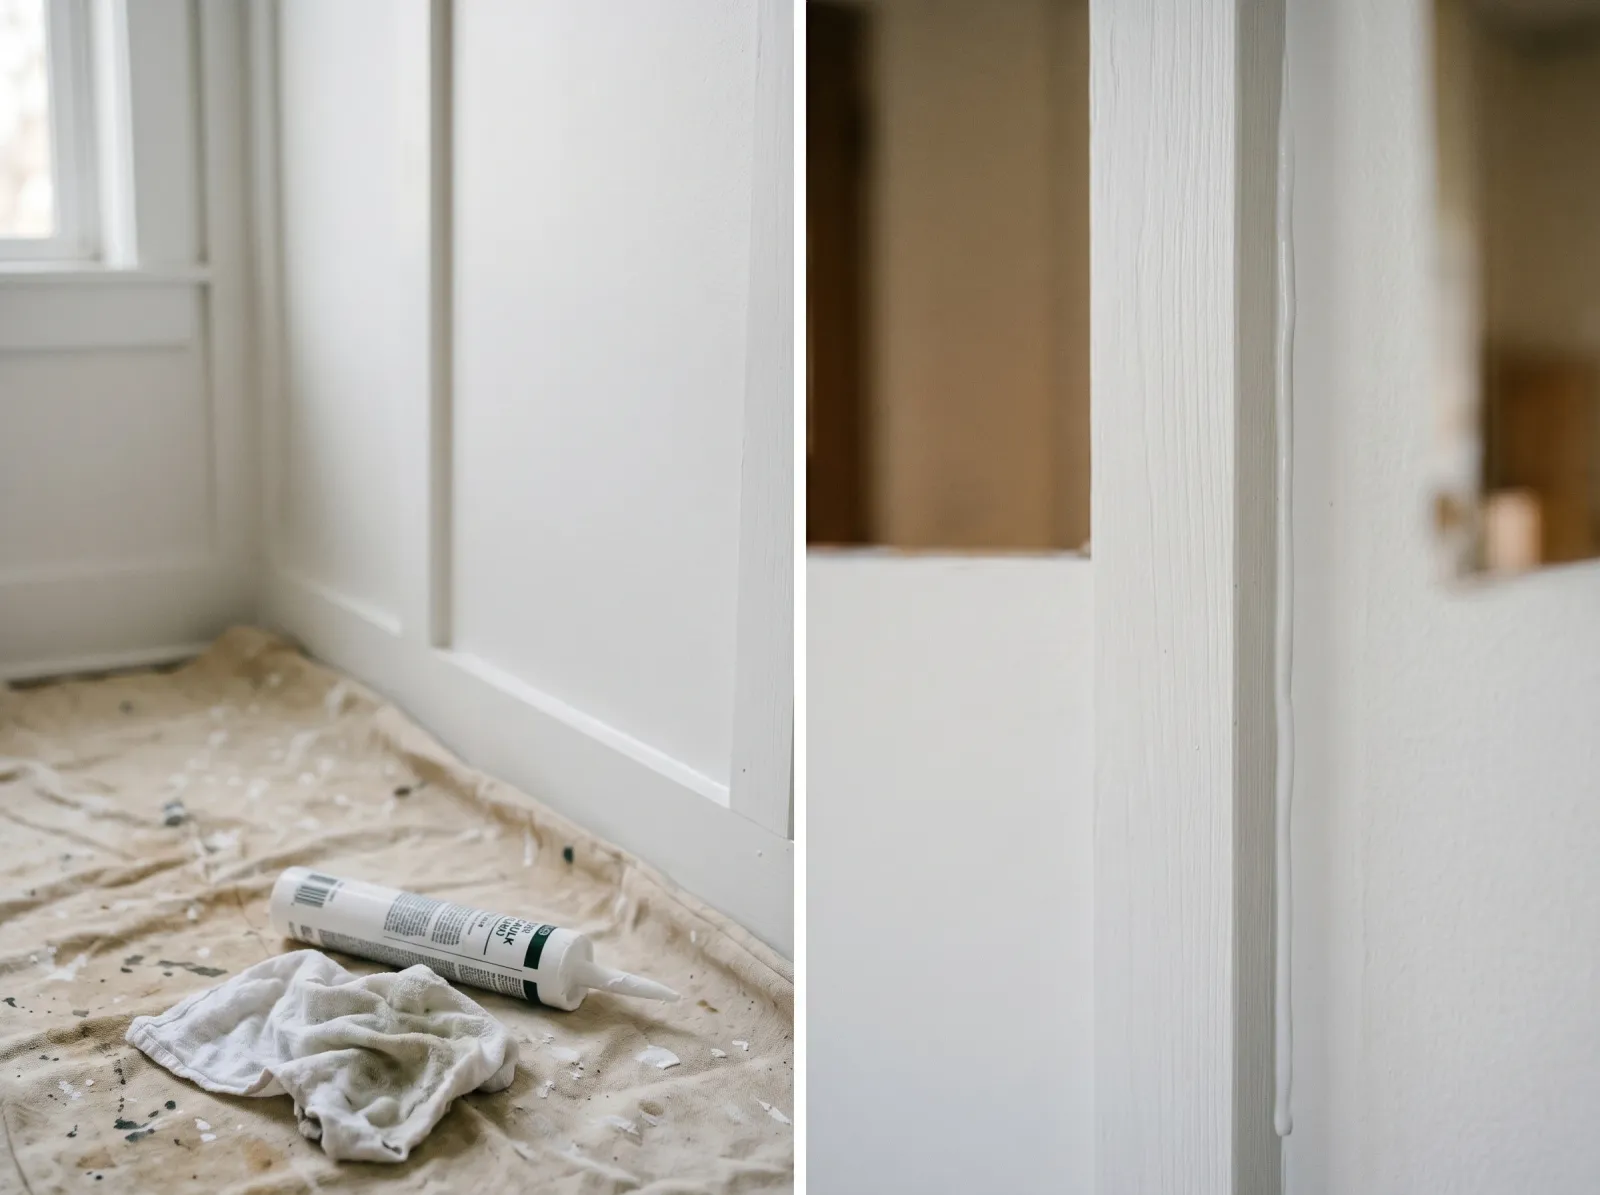
A thin bead of paintable caulk run down both sides of each batten, then wiped smooth with a damp finger. The seams vanish.
Once the filler and caulk are dry, sand the filled nail holes flush with 220-grit. Knock down rough spots on the battens with 120-grit, then smooth with 220. Bare MDF edges want a light sanding so paint lays flat. Wipe the whole wall with a tack cloth.
Tape the baseboard below the wall and the wall or ceiling above it. Press the tape edge down hard with your thumbnail so paint doesn’t bleed under it. Bleed is paint sneaking past the tape and leaving a fuzzy line. The press is what stops it.
Watch out for dust left in the seams. Paint over dust and it grins through as little bumps. Run the tack cloth into every corner where the battens meet the rails.
Step 3 — Prime the Bare Wood
A coat of stain-blocking primer over the bare battens and filled spots. Everything reads the same flat white now.
Brush primer onto the battens and rails with the angled brush, foam-roll the flat sections. One even coat. The wall goes from a patchwork of raw wood, white filler, and white caulk to one uniform flat tone. That evenness tells you the surface is sealed and ready.
Watch the pine knots. If a knot bleeds a brown ring through the primer, hit that spot with a second dab of BIN. Knots can bleed through paint for years if you don’t block them; there’s a separate fix for knots bleeding through paint if one fights you.
Let the primer dry the time on the can, usually an hour for fast-dry stain blockers. Scuff lightly with 220-grit if it feels rough, then tack it again.
Watch out for skipping primer on bare MDF. Unprimed MDF drinks the first coat unevenly and the cut edges fuzz up. The primer coat is what makes the finish lay smooth.
Step 4 — First Coat of Paint
Cut in the battens first with the angled brush, brushing in the direction of the wood (up and down on the verticals, side to side on the rails). Load the brush a third of the way and tap once on the side of the can. A fully loaded brush pools in the seams.
Then foam-roll the flat sections while the brushed edges are still wet, so brush and roller blend. Keep the roller close to the battens but not crashing into them.
The first coat looks thin and a little streaky. That’s normal. Don’t go back over half-dry spots; you’ll leave marks. The second coat fixes it.
Watch out for drips where the battens meet the baseboard. Paint pools in that inside corner. Check the bottoms of the battens for the first half hour and brush out any sag while it’s wet.
Step 5 — Second Coat, Then Pull the Tape
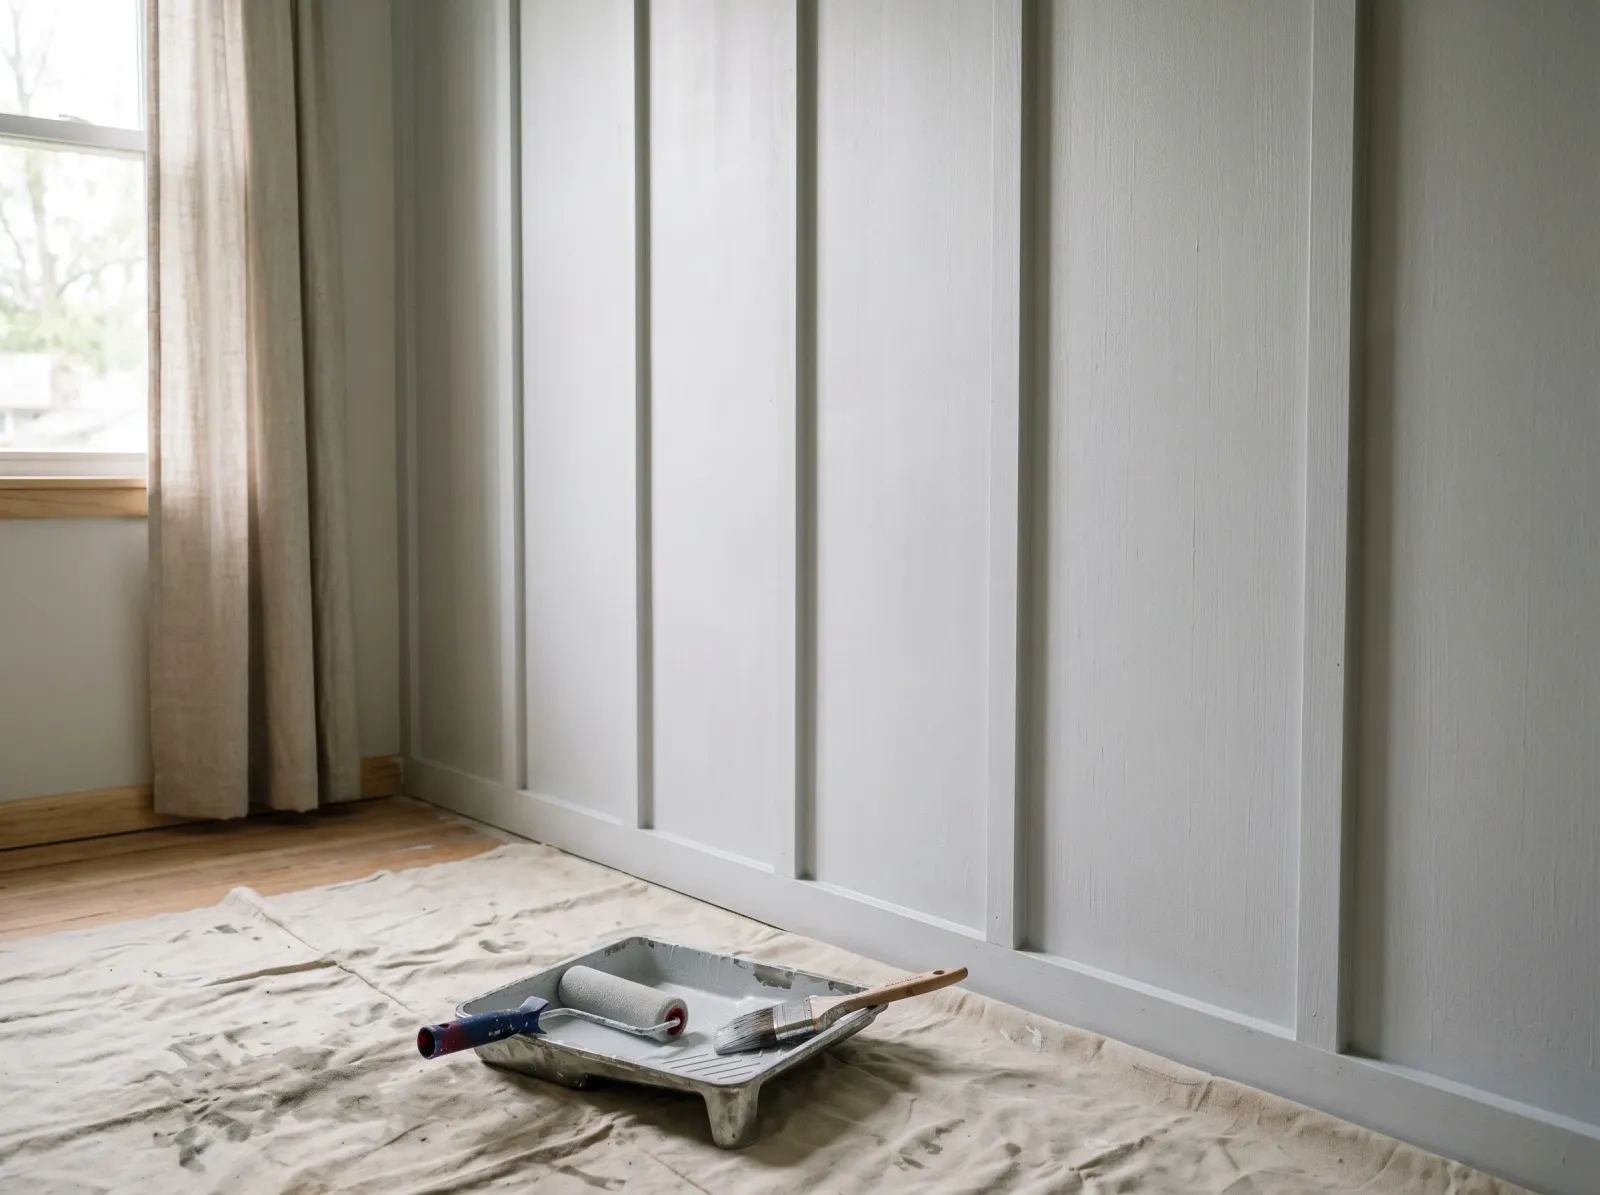
Battens brushed, flat sections foam-rolled, second coat down. The sheen is even across the whole wall.
Wait the recoat window on the can, usually 4 hours for water-based trim paint, longer for an alkyd enamel like BM Advance. Touch the wall with a knuckle; if it’s dry and not tacky, go. Second coat goes on exactly like the first: brush the battens, foam-roll the flats, keep the edges wet.
This is the coat where the wall comes together. The streaks fill in, the sheen evens out, and the whole thing reads as one piece of trim.

Tape peeled at an angle while the paint was tacky, drop cloth folded, the wall reads like one solid piece of millwork.
Pull the tape while the second coat is still slightly tacky, about an hour after you finish, not bone dry. Pull slow, at a 45-degree angle. Wait until the paint hardens and it can lift off with the tape, leaving you to touch up the edge. If a spot lifts anyway, dab it back with the brush and a little leftover paint.
Common Mistakes
- Skipping the caulk. This is the number-one reason a board-and-batten wall looks homemade. Every uncaulked seam shows a dark shadow line and the wall reads as separate boards. Thin bead, wiped smooth, on every edge.
- Caulking too thick. A fat bead cracks when the wood moves with the seasons, and it can take a full day to dry. Run it thin and wipe the excess. Thin caulk flexes; thick caulk splits.
- Painting over wet caulk or primer. The caulk cracks, the primer drags. Let each one cure the time on the label. Most of this project is waiting, and the waiting is what protects the finish.
- Using flat or matte paint. Board and batten lives in high-traffic spots that get scuffed and wiped. Flat marks up in a month and won’t clean. Semi-gloss or satin, every time.
- Not blocking pine knots. A knot will bleed a brown ring through your beautiful white wall weeks after you finish. Hit every knot with a stain-blocking primer like Zinsser BIN before the finish coats.
Cure Schedule
| Time after the second coat | What’s safe |
|---|---|
| 1 hour | Pull the painter’s tape |
| 4 hours | Touch dry, don’t lean anything on it |
| 24 hours | Hang hooks or a mirror on the rail |
| 48 hours | Set a bench or furniture against it |
| 7 days | Wipe scuffs with a damp cloth |
| 30 days | Full cure, scrub-clean |
Maintenance and Touch-Ups
A semi-gloss board-and-batten wall in an entryway holds up for 8 to 12 years. The battens take the abuse; the flat panels rarely get touched.
For a scuff, try a damp microfiber cloth and a drop of dish soap first. Most marks are dirt, not damage. For a chip, fill it, sand it, dab primer if you hit bare wood, then dab finish paint with a small artist’s brush. Touch up just the damage, not a whole batten, or you’ll see the edge.
If a caulk line cracks over a season or two (it happens when a house settles or humidity swings hard), scrape out the old caulk, run a fresh thin bead, let it cure, and touch up over it. Keep the leftover quart with the color and code on the lid.
Cost Breakdown
| Item | $ |
|---|---|
| Trim paint, 1 quart semi-gloss | $20 |
| Stain-blocking primer, 1 quart | $18 |
| Paintable caulk, 2 tubes | $10 |
| Spackle, sanding sponges, tack cloth | $15 |
| Angled brush + foam roller + tray | $25 |
| Tape, drop cloth | $20 |
| Total | $108 |
That assumes the boards are already up and you’re buying supplies fresh. If you own brushes and a drop cloth, you’re closer to $60. Numbers are mid-tier trim paint; top-shelf alkyd enamel runs the paint line to about $35 a quart.