How to Paint a Bathroom
Painting bathroom walls without peeling or mold? Vent it, prime the stains, pick a satin that wipes clean, then put two coats down. A first-timer's plan.

Okay, so the bathroom looks tired, maybe there’s a little black spotting up by the ceiling, and you’ve decided to paint it. Good call. Here’s the thing about painting bathroom walls: they fail for one reason, and it isn’t the paint. It’s moisture that never gets a chance to dry. Steam from the shower sits on the wall, the wall stays damp, and damp walls grow mold and shed paint. Fix the moisture problem and the painting part is easy.
The rest is normal wall painting. Kill any mold, block the stains, pick a sheen that wipes clean, and put two coats down.
What You’ll Get
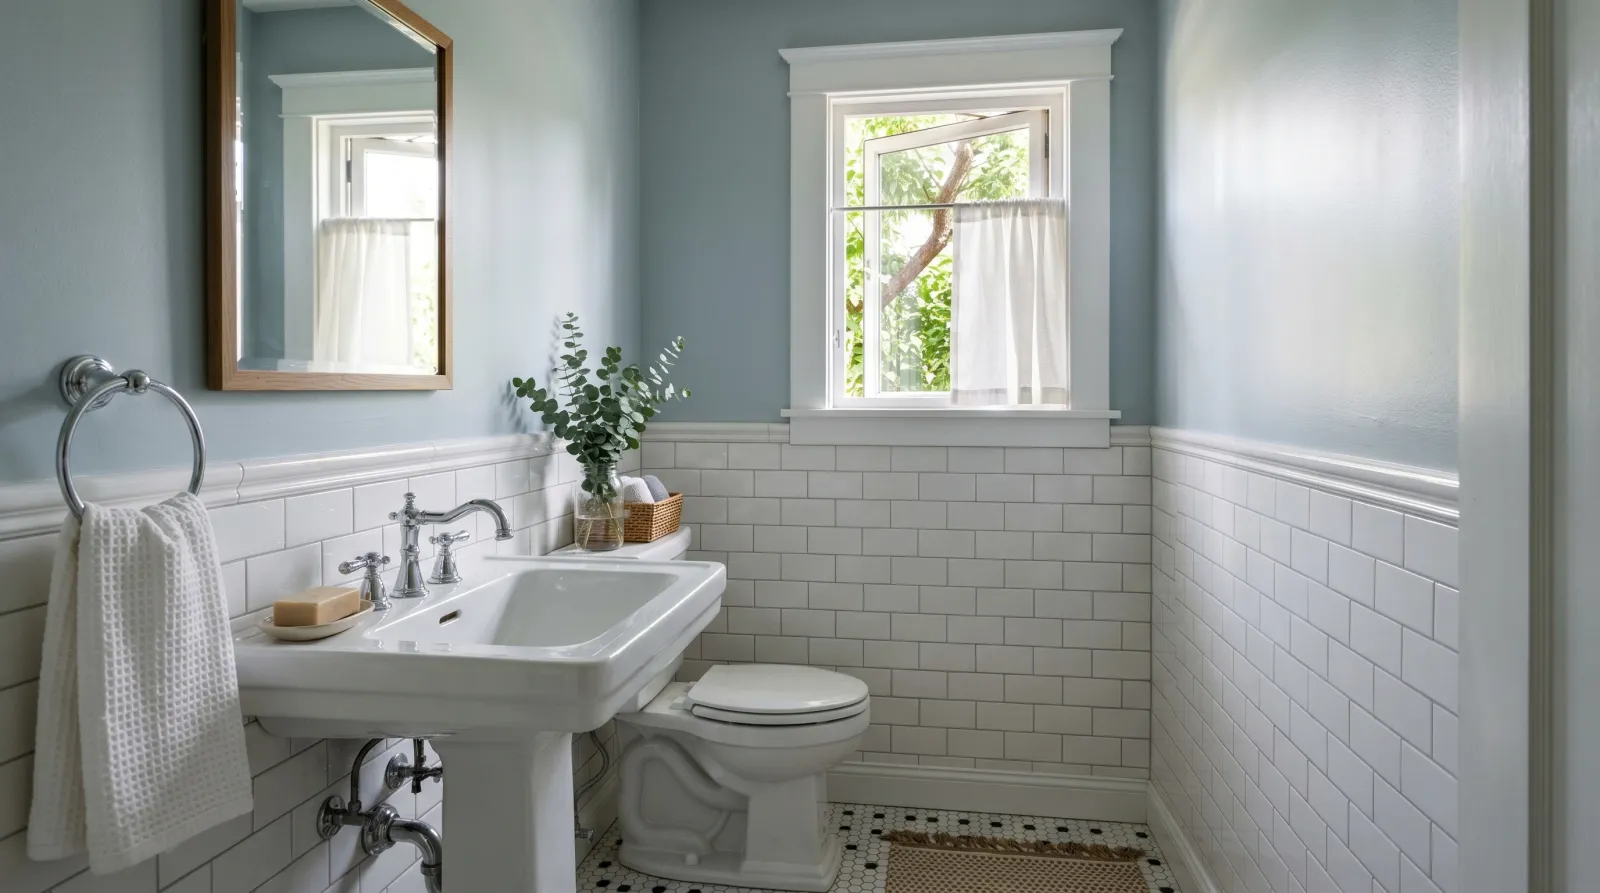
Walls that look fresh, wipe clean when toothpaste flecks them, and don’t sprout black spots along the ceiling every winter. The finish you choose is the whole game in a bathroom, so I’ll come back to that.
Honest Take on Difficulty and Time
Easy project. It only gets hard if you paint over mold or skip the vent. A powder room (the little half-bath with just a sink and toilet) is a couple of hours. A full bath with a tub or shower is most of a Saturday, more if you have to treat mold and let it dry first.
| Bathroom type | Active time | Total elapsed |
|---|---|---|
| Powder room (no shower) | 2–3 hrs | One afternoon |
| Standard full bath | 4–6 hrs | One Saturday |
| Full bath with mold treatment | 5–7 hrs | One weekend with dry time |
The slow part is waiting. Mold treatment needs to dry, primer needs to dry, and you can’t rush either with a hairdryer in a humid room.
What You’ll Need
Paint and Primer
- A bathroom-friendly satin or eggshell. Satin for a full bath, eggshell for a powder room. A gallon covers a full bath in two coats; a quart does a powder room. See our bathroom paint picks for the specific cans worth buying.
- A mildew-resistant line if the room steams daily. Several brands sell a bath-and-kitchen paint with a mildewcide already mixed in. If you fight mold every winter, that few extra dollars is worth it. The mold-resistant paint round-up covers what actually works and what’s marketing.
- Stain-blocking primer for the trouble spots. Zinsser BIN or KILZ Original over water stains and old mold. You don’t prime the whole room, just the stains. They bleed through finish paint if you don’t.
Tools and Supplies
- Mold remover or a bleach mix. One part household bleach to three parts water kills mold on the surface. Store-bought mold removers do the same with less smell. Gloves go on first.
- 9-inch roller frame with a 3/8-inch microfiber sleeve.
- 2.5-inch angled sash brush for cutting in (painting the narrow band along edges where a roller won’t reach).
- Yellow FrogTape Multi-Surface. It seals tighter against tile and textured walls than the green.
- Canvas drop cloth, a tray with liners, a step stool, spackle, and a 220-grit sanding sponge.
If you’re building a kit from scratch, see the brush picks and the roller picks.
Step 1 — Clear It Out, Kill the Mold, Open the Window
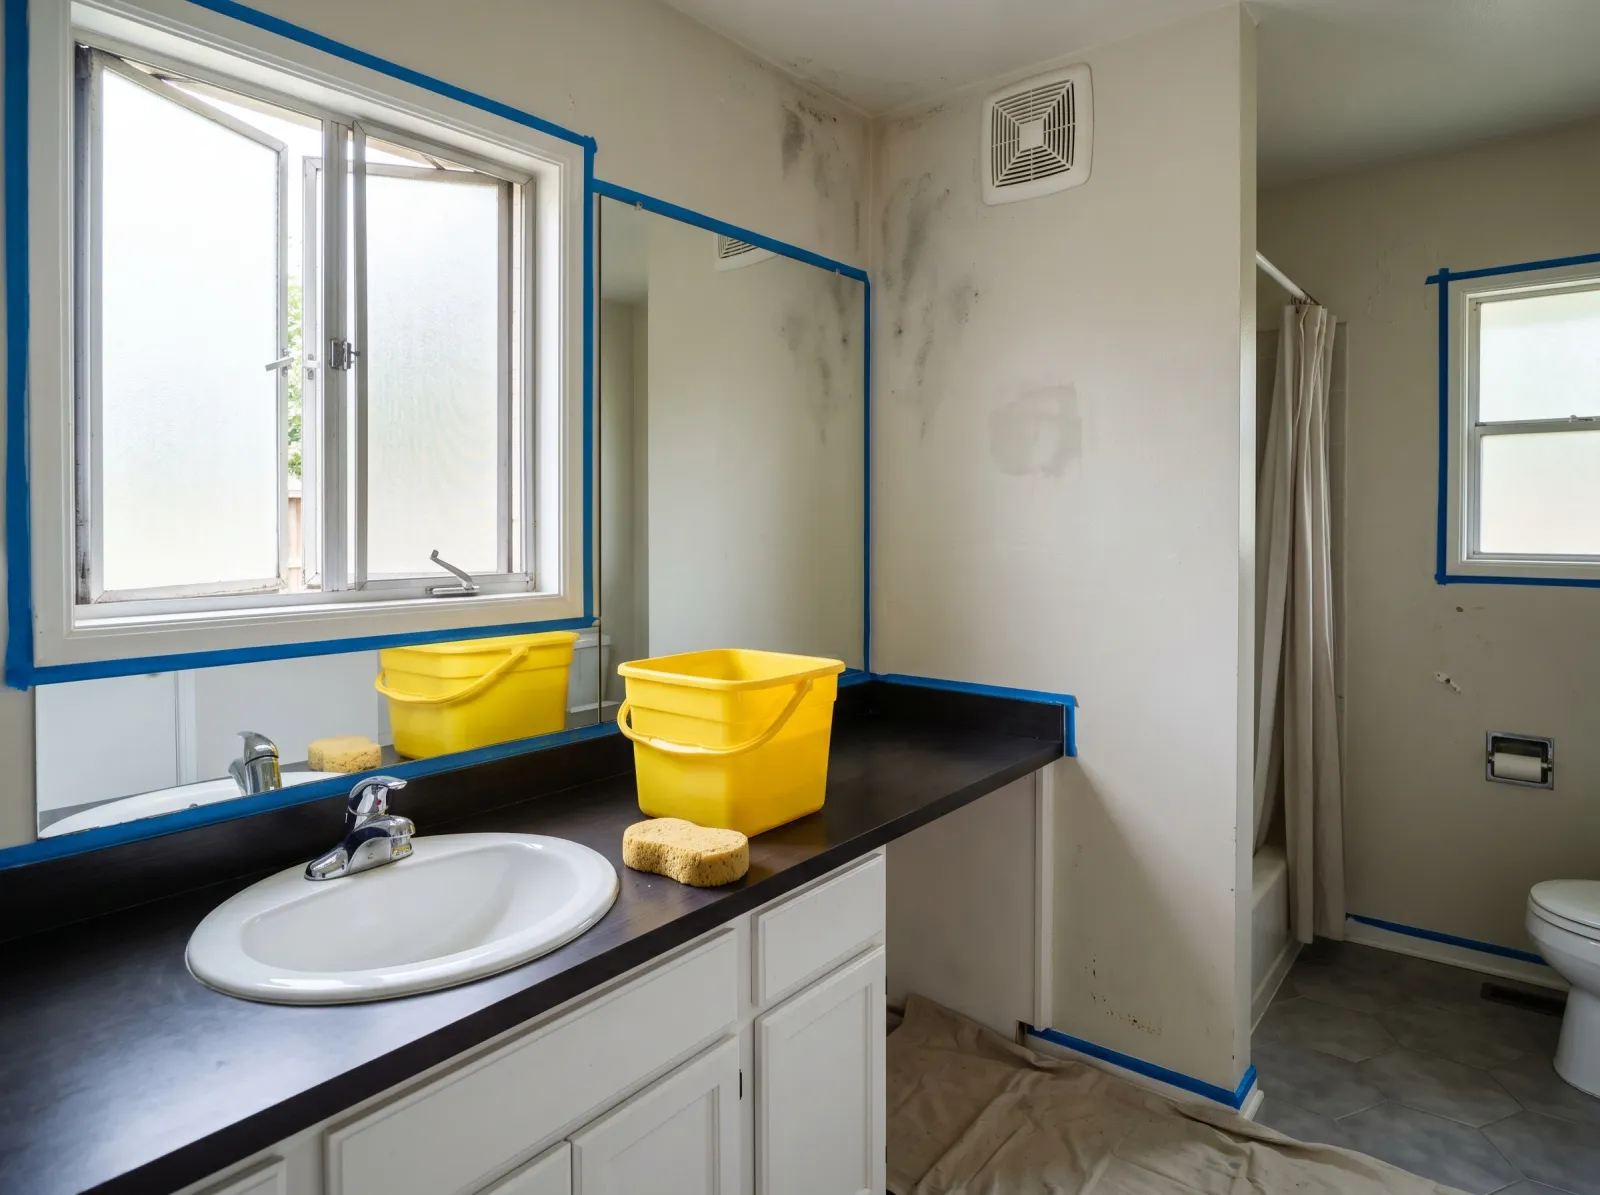
Towels and toiletries out, any black spotting wiped with mold remover, the window cracked and the fan running.
Get everything off the counter and out of the room. Towels, the bath mat, toiletries, the trash can. Pull the toilet tank lid off so you can reach behind it. Unscrew the outlet and switch plates and bag the screws.
Now look hard at the upper walls and the ceiling line, especially near the shower. See black or grey spotting? That’s mold, and you have to kill it before you paint. Put on gloves, wipe it with mold remover or your bleach mix, let it sit a few minutes, then rinse with clean water and let it dry.
Crack the window and run the exhaust fan the whole time. Airflow is what dries the wall and clears the bleach smell.
Watch out for: mold that comes back after one wipe. If a spot keeps darkening, the drywall behind it may be soft from water damage. Press it. If it’s spongy, that section needs replacing, not painting.
Step 2 — Block the Stains and Patch the Walls
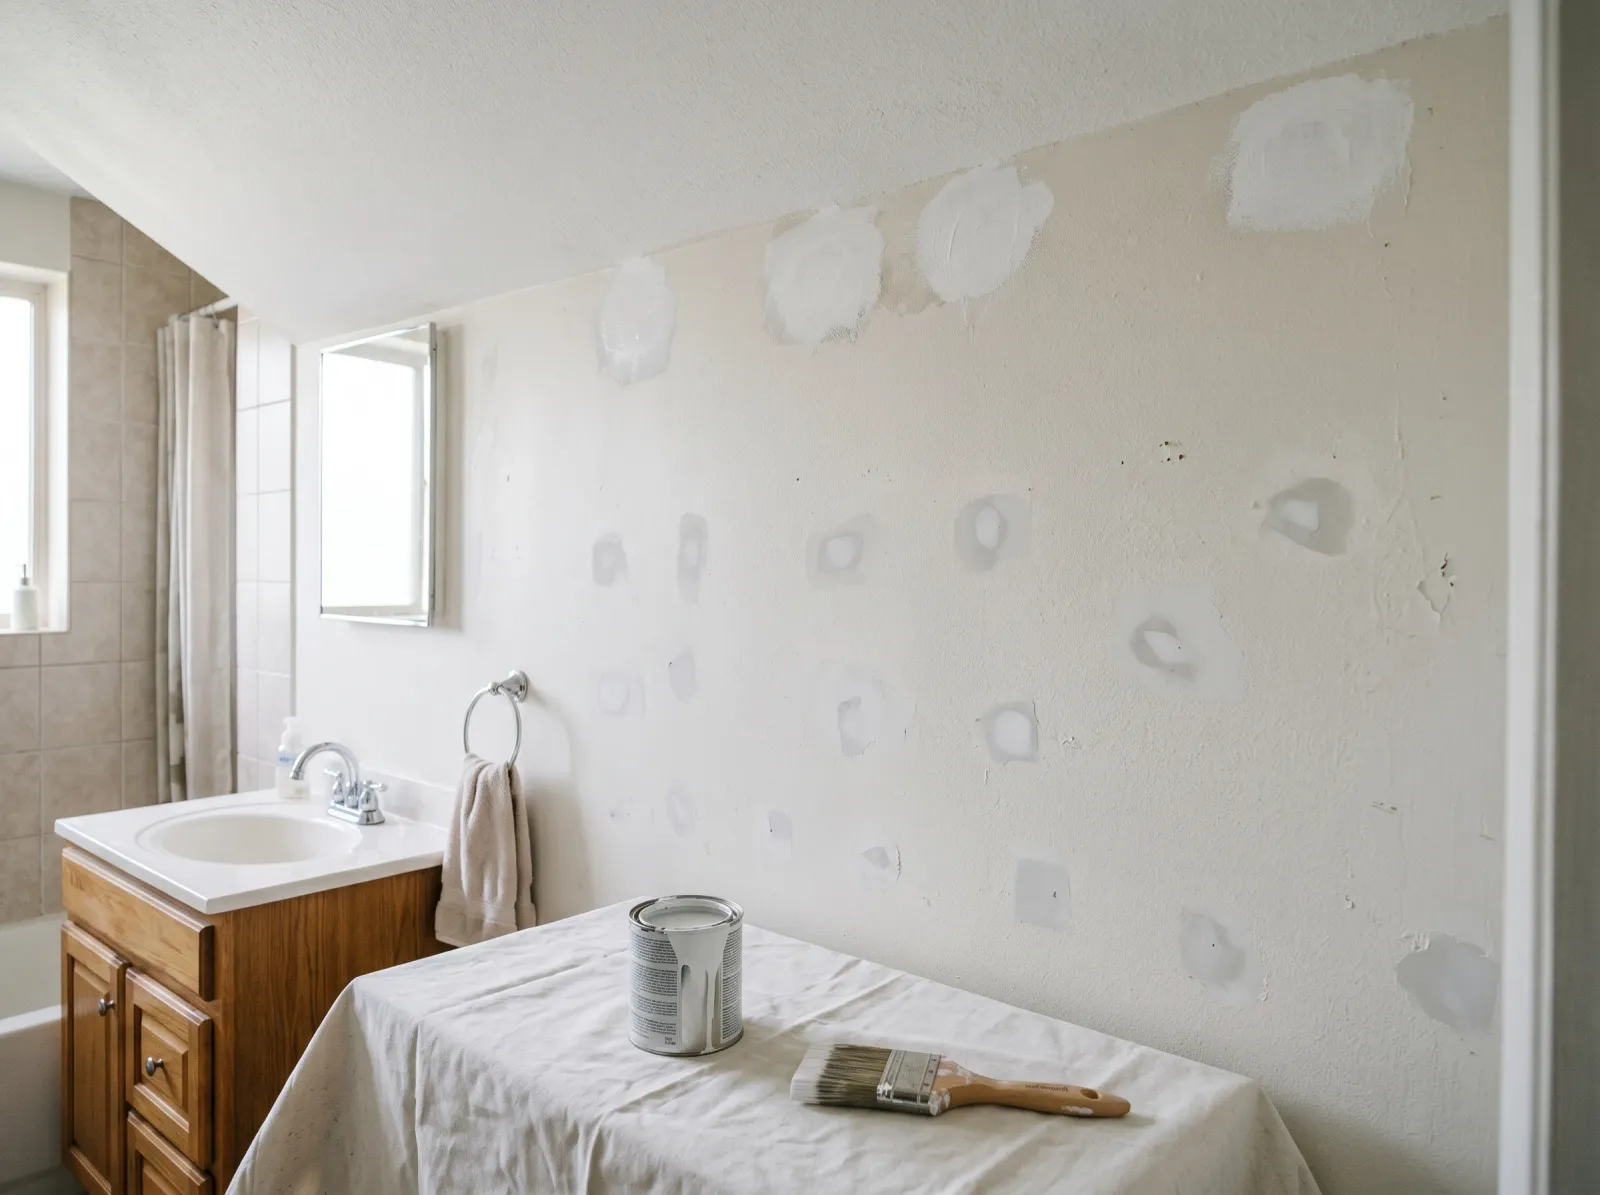
Water stains and old mold spots spot-primed white, nail holes spackled and sanded flush.
Once the mold spots and any water stains are clean and bone dry, spot-prime them. Brush a little Zinsser BIN or KILZ Original over each stain. Don’t skip this. A water stain bleeds a brown halo through two coats of finish paint, and you’ll see it the first week.
Patch nail holes, the towel-bar screw holes you’re not reusing, and any cracks with spackle. Let it dry 30 minutes and sand flush with the 220-grit sponge.
If the existing paint is glossy semi-gloss, scuff the whole wall lightly with the sanding sponge so the new paint has something to grip. A quick once-over, not bare drywall.
Watch out for: priming over a stain that’s still damp. The primer traps the moisture, then peels. The stain has to be dry before the primer goes on.
Step 3 — Tape Off the Tile, Trim, and Ceiling
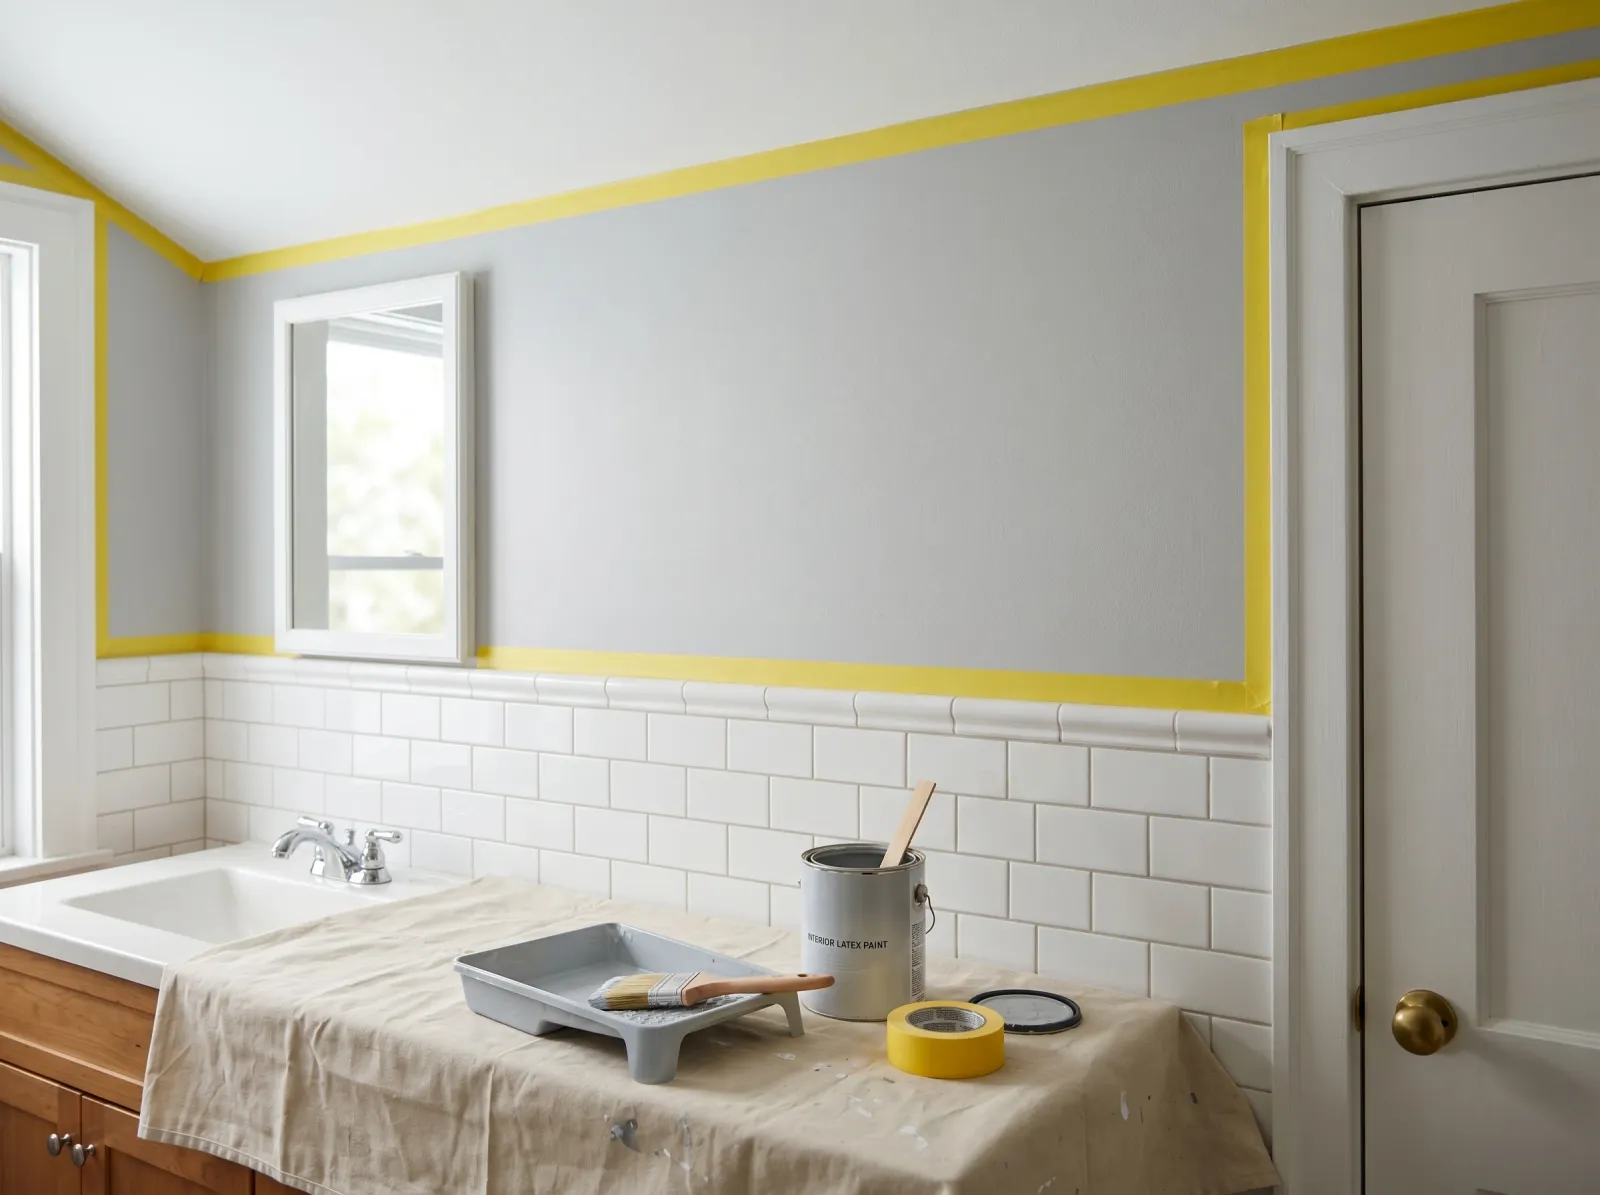
Yellow tape pressed along the tile, ceiling line, and trim. A cut-in band brushed at every edge.
Tape along the top of any tile or wainscot, the ceiling line, the door and window casing, and around the medicine cabinet. Work in three-foot sections and press each strip down hard with your thumbnail or a credit-card corner. The press is what seals the tape against bleed.
Lay the canvas drop cloth over the vanity and floor. Bathrooms are tight, so you’ll be working close to the sink and toilet. Cover them.
Watch out for: grout lines and caulk seams along the tile. They suck tape in and let paint bleed under. Press the tape into the grout with the credit-card corner.
Step 4 — Cut In First, Then Roll
Cutting in means brushing a 2-inch band of color along every taped edge before the roller touches the wall. The roller can’t reach into corners or up against the tile, so the brush does those first.
Load the angled brush a third of the way in and tap once on the inside of the can. Brush a band along the ceiling, the tile line, the trim, and around the mirror and outlets. A bathroom has a lot of edges for its size, so the cut-in takes longer here than the rolling does.
Pour a cup of paint into the tray, load the roller, and roll the wall in a big W, then fill it in. Keep the roller about an inch off the cut-in band so the wet edges blend as you cross them. The cut-in has to still be wet when the roller reaches it, or you’ll see a faint frame of different sheen once it dries.
Watch out for: the wall behind the toilet. It’s a pain to reach and easy to skip. A small foam mini-roller or a stubby brush gets back there.
Step 5 — Wait, Then Roll the Second Coat

Second coat rolled while the cut-in is still wet. The patchy first coat is gone.
The first coat looks patchy and thin. That’s normal, and it’s worse over spot-primed areas because the white primer shows through. Don’t go back over wet spots chasing it. You’ll leave roller marks.
Wait the recoat window on the can, usually 2 to 4 hours. The bathroom dries slower than other rooms because of the humidity, so give it the full time and keep the fan running. Touch the wall with a knuckle; if it’s dry and not tacky, do the second coat the same way. Cut in, then roll.
Step 6 — Pull the Tape While It’s Tacky
Pull the tape while the second coat is still slightly tacky, about 30 to 60 minutes after you finish rolling.
As paint cures it bonds across the tape edge. Pull at four hours and you’ll peel a ragged strip off the wall with the tape. Pull at thirty minutes and the film is still soft enough to release clean.
Pull slow, at a 45-degree angle, in one continuous strip. If a corner lifts, dab it back with the brush and leftover paint.
Common Mistakes
- Painting over live mold. It grows right through the new coat and you’re back where you started in a month. Kill it with bleach or mold remover first, let it dry, then spot-prime.
- Skipping the stain block on water marks. A brown water halo bleeds through two coats of finish paint within a week. One swipe of Zinsser BIN stops it cold.
- Flat or matte in a wet room. It drinks moisture and grows mold along the ceiling line. Satin in a full bath, eggshell only in a no-shower powder room.
- Showering before the paint cures. A wall of steam at hour three softens the fresh film. Wait 24 hours, then run the fan hard. No mold resistance until 30 days.
- No ventilation, ever. If the room never dries out, no paint survives. A working fan and a cracked window are part of the job, not optional. See fixing condensation on walls if your bathroom never seems to dry.
Cure Schedule
| Time after final coat | What’s safe |
|---|---|
| 30–60 min | Pull the painter’s tape |
| 2 hrs | Touch dry; outlet plates back on |
| 24 hrs | First hot shower, fan running |
| 7 days | Wipe splatters with a damp cloth |
| 30 days | Full cure; full mildew resistance; scrub if needed |
Maintenance
A satin bathroom wall holds up for about 5 to 7 years before the constant wiping and steam dull it near the shower. The walls away from the water last longer, closer to 8 to 10. Save a labeled quart for touch-ups.
The real maintenance is airflow. Run the fan during and 15 minutes after every shower, and crack the window when you can. A bathroom that dries between showers almost never grows mold, no matter what paint is on it.
Splatters and toothpaste come off with a damp microfiber rag once the wall is past 7 days. A grey spot creeping back near the ceiling means the fan isn’t moving enough air, not that the paint failed.
Cost
| Item | Cost |
|---|---|
| 1 gal bathroom satin (or 1 qt for a powder room) | $25–$65 |
| Stain-blocking primer (1 qt) | $12–$18 |
| Mold remover or bleach | $6–$10 |
| Yellow FrogTape (60 yd) | $10 |
| Roller frame + microfiber sleeve | $18 |
| 2.5” angled brush | $14 |
| Tray, liners, drop cloth | $25 |
| Total (first bathroom) | ~$110–$160 |
If It Goes Wrong
Mold came back through the new paint within a few weeks. The spot wasn’t killed before painting, or the room isn’t drying out. Wipe the spot with bleach, let it dry, spot-prime, repaint that patch, and fix the airflow. The paint isn’t the problem; the moisture is.
A brown ring ghosted through over the tub. That’s an unprimed water stain. Wait for it to dry fully, brush BIN over the ring, and repaint the patch. The stain block is what you missed.
The color reads colder in the bathroom than it did on the chip. Bathroom light is usually a cool overhead fixture with little daylight, which pushes blues and greys colder. Live with it a few days before you decide. Most people stop noticing.