How to Paint an Interior Barn Door
Painting a barn door without brush marks on the flat panels or peeling on the tracks. Every term defined, the right sheen, and what to do when knots bleed through.

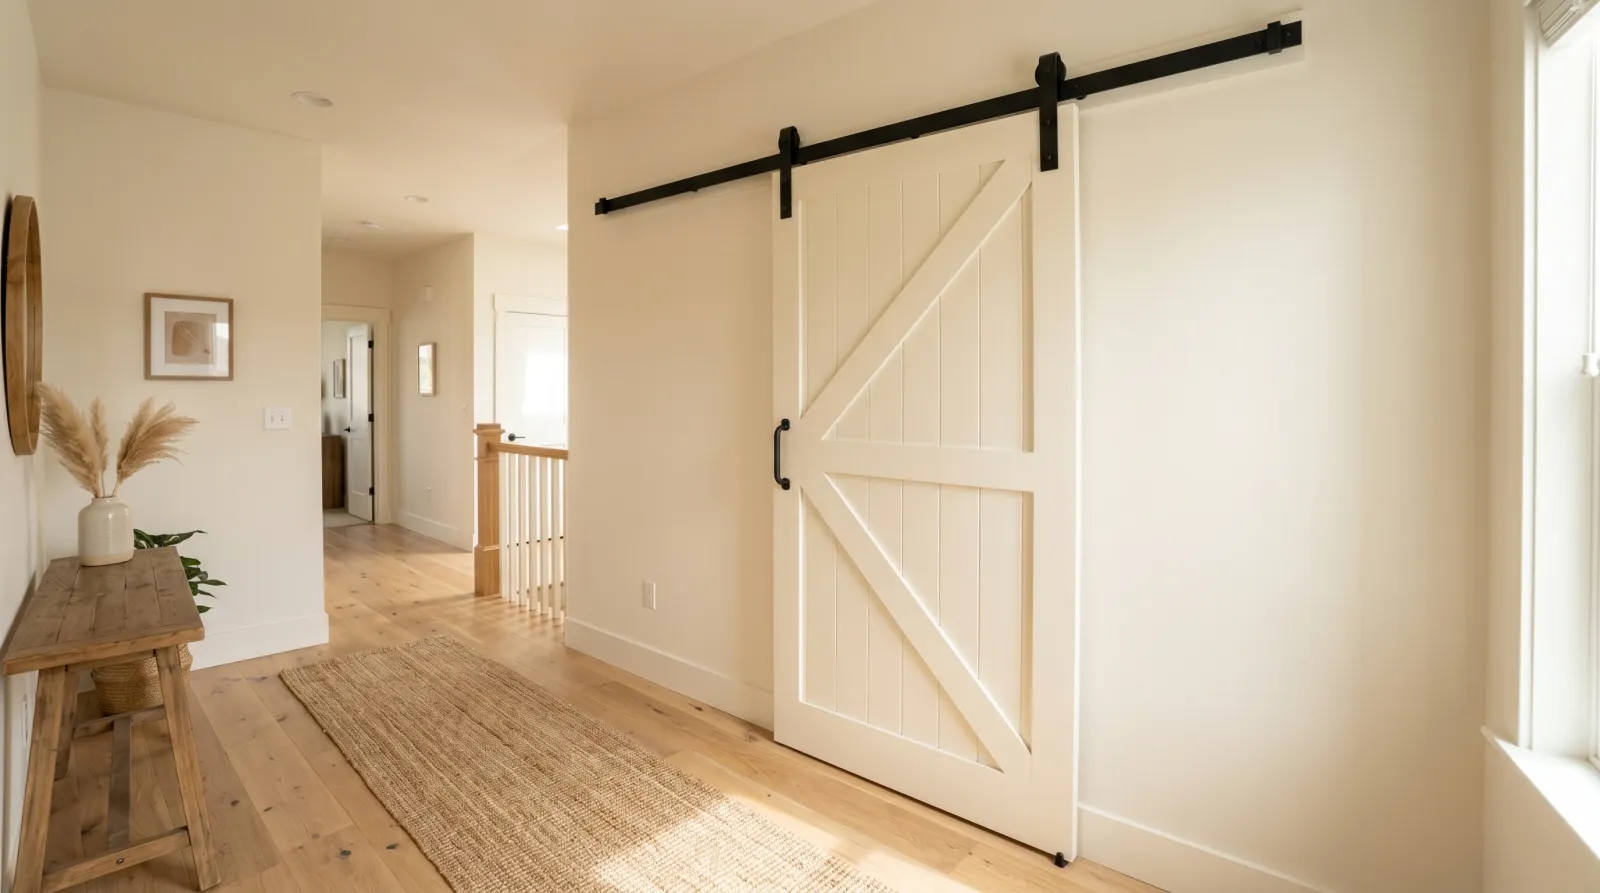
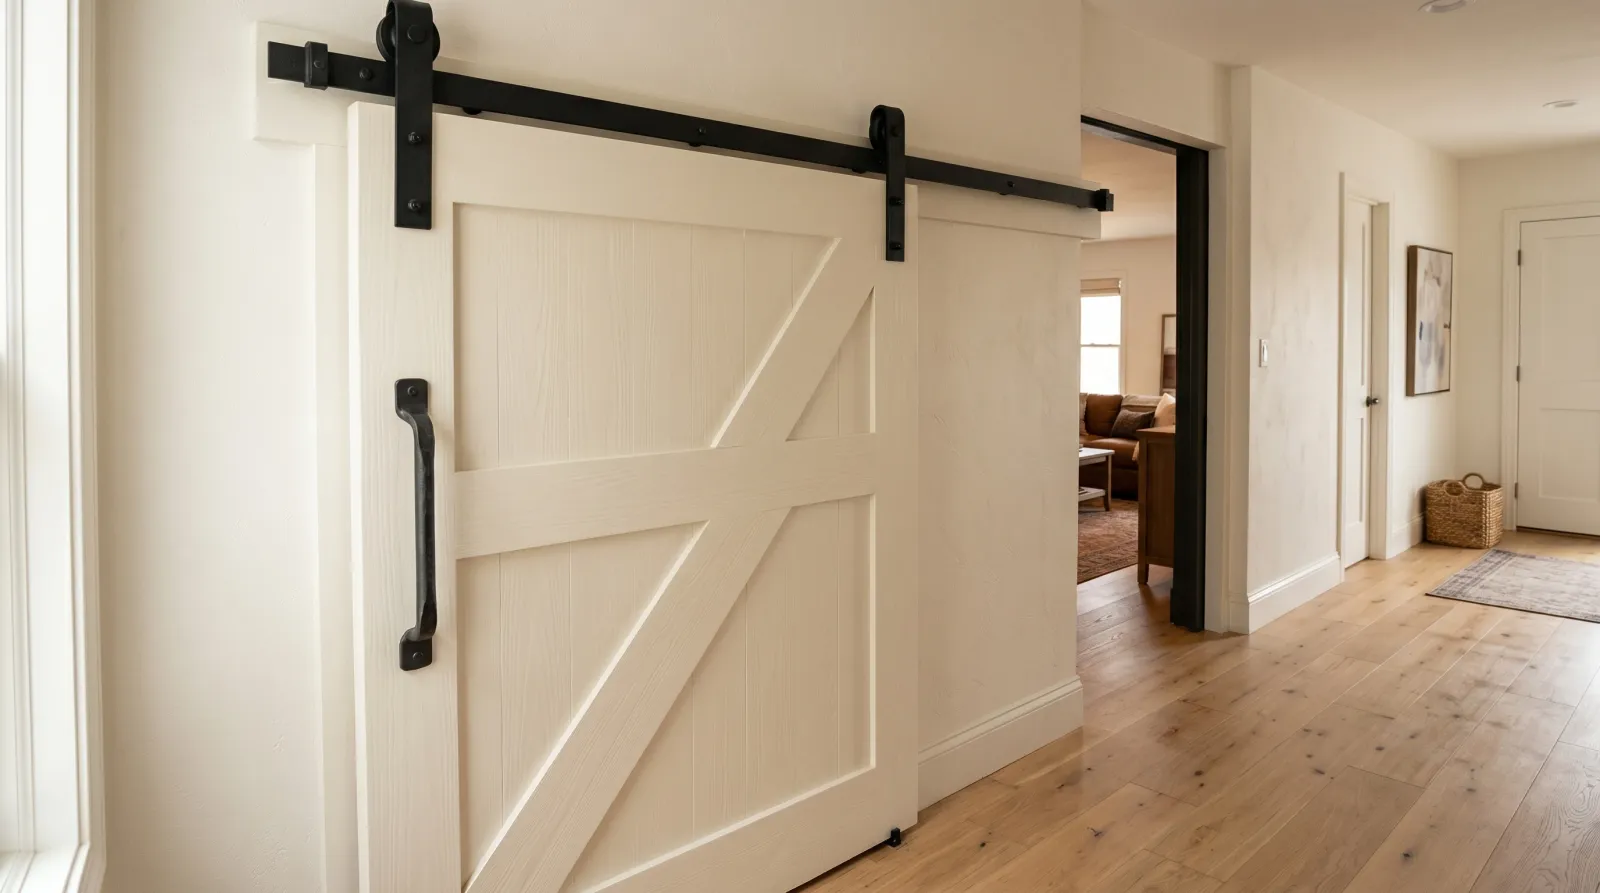
Okay, so you’ve got a sliding barn door, and the thing about a barn door is that it’s huge and it sits right at eye level. There’s no hiding a sloppy job the way you can on a ceiling nobody looks at. Every brush mark, every drip, every knot bleeding through shows. That’s the fear, and it’s a fair one.
Here’s the good news. A barn door is just a big flat slab, and flat is the easiest thing in the world to paint smooth once you do one thing: take it down and lay it flat. Painting a door standing up means fighting drips on every vertical face. Painting it flat lets gravity do half the work for you.
TL;DR
- Take the door off the track and lay it flat on sawhorses. Smooth finishes start here.
- Raw knotty pine needs a shellac-based stain-blocking primer (Zinsser BIN) or the knots bleed brown through your white paint.
- Use cabinet enamel in satin or semi-gloss, and a 4-inch foam roller on the flat panels for a near-sprayed look.
- Brush the grooves first, then roll the flats, and never go back over a panel once it starts to set.
- Two thin coats per side, including the back, which shows when the door slides open.
What You’ll Get
A smooth, even barn door with no visible brush marks on the panels, rehung and sliding clean. One weekend of work plus dry time.
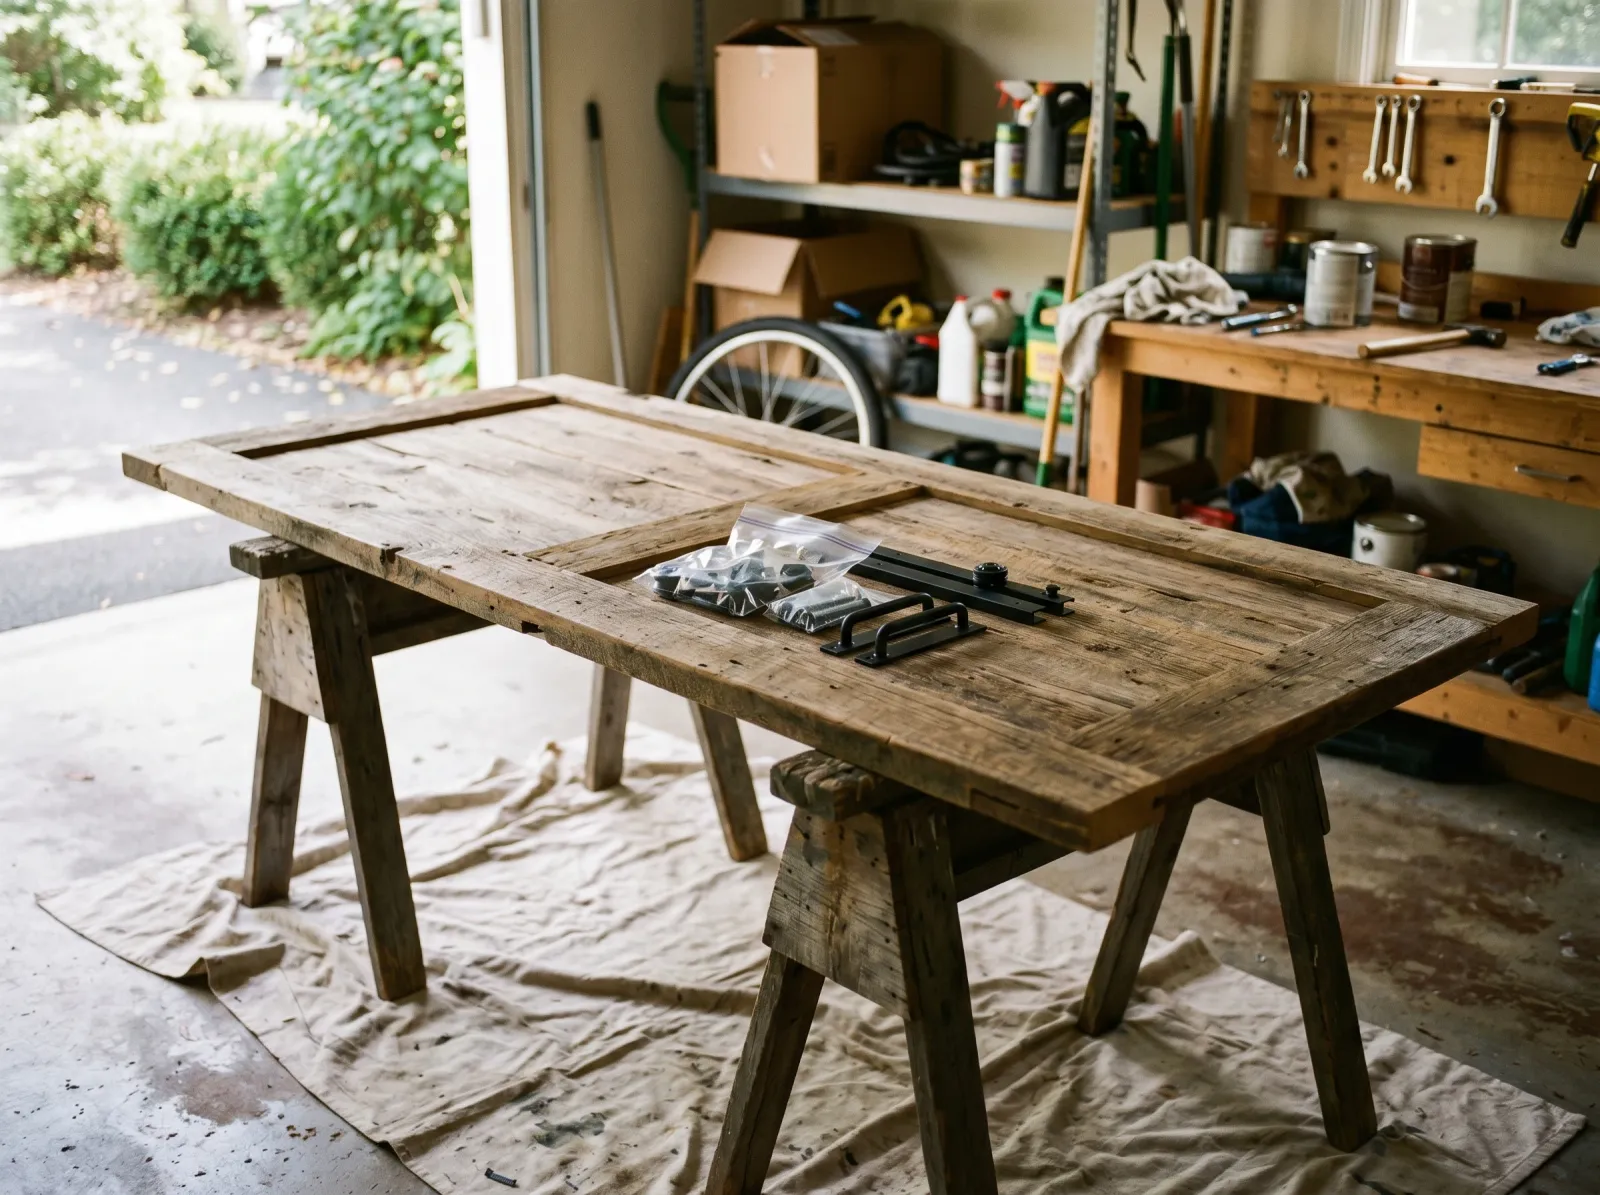 Off the track, hardware bagged, flat on sawhorses. This is where the smooth finish starts.
Honest Take on Difficulty and Time
This is one of the easier paint projects. No ladder, no ceiling, no cutting in along a wall. The real work is about five hours across a weekend, and most of that is waiting for coats to dry.
The two things that trip people up: knots that bleed through, and brush marks on the big flat panels. Both come down to prep and the right tool, not skill. If your door is raw knotty pine (a lot of barn doors are), take the knots seriously. Skip the stain-blocking primer and you’ll be repainting in a month.
| What you’ve got | Active time | Total elapsed |
|---|---|---|
| Raw pine door, brush and foam roller | 4–5 hrs | 1 weekend + 1 week before heavy use |
| Pre-finished or laminate slab, bonding primer | 5–6 hrs | 1 weekend + 1 week |
| Already painted, scuff and recoat | 3–4 hrs | 1 weekend |
What You’ll Need
Paint and Primer
A 1-quart can of cabinet enamel (a hard-curing trim and door paint that self-levels, meaning it flows out flat and hides brush marks as it dries). BM Advance, SW ProClassic, or INSL-X Cabinet Coat are the usual picks. In satin for most rooms, semi-gloss if the door gets handled a lot. One quart covers a standard door, both sides, two coats.
For raw knotty pine, you also need a 1-quart can of stain-blocking primer. The knots ooze resin and tannin that bleed up through normal paint as brown rings. Zinsser BIN (a shellac-based primer) locks them in. A regular wall primer won’t hold the knots back. There’s a full walkthrough in the knotty pine guide.
If your door isn’t raw wood but a slick factory-finished or laminate slab, swap the stain-blocker for a bonding primer like INSL-X Stix, which grabs slick surfaces that paint slides off of.
See the best trim and door paint round-up for the SKU picks, and the sheen guide if you’re stuck between satin and semi-gloss.
Tools
A 2.5-inch angled brush for the grooves between planks and the edges. A 4-inch foam-mini roller for the flat panels. The foam roller is the trick to a smooth barn door. A regular nap roller leaves a slight orange-peel texture; foam lays the paint down almost like a sprayer. Picks live in the best foam rollers round-up.
Two sawhorses, a drop cloth, painter’s tape, sandpaper, and a drill to take the door down.
Step 1 — Take the Door Off the Track
Most sliding barn doors lift straight up off the rail and tip out at the bottom. Some have a small anti-jump bracket or a floor guide you unscrew first. Have a second person help; a 36-inch solid door is heavier than it looks.
Once it’s down, take off the handle and the two roller brackets. Drop the screws in a baggie, label it with a Sharpie, and lay the door flat across the sawhorses.
Watch out for the rollers at the top. They’re what the door hangs from, and you don’t want paint on the moving parts. Take them off completely if they unscrew. If they don’t, wrap them tight in painter’s tape and a plastic bag.
Step 2 — Sand, Fill, and Wipe Down
 Scuffed dull, gouges filled. The haze means the surface is ready to grab primer.
What you do here depends on what’s on the door.
Raw wood: a quick pass with 120-grit to knock down any fuzz and splinters, then 220 to smooth it. Fill any gouges or unused hardware holes with wood filler, let it dry, sand flush.
Already finished (stained and sealed, or painted): scuff the whole surface with 220-grit until the shine is gone. You’re not stripping it, just roughing the gloss so the primer can bite. A liquid deglosser dulls the surface in about 15 minutes if you’d rather not sand.
Slick factory or laminate slab: light 220 scuff, but the bonding primer is doing the real work here.
Vacuum the dust, then wipe the whole door with a tack cloth (a sticky cheesecloth that picks up the last fine dust). Paint over dust and you’ll feel every speck through the finish.
Step 3 — Prime, and Block Those Knots
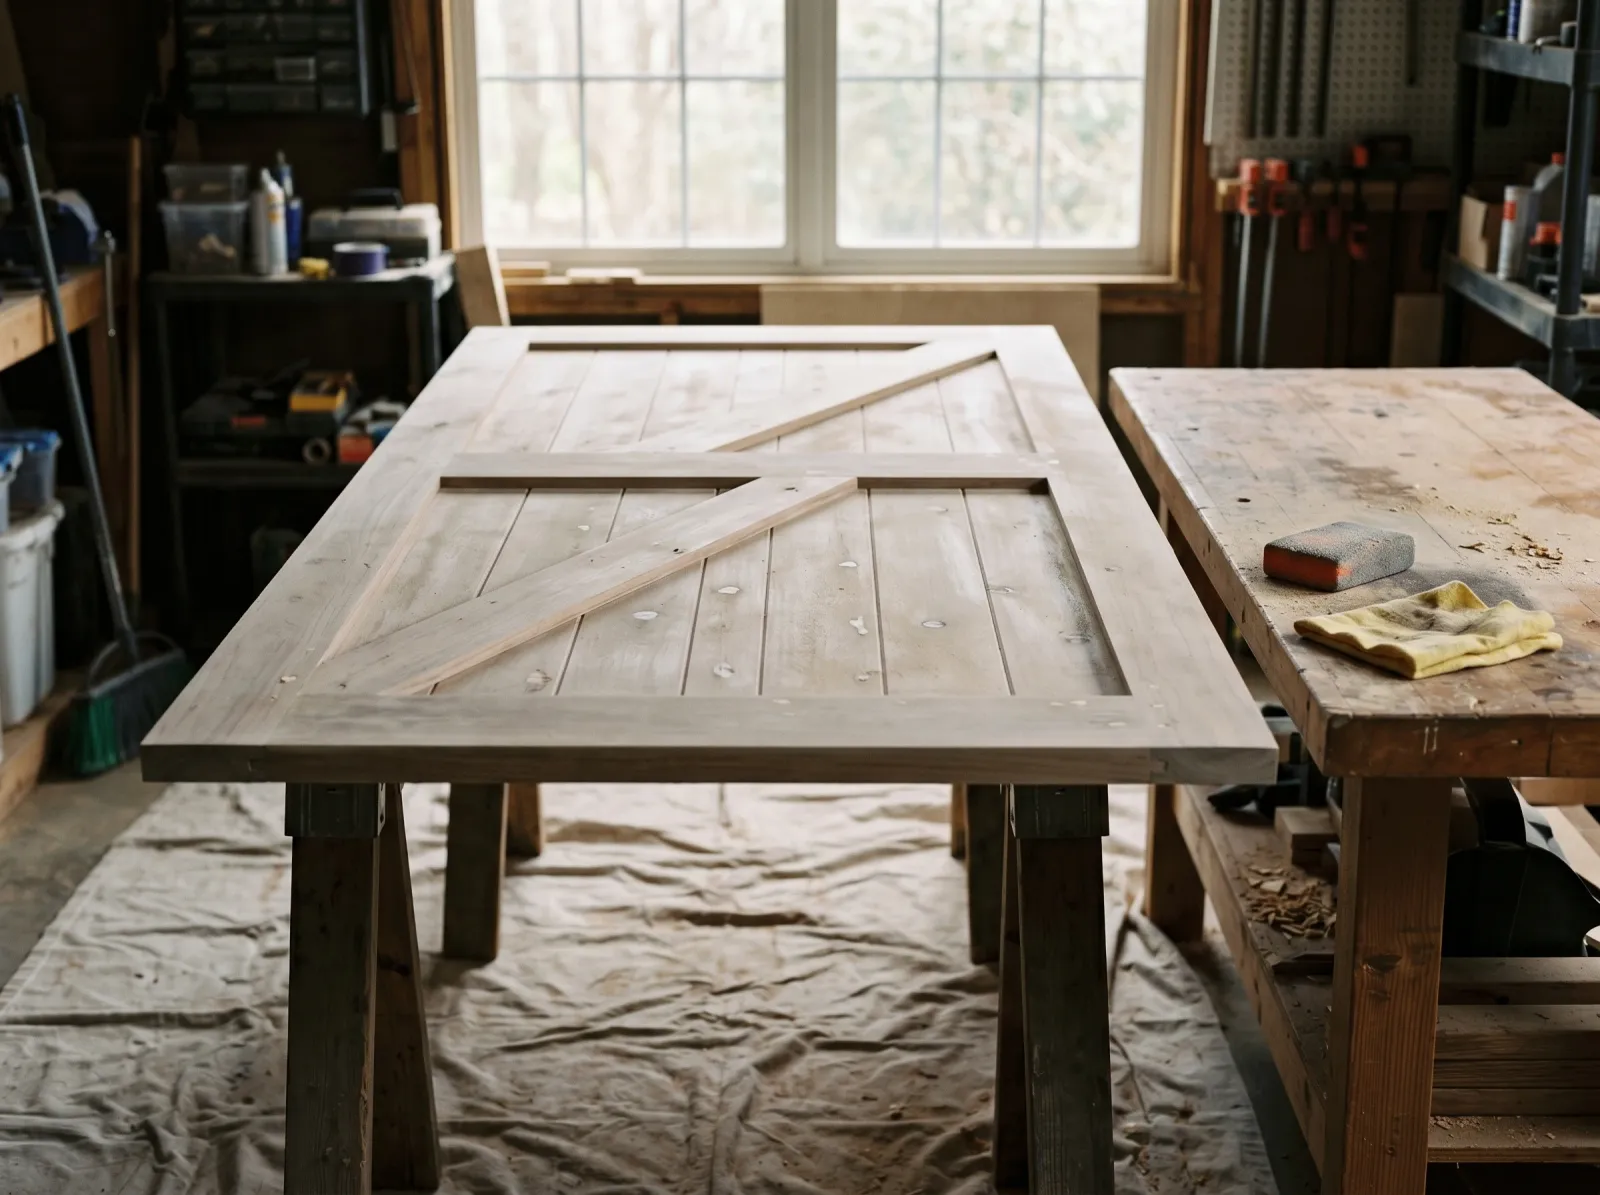
 One thin coat of shellac-based primer, wall to wall, so the knots can’t bleed up later.
Roll one thin coat of primer over the flats with the foam roller, brush the grooves and edges. On raw pine, this is the BIN going over every knot. BIN dries fast (about 45 minutes) and smells strong, so open a window. On a slick slab, use Stix bonding primer instead.
Let it dry the time on the can, then give the whole door a light 220 scuff to knock down any raised grain or nibs, and tack-cloth again.
Watch out for thinking you can skip primer on raw pine because the paint says “self-priming.” Self-priming means it doesn’t need a base coat for adhesion. It does nothing about knot bleed. The knots will ghost through in a few weeks. Prime the knots.
Step 4 — First Coat: Grooves First, Then the Flats
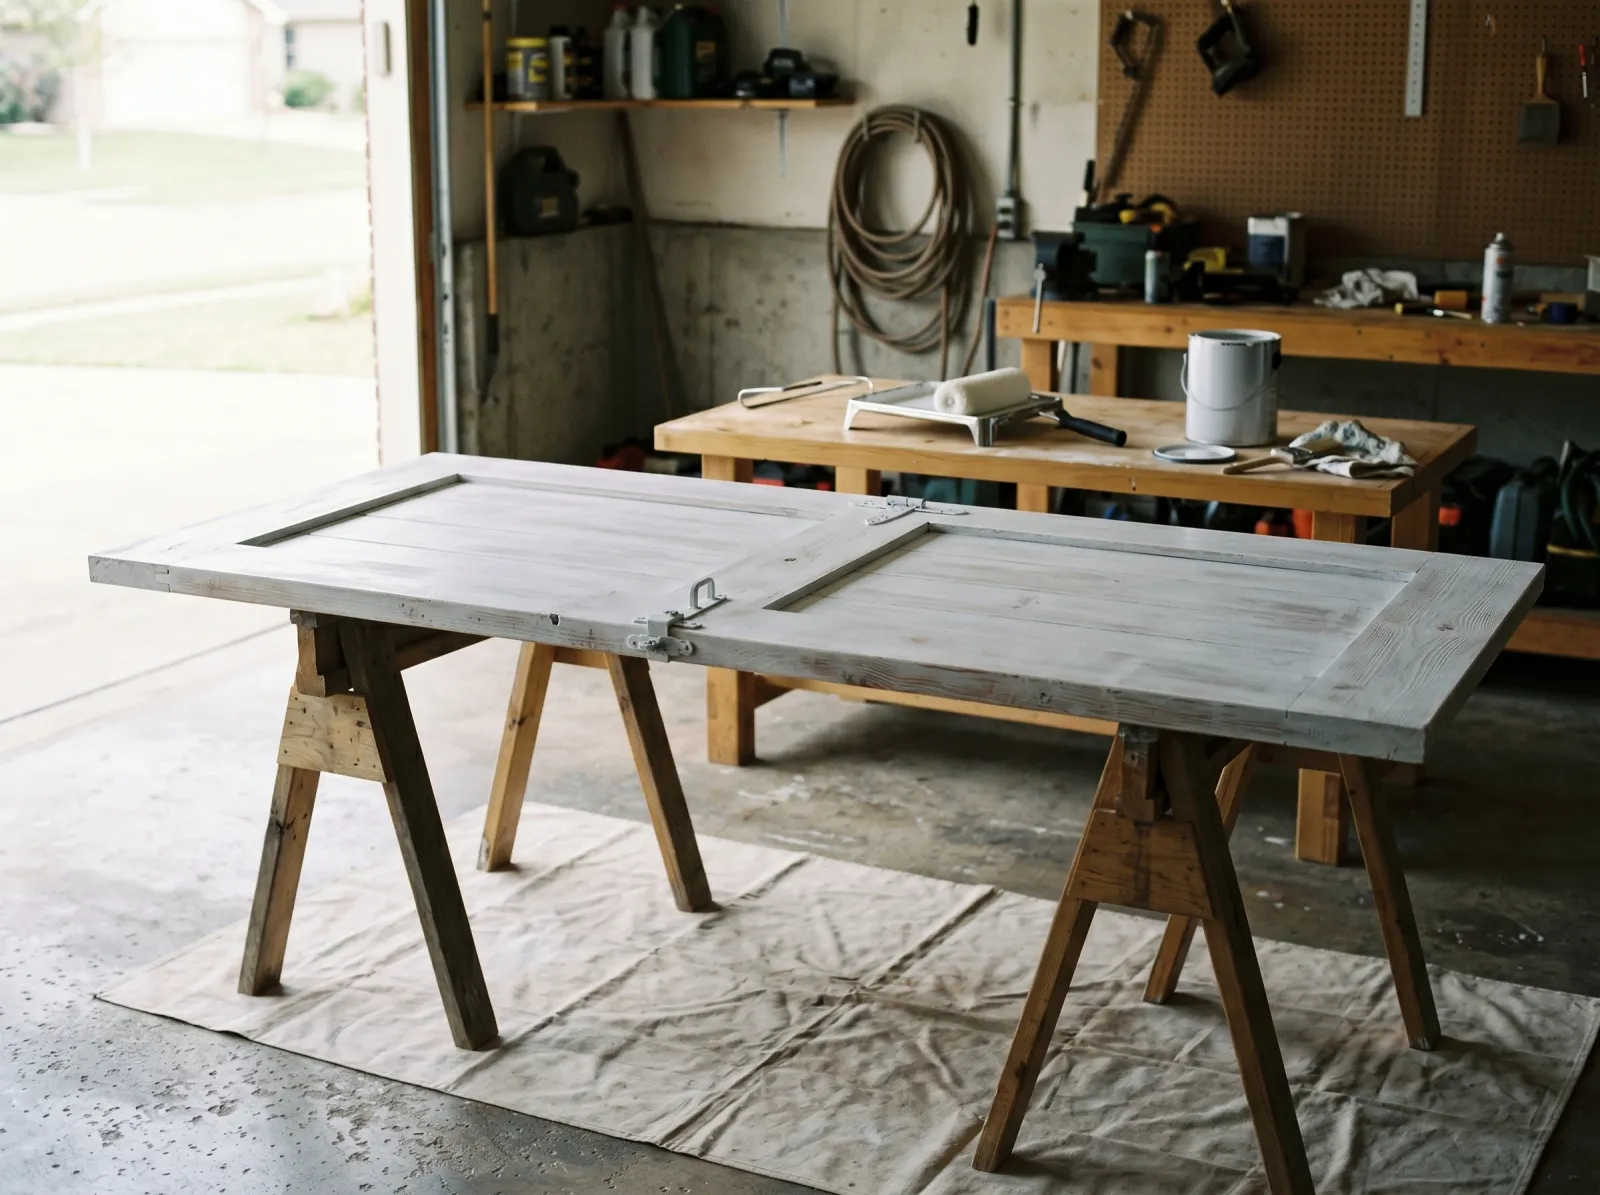
 Brush the detail, then roll the panels. Working in that order keeps the flats from drying with brush lines in them.
Stir in a little Floetrol (a latex extender that keeps the paint wet a few seconds longer so brush and roller marks flow out flat). About 6 ounces per gallon, so a small splash for a quart.
Now the order that matters. Brush the grooves between the planks and the recessed edges first, while you’re fresh. Then go over the big flat faces with the foam roller before the brushed parts skin over. Roll in long passes top to bottom, one direction, and don’t go back over a section that’s started to set up.
Thin coats. Two thin coats beat one thick one every time. A thick coat sags, dries uneven, and never cures as hard.
Watch out for the urge to keep rolling a panel “to even it out.” Once the foam roller starts to drag, you’re past the window. Lay it down in one pass and walk away. It looks better dry than it does wet.
Step 5 — Second Coat and the Back
Let the first coat dry the full recoat time on the can. For BM Advance that’s 16 hours, for most others around 4. Recoat too soon and the foam roller lifts the first coat into a streaky mess.
Light scuff with 220, tack cloth, then the second coat the same way: grooves with the brush, flats with the foam roller.
When the front is dry to handle (give it a day to be safe), flip the door and do the back, both coats. The back of a barn door shows when it slides open, so don’t treat it as the hidden side.
Step 6 — Rehang and Reinstall
 Hardware back on, door back on the rail, sliding clean.
Wait until the paint handles without leaving fingerprints, about 24 hours. Reattach the roller brackets and the handle from your labeled baggie. Lift the door back onto the track with a helper, set it on the rail, and check that it slides smooth and clears the floor guide.
Don’t slam it. The paint is dry on top but soft underneath for several more days. Treat it gently for the first week and it’ll cure hard while you use it lightly.
Common Mistakes
- Painting the door while it’s hanging. Every vertical face fights drips and the panels dry with sags. Take it down and lay it flat; gravity helps you instead of working against you.
- Skipping stain-blocking primer on knotty pine. The knots bleed brown rings up through white paint within weeks. A regular primer or “self-priming” paint won’t stop it. Use Zinsser BIN over every knot.
- Using a nap roller on the flat panels. A standard fuzzy roller leaves a faint orange-peel texture that catches light at eye level. A 4-inch foam roller lays the enamel down nearly smooth.
- Going back over a panel after it starts to set. The foam roller drags the half-dry paint into streaks you can’t fix without sanding back. One clean pass, then leave it.
- Painting the track or rollers. Painted hardware chips at the screw heads and gums up the moving parts. Leave the steel bare, or take it off and spray it separately.
Cure Schedule
| Time after final coat | What’s safe |
|---|---|
| 4 hours | Touch dry; don’t press on it |
| 24 hours | Reattach hardware, rehang gently |
| 7 days | Slide it normally, light daily use |
| 30 days | Full cure; wipe down, scrub a scuff |
Maintenance and Touch-Ups
A cabinet-enamel barn door holds up 8 to 12 years before it needs a refresh, longer if it’s not a high-traffic door. The grab spots around the handle wear first.
For a scuff, wipe it with a damp cloth first; most marks are dirt, not damage. For a real chip, dab the leftover enamel on with a small artist’s brush, just the chip, not a whole panel. Feather a touch-up across a panel and the repair reads brighter than the cured paint. Keep the leftover quart labeled with the door’s color code for matching later.
Cost Breakdown
| Item | $ |
|---|---|
| Cabinet enamel, 1 quart satin | $25 |
| Stain-blocking primer, 1 quart | $18 |
| Floetrol, sandpaper, tack cloth | $15 |
| Foam roller, sleeves, brush | $25 |
| Total | $83 |
That’s mid-tier paint. If your door is already painted and just needs a color change, drop the primer and you’re closer to $50.