How to Paint Natural Wicker, Rattan, and Cane
How to paint natural wicker, rattan, and cane without clogging the weave: spray over brush, the prep that stops flaking, and the cure most people rush.

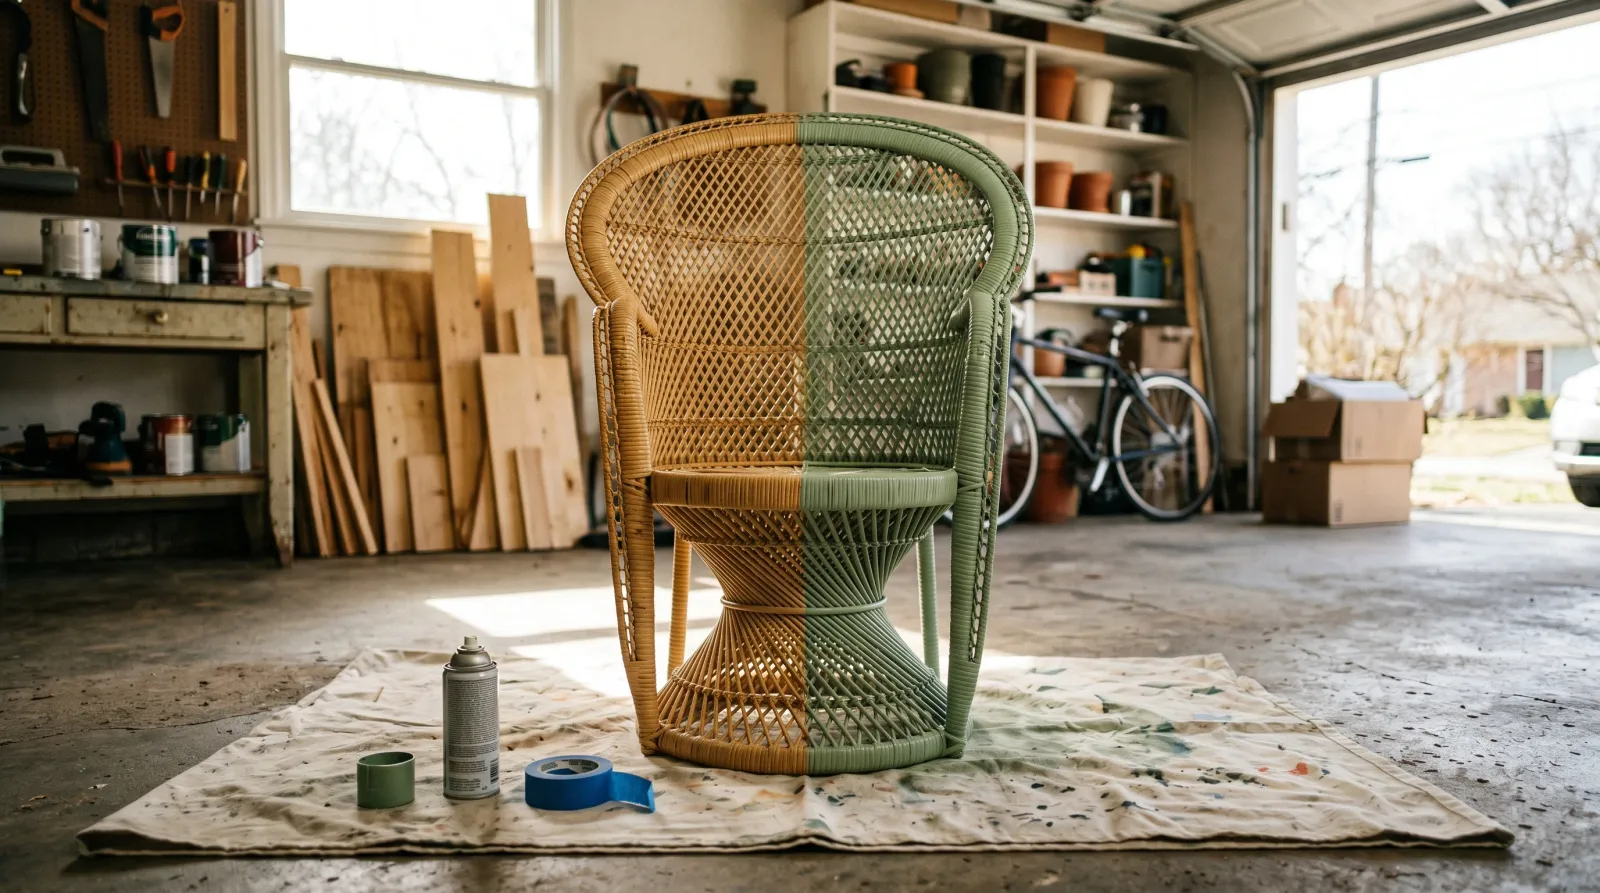
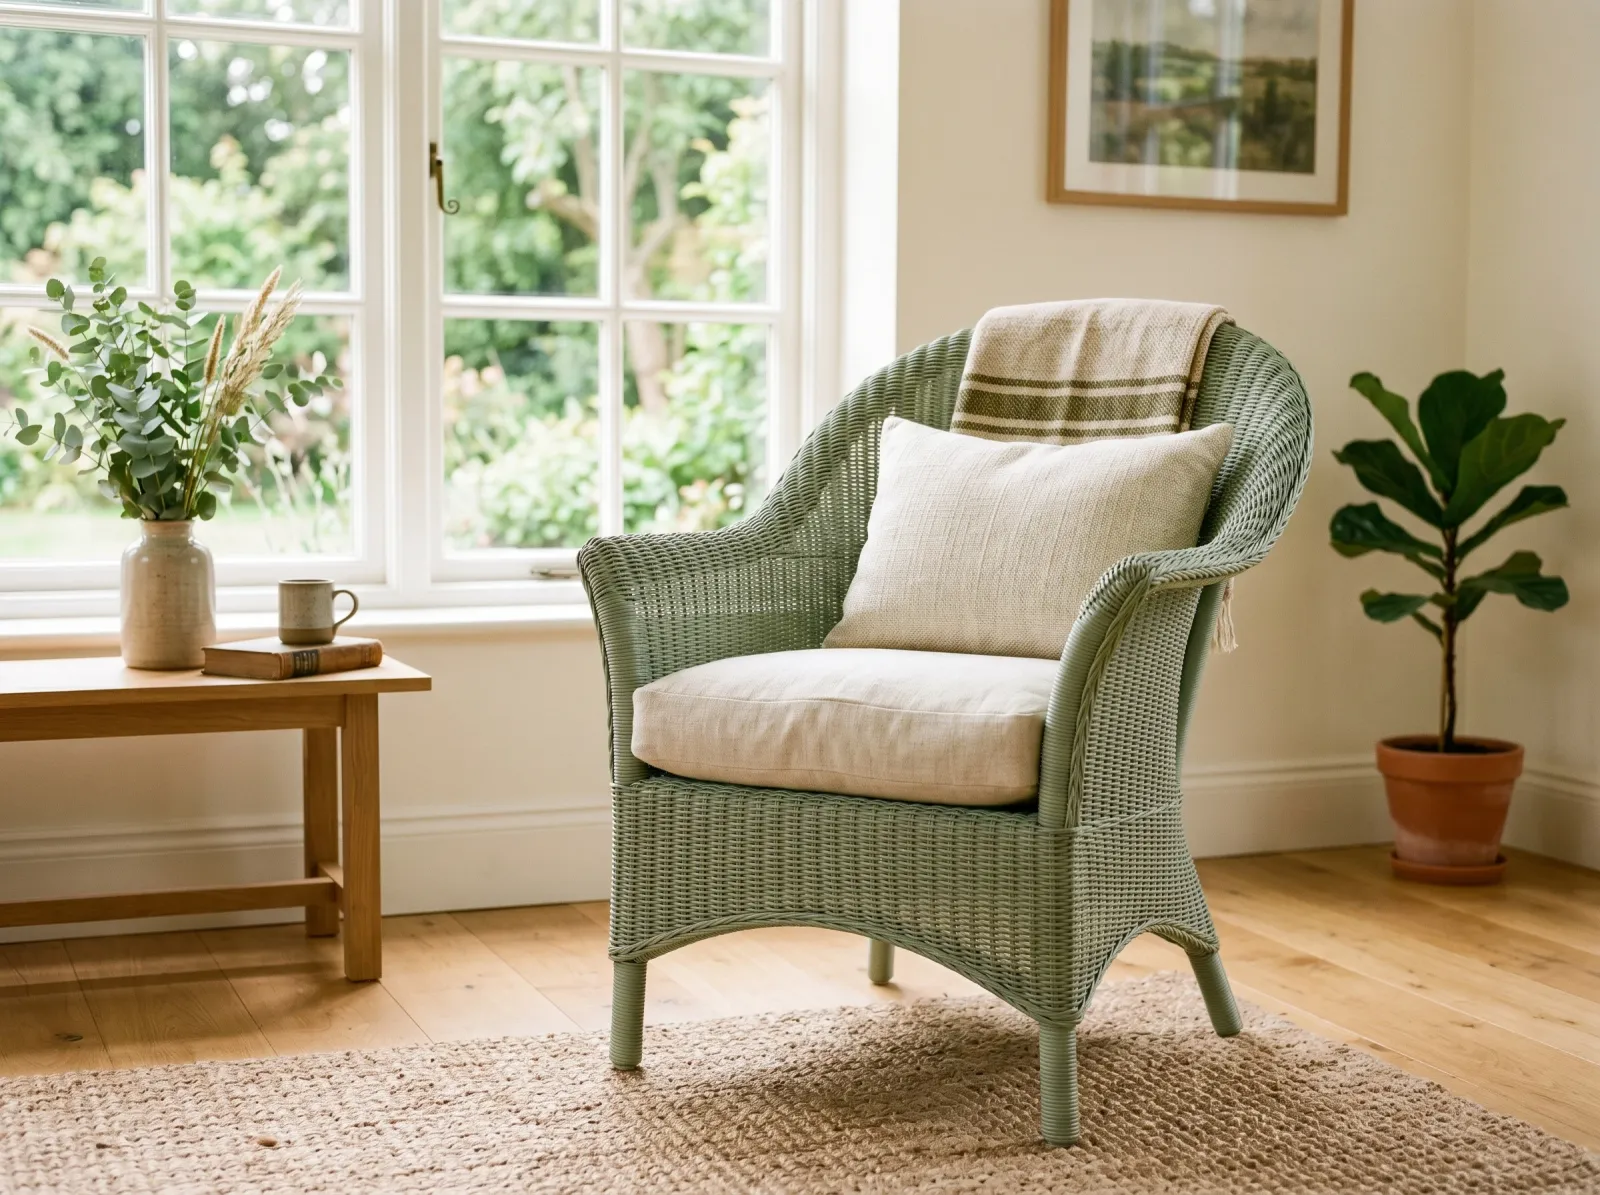
Spray it, don’t brush it. That’s the rule that decides whether painted wicker looks like a finished piece or a clogged mess. A brush fills the gaps in the weave and skips the undersides. Get that one call wrong and no amount of prep saves the job.
TL;DR
- Clean: vacuum the weave, wash with TSP, dry a full day in the sun
- Scuff: light 220-grit pass on any glossy or varnished piece
- Primer: spray bonding primer (Zinsser 1-2-3 spray or Rust-Oleum Bonding), one thin coat
- Paint: spray acrylic or oil enamel, two light coats, every angle
- Method: spray only. Brushing clogs the weave and misses the undersides
- Cure: 24 hours to handle, several days before heavy use or weather
- Skill: easy. The work is in the patience, not the technique
What Wicker, Rattan, and Cane Actually Are
People use these three words like they mean the same thing. They don’t.
Rattan is the plant. It’s a climbing palm with a solid, flexible stem, and it’s the raw material. Wicker isn’t a material at all. It’s the weaving technique. You can weave wicker out of rattan, willow, reed, bamboo, or even paper. So a “wicker chair” is usually a rattan frame wrapped in woven reed. Cane is the hard outer bark of the rattan stem, sliced into thin strips and woven into the tight, open-hole pattern you see on chair seats and cabinet doors.
For painting, the differences barely matter. They’re all dried plant fiber. What matters is whether the piece is sealed or raw, and how tight the weave is.
Why Wicker Fights Paint
The weave is the whole problem. A flat wall is one surface facing you. A wicker chair is thousands of curved reeds facing every direction at once, with shadowed gaps and undersides you can’t see from where you’re standing.
A brush only reaches the high points. Drag it across the weave and it loads paint onto the reeds facing up, pools it in the low gaps, and never touches the undersides. You end up with a thick, plastic-looking crust on top and bare honey-colored reed showing the second the light changes.
Then there’s the moisture. Natural wicker drinks water and holds it deep in the reeds where the surface feels bone dry. Paint over wet wicker and the trapped water pushes the film off as it works its way out. That’s most of the flaking you see on old painted porch furniture.
Old wicker is also usually sealed. Most factory pieces got a clear lacquer or shellac coat. Paint slides right off a glossy lacquer with nothing to grip. You have to give it some tooth first.
Step 1: Clean and Dry
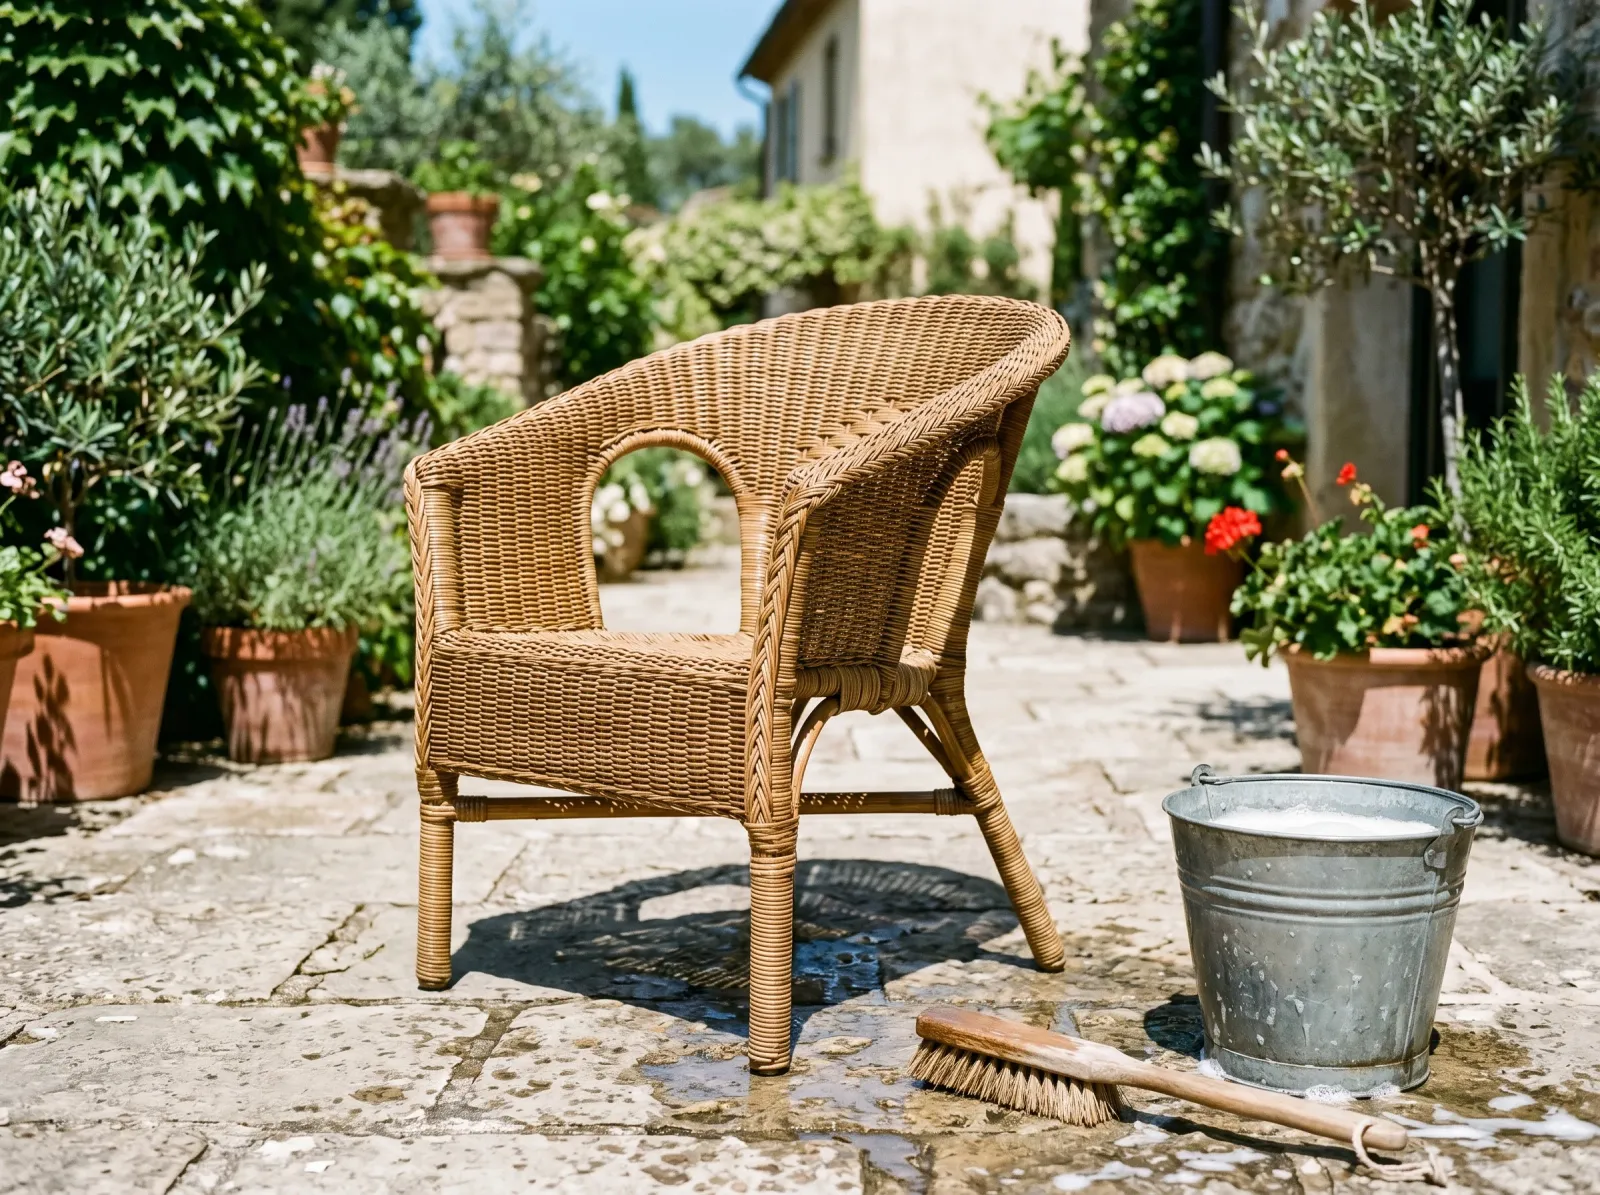
Vacuum the weave, wipe with a damp TSP rag, then let it bake dry in the sun for a day. Wicker holds water deep in the reeds.
Years of dust live in the gaps of the weave. Run a shop vacuum with a brush attachment over the whole piece, top and bottom. Get into the corners where the dust packs in.
Then wash it. Mix TSP or a substitute per the label, about a quarter cup per gallon. Wipe the weave down with a damp rag and a soft scrub brush. An old toothbrush gets into the tight cane. Don’t soak it. You want damp, not flooded. Wicker that gets saturated swells, and the reeds can loosen or split.
Now the part everyone rushes: let it dry all the way through. A full day in the sun, longer if it’s humid. The surface dries in an hour but the inside of the reeds holds water for a day or more. Prime over wet wicker and you’ve built in your own flaking. I see this every spring on porch furniture somebody repainted in April when the wood was still damp from winter storage.
Step 2: Scuff the Old Finish
If the piece is glossy, varnished, or lacquered, give it a light scuff. A 220-grit sanding sponge, light pressure, just enough to kill the shine. You’re not sanding it down. You’re cutting tooth into the surface so primer can bite.
Don’t go aggressive here. Heavy sanding tears the thin reeds and frays the cane. A quick once-over by hand is plenty. Vacuum the dust off afterward.
Raw, unsealed wicker that’s never been finished can skip this. There’s nothing slick to cut through. Bare reed will drink paint unevenly though, so the primer in the next step earns its place either way.
Step 3: Spray a Bonding Primer
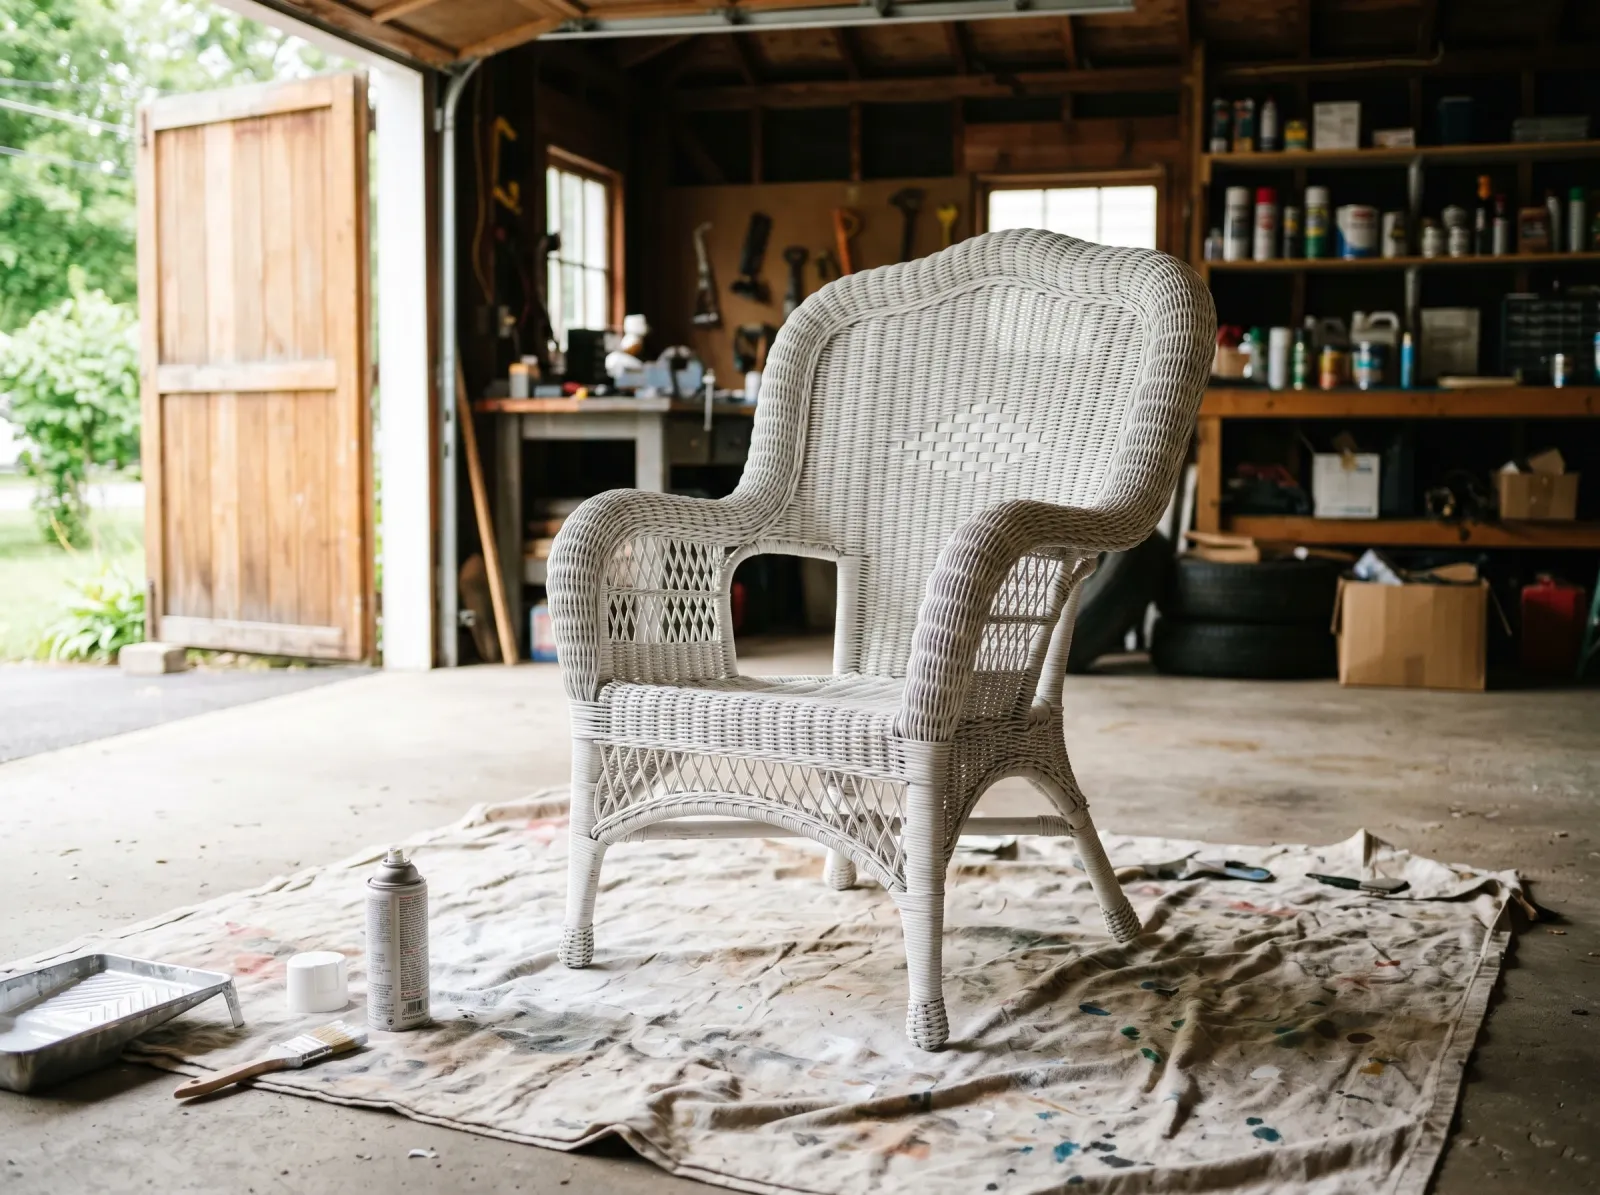
A thin spray coat of bonding primer. Light passes from every angle. The weave stays open, not filled.
Primer is what makes paint stick to a slick old lacquer. Use a spray bonding primer. Zinsser Bulls Eye 1-2-3 in the spray can, or Rust-Oleum Universal Bonding Primer. Both grip glossy surfaces that a standard primer slides off.
Shake the can two full minutes. Hold it about 10 inches off the piece and keep it moving. Spray light passes from above, then crouch and spray up into the undersides, then hit the sides. The undersides are where every miss hides, so do them first while you’re still paying attention.
One thin coat. The goal is to coat the reed, not to fill the weave. If you can’t see light through the gaps anymore, you’re laying it on too heavy and it’ll clog. The weave should still read as a weave under the primer. For the full primer category and the difference between bonding and stain-blocking types, see the best primer round-up.
Let it dry per the can, usually 30 minutes to an hour before topcoat.
Step 4: Spray the Color
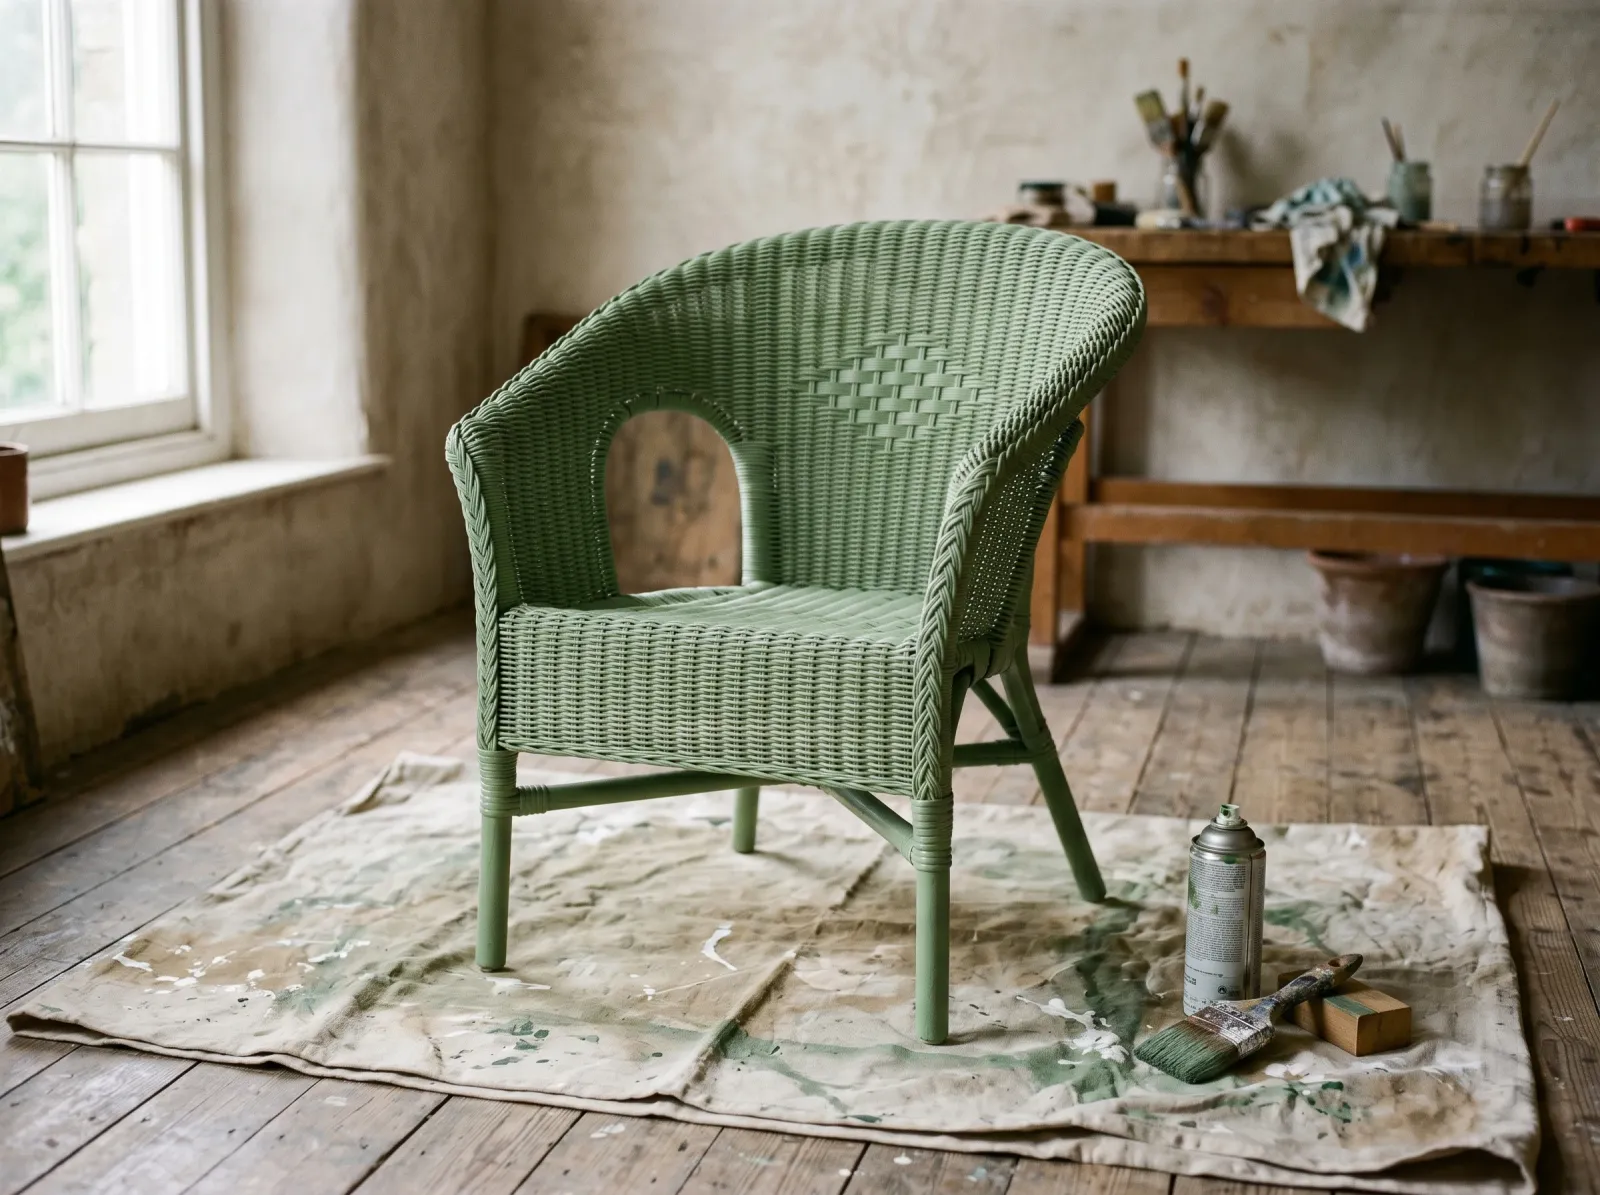
Light, even passes from above, then below, then the sides. The undersides are where the misses hide.
Same technique, now in color. A spray acrylic or oil enamel made for multiple surfaces holds up best: Rust-Oleum 2X, Krylon Fusion All-In-One, or Behr’s spray line. Oil enamel cures harder and is the better call for anything that’ll see weather. Acrylic dries faster and stays a touch more flexible, which matters on cane seats that flex when you sit.
Two light coats beat one heavy coat every time. A heavy coat runs in the gaps and drips down the reeds, and those drips dry into hard beads that catch the eye forever. Light passes, let it flash off, second pass.
Rotate the piece between passes. A lazy-susan turntable or just a sheet of cardboard you spin keeps you from leaning over the chair and missing whole sections. Spray the undersides and the inside faces first, then the outsides, then the tops last. Top reeds are what people see, so they get the freshest, cleanest pass.
Watch for the weave clogging. If color starts bridging the gaps and the pattern goes flat, back off and let it dry before you add more.
If You Have to Brush
No sprayer and can’t get spray cans? You can brush it, but manage expectations. Thin the paint about 10% with water for acrylic, and use a 2-inch angled sash brush. Work the undersides and inner faces first, then the tops. Keep the brush light and don’t overload it. Two thin coats. It’ll never wrap the reeds as cleanly as spray, and the gaps will show some pooling. For larger pieces, an HVLP sprayer is worth a rental. See the paint sprayer comparison for what fits the job.
Chalk paint is another brush-friendly option some people like for a matte, vintage look on wicker, since it grips most surfaces with little prep. The trade-off is durability and the need for a wax or sealer topcoat. The chalk paint primer covers what it is and where it makes sense.
Step 5: Dry, Recoat, Cure
Two coats, fully cured. Even color into every reed, no drips in the corners, no bare spots underneath.
Spray paint is touch-dry fast, often inside 20 minutes, but that’s deceptive. Recoat inside the window on the can (usually within an hour) or wait a full 48 hours. The dead zone in between is when a second coat lifts and wrinkles the first.
Handle it gently after 24 hours. Full cure runs several days to a week depending on the paint and the humidity. Don’t put cushions on a freshly painted seat or stack anything on it during cure. A soft film picks up texture and dents that lock in once it hardens. If the piece is going outside, keep it out of rain for a week.
Common Mistakes
- Brushing instead of spraying. Result: clogged weave on top, bare reed underneath, a thick plastic look. Fix is to spray. If you must brush, thin the paint and hit the undersides first.
- Painting damp wicker. Result: flaking and bubbling as trapped moisture works out. Wicker holds water deep in the reeds. Dry it a full day in the sun before primer.
- Skipping primer on a glossy piece. Result: paint peels off the old lacquer in sheets within a season. Scuff with 220-grit and spray a bonding primer first.
- Loading on one heavy coat. Result: drips beaded down the reeds and pooled in the gaps that dry hard and ugly. Two light coats, let each flash off.
- Heavy coats on cane seats. Result: stiff webbing that cracks the first time someone sits down. Cane flexes. Keep it to thin coats so the paint flexes with it.
- Rushing the cure. Result: cushion texture pressed into a soft film. Wait several days before normal use.
Maintenance and Longevity
Painted wicker indoors holds its finish 8 to 10 years with light care. Dust it with a vacuum brush, wipe with a barely damp cloth, and skip the soaking. The paint film is thin on those reeds, so abrasive cleaners cut through it fast.
Outdoors is a different story. Natural wicker is an indoor material that people keep dragging onto porches. Even painted, it dries out, splits, and goes brittle under UV and damp cycles. On a covered porch expect three to five years before reeds start cracking and the color fades. Uncovered, plan on a recoat every couple of years. If you want furniture that lives outside, resin or all-weather wicker is the honest answer, not paint on natural reed.
FAQ
Can you paint natural wicker?
Yes. Natural wicker, rattan, and cane all take paint if you clean them, scuff the old finish, and spray rather than brush. The weave is the challenge: thousands of tiny gaps and shadowed undersides a brush skips or floods. A spray bonding primer plus two light spray topcoats covers it without clogging the pattern.
Is it better to spray or brush wicker?
Spray. A brush drags paint across the high reeds and pools it in the low gaps, so you get a clogged weave and bare undersides at the same time. Spray lands as a fine mist that wraps the reeds from every angle. If you have to brush, thin the paint and work light coats with an angled sash, undersides first.
Do I need to prime wicker before painting?
Yes, if the piece is sealed, varnished, or shiny. Old natural wicker usually has a clear lacquer or shellac coat paint won’t grip. A spray bonding primer gives the topcoat something to hold. Raw unsealed reed can skip primer, but a thin coat still evens out how the dry reed drinks paint.
Why is my painted wicker cracking and flaking?
Two usual causes. You painted over a glossy old finish without scuffing or priming, so the paint never bonded. Or the wicker was still damp inside the reeds and trapped moisture pushed the paint off as it dried out. Strip the loose paint, scuff, dry it a full day, prime, and recoat. See how to fix peeling and flaking paint for the strip-and-recoat steps.
Can you paint cane chair seats?
Yes, but spray and use thin coats. Woven cane is thinner and more flexible than rattan frames, so a heavy brush coat stiffens it and cracks when someone sits. Two light spray passes keep the cane flexible. Don’t bother painting pressed-cane webbing that’s already split or sagging.
What sheen should I use on wicker?
Satin is the safe pick. Matte hides imperfections in the weave but scuffs and stains easily, and flat is hard to wipe clean. Gloss shows every clogged gap and uneven reed. Satin splits the difference and cleans up. For the full sheen breakdown, see the sheen guide.