How to Paint Patched Drywall
Painting drywall patches without flashing or telegraphing: why you prime the patch, how to skim the seam flat, and the sheen trick that hides a bad repair.

A drywall patch is easy to paint and easy to ruin. The repair itself usually goes fine. Where people lose it is the priming. Skip that one coat and the patch dries duller than the wall around it, and you get a ghost outline that shows up the second a lamp or a window rakes across it.
TL;DR
- Get it flat first: sand the compound flush, feather the edge wide, check with a side light
- Prime the patch: PVA drywall primer over bare compound, always. This is the step nobody skips twice
- Stain on the patch? Use BIN or Cover Stain instead of PVA. Water and smoke bleed through latex
- Paint the whole wall: corner to corner, same color, same sheen. Never spot-paint a patch
- Two coats: always two, with full recoat time between
- Skill: easy. The work is in the prep, not the painting
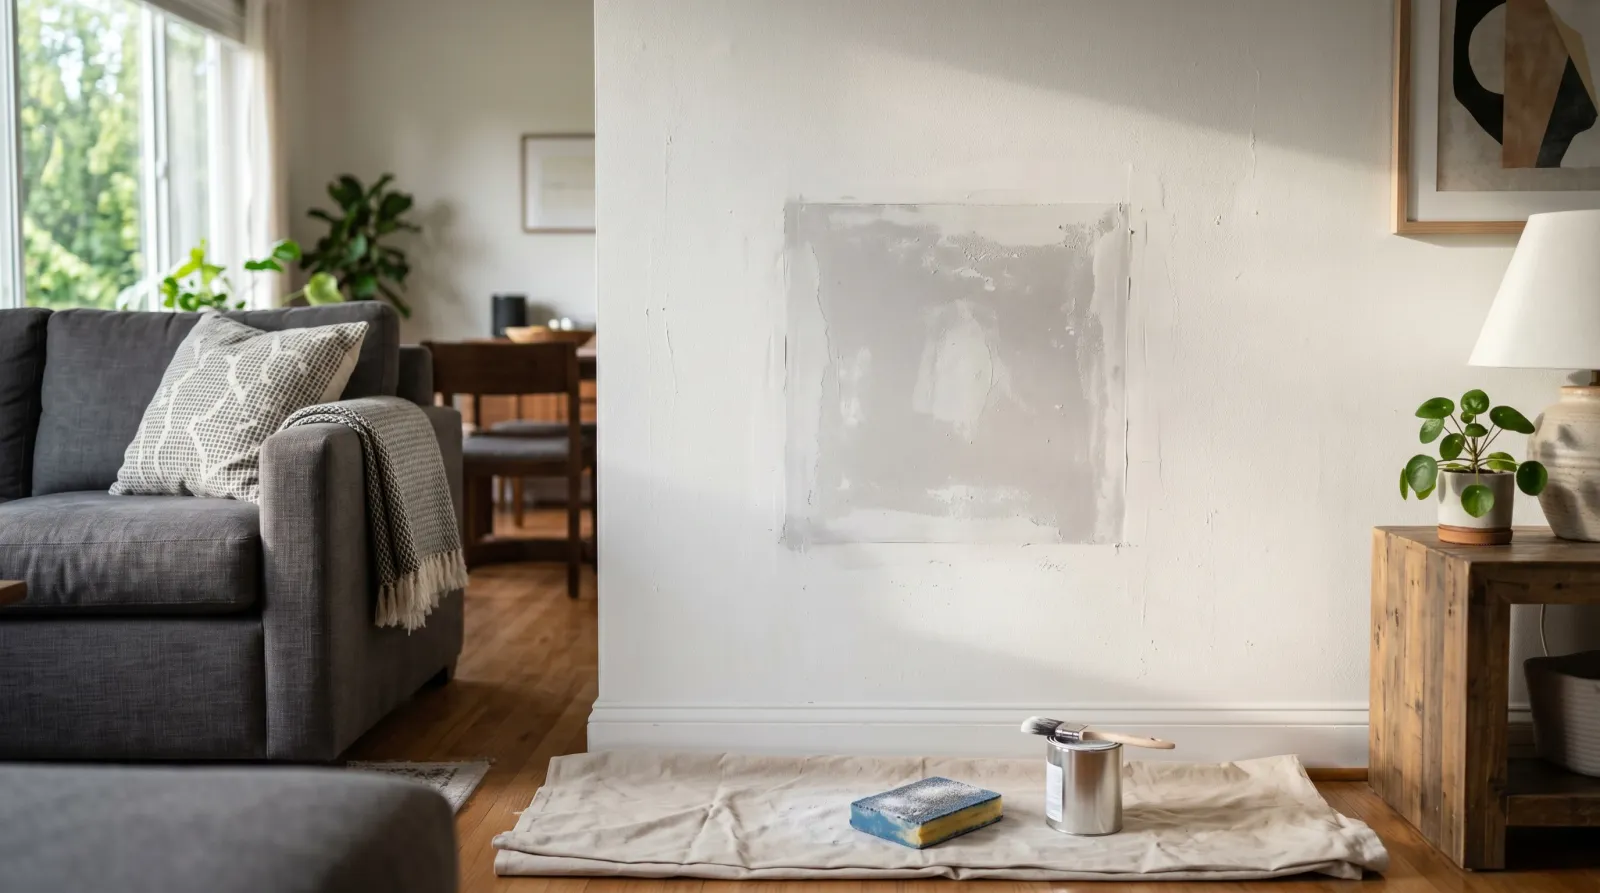
What “Patched Drywall” Actually Means
Patched drywall is any spot on a wall or ceiling where you’ve filled a hole, a crack, a dent, or a seam with joint compound and sanded it back flush. It could be a nail pop, a doorknob hole, an old anchor, a taped seam that cracked, or a full cut-out patch with a backer behind it. The repair is sound. What’s left is a zone of bare, sanded compound sitting in the middle of a painted wall.
That bare compound is the whole problem. The painted wall has a sealed surface. The patch doesn’t. Paint behaves differently on each, and your job is to make the two read as one surface.
Why a Patch Fights the Topcoat
Joint compound is mostly gypsum and binder. Sanded smooth and bare, it’s a thirsty, chalky surface. The painted wall next to it is sealed by years of old primer and paint. When you roll one coat of wall paint across both, the patch sucks the binder and sheen straight out of the wet film while the painted area holds it on the surface.
The result is flashing. The patch dries flatter and duller than the wall, sometimes a hair lighter or darker too. It’s invisible in flat light and obvious under a window or a side lamp. People repaint the whole wall twice trying to fix it and never figure out the patch was never sealed.
The second problem is texture. A patch that isn’t dead flat throws a shadow. Paint is a liquid that follows the surface under it. A ridge of compound stays a ridge under three coats of paint. Light catches the ridge, your eye catches the light, and the repair announces itself. Flat first, then sealed, then painted. That order is the whole guide.
Step 1: Get the Patch Flat
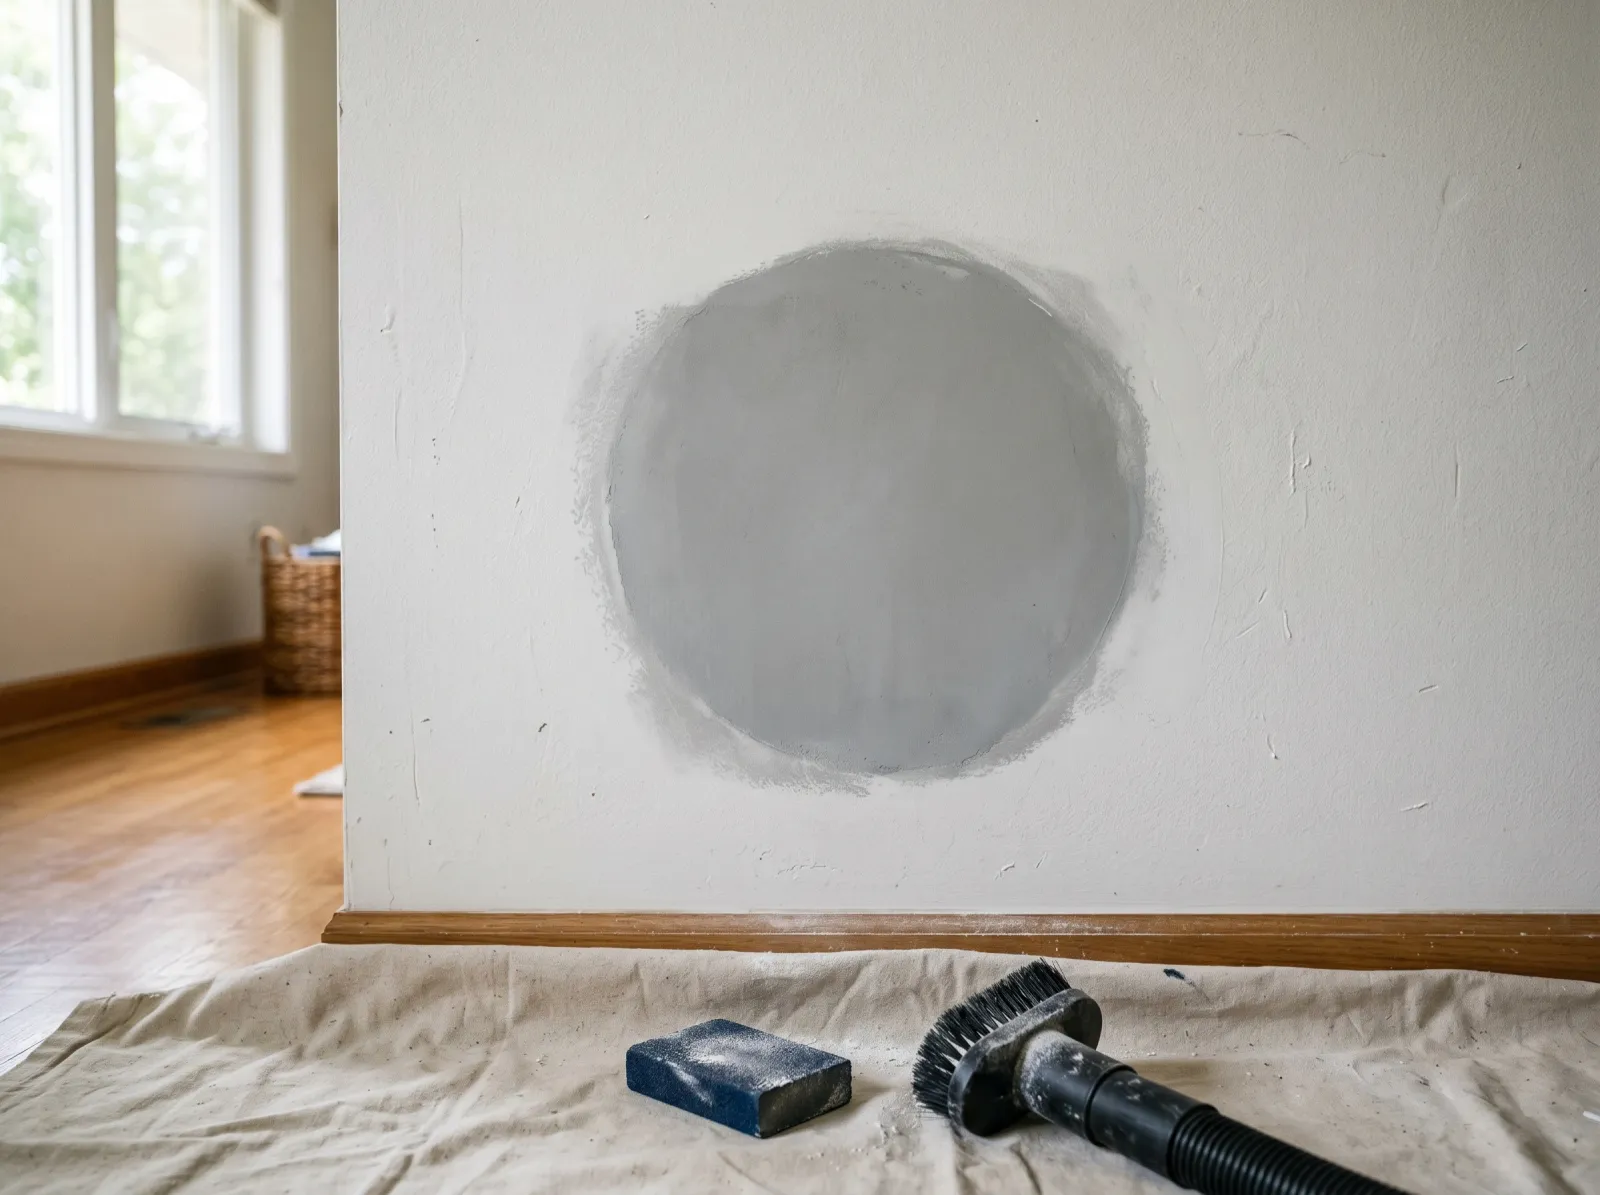
Sand the compound flush with the wall, then feather the edge out wide. Vacuum the dust before anything else goes on.
Most “I can still see my patch” problems are flatness problems, not paint problems. Fix them now while it’s cheap.
Run your bare hand over the patch with your eyes closed. Your palm finds ridges your eye misses. If you feel a bump, sand it. If you feel a dip, you’ve got a low spot that needs another thin skim of compound, not more sanding.
Sand the body of the patch at 120-grit until the compound sits flush with the wall. Then feather the outer edge wide with 220 so the transition from compound to old paint is a long gentle slope, not a cliff. A hard edge of compound telegraphs as a faint rectangle no matter how well you prime it. Feather it 2 to 3 inches past the repair on every side.
Now rake it. Hold a work light or a phone flashlight flat against the wall so the beam skims sideways across the patch. Shadows mean high or low spots. No shadow means you’re flat. This thirty-second check saves you from finding the ridge after the second coat of paint, when it’s expensive to fix.
For cracks and recurring seam splits, mesh tape or paper tape goes under the compound first. A crack you just fill without tape opens right back up the next humid season. That’s a different failure, and the new drywall guide covers full taping if you’re doing more than a spot fix.
Step 2: Pull the Dust
Sanding compound makes a fine white dust that settles into everything and kills primer adhesion. Vacuum the patch and the wall around it with a brush attachment. Then wipe the area with a barely damp microfiber cloth and let it flash off.
Don’t use a wet sponge to “clean” sanded compound. Water reactivates the gypsum surface and you’ll lift the very thing you just sanded flat. Damp, not wet, and only after vacuuming.
A patch primed over a dust film looks fine wet and peels in a sheet a year later. Dust is the quietest adhesion failure there is.
Step 3: Prime the Patch
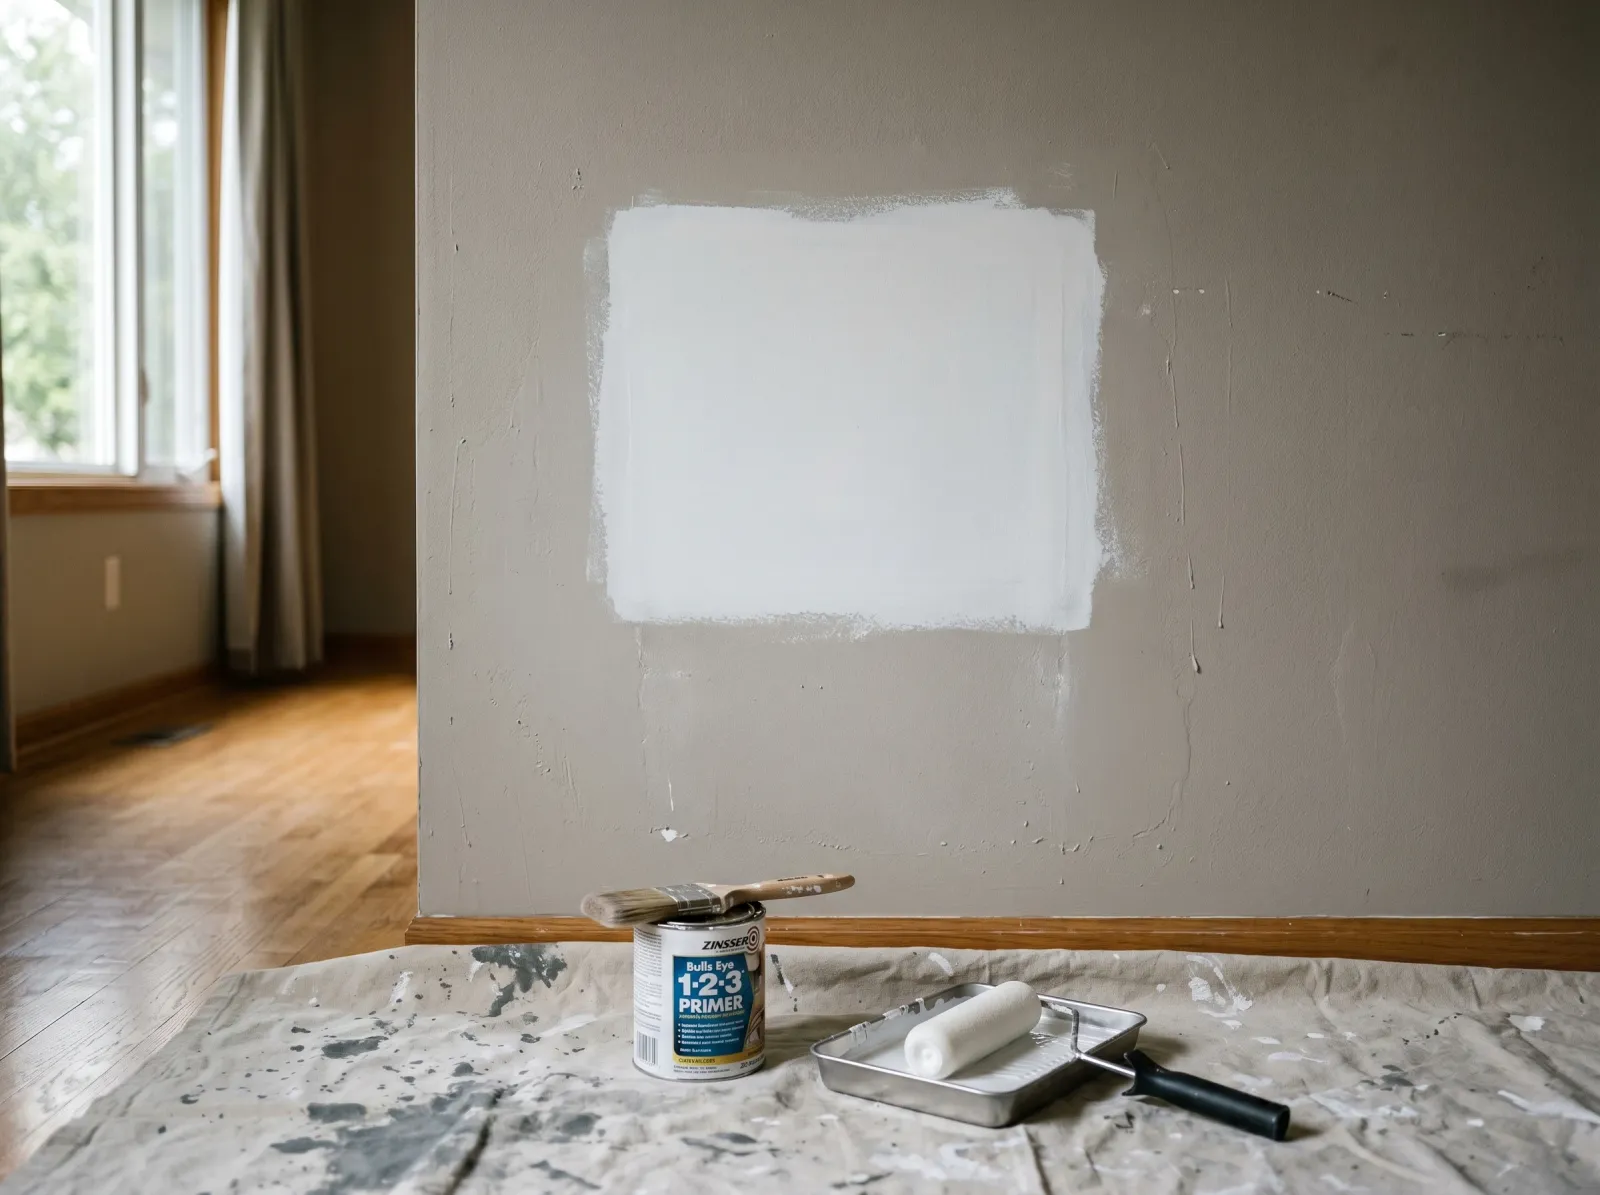
A coat of drywall primer over the repair seals the bare compound so it stops drinking the topcoat. Spot-prime or prime wall to wall.
This is the step. Prime every bare patch before paint, no exceptions.
For clean compound, a standard PVA drywall primer is all you need. Zinsser Bulls Eye 1-2-3 or Sherwin-Williams Multi-Purpose seals the gypsum so it stops drinking your topcoat. Brush or roll one coat over the patch and a little past the feathered edge. PVA is cheap, dries in an hour, and is the difference between a patch that vanishes and one that haunts the wall.
If the patch is covering a stain, PVA is the wrong tool. Water stains, smoke, nicotine, marker, crayon, and old wood-marker rings all bleed straight through water-based primer and latex paint. They need a real stain-blocker: Zinsser BIN shellac or Cover Stain. BIN dries in 45 minutes and stops almost anything. For a patch over a ceiling leak, prime the whole stain area with BIN, not just the compound, or the brown ring walks back through. The ceiling water-stain fix walks through that specific job.
Should you spot-prime just the patch or prime the whole wall? On a flat or matte wall, spot-priming the patch is usually fine. On an eggshell or satin wall, prime the full wall. Primer changes the surface enough that a spot-primed patch under a sheen topcoat can still flash a little. When in doubt, prime wall to wall. It’s an hour and a few dollars of insurance. If you’re hazy on what primer even does here, the explainer on primer versus paint-and-primer is worth two minutes. Paint-and-primer-in-one is not a substitute for actual primer on bare compound.
Step 4: Paint the Whole Wall

Roll the full wall corner to corner, not just the patch. Spot-painting a patch is how you get a visible window of fresh sheen.
Match the existing wall on two things: color and sheen. Color you can get scanned at any paint counter from a chip you cut out of a closet edge. Sheen you have to know or guess. A matte wall touched up with eggshell shows the touch-up forever, even in the right color.
Then paint the entire wall, corner to corner, floor to ceiling. Not the patch. Not a halo around the patch. The whole wall.
Here’s why. Old paint fades and shifts and dulls with age and sun. Fresh paint out of a new can sits brighter and at full sheen. Drop a square of fresh paint in the middle of an aged wall and it reads as a window, even at the same color code, because the aged paint around it has moved and the new square hasn’t. Paint to the corners and the only edges are the corners, where your eye expects a break anyway.
Cut in the patched area’s wall edges with a 2.5-inch angled sash, then roll the field with a 3/8-inch nap while the cut-in is still wet. Keep a wet edge. Don’t stop in the middle of a wall. Stopping mid-wall is how you get lap marks, and lap marks show up the second the morning sun hits them. Two coats. Always two coats. One coat over a primed patch usually still flashes a touch because the primer reads slightly different from the aged wall until the second coat unifies it.
If the patch is on a wall that flows into another wall with no break, you may be repainting two walls. That’s the job. For the full sequence on doing a room properly, see the whole-room paint walkthrough.
Step 5: Dry, Recoat, and Cure
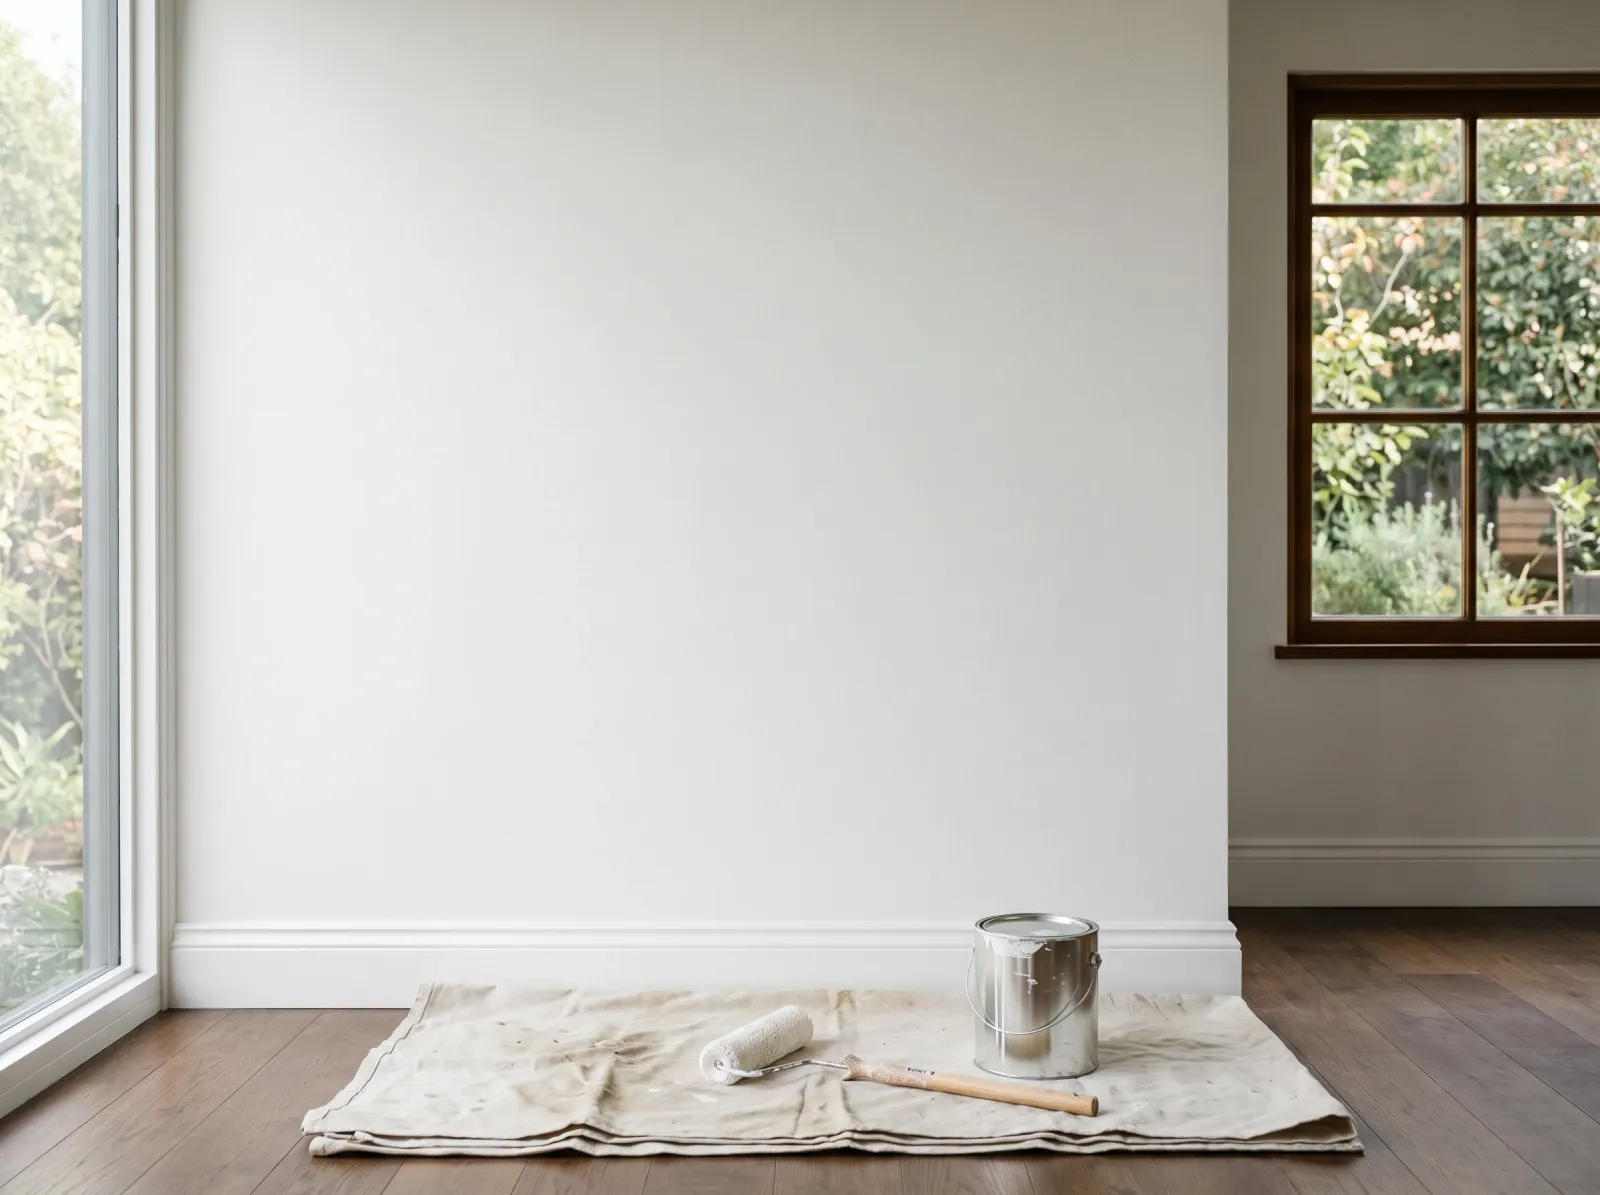
Two coats, wall to wall. The patch disappears under an even film at one consistent sheen.
Numbers, not vibes. Most interior latex wall paint is touch-dry in an hour and recoatable in 4. Don’t rush the recoat. Roll a second coat over a first that’s still soft and you drag the first coat off the wall in gummy streaks.
Full cure runs 2 to 4 weeks. The film is dry to the touch long before it’s hard. During cure, don’t scrub the wall, don’t lean furniture against it, and don’t wipe marks off hard. A soft film burnishes, which means you rub a shiny spot into a matte wall. Wait the cure out before any cleaning.
In a cold or humid room, double the recoat times on the can. Compound and paint both dry on temperature and air movement, not the clock. A basement in February takes longer than a sunny bedroom in July.
Common Mistakes
- No primer on the patch. The patch flashes dull under raking light. Fix: prime with PVA, then repaint the whole wall. There’s no painting your way out of an unprimed patch.
- Spot-painting instead of wall-to-wall. Fresh paint reads as a window against aged paint, same color or not. Fix: paint corner to corner.
- Wrong sheen on the touch-up. Matte wall touched with eggshell shows forever. Fix: match the existing sheen, or repaint the wall in one sheen end to end.
- Skipping the side-light check. A ridge or dip you can’t see in flat light throws a shadow once it’s painted. Fix: rake a work light across the patch before you prime, and sand or re-skim until no shadow shows.
- Priming over sanding dust. Looks fine wet, peels in a sheet within a year. Fix: vacuum, then wipe with a barely damp cloth before priming.
- PVA over a water or smoke stain. The stain bleeds through your fresh paint in days. Fix: BIN or Cover Stain over any stained patch, not PVA.
- Recoating too soon. The second coat drags the first off in streaks. Fix: wait the full recoat time, longer in a cold or humid room.
Maintenance and Longevity
A properly patched, primed, and painted wall holds as long as the rest of the wall, which is 7 to 10 years on interior latex before it dulls enough to want a refresh. The patch itself is permanent if the repair was flat and sealed. Clean it like the rest of the wall: a damp cloth and a little dish soap after the paint has fully cured, never an abrasive pad on a matte sheen.
Watch nail-pop patches and cracked-seam patches over the first year. If a crack reopens, the house is still moving and the repair needed mesh tape under the compound, not just a fill. For the topcoat itself, the ceiling and wall paint round-up covers the flat and matte picks that hide repairs best. Lower sheen forgives an imperfect patch. Glossier paint advertises it.
FAQ
Do I have to prime a drywall patch before painting? Yes. Bare joint compound is far more porous than the painted wall around it. Paint straight over it and the patch drinks the binder out of your topcoat and dries flatter than the wall. You get a dull halo, called flashing, that shows under raking light. A coat of PVA drywall primer evens out the porosity so the topcoat sits at one consistent sheen.
Why can I still see my patch after painting? Two usual causes. Either you skipped primer and the patch flashed dull, or the repair isn’t flat and a ridge of compound is catching the light. Rake a work light sideways across the wall before you paint. A shadow means a high or low spot, and no paint hides it. Sand or re-skim first, then prime, then paint the whole wall.
Can I just spot-paint over the patch instead of the whole wall? On a flat or matte wall in a low-light spot, sometimes. On anything with sheen, no. Spot-painting leaves fresh film at a slightly different sheen and color than the aged wall, and it reads as a window the moment light hits it. Paint corner to corner every time you want it to disappear.
What primer should I use on a drywall patch? A standard PVA drywall primer for clean bare compound, like Zinsser Bulls Eye 1-2-3 or Sherwin-Williams Multi-Purpose. If the patch covers a water stain, smoke, or marker, switch to Zinsser BIN shellac or Cover Stain. PVA seals porosity but won’t stop a stain from bleeding through.
How long does joint compound need to dry before priming? Lightweight compound is usually ready to sand in 24 hours per coat in a normal room, longer if it’s thick or the room is cold and humid. It should be uniform white with no gray damp spots. Prime over compound that’s still damp inside and the primer can blister or the patch can crack later.