How to Paint New Drywall
Painting new drywall the right way: why bare board needs PVA primer, how to stop joint flashing, and the skim step that hides every taped seam under topcoat.


New drywall is the easiest substrate you’ll ever paint. It’s also the one people get wrong most, because they treat it like a finished wall. It isn’t. Bare board is two surfaces pretending to be one, and if you don’t seal them first, the seams show up the morning after you’re done.
TL;DR
- Sand: 220-grit screen over every joint and screw dimple, feathered flat
- Dust: vacuum the walls, then wipe with a dry microfiber
- Prime: one full coat of drywall PVA primer, wall to wall, no exceptions
- Paint: 100% acrylic latex, flat or eggshell, two coats
- Cure: 14–30 days before any serious scrubbing
- Skill: easy. The whole job is the primer step
What New Drywall Actually Is
Drywall is a gypsum core pressed between two sheets of heavy paper. The face paper is what you paint. Where two sheets meet, the installer fills the gap with paper or mesh tape and three coats of joint compound, called mud, then does the same over every screw head. Sand it flat and you’ve got a wall.
The catch is that you now have two materials side by side. The paper face is one porosity. The dried joint compound is another, and it’s chalkier and thirstier. Paint hits them differently, and that difference is the whole problem.
Why New Drywall Is Different From a Repaint
A wall that’s been painted before is sealed. The old film is your primer. New board is raw on both surfaces, and the mud is the thirsty one.
Roll finish paint straight onto bare drywall and here’s what happens. The paper face holds some of the binder near the surface. The joints and screw spots suck the binder down into the compound, leaving less on top. Same paint, two different sheens once it dries. In flat morning light the wall looks fine. The second the sun rakes across it, every taped seam and every screw dimple lights up as a dull stripe. Painters call it joint banding, or flashing.
It’s not a paint defect. It’s porosity. And porosity is exactly what primer is for.
Step 1: Sand the Joints Flat
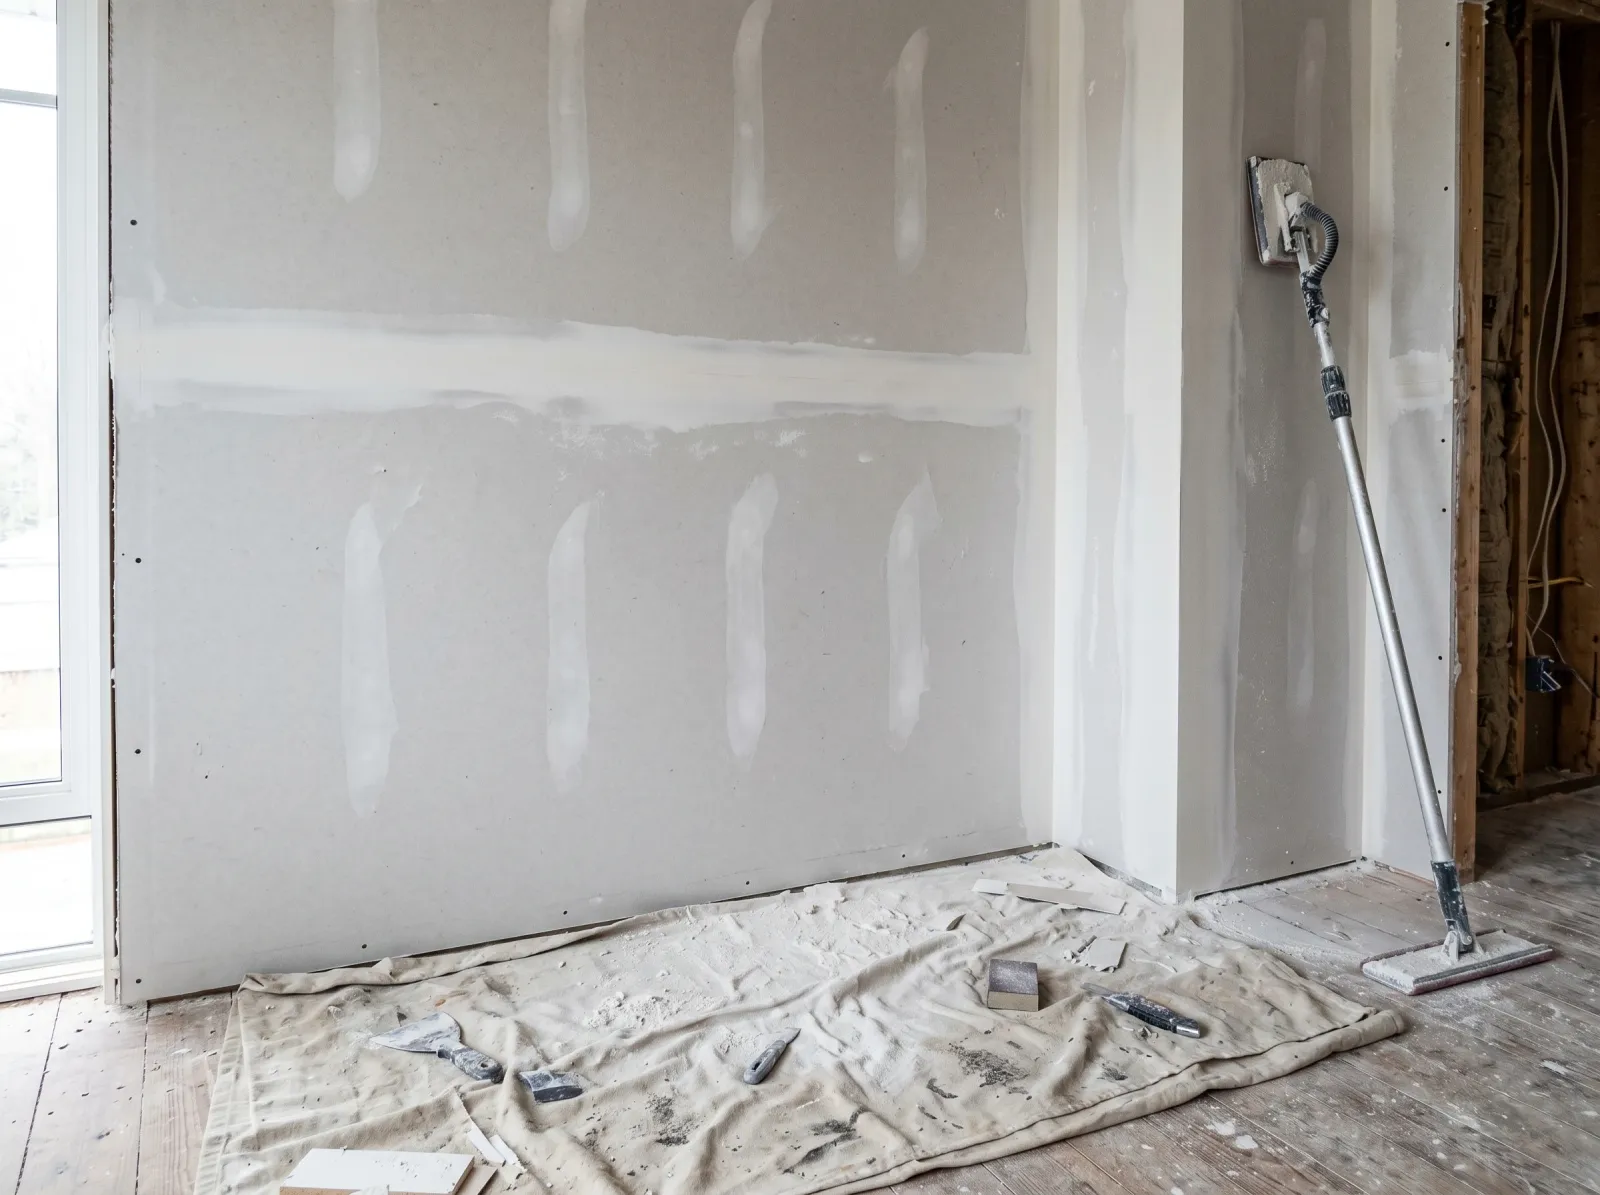
220-grit pole sander over every joint and screw dimple, feathered flat. Dust pulled off the walls before a drop of primer goes on.
The drywall finisher already did most of this. Your job is the final pass.
Run a pole sander with a 220-grit screen over every joint and every screw spot. You’re feathering the edge of the mud down into the paper face so you can’t feel the transition with your hand. Light pressure. Drag a bright work light sideways across the wall as you go, raking the light, so the shadows show you every ridge and trowel mark. What your eye misses now, the topcoat will frame later.
Don’t sand the paper face itself any harder than you have to. Over-sand the paper and you fuzz it. Fuzzed paper raises a nap under primer that you’ll have to sand off again. Knock down ridges, leave the field alone.
If you find a low spot or a missed nail pop, skim a thin coat of lightweight joint compound, let it dry, sand it back at 24 hours.
Step 2: Get the Dust Off
Sanding drywall makes a fine white dust that gets into everything and clings to the wall by static. Prime over that dust and you’ve glued a layer of powder between the board and your finish. It chalks, it weakens the bond, and it’ll rub off on a shoulder a year later.
Vacuum the walls with a shop vac and a soft brush attachment, top to bottom. Then wipe down with a dry microfiber cloth or a slightly damp one, wrung out hard. Don’t soak the paper. A wet rag swells the face and lifts the nap. Let any damp spots dry an hour before primer.
Sweep and vacuum the floor too, or the first foot of every wall picks up dust off your roller.
Step 3: Prime With PVA
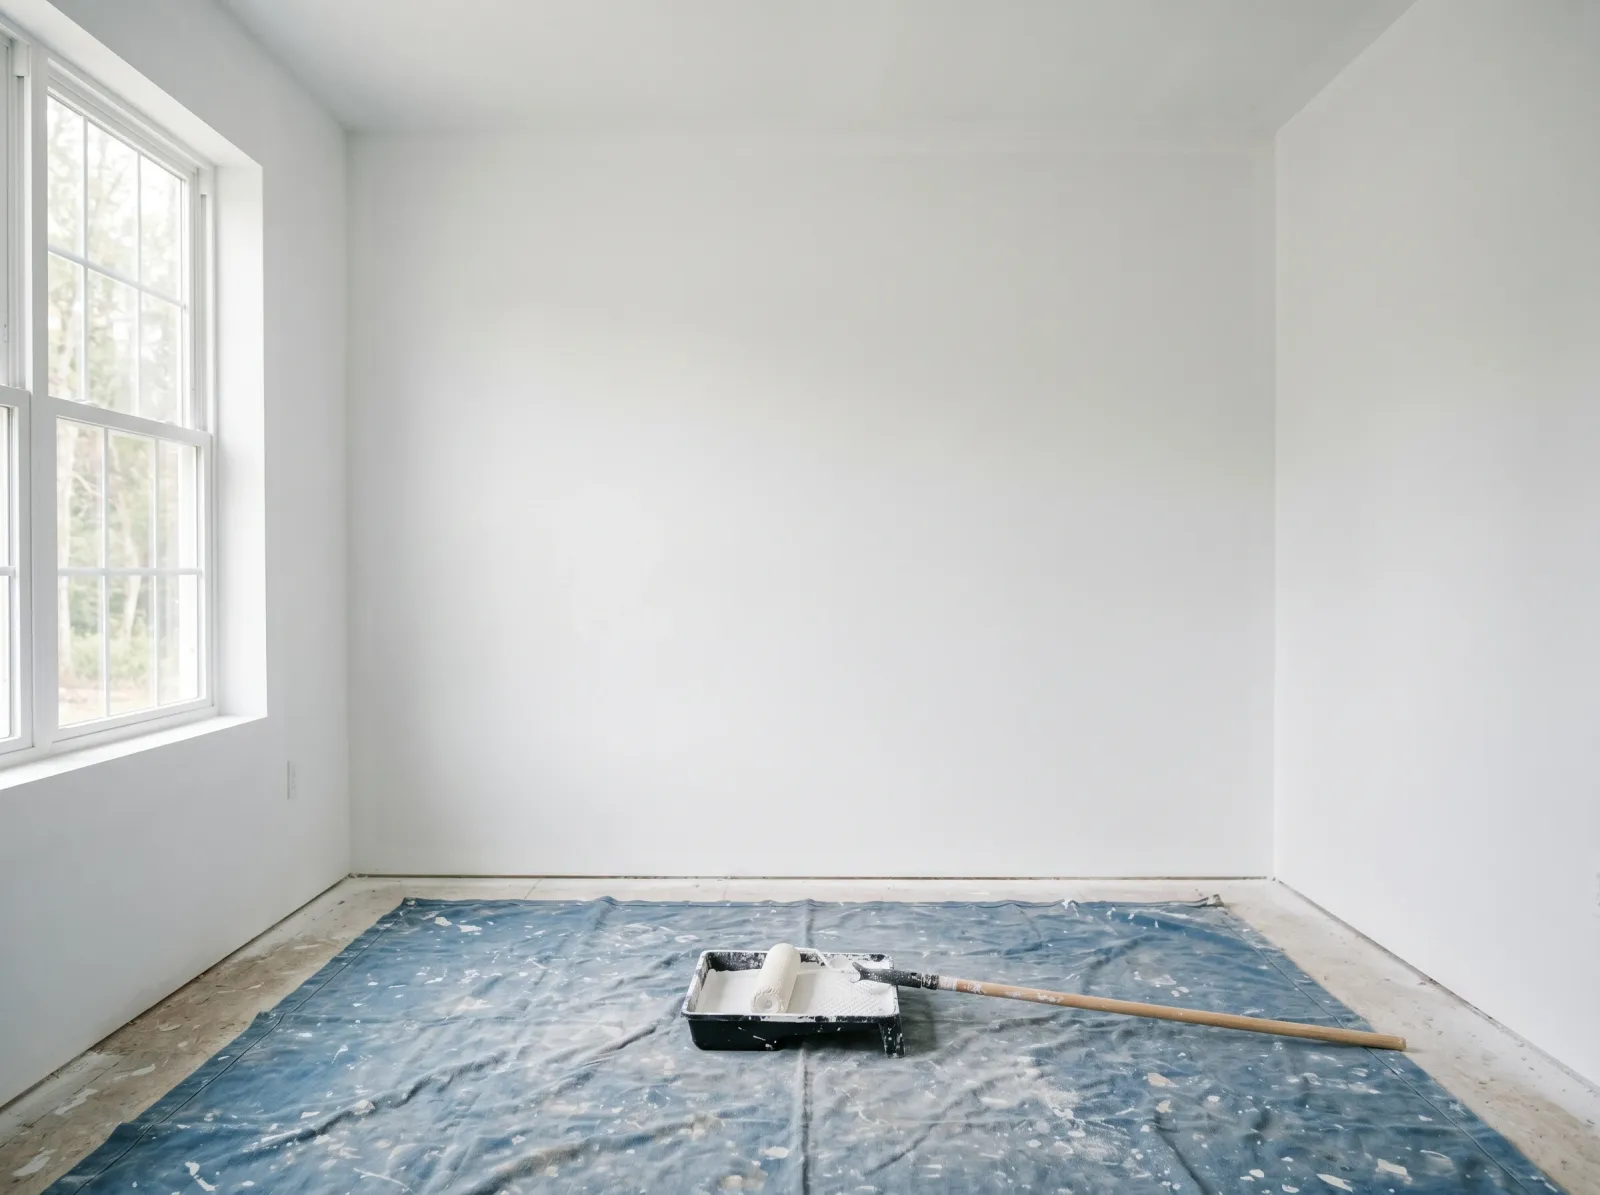
One full coat of drywall PVA primer rolled wall to wall. The joints and the paper face read the same flat white now.
This is the step that makes or breaks the job. One full coat of drywall PVA primer, wall to wall.
PVA stands for polyvinyl acetate. It’s a cheap, fast-drying primer built for exactly this surface. It soaks into the thirsty joint compound and the porous paper and leaves both reading the same sheen and the same absorbency. After PVA, your finish paint goes on uniform, the joints disappear, and you cover in two coats instead of three or four. Glidden PVA, Kilz PVA, and Sherwin-Williams ProBlock PVA all work. They’re interchangeable for this.
Cut in the corners and the ceiling line with a 2.5-inch angled sash brush, then roll the field with a 3/8-inch nap while the cut-in is still wet. Don’t stop in the middle of a wall.
A few things people get wrong here. Skip the high-end stain blockers. BIN and Cover Stain are great primers for the wrong job. New board has no stains to block, no tannin, no smoke, no water rings. You’re paying triple for a feature you don’t need. The exception is a water stain from a roof leak the builder didn’t tell you about. Spot-prime that one ring with BIN, then PVA the rest.
The other mistake is reaching for paint-and-primer-in-one to save a step. It doesn’t seal raw gypsum. The difference between primer and paint-and-primer-in-one is the whole reason this step exists. Self-priming paint bonds over a sealed surface. Bare drywall isn’t sealed.
PVA is touch-dry in about an hour and recoatable in two to four. One coat is plenty on new board.
Step 4: Two Finish Coats
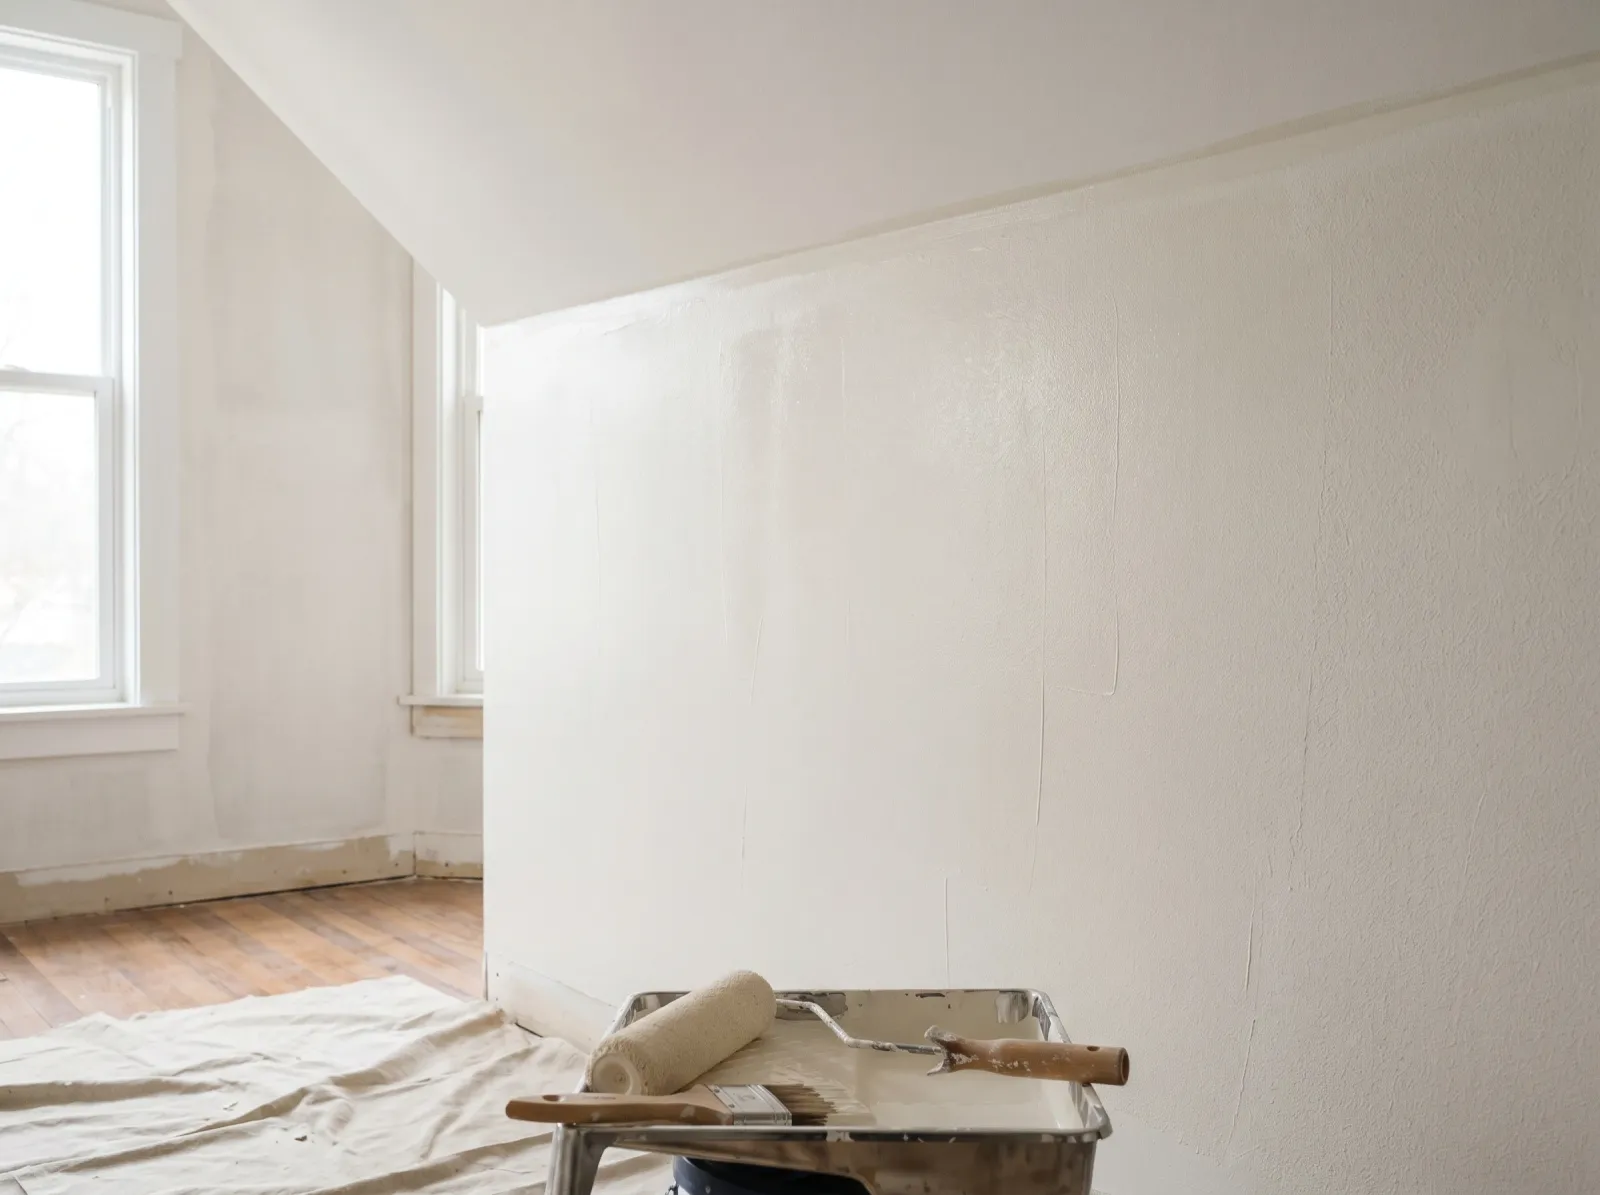
Cut in the corners, roll the field while the cut is wet. Don’t stop in the middle of a wall.
Topcoat is 100% acrylic latex wall paint. For walls in a bedroom, hallway, or living room, flat or eggshell. Flat hides drywall imperfections best because it scatters light instead of reflecting it. Eggshell wipes down better and is the usual call for kids’ rooms and high-touch areas. Kitchens and bathrooms want a satin or semi-gloss for moisture and grease, and those higher sheens are also less forgiving of any ridge you left in the mud. If the room’s getting a glossier sheen, your sanding has to be better. The sheen guide walks through which finish goes where.
Two coats. Always two coats. The can says one-coat coverage. One-coat coverage means one coat under perfect lab conditions, and your spare bedroom isn’t perfect conditions. The first coat goes on uneven over the primer no matter how careful you are. The second coat is what evens the color and builds the film.
Cut in the corners and the ceiling line first with the angled brush. Roll the field with a 3/8-inch nap while the cut-in is still wet, so the brushed band and the rolled field blend instead of leaving a frame around the room. Keep a wet edge. Don’t stop in the middle of a wall. Stopping mid-wall is how you get lap marks, and lap marks show up the second morning light hits them. If they do show, the lap marks fix page covers how to recover.
Load the roller right and don’t overwork it. Pressing a half-dry roller back over a tacky section is how you get roller stipple and roller marks. Lay the paint on, tip it off in one direction, move on.
This is the same rhythm whether you’re doing one accent wall or the whole job. For the full room sequence including ceilings and trim order, see the whole-room paint walkthrough.
Step 5: Dry, Recoat, Cure
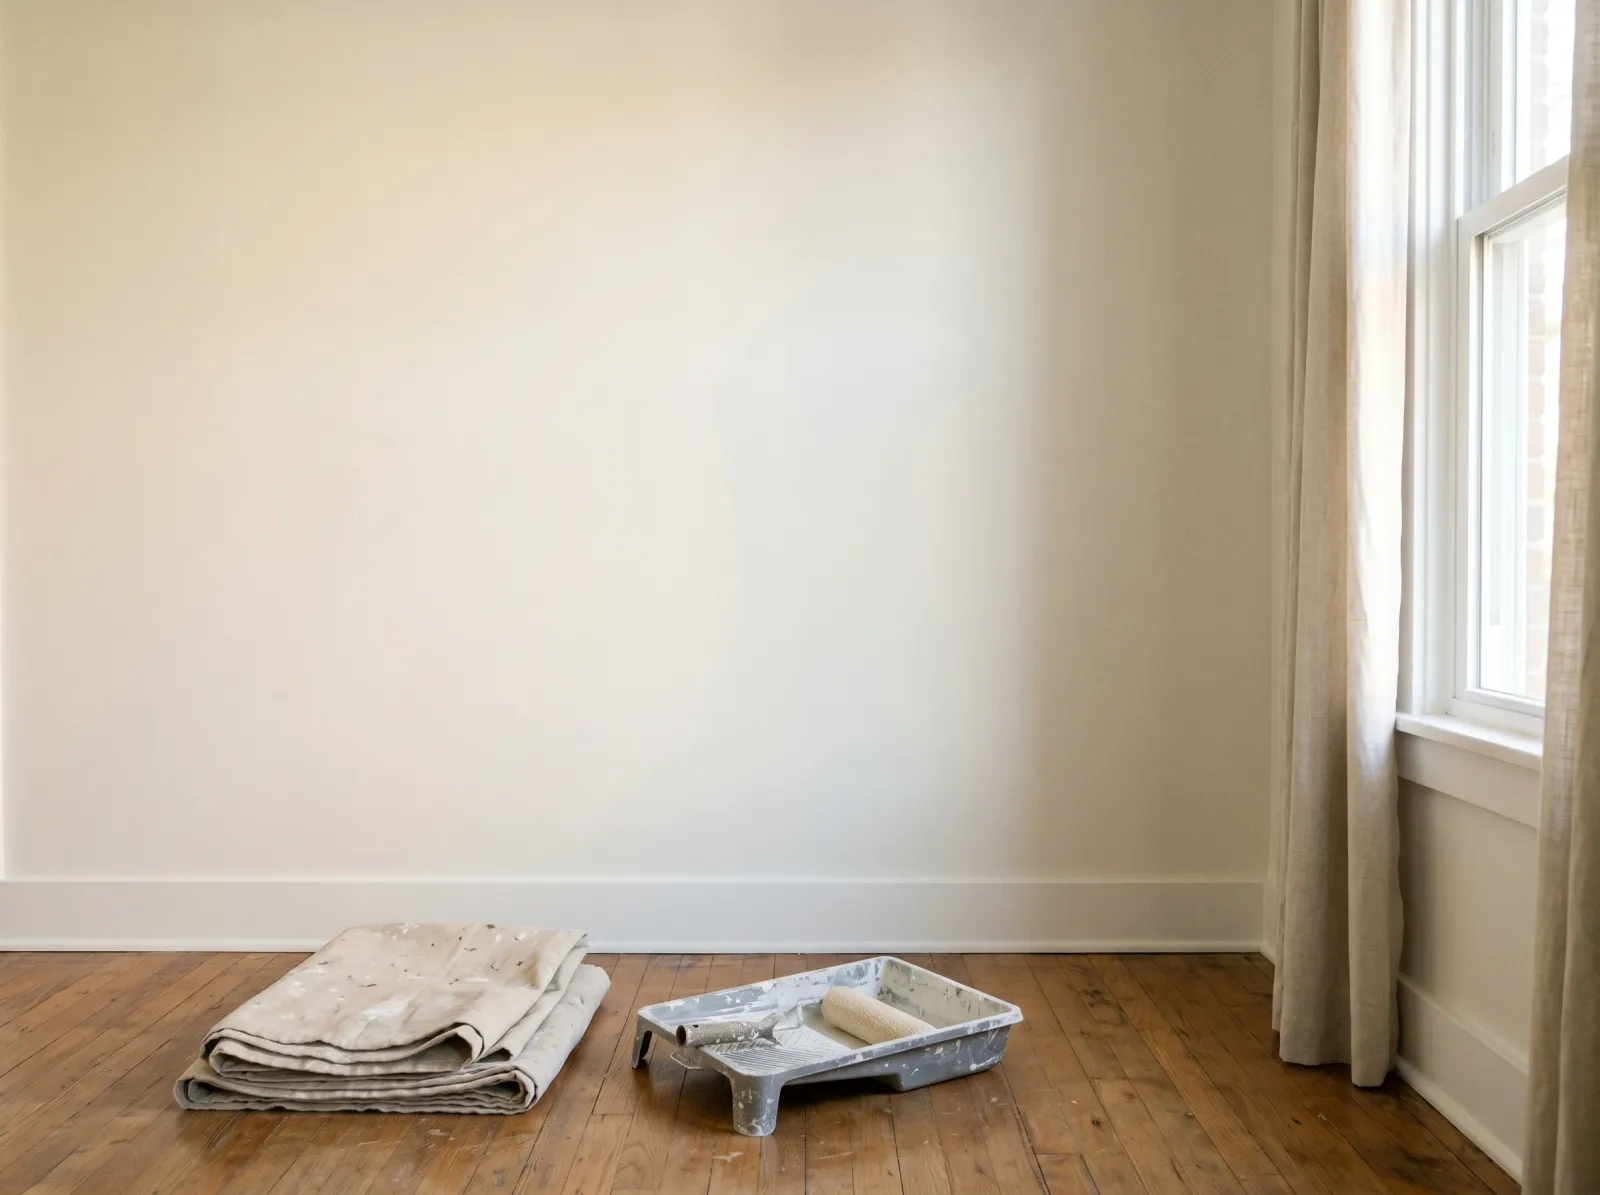
Two coats. The joints stay invisible in raking light. That’s a finished wall.
Latex wall paint is touch-dry in an hour and recoatable in two to four in a normal room. Cold or humid conditions stretch that. Don’t rush the second coat onto a first coat that’s still tacky, or you’ll pull the wet film and leave drag marks.
Dry to the touch is not cured. Full cure on acrylic latex runs 14 to 30 days. During that window the film is soft. Don’t scrub it, don’t wipe hard at scuffs, don’t lean furniture against it or hang heavy art. Wait for cure before you wash a fingerprint off, or you’ll burnish a shiny spot into a flat wall.
Common Mistakes
- No primer at all. The single most common drywall failure. Joints flash through as dull stripes in raking light. Fix is to prime the whole wall with PVA and repaint. There’s no patching your way out of it once the topcoat is down.
- Paint-and-primer-in-one on bare board. The binder rides on top instead of sealing the gypsum, so the joints still flash. Use real PVA primer first.
- Skipping the dust-off. Primer over sanding dust traps a chalky layer that weakens the bond and rubs off later. Vacuum and wipe before you prime.
- Over-sanding the paper face. Aggressive sanding fuzzes the paper into a nap that raises under primer. Feather the mud, leave the field alone.
- High-gloss sheen over a level-four finish. Builder-grade walls are finished to level four. Semi-gloss and gloss expose every ridge and trowel line a flat would hide. If you want gloss, skim-coat the whole wall to a level five first.
- One coat to save time. First coat over primer is always uneven. Two coats, every time.
How Do You Get a Perfectly Smooth Finish on New Drywall?
For a flat or eggshell wall, a good 220-grit sanding plus PVA plus two coats gets you there. For anything glossier, or a wall that gets strong side light from a big window, you want a level-five finish. That means a thin skim coat of joint compound rolled or troweled over the entire surface, not just the seams, then sanded smooth. It levels the difference between the mud and the paper across the whole wall so nothing telegraphs through, even under harsh light. It’s extra work and most rooms don’t need it. The ones that do are worth it.
Maintenance and Longevity
Interior wall paint over properly primed new drywall holds 7 to 10 years in a low-traffic room, less in a hallway or a kid’s room where it takes daily abuse. Once it’s fully cured, wash marks off with a soft sponge and mild soap, no abrasive pads. Eggshell and satin take cleaning better than flat. Keep a labeled quart of the leftover for touch-ups, because store color-match on a faded wall never quite blends. When it finally needs a refresh, the wall is already sealed, so it’s a straight repaint with no PVA step. For the broader primer picture, see the primer round-up.
FAQ
Do I have to prime new drywall before painting? Yes. Bare drywall is two surfaces, the paper face and the dried joint compound, and they soak up paint at different rates. Skip primer and the joints flash through your topcoat as dull stripes in raking light. PVA primer evens the porosity so the finish dries uniform.
Can I use paint-and-primer-in-one on new drywall? No, not on bare board. Self-priming paint bonds over an already-sealed surface, not raw gypsum and joint compound. The binder rides on top and the joints still flash. Use a dedicated drywall PVA primer first.
What primer is best for new drywall? A drywall PVA primer. It’s formulated to seal porous paper and joint compound cheaply and evenly. Glidden PVA, Kilz PVA, and Sherwin-Williams ProBlock PVA all do it. Skip high-build stain blockers like BIN. You don’t need a stain blocker on clean new board.
Why are my drywall seams showing through the paint? That’s joint banding, or flashing. The compound and the paper read differently through a thin finish. The cause is skipped or thin primer. Prime the whole wall with PVA, and for a glossy sheen, skim-coat the whole surface to a level-five finish first.