How to Remove Wallpaper Glue Residue Before Painting
Old wallpaper paste left a glossy, sticky film on the wall. Here is how to remove wallpaper glue residue before painting so the new coat actually bonds and lasts.

The wallpaper is down. The wall looks done. It isn’t. That glossy, slightly tacky film still on the surface is old paste, and paint will not bond to it. Wash it off completely or your fresh coat bubbles and peels within a season.
Does This Match What You’re Seeing?
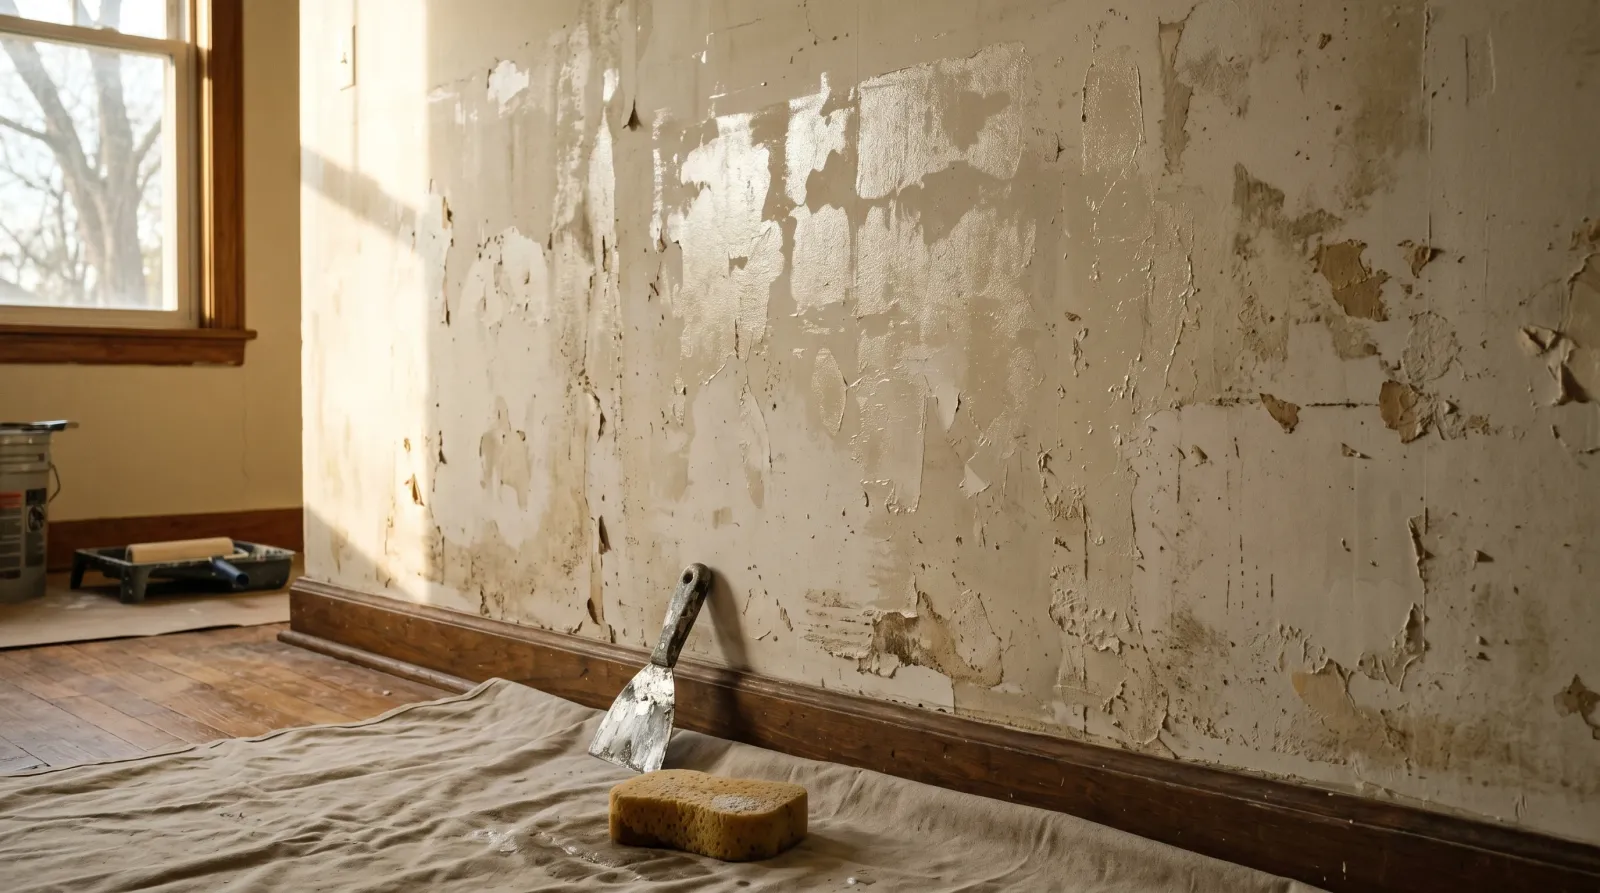
Look at the stripped wall under raking light from a side window. You’ll see one of these.
- Glossy patches that feel slick or tacky: dried wallpaper paste. The common one. Bare drywall next to it reads matte.
- A glassy-smooth sheen across the whole wall: a full skim of paste left behind. Whoever hung the paper used a lot of it.
- Torn, fuzzy gray-brown spots: you pulled the face paper off the drywall along with the paper. Not paste. That’s substrate damage and gets skimmed.
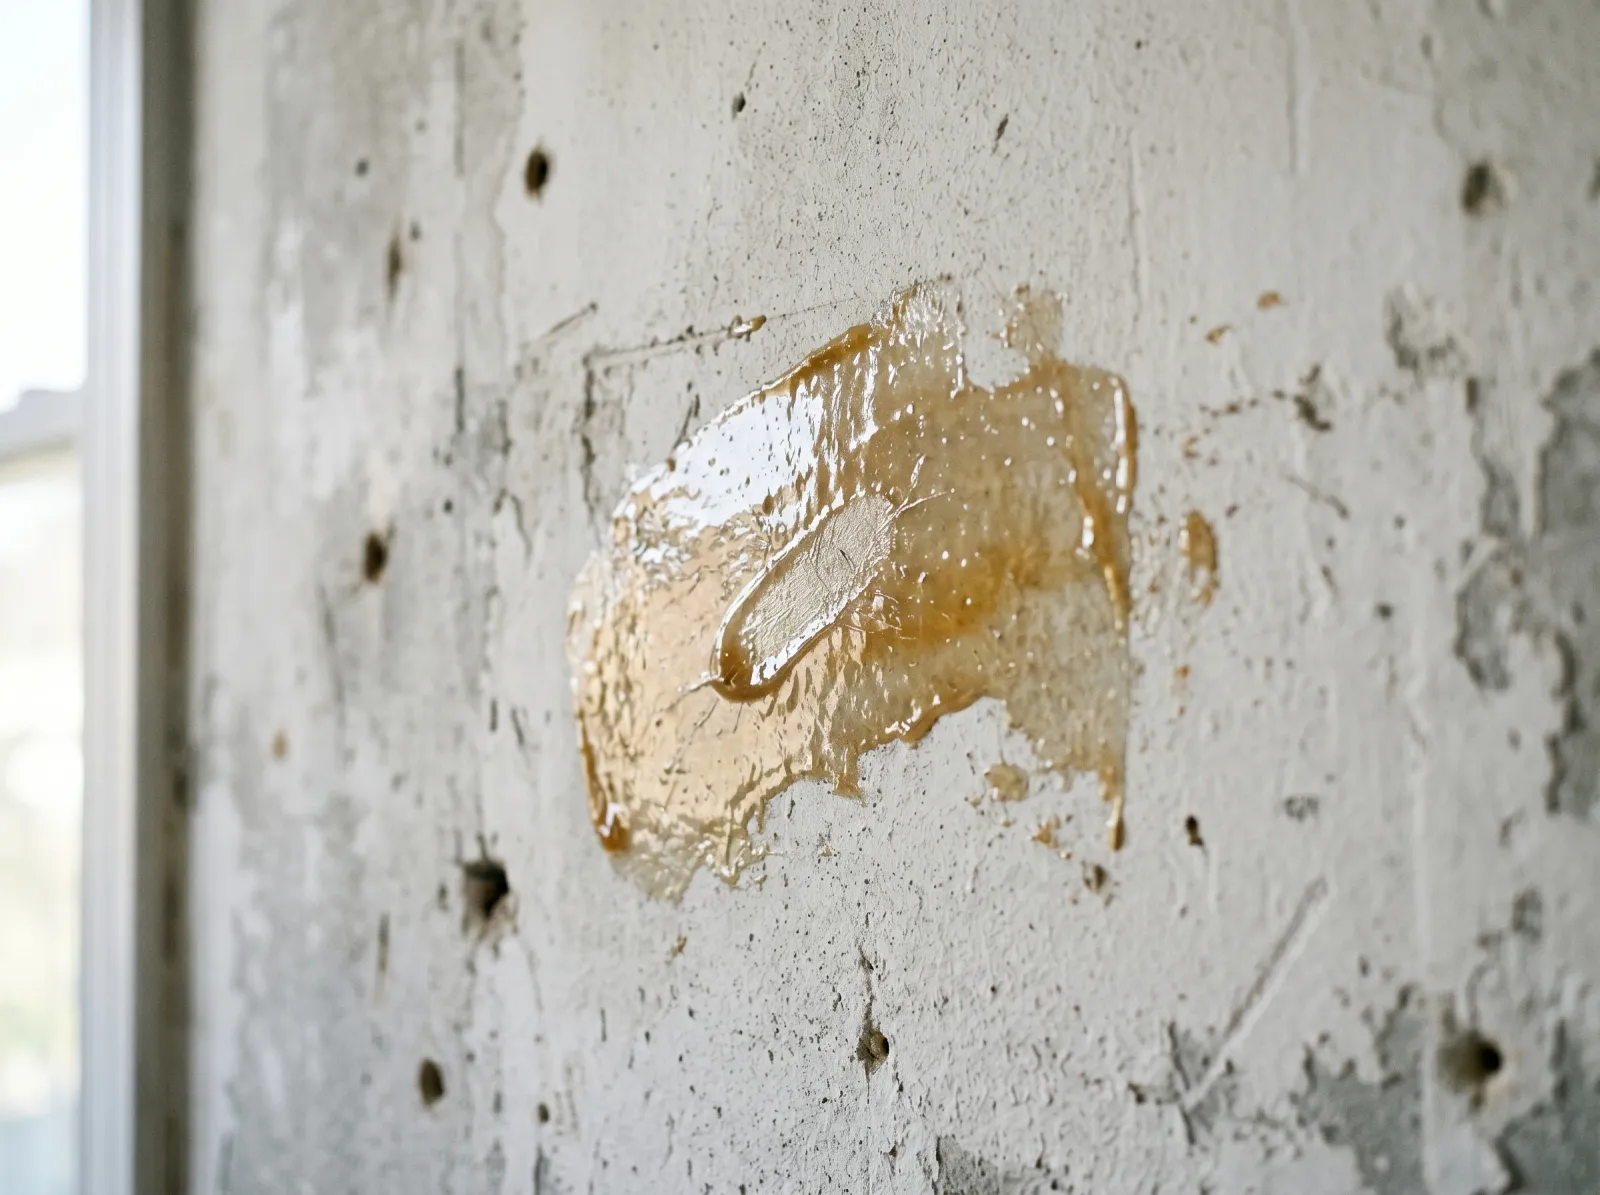
- Stringy translucent strands when you wet it: active paste reactivating. Good sign. It dissolves and wipes off.
- Dark or chalky staining bleeding through: old size or adhesive ghosting. Wash it, then seal it with primer so it doesn’t telegraph through the topcoat.
If the surface squeaks under a damp palm, there’s paste left no matter how clean it looks.
 The slick patches catch side light. Bare wall next to them reads flat and matte.
How Serious Is This?
Cosmetically, nothing’s wrong yet. The wall is dry and structurally fine. The problem is what happens after you paint over it.
This is a same-day fix for one room. The work is washing, not skill. Where it climbs to medium severity is when the face paper tore off during stripping, because now you’re patching and skimming drywall, not just cleaning it. And in an older home, lath-and-plaster walls behind the paper can hide soft, water-damaged spots that need real repair before any paint.
If the paste is heavy on a ceiling, give yourself extra time. Washing overhead is slow and you’ll be rinsing dirty water onto your own arms.
Why This Is Happening (root Cause)
Wallpaper paste is starch or a modified-starch adhesive. It’s water-soluble by design, which is how you got the paper off in the first place. When it dries on the wall it forms a thin, hard, glossy film. That film is the problem.
Latex paint needs a porous, slightly toothy surface to grab. Dried paste gives it a sealed, glassy face with nothing to bite into. So the paint sits on top instead of bonding.
Worse, water-based paint carries moisture. That moisture reactivates the old starch paste underneath. The paste goes soft, releases from the wall, and takes your new paint with it. You see bubbling first, then a crocodile-skin cracking, then sheets letting go. Same failure mode as latex over un-sanded oil, different cause. It’s the bond that breaks, not the paint.
People assume a good primer fixes this. It doesn’t. Primer bonds to whatever it’s sprayed on. Prime over loose paste and the primer holds tight to a film that’s about to let go from the wall. The whole sandwich fails together. The fix has to happen below the primer.
Safety First
Never mix bleach with vinegar, ammonia, or any other cleaner. It makes toxic chlorine gas. If you’re using vinegar in your wash water, that’s all that goes in the bucket. Pick one cleaner and stick with it.
Wear gloves; warm water plus stripper concentrate dries and cracks your hands over a few hours. Eye protection for ceiling work, because dirty water drips back down. Cross-ventilate, especially with any chemical stripper. And kill the power to outlets and switches on the wall you’re soaking. You’re putting water on a wall full of electrical boxes.
The Fix
Step 1. Test What’s Left
Run a dry hand across the stripped wall once it’s dry. Slick, tacky, or glassy means paste. Spritz a small area with water and wait two minutes. If it gets slippery and stringy, that’s reactivating paste confirming the diagnosis.
Pre-1978 home? If you’re going to scrape or sand torn drywall, the paint layers under old plaster patches could be lead. Test with 3M LeadCheck swabs before any abrasive work. See the peeling-paint guide for the RRP rules.
Step 2. Wash With Hot Water and a Stripper
Mix hot water with a capful of dish soap per gallon, or a splash of white vinegar per gallon. For heavy paste, use a gel wallpaper-stripper concentrate like DIF or Piranha, mixed per the label.
Soak a section with a sponge or a pump sprayer. Let it dwell 15 minutes so the water can break the starch bond. Don’t rush this. Dry-scraping paste just polishes it.
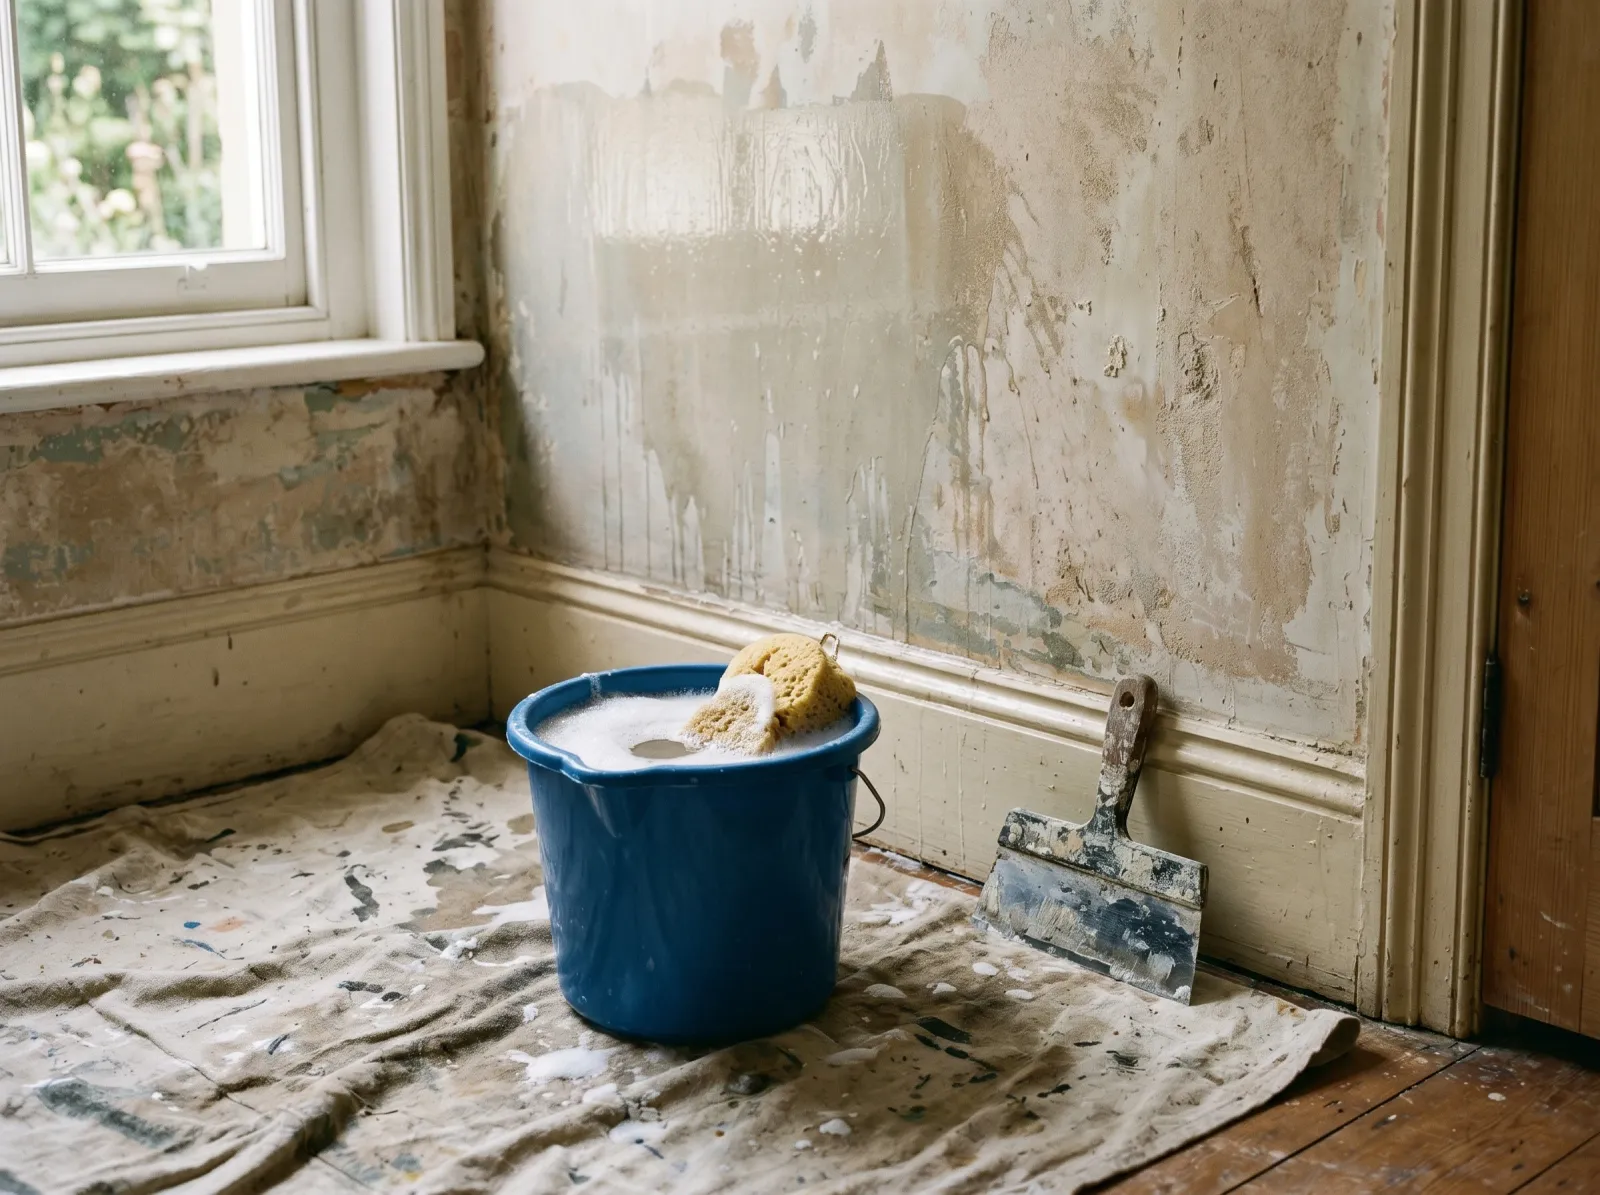 Soak, wait, then scrape. The water does the work if you give it time.
Step 3. Scrape and Wipe
Once the paste is soft, drag a wide 4-inch or 6-inch putty knife across it at a low angle. The softened paste rolls off in a film. Keep the blade flat so you don’t gouge the drywall face.
Follow the scraper with a clean wet sponge to wipe the loosened residue away before it dries again. This is where people stop too early. Loosened paste left on the wall just dries back into a thinner film.
Step 4. Rinse Clean, Then Rinse Again
Change your rinse water often. Dirty water dries to a paste film of its own, which is why walls come out “still sticky” after a full afternoon of washing. The last pass on every section is clean water and a clean sponge.
Let the wall dry fully, at least a few hours, then re-test by hand. Any squeak or slick spot gets washed again. Keep going until the whole wall feels like bare, matte drywall everywhere.
Step 5. Repair Torn Drywall
Where the face paper tore off, the exposed gypsum is fuzzy and absorbent. Seal those bare spots with a shellac or oil primer first so the next step doesn’t reactivate the damage, then skim-coat with lightweight joint compound. Sand flush at 120 grit, then 150. A torn wall that’s only painted, never skimmed, shows every ragged edge through the finish coat.
Step 6. Prime the Whole Wall
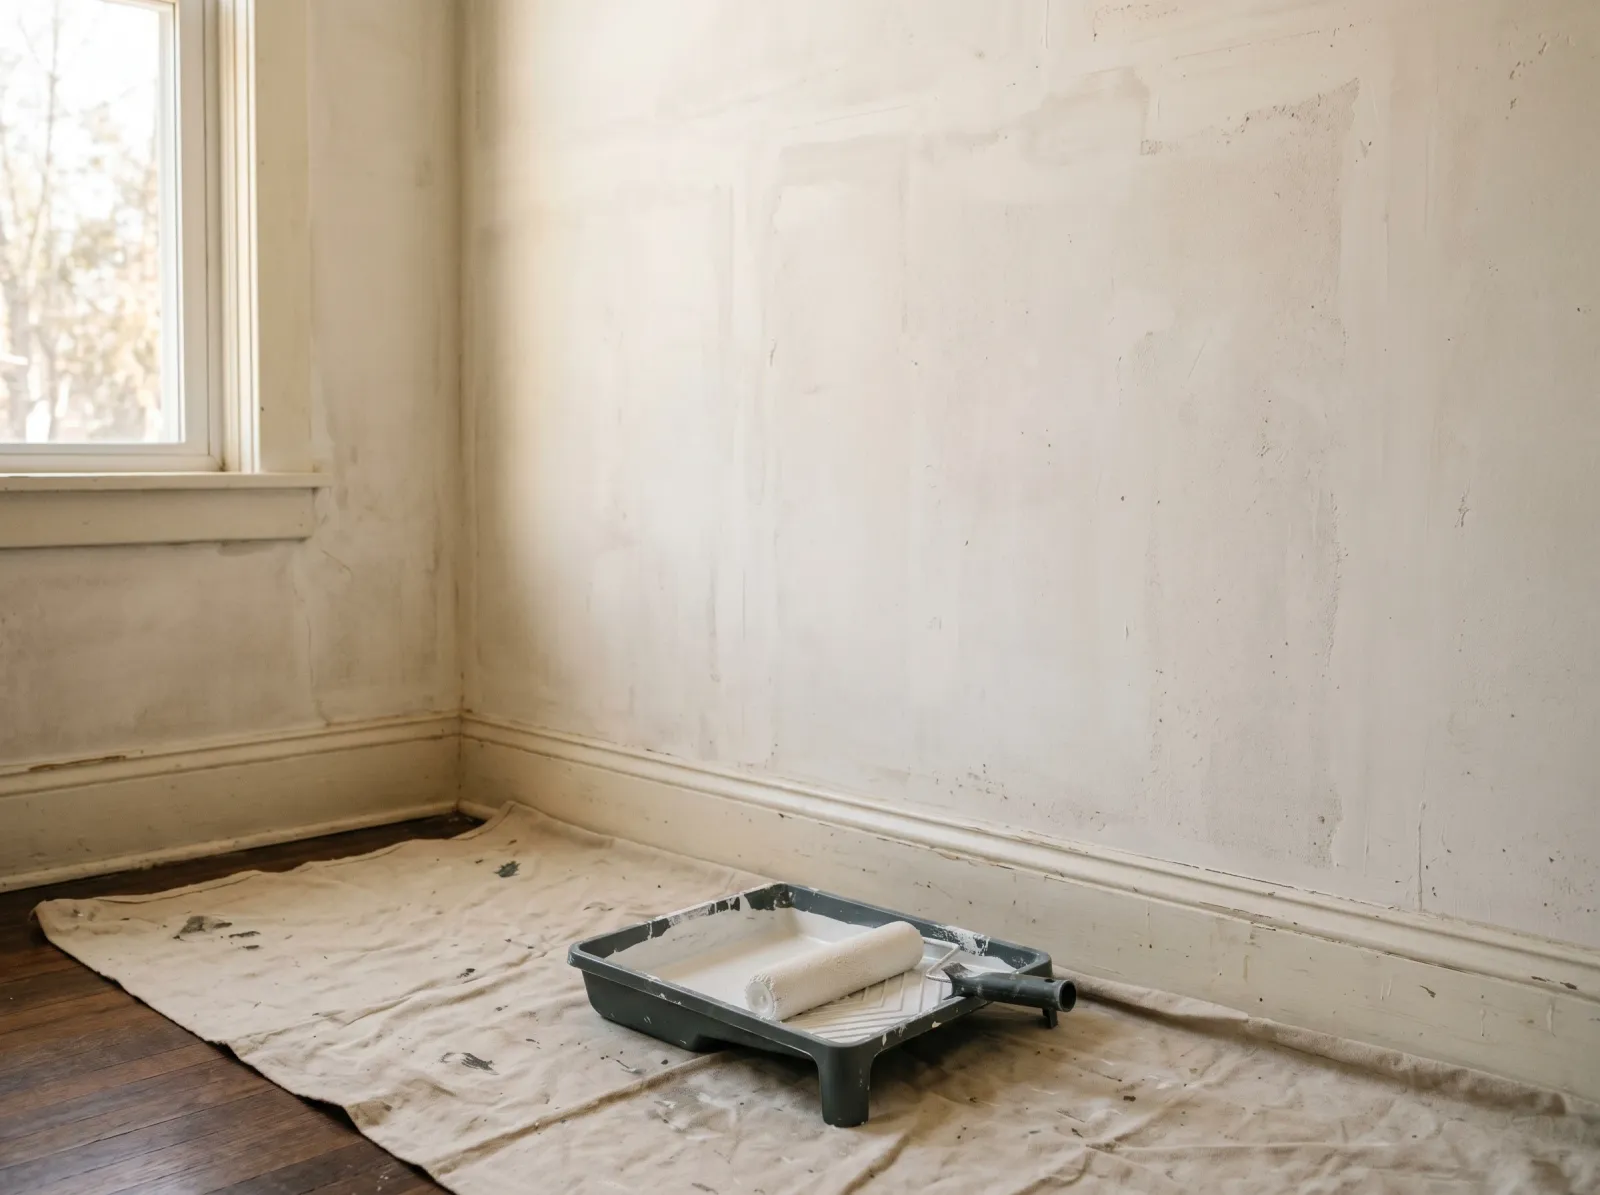 Clean, dry, matte everywhere. Now it’s ready for a bonding primer, then two coats.
Prime the entire wall, not just the patches. A bonding primer like Zinsser Bulls Eye 1-2-3 seals any faint paste you couldn’t feel, blocks old adhesive from ghosting through, and evens out the suction difference between bare drywall, joint compound, and the slick spots. One coat. Roll it like paint, cut in the edges, let it dry per the can (about an hour for water-based 1-2-3).
If you saw heavy staining or ghosting bleeding through in Step 1, step up to Zinsser BIN shellac primer on those areas. It blocks anything. For why a bonding primer matters here instead of a plain wall primer, see what bonding primer does.
Step 7. Paint
Two coats. Always two coats. The primer is a base, not a finish.
Cut in the corners, roll while the cut-in is wet, don’t stop in the middle of a wall. For the full room-painting sequence after the wall’s prepped, see how to paint a whole room.
Hot Water vs Stripper Concentrate
| Method | Best for | Dwell time | Notes |
|---|---|---|---|
| Hot water + dish soap | Light paste, small rooms | 10-15 min | Cheapest, slowest, fine for most jobs |
| Hot water + white vinegar | Moderate paste | 15 min | Vinegar cuts starch; never add bleach |
| Gel stripper (DIF, Piranha) | Heavy or old paste | 15 min per label | Clings to walls, less drip, costs more |
| Steamer | Whole-house, plaster | Continuous | Overkill for residue alone; great for stuck paper |
Common Mistakes
- Painting straight over the paste. The single most common one. Bubbles within months. No primer saves it.
- Stopping when the wall “looks” clean. Looks isn’t the test. Dry, then feel it with your hand.
- Not changing the rinse water. Dirty water lays down a fresh paste film as it dries. That’s the “still sticky after washing” trap.
- Dry-scraping to save time. You polish the paste into the wall instead of removing it. Soak first, every time.
- Sanding instead of washing. Sandpaper loads up with gummy paste and you spend more time cleaning the wall and the paper than washing would have taken.
- Skipping primer on a clean wall. Even a perfect strip job has suction differences. Prime for a uniform surface.
Prevention
This is a one-time problem per wall, but a few things make the next person’s life easier.
- When you hang new paper or paste-up liner, use a strippable adhesive and a primer-sized wall underneath. It releases clean later.
- Prime bare drywall before papering. A sized, primed wall lets the paper come off without tearing the face paper, which is what creates the torn-substrate repair work above.
- Don’t reactivate old paste with a quick water-based touch-up later. If you ever spot-repair this wall, you’re spot-repairing over a primer that sealed the paste. Keep that primer coat intact.
When to Call a Pro
- Plaster walls coming apart behind the paper. Soft, bulging, or cracked plaster is a repair job before any paint, often a skim-coat over the whole wall.
- Pre-1978 home where stripping tore into old painted plaster. Lead test first. If positive, follow EPA RRP practices or hire a certified contractor.
- Whole-house wallpaper removal where multiple rooms have heavy paste and torn drywall. The labor adds up fast and a crew with a steamer does it in a fraction of the time.
- Mold behind the paper. Wallpaper traps moisture against the wall. If you find black staining and a musty smell when the paper comes down, that’s a moisture problem to solve before you paint over anything.
What’ll Bite You in Two Years
Wash the paste, prime the wall, do it once. Skip it and the bite comes a lot sooner than two years. Latex over old paste bubbles by the first humid summer, and now you’re stripping your own fresh paint plus the paste underneath. Do the boring part first. The wall you can’t feel any slick spots on is the wall that holds paint.