How to Fix Mold on Painted Furniture
Mold on painted furniture is almost always a moisture problem, not a paint problem. Kill the spores, seal the surface, and stop the damp so it doesn't come back.

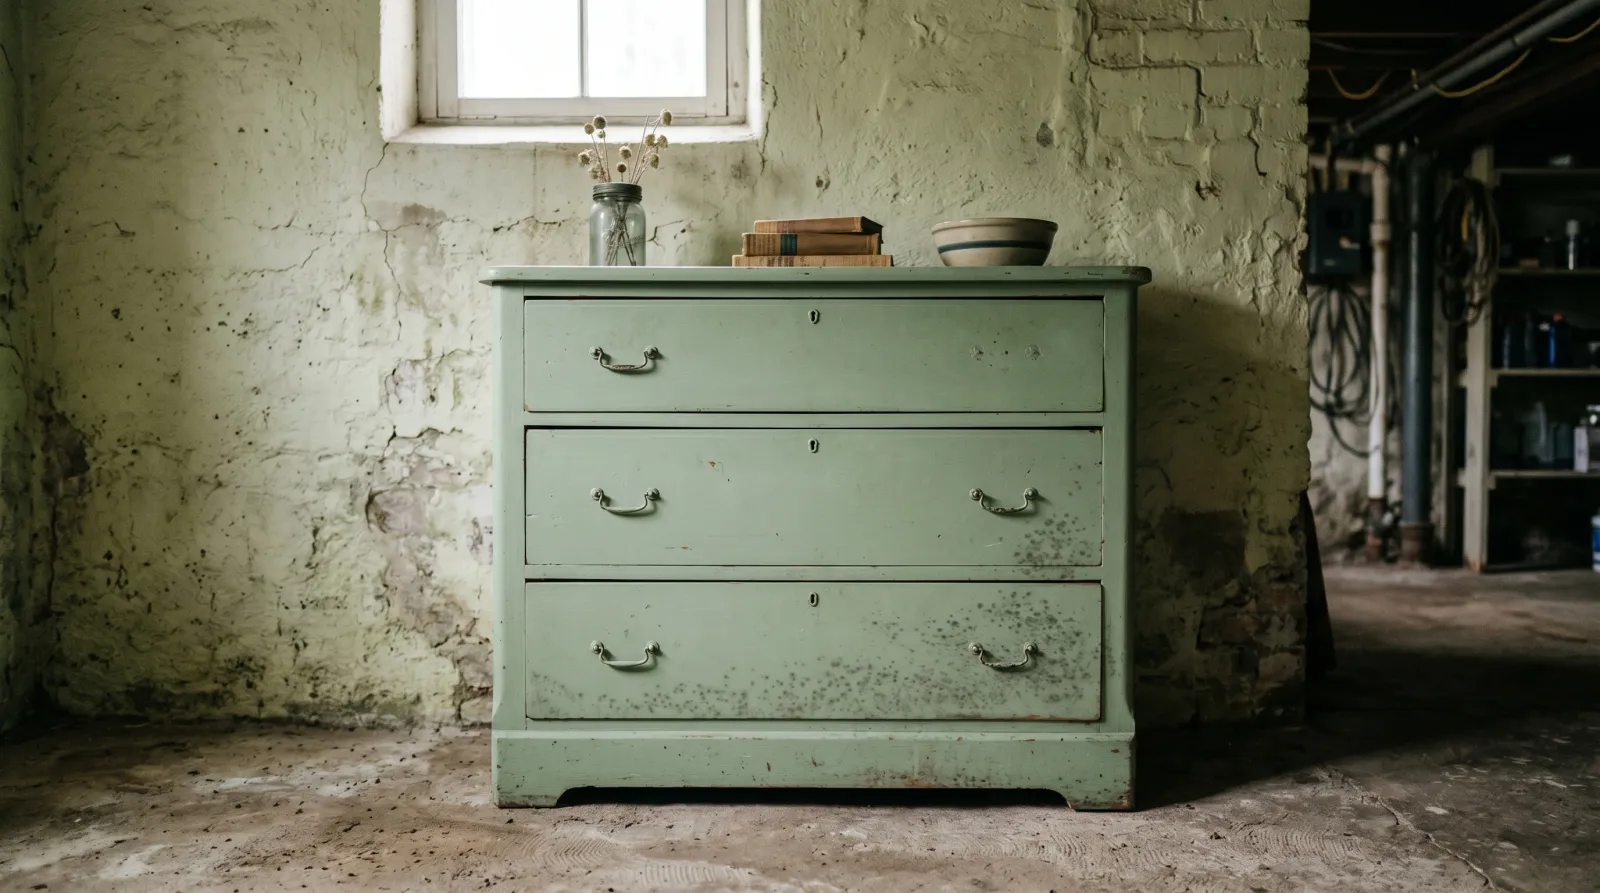
Mold on a painted dresser isn’t a paint failure. It’s a damp-room problem wearing a paint film. The mold is feeding on the dust and skin oils sitting on the surface plus the moisture in the air, and the paint underneath is just the place it landed. Kill it, seal the stain, and dry the room out, or it’ll bloom on the same drawer next season.
Does This Match What You’re Seeing?
Look at the color, the texture, and where it sits before you grab a rag. Different blooms get treated a little differently.
- Fuzzy gray, green, or black patches: active mold. It has texture you can feel and it smears when you wipe it. This is the real thing and the one this page fixes.
- Flat black or pink staining, no fuzz: mold that already died back, or its leftover stain bleeding up through the paint. Clean it, but you’ll need a stain-blocking primer before recoating.
- Powdery white film on the surface: could be efflorescence wicking through from a masonry base, or just dust and mildew. Wipe a damp finger across it. If it dissolves and reappears, you’re chasing moisture from below.
- Musty smell, no visible spotting: mold inside a drawer, behind a back panel, or under the piece where it meets a cold floor. Pull the drawers and look at the unpainted backs.
- Spotting only along the bottom edge or back: the side touching a cold wall or concrete floor. Classic condensation pattern.
If it wipes clean and never comes back, it was surface mildew on dust. If it returns in the same spot, you’ve got an active moisture source.
How Serious Is This?
A single piece with a small bloom is a same-afternoon fix. Wear a mask, take it outside, clean it, seal it, done.
Two things push it to serious. First, area: the EPA calls 10 square feet of mold the line where you stop DIYing and call a remediation pro. Add up every spotted surface across every piece in that basement before you decide. Second, the wood. Press the spotted area with your thumb. Firm means the paint held and you’re cleaning a cosmetic problem. Soft, dark, or spongy means water got past the film into the wood, and no amount of cleaning saves punky wood.
If the piece is an antique with original finish, or the spotting is on velvet, leather, or upholstered sections, slow down. Cleaners that are fine on a painted dresser will stain fabric or strip old shellac.
Why This Is Happening (root Cause)
Mold needs three things: a food source, moisture, and a surface to sit on. Painted furniture hands it all three without much help.
The food isn’t the paint and it isn’t the wood. Modern acrylic and chalk paints are sealed films, and mold can’t eat cured acrylic. What it eats is everything that lands on top: dust, dead skin, food residue, the oils off your hands, the leftover wax on a chalk-painted piece. Wax is the quiet culprit. A lot of chalk-painted furniture gets sealed with soft furniture wax, and that wax is organic and damp-loving. Mold treats it like a buffet.
Then comes moisture. This is the part that actually matters. Mold germinates when relative humidity at the surface climbs past about 60 percent and stays there. Basements, garages, three-season porches, and storage units sit there for months. A dresser pushed flat against a cold exterior wall or sitting on bare concrete is worse, because the cold surface drops the air temperature right at the contact point and condensation forms. That cold back panel is wet long before the room feels damp to you.
The paint film’s job here is to be a barrier, not a fix. Even a good mildew-resistant paint slows mold; it doesn’t beat a room running at 70 percent humidity all summer. I see this every spring on furniture people stored in a basement over winter. The room was fine in October, the humidity climbed through the wet season, and by May the back of every piece against the foundation wall has a gray bloom.
Find the moisture or you’re just buying yourself one more season.
The Fix
Take the piece outside if you can. You want airflow and you don’t want spores settling on everything else in the room.
Safety First
Wear an N95 or P100 respirator, nitrile gloves, and eye protection before you disturb any mold. Disturbing a bloom throws spores into the air. Work outdoors or by a wide-open window with a fan pulling air away from you.
Never mix bleach with vinegar, ammonia, or hydrogen peroxide. Those combinations release toxic chlorine or chloramine gas. Pick one cleaner and rinse before you switch to another. See the right respirator for the job if you don’t already own one rated for mold work.
Step 1. Vacuum the Loose Spores
Before anything wet, run a HEPA-filter vacuum over the bloom with a brush attachment, held just off the surface. This lifts loose spores instead of smearing them into the film. A regular shop vac blows spores out the exhaust and spreads them; use HEPA or skip this step and go straight to wiping.
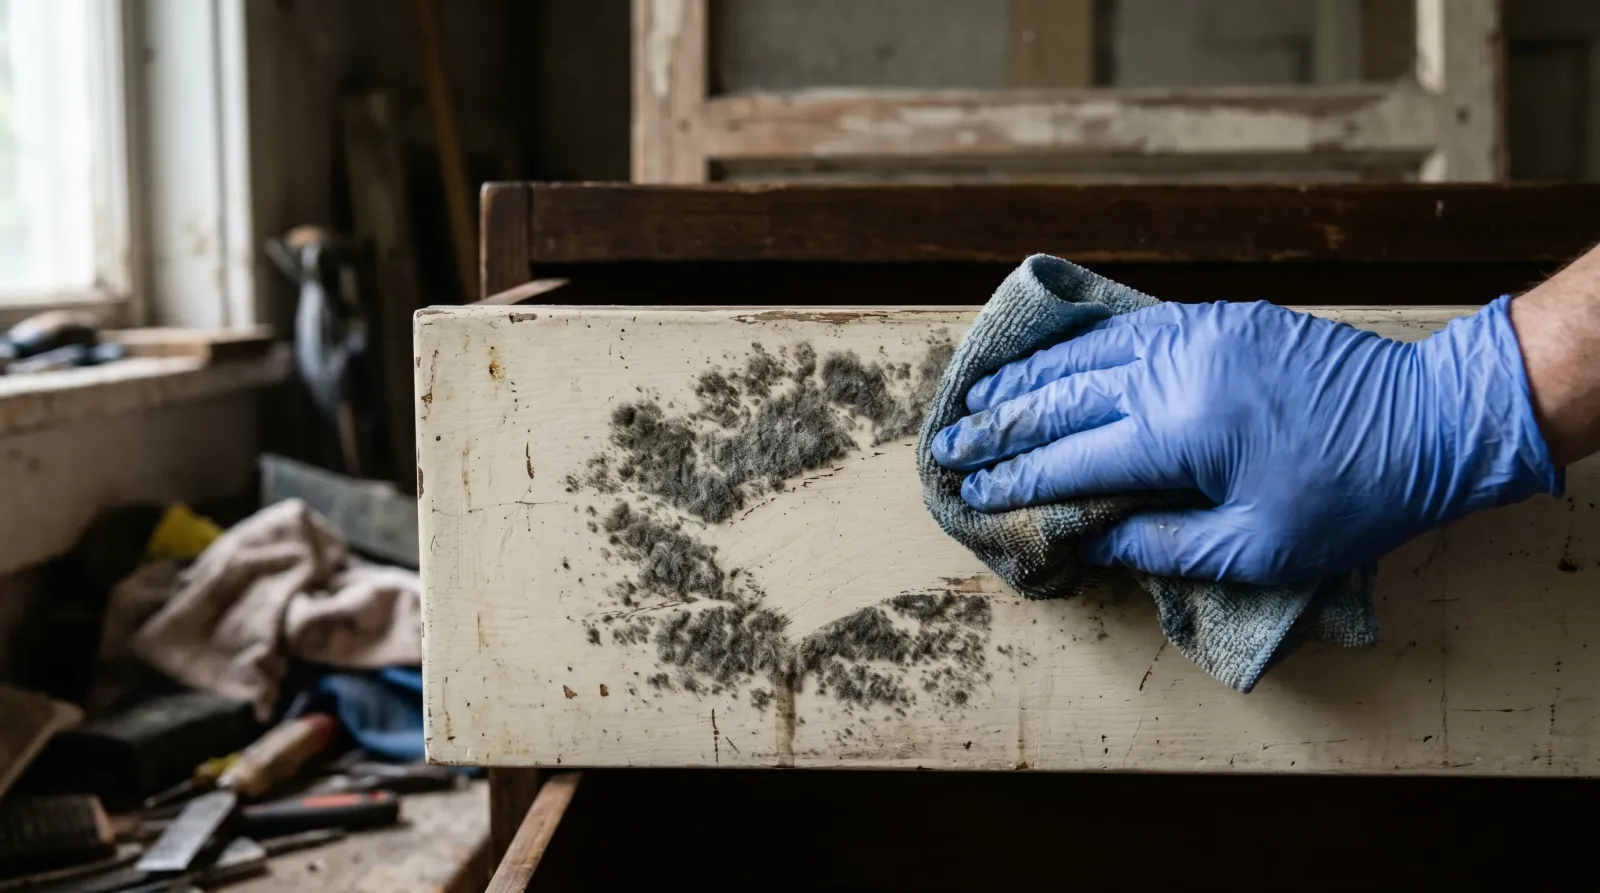 Wipe, don’t scrub. A damp cloth lifts the bloom off the film without driving it into bare spots.
Step 2. Kill and Clean the Mold
Spray the spotted areas with Concrobium Mold Control, wet the surface fully, and let it dwell. It works as it dries, so give it 30 to 60 minutes to dry to a thin invisible film. Then wipe with a damp microfiber cloth. For a heavier bloom, spray again and wipe a second time.
No Concrobium on hand? A 1-to-10 bleach-to-water solution kills surface mold. Wipe it on, let it sit 10 minutes, wipe with clean water, and dry. Bleach can leave a faint stain and raise the grain on any bare wood, so keep it on the painted film and off chips.
For chalk-painted pieces sealed with wax, the wax has to come off the affected area. Mineral spirits on a rag lifts it. Mold lives in the wax, so cleaning over it does nothing.
Let the piece dry hard. At least 24 hours, longer if it’s still cool out.
Step 3. Spot-Prime Any Stain
Mold leaves a stain even after it’s dead, and that stain bleeds up through fresh paint. Spot-prime every discolored area with a shellac-based stain blocker like Zinsser BIN. One thin coat, dry to recoat in about 45 minutes. Shellac primer is the one that actually locks mold staining; a standard latex primer lets it ghost back through. The shellac primer rundown covers why it seals what water-based primers can’t.
For bare spots where you wiped through to wood, the same BIN coat seals them so the topcoat doesn’t flash dull.
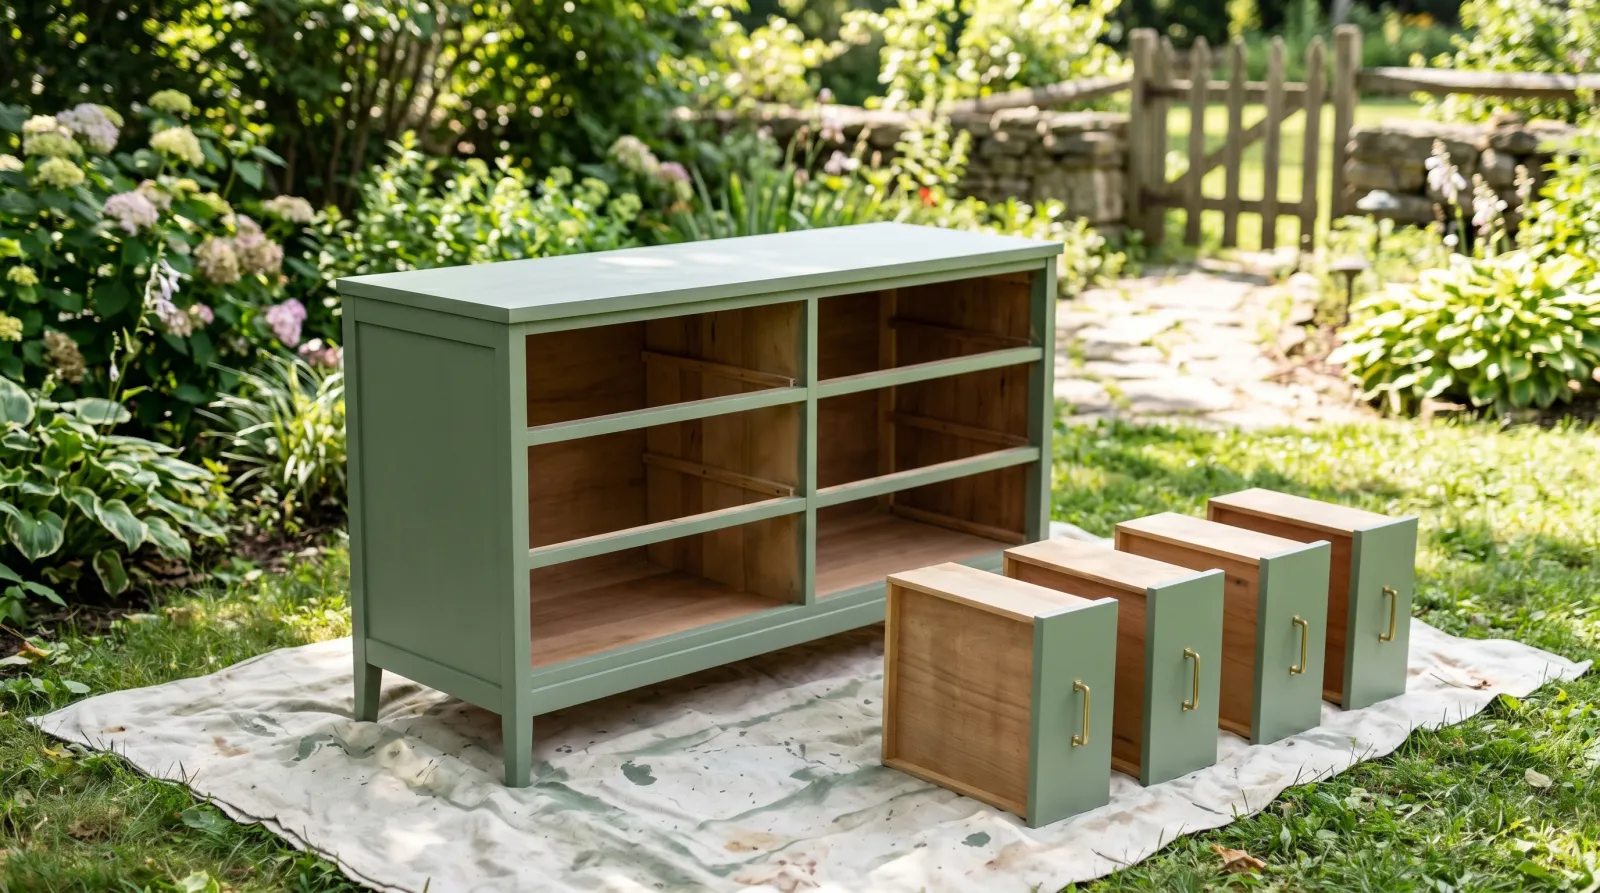 Pull every drawer and dry the whole piece, backs and bottoms included. The hidden faces are where it regrows.
Step 4. Repaint
Once the primer’s dry, topcoat the cleaned and sealed areas, then the whole face for an even look. Spot-painting one drawer leaves a patch you’ll see from across the room.
For a piece going back into a damp room, use a mildew-resistant finish. A satin or semi-gloss acrylic enamel cleans easier and gives mold less texture to grip than a flat. Zinsser Perma-White is mildew-resistant and built for exactly this. For a decorative repaint, the best furniture paint round-up covers durable acrylic enamels that wipe clean. If the piece lives somewhere chronically damp, the mold-resistant paint round-up is worth a read before you buy.
Skip soft wax as a topcoat on anything going back into a basement. Seal chalk paint with a water-based polyacrylic instead. Wax feeds mold; polyacrylic doesn’t.
Two coats. Always two coats. One coat over a problem area is half the barrier.
Prevention
The cleaning is the easy part. Keeping it gone is about the room, not the paint.
- Get the humidity under 50 percent. A dehumidifier in the basement or storage room is the single biggest fix. Mold can’t germinate in dry air. Run it through the whole wet season, not just when you smell something.
- Pull furniture off cold walls and floors. Leave a 2-inch air gap behind any piece against an exterior wall. Set basement pieces on risers or a pallet, not bare concrete. The cold contact point is where condensation forms first.
- Move air. A small fan running on low keeps surface moisture from settling. Stagnant air over a cold panel is what lets a bloom start.
- Don’t store damp. A piece that went into the basement slightly damp from a humid garage will mold before the season’s out. Dry it fully first.
- Wipe the dust. Mold eats dust. A piece you dust every few weeks gives it nothing to land on. The ones that bloom are the ones shoved in a corner and forgotten.
- Drop the wax habit on at-risk pieces. If it’s going somewhere damp, finish it with polyacrylic, not furniture wax.
Fix the room and the same piece can sit there for years clean. Skip it and you’re back here next spring.
When to Call a Pro
- Mold covering more than about 10 square feet across your furniture or the surrounding room. That’s the EPA threshold where remediation gear and containment matter.
- Soft, dark, or spongy wood under the paint. The water went structural and a recoat won’t save it.
- A musty smell with no visible mold on the furniture. The source may be in the wall, the floor, or the HVAC, and that’s a building problem.
- Anyone in the home who’s asthmatic, immune-compromised, pregnant, or elderly. Don’t take the exposure risk for a dresser.
- Antiques with original shellac or milk-paint finish, or upholstered and leather sections. A conservator cleans those without wrecking the value.
What’ll Bite You in Two Years
Clean the mold, repaint it pretty, and put it right back against the cold foundation wall in a basement running 65 percent humidity, and you’ll be reading this page again. The paint never failed. The room did. Buy the dehumidifier before you buy the second can of paint.