Annie Sloan Lacquer vs Wax: Which Topcoat Does Your Piece Actually Need?
Annie Sloan Lacquer vs Wax on durability, sheen, streaking risk, cure time, re-coating, and real cost per piece. A plain-English verdict by what the furniture actually does.

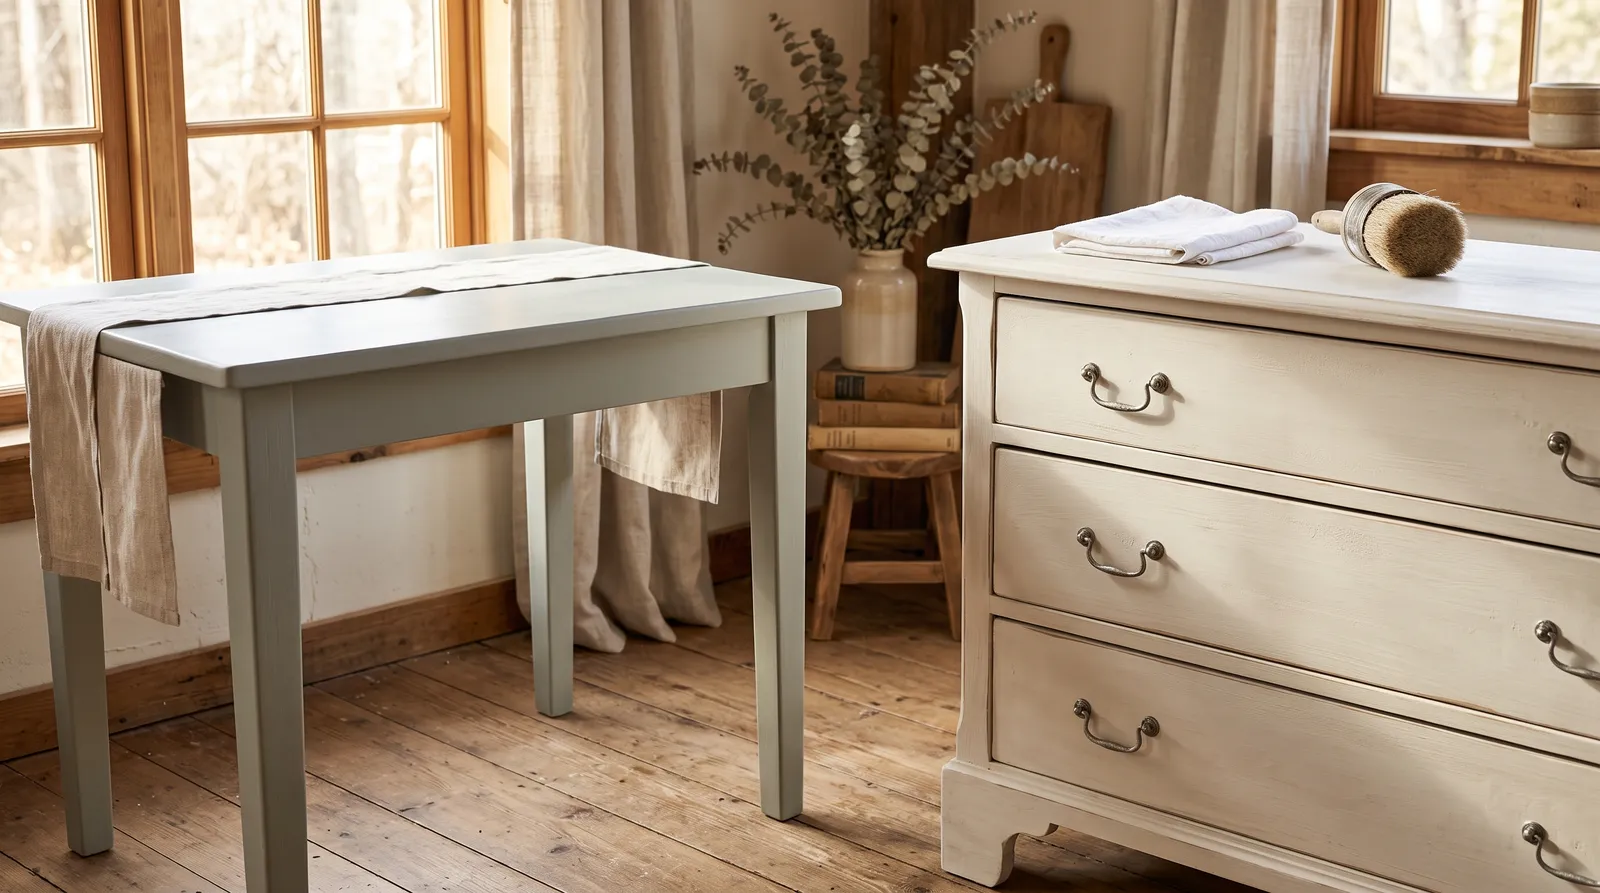
The 30-Second Answer
Use lacquer if the piece gets wet or gets used hard — a kitchen or dining table, a vanity, cabinets, a floor, anything outdoors. Use wax if the piece is decorative and gently used — a bedroom dresser, a bookcase, a frame — because it’s prettier, cheaper, and much more forgiving to apply.
Okay, so you painted something, the color looks great, and now you’re standing in front of two tins wondering which one you’re supposed to buy. Here’s the thing: this isn’t a quality question. Neither topcoat is the better product. They do different jobs, and the wrong one on the wrong piece is where all the disappointment comes from.
Wax is the classic. It sinks into the paint and gives that soft, mellow, hand-rubbed glow the whole Annie Sloan look is built around, and tinted dark wax is how you age a piece so it looks like it’s been in a French farmhouse for fifty years. It also marks, water-spots, and wants a fresh coat every year or so on anything you handle daily.
Lacquer is the tough one. It’s a thin, clear, water-based sealer that dries into a hard protective skin, and it shrugs off water, hot mugs, scrubbing, and daily wiping in a way wax can’t. It’s less romantic, a bit fussier to lay down evenly, and roughly two and a half times the entry price.
If you take one sentence away: does it get wet, or get used hard? If yes, lacquer. If no, wax.
At a Glance
| Chalk Paint Lacquer | Chalk Paint Wax | |
|---|---|---|
| What it is | Water-based polyacrylic varnish (a clear sealer that dries into a hard film) | Soft natural wax that soaks into the paint |
| Price | About $51 per 750ml tin | About $19 for 120ml, about $40 for 500ml |
| Coverage | About 204 sq ft per tin, in thin coats | A little goes a long way; a 500ml tin seals several pieces |
| Coats | One for low-traffic, two for hardworking or wet | One coat of clear, plus tinted wax if you’re antiquing |
| Touch dry | 1–2 hours between coats | About 1 hour between coats |
| Full cure | About two weeks | About two weeks |
| Sheen options | Matte or Gloss (gloss is a soft sheen, not a mirror) | Soft satin after buffing; buff harder for more shine |
| Color shift | Matte slightly darkens; non-yellowing over the years | Clear wax deepens slightly; tinted waxes change it on purpose |
| Water and heavy use | Yes | No |
| Outdoors | Yes, UV protection built in | No |
| Re-doing it | Not on a schedule | Fresh clear coat about yearly on daily-use pieces |
| Streak risk | Real — a thin film records your mistakes | Low — clear wax on a rag erases while it’s fresh |
| Our rating | 3.9 | 4.3 |
Two rows in that table decide most projects: water and heavy use, and streak risk. Lacquer wins the first. Wax wins the second. Everything else is detail.
Why You Need One of Them at All
Chalk Paint dries to a gorgeous chalky matte, but that finish is porous. Porous means full of tiny open pores, like an unglazed clay pot, so water, oils, and grubby fingerprints soak straight in. Leave a piece bare and a water glass leaves a ring and the edges you touch most rub thin.
So the paint is only half the job, and the topcoat is a separate purchase on top of the roughly $44.95 you already spent on a litre of paint. Budget for it. The full Annie Sloan Chalk Paint review covers the paint itself, but the short version is that sealing it is not optional.
Durability
This is the whole reason lacquer exists, so let’s be blunt about the gap.
Wax repels everyday moisture. That’s a real thing — a waxed dresser handles a dusty cloth, a bit of humidity, and normal handling perfectly well for years. What it can’t handle is standing water, heat, or friction. A wet glass left on a waxed tabletop leaves a mark. A hot mug can soften the wax underneath. Wiping the same spot every day thins it out. On a piece you use hard, wax doesn’t fail dramatically, it just gets tired and dull and wants redoing, and by then you notice you’ve been chasing it.
Lacquer lays a hard, water-resistant film on top instead. Once it’s cured it takes spills, hot plates, scrubbing, muddy shoes on a floor, and a wipe-down every single day without complaint. It scored 4.5 out of 5 on durability in our Chalk Paint Lacquer review, and the built-in UV protection is what lets it go outside on a porch bench or a front door, which wax genuinely has no business doing.
Winner: Lacquer. Not close.
Sheen and Look
Now the other direction, because this is where wax earns its 4.3.
Buffed wax has a quality lacquer doesn’t reproduce. Buffing just means rubbing the surface in circles with a clean soft cloth once the wax has firmed up, and the more you buff the more sheen you get — light buff, soft satin glow; keep going, warmer and shinier. You stop wherever you like it, so the finish is tuned by hand and it looks it. Clear wax also deepens the color a touch without changing it.
And then there’s the antiquing, which lacquer can’t do at all. Dark wax pushed into corners, carved details, and brush marks settles into the low spots and makes a piece look gently aged. White wax gives a chalky, limewashed softness. Black wax goes moody and cool. Our Chalk Paint Wax review walks through all four and the one rule that saves beginners: clear wax first, tinted wax over the top, so the tint doesn’t grab too hard and go muddy.
Lacquer gives you two honest choices and that’s it. Matte keeps the chalky no-shine look and slightly darkens the color, much like clear wax does. Gloss adds a light sheen — noticeable, but not a mirror and not a bar-top shine. Both look clean and intentional. Neither looks hand-rubbed.
The one place lacquer’s finish quietly wins is over the years. It’s non-yellowing, so a pale blue keeps reading as pale blue and a white stays white, which is the failure mode that ruins so many old oil-based varnishes.
Winner: Wax on day one. Lacquer on year five.
Application Difficulty and Streaking Risk
Here’s where a lot of people pick the wrong tin out of fear, so let me take the fear out.
Wax is forgiving. You take a small amount on a wax brush (a round, stubby brush made for this) or a lint-free cloth, rub it into the paint like moisturizer into skin, work an area about the size of a sheet of paper, then wipe off whatever didn’t soak in with a clean cloth. That wipe-back step is the one people skip and it’s the most important one — leave too much on and the surface feels tacky. Wait an hour, buff, done.
The reason wax is so beginner-friendly is the eraser trick: while everything’s still fresh, more clear wax on a rag lifts excess or a bad patch right back out. You’re not locked in. You’ll know it when you see it.
Lacquer is less forgiving, and our review gave it a 3.0 out of 5 on ease of application for good reason. It’s a thin film, and a thin film records what you did to it. Lay it on thick, overwork an area, or go back over a patch that’s already starting to set, and you can get streaks, roller texture, or a faint cloudy whitened look. There’s no eraser move to save you.
The technique that works: thin coats, a soft brush or a well-squeezed-out sponge roller, long light passes, and hands off once it starts to set. Do a test patch (a small trial area on a hidden spot, like the underside of the tabletop) on your first project so you learn the feel before you touch the part everyone sees. Your second piece goes better than your first. That’s normal, and it’s true of both topcoats.
Winner: Wax.
Dry and Cure Times
Almost a tie, and both halves surprise people.
The fast half: wax is touch dry in about an hour between coats, lacquer in one to two. Either one, you can start after lunch and be finished by dinner. Lacquer’s second coat goes on the same afternoon. No overnight waiting with either.
The slow half: both keep hardening underneath for about two weeks. That’s the cure, and it’s the part everyone blows through. During that stretch neither finish is at full strength. Don’t set a hot mug on a fresh tabletop, don’t stack heavy books on a freshly waxed shelf, don’t drag furniture across a fresh lacquered floor. Two weeks of gentle treatment and lacquer reaches its real toughness.
Rushing the cure on a lacquered tabletop is the most common way people end up disappointed with a finish that would otherwise have been bulletproof.
Winner: Tie.
Re-Coating, Repair, and the One-Way Door
This is the section most comparisons leave out, and it’s the one with a trap in it.
Wax is easy to maintain and easy to fix. A gently used piece can go years untouched. A piece you handle daily wants a fresh thin coat of clear wax about once a year. Re-waxing is a ten-minute job: clean the surface, rub on a little clear wax, buff it back. Scuffed a corner? Wax right over it and it blends. Wax is endlessly repairable, and that’s a genuine advantage nobody talks about.
Lacquer doesn’t ask for maintenance, but it’s harder to spot-repair. There’s no annual re-coat on the calendar. But if you do gouge a lacquered tabletop, you can’t blend a patch the way you can with wax — you’re sanding back and re-coating the whole surface to keep it even.
And here’s the one-way door. You cannot put lacquer over wax. Wax sits in and just under the paint surface, and a water-based lacquer won’t bond to it. It beads, it streaks, it stays tacky, or it peels off in sheets a few weeks later. If a piece is already waxed and you’ve decided it should have been lacquered, you’re stripping the wax off with mineral spirits and a stack of cloths, letting it dry out fully, and usually repainting.
So the decision is a real decision. Make it before you open a tin, not after you’ve waxed a kitchen table and watched it stain.
Winner: Wax on repairability. Lacquer on never having to think about it.
Real Cost Per Piece
Let’s do actual numbers, because “a little goes a long way” isn’t a budget.
Wax. The 120ml tin runs about $19 and is plenty for one first project. The 500ml tin at about $40 seals a lot of furniture, realistically four or five dressers, which lands around $8 to $10 a piece. (There’s a 2.5 litre size, but that’s more than most home projects ever need.)
Lacquer. One size only: a 750ml tin at about $51, covering roughly 204 square feet in thin coats. A typical dresser presents 25 to 35 square feet once you count the top, sides, and drawer fronts, so two coats eats about 60 to 70. Call it three pieces per tin, or roughly $17 each.
The honest read: wax is cheaper per piece and much cheaper to start. But if you’re topcoating one single kitchen table, the whole $51 lands on that table, and that entry gap is what people feel at checkout. The wax re-coat cycle barely changes the math, because it only bites on pieces you shouldn’t have waxed anyway — a waxed dresser gets redone maybe twice a decade.
Winner: Wax on both entry price and cost per piece.
The Third Option: You Don’t Have to Buy Either
No brand loyalty here. If your piece is a hardworking indoor surface and $51 for a topcoat stings, there are honest alternatives.
Minwax Polycrylic is the hardware-store substitute. It’s a general water-based clear coat at $14 to $20 a quart, covering about 125 square feet per coat, available at any big-box store on a 7pm run. Over chalk-style paint on an indoor tabletop it works fine — build three thin coats and give it a full week before real use. The trade-offs are real and worth knowing: it’s tuned for general woodwork rather than furniture finishing, it can read slightly milky or blue-white over very dark colors if you lay it on thick, and it has no UV inhibitors, so it’s interior-only. It also punishes slow brushing, same as the Annie Sloan lacquer does. For a painted indoor dining table on a budget, it’s a genuinely good call and it saves you $30.
General Finishes High Performance Topcoat is what a lot of serious furniture flippers reach for. Water-based, excellent durability on tables and high-touch pieces, flat through gloss, brushes or wipes on cleanly. Buy it if you want maximum toughness and don’t care about staying inside one brand’s line.
An oil-based wipe-on poly is the old-school durable route — very tough, very easy to wipe on thin. The catch is real: oil-based finishes amber over time and will warm up your whites and pales, so keep it for darker or wood-toned pieces.
What none of these replace is wax. If you want the soft hand-rubbed glow or the antiqued look, no clear varnish gets you there. That’s a wax-only finish, and it’s the reason the wax tin still sells.
The Verdict by Use Case
- Pick lacquer if: the surface gets wet or gets used hard. Kitchen and dining tabletops, bathroom vanities, kitchen cabinets you wipe daily, floors, skirting boards, windowsills that catch condensation, garden benches, planters, a front door. Also pick it if the piece is going to a house with young kids, where “decorative” is a theory rather than a fact.
- Pick wax if: the piece mostly sits and looks pretty. Bedroom dressers, bookcases, chests, side tables, picture frames, display cabinets, headboards. Pick it absolutely if you want the antiqued look, because dark, white, and black wax are the only way to get it.
- Pick Polycrylic instead if: the piece is a hardworking indoor surface, the budget is tight, and you’d rather have $30 back than brand consistency. Not for anything going outside.
- It’s genuinely a coin flip when: the piece is a dining-room sideboard or a hallway console — used, but not wet, and wiped occasionally rather than daily. Wax will be fine and look lovelier. Lacquer will be fine and never need thinking about. Pick on whether you enjoy the maintenance ritual or resent it.
The mistake to avoid is the specific one that ruins weekends: waxing a tabletop. It’s the most common thing first-timers do, it looks perfect for about three weeks, and then the water rings start.
Top Picks by Side
Going with lacquer? Read the Annie Sloan Chalk Paint Lacquer review for the full sub-scores, the streaking failure modes, and how the matte and gloss versions actually differ. If you’re cross-shopping outside the brand, the best clear topcoat for painted furniture round-up puts it next to the water-based competition.
Going with wax? The Annie Sloan Chalk Paint Wax review walks through clear, dark, white, and black wax, the apply-and-buff technique step by step, and the clear-wax eraser trick that makes the whole thing unscary. To see how it stacks up against other furniture waxes on price and finish, see best furniture wax.
Still choosing the paint underneath? The Annie Sloan Chalk Paint review covers the no-sand promise and where it holds. If you haven’t committed to the brand at all, Dixie Belle vs Annie Sloan is the comparison to read first — Dixie Belle’s topcoat ecosystem is cheaper and easier to buy locally, and that changes this whole decision.
FAQ
Should I use Annie Sloan lacquer or wax on my furniture? Does the piece get wet, or get used hard? If yes, lacquer — tables, vanities, cabinets, floors, anything outdoors. If no, wax — dressers, bookcases, frames, display cabinets. Wax is prettier and more forgiving. Lacquer is tougher. When you can’t decide, lacquer is the safer mistake, because the worst it does is look a touch less soft.
Can you put Annie Sloan lacquer over wax? No. Lacquer won’t bond to wax — it beads, streaks, stays tacky, or peels off weeks later. If the piece is already waxed you’d have to strip the wax with mineral spirits, dry it fully, and usually repaint. Decide before you open a tin.
Is lacquer more durable than wax? Yes, and it isn’t close. Lacquer dries into a hard water-resistant film that handles spills, hot mugs, scrubbing, and daily wiping, plus UV protection for outdoor pieces. Wax repels everyday moisture but marks, water-spots, and wants a fresh coat about yearly on daily-use furniture.
How much does topcoating one piece cost? Wax: about $19 for a 120ml tin (one project) or about $40 for 500ml (several pieces, roughly $8 to $10 each). Lacquer: about $51 for a 750ml tin covering around 204 square feet, so about $17 a piece across three dressers — or the full $51 if you’re only doing one table.
Ask a Question