How to Paint a Wood Floor
Painting a wood floor that lasts: sand to bare wood, prime, two coats of porch-and-floor enamel, then a clear topcoat. The prep most people skip.


Sand first. That’s the whole game with a painted wood floor. The floor takes more abuse than any wall in the house, and paint only survives that abuse if it has something to bite into. Skip the sanding and your fresh floor starts peeling at the doorway by the first winter.
The painting itself is easy. Roll it on, two coats, let it cure. The work that decides whether it lasts happens before you open the can.
What You’ll Get
A solid-color wood floor that wipes clean, hides the old water rings and dog scratches, and holds up to daily traffic for years. Done right, it reads like a deliberate design choice, not a patch job.
Honest Take on Difficulty and Time
This is a medium job, not a beginner one, and the reason is the sanding. Sanding is loud, dusty, and slow. For a 150-square-foot bedroom, figure a full Saturday on prep and sanding, Sunday for primer and the first coat, and the second coat Monday morning if your dry times line up.
Then you wait. The painting is done in a weekend. The floor isn’t ready for furniture for three days and isn’t ready for rugs and real traffic for a week. Plan the room to be empty that long.
If a YouTube video shows someone rolling paint straight onto an old glossy floor with no sanding, that floor is peeling off-camera six months later. Don’t believe the no-prep shortcut.
What You’ll Need
Paint and Primer
Porch-and-floor enamel, not wall paint. This is the part people get wrong. Wall paint has no business on a floor; it scuffs and wears through in weeks. Floor enamel uses a harder resin built for abrasion. Benjamin Moore Porch & Floor, INSL-X Tough Shield, and Behr Porch & Patio all do the job. Go water-based for an interior room so you’re not breathing solvent fumes for three days.
A quart of bonding primer (Zinsser Bulls Eye 1-2-3 or INSL-X Stix) for the bare wood. Primer is what grips the sanded surface and gives the enamel a base to lock onto.
For a hallway, entry, or any room where chairs scrape, add a clear water-based floor polyurethane on top. Bona Traffic HD is the one that takes commercial traffic. The clear coat wears so your color doesn’t.
See the best garage floor paint round-up for the toughest floor enamels, and the sheen guide if you’re stuck between satin and gloss. Satin. The answer is satin.
Tools
A random-orbital sander for a small room, or a rented drum sander for anything over 300 square feet. A 9-inch roller frame with a 1/4-inch nap floor sleeve and an extension pole so you’re not on your knees the whole time. A 2.5-inch angled brush for cutting in along the baseboards. A shop vac with a brush head, a respirator, knee pads, and tack cloths.
The respirator isn’t optional. Sanding old floor finish puts fine dust in the air, and some older floors hide lead paint or old solvent finishes. Wear it.
For the roller, the roller picks cover floor sleeves that don’t shed lint into the finish.
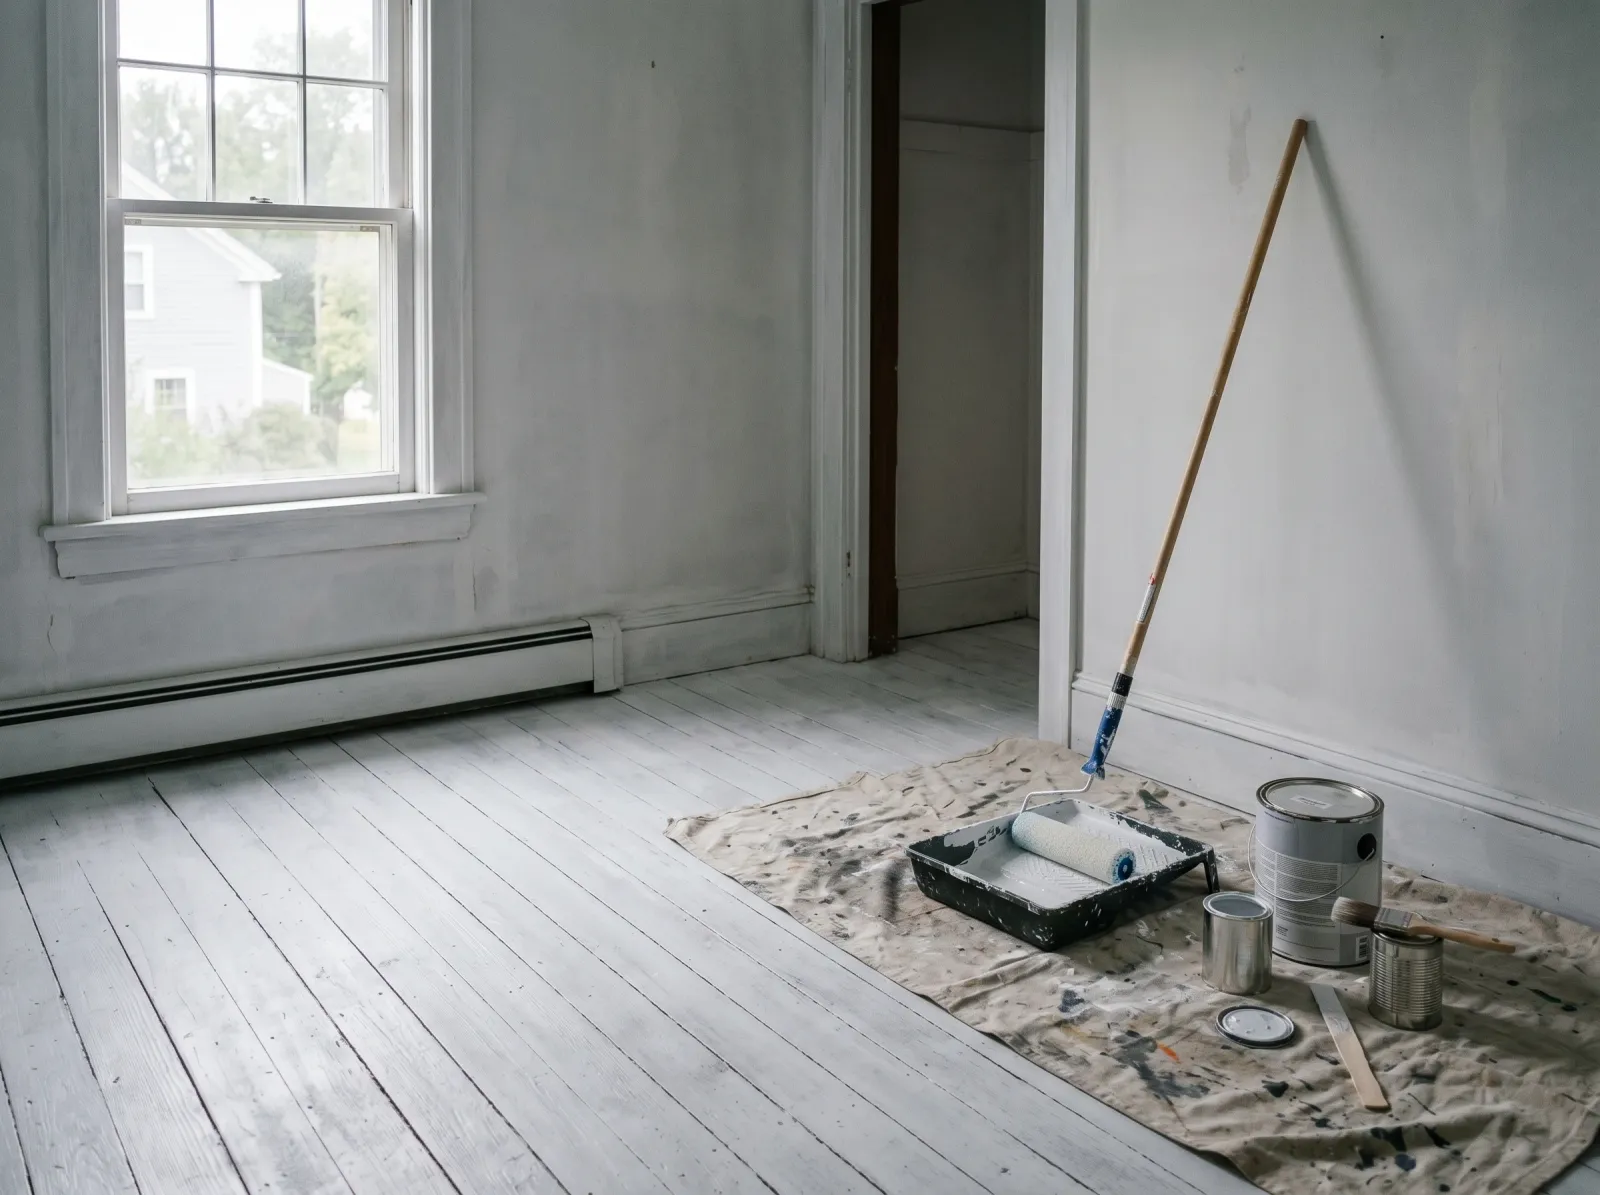
Step 1 — Clear the Room and Sand to Bare Wood

Old finish sanded off, the planks back to raw wood, dust vacuumed up. This is where the job is won or lost.
Empty the room completely. Everything out, including the curtains, because sanding dust gets into everything. Pull up any quarter-round shoe molding if you want a clean paint line at the wall.
Sand the whole floor. Start with 120-grit to cut through the old finish, then go over it with 220-grit to smooth it. You’re not trying to sand the floor flat like a refinish job; you’re knocking the gloss off and opening the grain so paint can grip. Get into the corners by hand.
Watch out for the old finish gumming up your sandpaper. If the paper loads up fast and stops cutting, the finish is soft or waxed. Switch papers often and don’t push a clogged disc; it just burnishes the surface smooth again, which is the opposite of what you want.
Step 2 — Fill, Vacuum, and Tape
Fill any gouges, nail holes, and wide gaps between planks with wood filler. Press it in, scrape it flush, let it dry, and hit those spots with 220-grit once they’re hard.
Vacuum the entire floor with the brush head, then go over it again with a tack cloth. Dust under the paint is the second-most-common reason a floor finish fails. Every speck you leave shows up as a bump and a weak spot.
Tape the baseboards with the green FrogTape, pressed down hard along the bottom edge. Lay a canvas drop cloth in the doorway so you’re not tracking paint into the next room.
Watch out for dust settling back down after you think you’re done. Vacuum, wait twenty minutes, then tack again right before you prime. The air carries fine dust that lands after the first pass.
Step 3 — Prime the Bare Wood
One thin coat of bonding primer rolled over the bare planks, dried to a flat white-grey film.
Cut in along the baseboards with the brush first, a 3-inch band all the way around the room. Then roll the bonding primer across the field with the floor sleeve, working with the grain in long straight passes.
One thin coat is plenty. Primer’s job is grip, not coverage. Roll yourself toward the door so you’re not painting yourself into a corner and trapped against a wet floor.
Let it dry the full time on the can, usually 2 to 4 hours for a water-based bonding primer. Knuckle-test a hidden spot before you recoat.
Watch out for rolling primer too thick to “save a coat.” A heavy primer coat skins over on top and stays soft underneath, and the whole stack peels later. Thin and even beats thick and gummy.
Step 4 — Roll the First Coat of Floor Enamel
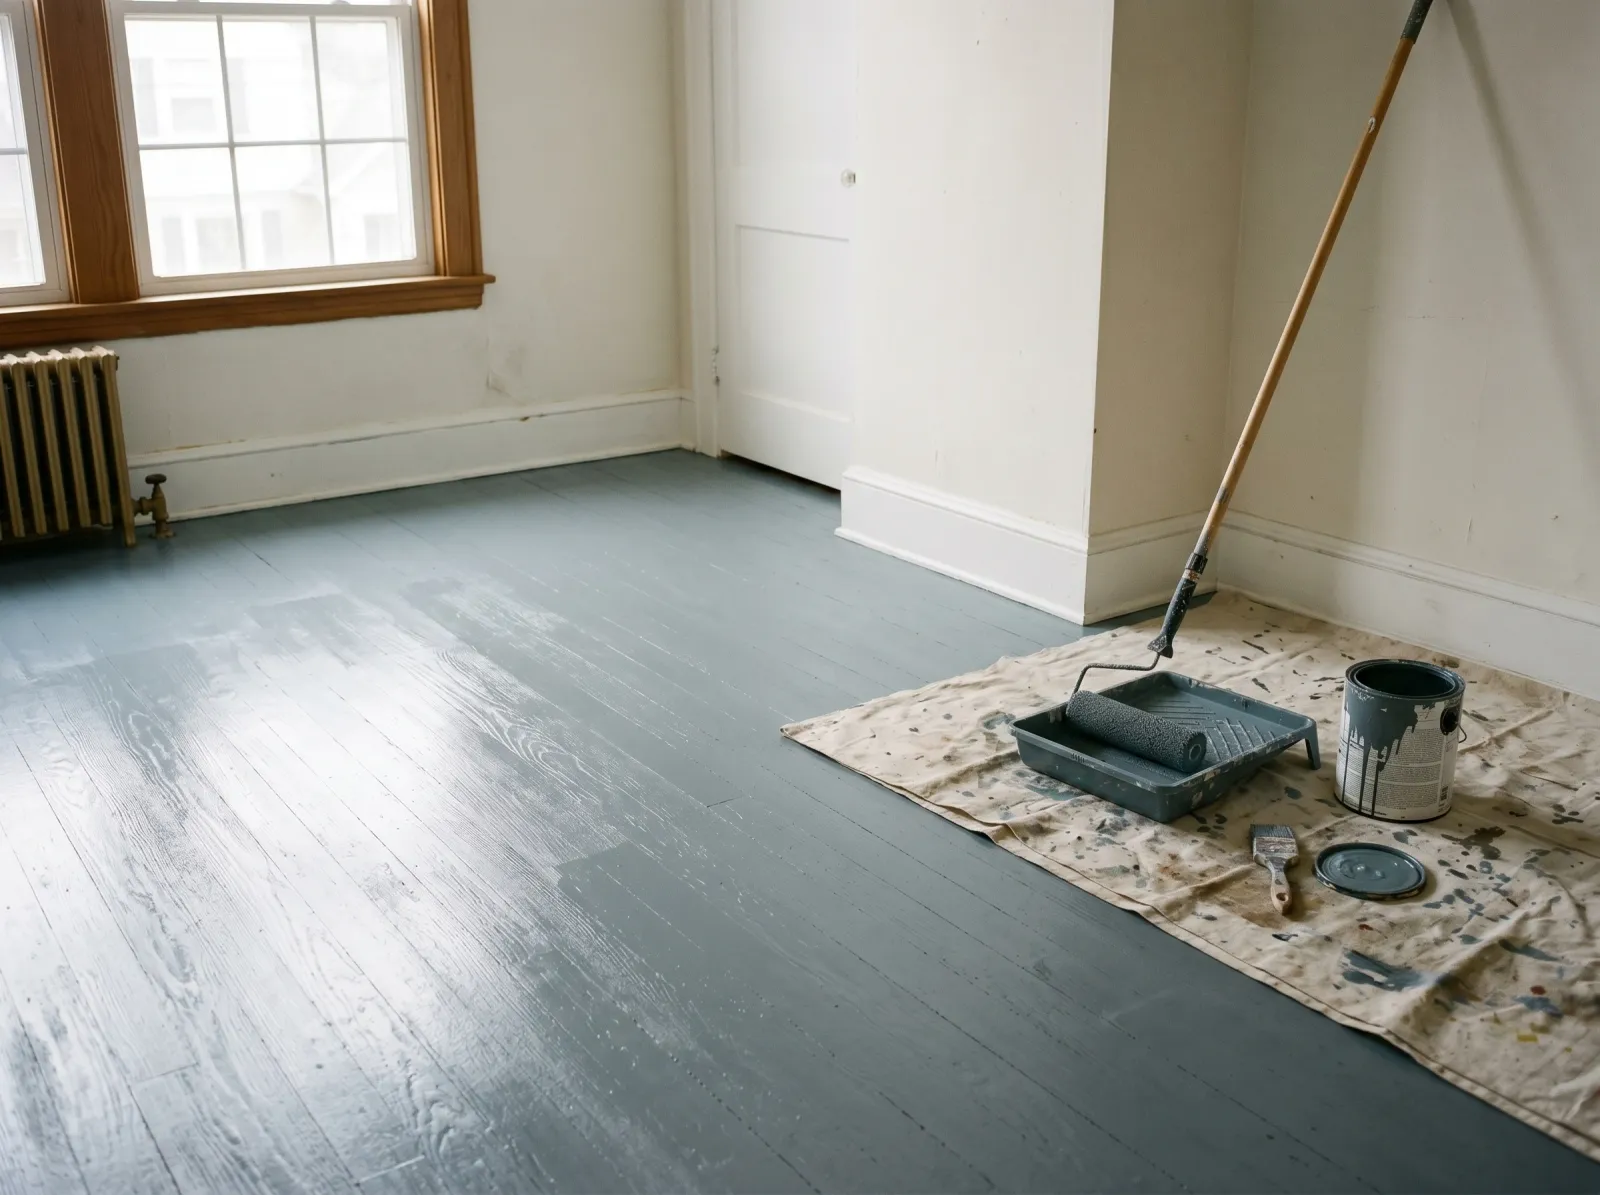
First coat of color down, rolled with the grain in long passes. Still a little thin and uneven.
Stir the enamel, don’t shake it. Shaking whips in air bubbles that dry into a pebbly surface. Pour it into the tray about a third full.
Cut in the edges with the brush, then roll the field with the grain. Keep a wet edge: finish each board run before you stop, and overlap the previous pass by a few inches while it’s still wet. Stopping mid-floor and coming back to a half-dry section leaves lap marks that catch the light forever.
The first coat will look thin and streaky. That’s normal. Floor enamel covers on the second coat, not the first. Don’t go back over tacky spots trying to fix the look; you’ll drag the finish and leave roller marks.
Watch out for back-rolling into an area that’s already setting up. Floor enamel skins faster than wall paint. Once a section starts to tack, leave it alone and let the second coat even it out.
Step 5 — Recoat, Then Topcoat If You Need It
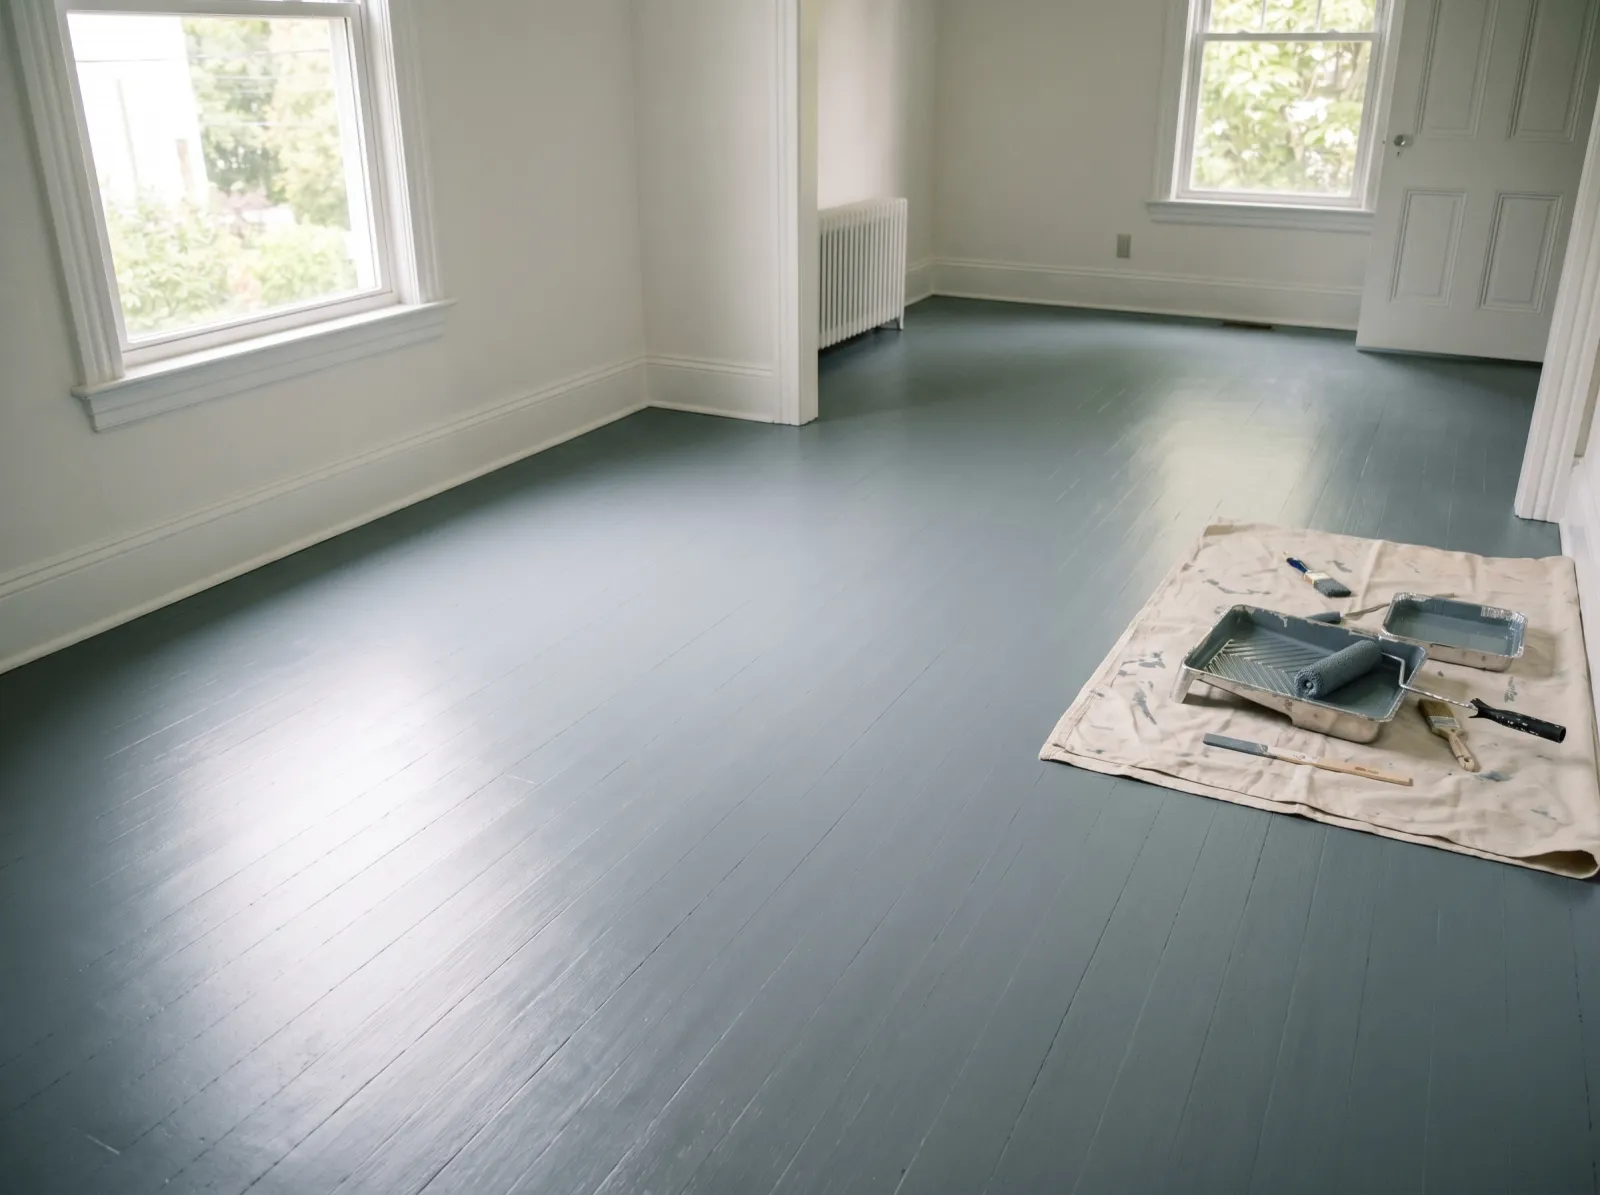
Second coat down once the first was dry. The color reads solid and the sheen is uniform.
Wait the full recoat window, usually overnight for floor enamel even when the can says 4 hours. Floors stay soft longer than the label admits because the film is thick and the air near the floor is humid. If the surface drags or feels rubbery, give it more time.
Second coat goes on the same way: cut in, then roll with the grain. This is the coat that makes the color solid and the sheen even. Two coats is the minimum on a floor. Always two coats.
For a high-traffic room, let the enamel cure two full days, then roll two thin coats of water-based clear floor polyurethane. The clear takes the abrasion so your color stays under it. Sand lightly with 220-grit between the poly coats so they bond.
Step 6 — Pull the Tape and Let It Cure
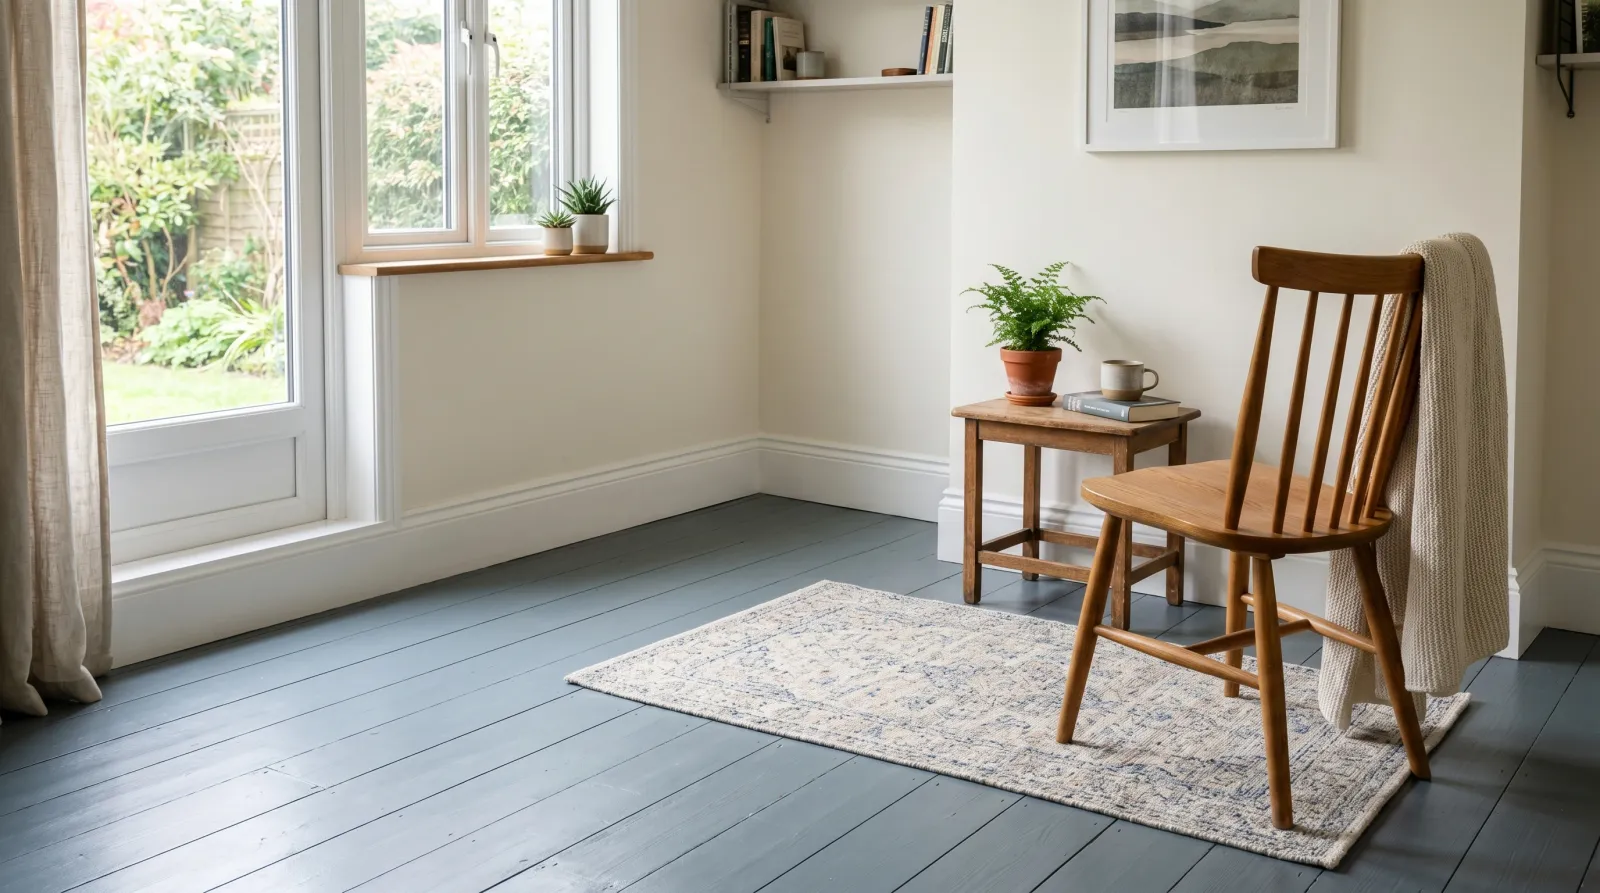
A week of cure later. Furniture back, rugs down, floor ready for daily traffic.
Pull the tape while the last coat is still slightly tacky, at a 45-degree angle. Wait until it’s bone dry and the dry paint film tears at the tape edge.
Then stay off it. Socks-only foot traffic after 24 hours. Furniture back at 72 hours, and put felt pads under every leg before you set it down. Rugs and heavy traffic wait a full week. The enamel is touch-dry fast but keeps hardening for days, and anything you do early prints into it.
Common Mistakes
- Painting over the old finish without sanding. Paint can’t grip a glossy or waxed floor. It peels at the doorway by the first winter. Sand to dull bare wood; the scratch is what the primer holds.
- Using wall paint instead of floor enamel. Wall paint wears through in weeks under feet and chair legs. Floor enamel uses a harder resin built for it. The category is the whole point.
- Skipping the primer on bare wood. Bare wood drinks the first coat unevenly and the enamel never builds a solid bond. One thin bonding-primer coat fixes both.
- Walking on it too soon. The finish is soft underneath for days. Furniture at hour two leaves dents you can’t sand out without redoing the floor. Wait the 72 hours.
- No felt pads under furniture. Even cured floor enamel scratches under a dragged chair leg. Felt pads on everything, or you’ll be touching up scrape marks in a month.
Cure Schedule
| Time after the final coat | What’s safe |
|---|---|
| 1 hour | Pull the tape |
| 4 hours | Touch dry, stay off it |
| 24 hours | Light foot traffic in socks |
| 72 hours | Furniture back, with felt pads |
| 7 days | Rugs down, normal traffic |
| 30 days | Full cure, damp-mop cleaning |
Maintenance and Touch-Ups
A sanded, primed, properly painted floor holds up three to seven years in a normal room before the traffic lanes wear thin. A clear topcoat stretches that. The doorway and the path to the bed wear first; that’s where you’ll see it.
Clean it with a damp mop and a drop of dish soap once it’s past 30 days. No steam mops and no abrasive scrubbers; both cut the finish. For a worn lane or a chip, scuff-sand the spot with 220-grit, wipe it clean, and dab on the leftover enamel with a small piece of roller so the texture matches. Keep a labeled quart in the basement for exactly this.
Here’s what’ll bite you in two years: the spot in front of the kitchen sink or the bedroom door where you stand every day. The enamel thins there long before the rest of the room looks tired. Catch it with a touch-up coat when it first starts to dull, before it wears through to the primer. Once it’s down to bare wood again, you’re sanding the whole floor over.
Cost Breakdown
| Item | $ |
|---|---|
| Floor enamel, 1 gallon | $45–$75 |
| Bonding primer, 1 quart | $18 |
| Sandpaper and filler | $15 |
| Roller, sleeve, brush, tray | $25 |
| Tape and drop cloth | $20 |
| Total | ~$120–$150 |
Add about $40 a day if you rent a drum sander for a big room, and another $35 for a quart of clear floor poly if you topcoat. Numbers are mid-tier; top-shelf enamel plus poly runs closer to $180.