How to Whitewash a Brick Wall
How to whitewash a brick wall with a thinned paint wash: clean the brick, mix the right ratio, work in sections, and keep the mortar lines showing through.

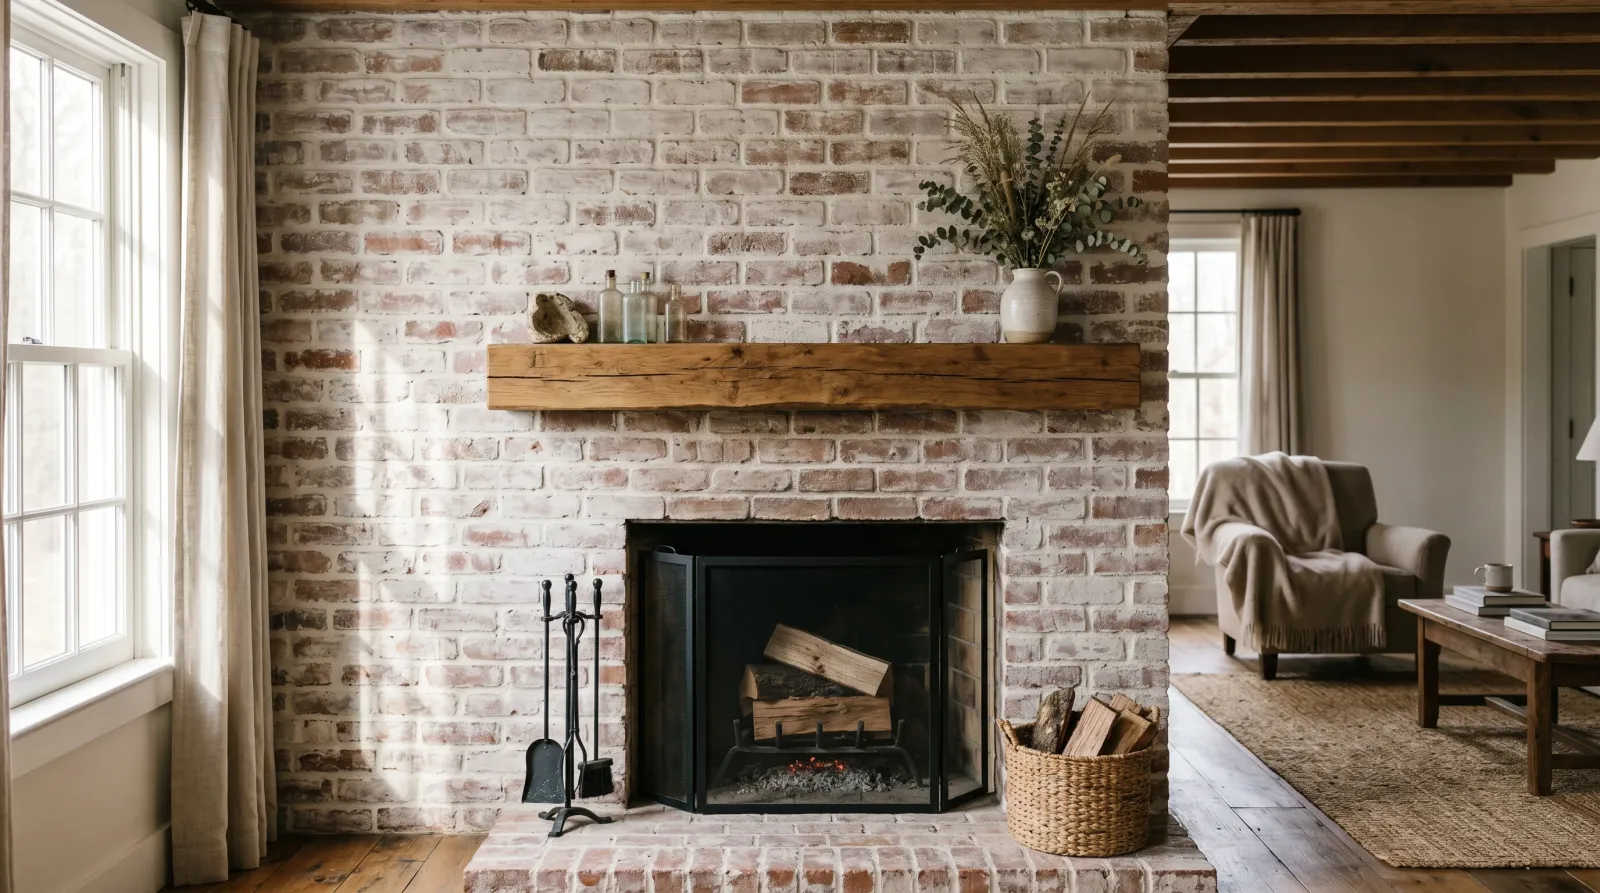
Brick has a way of taking over a room. A red-brick fireplace at the end of a living room reads heavy, especially in north-facing light where the reds go muddy and brown. Whitewash is the gentle fix. It doesn’t bury the brick the way a solid coat of paint does. It quiets it. You still read the texture, the chalky mortar lines, the faint warmth underneath, softened and pushed back a step.
That softness is the whole point, and it’s the thing first-timers lose by mixing the wash too thick. This guide keeps it thin and translucent, and keeps the brick looking like brick.
TL;DR
- Clean first. Soot, dust, and old grime stop the wash from grabbing. Scrub with dish soap or a TSP substitute and let the brick dry fully.
- Mix thin. Start at 1 part flat white paint to 1 part water. Test on a low brick before you commit.
- Work small sections. Brush the wash in, then wipe some back with a damp rag while it’s wet. Wiping is how you control how much brick shows.
- Keep a wet edge. Don’t let one section dry hard before the next, or you’ll see a seam.
- Less is reversible-ish, more is not. You can always add a second pass for more white. You can’t easily get the brick back once it’s saturated.
What You’ll Get
A brick wall that’s lighter and calmer but still has depth. The red doesn’t vanish; it sits behind the white like a memory of itself. From across the room the wall reads soft white. Up close, the brick is still there.
Honest Take on Difficulty and Time
One of the easier, more forgiving paint projects: the wash hides brush marks and you get to wipe back mistakes while they’re wet. A standard fireplace surround or single accent wall is one afternoon plus an overnight dry.
The mess is the real cost. A wash is runny. It drips down your arm, spatters off the brush, and runs into the mortar joints and back out. Tape generously, cover the floor with canvas, and wear clothes you’ll throw away. If your brick has never been cleaned, add an hour. Soot on a fireplace and grease on a backsplash both repel the wash, and you won’t see the problem until it dries blotchy.
What You’ll Need
Paint and Water
The base is ordinary flat or matte interior latex paint in a soft white. Flat matters here. A flat sheen keeps the chalky, mineral quality that makes whitewash read as whitewash; satin or semi-gloss go plasticky the moment you thin them. For warm-toned brick, a warm white like Benjamin Moore Simply White or Sherwin-Williams Alabaster keeps the wall from going cold. On cooler grey brick, a cleaner white like Behr Polar Bear sits better. A gallon goes a long way once cut with water, so one gallon usually covers a fireplace wall with plenty left over.
If you want the deeper, weather-it-for-years look instead of a paint wash, that’s limewash or mineral paint, a different product entirely. The mineral paint explainer covers how those soak in and patina over time.
Tools and Supplies
- A thick masonry brush, 3 or 4 inches, with stiff bristles that push wash down into the mortar joints. A cheap chip brush works too; you’re going to abuse it.
- A stiff scrub brush and a bucket for cleaning the brick first.
- Rubber gloves, a spray bottle of clean water, lint-free rags, and a couple of old terrycloth towels for wiping back.
- Painter’s tape and a canvas drop cloth.
For brush picks that hold up to masonry, see the brush round-up. For the underlying substrate prep on bare or previously sealed brick, the interior brick painting guide covers what to check before any finish goes on.
Step 1 — Clean and Tape the Brick
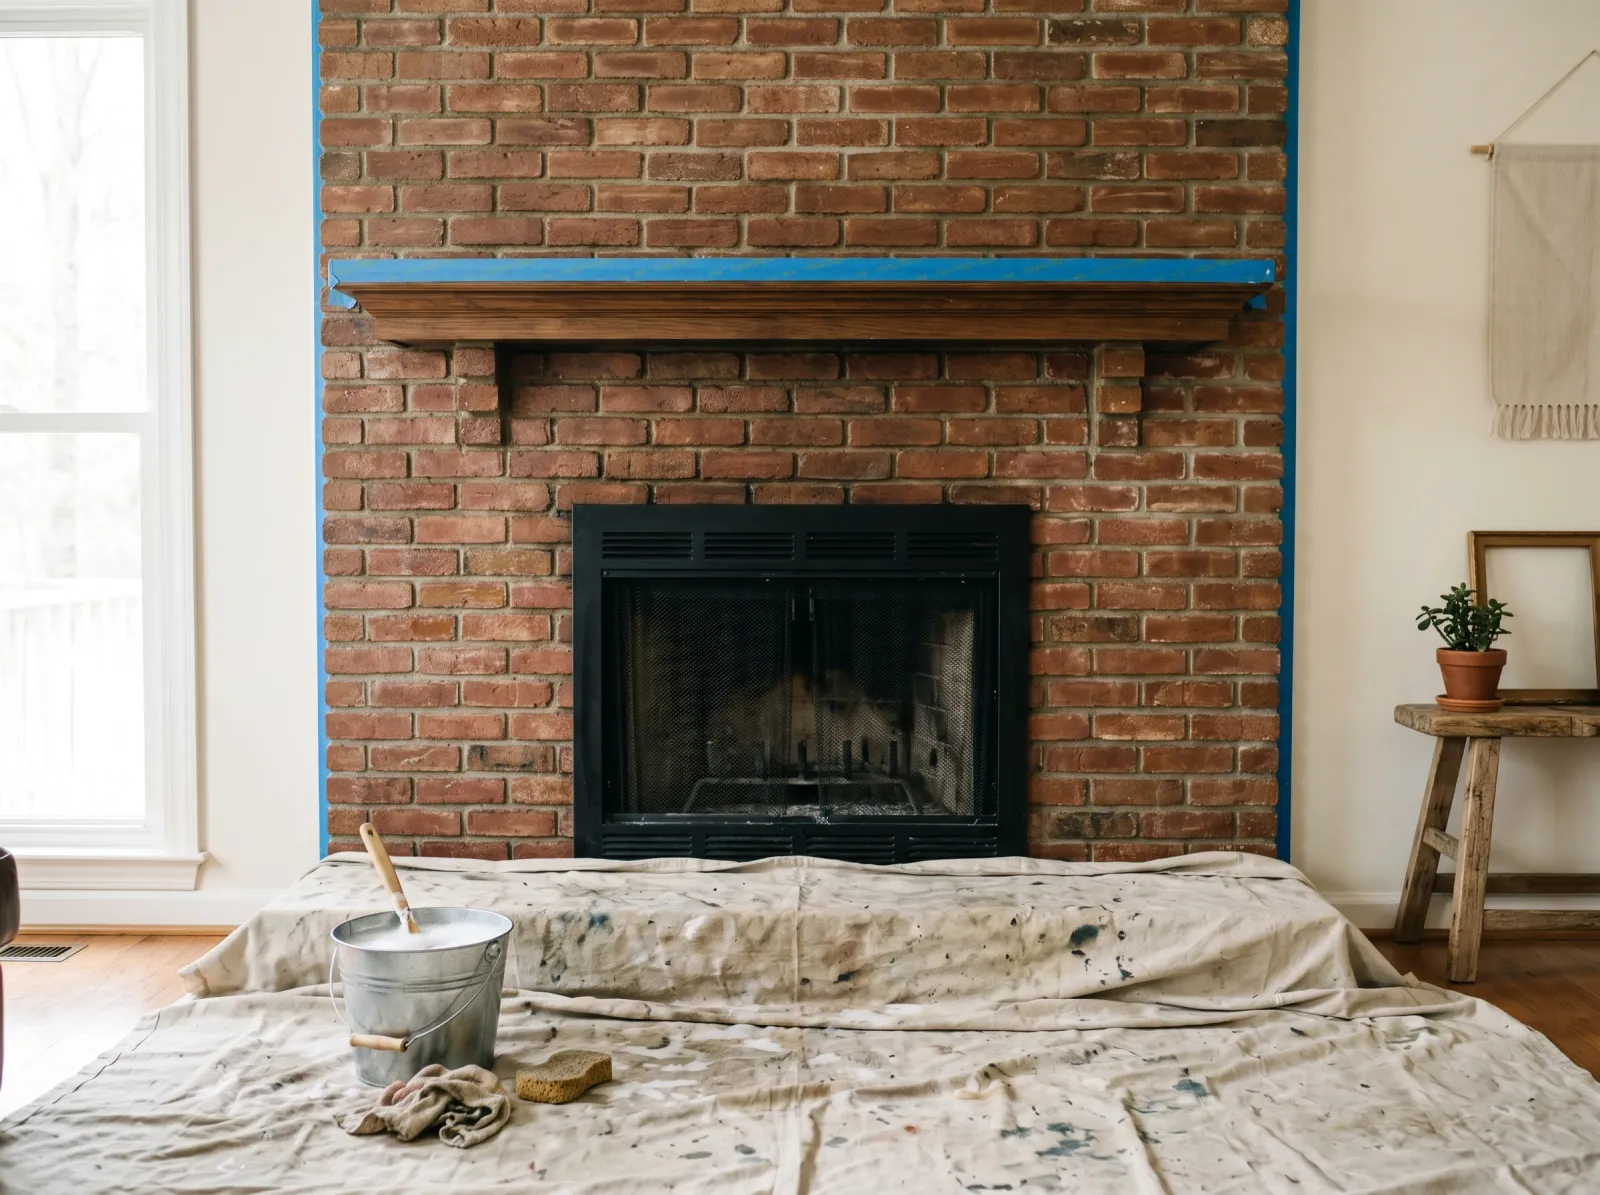
Soot and dust scrubbed off, drop cloth down, tape along the mantel and adjacent walls.
Brick is dusty even when it looks clean, and a fireplace carries soot you can’t always see. Mix dish soap or a TSP substitute into warm water and scrub the whole wall with the stiff brush, working top to bottom. Rinse with clean water and a second bucket. Let the brick dry completely, which on a humid day can take several hours.
Tape off the mantel, the hearth, and any wall that meets the brick. Lay canvas over the floor and the hearth. A wash runs farther than wall paint, so cover more than you think you need.
Watch out for efflorescence, the white powdery bloom that sometimes sits on brick. That’s mineral salt, and washing over it traps the problem. If you see it, brush it off dry and figure out the moisture source first. The efflorescence fix explains why it keeps coming back.
Step 2 — Mix and Test the Wash
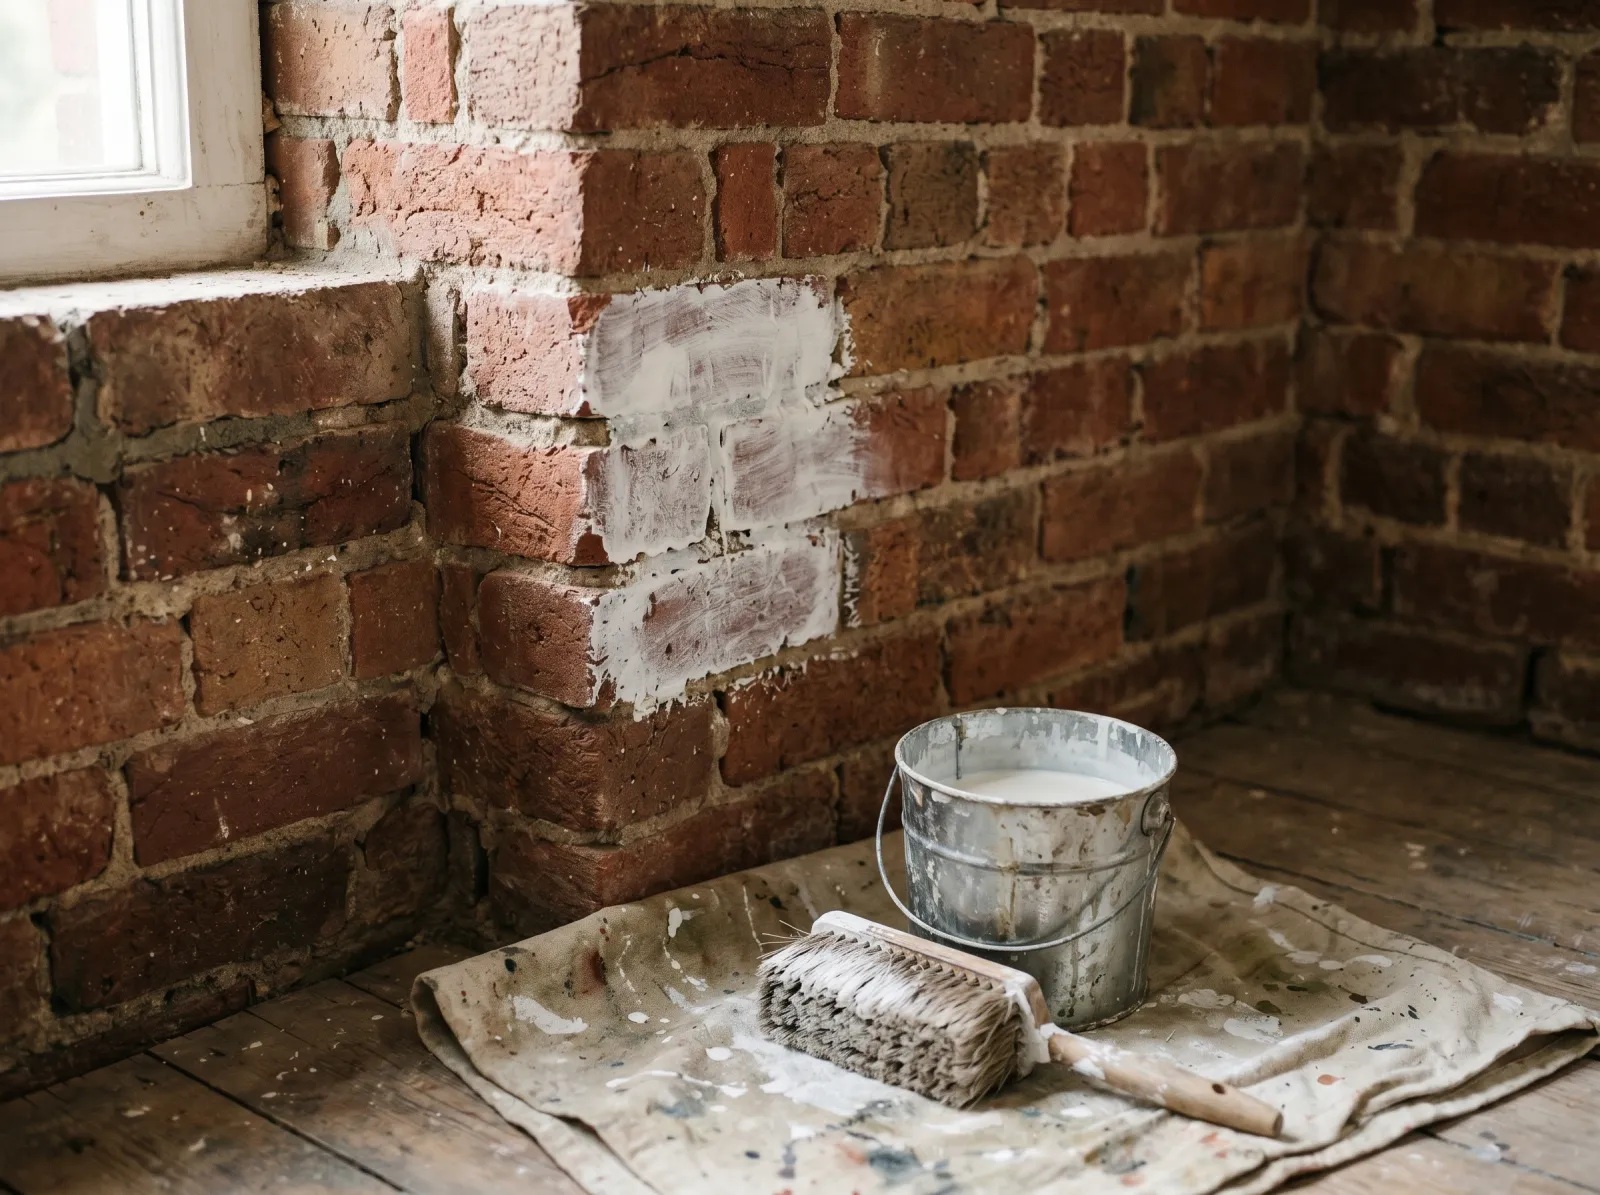
Paint and water mixed in a bucket, a test patch brushed on one low brick to check the ratio.
In the bucket, mix one part paint to one part water and stir until it’s smooth and milky. That 1:1 ratio is your starting point, not a rule. More water means more brick reads through. Less water means more coverage and a more painted look.
Brush the wash onto two or three bricks low on the wall where furniture will hide them. Let it dry ten minutes, because wet wash always looks more opaque than dry. Then look. Too much red coming through? Add a little paint. Too solid and white? Add water. Adjust until the test brick looks the way you want the whole wall to look.
This is the step people skip, and it’s the one that decides whether the wall reads soft and intentional or flat and accidentally-painted.
Step 3 — Wash a Section, Then Wipe It Back
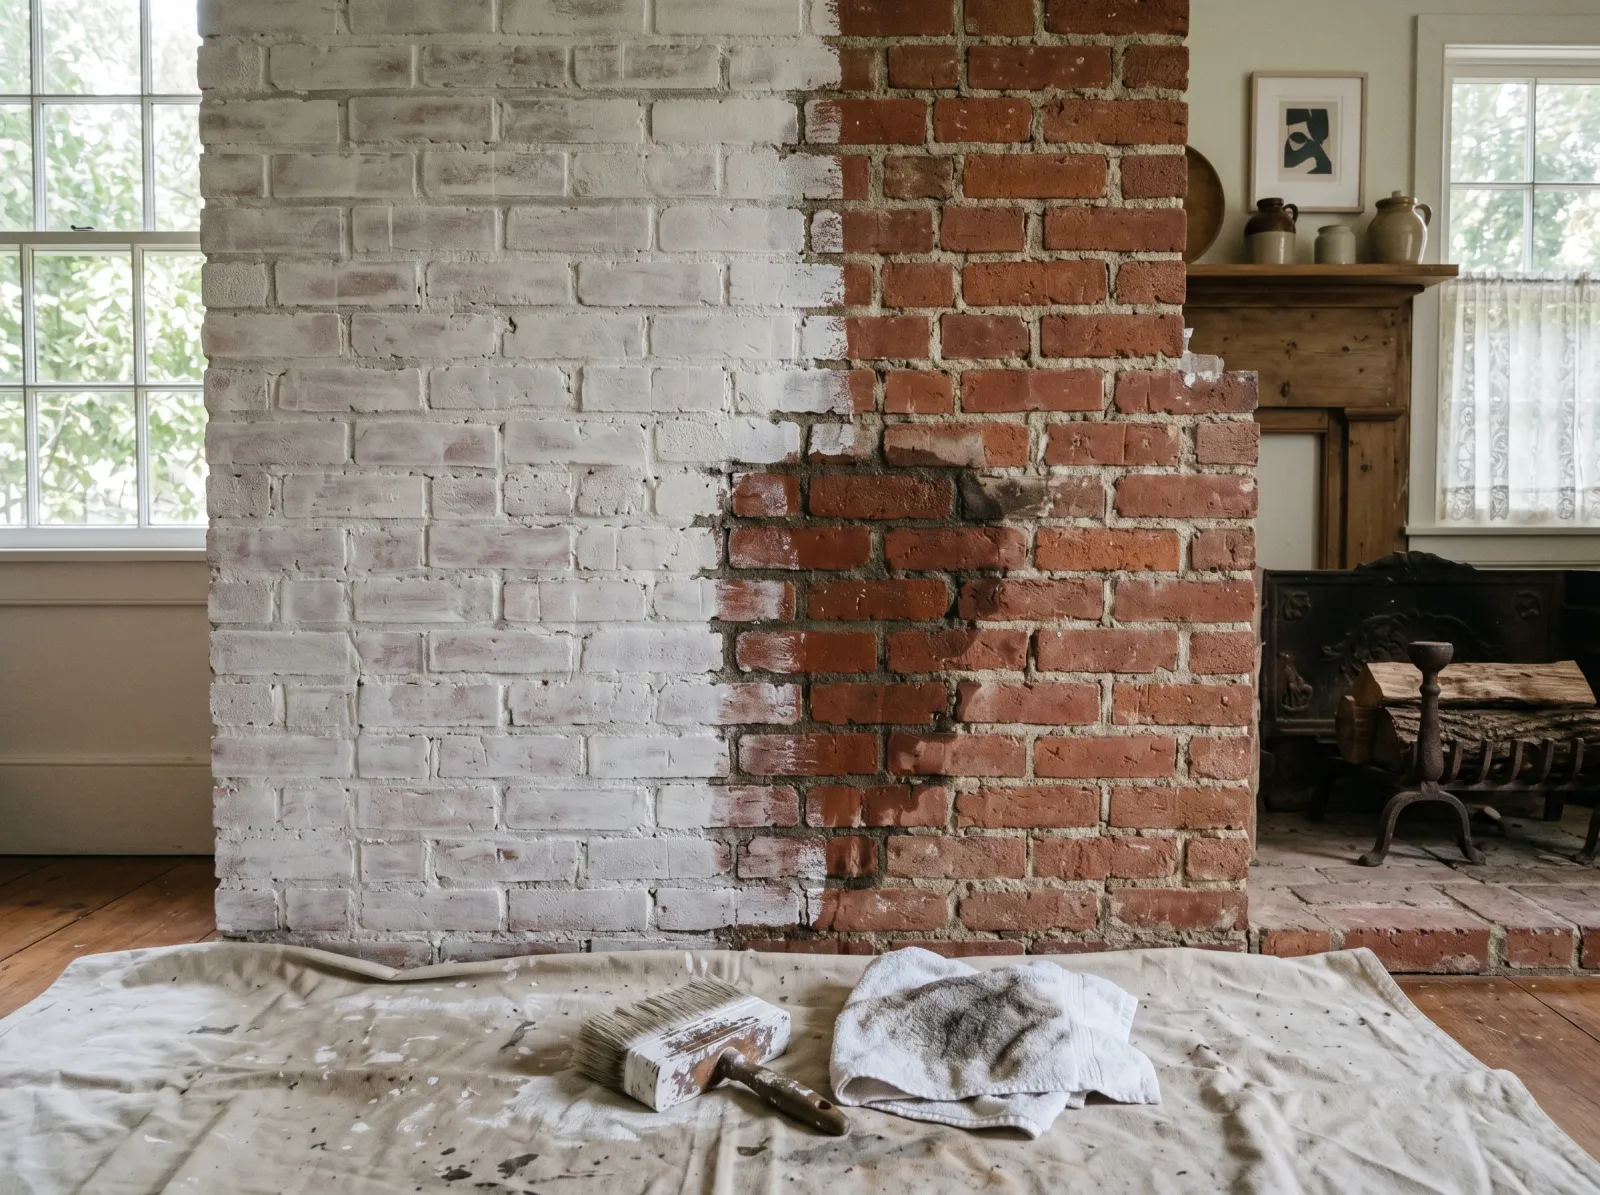
Wash brushed into a small section, then wiped back with a damp rag before it sets.
Start at a top corner and work an area about 2 feet square. Load the brush, push the wash into the mortar joints first, then drag it across the brick faces. Don’t aim for even. Brick isn’t even, and a uniform wash looks fake.
Now the part that gives whitewash its life: while the section is still wet, take a damp terrycloth towel and wipe some of it back off the brick faces. Wiping pulls white off the high points and leaves it sitting in the texture and joints, which is how real aged whitewash wears. Wipe more to reveal more brick, less to keep it pale. A spritz from the water bottle re-opens the wash if it’s setting too fast.
Watch out for drips running down onto dry brick below. They dry as hard lines. Catch them with the towel while they’re wet, or spritz and feather them out.
Step 4 — Keep a Wet Edge Across the Wall
Move to the next section before the last one dries hard. Overlap the wet edge by a few inches so the two blend. If a section dries fully before you reach it, the boundary shows as a faint stripe in raking light, the same halo problem you get rolling a wall.
Work in a logical path: top course all the way across, then the next course down. On a tall wall, keep the step stool moving with you so you never stretch and drip.
When the whole wall is washed and you step back, decide if you want it lighter. A second pass over the dried first pass builds more white without going opaque. One thin pass on top of another reads softer than a single thick coat ever will.
Step 5 — Let It Dry, Pull the Tape, Style the Mantel
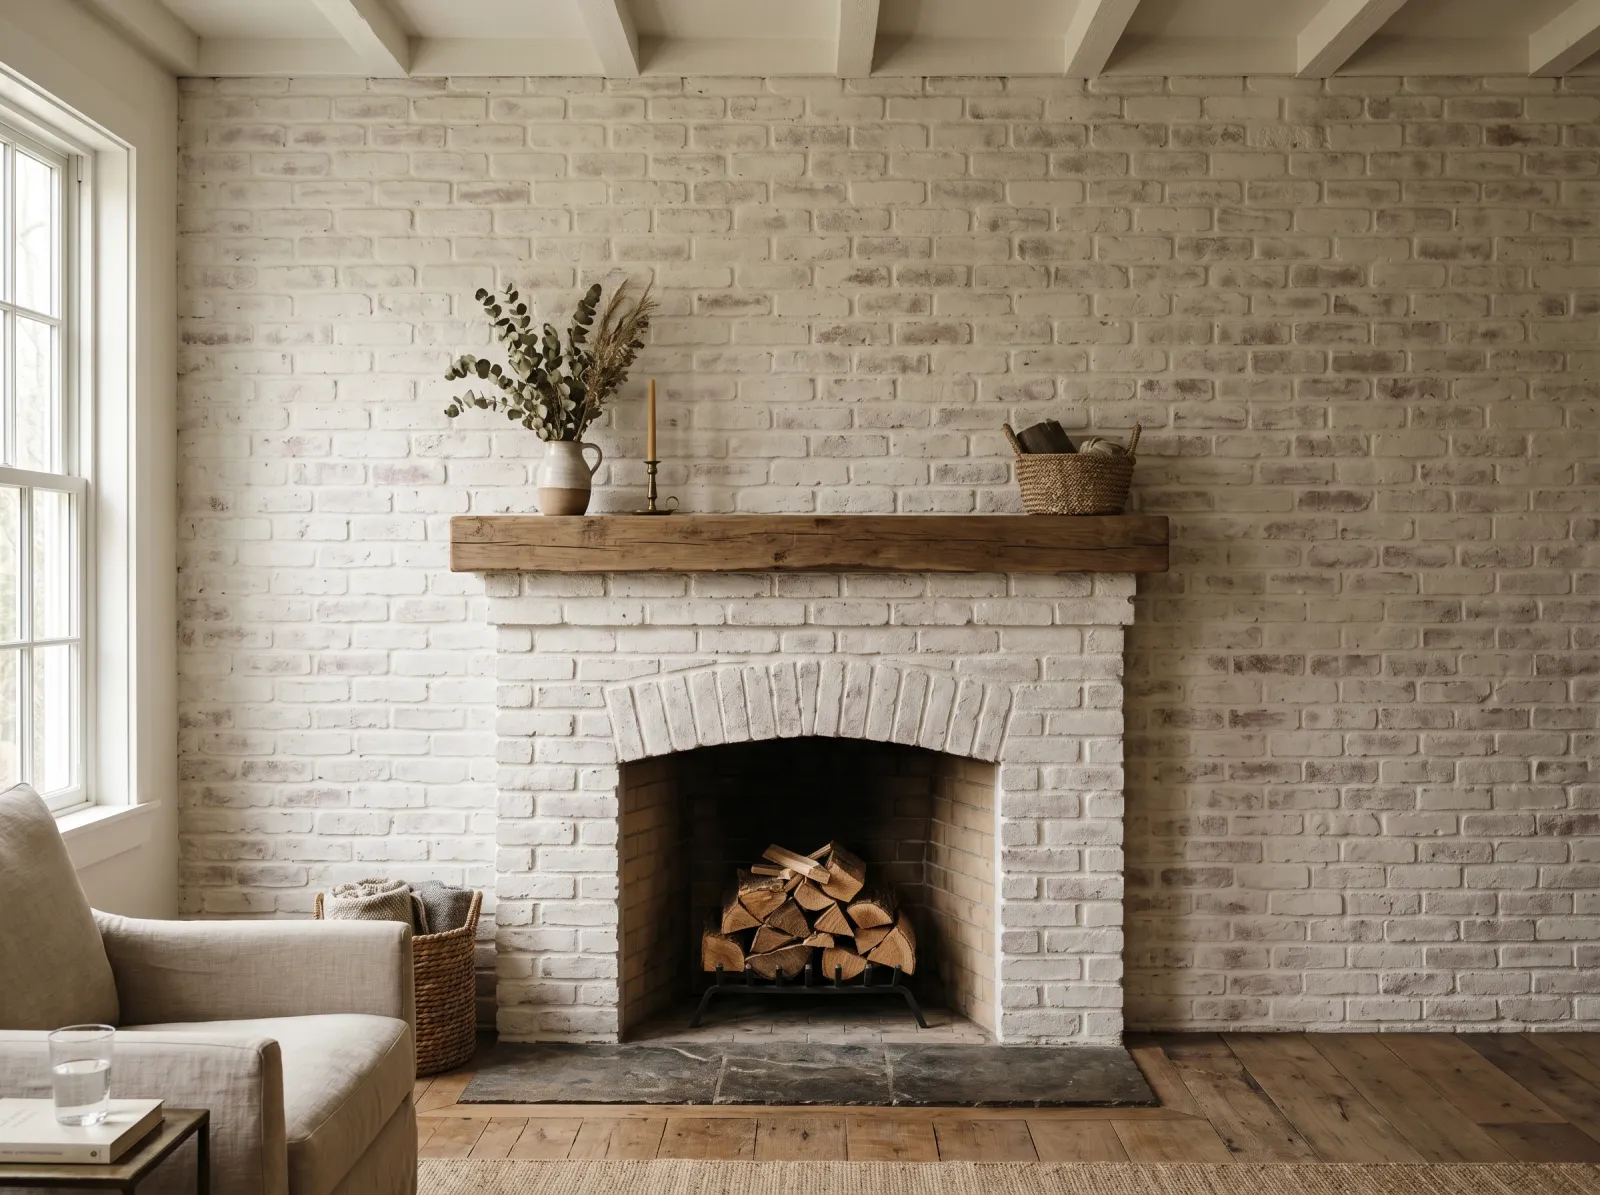
Fully washed wall dry to the touch, the warm brick and mortar quietly visible under the white.
Pull the tape while the edges are still slightly tacky, about an hour after your last pass, at a 45-degree angle. Let the wall dry overnight before you decide it’s finished, because the dry color is the true color and it’s always a touch lighter than the wet wash.
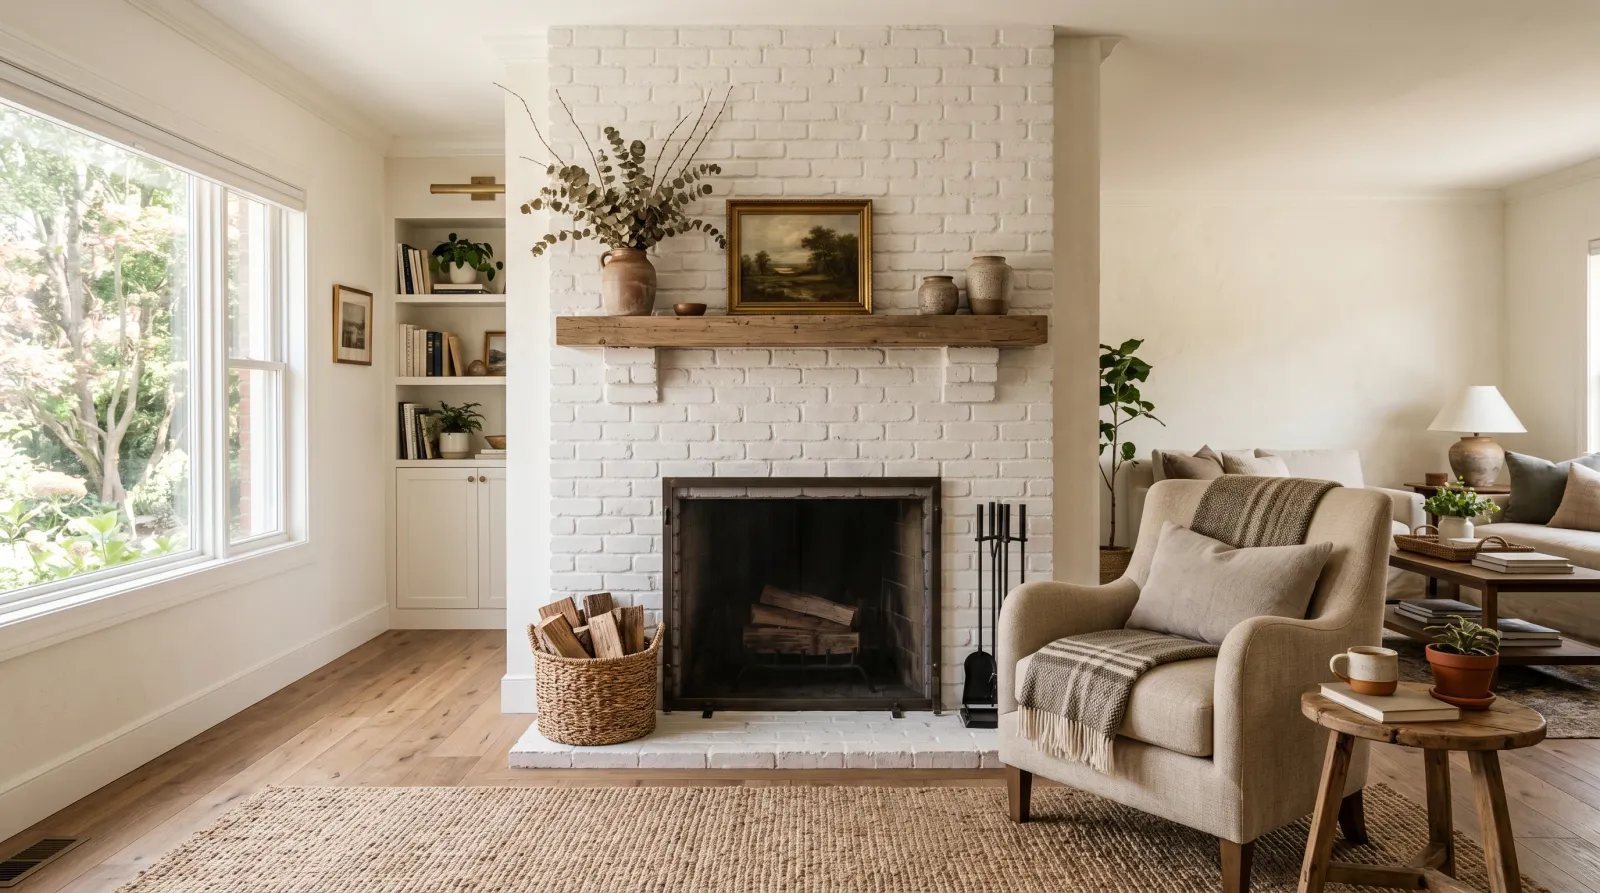
Tape pulled, drop cloth folded, mantel styled. The brick is softer but still itself.
Sit with it across a full day. The wall reads one way in flat morning light and another in warm afternoon light, the same way any white shifts with the hour. Whitewashed brick especially comes alive when low side light rakes across the texture late in the day.
Common Mistakes
- Mixing the wash too thick. This is the big one. A 1:3 paint-to-water-ish mix that’s barely tinted reads like real whitewash. A thick 2:1 mix reads like you painted the brick badly and ran out of energy. When unsure, go thinner; you can always add a pass.
- Skipping the cleaning. Soot, dust, and grease repel water-based wash. It dries blotchy where the brick was dirty, and you won’t see it until it’s too late. Scrub first, every time.
- Letting drips dry into hard lines. A runny wash drips. Dried drips look like tear streaks down the brick. Keep the damp towel in your hand and wipe runs while they’re wet.
- Not wiping any back. Brushing the wash on and leaving it untouched gives you a flat, even film with no depth. The wipe-back is what makes it sit in the texture and look aged instead of coated.
- Going opaque to hide ugly brick. If the brick is genuinely unattractive, cover it fully and just paint it solid. Whitewash is for brick you mostly like and want to soften, not brick you want to hide.
Drying and Cure Schedule
| Time after final pass | What’s safe |
|---|---|
| 1 hour | Pull the painter’s tape while edges are tacky |
| 2–4 hours | Touch dry; stop worrying about drips |
| Overnight | True color settled; judge the result |
| 7 days | Style the mantel, light a fire, gentle dusting |
| 30 days | Fully cured; wipe gently if sealed |
Maintenance and Touch-Ups
A whitewashed interior wall that nobody touches holds for years with no upkeep beyond an occasional dusting with a soft brush. The chalky surface catches dust the way matte paint does.
If the wall gets dirty, behind a stove or around a fireplace opening, a matte masonry sealer over the cured wash makes it wipeable. Keep it matte. A glossy sealer turns the whole thing shiny and plastic-looking.
For touch-ups, save the leftover wash in a labeled jar. A scuffed spot takes a dab with the masonry brush, wiped back the same way you did the wall. Because the finish is uneven by design, touch-ups blend in far more easily than they would on solid painted brick.
Cost Breakdown
| Item | $ |
|---|---|
| 1 gallon flat white interior latex | $35–$60 |
| Masonry brush + chip brush | $12–$20 |
| Painter’s tape + canvas drop cloth | $20 |
| TSP substitute or dish soap | $5–$10 |
| Rags, gloves, spray bottle | $10 |
| Total | $60–$140 |
Most of that you keep. The real consumable is the gallon of paint, and a wash uses so little that one gallon outlasts the project.
FAQ
What’s the difference between whitewash and limewash on brick? Whitewash is regular white paint thinned with water until it goes translucent. Limewash is a slaked-lime product that soaks into the brick and weathers with a chalky patina over years. Whitewash is the faster, more controllable DIY version most people mean.
What paint-to-water ratio should I use for whitewashing brick? Start at 1:1 and adjust on a test brick. Add water for more brick to read through, add paint for more coverage. The test patch decides it.
Do I need to seal whitewashed brick afterward? Indoors on a wall nobody touches, no. On a sooty fireplace or a splattered kitchen wall, a matte masonry sealer makes it wipeable. Skip glossy sealers.
Can you whitewash exterior brick? Yes, with masonry-rated paint thinned for the wash, though it weathers faster and the prep matters more. See the exterior brick painting guide.
Is whitewash permanent? Once it cures into the brick’s pores, effectively yes. Test on a hidden corner before committing to the whole wall.