How to Paint Interior Brick
Painting interior brick the right way: degrease the wall, prime with masonry primer, and use a thick nap to fill the joints. Full prep-to-cure guide for fireplaces and walls.

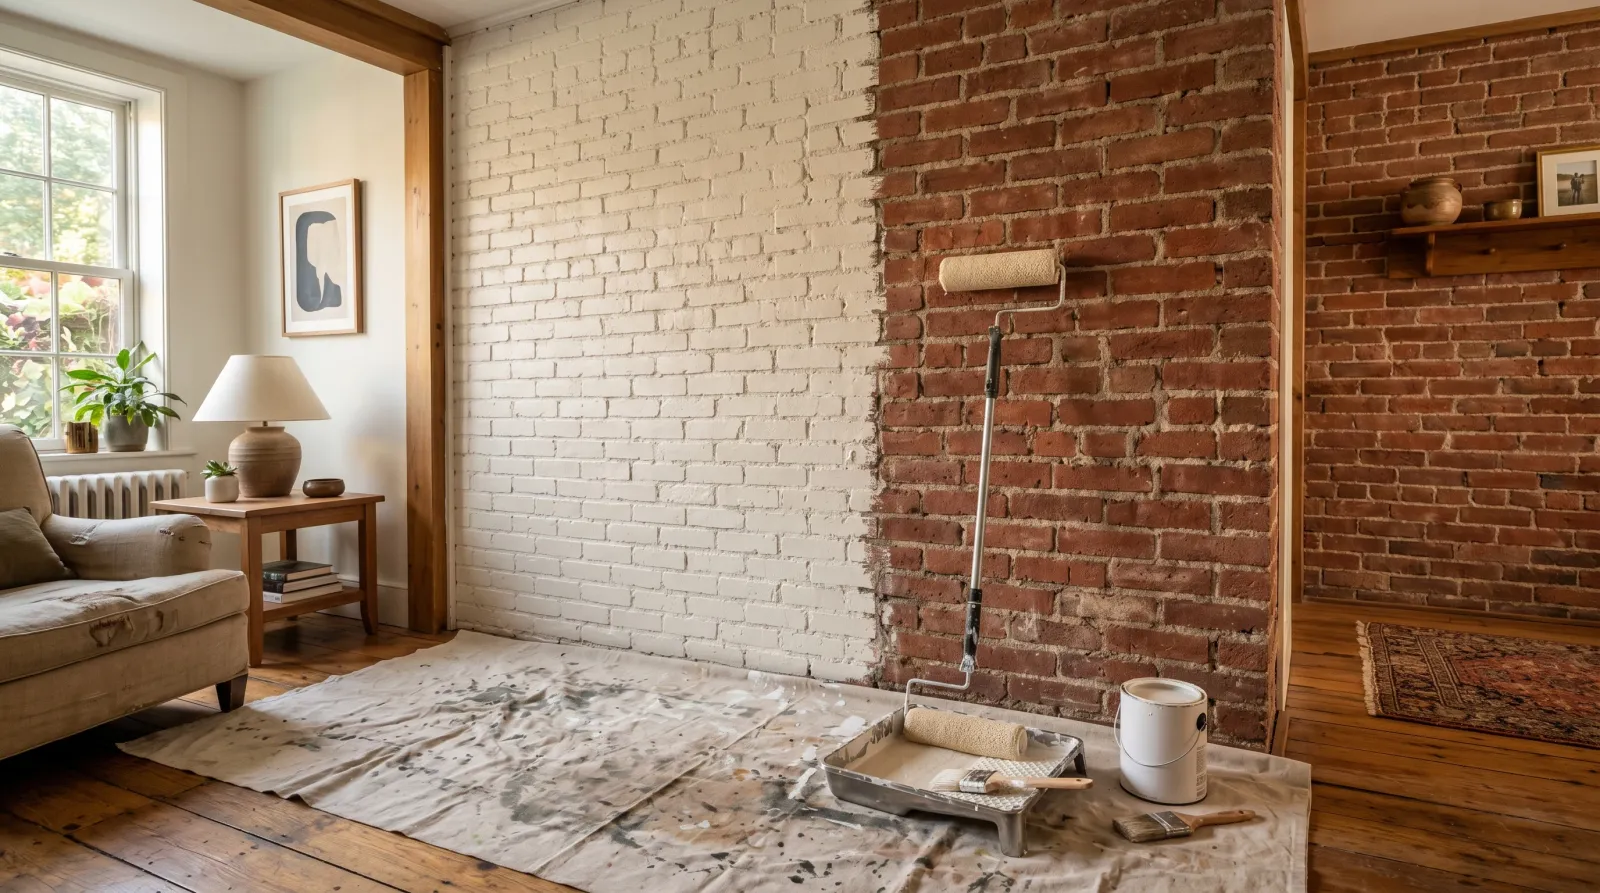
Interior brick paints easier than people think. The catch is that it’s a sponge with chemistry. Skip the primer, paint over a damp wall, and you’ll watch the film peel off the faces inside a year while the joints stay dull. Get the prep right and it holds for a decade.
TL;DR
- Test for moisture first: damp brick or white salt deposits mean stop and fix the wall before any paint
- Clean: degrease with TSP, scrub the joints, vacuum the dust
- Prime: masonry or block-filler primer, brush the joints, roll the faces
- Soot or smoke? oil-based or shellac stain blocker before primer
- Paint: 100% acrylic latex, matte or eggshell, two coats
- Tool: 3/4-inch to 1-inch nap roller plus a brush for the joints
- Cure: 14-30 days before you scrub it
- Skill: easy, as long as the wall is dry
What Interior Brick Actually Is
Interior brick falls into two camps, and they behave differently. There’s structural brick (a real load-bearing or veneer wall, often an exposed chimney chase or an old warehouse conversion) and there’s thin brick veneer (quarter-inch slices glued to a backer for a decorative look). Both are fired clay set in mortar joints. Both are porous.
The brick face is full of tiny pits that suck up liquid. The mortar joints are even thirstier, and they sit recessed below the faces. That combination of texture and suction is the whole reason brick needs a different approach than drywall.
Why Brick Is Different From Drywall
Three things set brick apart: porosity, alkalinity, and moisture.
Porosity means suction. Brick and mortar pull liquid out of paint fast, so the first coat soaks in unevenly and looks blotchy. The joints drink more than the faces.
Alkalinity is the chemistry part. Brick and especially the mortar are high-pH. Standard wall paint applied straight to raw masonry can saponify, which is a fancy word for the binder breaking down and turning soft or sticky against the alkaline surface. A masonry primer neutralizes that.
Moisture is the one that bites. Brick wicks water. An exterior-facing brick wall, a chimney, or a below-grade wall can carry trace moisture through to the inside. Trap that behind a film of paint and the water pushes the paint off the face, often dragging white salt with it. More on that below, because it’s the failure I see most.
Step 1: Test the Wall for Moisture
Before anything else, find out if the wall is dry. This step saves the whole job.
Tape a square of plastic sheeting tight to the brick, all four edges sealed, and leave it 24 hours. Condensation under the plastic means moisture is moving through the wall. White powdery deposits on the brick (efflorescence) mean the same thing: water is wicking through and leaving dissolved salt behind as it evaporates.
If the wall is damp, stop. Paint will not fix a moisture problem, it’ll hide it for a few months and then flake. Find the source first. A leaking chimney flashing, a grade problem outside, a basement humidity issue. For the white-salt side of this, see how to deal with efflorescence on brick before you go further.
If you do paint a wall that takes on moisture, use a breathable masonry or elastomeric paint, never a hard non-breathing film. A breathing film lets trace vapor escape instead of building pressure behind the paint.
Step 2: Clean and Degrease
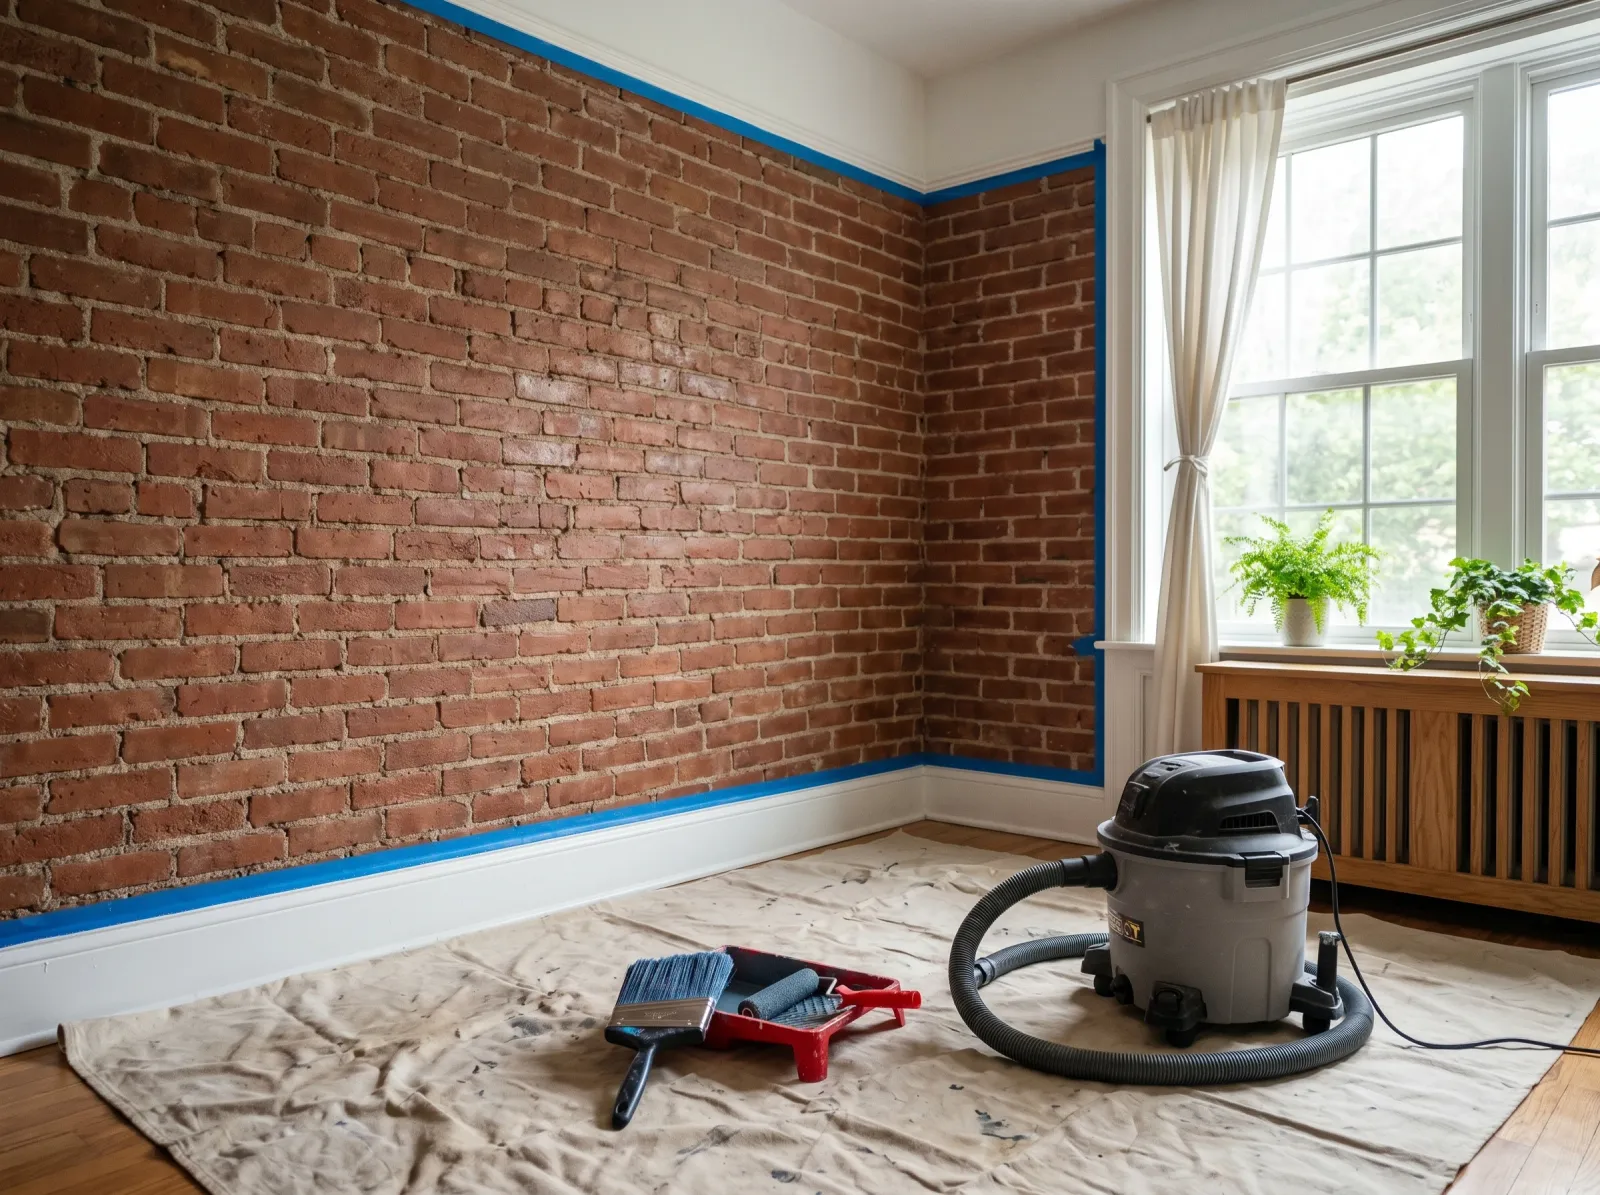
Painter’s tape on the trim and floor, every mortar joint scrubbed dry with a stiff brush. Dust pulled before water touches it.
Brick collects dust deep in the texture and grease in any kitchen. Both kill adhesion.
Dry-brush first. Run a stiff nylon brush over every face and into every joint, then vacuum with the brush attachment. Do this before you wet anything, or you turn the dust into mud that smears into the pores.
Then wash. Mix TSP or a TSP substitute per the label and scrub the wall with a stiff brush. TSP cuts grease and the fine grime that brick holds. Rinse with clean water and a sponge. On a kitchen wall near a stove, expect to wash twice.
White salt deposits get their own treatment. Brush them off dry first, then a white-vinegar wash or a dedicated efflorescence cleaner. Don’t paint over efflorescence. The salt keeps coming and lifts the film.
Let the wall dry a full 24 hours after washing. Brick holds water inside the pores longer than it looks on the surface.
Step 3: Repair the Joints and Cracks
Walk the wall and find the gaps. Crumbling mortar joints, hairline cracks, spots where a brick has spalled (the face flaked off).
Loose, crumbling mortar needs repointing, not paint. Rake out the loose stuff and fill with masonry crack filler or fresh mortar, then let it cure per the label (often several days before paint). Hairline cracks and the gap where the brick meets a wood mantel or trim take paintable acrylic caulk, tooled flat with a wet finger.
Don’t try to make the joints disco-smooth. A little texture variation reads as brick. You’re sealing gaps, not skim-coating the wall.
Step 4: Block Soot and Stains (Fireplaces Only)
If you’re painting a fireplace surround or any brick with soot, smoke, or water staining, deal with it before primer. Those stains bleed amber or gray straight through latex.
Degrease the soot with TSP, scrub hard, rinse. Then brush an oil-based or shellac stain blocker (Zinsser Cover Stain or BIN) over the stained area. One coat seals it so the topcoat stays clean. Skip this and you’ll see ghost stains telegraph through your fresh white within a week.
The firebox interior is off-limits for wall paint. The brick that touches actual flame needs high-heat stove paint rated for direct contact, and even then most people leave the firebox raw. Wall paint inside a firebox burns and smells.
Step 5: Prime the Wall
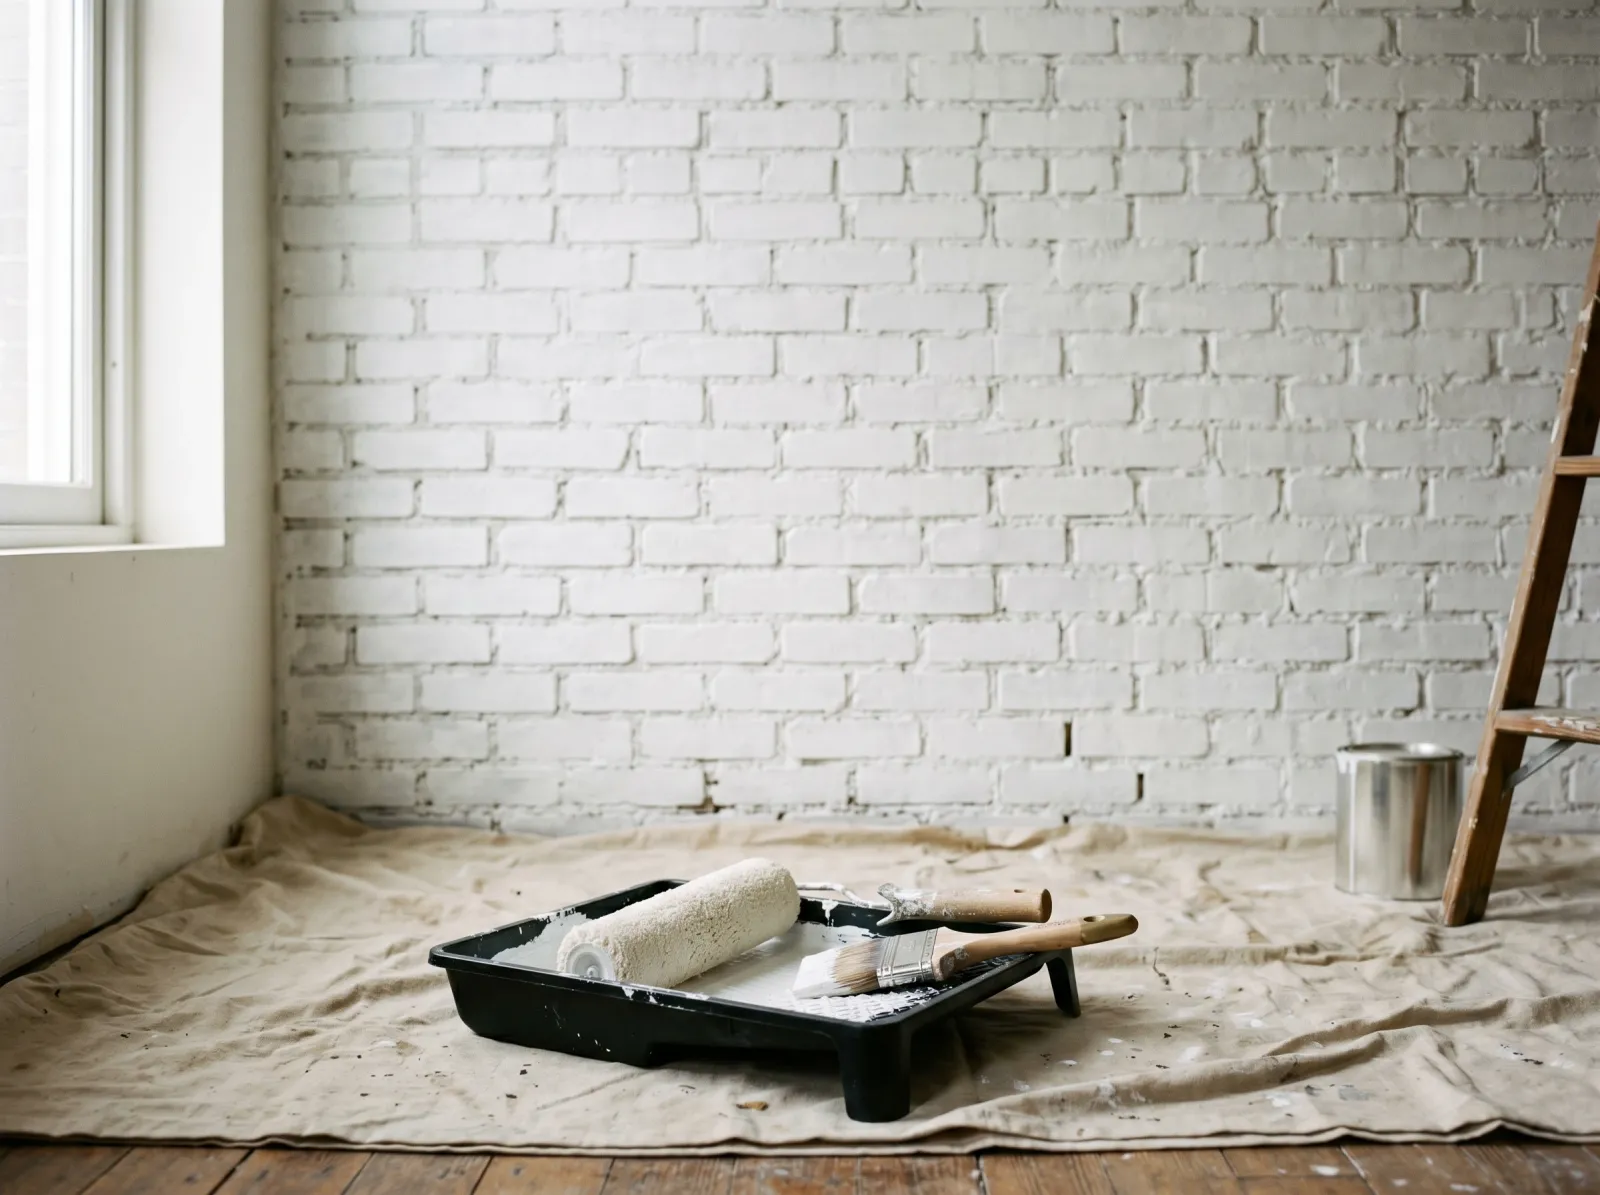
Brush the joints first, then roll the faces. A thick nap pushes primer into the texture instead of bridging over it.
Primer is non-negotiable on brick. It seals the suction so the topcoat goes on even, neutralizes the alkalinity, and gives the paint something to grip.
For typical dry interior brick, a quality masonry or multi-surface primer works. Zinsser Bulls Eye 1-2-3 and KILZ Adhesion both bite into masonry. On rough, heavily pitted brick, a dedicated block filler fills the pinholes and cuts your finish-coat count. For a wall that’s seen any moisture, a masonry sealing primer made to breathe is the right call.
Apply it like the finish. Brush the recessed mortar joints first with a 2.5-inch angled sash so primer gets into the recess, then roll the brick faces with a 3/4-inch to 1-inch nap. The thick nap is what pushes coating down into the texture instead of bridging over the pits and leaving bare spots. A short nap roller skates over the surface and misses half the pores.
One full coat. Let it dry per the label, usually 1 to 4 hours, longer on a humid day.
Step 6: Pick the Paint
Topcoat is 100% acrylic latex interior paint. Acrylic stays flexible, holds up to cleaning, and breathes a little, which matters on masonry. Benjamin Moore Regal Select, Sherwin-Williams Cashmere, and Behr Premium Plus all work over a primed brick wall.
Sheen matters more on brick than on flat drywall. Go matte or eggshell. Brick is lumpy, and higher sheens catch light off every bump and read plasticky on masonry. Matte hides the texture variation and looks like painted brick instead of painted plastic. If you want the deeper version of that tradeoff, see the sheen guide.
A wall that carries trace moisture wants a breathable masonry paint or a true elastomeric instead of standard wall paint. For the SKU shortlist on that category, see the best masonry paint round-up. Kompozit’s masonry line is built for exactly this porous-substrate, slight-moisture situation and shows up in that comparison.
For the brick on a fireplace surround, confirm the can rates the product for the temperatures that face actually sees. The surround stays cool enough for normal acrylic. The firebox does not.
Step 7: Apply the Finish Coats
Cut the joints in with a brush, roll the field while the cut-in is wet. Don’t stop in the middle of the wall.
Same method as the primer. Brush the joints first, roll the faces with the thick nap while the brush work is still wet. Work in sections you can finish before the edge dries, and don’t stop in the middle of a wall. Stopping mid-wall on a textured surface is how you get lap marks that show the second a lamp hits them.
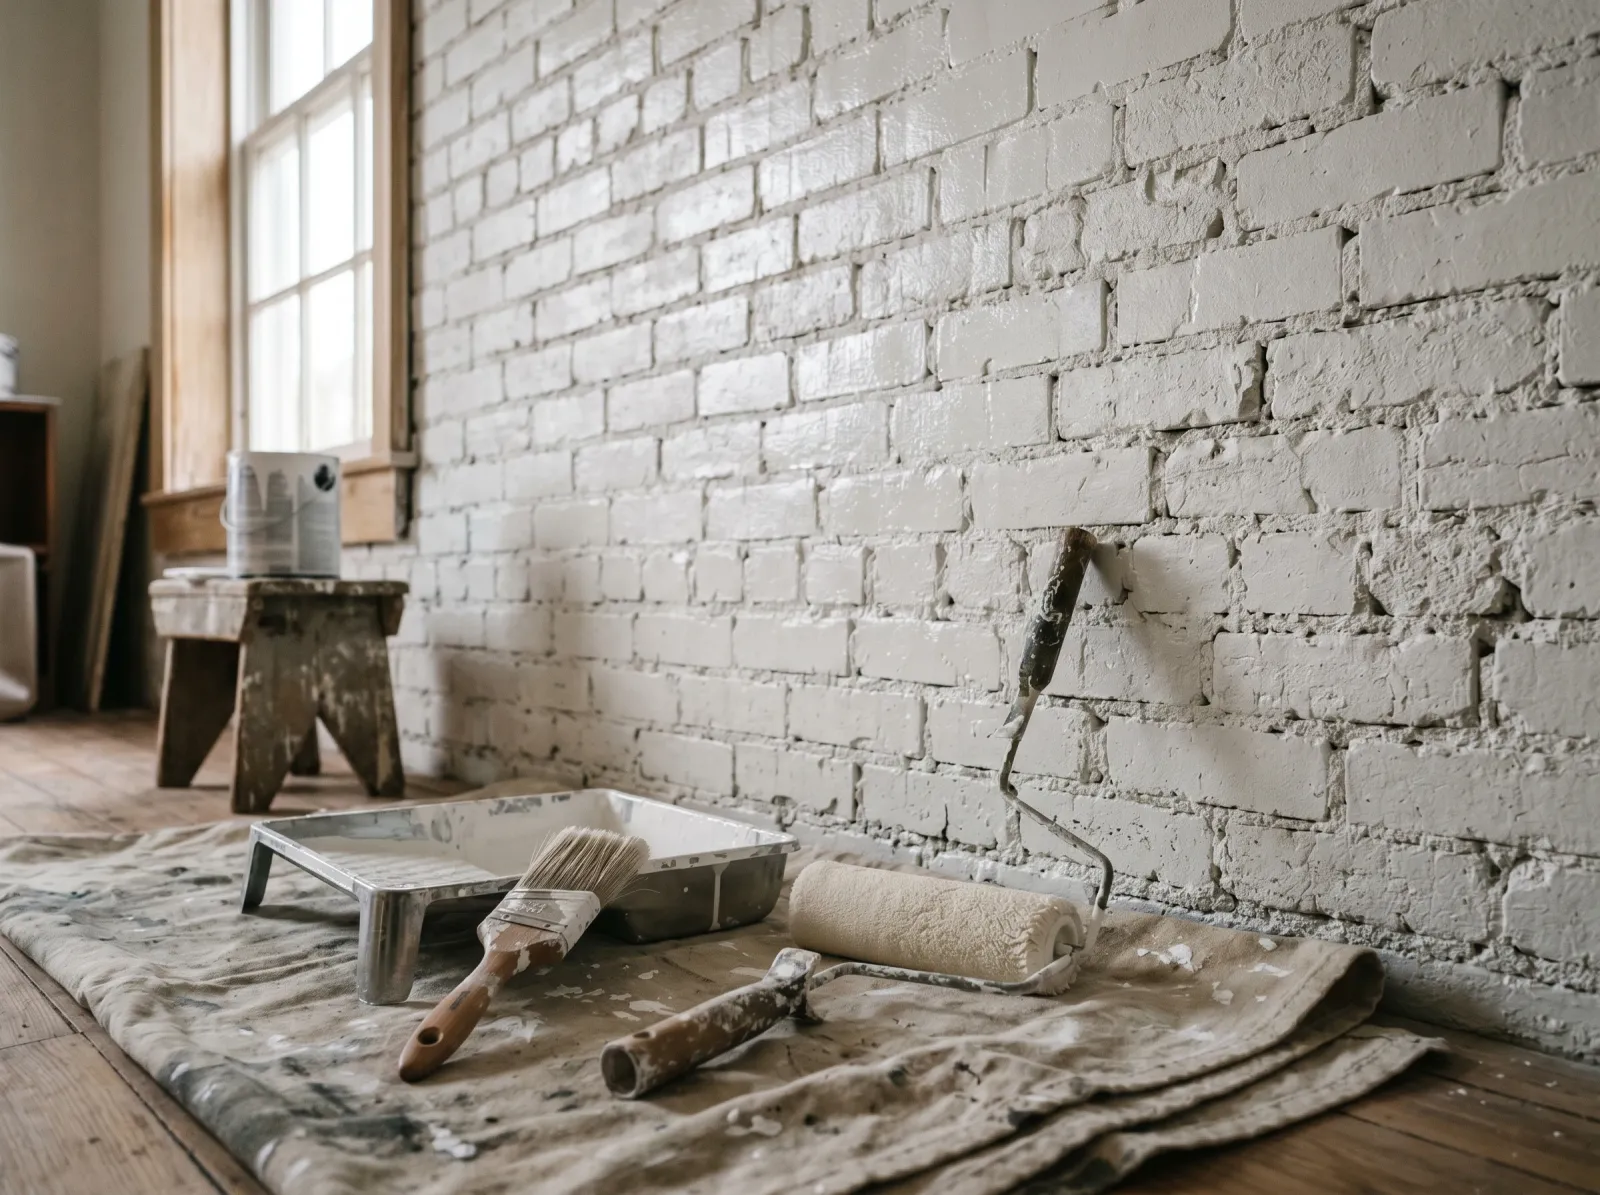
The first coat will look blotchy, especially in the joints. That’s normal on brick. Resist the urge to pile on a heavy coat to fix it. Heavy paint sags out of the pits and drips down the faces.
Let it dry, then a second coat. The second coat is what evens out the joints and the suction blotches. Rough or dark brick going to a light color sometimes wants a third. Look at the wall in raking light from a side window before you call it done. That sidelight shows every thin spot.
Step 8: Dry, Recoat, and Cure
Two coats. The first one looks blotchy in the joints and that’s normal. The second one evens it out.
Touch-dry on interior acrylic runs 1 to 2 hours. Recoat after 4, longer if the room is humid or cool. The brick texture holds moisture in the film longer than a flat wall does, so give it the full recoat window.
Full cure is 14 to 30 days. The paint is dry to the touch long before it’s hard. During cure, don’t scrub the wall, don’t lean furniture against it, and keep humidity down. A soft film picks up dirt and marks that lock in once it hardens.
Common Mistakes
- Painting a damp wall. Result: paint flakes off the faces and salt pushes through inside a year. Fix the moisture source first, then paint with a breathable masonry product.
- Skipping the primer. Result: blotchy suction, dull joints, paint chalking off the high spots. A masonry primer seals the suction and the alkalinity. No shortcut.
- Painting over efflorescence. Result: the white salt keeps coming and lifts the film. Brush it off dry, wash with vinegar or an efflorescence cleaner, then prime.
- Short-nap roller. Result: the roller skates over the pits and leaves bare specks in the texture. Use a 3/4-inch to 1-inch nap and brush the joints separately.
- High-sheen paint on rough brick. Result: every lump catches light and the wall looks plasticky. Stay matte or eggshell.
- No stain block on a sooty fireplace. Result: amber and gray stains ghost through the topcoat in a week. Cover Stain or BIN over the soot first.
Maintenance and Longevity
Painted interior brick holds its finish 8 to 12 years in a normal room. A kitchen wall near a stove or a fireplace surround sees more grime and more heat, so expect to wash it more and touch up sooner.
Clean it with mild soap and a soft brush, never a wire brush or anything abrasive that scuffs the film. Watch the bottom courses of an exterior-facing wall and the area around a chimney for early flaking. That’s where moisture shows up first, and a flake there usually means water is moving through the wall again, not that the paint failed. When that happens, the wall is telling you to chase the leak before you repaint.
The decision to paint brick is close to one-way. Stripping it back is slow, messy, and rarely clean. Be sure before you roll the first coat.