How to Paint Full Panel Wainscoting
Painting wainscoting the right way: degloss the old finish, fill the panel grooves, and brush a hard trim enamel that wipes clean. Every term explained for first-timers.

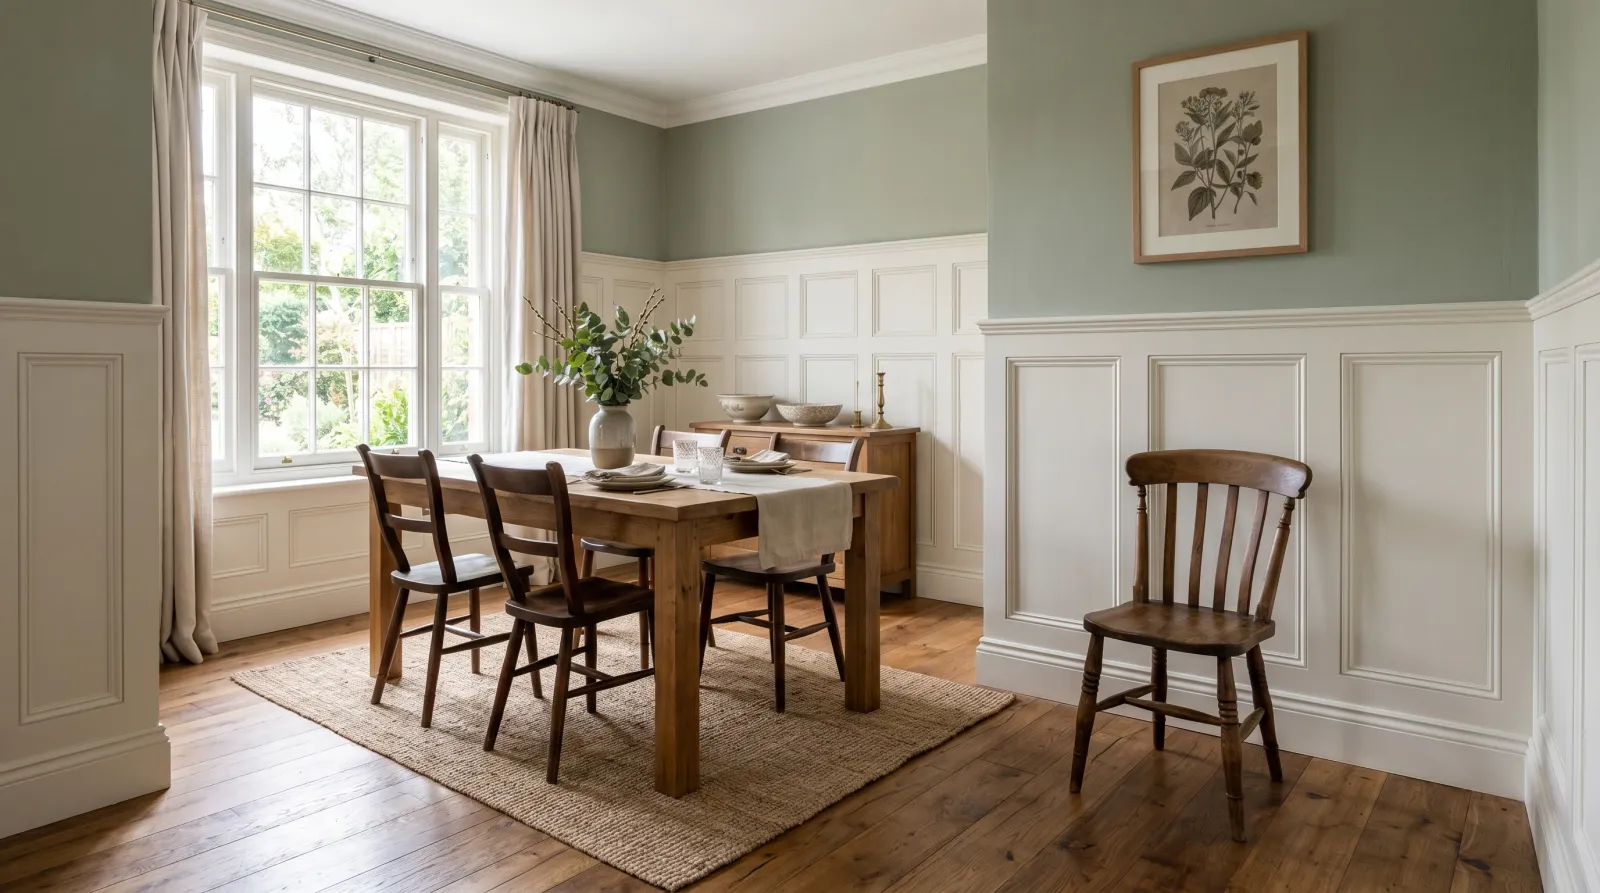
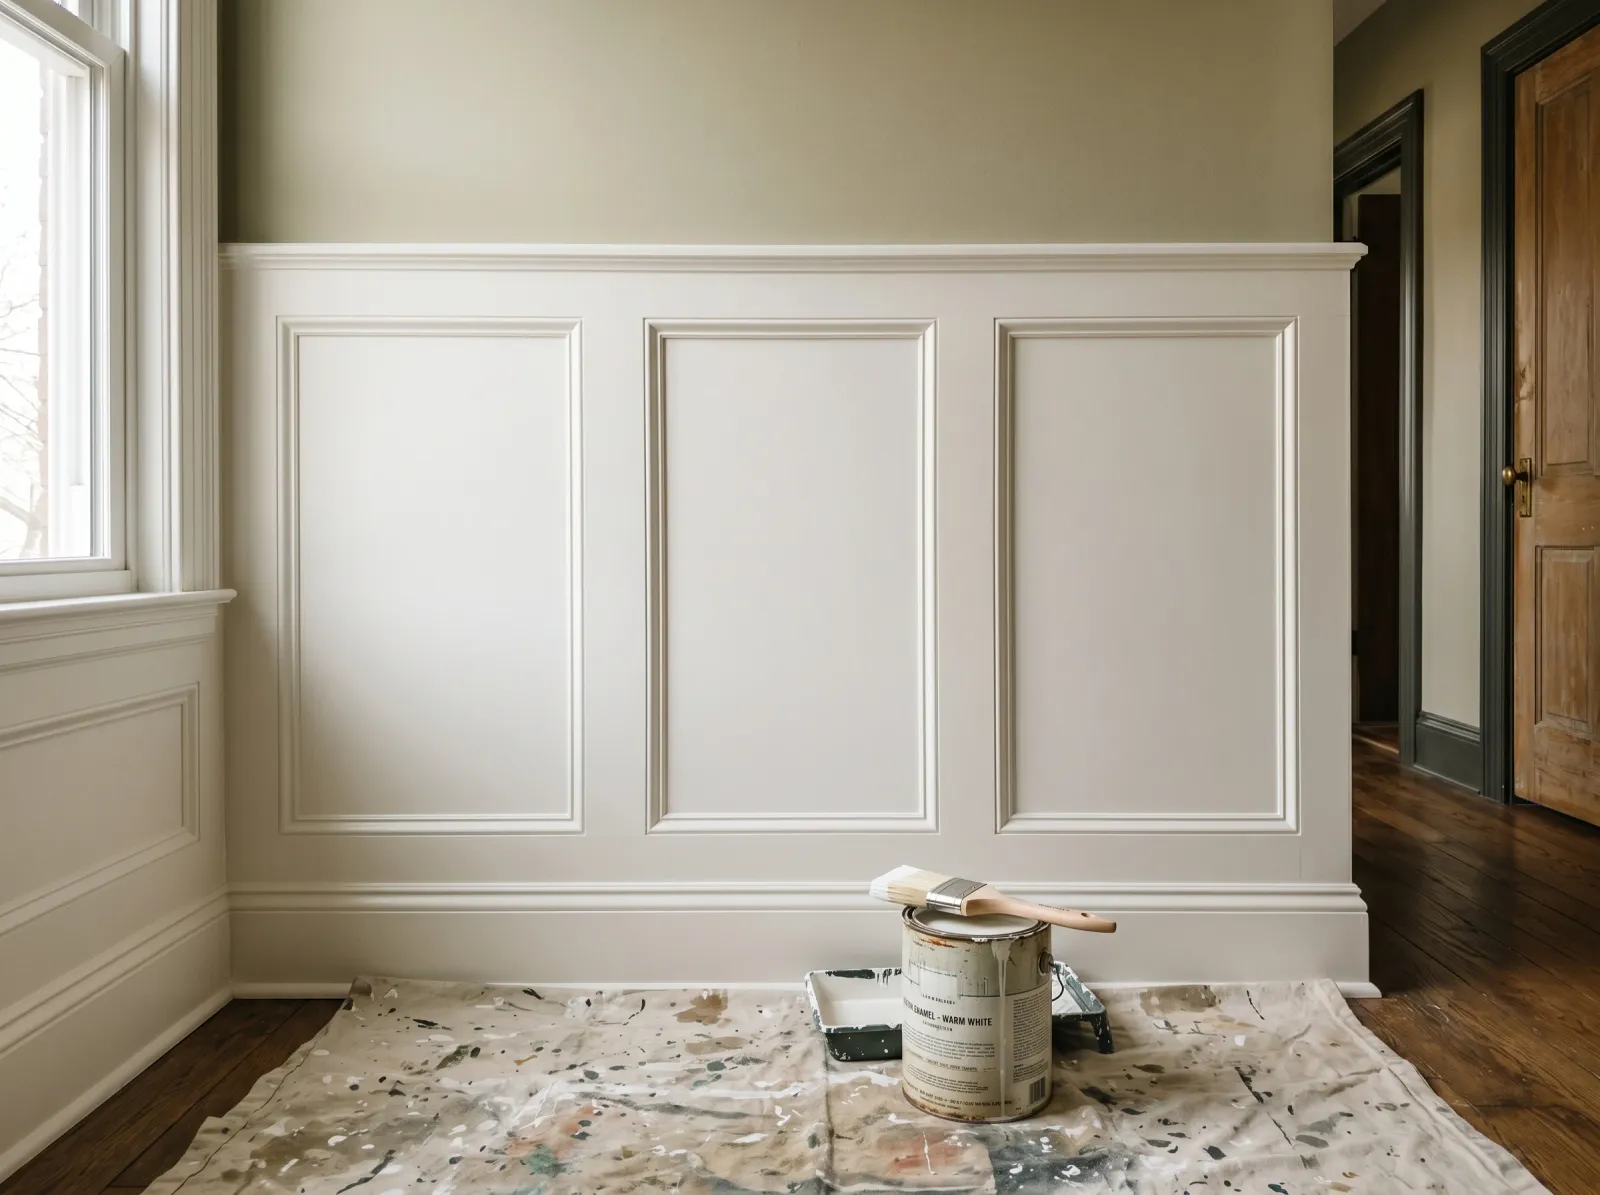
Okay, so you’ve got wainscoting (the wood paneling on the bottom half of the wall), it’s a tired color or a dated honey stain, and you want to paint it. The part that scares most people is all the corners. Every raised panel has a recessed center, a sloped bevel around it, and a frame of stiles and rails, and every one of those is an edge where paint loves to pool. Don’t worry. None of it is hard. It’s just slow, and there’s an order that keeps the grooves clean.
The whole trick to wainscoting is doing the fiddly recessed bits with a brush first, then rolling the flat parts smooth. Get that order right and the rest is patience.
What You’ll Get
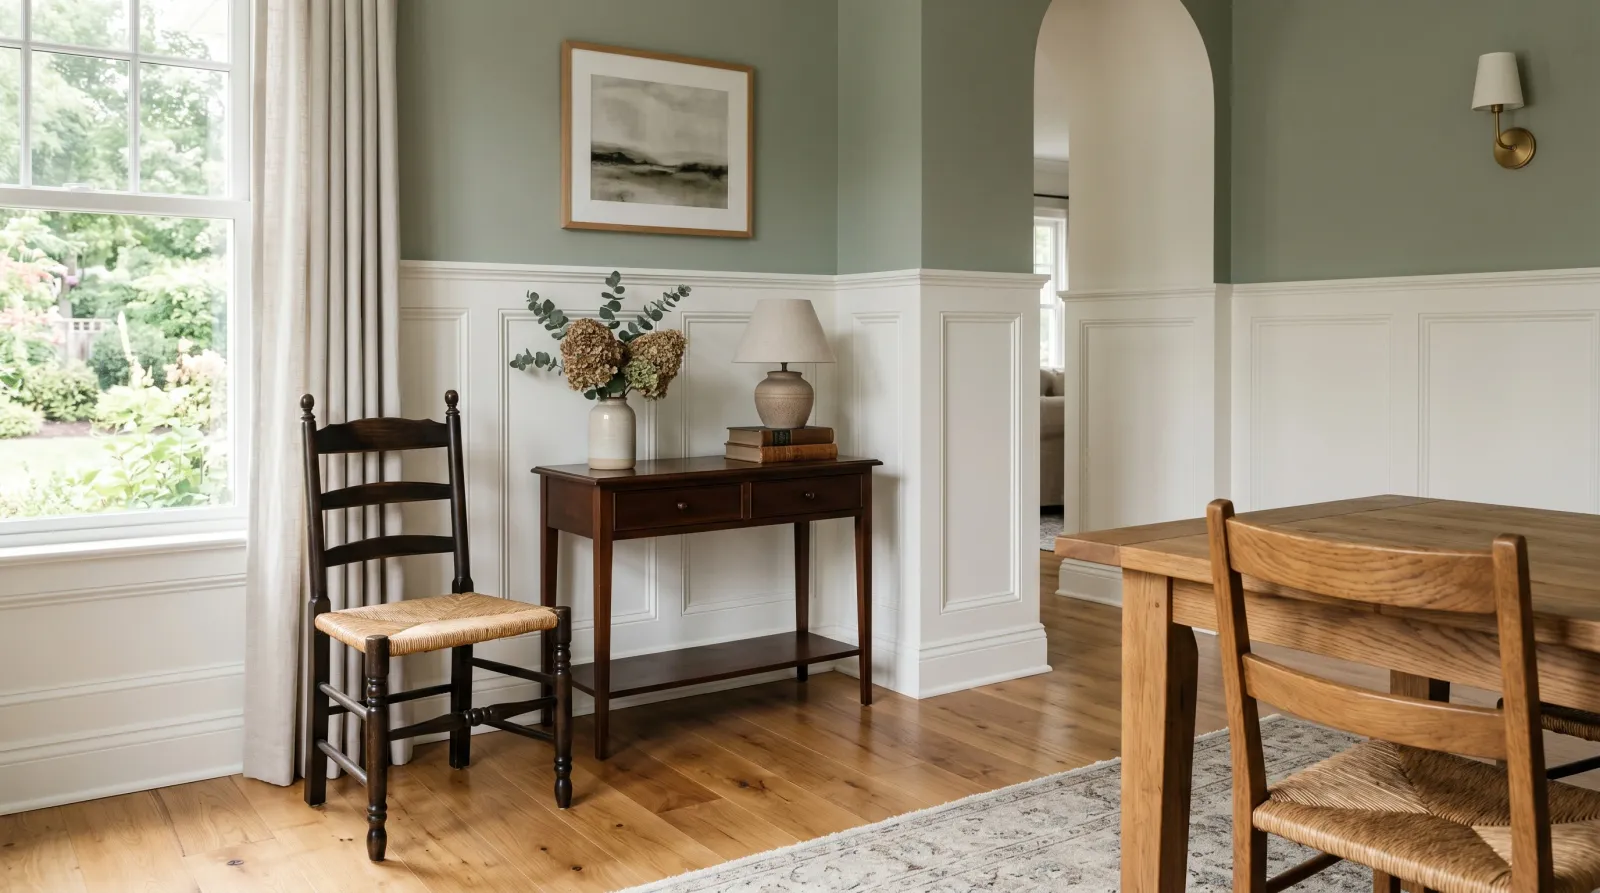
Crisp, freshly painted full-panel wainscoting that wipes clean when someone scuffs it, in one weekend. If you’re also changing the wall color above it, you’ll get a clean two-tone wall as part of the same job.
Honest Take on Difficulty and Time
This is a notch harder than painting a flat wall, easier than painting kitchen cabinets. Call it medium. The difficulty isn’t skill, it’s the number of inside corners. A wall of raised panels has maybe ten times the edges of a flat wall, and every edge needs a brush.
Plan on a full weekend for one average room. Saturday: clean, fill, caulk, prime. Sunday: two coats of enamel with dry time between. Add a few days before you push furniture back against it, because enamel stays soft for a while even when it feels dry.
If someone tells you it’s a two-hour job, they’re picturing a flat wall. Wainscoting is not a flat wall.
What You’ll Need
Paint and Primer
A 1-quart can of trim enamel (a hard-drying paint built for trim and doors that wipes clean) in satin or semi-gloss. Satin is the friendlier-looking choice in a dining room or hallway; semi-gloss reads more formal and shows scuffs less. Benjamin Moore Advance, Sherwin-Williams ProClassic, and INSL-X Cabinet Coat all cure hard enough to take daily abuse. For the full SKU comparison, see the best interior trim paint round-up, and if you’re stuck between satin and semi-gloss, the sheen guide lays it out.
You need bonding primer (a primer that grabs slick surfaces so your paint sticks) only if the wainscoting is glossy, oil-based, or raw MDF. INSL-X Stix or Zinsser Bulls Eye 1-2-3 Plus, one coat. If your panels are MDF (the smooth fiberboard a lot of newer wainscoting is made from), prime it properly, because the cut edges drink up paint. The guide to painting MDF covers the sealing detail.
One quart of enamel covers the wainscoting in an average room with two coats. Buy a second quart if the room is big or you’re nervous.
Tools
A 2-inch angled brush for the grooves and profiles. A 4-inch foam mini-roller for the flat stiles and rails (a small roller fits between the panel frames where a 9-inch one won’t). Painter’s tape, caulk and a caulk gun, spackle, a putty knife, a 220-grit sanding sponge, and a drop cloth.
The brush matters more here than almost any other project because you’re working it into tight corners all day. A stiff $4 brush fights you and leaves bristle marks in the grooves. A Wooster Silver Tip or a Purdy Clearcut holds a clean edge. Picks are in the paint brush round-up.
Step 1 — Clean, Degloss, Fill, and Caulk
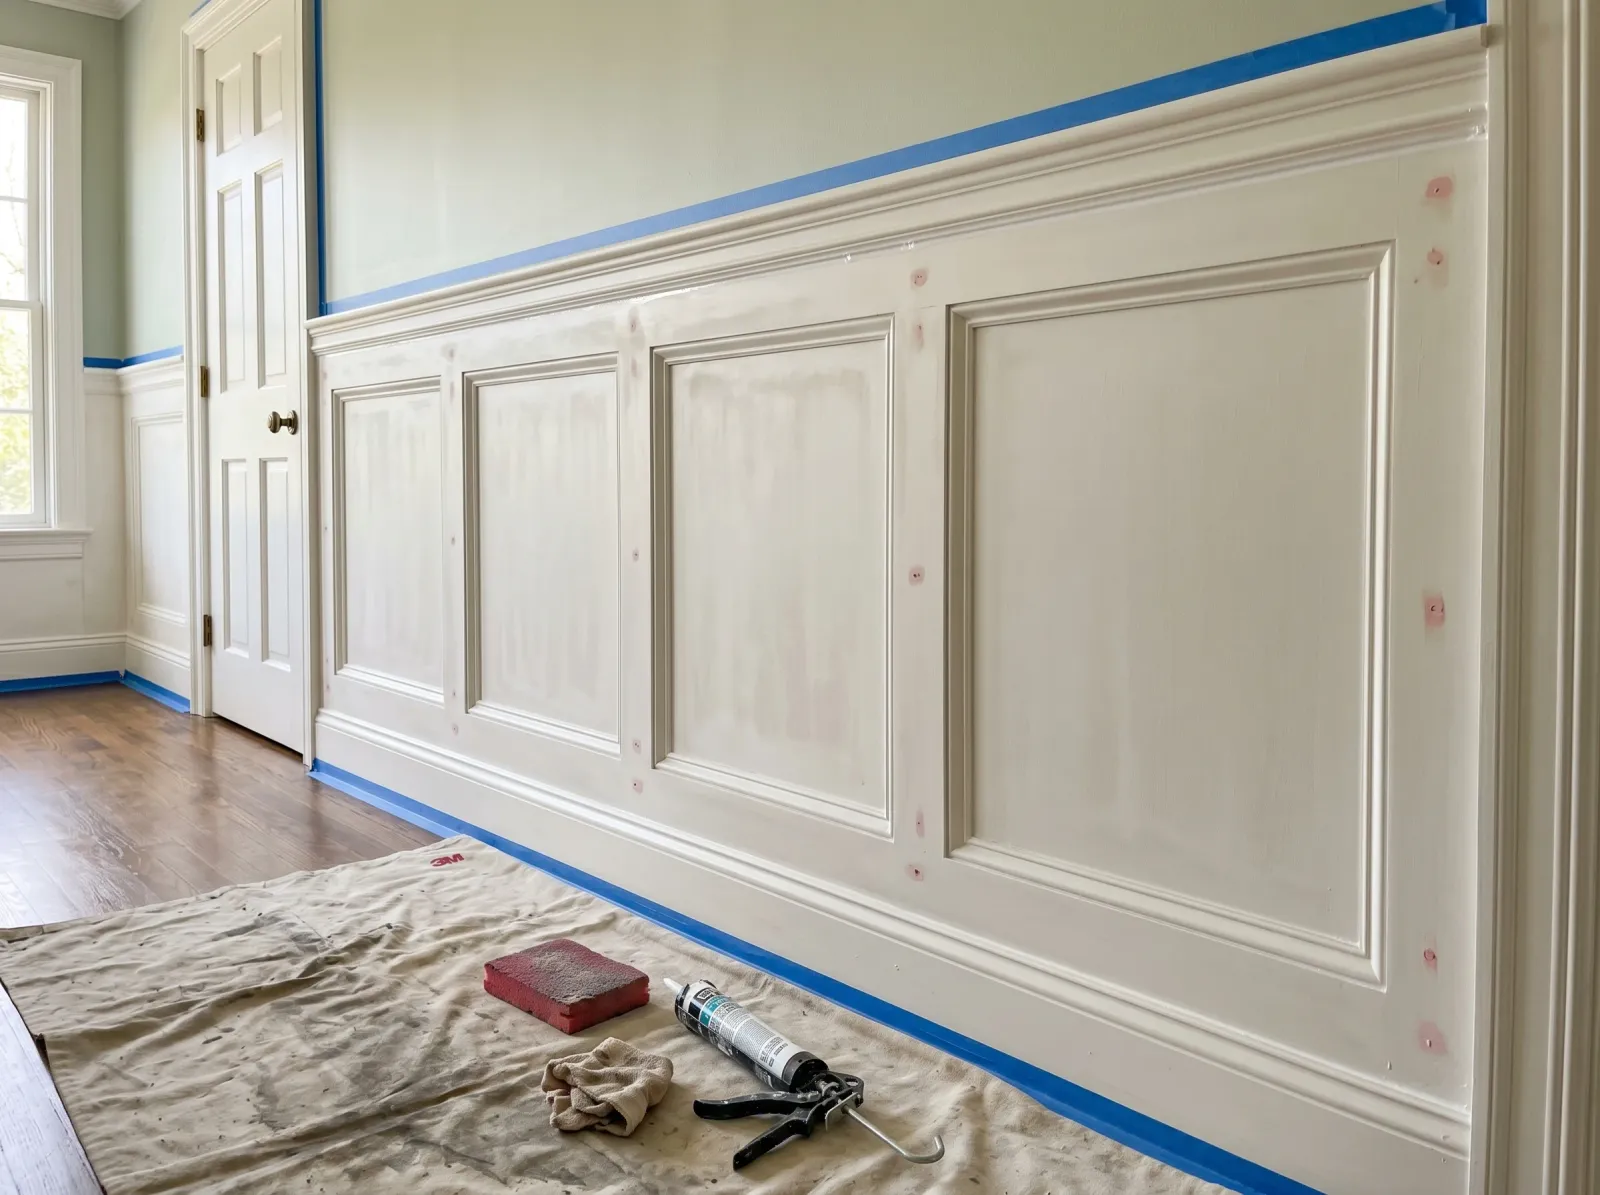 Grease and dust off, the old gloss knocked down, holes filled and seams caulked. This is most of the job.
Wipe the wainscoting down with a degreaser or warm soapy water. Wainscoting at hand height and chair height collects skin oil and grime you can’t see, and paint won’t stick to it. Let it dry.
Now degloss (dull the shine so paint can grab). Scuff every face and groove with the 220-grit sponge until the surface looks hazy instead of shiny, or wipe on a liquid deglosser if the panel grooves are too fiddly to sand into. Raw or new MDF skips this and goes straight to primer.
Press spackle into every nail hole and scrape it flush. Then run a thin bead of paintable caulk along the seam where the cap rail meets the wall and any gap where two pieces of trim meet. Smooth the caulk with a wet fingertip. Caulk is what makes wainscoting look built-in instead of like glued-on boards.
Watch out for caulking the panel grooves themselves. Don’t. The recessed lines are supposed to be there; fill them with caulk and you lose the whole paneled look. Caulk only the seams against the wall and the joints between boards.
Step 2 — Tape and Prime
 One thin coat of bonding primer. Brush the grooves, roll the flats.
Tape the floor at the bottom and the wall at the top, right at the cap rail line. Press the tape edge down hard with your fingernail so paint doesn’t bleed under it.
If your prep called for primer (glossy, oil-based, or MDF wainscoting), prime now. Brush the recessed panels and the bevels first with the angled brush, then roll the flat stiles and rails with the foam mini-roller. One thin coat of bonding primer is enough. Let it dry overnight, then knock down any rough nibs with a light pass of the 220 sponge and wipe with a tack cloth.
Painting over a deep stain or a strong color? See the two-tone walls guide for handling the wall color above so the two surfaces meet clean.
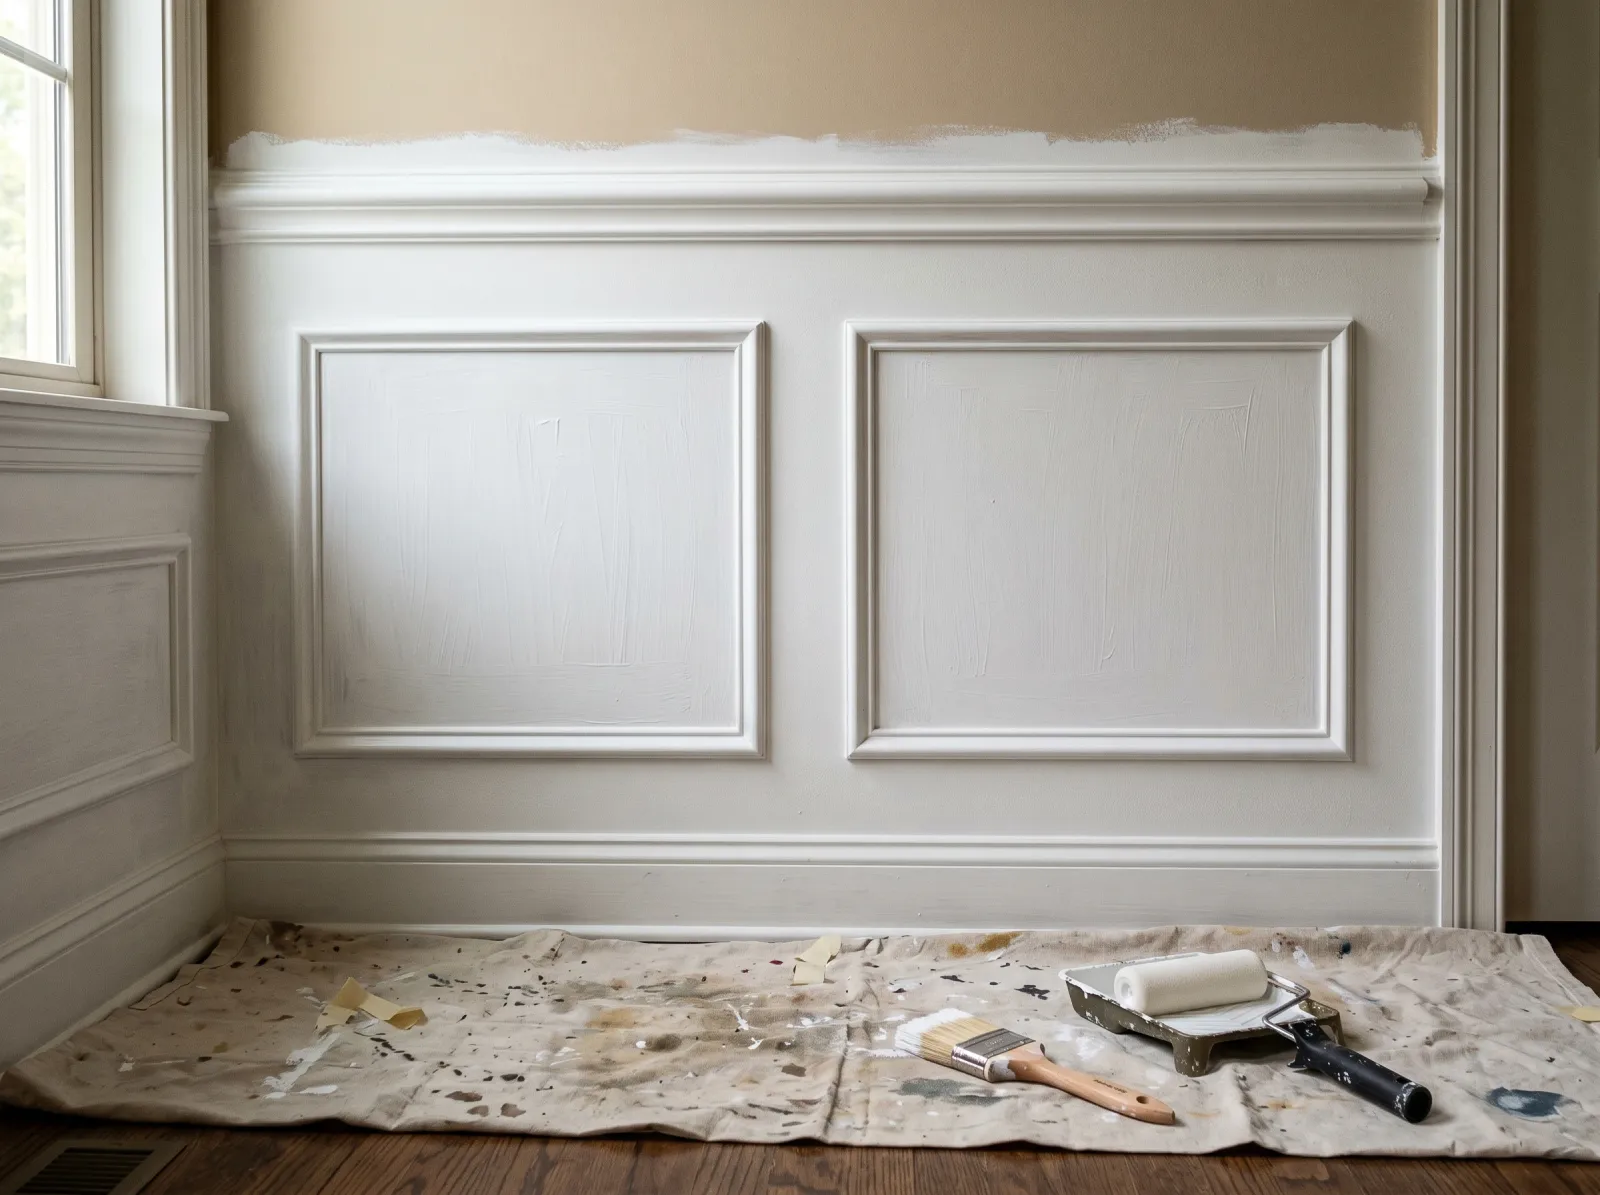
Step 3 — First Coat: Grooves Before Faces
 Brush the recessed panels and profiles, then roll the flat stiles. Grooves before faces, every time.
Here’s the order that makes or breaks the finish. Brush the recessed panel center and the sloped bevel around it first. Work the enamel into the corners, then drag the brush out toward the flat frame in long strokes. Don’t flood the grooves; pooled paint in a corner dries as a wrinkled blob you can’t sand out.
Once the grooves on a panel are brushed, roll the flat stiles and rails around it with the foam mini-roller while the brushed paint is still wet. The roller flattens any brush marks that crept onto the faces and leaves the flats smoother than a brush ever could. Work one panel at a time, top to bottom, so the brushed and rolled paint always blend wet.
A few drops of Floetrol (a latex extender that slows drying so the paint levels itself) stirred into the can erases brush marks on enamel. About 5%, roughly an ounce per cup.
Watch out for drips at the bottom edge of each panel where the bevel meets the frame. Paint runs downhill into that corner. Check it after a few minutes and brush out any drip while it’s wet.
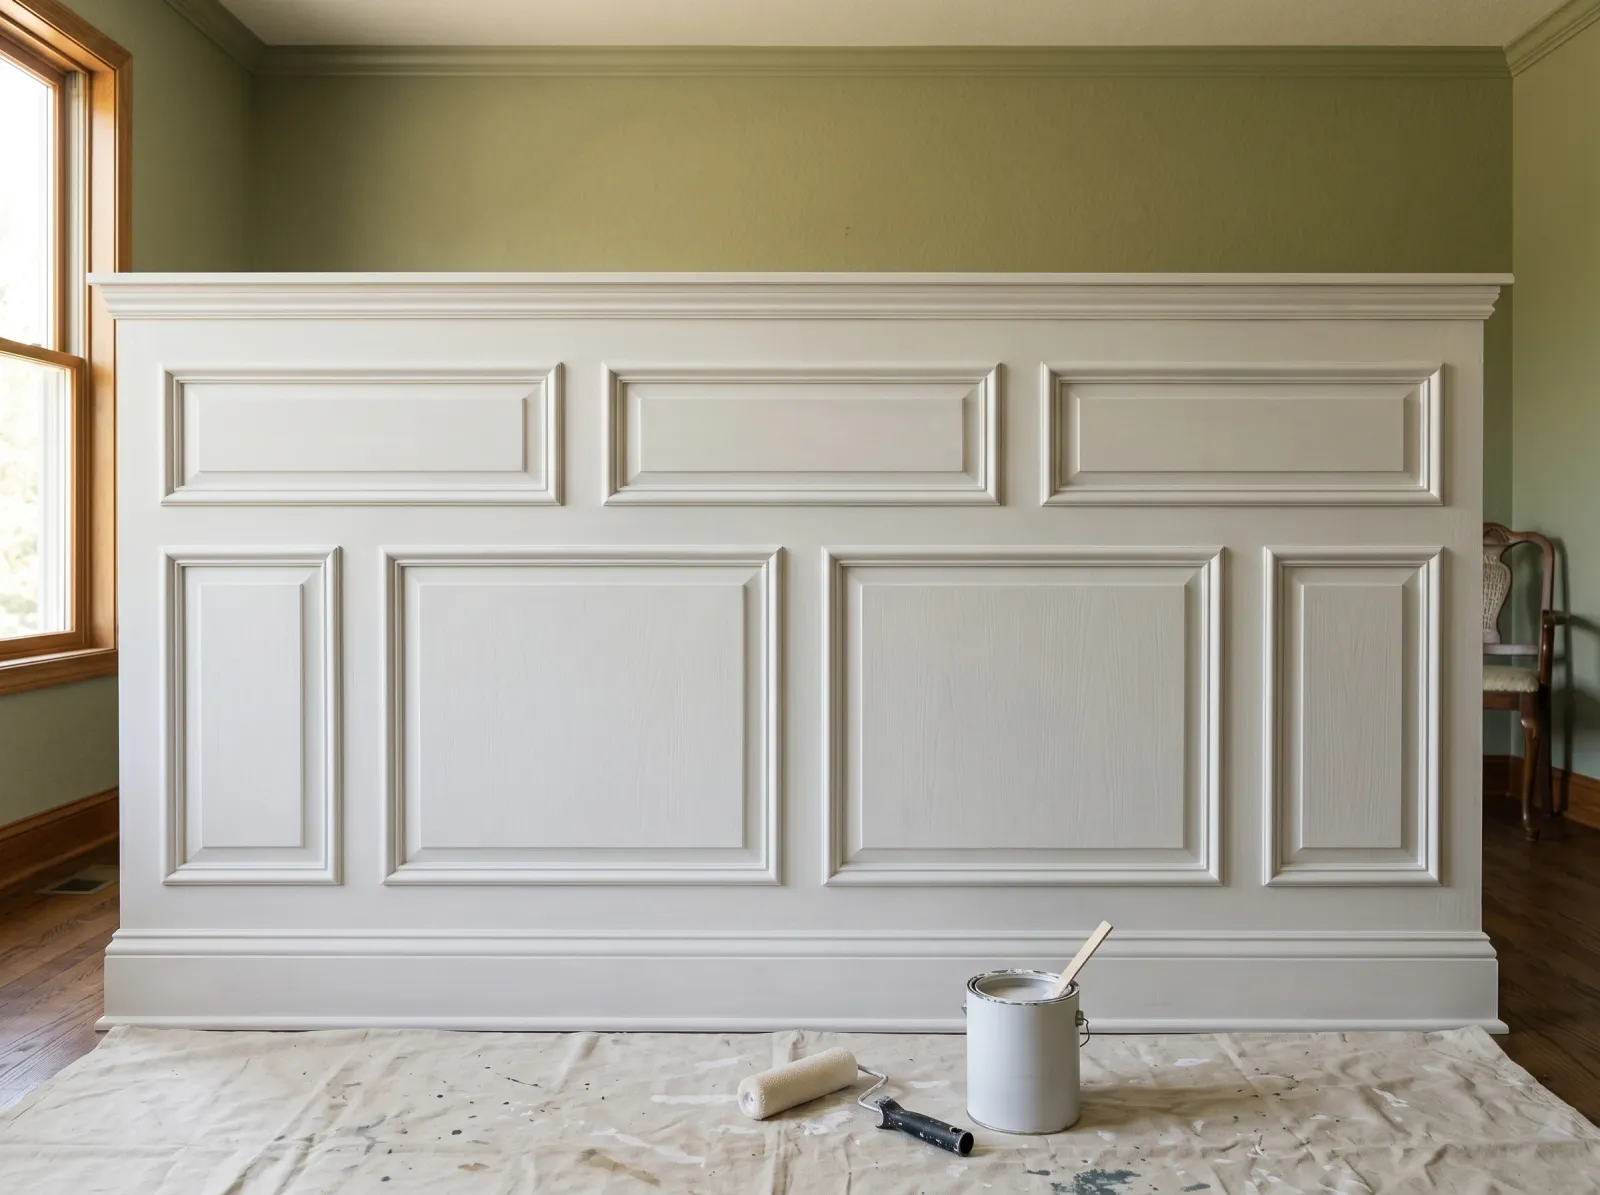
Step 4 — Second Coat
 The second thin coat fills the thin spots and the satin sheen evens out.
Let the first coat dry the full time on the can (BM Advance wants about 16 hours, faster enamels less). Recoating too soon drags the first coat off the surface and you get wrinkles.
Second coat is the same order: grooves with the brush, flats with the roller, one panel at a time. The first coat almost always looks thin in the groove corners, and the second coat is what fills them in. Two thin coats beat one thick coat every time. Thick coats sag in the bevels and never cure as hard.
This is also when you cut in the wall color above the cap rail if you’re going two-tone. Let the wainscoting set up first so you don’t smear it.
Step 5 — Pull the Tape and Reset
 Tape pulled at an angle, wall above cut in clean, furniture back where it belongs.
Pull the tape while the last coat is still slightly tacky, not bone dry, at a 45-degree angle, slow and steady. Dry enamel can chip along the tape line if you wait too long.
Take the drop cloth outside and shake it off. Wash the brush and roller sleeve under warm water until it runs clear. Leave the furniture away from the wall for a few days. The paint feels dry but it’s still soft underneath.
Common Mistakes
- Rolling the flats before brushing the grooves. The roller skips over the recesses and leaves them bare, then you go back with the brush and the brushed paint dries to a different sheen than the rolled paint. Grooves first, always, then roll the flats into the wet brushwork.
- Caulking the decorative panel grooves. People caulk every line they see. The recessed panel lines are meant to be there. Caulk only the seams against the wall and the joints between separate boards.
- Using flat wall paint instead of enamel. Wainscoting gets touched, scuffed, and leaned on. Flat paint marks instantly and won’t scrub clean. Use a trim enamel that cures hard. See how baseboards get the same treatment for why low trim needs a tough finish.
- Skipping bonding primer on glossy or MDF panels. Enamel peels off slick old varnish or raw fiberboard within months. One coat of bonding primer is the only thing that grabs.
- Flooding the grooves with paint. A loaded brush dumps paint into the corner and it dries as a wrinkled ridge. Dip a third of the way, work it in, brush out the excess toward the flats.
Cure Schedule
| Time after the final coat | What’s safe |
|---|---|
| 1 hour | Pull the tape |
| 4 hours | Touch dry, don’t lean on it |
| 24 hours | Re-handle gently |
| 3 days | Push furniture back against the wall |
| 7 days | Wipe with a damp cloth |
| 30 days | Full cure, scrubbable |
Maintenance and Touch-Ups
Painted wainscoting in a satin or semi-gloss enamel holds up 8 to 12 years in a dining room or hallway, less in a mudroom or anywhere boots and bags hit it daily.
Most marks are scuffs, not damage. Wipe first with a damp microfiber cloth. For a real chip or scratch, dab leftover enamel on with a small artist’s brush and feather it just over the damage. Don’t repaint a whole panel for one chip; the touch-up reads brighter than the cured paint and you’ll see the seam. Keep the leftover quart labeled with the room name.
Cost Breakdown
| Item | Cost |
|---|---|
| Trim enamel, 1 quart | $25-$40 |
| Bonding primer, 1 quart (if needed) | $15-$20 |
| Caulk + spackle | $10 |
| Brush + foam mini-roller + sleeves | $25 |
| Tape, drop cloth, sponge | $15 |
| Total | $60-$110 |
Numbers are for one average room with mid-tier enamel. A whole stairwell or a big dining room with floor-to-chair-rail paneling can push the paint to two quarts.
FAQ
The questions in the frontmatter render here on the page. Short version: use a hard trim enamel, degloss before you paint, brush the grooves before you roll the flats, and give it two coats over primer.