How to Stencil a Wall
How to stencil a wall without smudges or bleed. Pattern choice, paint and contrast, spacing, and the dry-brush technique that keeps lines crisp on a feature wall.

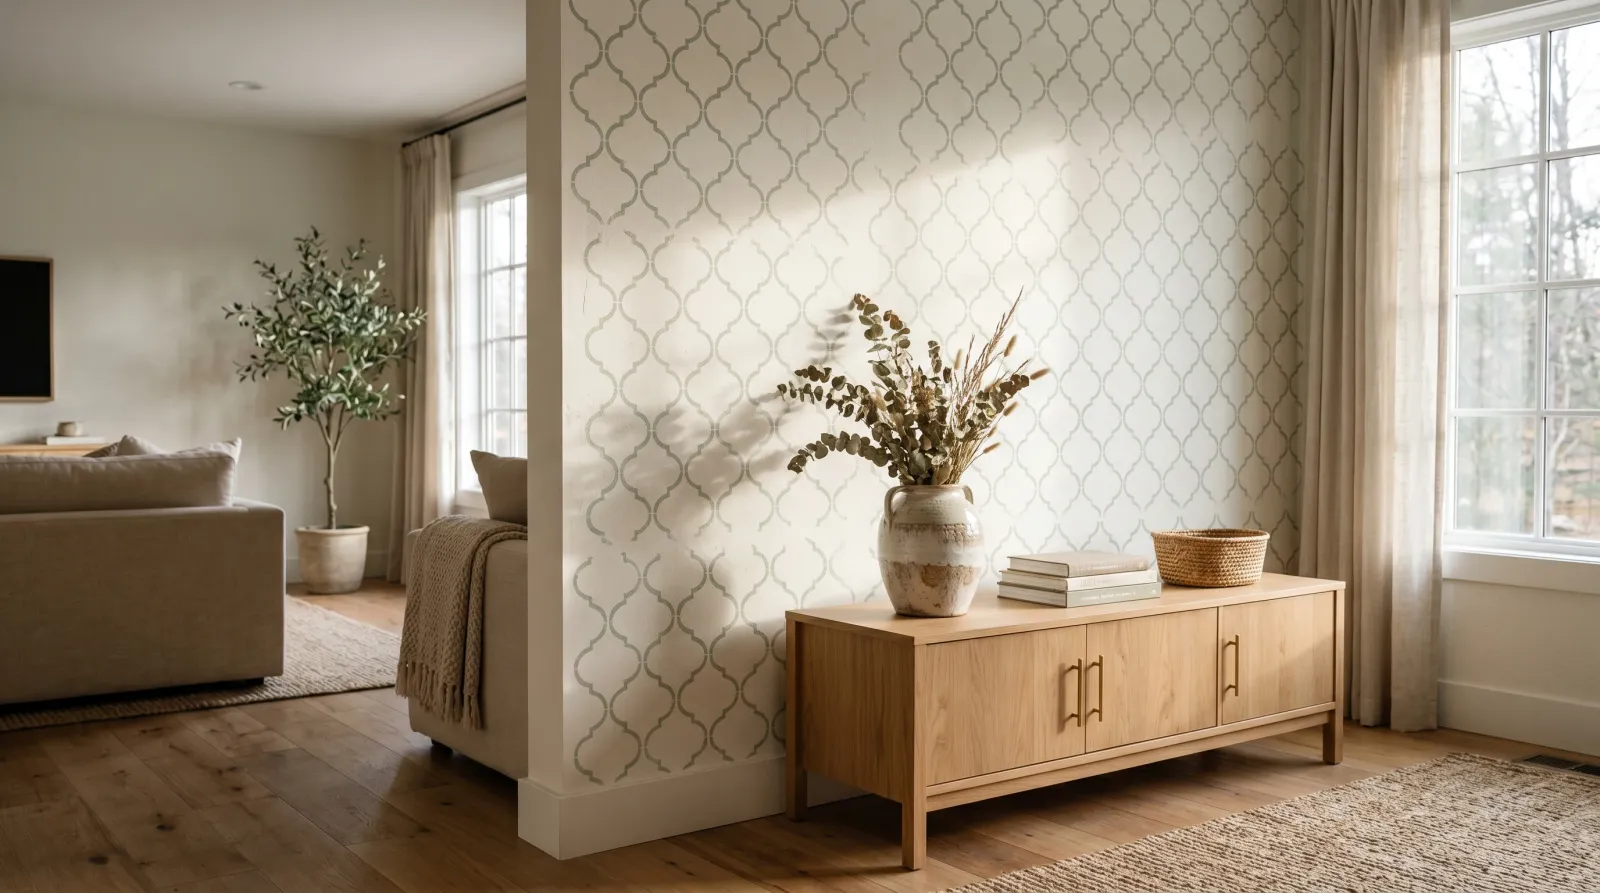
A stenciled wall is the closest thing decorating has to a magic trick. You take a flat, quiet wall and a quart of paint that costs less than lunch, and an afternoon later the room reads like someone thought about it. The pattern does the work that a wallpaper roll would, for a tenth of the money and none of the paste.
Here’s what nobody tells you up front: the pattern is not the hard part. Pressing the stencil to the wall and rolling color through it is genuinely easy. The whole project lives or dies on one thing, which is keeping paint from sneaking under the edge of the cutout and turning your crisp little motif into a fuzzy smudge. Get that right and the rest is just patience.
What You’ll Get
One feature wall with a continuous, even pattern that reads almost like wallpaper from across the room. A weekend of slow, satisfying work, and a wall that costs about $60 to transform.
Honest Take on Difficulty and Time
A single accent wall is a weekend. If the wall is already the base color you want behind the pattern, you skip a whole day. If it isn’t, day one is base coat plus dry time, and the stenciling happens on day two.
The stenciling itself runs three to five hours for one wall, depending on how fine the pattern is and how many corners you have to wrestle. It’s not physically hard. It’s repetitive, and the discipline is in slowing down. Rush it and you’ll be touching up bleed for twice as long as the wall took.
An allover pattern across all four walls of a room is a different animal. Plan on three or four days. Don’t start that on a Sunday night.
What You’ll Need
Paint and Primer
For the base, regular interior wall paint in eggshell (a soft low-shine finish). You only buy this if the wall isn’t already the right color behind your pattern. For the pattern itself, a sample pot or a single quart of your stencil color, in the same sheen as the base. Matching sheen matters more than people expect. Eggshell pattern over a flat base catches afternoon light and the motif flashes shinier than the wall around it.
You use shockingly little paint. A sample pot covers most accent walls because the technique demands a nearly dry roller. That’s not a tip, it’s the whole method.
The color pairing sets the mood before the pattern does. A soft tonal shade against the base reads quiet and textural, the way grasscloth does. A deep navy or charcoal against white reads graphic and a little bold. If you’re choosing between the two and you’ve never stenciled before, go tonal. A close pair forgives the small wobbles a first wall always has, and a high-contrast pair shows every one of them. For how light or deep a color will sit on the wall, the LRV guide is worth a read before you commit. And see the sheen guide if you’re unsure whether to match in eggshell or satin.
Tools
A 4-inch high-density foam roller is the cleanest tool for an allover pattern. Foam holds less paint than nap and lays it down flat, which is exactly what you want. Two stiff stencil brushes (a small and a medium) handle corners, the ceiling line, and any cutout the roller can’t reach without going over the bridge of the stencil. A small level or laser level to set your first true vertical, a plumb line for spacing, a pencil, and repositionable stencil adhesive.
Don’t cheap out on the roller and don’t reach for a regular wall roller. A 3/8-inch nap sleeve holds far too much paint and will flood the stencil on the first pass. Foam picks are in the best foam rollers round-up, and the tape that actually seals an edge is in the painter’s tape picks.
Step 1 — Base Coat, Then Set Your First Line
 The base color goes on first and dries fully. Then you find true vertical, because a wall corner is almost never plumb.
If the wall isn’t already your base color, paint it and let it cure. Stencil paint smears if it lifts a soft, under-cured base, so give a fresh base coat a full 24 hours, not four.
Now find your starting line. Don’t measure off the corner. Corners in real houses lean, and if you trust one your whole pattern drifts. Drop a plumb line or set a laser level near the center of the wall and mark a faint vertical pencil line floor to ceiling. That line is your spine. Every repeat references it.
Watch out for starting at the corner because it feels natural. A wall that’s a half-inch out of plumb top to bottom turns a tidy pattern into a slow lean nobody can unsee.
Step 2 — Mount the Stencil and Off-Load the Paint
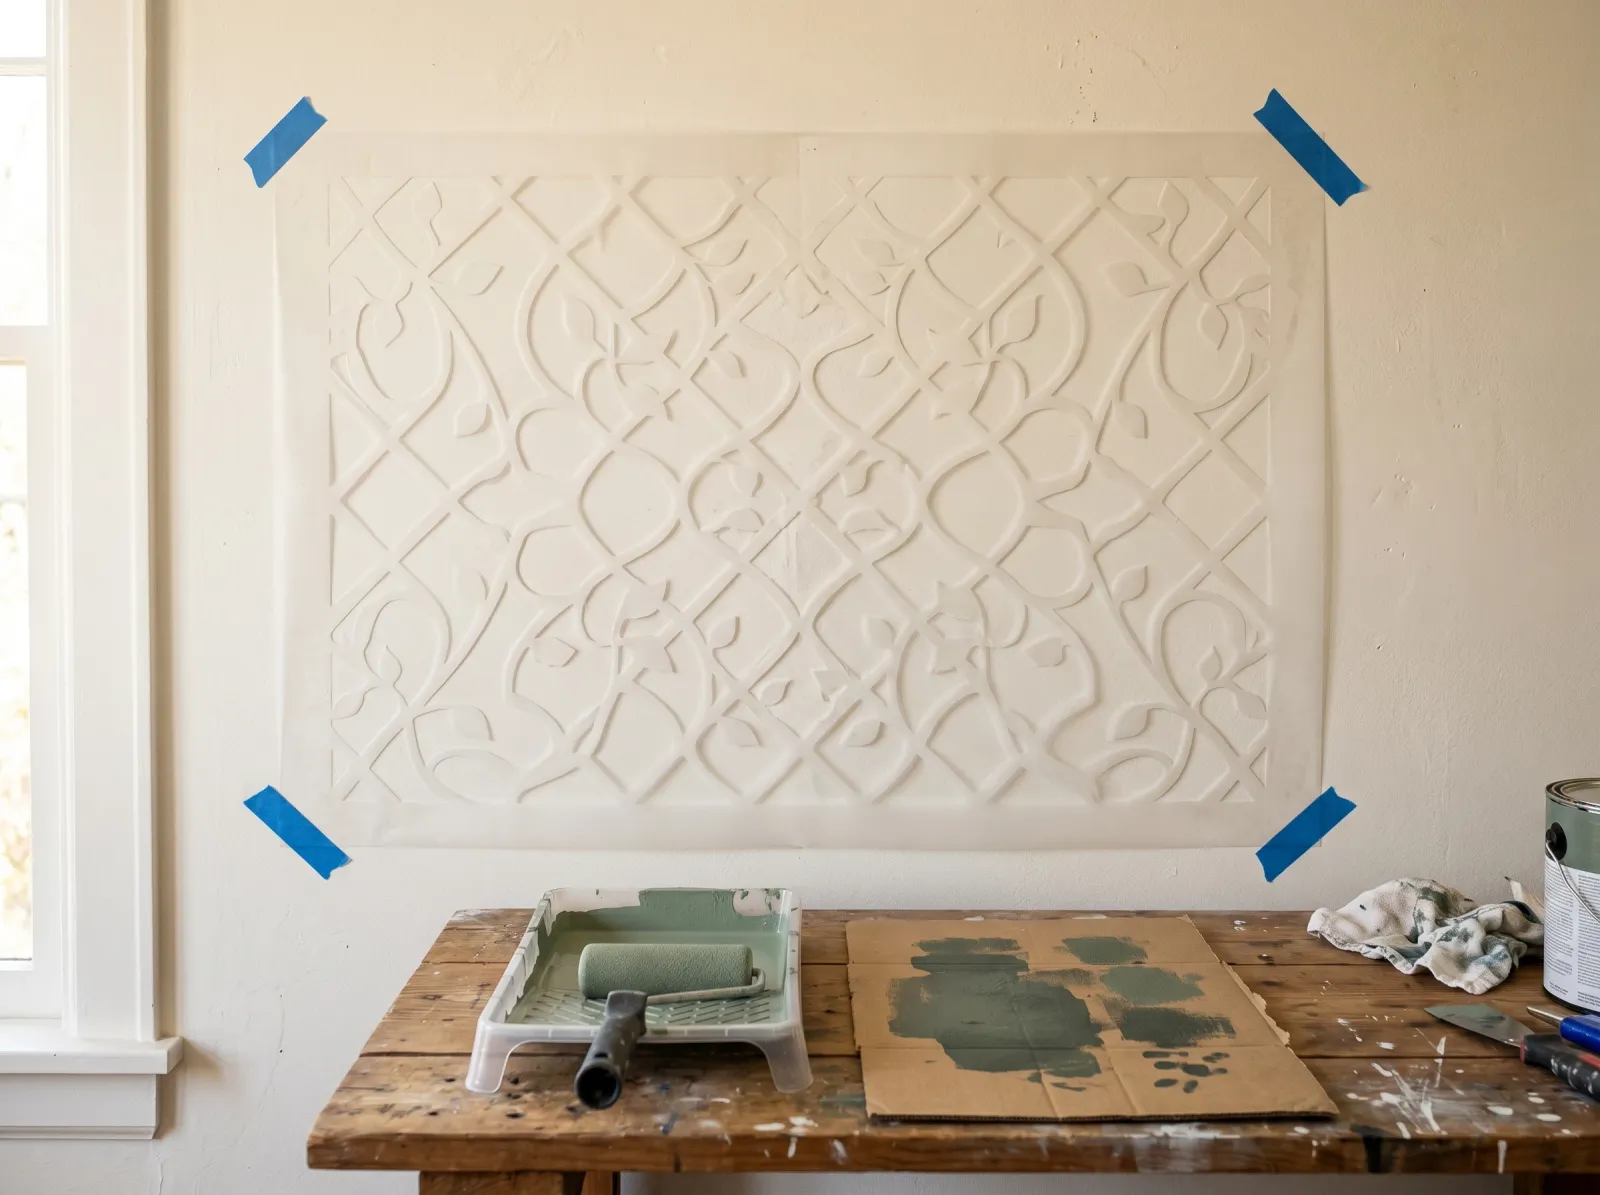 The stencil pressed flat, and the roller blotted down to almost nothing before it goes near the wall.
Spray the back of the stencil lightly with repositionable adhesive, line up the first repeat against your pencil line, and press it flat from the center outward. Tape the corners as a backup. The adhesive is what closes the tiny gap that bleed sneaks through, so don’t skip it in favor of tape alone.
Now off-load. Pour a little paint into the tray, roll the foam roller through it, then roll it back and forth on a scrap of cardboard until it leaves a faint, even, almost-dry mark. This feels wrong the first time. It looks like there’s no paint on the roller at all. That’s correct.
Watch out for a loaded roller. The single biggest cause of a ruined stencil is too much paint, every time. A dry roller physically cannot bleed under the edge. A wet one always does.
Step 3 — Roll the Pattern, Repeat by Repeat
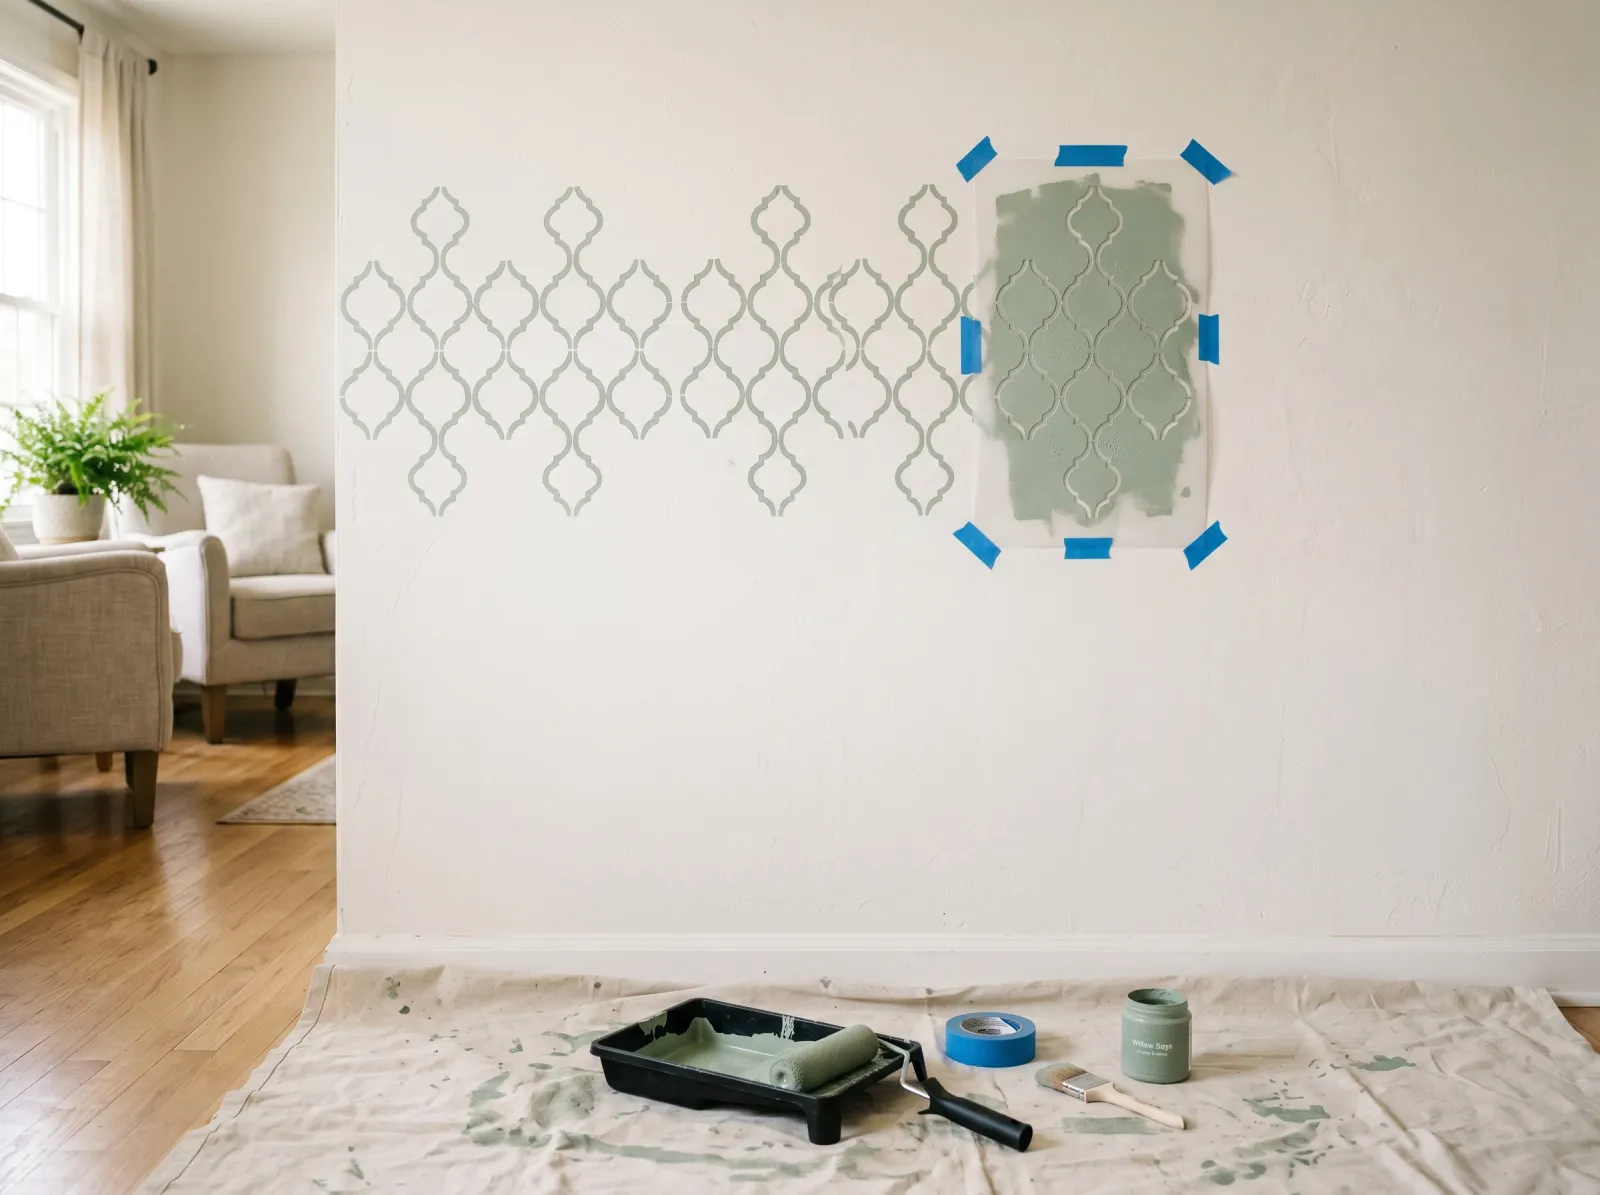 Light passes, building color gently, then lifting and registering the stencil against the last finished motif.
Roll over the stencil in light passes, top to bottom and side to side, building the color gradually. Two soft passes beat one heavy one. The color should look a touch lighter than you want; it deepens as it dries and you’ll never miss the extra.
Most wall stencils have small registration marks or a built-in edge that overlaps the previous motif. Lift the stencil straight off, move it along, and line those marks up against the repeat you just finished. That overlap is what keeps the pattern continuous across the wall. Wipe the back of the stencil with a damp rag every few repeats so dried paint on the underside doesn’t print a ghost onto your clean wall.
Work in a logical order, usually left to right and top to bottom, the way you’d read. Let any repeat that overlaps a wet one dry for a few minutes before you lean Mylar back over it.
Step 4 — Corners, Ceiling Line, and Edges
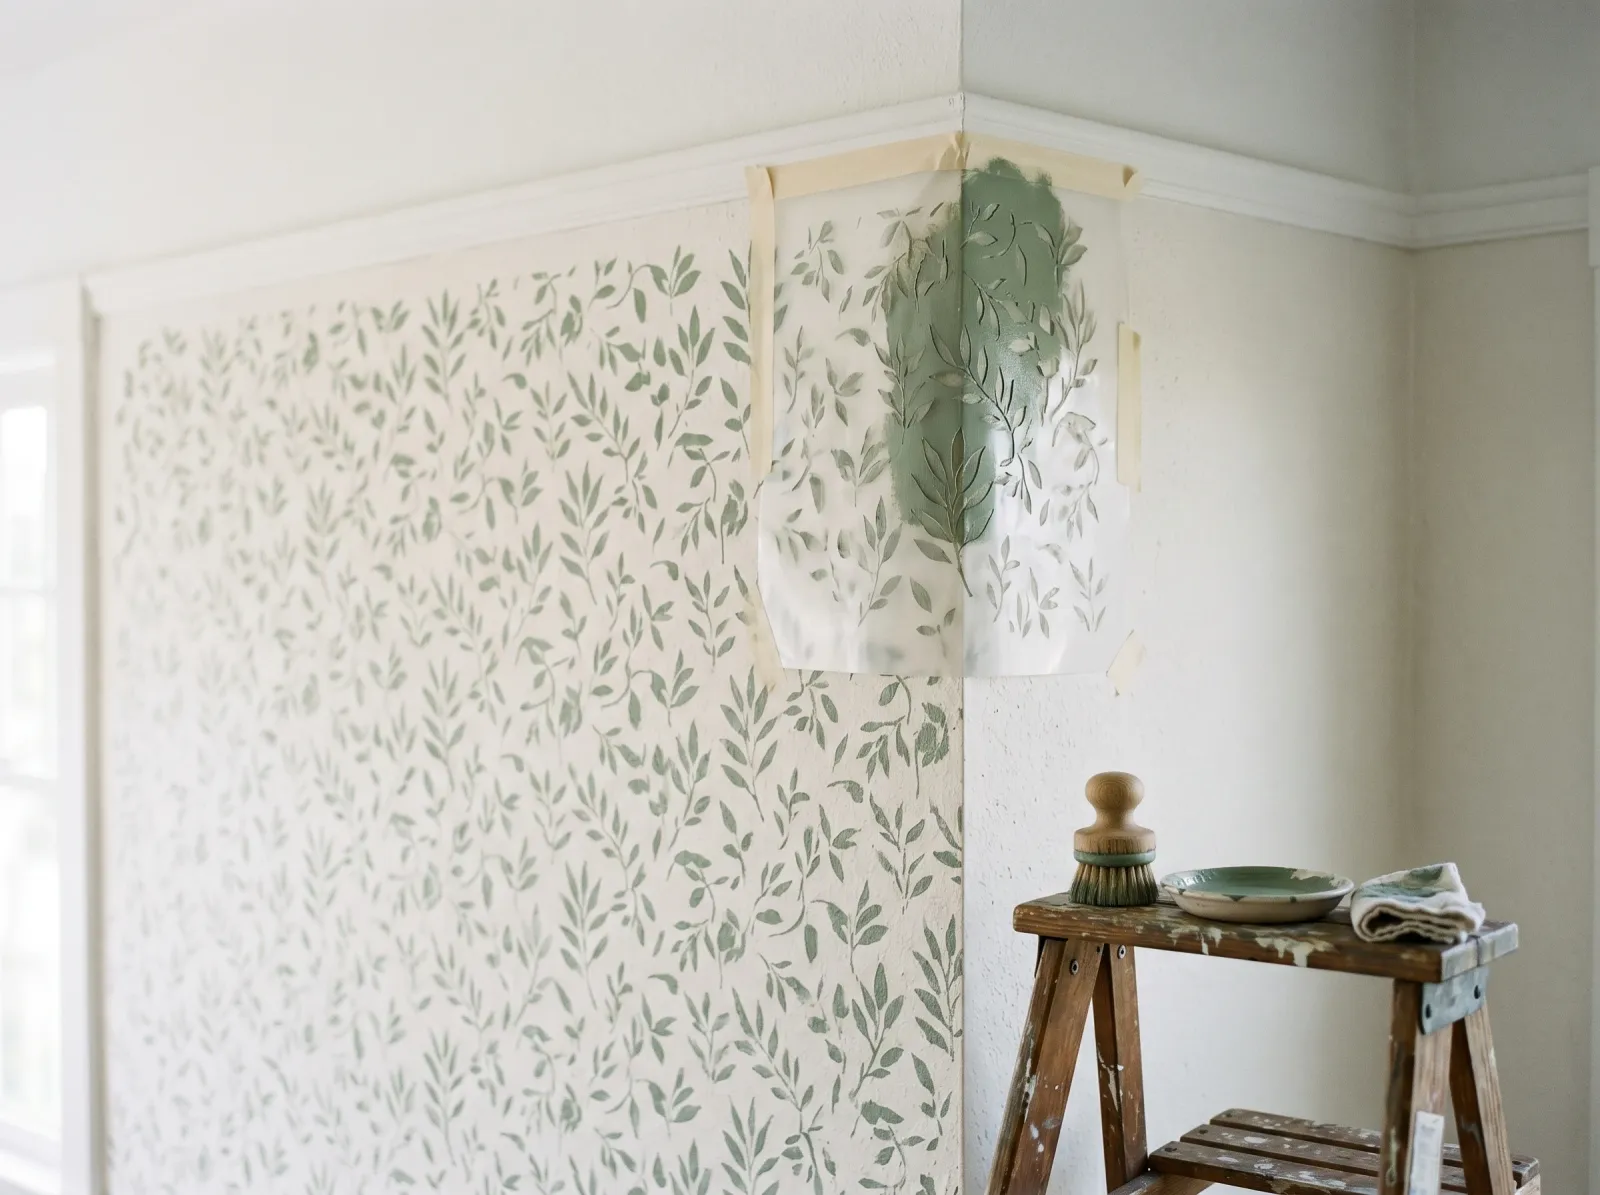 The flexible stencil bent into the corner, and the stiff brush dabbing the cutouts a flat roller can’t reach.
The flats are the easy part. Corners, the ceiling line, and the baseboard edge are where the roller gives up, because you can’t roll flat against a surface that bends away from you.
This is where the stencil brush earns its place. Bend the Mylar into the corner, hold it flat with your free hand, and dab the paint through the cutouts with the stiff brush. Pouncing straight in, not dragging. Even less paint than the roller wants, because a corner is exactly where pooled paint runs. A partial motif that dies into the corner is normal and reads fine; nobody’s eye sits in the corner.
Watch out for trying to roll the last inch into a corner. The roller skips, drops a blob, and you’re sanding and touching up. Switch to the brush before you get there.
Common Mistakes
- Too much paint on the roller. The cause of nearly every smudge. Blot on cardboard until the roller looks almost dry, then blot again. You reload far less often than feels right.
- Trusting the corner instead of a plumb line. The pattern drifts a little with each repeat and ends up visibly tilted. Set a true vertical first and reference it.
- Peeling the stencil off sideways. Drag it and you smear wet paint across the wall. Lift it straight off the surface, flat, every time.
- Not wiping the back of the stencil. Dried paint builds up on the underside and prints faint ghost marks onto the next clean repeat. Wipe it with a damp rag every few moves.
- Sheen mismatch between base and pattern. Eggshell pattern over a flat base flashes shinier in side light and the motif looks like it’s floating. Match the sheen, or read the sheen guide before you buy.
Cure Schedule
| Time after the last repeat | What’s safe |
|---|---|
| 1 hour | Touch dry; small pencil-line erasing |
| 4 hours | Pattern set; don’t lean anything against it |
| 24 hours | Hang art, move furniture back to the wall |
| 7 days | Wipe a scuff with a damp cloth |
| 30 days | Full cure, washable |
Erase any stray pencil guide lines once the paint is touch dry and you’re sure you’re done. A soft white eraser lifts graphite off cured base paint without marking it.
Maintenance and Touch-Ups
A stenciled wall holds up exactly as long as the wall paint under it, which on an interior accent wall is 7 to 10 years before it wants a refresh. The pattern doesn’t wear faster than the base; it’s the same paint.
For a small chip or a scuff that catches the pattern, set the stencil back over that motif, line it up against the surrounding repeats, and dab the spot with a stencil brush and a little of your leftover color. Don’t freehand it. The stencil is the only thing that gets the line back. Keep a labeled sample jar of the pattern color for this; it’s the whole reason touch-ups stay invisible.
Cost Breakdown
| Item | $ |
|---|---|
| Stencil paint (sample pot or quart) | $8-$22 |
| Reusable Mylar stencil | $20-$45 |
| Foam mini-roller + stencil brushes | $12-$20 |
| Spray adhesive, tape, drop cloth | $15 |
| Total | $55-$100 |
If the wall already wears the base color you want, you’re at the low end. If you’re repainting the base first, add a quart of wall paint and a day of dry time. Either way it lands under what a single roll of decent wallpaper costs, and the stencil is reusable for the next room.