How to Paint Staircase Balusters
Painting balusters is slow, fiddly work that lives or dies on prep. Here's the order, the right enamel, and the drips and bridging that bite you later.

A staircase full of turned balusters is the most tedious paint job in the house. Not the hardest. The most tedious. You’re not rolling a big flat wall, you’re cutting around 40 little lathe-turned spindles, each one with rings and coves that catch drips and hide holidays. Skip the prep and your fresh white peels at the base of every spindle within a year, right where hands and shoes hit it most.
The rule here is simple. Dull the old gloss, bond-prime, and use a real trim enamel, not wall paint. Do that and the job lasts a decade. Rush it and you’ll be back on your knees next spring.
What You’ll Get
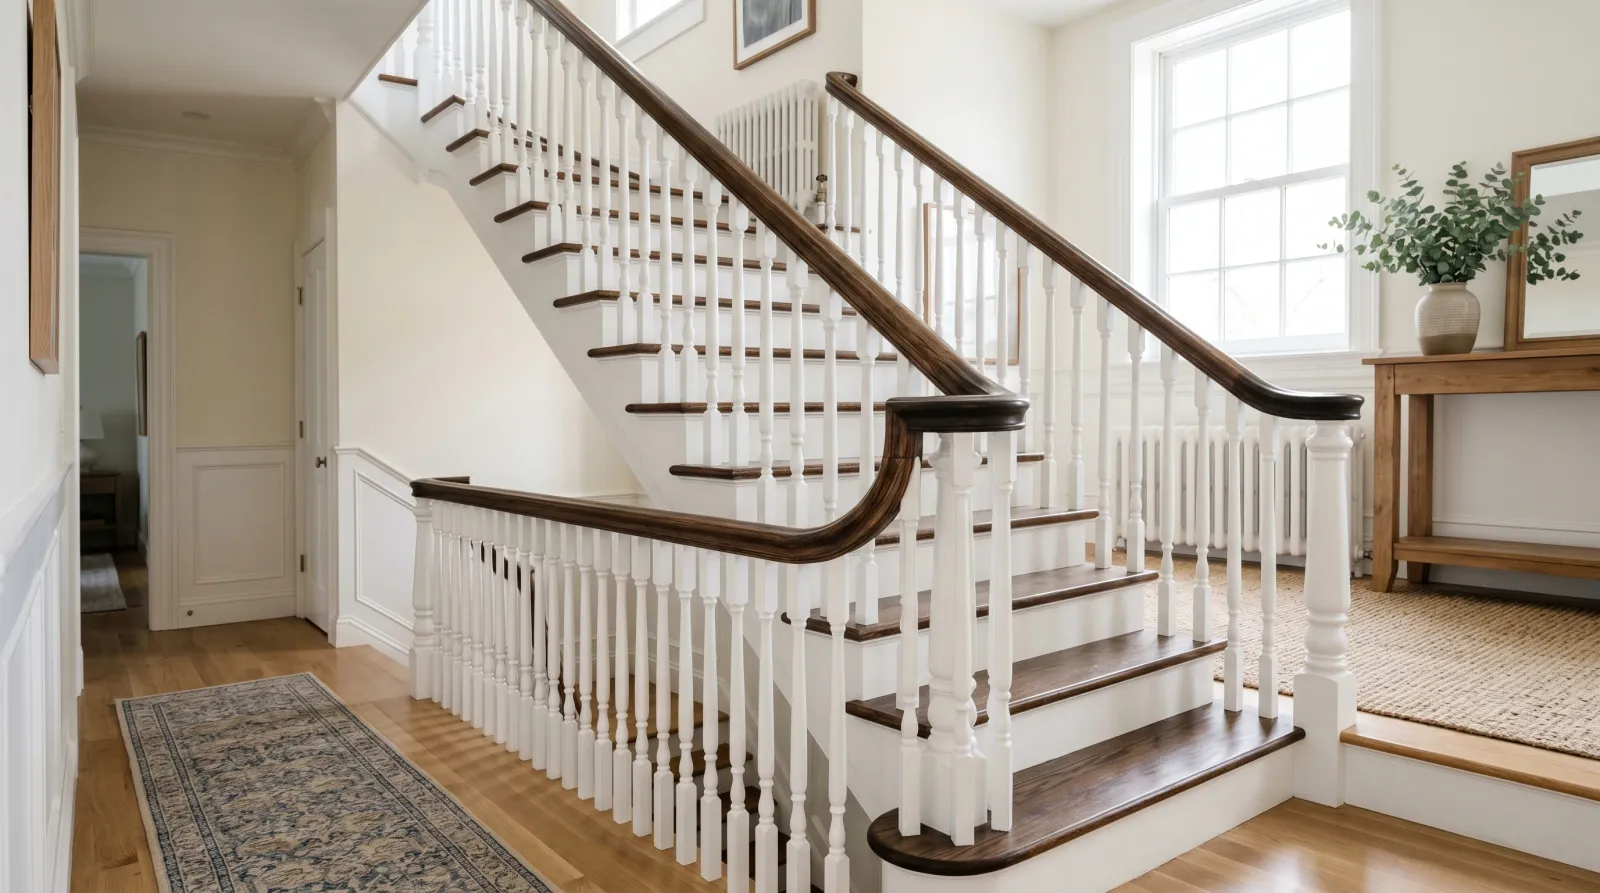
Crisp white spindles under a stained handrail, the look that makes a tired staircase read new. One weekend of work plus a few days of cure before the stairs take real traffic again.
Honest Take on Difficulty and Time
This isn’t beginner work, but it’s not hard either. It’s slow. The painting is easy; the cutting around each turned detail is what kills your knees and your afternoon.
A standard flight of 30 to 40 balusters runs a full weekend. Half a day to tape and prep. A few hours to prime, a few hours per coat, and dry time stacked between. If anyone tells you it’s an afternoon job, they’ve never taped off a staircase or counted the spindles.
The other honest part: stairwells are dark. Clip a work light to the rail. Half the holidays I see on a finished baluster job are spots the painter literally couldn’t see.
What You’ll Need
Paint and Primer
A quart of waterborne alkyd trim enamel in satin or semi-gloss (a finish hard enough to wipe clean and take a knock). BM Advance, SW ProClassic, or INSL-X Cabinet Coat. This is cabinet-grade enamel, and that’s the point. Balusters get grabbed, kicked, and dragged past more than almost any trim in the house. Wall paint stays soft and scuffs off. Don’t use it here.
For primer, match it to what’s underneath. A glossy old varnish or polyurethane wants a bonding primer (INSL-X Stix or Zinsser Bulls Eye 1-2-3). Bare or knotty wood, or an old oil finish, wants Zinsser BIN shellac primer to lock it down and stop knots from bleeding through. If you’re not sure what finish is on there, run the alcohol test in Step 1.
See the best interior trim paint round-up for the full SKU comparison, and the sheen guide if you’re stuck between satin and semi-gloss.
Tools
A 1.5-inch and a 2-inch angled sash brush. The small one gets into the turned coves; the bigger one covers the straight runs faster. A 4-inch foam mini-roller for the flat newel posts. Painter’s tape, a canvas drop cloth cut into strips, sanding sponges that flex around a round spindle, and that work light.
The brush is where you don’t cheap out. A $4 brush sheds bristles into the wet enamel and leaves a streaky cut line on every spindle. A $14 Wooster Silver Tip holds an edge for years. Picks are in the best paint brushes round-up.
Step 1 — Test the Finish and Prep the Stairs
Before you buy primer, figure out what’s already on the wood. Wet a cotton ball with denatured alcohol and rub a hidden spindle for 30 seconds. If the finish gets sticky and dissolves, it’s shellac. If it softens, it’s old varnish. If nothing happens, it’s lacquer or polyurethane. For the deep version of this on stained and varnished wood, see the painting over varnished wood trim guide.
Cut the canvas drop cloth into strips and wrap every tread. Tape the underside of the handrail and along the base rail where the spindles meet the floor. Press the tape edge down hard with a putty knife so enamel doesn’t bleed under it. Fill any split tops or old screw holes with wood filler and let it dry.
Watch out for loose spindles. Grab each one and wiggle it. A wobbly baluster gets worse once you’re leaning on it to paint. Glue or screw it tight first, or you’ll crack your fresh paint the next week.
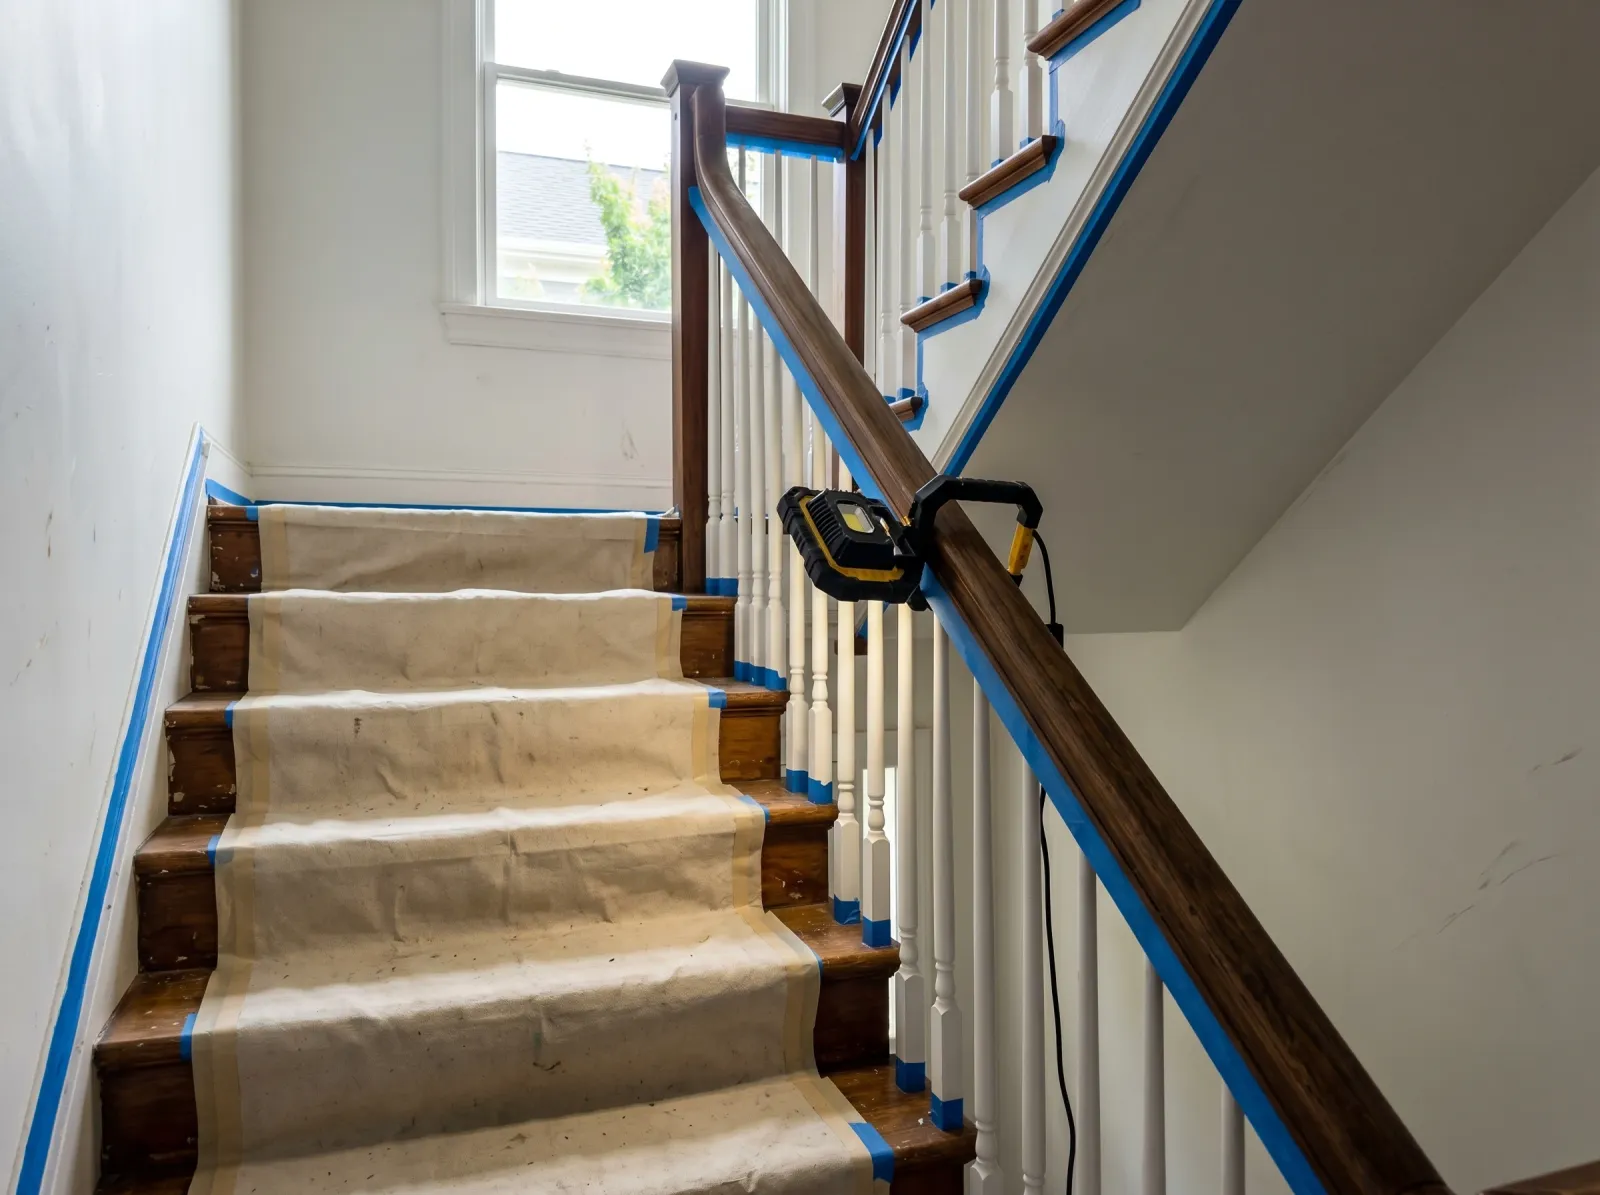 Treads wrapped, handrail and base taped, finish tested before a drop of paint goes on.
Step 2 — Dull the Gloss
Paint will not grab a shiny surface. It peels off in sheets, usually at the base of the spindle where it gets handled. So you have to knock the shine off every baluster before primer.
The flexible 220-grit sponge is your friend here. It wraps the round spindle and gets into the coves the way flat sandpaper never will. You’re not stripping, just roughing the gloss until the surface goes hazy. Vacuum the dust and wipe everything with a tack cloth.
Hate the idea of hand-sanding 40 spindles? A liquid deglosser (Klean-Strip Easy Liquid Sander) wipes the gloss off chemically in about 15 minutes. Works on varnish, lacquer, and polyurethane. It does nothing for adhesion on slick factory melamine, so if your spindles are a plastic-coated builder special, scuff and bond-prime anyway.
 Every spindle dulled to a haze. No shine left for the primer to slide off of.
Step 3 — Prime Every Spindle
One coat of the right primer on every baluster. Brush it into the turned details with the 1.5-inch brush, roll the flat newel posts with the foam mini. Bonding primer for glossy old finishes, BIN for knots and old oil.
Don’t skip this on the theory that your self-priming enamel handles it. Self-priming means self-priming over a sound dull surface, not over slick varnish. Your bare spindle still needs a real primer. The primer is what grabs the wood; the enamel just colors it.
Let the primer dry per the can, then knock down any raised grain or nibs with a light 220 scuff. Tack cloth again.
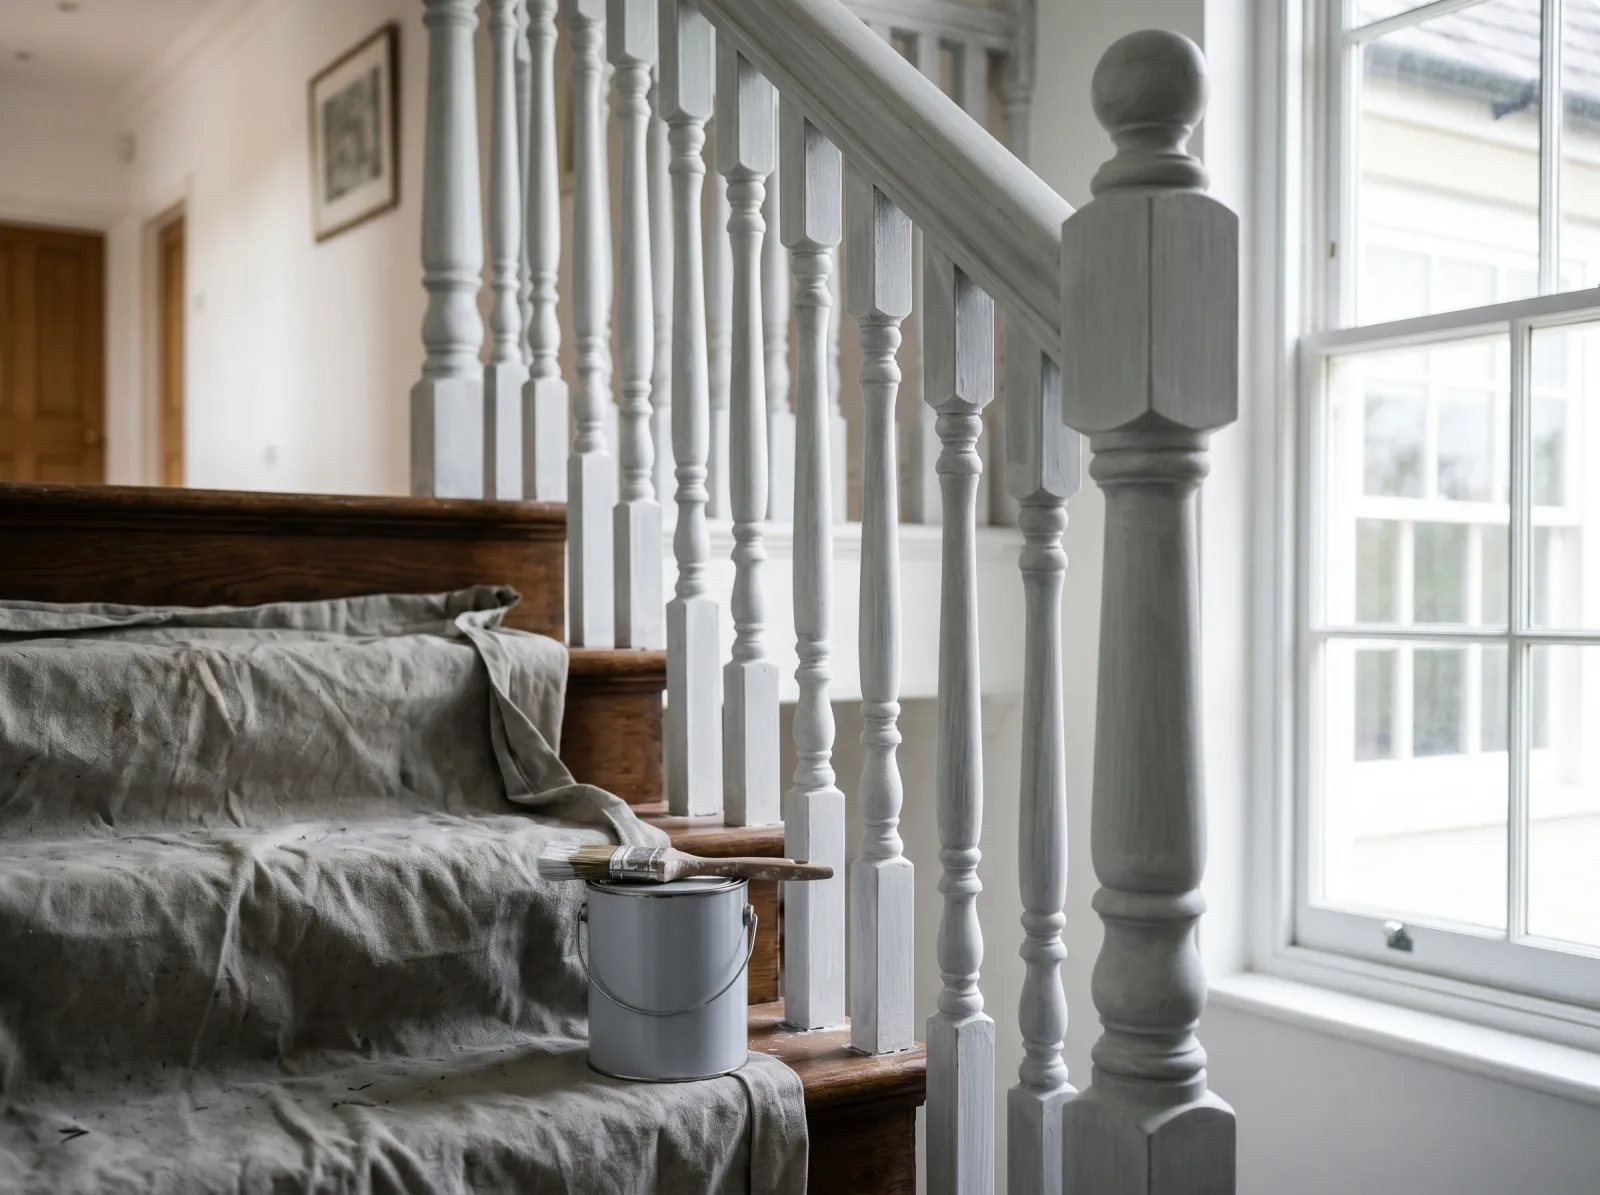 One even coat of bonding primer. This is the layer doing the real work.
Step 4 — First Coat of Enamel
Now the color. Work top to bottom on each spindle so any runs get caught on the way down, not after they’ve dried into a ridge. Brush thin. Dip the brush a third of the way, tap once on the inside of the can, and lay it on in the direction of the turning.
Add a splash of Floetrol (about 5%, a couple ounces per quart) to slow the dry and let the enamel level out. Brush marks on a baluster catch side light from the stairwell window and read like fingerprints. Floetrol buys you time to smooth them before the surface skins.
Watch out for drips pooling under each turned ring and at the base where the spindle meets the floor. Those are the spots that sag. Check the bottom of every spindle every few minutes for the first half hour and brush out any run while it’s still wet. A dry sag has to be sanded flat and recoated.
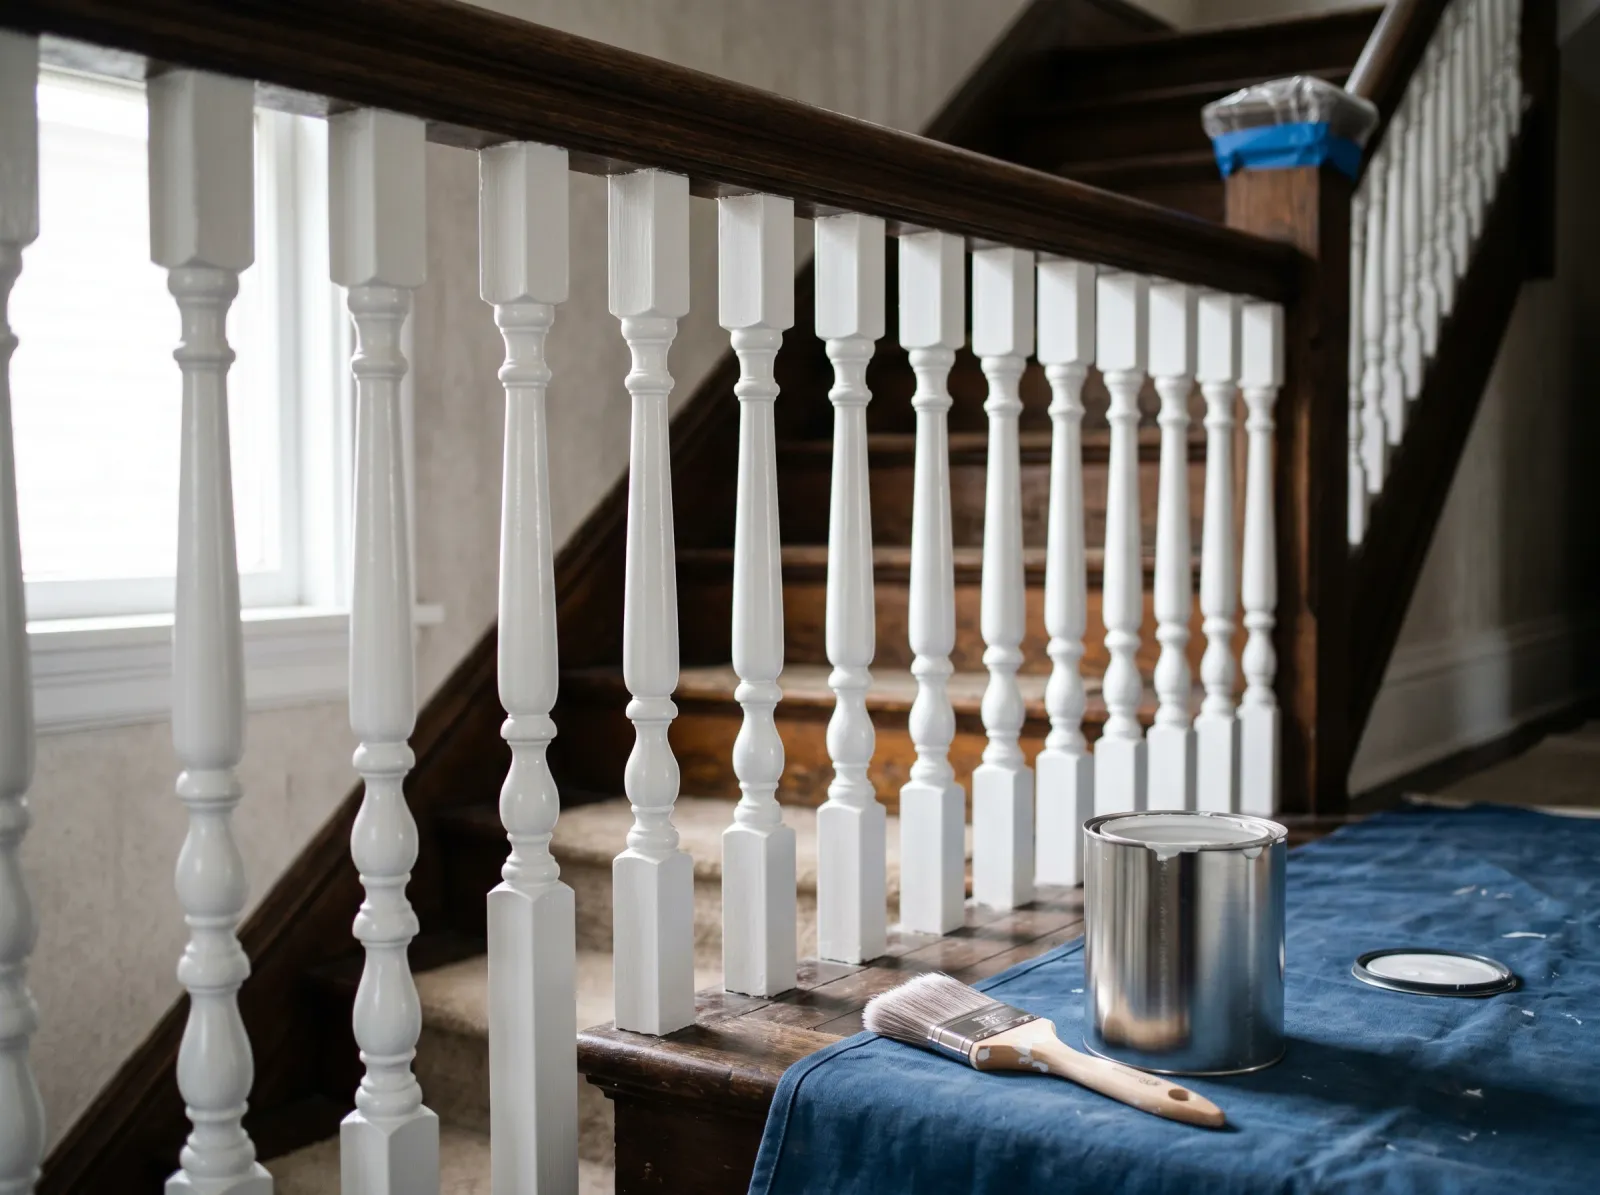 First coat on, brushed thin, every base ring checked for sags.
Step 5 — Second Coat, Then Pull the Tape
Let the first coat dry the full recoat time on the can. BM Advance wants 16 hours; most water-based trim enamels want 4 to 6. Recoat too soon and the brush drags the soft first coat into wrinkles you can’t fix without sanding back to primer.
Second coat, same routine. Top to bottom, thin, watch the sags. Two thin coats beat one thick one every time. The second coat is where the color evens out and the spindles stop looking blotchy.
Pull the tape while the last coat is still slightly tacky, not bone dry. Pull slow at a 45-degree angle. If you wait until it cures hard, the dry paint film tears at the tape line and you’re touching up edges.
Leave the treads covered and stay off the stairs as long as you can. If it’s the only way up, walk the very back of each tread and don’t brush against the spindles.
Common Mistakes
- Using wall paint instead of trim enamel. Wall paint stays soft and scuffs off the first time a backpack or a vacuum hits a spindle. Balusters take more abuse than almost any trim in the house. Use cabinet-grade enamel.
- Skipping the dull-and-prime over old varnish. Paint won’t bond to gloss. It peels at the base of every spindle within a year, exactly where hands grab. Scuff or deglosser, then bonding primer, no exceptions.
- Overloading the brush. Spindles are vertical and round, so paint pools under every turned ring and runs to the base. Dip a third of the way, tap once, brush thin, and check the bottoms.
- Painting in a dark stairwell. You can’t fix a holiday you never saw. Clip a work light to the rail and move it as you go. Half the missed spots on baluster jobs are spots the painter couldn’t see.
- Walking the stairs too soon. Enamel skins in hours but stays soft for days. Heavy traffic on day two prints shoe scuffs into the base of the spindles. Stay off as long as you can, or walk the back of the treads only.
Cure Schedule
| Time after the second coat | What’s safe |
|---|---|
| 1 hour | Pull the tape while tacky |
| 4–6 hours | Touch dry, don’t brush against it |
| 24 hours | Light foot traffic, walk the back of the treads |
| 7 days | Normal use, no scrubbing |
| 30 days | Full cure, wipe clean, takes a knock |
Maintenance and Touch-Ups
A cabinet-grade enamel on balusters holds up 8 to 12 years before it needs a refresh, longer on a low-traffic flight. The wear shows up first at the base of the spindles and on the few balusters near the bottom where everyone’s hand lands.
For a chip or scuff, wipe it with a damp rag first. Most marks are dirt, not damage. For a real chip, dab the leftover enamel on with a small artist’s brush right on the spot. Don’t repaint a whole spindle to fix one chip or the touch-up reads brighter than the cured paint. Keep the leftover quart labeled in the basement.
Cost Breakdown
| Item | $ |
|---|---|
| Trim enamel, 1 quart | $30 |
| Primer, 1 quart | $18 |
| Angled brushes (1.5-inch + 2-inch) | $28 |
| Foam mini-roller + sleeves | $12 |
| Tape, drop cloth, sponges, filler | $20 |
| Total | $108 |
That’s a standard 30-to-40-spindle flight. A short half-flight runs closer to $50 since the enamel and primer are the same quart you’d buy either way.
What’ll Bite You in Two Years
The base of the spindle. Two years out, the failures I get called back on are almost always at the bottom ring, where shoes kick and hands brush and the painter rushed the prep down low because crouching at the floor line is the worst part of the job. If you’re going to over-prep anywhere, over-prep the bottom 6 inches of every baluster. That’s where the paint earns its keep, and that’s where a skipped scuff comes back to haunt you.