How to Paint a Staircase Handrail
Pro guide to repainting a wood staircase handrail — strip old oil if pre-1978, scuff to 220, BIN shellac if you're going waterborne, two coats Emerald Urethane.

A handrail is the hardest-working piece of trim in the house. Every person up or down the stairs has a hand on it, and palm oil is the slow killer of any finish that wasn’t cured hard. Most rails fail the same way. Someone brushed wall paint on it. Three months in, the grip zone is dull and gummy.
Two coats of urethane trim enamel on prepped wood lasts a decade. Half-prep, wall paint, no primer, three months and you’re sanding it again.
What You’ll Get
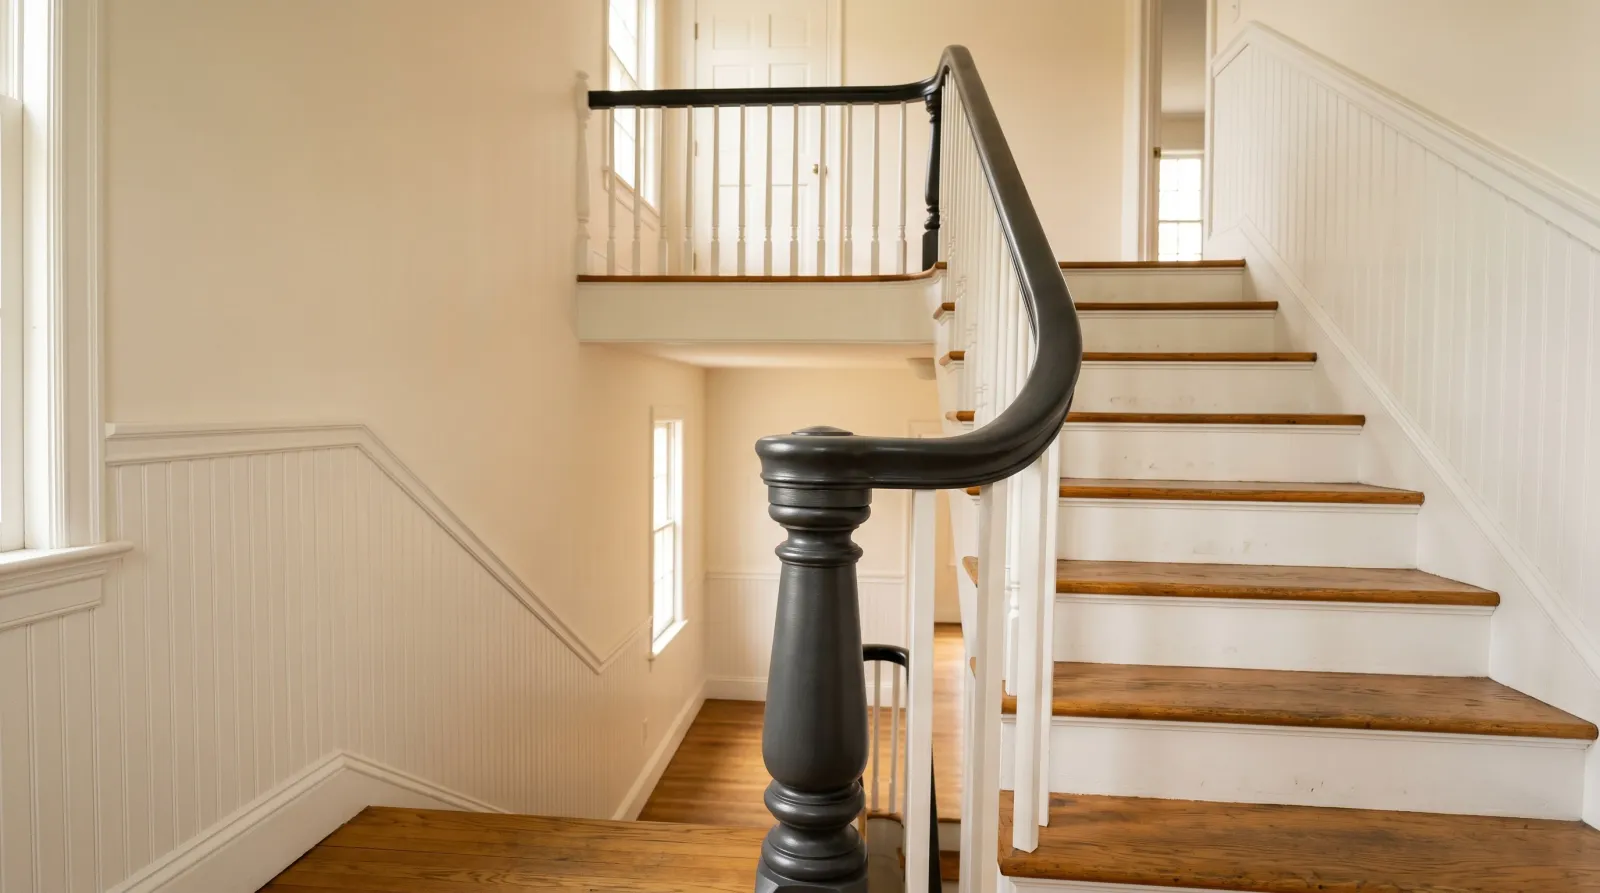
A satin handrail with a hard cured film that survives daily grip, doesn’t yellow against the wainscot, and doesn’t show palm-print burnish in raking light.
Honest Take on Difficulty and Time
Medium project that hides a hard step. The paint part is half a Saturday. The prep (especially if the house is pre-1978 and the old finish is failing) is the rest of the weekend. Then you stay off the rail for a week.
| Stage | Active time | Elapsed |
|---|---|---|
| Lead test + decide your path | 15 min | Same day |
| Strip and sand (if old finish is failing) | 4–6 hrs | One day |
| Prime, two coats | 3 hrs | Half a day |
| Cure window before normal grip | — | 7 days |
The wear-rate math is what makes this project worth doing right. Trim enamel on prepped wood holds clean three to five years in the grip zone, light burnishing at year five, meaningful wear at year seven, recoat at year ten. Wall paint on under-prepped wood is dull at year one, chewed at year three. The difference is one day of prep.
What You’ll Need
Paint and primer
- 1 quart Sherwin-Williams Emerald Urethane Trim Enamel, satin. The urethane fortification is what gives you a film hard enough for a grip surface. BM Advance is the Benjamin Moore equivalent. See the best trim paint round-up for the full picks.
- 1 pint Zinsser BIN shellac primer. Only if you’re going waterborne over old oil. Skip the bridge and the new film peels in sheets inside a year.
- 1 quart Citristrip or Smart Strip. Only if the existing finish is failing. Don’t sand old paint if the house is pre-1978.
Tools
- 2-inch angled sash brush. Cuts clean against the wainscot and the underside where the rail meets the spindles.
- 220-grit sanding sponges. Foam blocks conform to the rounded profile. Flat sandpaper doesn’t.
- Canvas drop cloth. Not plastic. Plastic on stair treads slides under your feet and you’ll go down hard.
- Painter’s tape, 1.41-inch ScotchBlue.
- A folded cardboard sign. You’re going to physically block the rail for a week.
The brush matters most. A cheap brush leaves bristle marks in satin enamel that show under raking light. See the brush picks.
Before You Start: Lead Test the Old Finish
If the house was built before 1978, the existing paint on that handrail might be lead-based. Test before you sand. 3M LeadCheck swabs run about ten dollars and take 30 seconds.
Swab three spots: near the newel post, the midpoint, the top return. Red means lead. If any swab reads red, do not sand. Strip chemically, windows open, P100 respirator on, every chip onto a drop cloth that goes straight in the trash.
This isn’t paranoia. A handrail in a 1950s house has been painted six times and at least one coat is lead. Sanding atomizes it. See the lead paint testing guide for the full procedure.
Step 1: Inspect, Strip, or Scuff
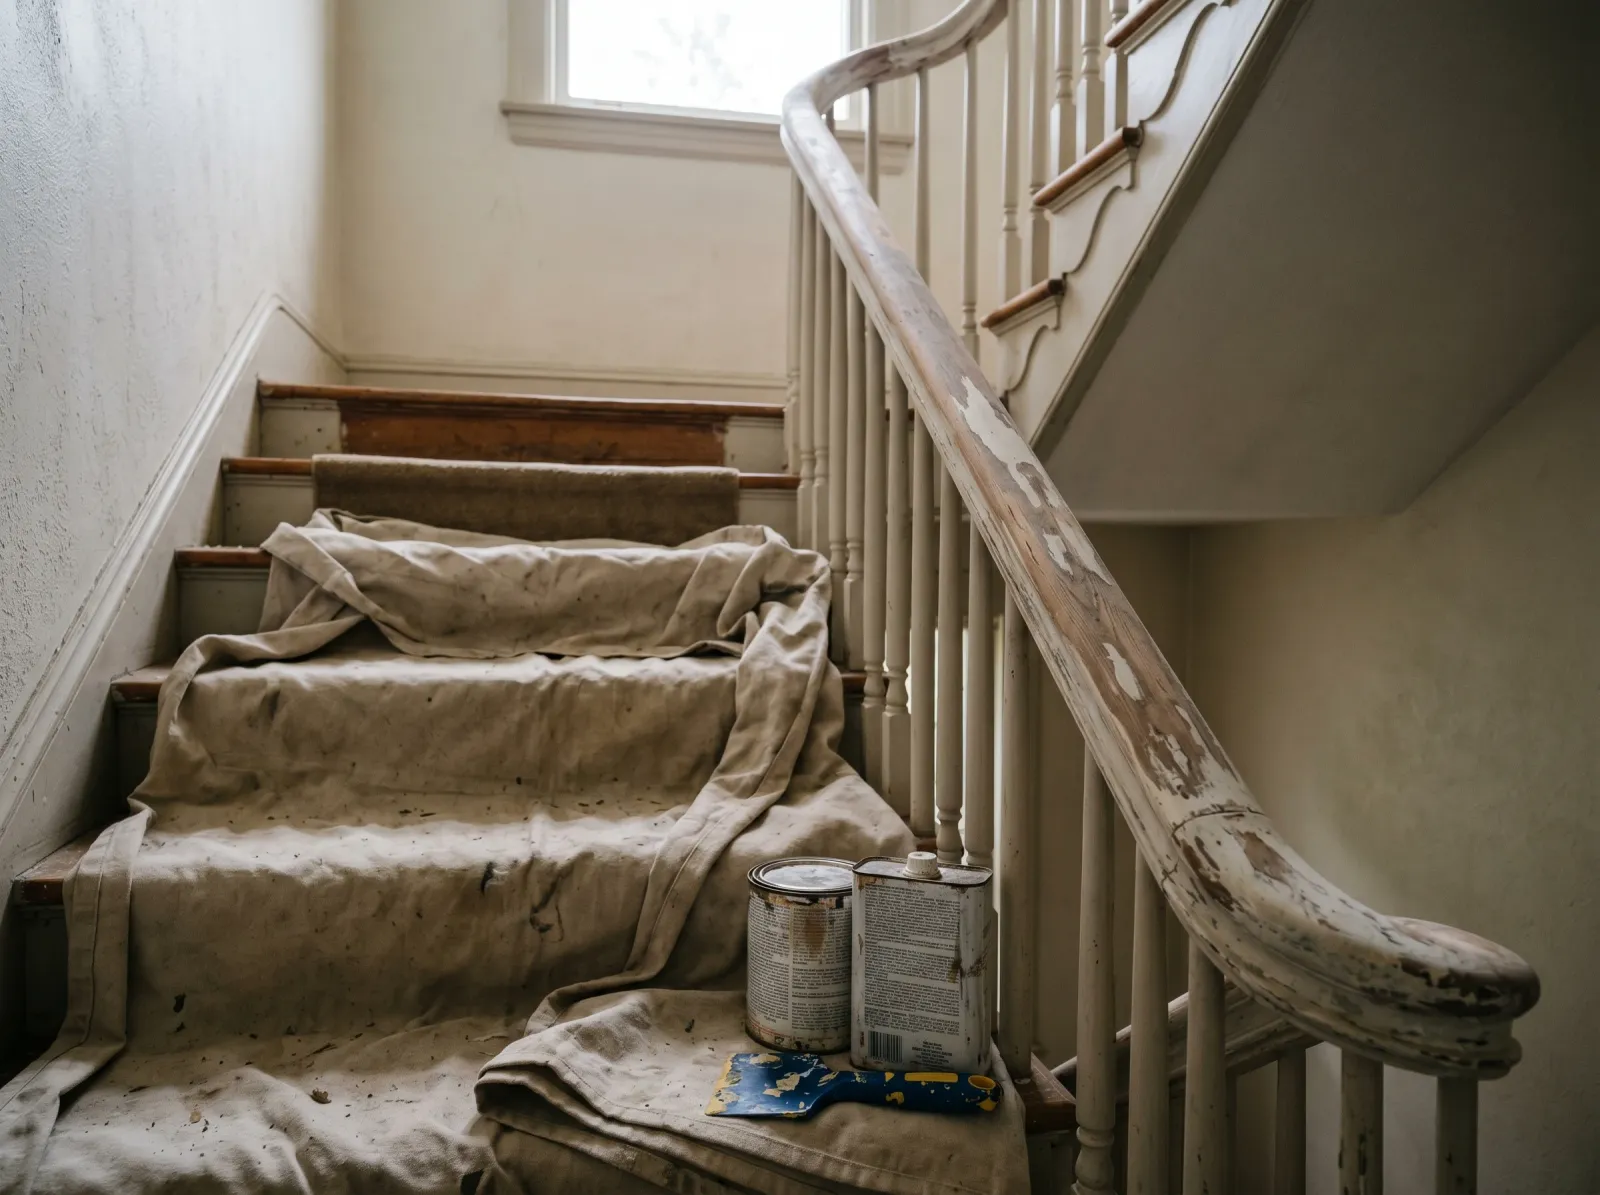
Lead test came back clean, old finish stripped where it was failing, the rail sanded back to dull bare wood and primer.
Walk the length of the rail with your hand on it. You’re looking for failure: spots that flake when you press, edges where the film has lifted, alligator cracking on the top surface where palm oil broke down the binder.
If the finish is sound, scuff with 220 and skip stripping. Two minutes per foot, just enough to break the gloss so primer can bite.
If the finish is failing, strip the failed sections back to bare wood. Brush on Citristrip, wait 30 minutes, scrape with the plastic scraper. Wipe residue with mineral spirits, then sand stripped sections with 120 to knock down swelled grain, then 220 to feather the strip edge into the surrounding intact finish.
Watch out for: sanding through into the old finish at the feather line. Stop the 120 at the edge of the strip and switch to 220 to blend. A hard ridge between stripped and unstripped sections shows through two coats of enamel.
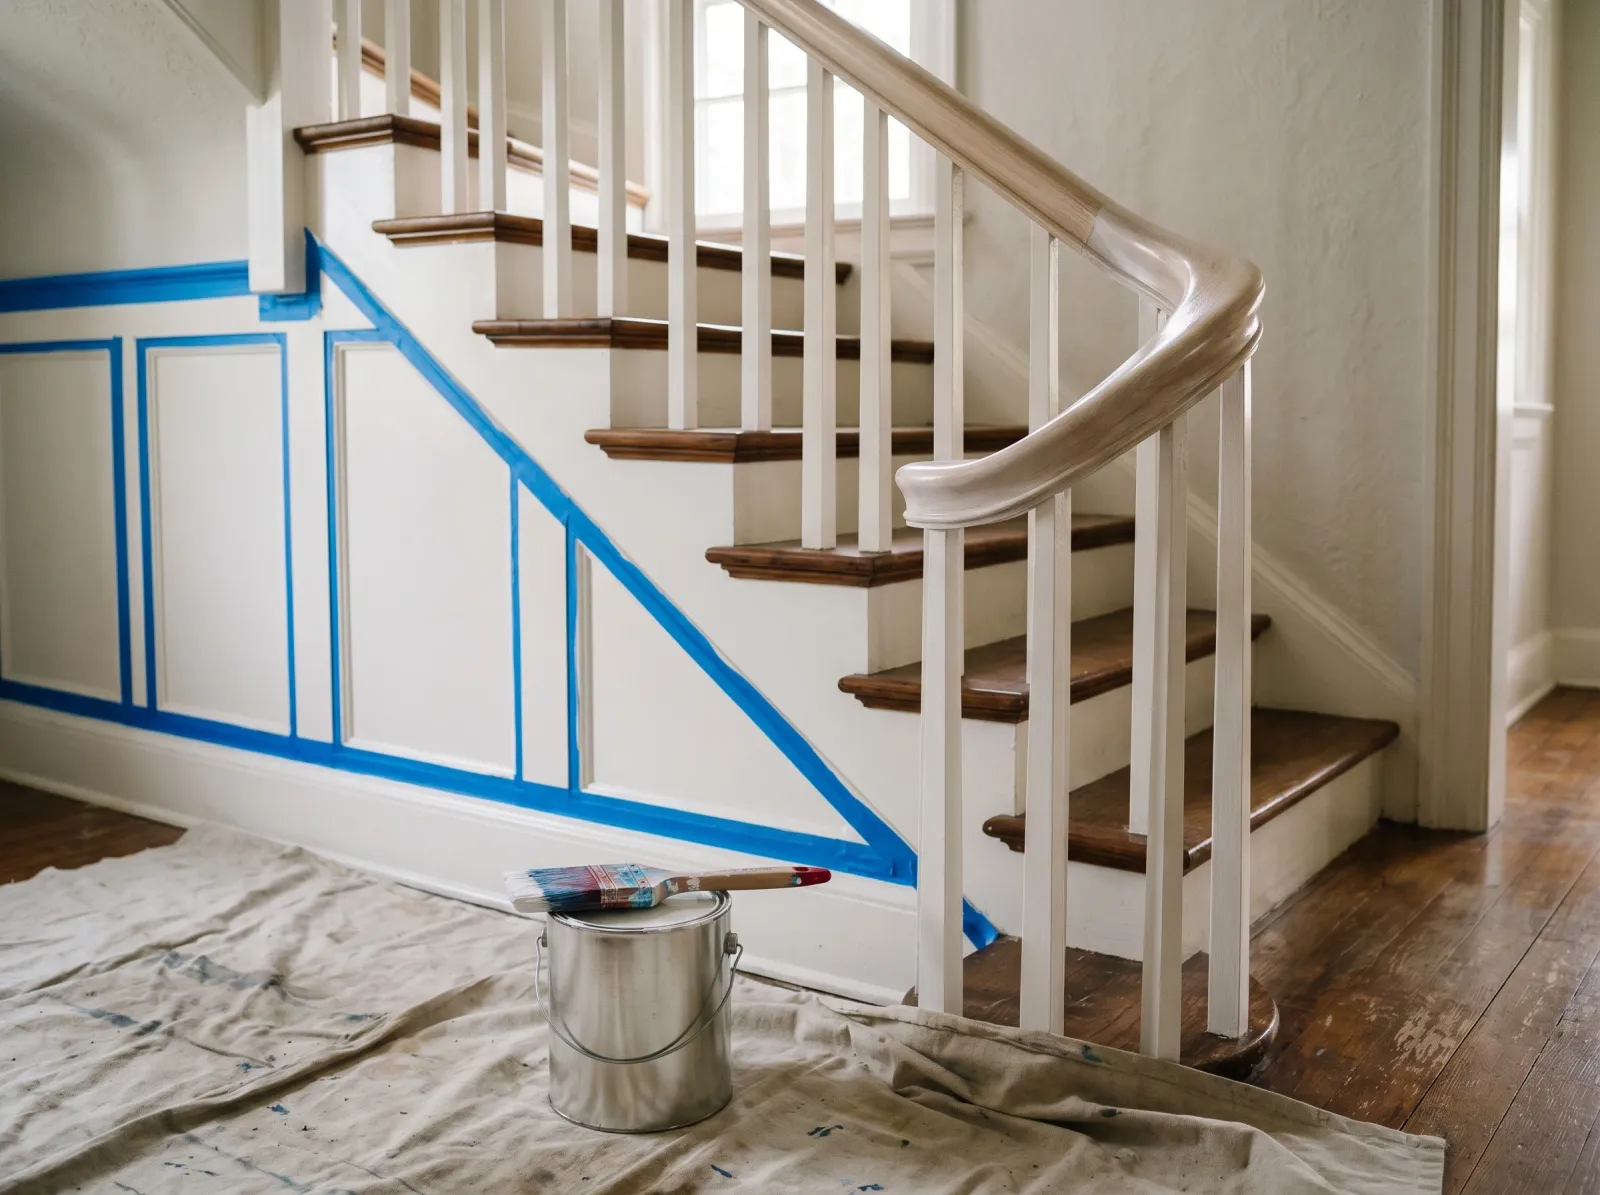
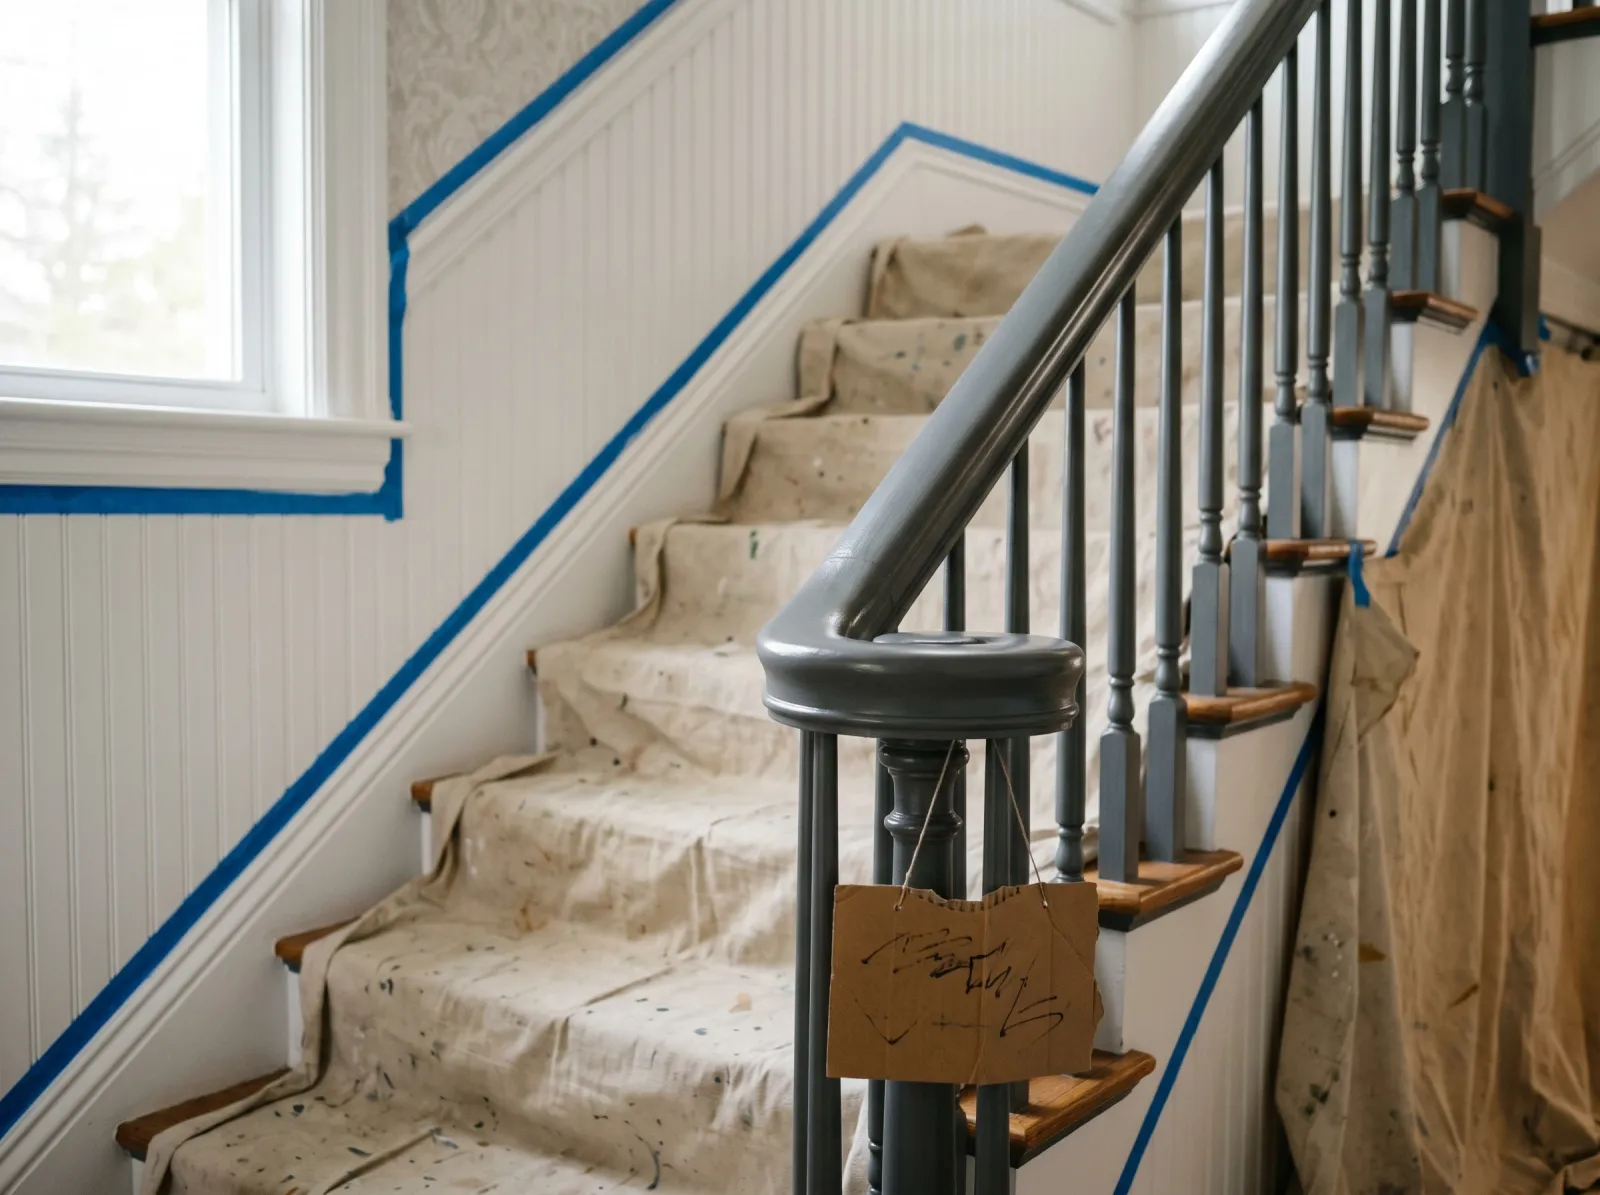
Step 2: Tape the Wainscot and the Spindles
Run 1.41-inch ScotchBlue along the top edge of the wainscot, tight to the bottom of the rail. Tape the top of each spindle where it meets the underside.
Press every tape edge with the side of your thumbnail. The press is what seals it. Loose tape bleeds.
Drop the canvas cloth over the treads, overlapping each one. Tape the cloth to the riser at every step so you don’t kick it loose mid-job.
Step 3: Shellac Primer, If You’re Going Waterborne Over Oil
One coat of BIN shellac primer locking the old oil and the bare patches under a single bonding film.
The old finish on most pre-2000 handrails is oil-based. Modern trim enamels are waterborne. Waterborne over oil without a bridge primer peels in sheets inside twelve months. BIN is the bridge.
Stir BIN well. Shellac settles fast. Pour a small amount into a cup, don’t dip the brush in the can. Brush a single thin coat the length of the rail in one direction, working from the top down so gravity pulls drips toward the wet edge.
BIN dries in 45 minutes and topcoats over. Smell is sharp; open a window. Brush cleans with denatured alcohol, not water. If the rail came back to bare wood after stripping, BIN still earns its place. It locks tannin in oak and stops bleed-through under a light topcoat.
Watch out for: lap marks at the join where you stop and restart. Shellac flashes fast. Finish the rail in one pass without taking a phone call halfway through.
Step 4: First Coat of Finish Enamel
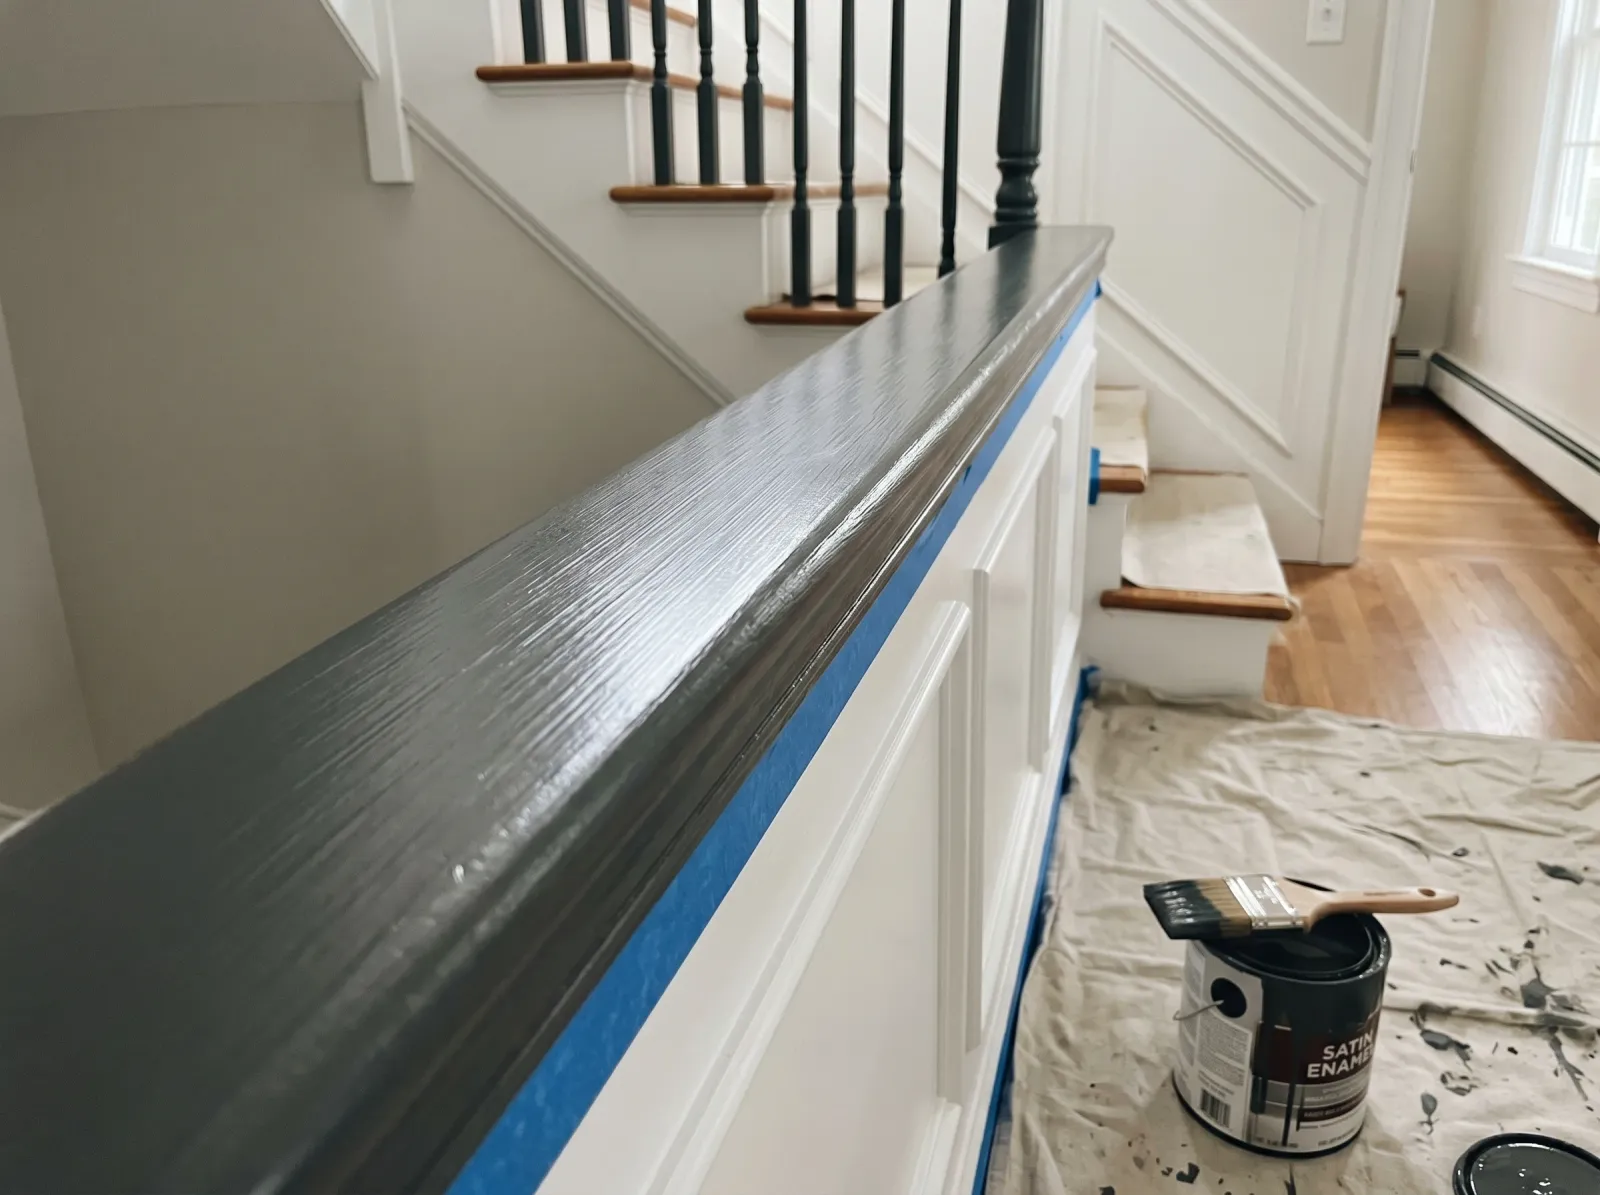
First coat of satin urethane enamel laid in long even strokes from newel post to landing, working downhill.
Open the Emerald Urethane can. Stir from the bottom for a full minute. The urethane resins settle. Load the angled brush by dipping a third of the way in and tapping the inside of the can to knock off drips.
Start at the top of the run. Three light passes per two-foot section: the top of the rail with the long side of the angle leading, the inside face, the outside face. Feather each section into the next while the edge is still wet. Stop in the middle of a run and you’ll see the lap mark the rest of your life.
Don’t load heavy. Heavy coats sag on the rounded profile, and sags on the top surface telegraph through the second coat. Thin and even beats thick and one-pass.
Watch out for: holidays on the underside. The rounded bottom is the spot most painters miss. Tilt your head and check from below every few feet.
Step 5: Light Sand, Then the Second Coat
Wait the recoat window. Four hours for Emerald Urethane at room temperature. When the first coat is dry on a fingertip, feather-pass the whole length with the 220 sponge. You’re knocking off nibs and dust, not sanding paint off. Wipe with a tack cloth.
Lay the second coat the same way: same order, same direction, same stop points. Don’t go back over a section that’s started to skin. You’ll pull the brush through tacky paint and leave a track. The first coat looks streaky in raking light; the second evens out and reads uniform.
Step 6: Pull Tape, Stay Off the Rail
Second coat down, drop cloths still in place, the rail off-limits for the cure window.
Pull the tape from the wainscot while the second coat is still slightly tacky, 30 to 60 minutes after you finish. Slow pull, 45-degree angle, away from the rail. If the tape resists, score the paint edge with the corner of a plastic scraper.
Now the hard part. Tape a sign to the newel post: “Wet — do not touch.” Mean it. The film is dry to the touch at 4 hours and feels finished at 24. It isn’t. Grab it at 24 hours and you burnish a dull palm-shaped spot into the satin sheen. Wait the week. Use the wall, the wainscot top, or just walk carefully.
Step 7: Cured, Signs Down, In Service
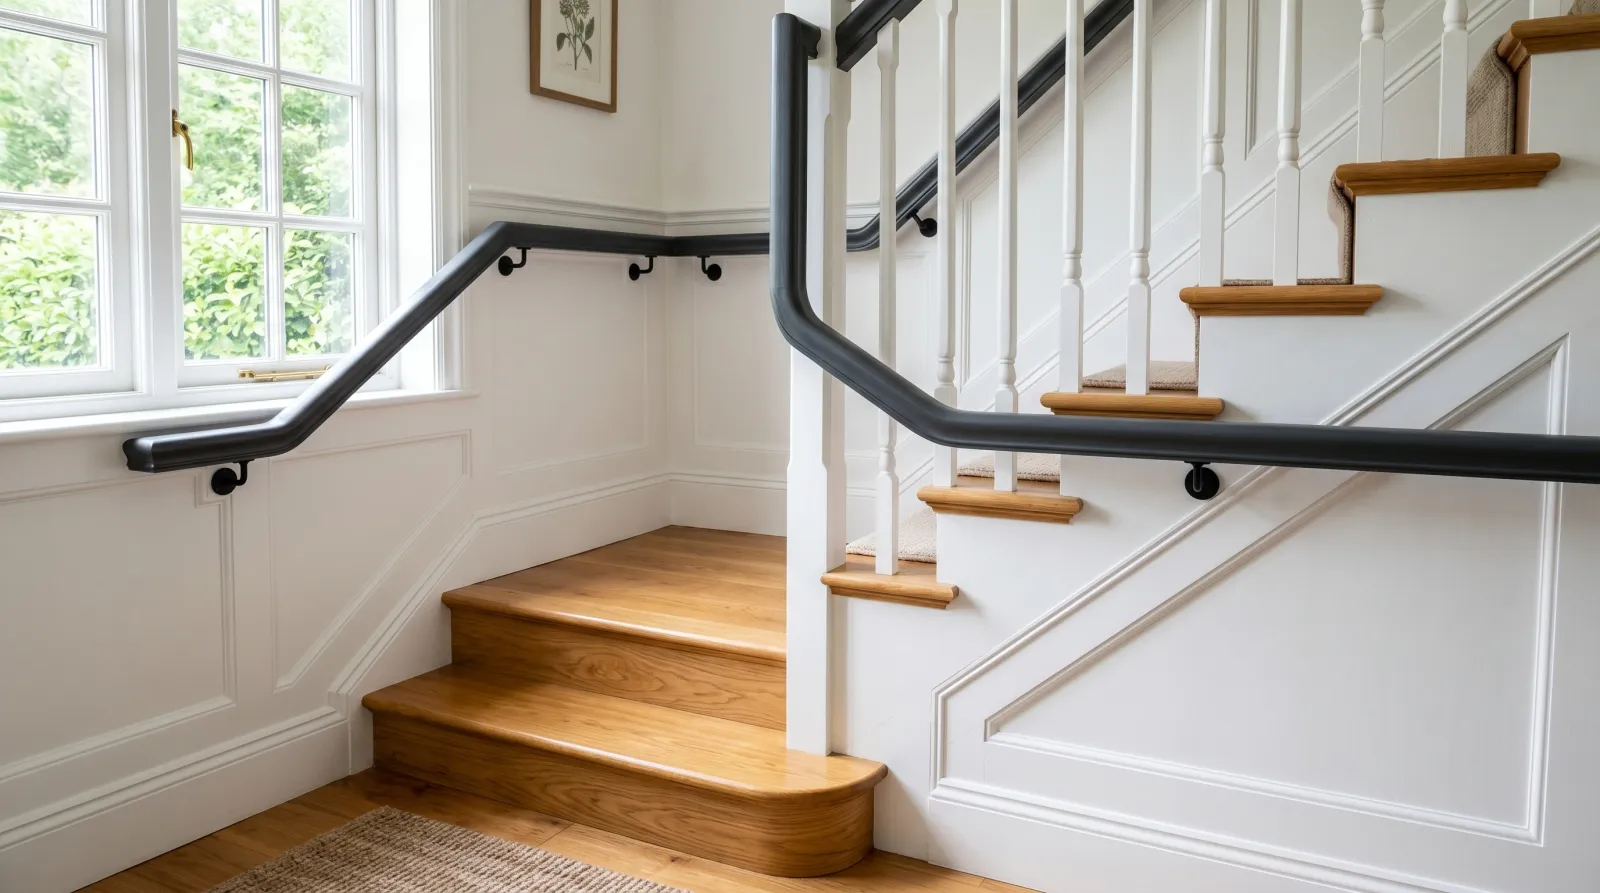
Seven days later: tape off, drop cloths gone, the rail back in use under a hand.
Day seven, the rail goes back in service. Sign down, drop cloth rolled up, treads vacuumed. The first time someone grips the rail and you don’t see a dull palm print appear, you’ll know you did it right.
Common Mistakes
- Wall paint on a handrail. Soft cure, palm-oil burnish, gummy grip zone by month three. Use a trim enamel.
- Skipping the bridge primer over old oil. Waterborne over aged oil peels in sheets within a year. BIN is non-negotiable.
- Sanding pre-1978 paint without a lead test. The dust is toxic. Test first; strip chemically if positive.
- Grabbing the rail at 24 hours. Touch-dry, not cured. The first hand burnishes a permanent dull spot. Wait the week.
- One thick coat instead of two thin. Heavy enamel sags on the rounded profile, and the sag shows in raking light.
Cure Schedule
| Time after final coat | What’s safe |
|---|---|
| 30–60 min | Pull the tape |
| 4 hrs | Light pass with a feather duster |
| 24 hrs | Light handling, no grip pressure |
| 7 days | Normal grip and daily use |
| 30 days | Full cure; wipes and cleaning |
Maintenance and the Wear Curve
A handrail in Emerald Urethane or BM Advance, on properly prepped wood: year one looks new, year three shows light burnishing where every hand lands, year five has a visible dull zone at the grip but no failure, year seven is when you start thinking about a refresh, year ten is the realistic outside edge before a recoat. Wall paint on the same rail: dull at year one, gummy at year three, chewed at year five.
Save the quart with an inch in the bottom and label the lid with the room and date. A small artist’s brush handles dings. Anything bigger than a thumbnail, sand the section and recoat the entire length of that rail segment. Spot patches on a satin enamel show their seams.
The thing that bites you in two years is skipping the bridge primer over old oil. You’ll see a hairline lift at a spindle, you’ll pull at it, the topcoat comes off in a strip. Then it’s the whole project again. Do it once.
Related
Frequently asked questions
Do I really have to strip the old paint?+
Why shellac primer specifically?+
Can I use the same wall paint?+
Satin or semi-gloss?+
How long before I can grab it?+
Brush or spray?+
- Best paint for trim and handrails
- Best angled brushes for trim
- Painting wood — prep, primer, and finish
- Sheen guide for trim and handrails
- Testing for lead before you sand