How to Paint Vinyl Siding
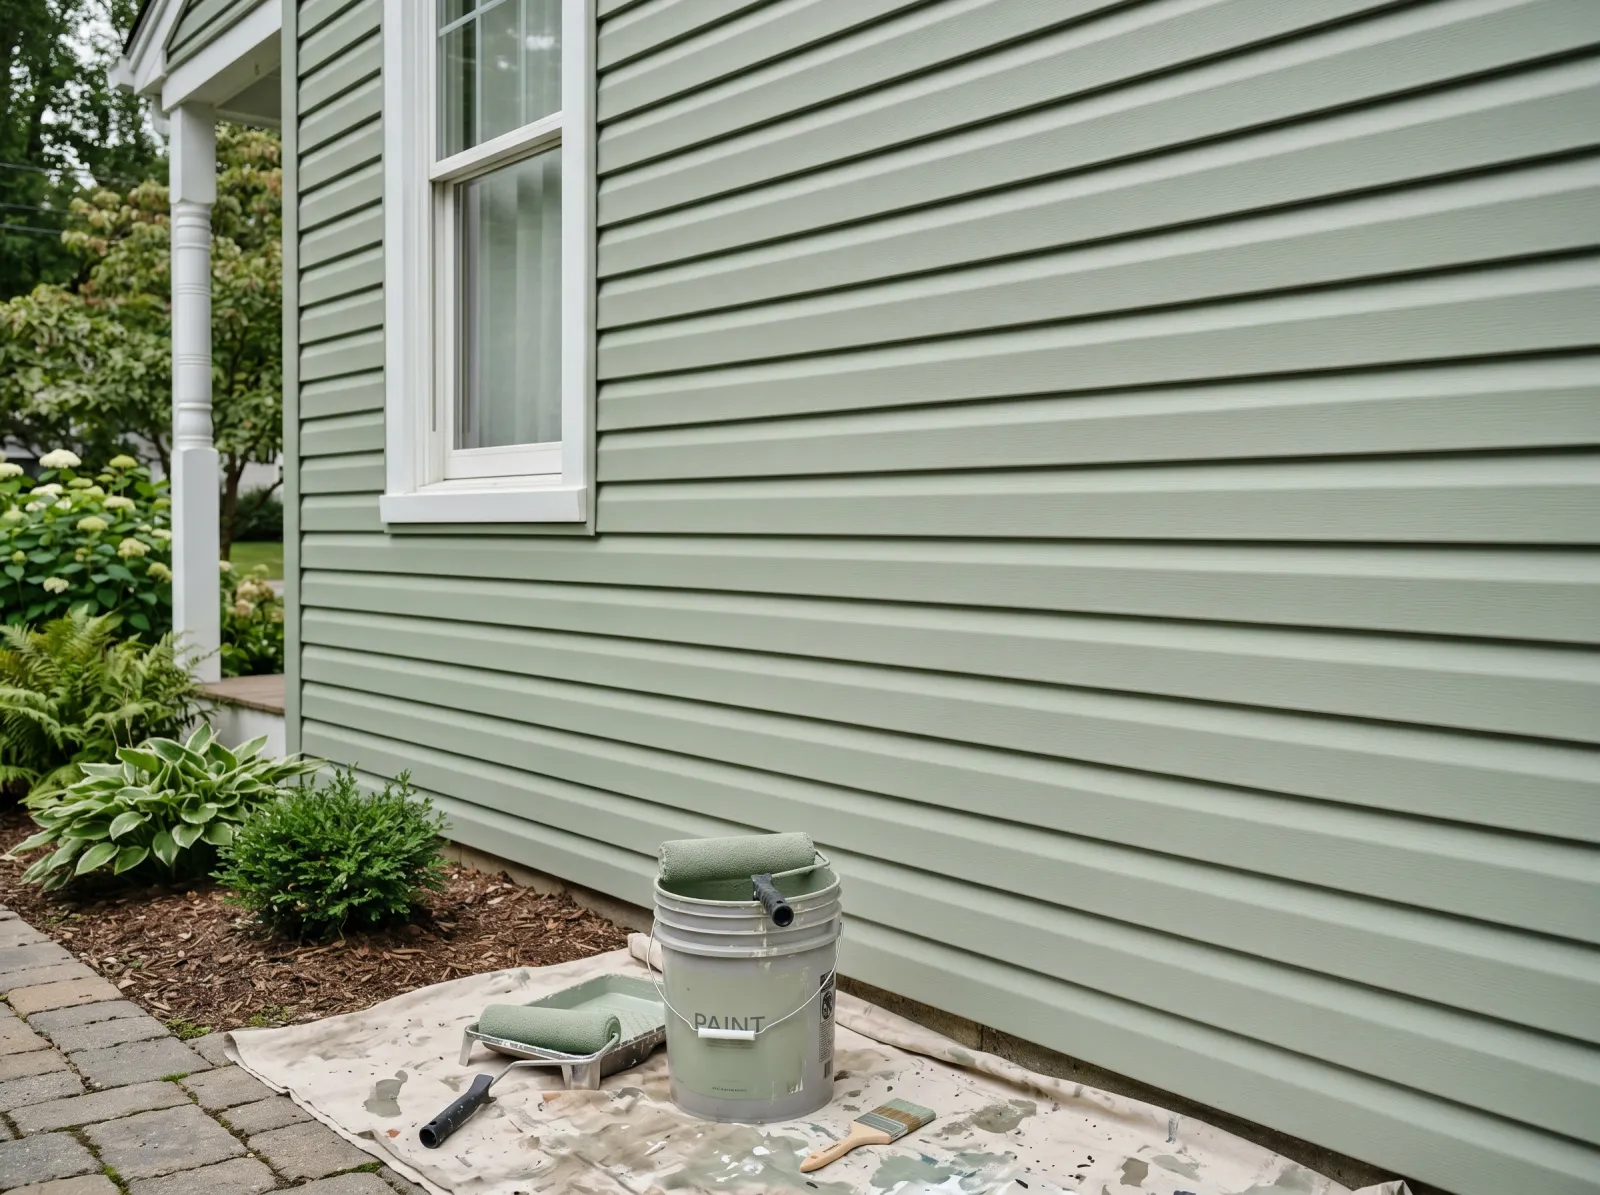
Painting vinyl siding the right way: wash off the chalk and mildew, stay the same color or lighter, and roll on two thin coats of vinyl-safe acrylic.

Yes, you can paint vinyl siding. I’ll save you the argument you’re about to have with somebody at the hardware store. The siding is fadable, paintable plastic, and good acrylic bonds to it fine. The two ways people wreck the job are simple. They skip the wash, so the paint sticks to a film of chalk and mildew instead of the vinyl. Or they go three shades darker, the panels cook in the afternoon sun, and the whole wall buckles by August.
Stay the same color or lighter. Clean it like you mean it. Two thin coats. That’s the whole job.
What You’ll Get
A repainted exterior that reads like new siding from the curb and holds its color for 8 to 10 years. Cheaper than re-siding by a mile, and you skip the dumpster.
Honest Take on Difficulty and Time
This is a medium job, not a hard one. The skill ceiling is low. The labor is real.
For an average single-story house, budget a long weekend. Day one is washing and letting it dry. You cannot paint wet siding, and vinyl traps water behind the laps, so a full dry day matters more here than on wood. Day two and three are masking, then two coats with dry time between.
A two-story doubles the ladder work and the risk. If you’re not steady on an extension ladder twenty feet up, rent scaffold or hire it out. Nobody paints a gable well while white-knuckling a ladder.
Spraying cuts the paint time in half. Brushing and back-rolling takes longer but you control the film thickness better. More on that below.
What You’ll Need
Paint and Primer
100% acrylic exterior paint, rated for vinyl. The acrylic flexes when the panels move in heat and cold. Oil and bargain latex are stiffer than the vinyl under them, so they crack and peel inside two seasons. Sherwin-Williams Resilience and Emerald, BM Aura Exterior, and Behr Marquee all hold up. If you want a color darker than the original, you must buy from a vinyl-safe line. Sherwin-Williams VinylSafe uses reflective pigments that run cooler so the panel doesn’t overheat and warp.
Plan on about 1.5 gallons per coat for an average house, so 3 to 4 gallons across two coats. Vinyl has a slight texture that drinks the first coat.
You don’t prime the whole house in most cases. Spot-prime the chalky, faded, or bare patches with a bonding primer like Sherwin-Williams Extreme Bond or Zinsser Bulls Eye 1-2-3. For SKU picks see the best exterior paint round-up, and for the deep prep on the material itself read the vinyl siding prep guide.
Tools
A pump sprayer or a pressure washer set low for the wash. A soft scrub brush on a pole. For applying paint, either an airless sprayer for speed, or a 4-inch exterior brush plus a 9-inch roller with a 3/4-inch nap for brush-and-back-roll. An extension ladder or scaffold. Tape, rosin paper, and drop cloths.
If you’re deciding between methods, the spray vs roll vs brush breakdown lays out the trade-offs, and the sprayer picks cover the airless units worth renting.
Step 1 — Wash It Down and Kill the Mildew
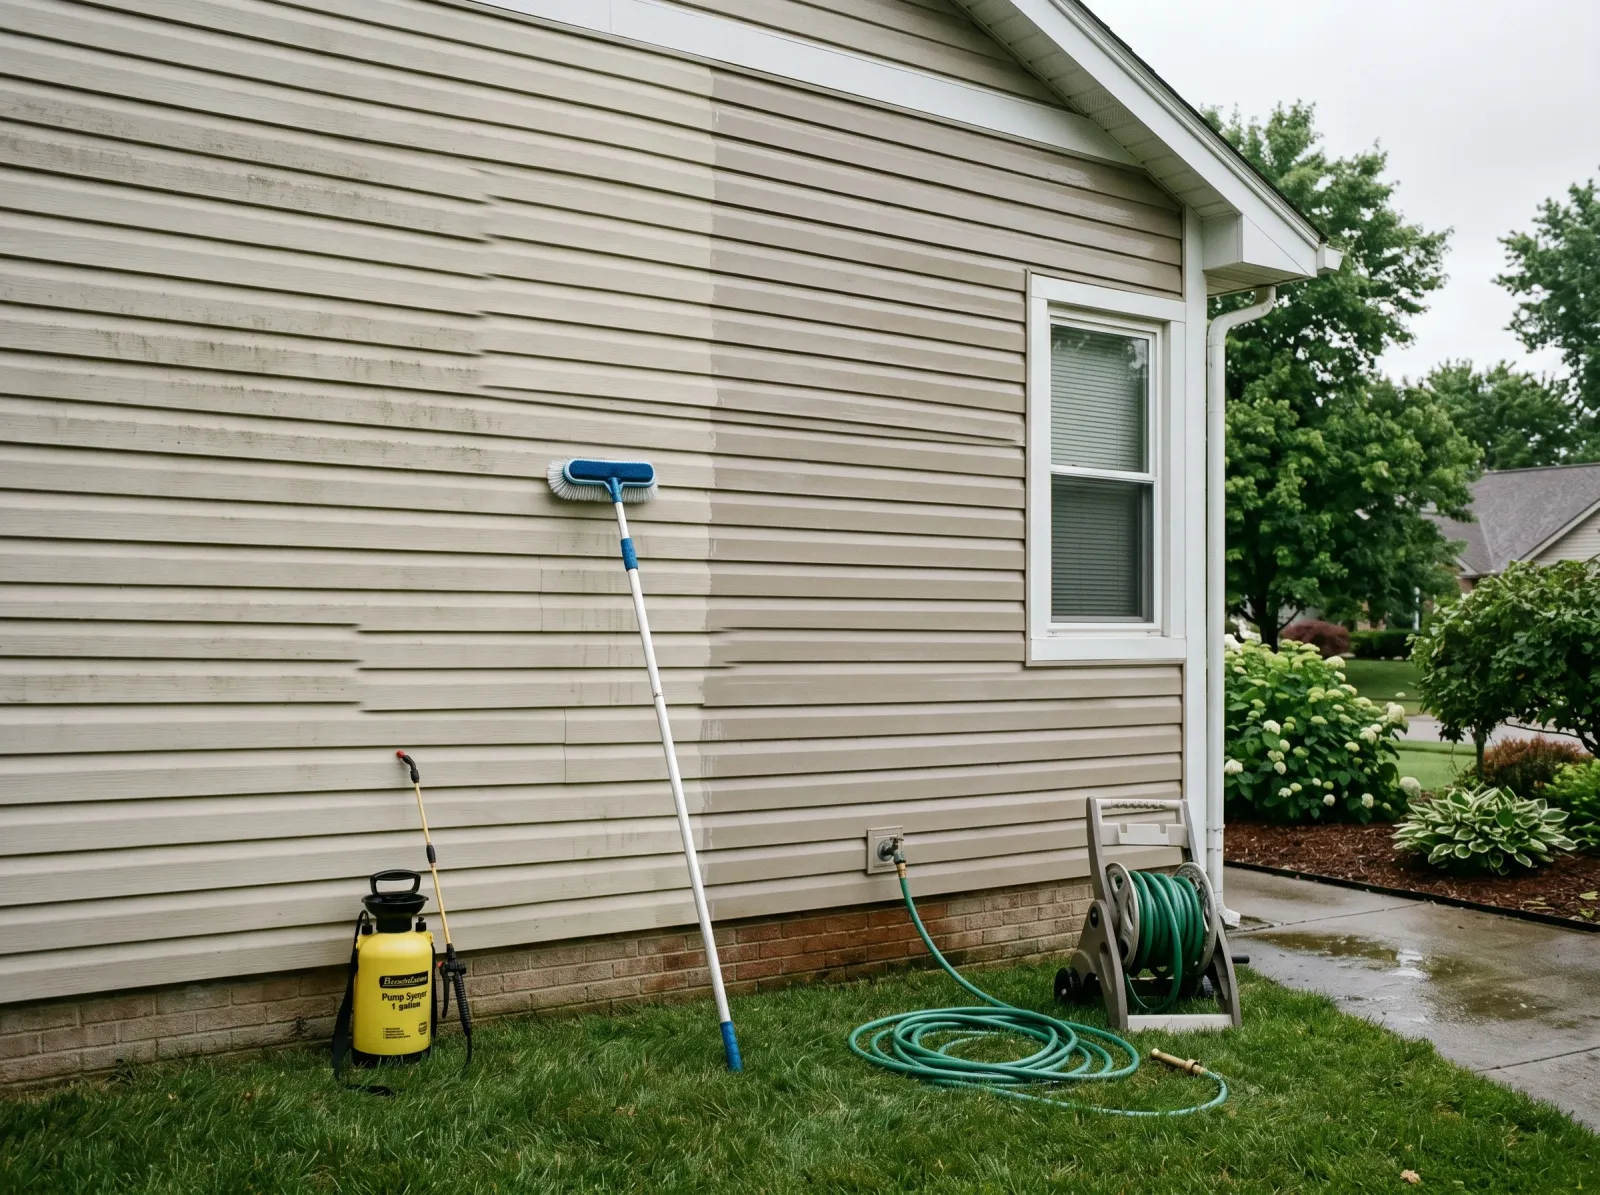
Whole exterior scrubbed with house wash, mildew spots hit with diluted bleach, then rinsed top to bottom and left to dry.
This is the step that makes or breaks the job. Vinyl chalks as it ages, and that powdery film is what your paint will grab if you don’t strip it. Run your hand down the siding. If it comes away dusty, the wall is chalking.
Wash with house wash or a TSP substitute and the scrub brush. Hit any black or green spotting with diluted bleach, one part bleach to three parts water, and let it sit a few minutes before scrubbing. Mildew is alive. Paint over it and it grows back through the new coat.
Rinse top to bottom. Then let the house dry a full day, longer if it’s humid.
Watch out for the pressure washer. Keep it under 1,500 PSI, use a wide tip, and spray slightly downward. Aim up under the laps and you drive water behind the panels where it sits for weeks and blisters your fresh paint from behind.
Step 2 — Mask Off and Spot-Prime
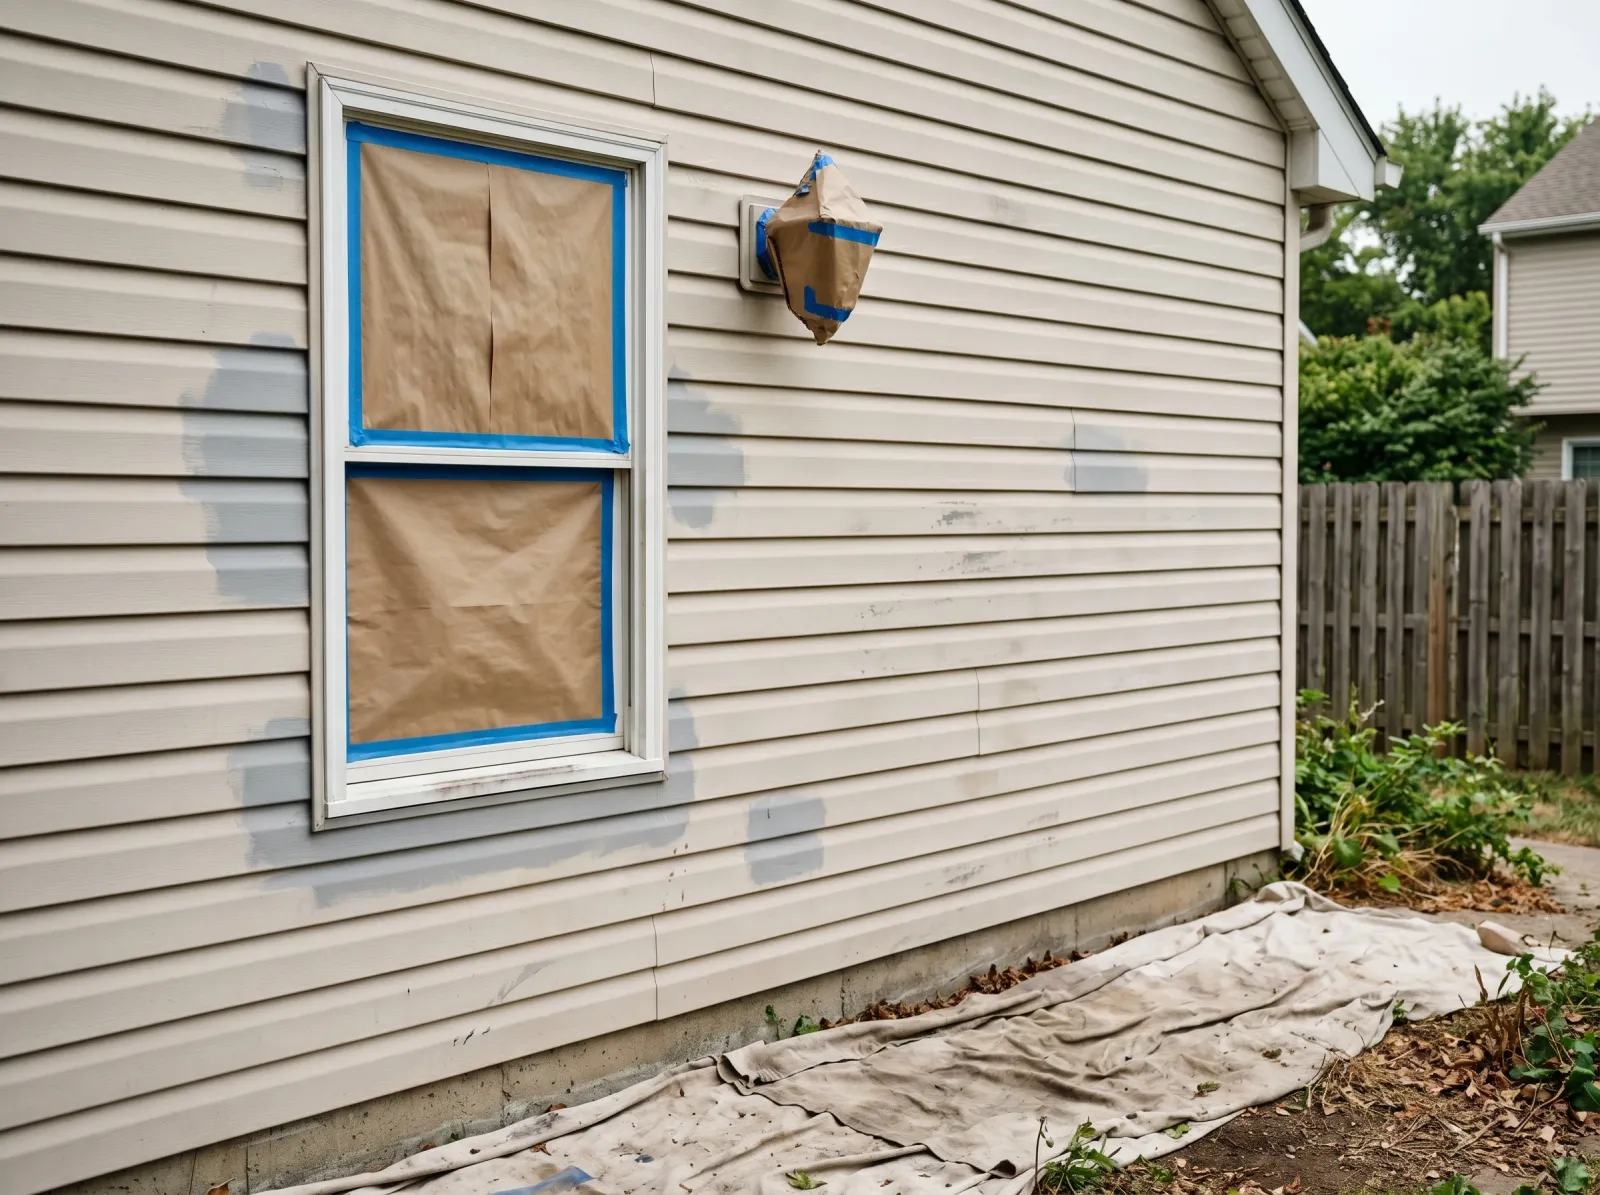
Windows, light fixtures, and the foundation line taped and papered. Bare and chalky spots spot-primed.
Tape and paper the windows, doors, light fixtures, the meter, and the foundation line. If you’re spraying, mask wider than you think. Overspray drifts on a breeze and lands on a car two driveways down.
Now spot-prime. Anywhere the siding is bare, badly faded, or still a little chalky after the wash, hit it with bonding primer. The primer gives the topcoat something to bite on the spots that lost their grip.
Watch out for weep holes along the bottom edge of each lap. Those little slots let trapped water drain out. Don’t fill them with primer or paint. Plugging them traps moisture inside the wall.
Step 3 — Put On the First Coat
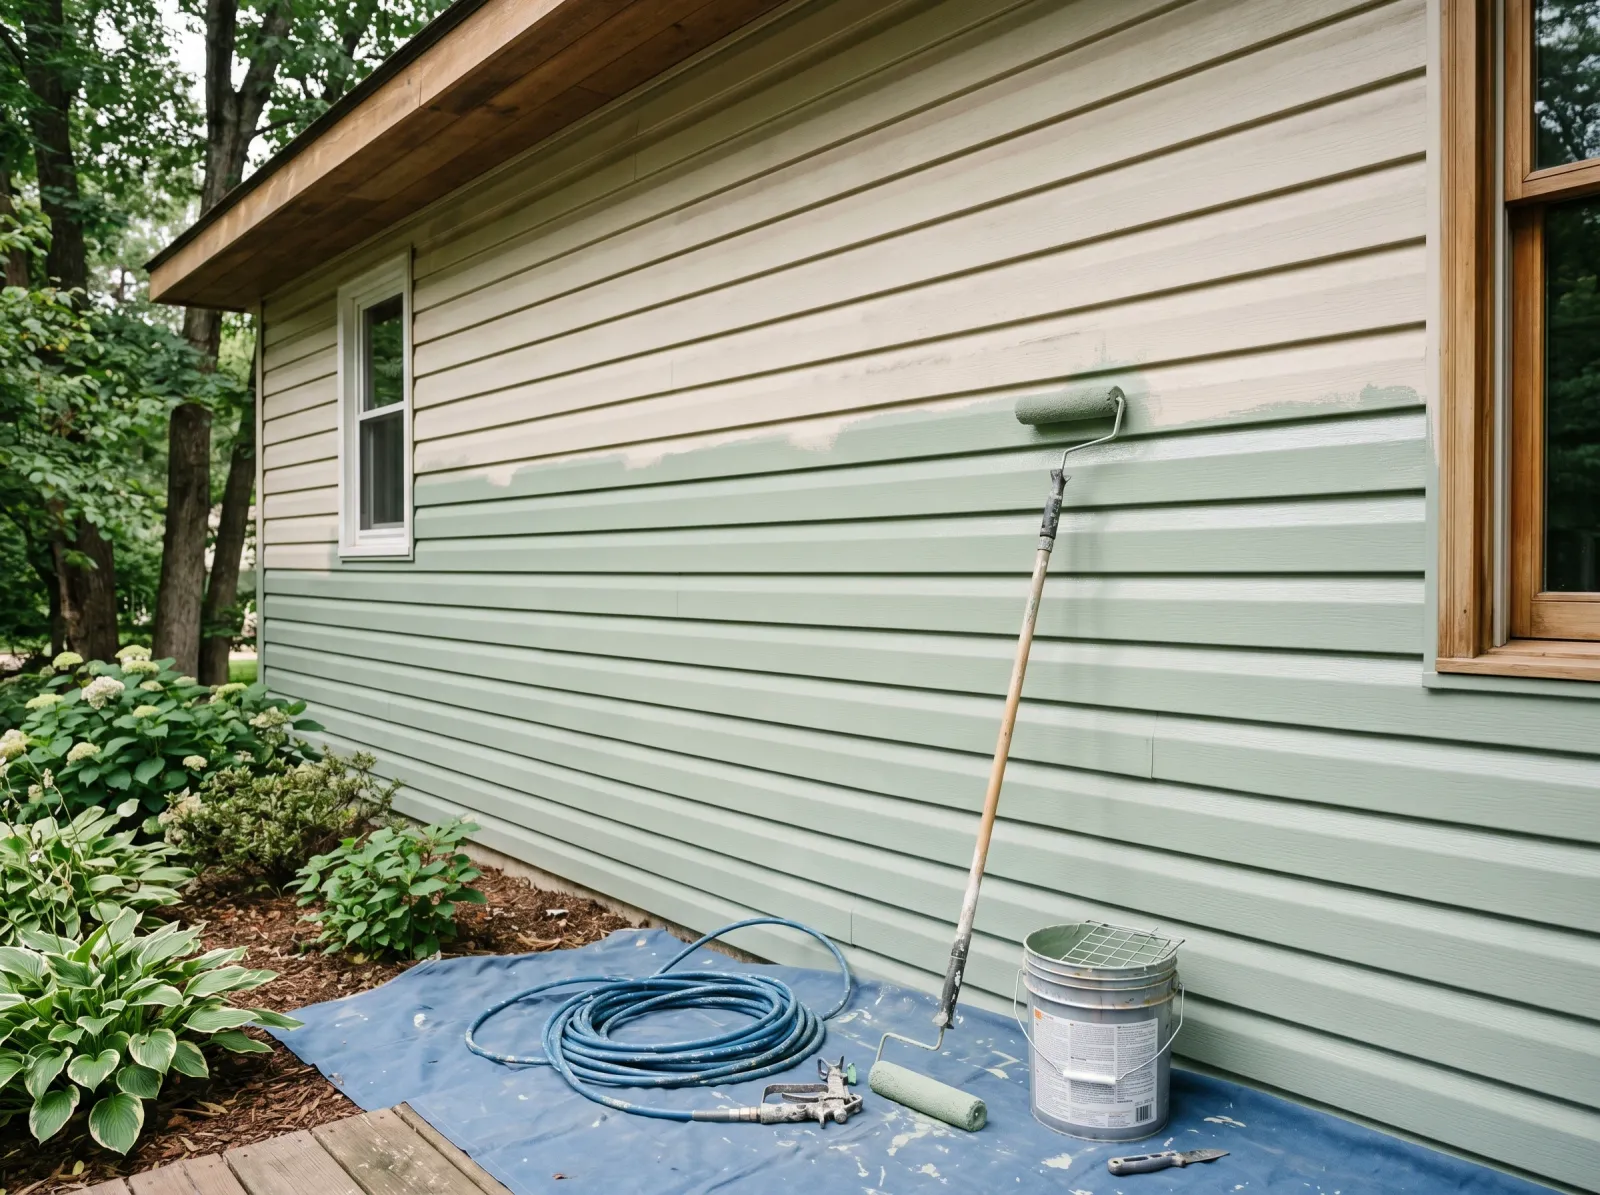
First thin coat of vinyl-safe acrylic sprayed and back-rolled into the grain, working out of direct sun.
Thin coats. Resist the urge to lay it on heavy to save a pass. Heavy acrylic on vinyl sags, runs, and skins over before the bottom cures, and that’s where you get peeling later. You want correct mil thickness, not a thick gummy slab.
Work the shaded side of the house and chase the shade around as the sun moves. Painting vinyl in direct hot sun is a mistake. The surface is hot, the paint flashes off too fast, and you get lap marks where the wet edge dried before you caught up to it.
If you spray, back-roll behind the gun to push the paint into the texture and even out the film. Spray-only leaves a thin shell sitting on top. Back-rolling is what makes it last. Keep a wet edge and feather the edge into the next section so the passes blend.
Watch out for wind. Anything over about 10 mph and your spray pattern scatters. Brush those days instead, or wait.
Step 4 — Second Coat
Second thin coat over the first. The streaky, thin first coat fills in to a solid even color.
The first coat will look thin and blotchy. That’s normal on vinyl. Don’t go back and fuss with it while it’s drying. You’ll leave roller marks.
Wait the recoat time on the can, usually 4 hours in good weather, longer if it’s cool or damp. Touch a hidden spot with a knuckle. Dry and not tacky means you’re clear. Lay the second coat the same way, same shaded-side rhythm, same back-rolling.
The second coat is where the color goes solid and even. Two coats. Always two coats. A single coat on vinyl reads thin and patchy in raking evening light, and it won’t make the durability numbers the can promises.
Step 5 — Pull the Masking and Clean Up
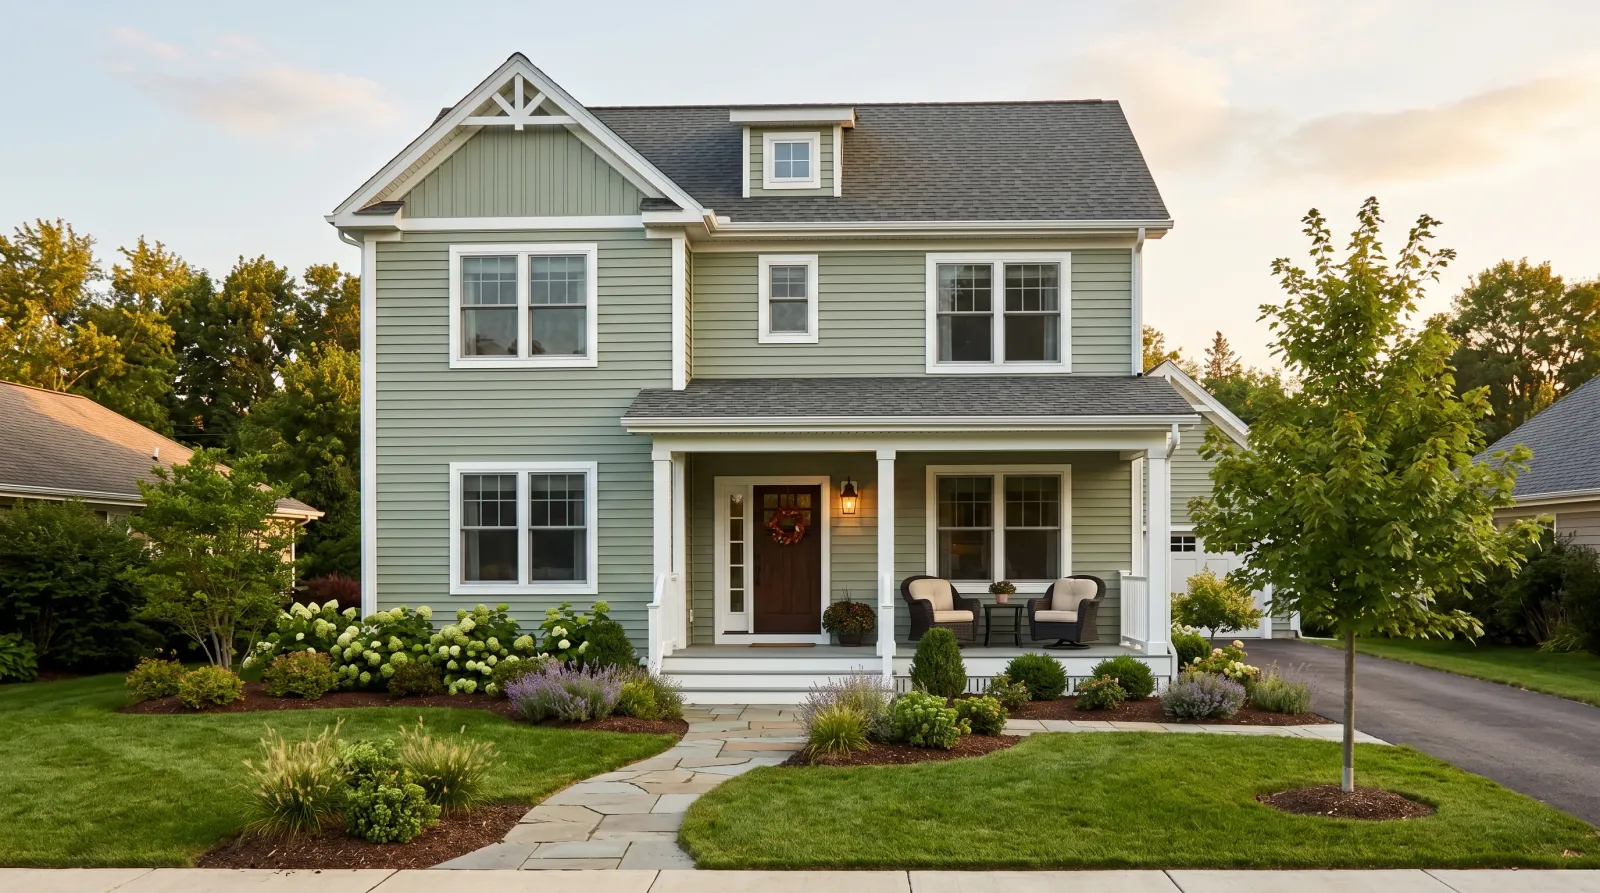
Masking off, fixtures back, the whole house in its new color.
Pull the tape while the last coat is still slightly tacky, not bone dry. Dry paint cracks at the tape line and peels with the tape. Pull slow at a 45-degree angle.
Rehang the light fixtures, pop the outlet covers back on, and check the weep holes are clear. Wash brushes and rollers under warm water until it runs clean, and flush the sprayer per the manual before the acrylic sets up inside it.
Common Mistakes
- Skipping the wash. Chalk and mildew sit between the vinyl and your paint, so nothing actually bonds to the siding. The paint sheets off in a year. A full wash-and-rinse is the single most important hour of the job.
- Going too dark. A darker color absorbs more heat, the panel overheats, and it warps off its nails. Stay the same color or lighter, or buy a vinyl-safe line built to run cool. This also voids most siding warranties, so it’s not just a paint problem.
- One thick coat instead of two thin ones. Heavy acrylic sags and skins over before it cures underneath, then peels. Thin coats build the right mil thickness and bond properly.
- Painting in direct sun. The hot surface flashes the paint off fast and you get lap marks and a poor bond. Chase the shade around the house.
- Plugging the weep holes. Those drain slots let trapped water out. Fill them and moisture stays in the wall and blisters the paint from behind.
- High-pressure washing up under the laps. Drives water behind the panels where it can’t dry, then blisters the new coat. Keep it low and spray downward.
Cure Schedule
| Time after final coat | What’s safe |
|---|---|
| 30–60 min | Pull the masking tape |
| 4 hours | Touch dry; light rain won’t ruin it but cover if you can |
| 24 hours | Reattach fixtures, lean a ladder against it gently |
| 7 days | Wipe down lightly if needed |
| 30 days | Full cure; pressure wash and scrub normally |
Cool or humid weather stretches every one of these numbers. Don’t rush a recoat because the clock says four hours if the wall still feels cool and tacky.
Maintenance and Touch-Ups
Painted vinyl holds 8 to 10 years before it needs a refresh. The south and west walls fade first because they eat the most sun. Wash the house once a year with house wash to clear mildew and surface chalk, and you’ll get the full run out of the coating.
For a touch-up, wash the spot, let it dry, and dab leftover paint with a small brush or a scrap of roller so the texture matches. Keep a labeled gallon in the garage with the color name and code off the lid sticker. If you ever go to repaint and the old coat is peeling in sheets, that’s a prep failure from last time. Scrape it back to sound vinyl, spot-prime, and start over.
Cost Breakdown
| Item | Cost |
|---|---|
| Acrylic exterior paint, 3–4 gallons | $180–$400 |
| Bonding primer, 1 gallon (spot use) | $40–$60 |
| House wash + bleach/mildewcide | $25–$45 |
| Tape, rosin paper, drop cloths | $40–$70 |
| Sprayer or brush/roller kit | $40–$150 |
| Total | ~$325–$725 |
Renting an airless sprayer runs $70 to $100 a day and is worth it on a big house. A pro repaint of the same exterior runs $3,000 to $6,000, so the DIY math is strong if you’re comfortable on the ladder.