How to Paint Shiplap
Painting shiplap without globbing up the grooves: clean the dust out of every gap, prime knots, then brush the seams and roll the faces in two thin coats.

Okay, so you’ve got a shiplap wall, and you’re looking at all those little grooves between the boards thinking there’s no way to paint that without making a mess. Here’s the thing: the grooves are the whole project. Get them right and the rest is just rolling a flat wall. The mistake almost everyone makes is loading up a roller and pushing paint straight into the gaps, where it pools, drips, and dries into shiny beads that ruin the clean shadow line you’re paying for.
Shiplap (those horizontal boards with a small gap between each one, the gap is called a reveal) wants a brush in the grooves first and a roller on the faces second. Do it in that order and the wall comes out crisp.
What You’ll Get
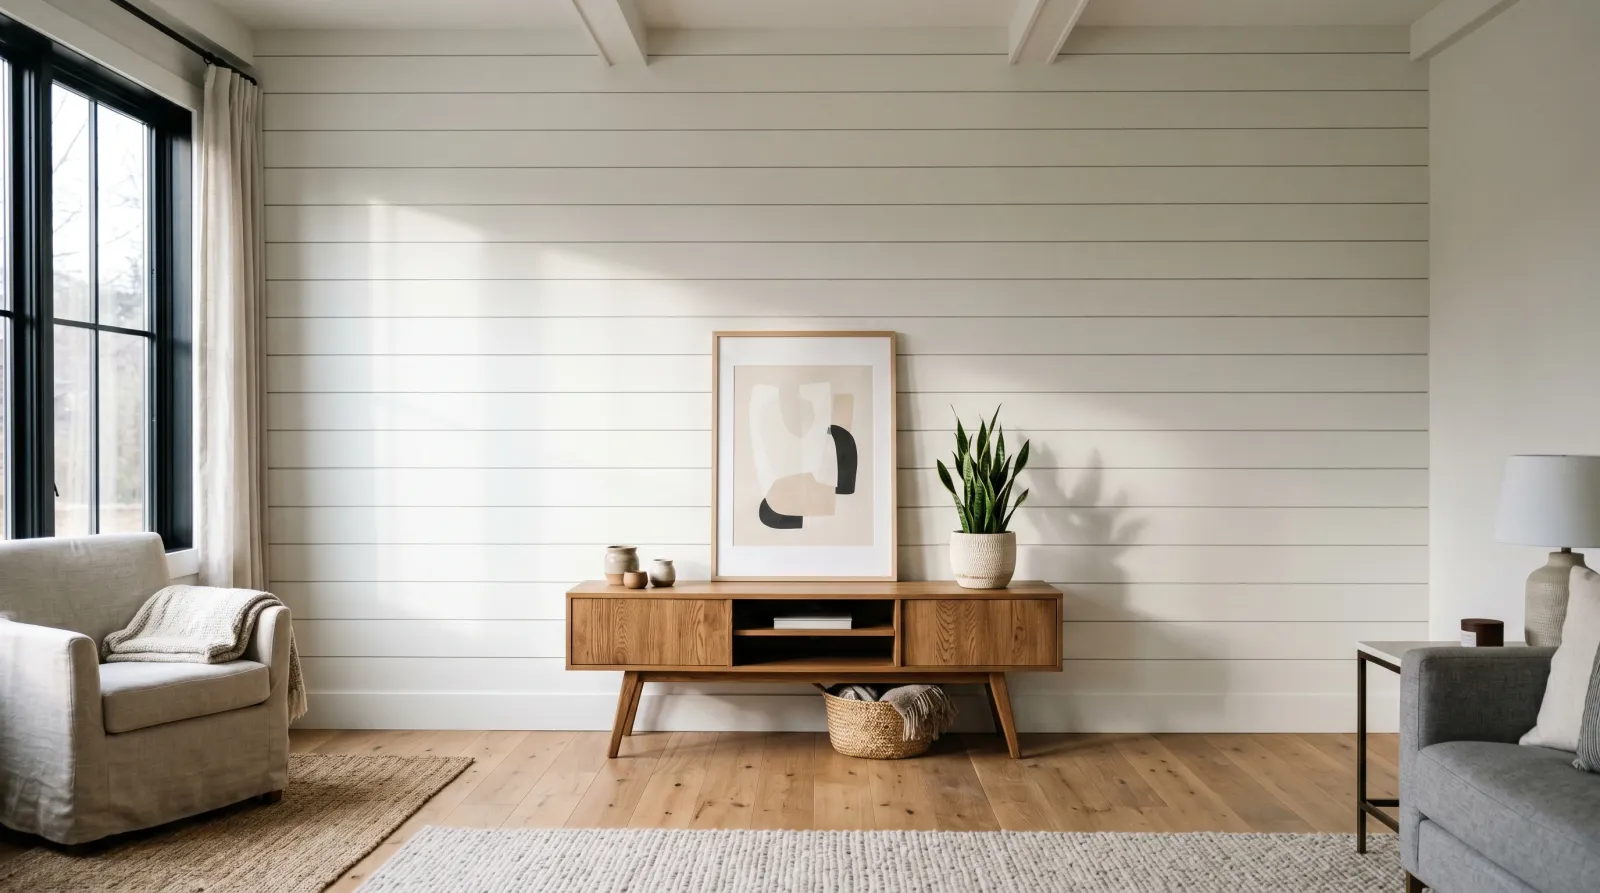
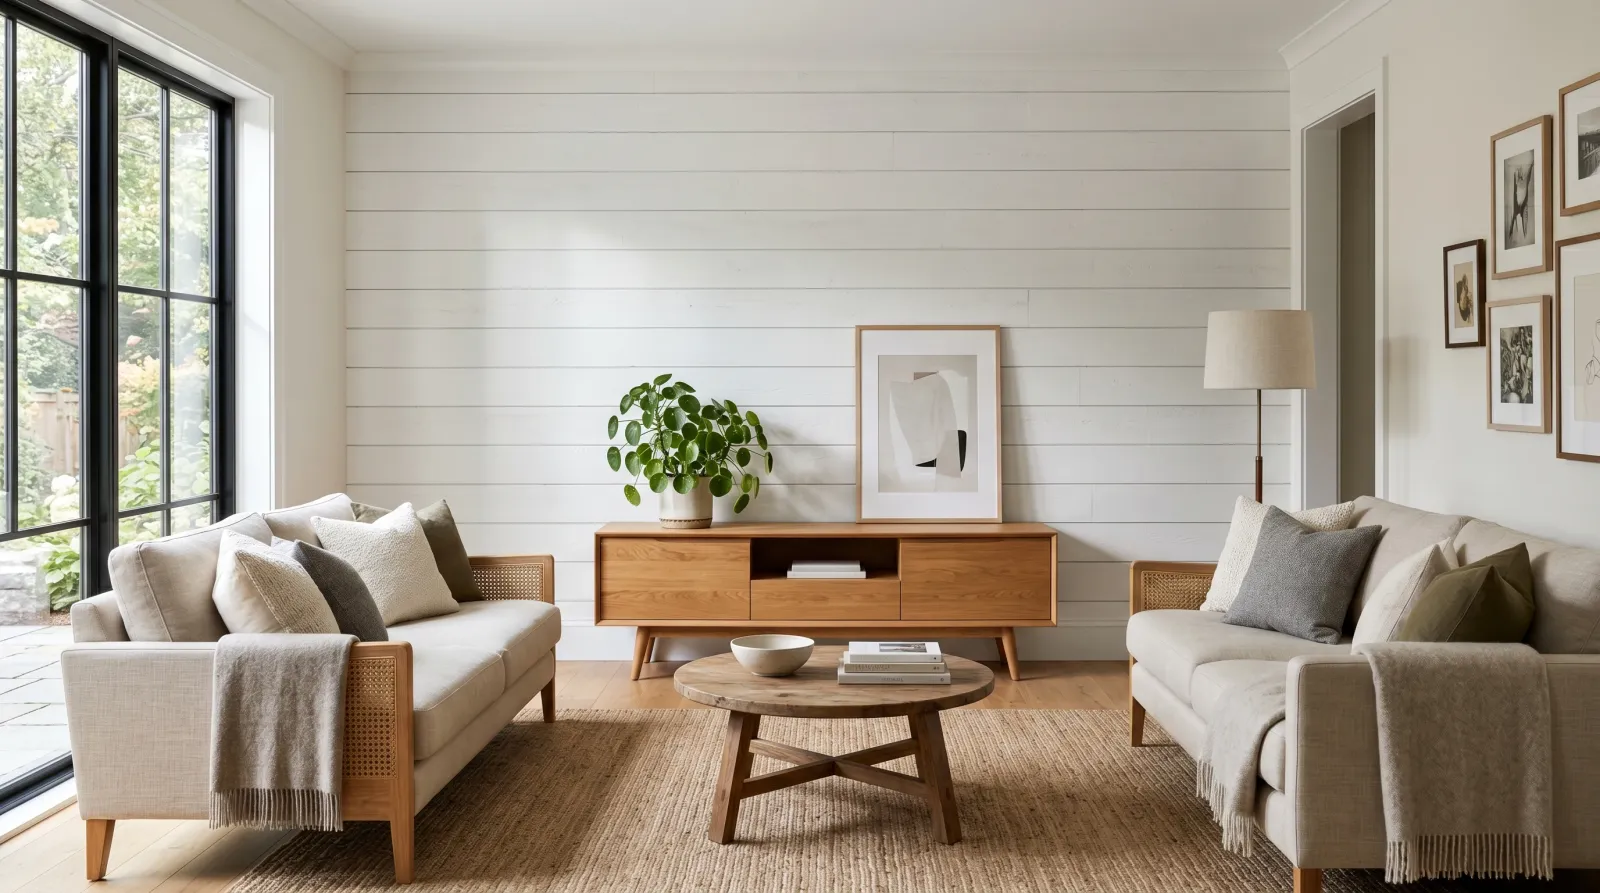
A clean shiplap wall with crisp shadow lines between the boards and no paint pooled in the grooves. From across the room it reads as one smooth feature wall, not a smudgy mess of filled-in gaps.
Honest Take on Difficulty and Time
This is an easy project that takes longer than you’d guess, because the grooves slow you down. A standard accent wall (one wall, about 8 by 10 feet) is one weekend. Saturday: dust the grooves, fill holes, tape off, prime. Sunday: two coats with dry time between.
If the boards are raw wood, add the primer step and don’t skip it. If they’re already painted and in good shape, you can be done in a single long day.
The dusting takes longer than people expect. Every groove is a dust trap, and paint won’t stick to dust. Budget a real half hour just for cleaning before you open a can.
What You’ll Need
Paint and Primer
A gallon of wall paint in satin (a soft low-shine finish that wipes clean) or eggshell (a touch flatter, hides surface flaws in rough boards). One wall doesn’t sound like a gallon’s worth, and on a flat wall it wouldn’t be. The grooves and the end grain drink paint, so a gallon covers less here than on smooth drywall. Buy the full gallon.
For raw new boards, or any wall with visible knots (the dark round spots where a branch used to be), you need stain-blocking primer. Zinsser BIN or KILZ Original. Knots leak sap and tannin that bleed a yellow-brown ring through latex paint months later, and once it bleeds, the only fix is to prime and repaint that spot. Block it now. If your shiplap is already painted and the paint is sound, skip the primer.
See the sheen guide if you’re stuck between satin and eggshell, and the guide to stopping knots bleeding through for the full story on why a regular primer won’t hold a knot back.
Tools
A 2.5-inch angled brush for the grooves, a 9-inch roller frame, and a microfiber sleeve. Use a 3/8-inch nap (the fuzzy thickness of the roller cover) for smooth boards, or a 1/2-inch nap for rough-sawn shiplap so the fibers reach into the texture. A tray, painter’s tape, a drop cloth, and a step stool.
The one extra tool that saves you here is a cheap 1-inch chip brush, or honestly an old toothbrush. You’ll use it to pull paint back out of any groove that pools. Picks for the angled brush live in the best paint brushes round-up.
Step 1 — Vacuum the Grooves and Fill the Holes
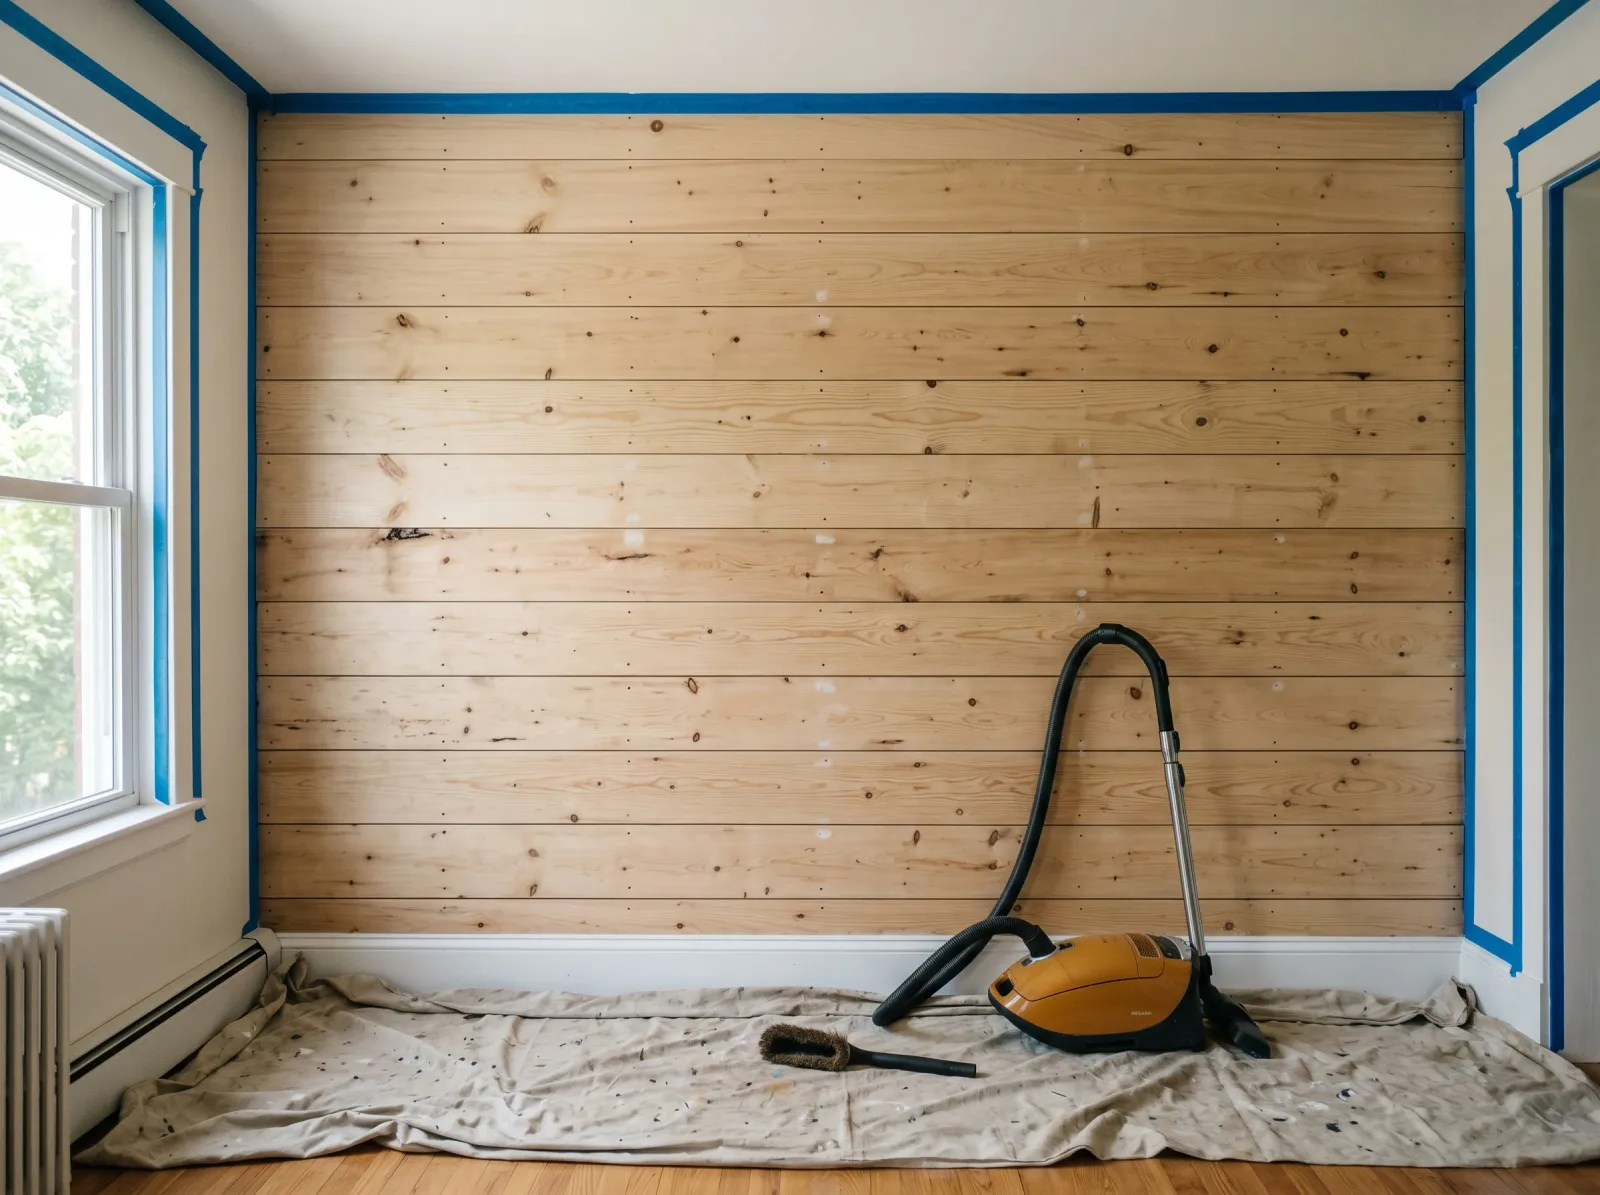
Every gap dusted out with a brush attachment, nail holes filled flush, tape along the trim and ceiling line.
Run the vacuum with the brush attachment along every groove, top to bottom. Shiplap reveals collect a surprising amount of dust and it sits right where the paint needs to grab. Follow the vacuum with a dry paintbrush, dragging it through each groove to knock loose what the vacuum missed, then wipe the faces with a tack cloth.
Fill nail holes with spackle or wood filler, scrape flush, let it dry, and sand smooth with the 220-grit sponge. If the boards are glossy or previously painted, scuff the faces lightly with 220-grit so the new paint bites.
Watch out for the gap at the top of each board where it laps under the next one. Dust hides up in there. Tip the brush attachment up into the reveal, don’t just run it straight across.
Step 2 — Tape and Prime
A stain-blocking primer coat on raw boards and over every knot so sap can’t bleed through later.
Tape along the ceiling line, the side trim, and the baseboard. Press the edge down firm with a fingernail so paint doesn’t bleed under.
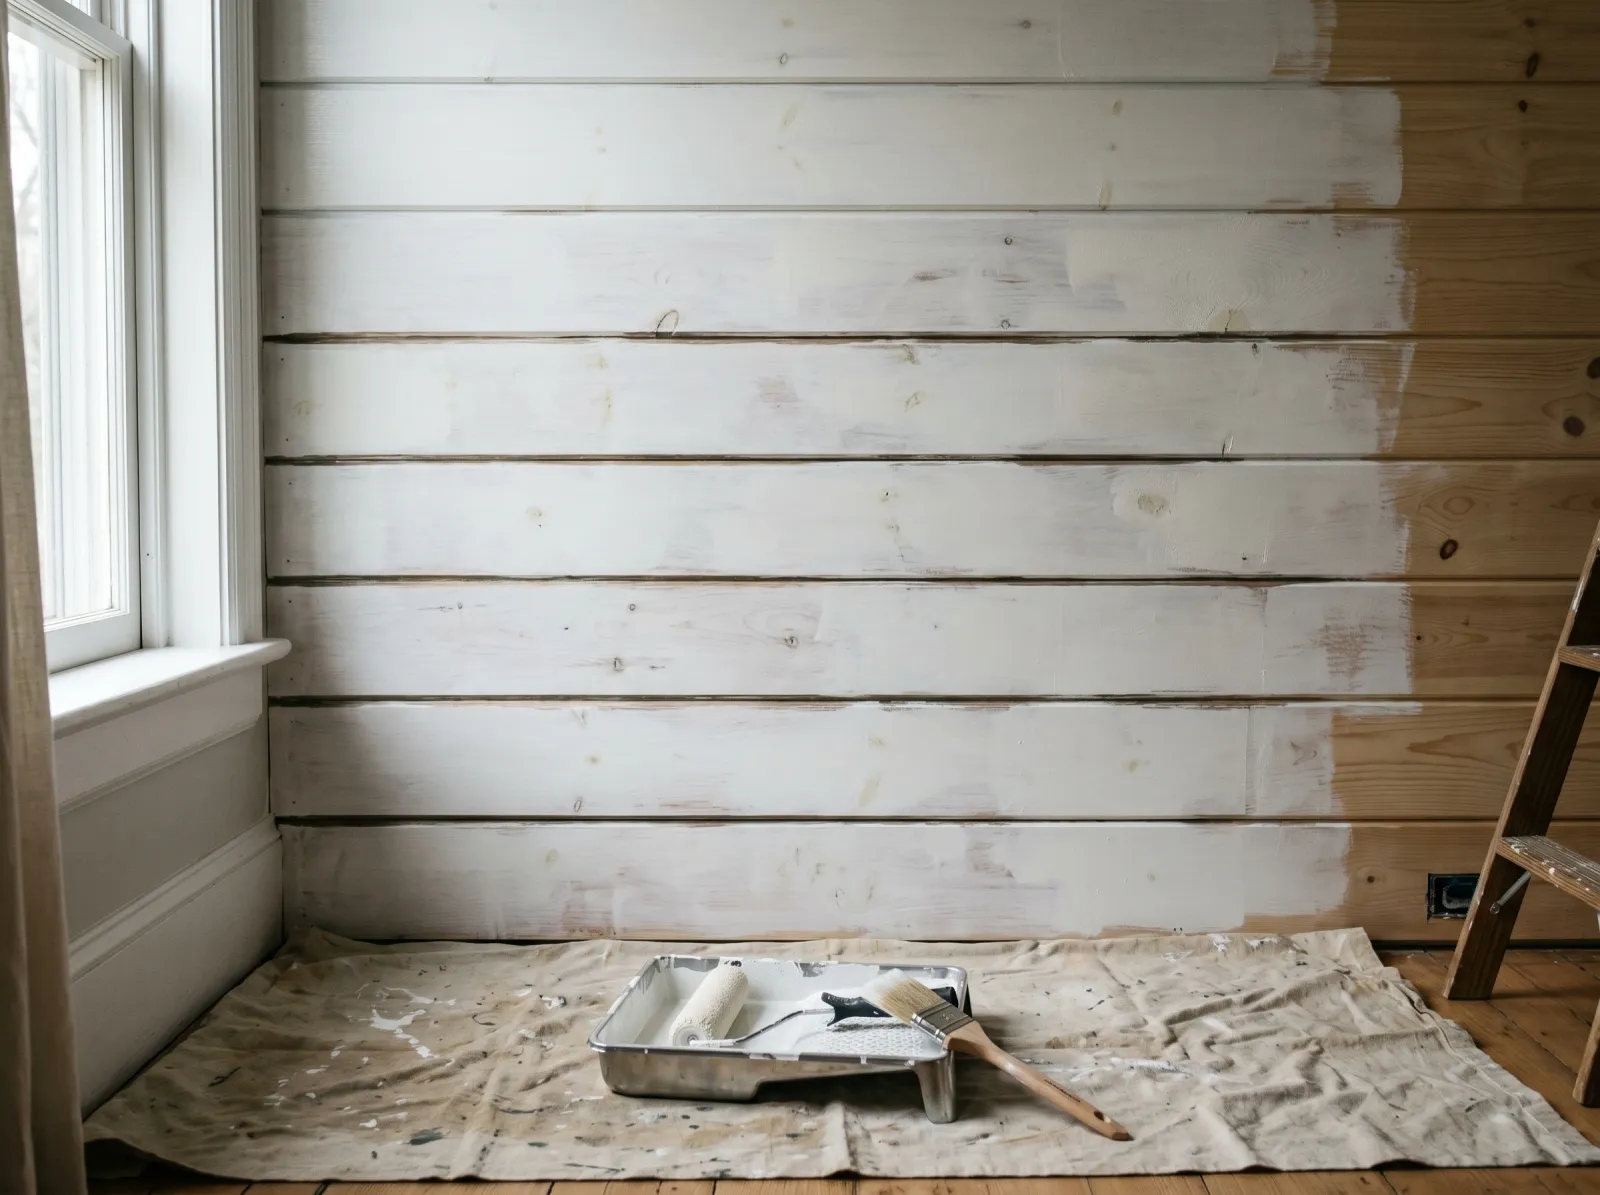
If the boards are raw or have knots, prime now. Brush primer into the grooves first, working the brush along the length of each gap, then roll the faces. Stain-blocking primers like BIN dry fast (about 45 minutes), so you’re not waiting long. Skip this whole step if your shiplap is already painted and sound.
Watch out for going too heavy on primer in the grooves. Primer pools the same way paint does. Brush it in thin and work the chip brush through any groove that looks wet and shiny.
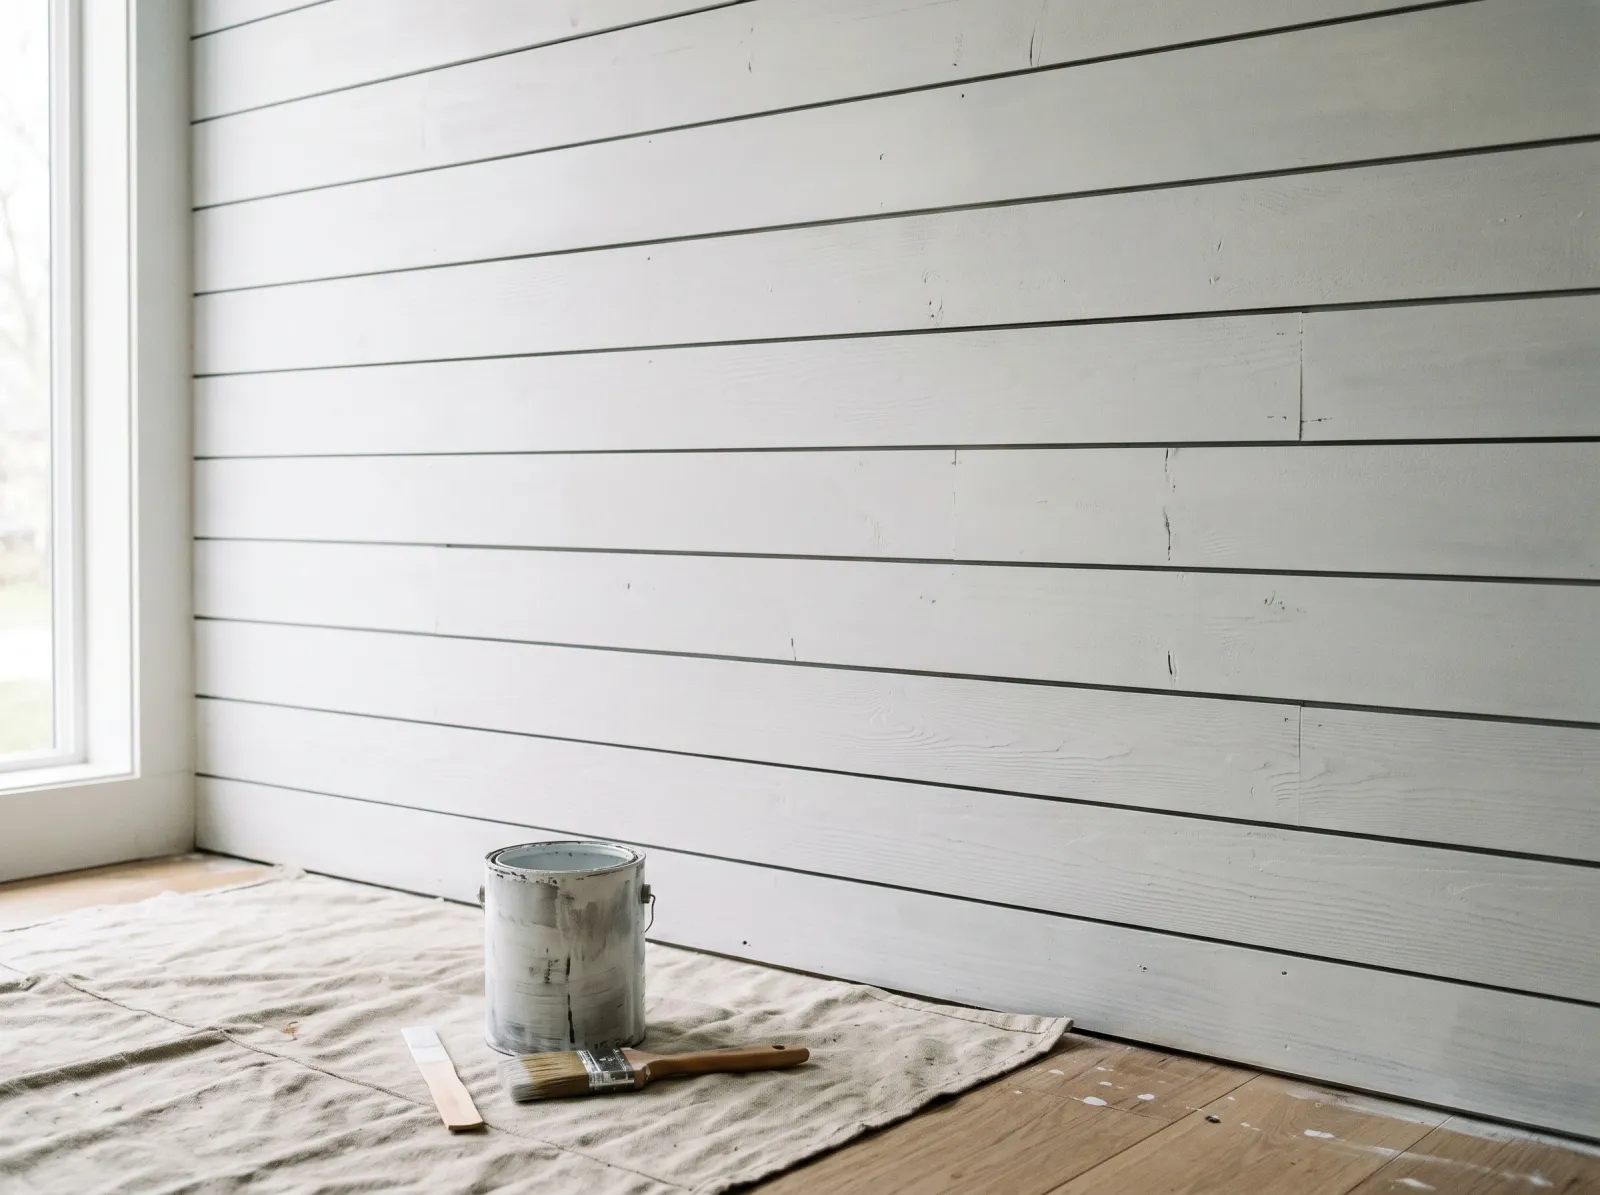
Step 3 — Brush the Grooves, Then Roll the Faces (First Coat)
Brush walked along each groove first, then the flat board faces rolled. First coat goes on thin and a little patchy.
This is the step that decides whether your wall looks good. Load the angled brush a third of the way in, tap off the excess, and walk it along each groove from one end of the wall to the other. Light touch. You want the groove coated, not flooded.
Then roll the flat faces. Keep the roller off the grooves, about a half-inch shy of each seam, because the brushwork already covered them. The roller’s job is just the flat board surface. Roll in the direction of the boards, side to side, in long even passes.
The first coat will look thin and patchy. That’s normal for any wall and especially for shiplap, where the slight texture eats the first pass. Don’t go back over it. Let it dry.
Watch out for a roller that’s loaded too heavy. A wet roller dragged near a seam slings paint into the groove. Roll the excess off on the tray ramp until the roller stops dripping.
Step 4 — Second Coat
Second coat evens out the faces. The grooves stay crisp because no paint pooled in them.
Wait the recoat window on the can, usually 2 to 4 hours for water-based paint. Touch a knuckle to a board face. Dry and not sticky means you’re good.
Second coat goes on the same way: grooves with the brush first, then roll the faces. The color fills in and evens out on this pass. The patchiness from coat one disappears.
After the second coat, walk the wall in raking light (light coming across the wall at an angle, like late afternoon sun from a side window). That’s when any pooled bead in a groove shows up as a glossy spot. Catch one while it’s still wet and drag the dry chip brush through to lift it.
Step 5 — Pull the Tape and Reset
Tape peeled at an angle, console and decor back in place, the wall finished.
Pull the tape while the second coat is still slightly tacky, about 30 to 60 minutes after you finish rolling. If you wait until it’s bone dry, the paint film bonds across the tape edge and peels a ragged strip off when you pull. Pull slow, at a 45-degree angle, one continuous strip.
Take the drop cloth outside and shake it off. Wash the brush and roller sleeve under warm water until it runs clear. Put furniture back against the wall in 24 hours.
Common Mistakes
- Rolling the grooves instead of brushing them. The roller pushes paint into the gap, it pools, and it dries into shiny beads that catch the light. Brush the grooves first with a light load, then keep the roller off the seams entirely.
- Skipping the dusting. Every reveal is a dust trap. Paint over dust and it flakes out of the grooves within a year. Vacuum every gap before you open a can.
- Caulking the board-to-board gaps. Those shadow lines are the look. Fill them and you’ve turned an expensive shiplap wall into a flat wall with weird lines. Only caulk where shiplap meets trim or a corner, and only if there’s a real crack.
- Not blocking the knots. Regular paint and primer-in-one won’t hold back sap. The knot bleeds a brown ring through your fresh white months later. Spot-prime every knot with BIN or KILZ.
- One coat over raw wood. The grooves and end grain soak up the first coat and read patchy. Two coats over primer, every time.
Cure Schedule
| Time after the second coat | What’s safe |
|---|---|
| 30–60 min | Pull the painter’s tape |
| 4 hours | Touch dry, don’t lean anything on it |
| 24 hours | Furniture back against the wall, hang light decor |
| 7 days | Wipe smudges with a damp cloth |
| 30 days | Full cure, scrubbable |
Maintenance and Touch-Ups
A satin shiplap wall in a living room holds up for 7 to 10 years. In a bathroom or mudroom, where steam and scuffs hit it, closer to 5.
For a scuff, try a damp microfiber cloth first; most marks are dirt, not damage. For a real ding, fill, sand, and dab paint with a small piece of roller sleeve, not a brush, so the texture matches the surrounding board. Keep a labeled quart in the basement. Touch-ups on shiplap are easy because the eye reads each board as its own piece, so a repaired board blends in better than a repaired patch on a flat wall would.
Cost Breakdown
| Item | $ |
|---|---|
| Wall paint, 1 gallon satin | $40 |
| Stain-blocking primer, 1 quart | $18 |
| Brush, roller, tray, sleeve | $30 |
| Tape, drop cloth, filler | $25 |
| Total | ~$110 |
Numbers are mid-tier paint (Behr Premium Plus or BM Regal Select). Skip the primer on already-painted shiplap and it drops closer to $80. Top-shelf paint (BM Aura, SW Emerald) pushes it toward $160.