How to Paint a Rocking Chair
Painting a rocking chair the right way: how to handle the spindles and curved rockers without drips, what paint holds up to daily use, and the prep that lasts.


Okay, so the rocking chair has been sitting in the corner looking tired, and you’ve decided to paint it. Here’s the thing nobody warns you about: a rocking chair is the hardest little piece of furniture you can choose for your first paint job. Not because the wood is special. Because of the shape. All those turned spindles, the slats across the back, the curved rockers that won’t sit flat on the floor. Every one of those is a place for paint to pool, run, and dry into a bump you’ll see forever.
Don’t worry. The shape is the whole challenge, and once you know how to work around it, the rest is the same as painting anything else. Thin coats, the right paint, patience between them.
What You’ll Get
A rocking chair that looks bought-on-purpose instead of inherited and forgotten. One weekend of work, plus a week of cure before anyone sits in it.
Honest Take on Difficulty and Time
The painting is easy. The geometry is what gets you. You can’t roll a spindle, you can’t lay a chair flat on its back and walk away, and the underside of the seat is a place drips love to hide.
Realistic time: an afternoon of prep, two coats over Saturday and Sunday with dry time between, and a week of cure before it goes back into service. Active hands-on time is maybe four hours. The rest is waiting.
| Method | Active time | Total elapsed | Skill |
|---|---|---|---|
| Cabinet enamel by brush, scuff-sanded | 3–4 hrs | 1 weekend + 7-day cure | Easy-medium |
| Cabinet enamel, glossy chair, primed | 4–5 hrs | 1 weekend + 7-day cure | Medium |
| Chalk paint, low-touch porch chair | 2–3 hrs | 1 weekend + light cure | Easy |
| Spray cans (small accent rocker) | 1–2 hrs | 1 weekend | Easy |
If anyone tells you a rocking chair is a one-hour spray job, they’ve never chased a run down a back spindle while three others were already drying.
What You’ll Need
Paint and Primer
For a chair anyone sits in, use cabinet enamel (BM Advance, SW Emerald Urethane, or INSL-X Cabinet Coat). That’s a waterborne alkyd, which means it goes on like water-based paint but cures hard like the old oil stuff. Arms and seats get touched and rubbed all day, and a hard cure is what keeps the finish from scuffing off. Picks and the SKU comparison live in the best trim and furniture paint round-up.
For a decorative porch rocker nobody really sits in, chalk paint works and skips most of the prep, as long as you seal it with polycrylic. Skip flat wall paint entirely. It rubs shiny anywhere a hand or a shirt drags across it.
You need primer if the chair is glossy or you don’t know the old finish. A bonding primer (INSL-X Stix or Zinsser Bulls Eye 1-2-3 Plus) grabs slick varnished wood that paint alone would slide right off. If the old finish is amber and you’re painting a light color over it, use Zinsser BIN instead to block the bleed-through. The guide to painting over varnished wood covers the prep.
Tools
A 2-inch angled sash brush for the flats (the seat, the wide back slats, the arms). A small 1-inch artist brush for working paint into the spindle valleys. A 4-inch foam mini-roller for the seat, which lays paint smoother than a brush on a wide surface. Painter’s tape, a canvas drop cloth, a 220-grit sanding sponge, and a tack cloth.
The brush is where you don’t cheap out. A $4 brush sheds bristles into the wet paint, and digging them out of a spindle valley is a miserable job. A $12 Wooster Silver Tip holds its edge. More picks in the best paint brushes round-up.
Step 1 — Test the Finish, Clean, and Scuff
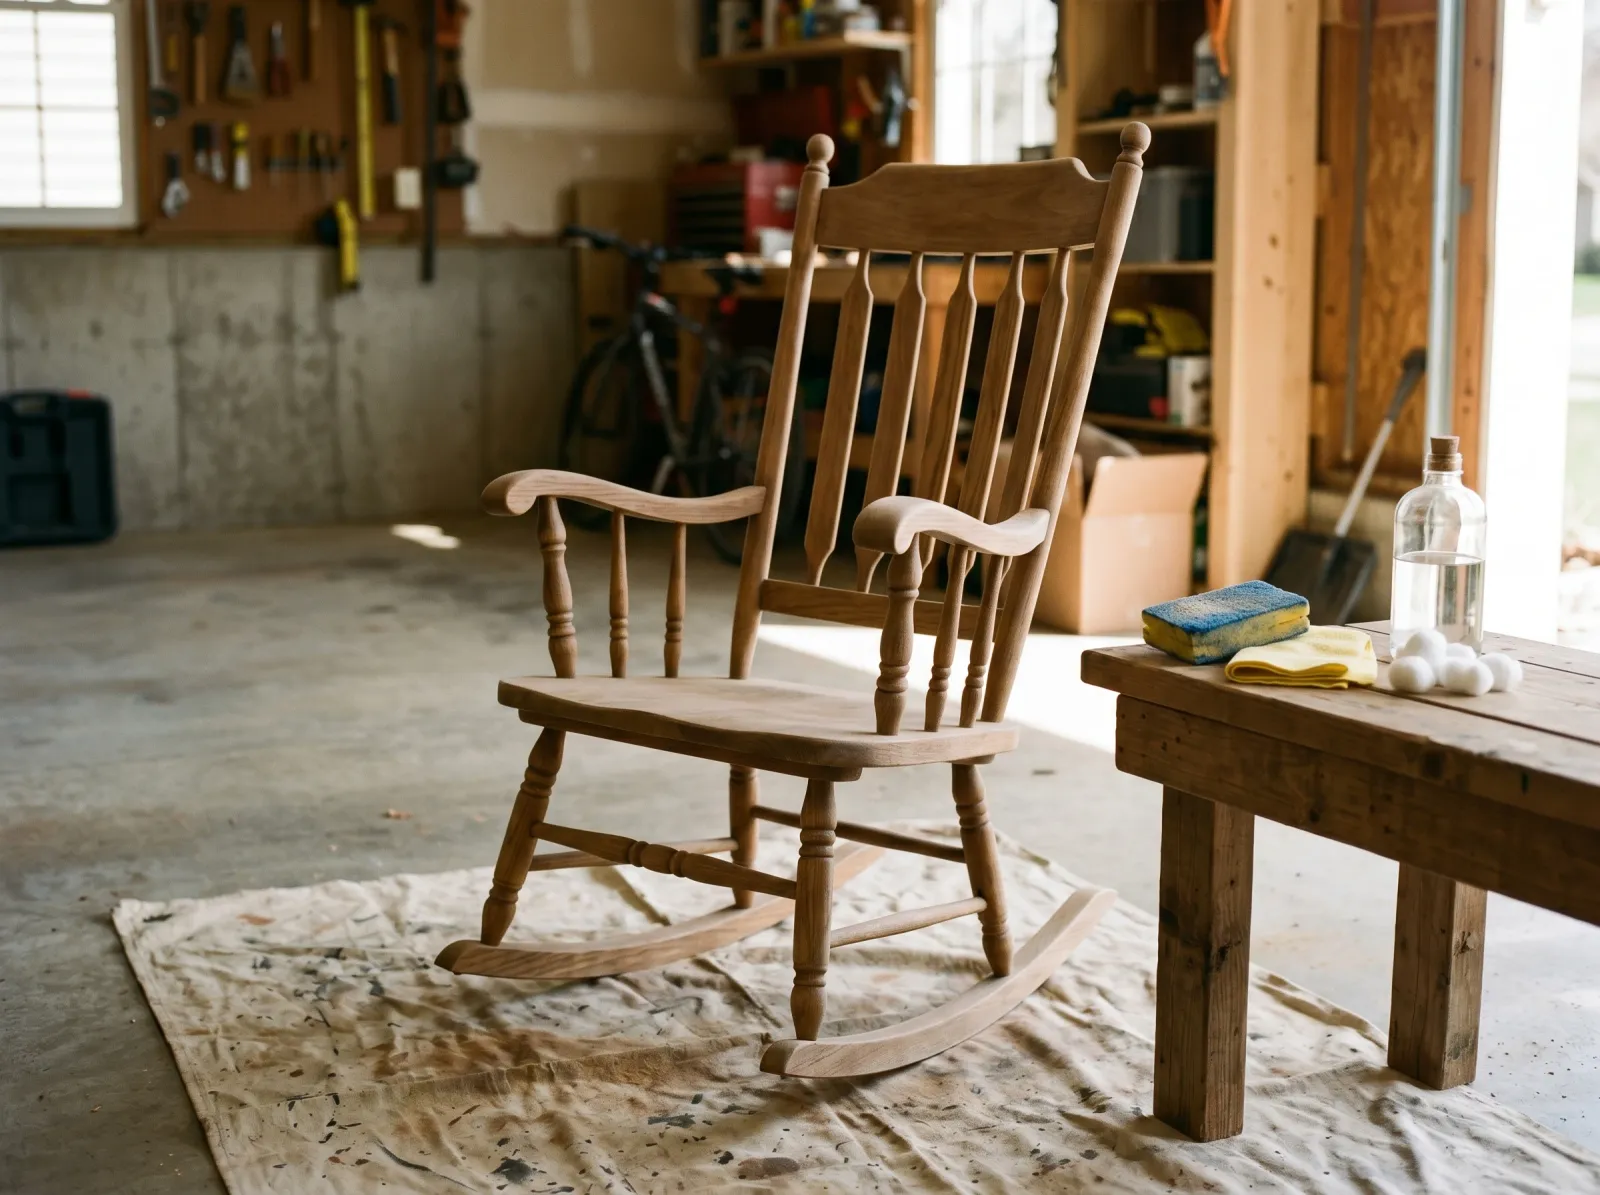 A two-minute alcohol test tells you what’s under there. Then a light scuff, every spindle included.
Before you buy paint, figure out what’s already on the chair. Wet a cotton ball with denatured alcohol and rub a hidden spot (the underside of the seat, the inside of a leg) for 30 seconds. If the finish gets sticky and dissolves, it’s shellac. If it softens, it’s old varnish. If nothing happens, it’s lacquer or polyurethane. Shellac and varnish want a bonding primer; lacquer and poly take a scuff and primer too, just to be safe.
Then clean it. Rocking chairs collect hand oil on the arms and the back where heads rest. Wipe the whole thing with a degreaser or a little dish soap and warm water, and let it dry fully. Paint will not bond over hand grease.
Now scuff. Run the 220-grit sponge over every surface until the shine is gone and the wood feels slightly toothy. The spindles are tedious; fold the sponge and run it up and down each one. Vacuum the dust and wipe everything with a tack cloth.
Watch out for the spots your hand naturally skips. The backs of the spindles, the inner curve of each rocker, the underside of the arms. Those are exactly where paint fails first if you didn’t scuff them.
Step 2 — Prime, Spindles First
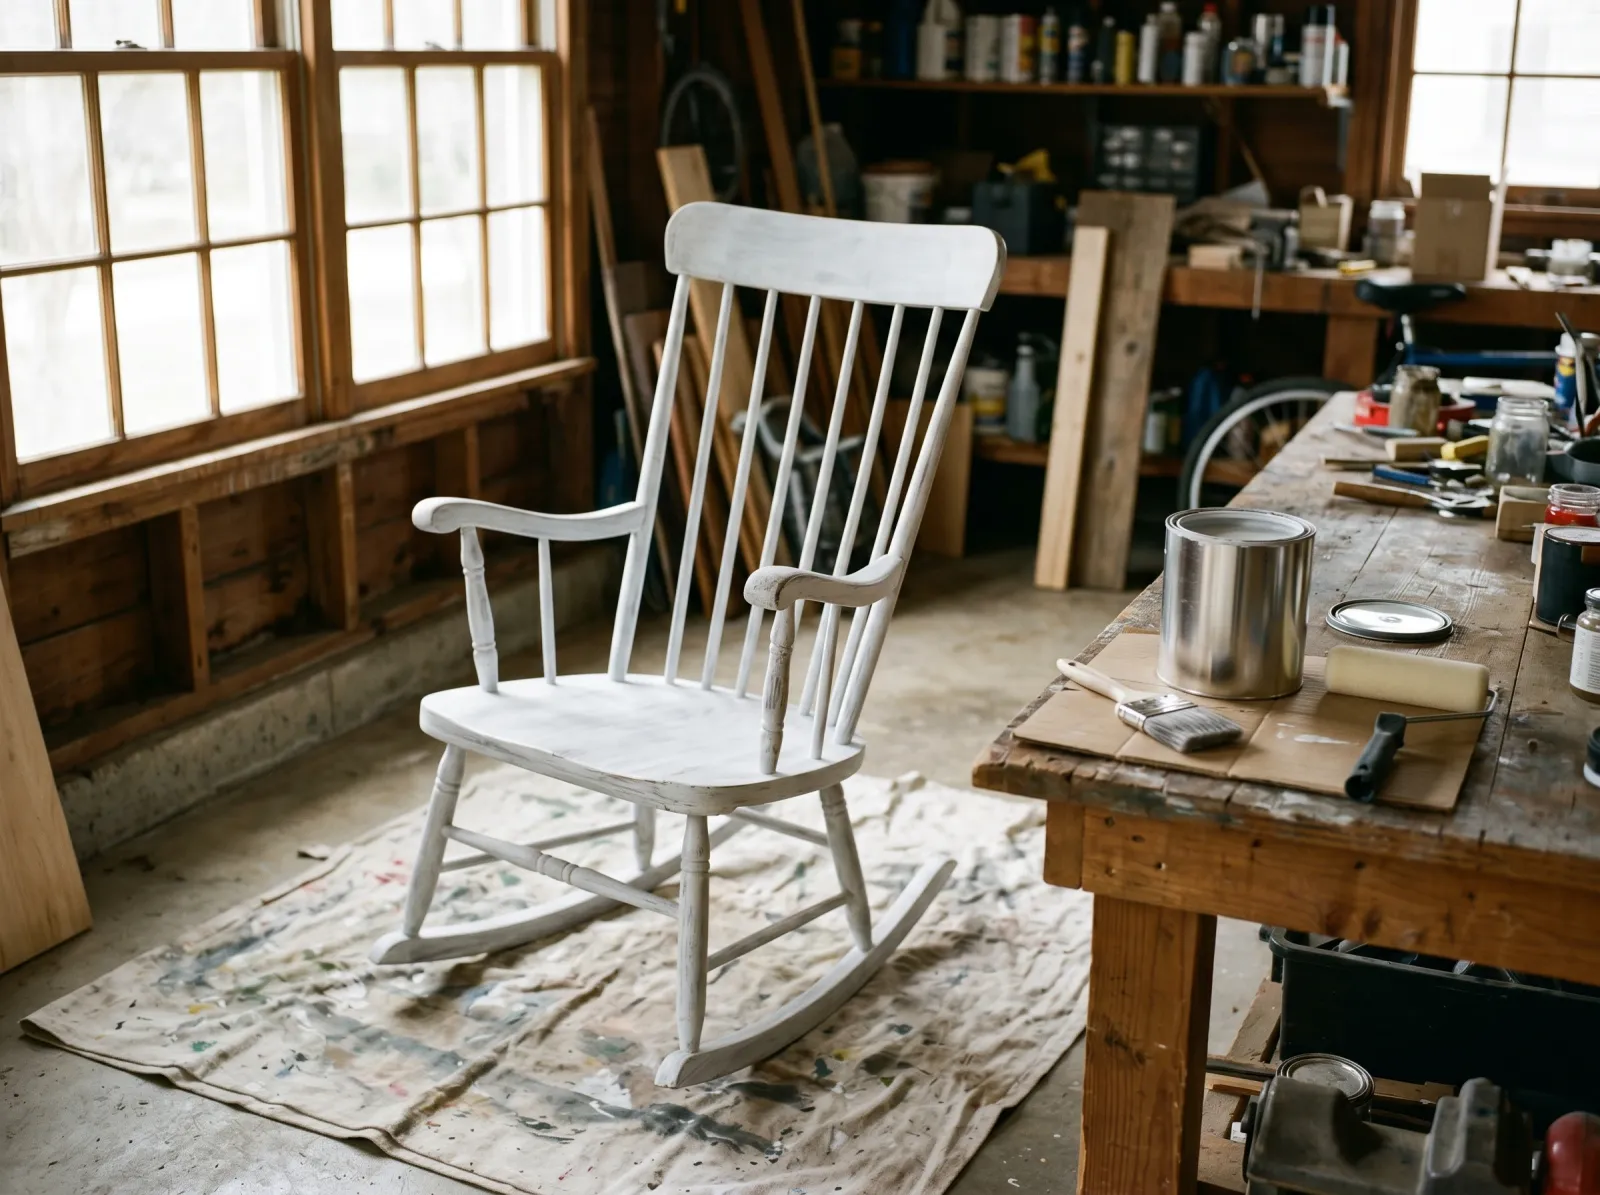 One thin coat of bonding primer, worked into the gaps with a small brush before the flats.
Skip this step only if you’re chalk-painting a sound matte chair. For everything else, prime.
Start with the small brush and the spindles. Work primer into the valleys between the turnings, then drag a nearly dry brush down the length to smooth it. Do the back slats next, then the seat with the foam roller, then the legs and rockers last. One coat of bonding primer is enough; BIN wants two thin ones.
The trick with a chair this shape is to paint from the top down, so any drip lands on a spot you haven’t finished yet. Let the primer dry overnight, then knock down rough nibs with a light 220 pass and tack it off.
Step 3 — First Coat of Finish Paint
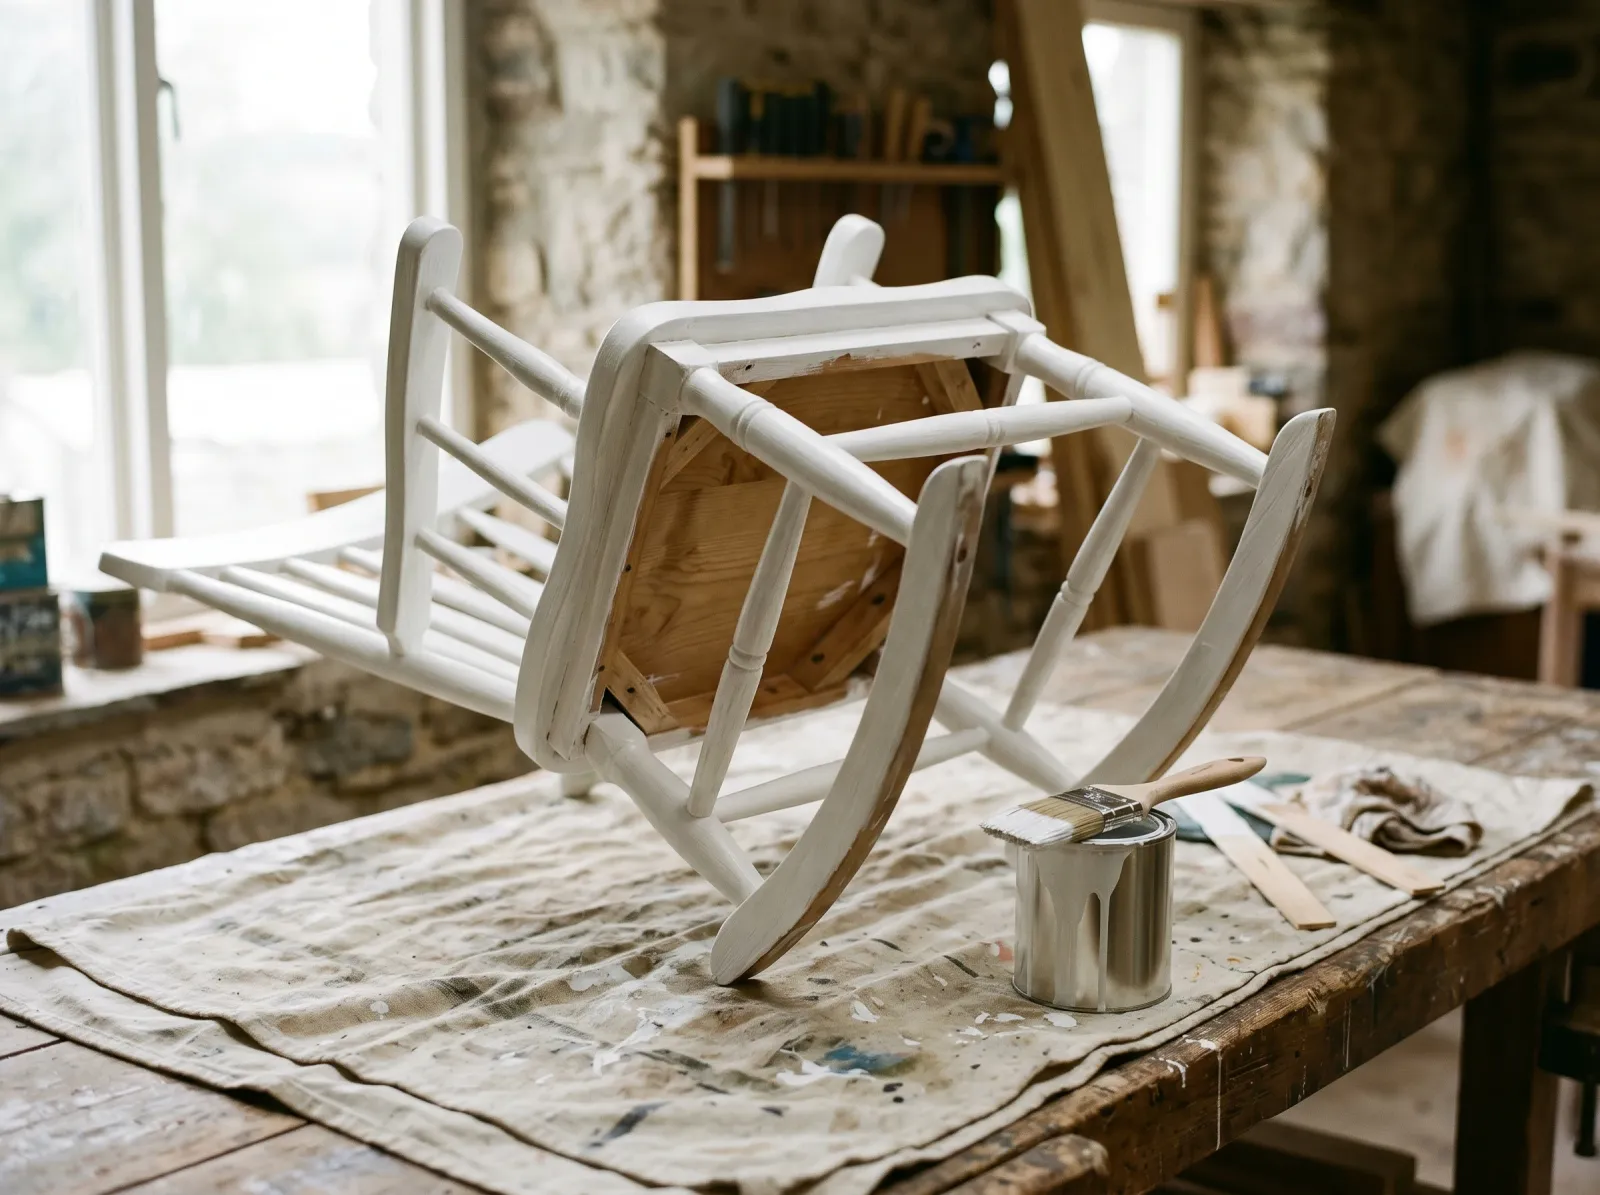 Thin coat, and the chair gets tipped so the underside of the seat and the inner rockers get covered.
Same order as the primer: spindles, slats, seat, legs, rockers. Add Floetrol to cabinet enamel at about 5% to stretch the wet edge and help brush marks flow out.
Load the brush light, only a third of the way in, and tap it once on the rim. Spindles drink less paint than you think. Work it into the valley, then smooth with a near-dry brush. For the seat, the foam roller lays a flatter coat than a brush will.
Tip and turn the chair as you go. Lay it gently on its side to reach the underside of the seat and the inner faces of the rockers. Those spots get missed constantly, and a bare patch under the seat is where moisture sneaks in later.
Watch out for runs in the spindle valleys. They form a few minutes after you move on, when gravity pulls the paint into the low spots. Go back and check each spindle five minutes after painting it, and brush out any sag while it’s still wet. A run you catch wet brushes away in a second. A run you find dry means sanding back and recoating.
Step 4 — Second Coat and Top Coat
 Two thin coats, leveled out, no sags in the spindle valleys.
Let the first coat dry the full time on the can (about 16 hours for BM Advance, 4 for most others). Recoating too soon drags the first coat up and wrinkles it. Then lay the second coat exactly like the first. Two thin coats always beat one thick one on a shape like this; a thick coat sags in every valley at once.
If you used chalk paint, it needs a top coat or it isn’t wipeable. Brush on two thin coats of Minwax Polycrylic in matte. It dries water-clear and won’t yellow a white or pale chair the way clear wax does. Cabinet enamel needs no top coat. The cure is the seal.
Common Mistakes
- Painting it standing up and never tipping it. The underside of the seat and the inner rockers stay bare, and that’s where the finish lets moisture in first. Lay the chair on its side partway through each coat.
- One thick coat to “save time” on the spindles. Thick paint sags into every valley and dries into ridges. Thin coats, checked for runs, every time.
- Skipping the scuff on a glossy chair. New paint slides off slick varnish within a season. A 220 scuff plus bonding primer is the only thing that grabs it.
- Sitting in it after 24 hours. It’s dry, not cured. Your shirt lifts paint off the back slats. Cabinet enamel needs a full week before daily sitting.
- Flat wall paint on the arms. Flat burnishes shiny wherever hands rub it, and an arm gets rubbed constantly. Use a satin or semi-gloss enamel. The sheen guide covers why.
Cure Schedule
| Time after final coat | What’s safe |
|---|---|
| 4 hours | Touch dry; don’t touch the spindles |
| 24 hours | Move it gently, light use |
| 7 days | Sit in it normally |
| 30 days | Full cure; wipe down with mild soap |
Don’t drape a heavy blanket over the back in week one. It can print into the soft finish and leave a texture you’ll see once you lift it off.
Maintenance and Touch-Ups
Cabinet enamel on a rocking chair holds up 8 to 12 years before it needs a refresh, less on the arms where hands wear it. Chalk paint sealed with polycrylic runs 5 to 8 years on a low-touch porch chair.
For a chip, dab the original paint on with a small artist’s brush. Don’t feather it across a whole spindle; the touch-up reads brighter than the cured paint and you’ll see the seam. Keep the leftover quart labeled with the color name and code from the lid.
Cost
| Item | Cost |
|---|---|
| Cabinet enamel or chalk paint (1 quart) | $25–$45 |
| Bonding primer (1 quart, if needed) | $15 |
| Top coat (polycrylic, chalk paint only) | $15 |
| Wooster Silver Tip brush | $12 |
| Foam mini-roller, sanding sponge, tack cloth, Floetrol | $20 |
| Total | $45–$90 |
A $20 thrifted rocker plus $60 in materials lands at $80. A new solid-wood rocking chair starts around $200 and climbs fast.
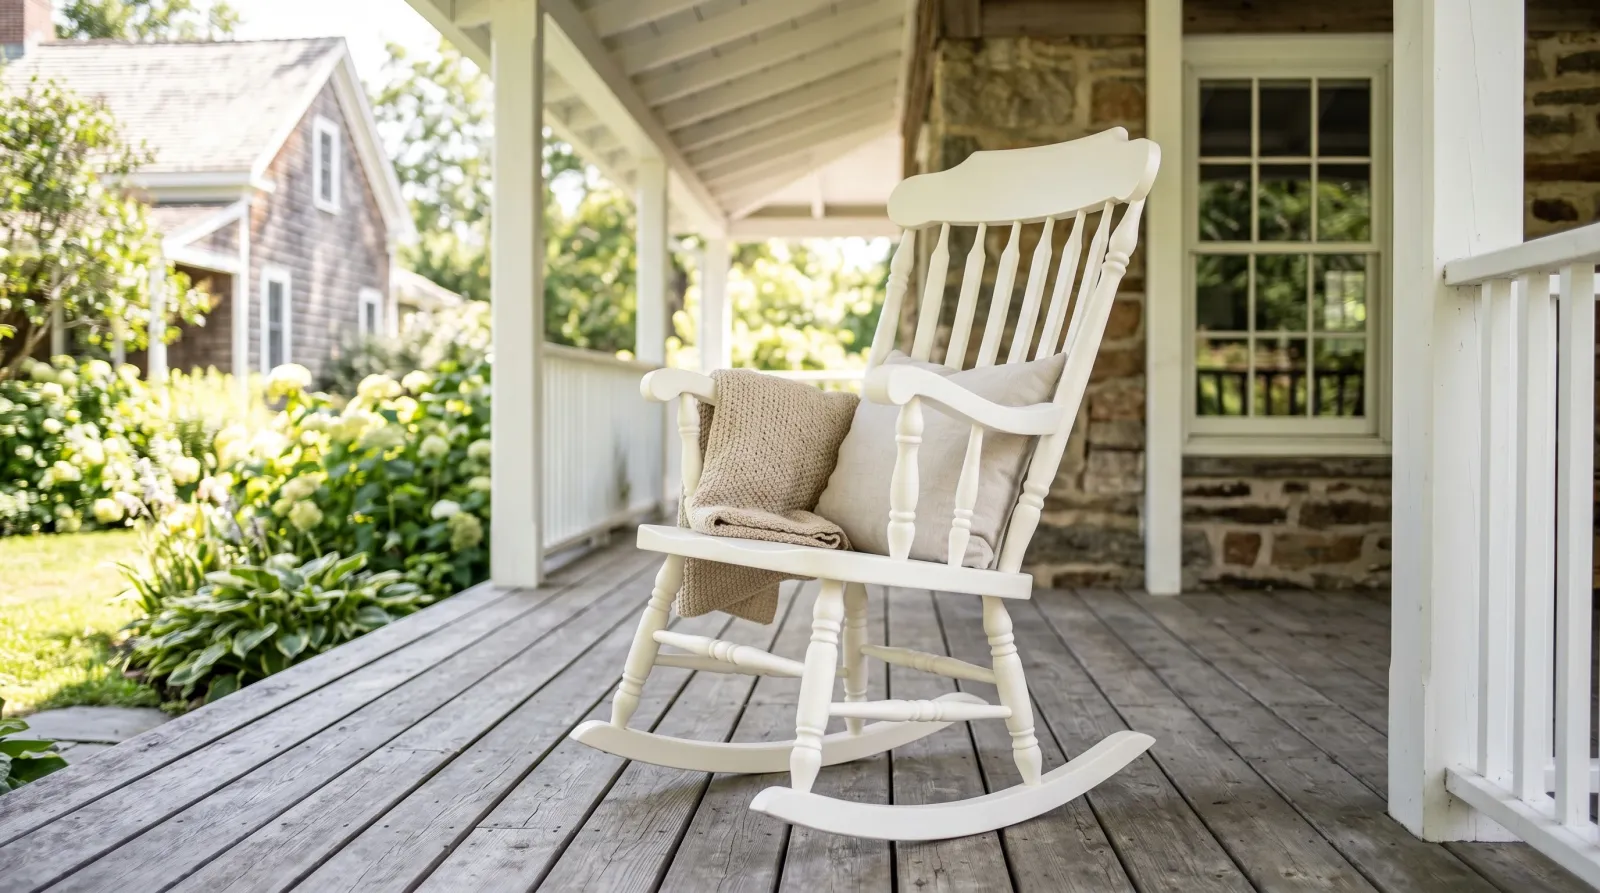
A Specific Recommendation
First-time painter, real-wood rocker, sound finish, a chair the family actually uses: a quart of Benjamin Moore Advance in satin, a 2-inch Wooster Silver Tip, a small artist brush for the spindles, a foam mini-roller for the seat, and a quart of INSL-X Stix if the chair is glossy. Scuff and prime Saturday, two coats Sunday and Monday, and the chair is back on the porch the following weekend, cured hard.
For a decorative porch rocker nobody sits in much, chalk paint plus a matte polycrylic top coat is faster. The same approach scales up if you move on to a whole furniture refinish project next.