How to Paint a Pantry
Painting a pantry, step by step. How to empty it, prime the back wall, pick a wipeable sheen for the shelves, and get it done in one weekend with shelves you can scrub.

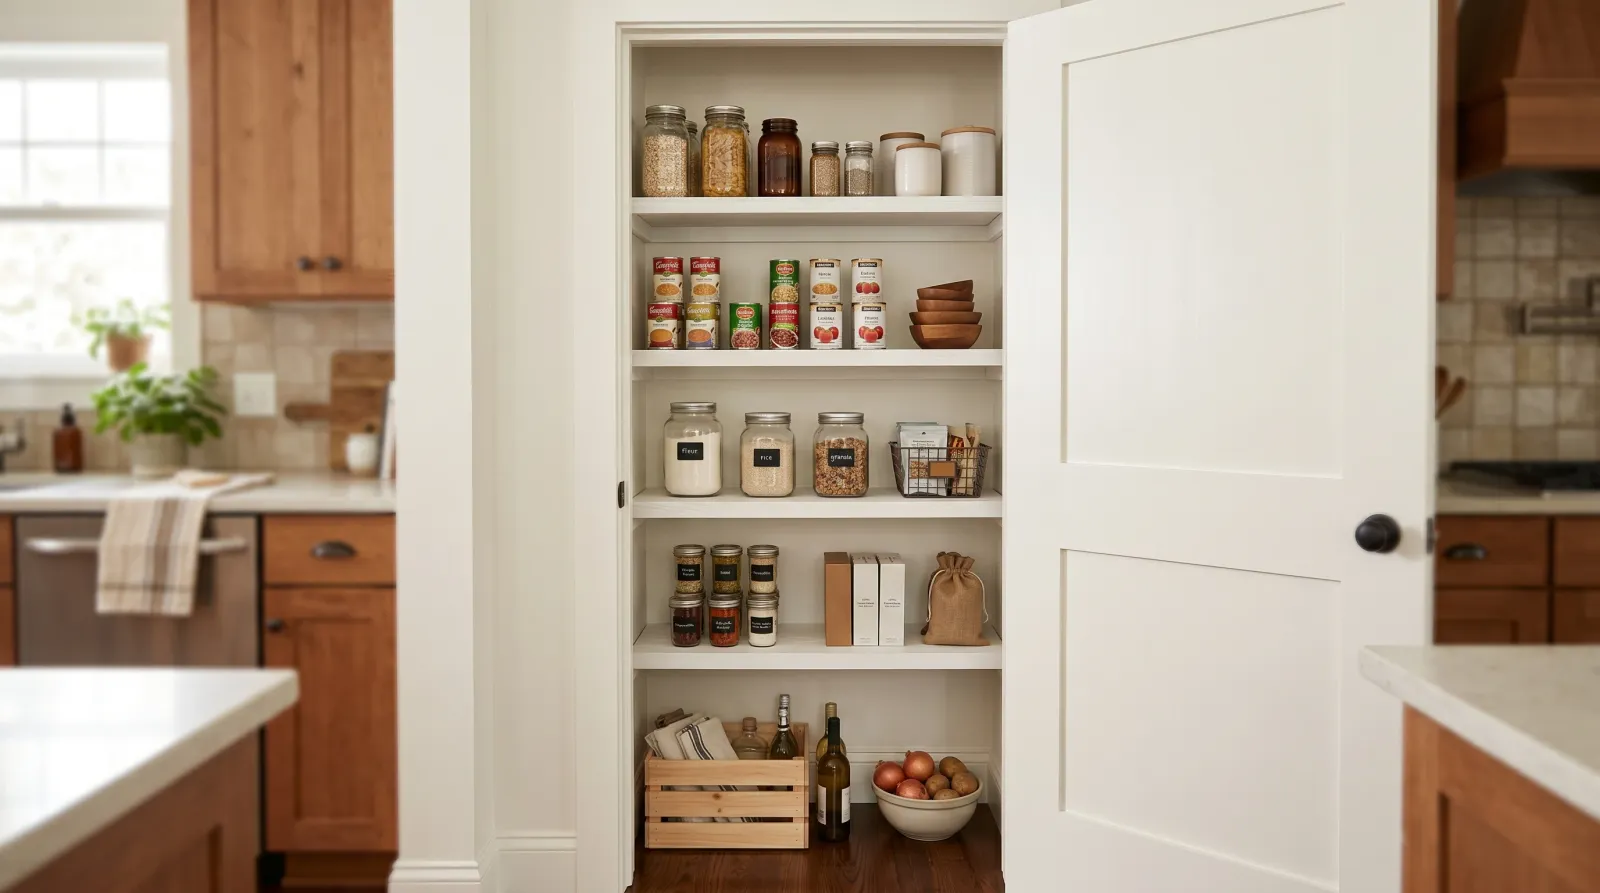
Okay, so you opened the pantry door, really looked at it for once, and the back wall is dingy, the shelves have ring marks from old jars, and there’s a yellow haze near the door you’ve never noticed before. You want to paint it. Good instinct. A pantry is one of the best first paint projects there is, because nobody sees the inside of it but you, so a streak or a missed spot isn’t the end of the world.
Here’s the trap, though. A pantry is small, so people think it’s fast and skip the prep. Then the paint peels off the shelves a month later because they painted bare wood with wall paint, or the new white goes dingy again in a week because they never wiped the grease off first. The size fools you. The prep is the whole job, same as a big room.
What You’ll Get
A bright, clean pantry with shelves you can actually wipe down. It will make the whole kitchen feel more organized before you’ve put a single can back.
Honest Take on Difficulty and Time
A standard reach-in pantry (the kind with a door and a few shelves, about 2 feet deep) is a one-weekend job, and most of that is waiting for paint to dry, not painting. Figure 6 working hours: an hour to empty and prep, an hour to prime and let it dry, two short painting sessions for the walls, and the shelves on the side.
The annoying part isn’t hard, it’s awkward. You’re working in a box. You’ll be on your knees, then on a step stool, reaching into corners you can’t see. A headlamp helps more than you’d think. So does taking the shelves out, which I’ll get to.
A small walk-in pantry (a closet you can stand in) takes about twice as long and a full gallon of wall paint instead of a quart. Same steps, more wall.
What You’ll Need
Paint and Primer
For the walls, a quart of satin or semi-gloss (a finish with some shine that wipes clean, not the dull flat you’d use on a ceiling). A pantry gets touched all day, and flat paint holds onto smudges. If you’re not sure which shine to pick, the sheen guide walks through all five.
For wood shelves, a quart of trim or cabinet enamel in semi-gloss (BM Advance or INSL-X Cabinet Coat). Enamel cures harder than wall paint, which matters when you’re sliding heavy cans across a shelf every day. The picks are in the best trim and shelf paint round-up.
And a quart of stain-blocking primer (Zinsser BIN or KILZ Original). You won’t prime the whole pantry. You’ll prime the grease haze by the door, any water stains on the back wall, and bare wood shelves. Primer is the thing that makes the new paint stick to those problem spots and stops the old dinginess from bleeding back through.
Tools
A 2-inch angled brush, because most of a pantry is cutting in (painting the edges and corners by hand) rather than rolling big flats. A 4-inch foam mini-roller fits the narrow wall sections a normal 9-inch roller can’t reach. Tape, a small drop cloth, spackle, a sanding sponge, and a degreaser.
The foam roller is the small upgrade that makes a tight space look smooth. The best foam rollers for corners and shelves are worth the few dollars.
Step 1 — Empty It and Take the Shelves Out
Everything comes out. Every can, box, and bag onto the kitchen counter or table. While you’re at it, this is the moment to throw away the expired stuff you’ve been ignoring.
If your shelves are adjustable (sitting on little pins or brackets), lift them out. Painting them flat on a pair of sawhorses or across two chairs in the garage gives you a smooth top with no drips, and it lets you paint the wall behind them properly. Drop the shelf pins into a labeled baggie so you don’t lose them.
Watch out for fixed, built-in shelves that won’t come out. Those you paint in place. Tape the wall behind each one and accept that the underside is hard to reach and nobody looks there anyway.
Step 2 — Degrease, Patch, and Sand
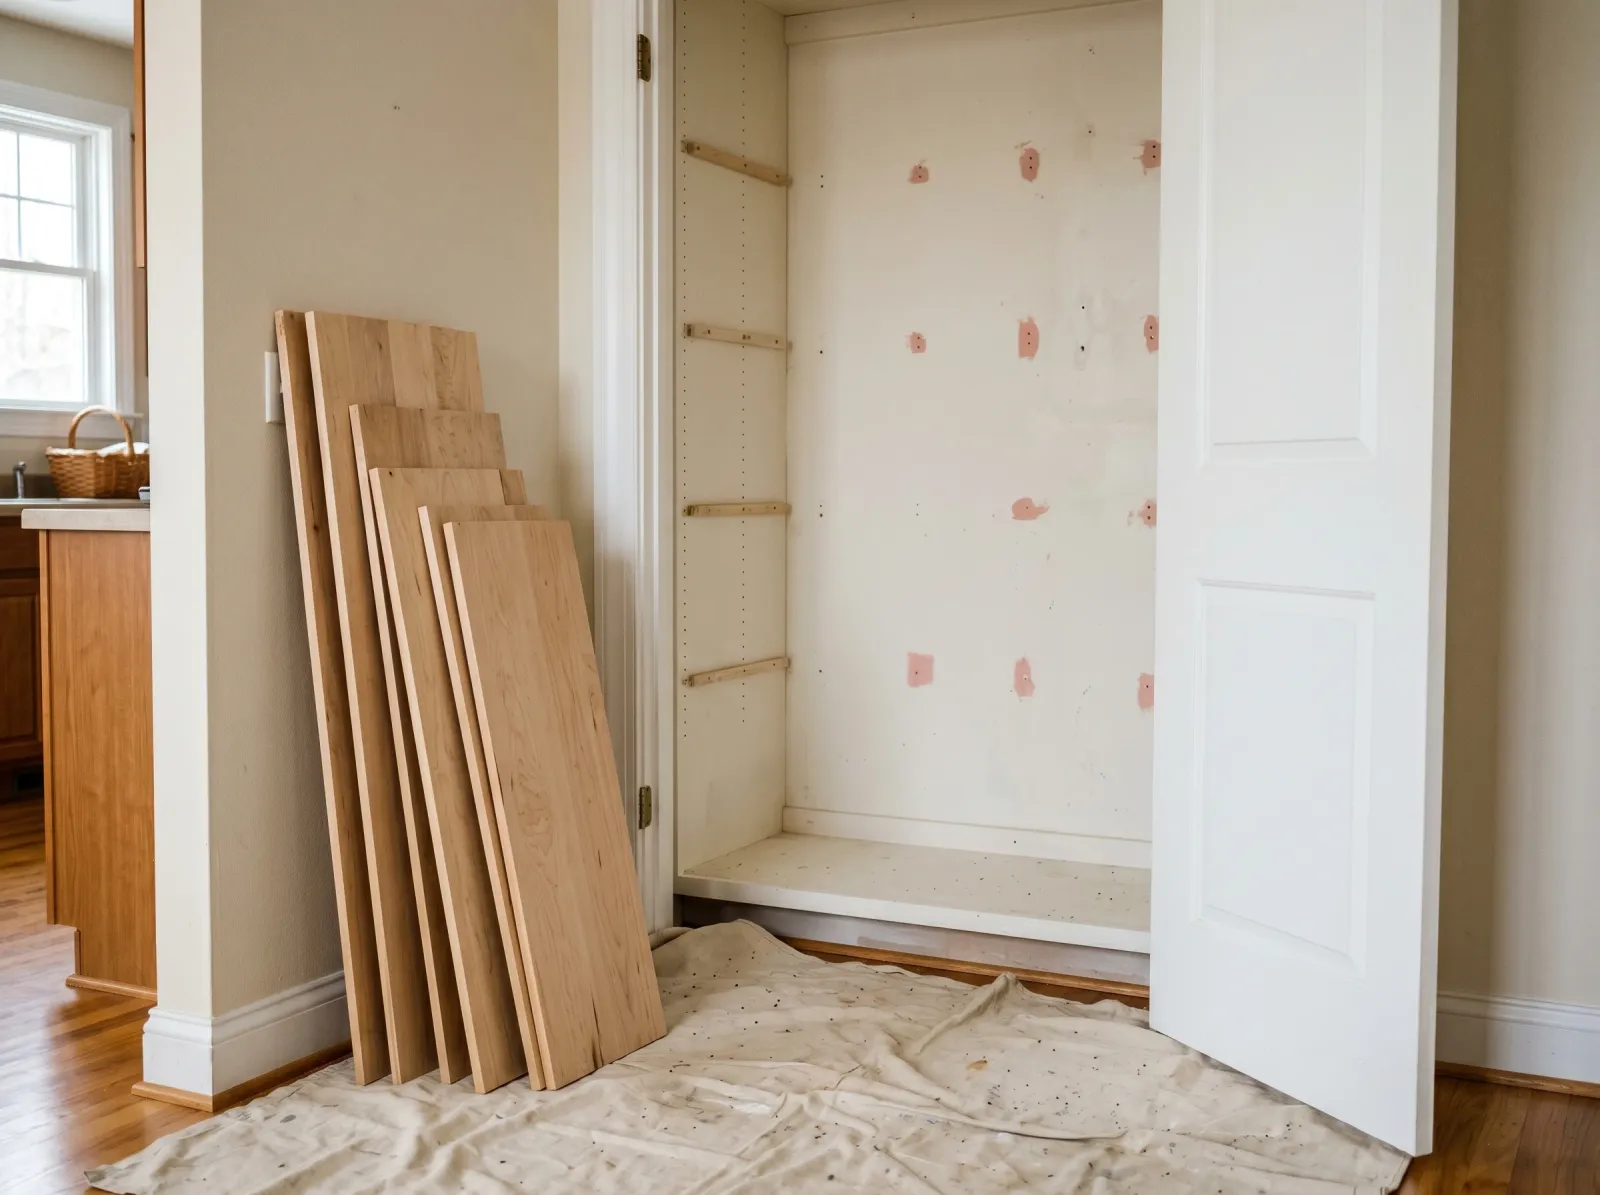 Shelves out, holes filled, floor covered. The prep is most of the job in a space this small.
The wall nearest the door picks up a film of cooking grease over the years, even a few feet from the stove. New paint won’t stick to grease, it just sits on top and peels. Wipe that wall down with a degreaser (Krud Kutter, or warm water with a squirt of Dawn), then rinse with a clean damp rag and let it dry.
Fill old anchor holes and nail holes with spackle, scrape flush, let it dry, and sand smooth with the 220-grit sponge. Give the whole pantry walls a light scuff with the same sponge so the paint grips. You’re not sanding it down, just taking the slick off.
Step 3 — Prime the Problem Spots
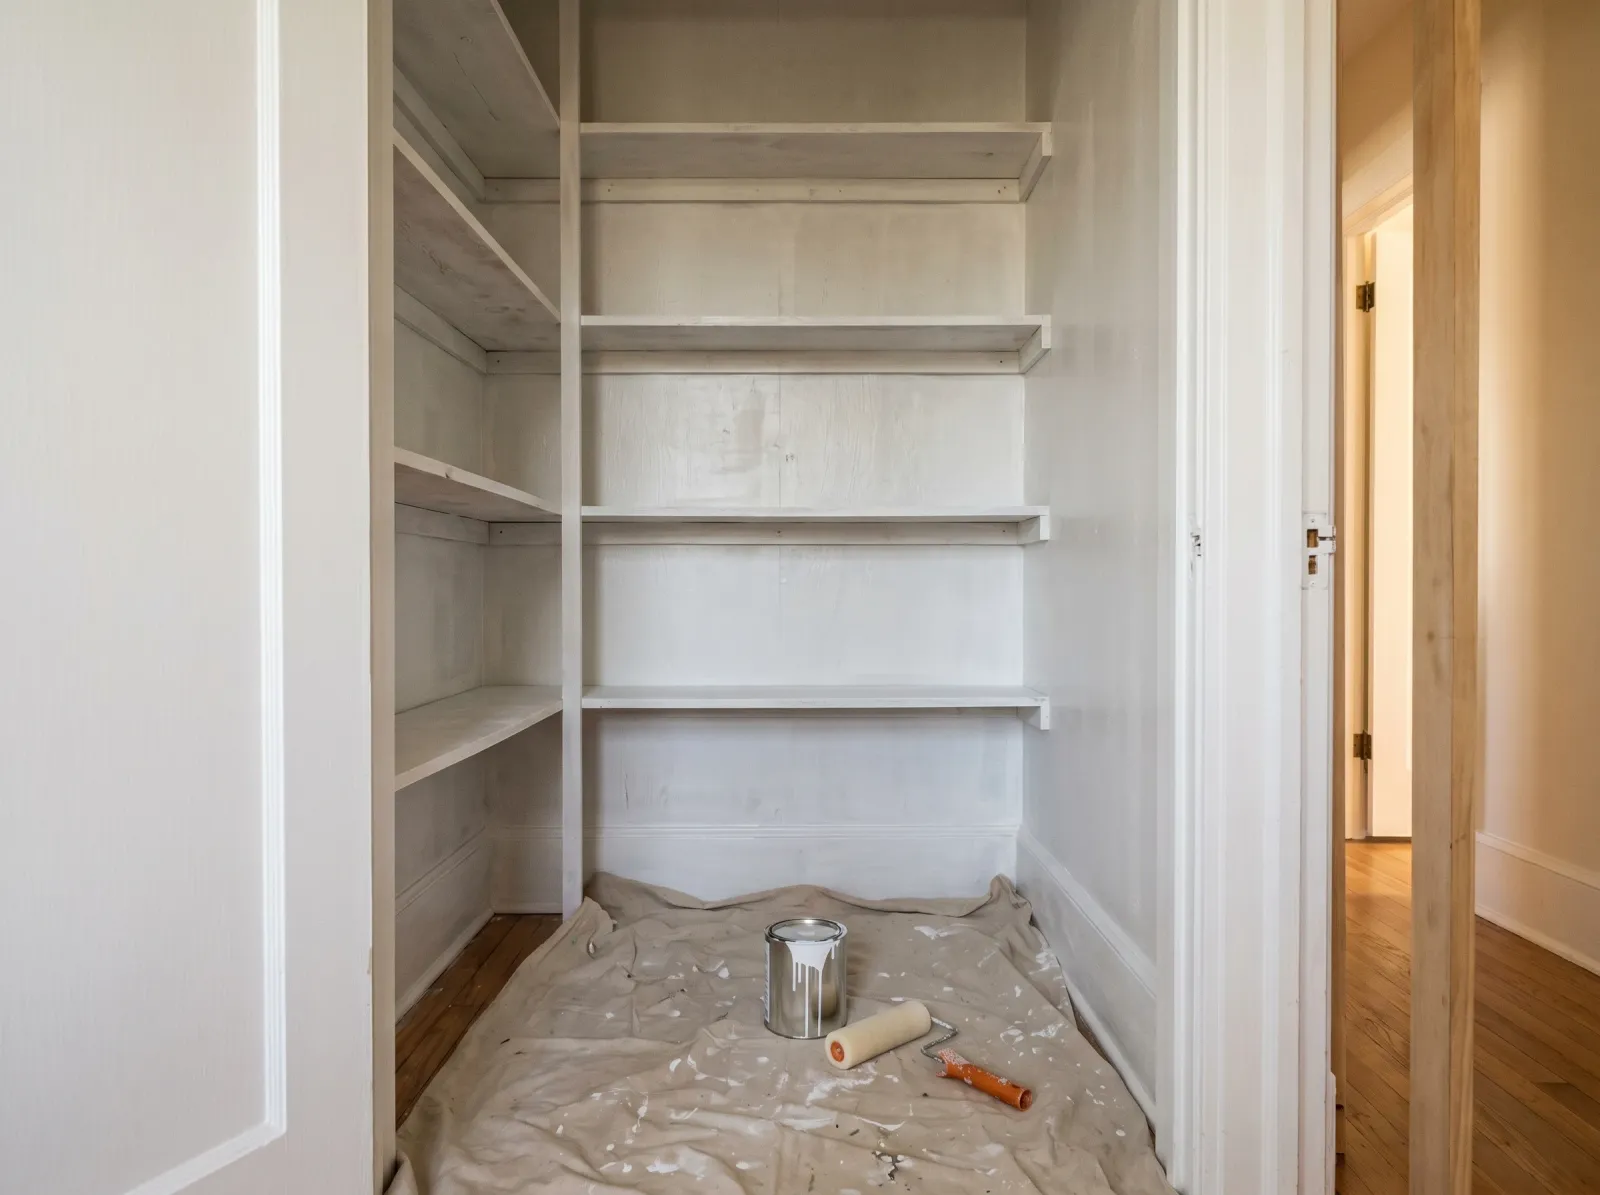 Stain-blocking primer on the grease haze, the back wall, and anywhere the old color might bleed through.
Tape off the door frame and lay your drop cloth. Now hit the spots that need it: the degreased wall by the door, any water stains, and the bare wood shelves if you took them out. If you’re covering a dark color with white, prime those dark walls too, or you’ll be rolling four coats of white to bury them.
Brush the corners, roll the flats with the foam mini-roller. Let it dry the time on the can. BIN dries in about 45 minutes; KILZ takes a couple of hours. For the difference between a primer and a sealer, the primer round-up sorts it out.
Step 4 — Paint the Walls
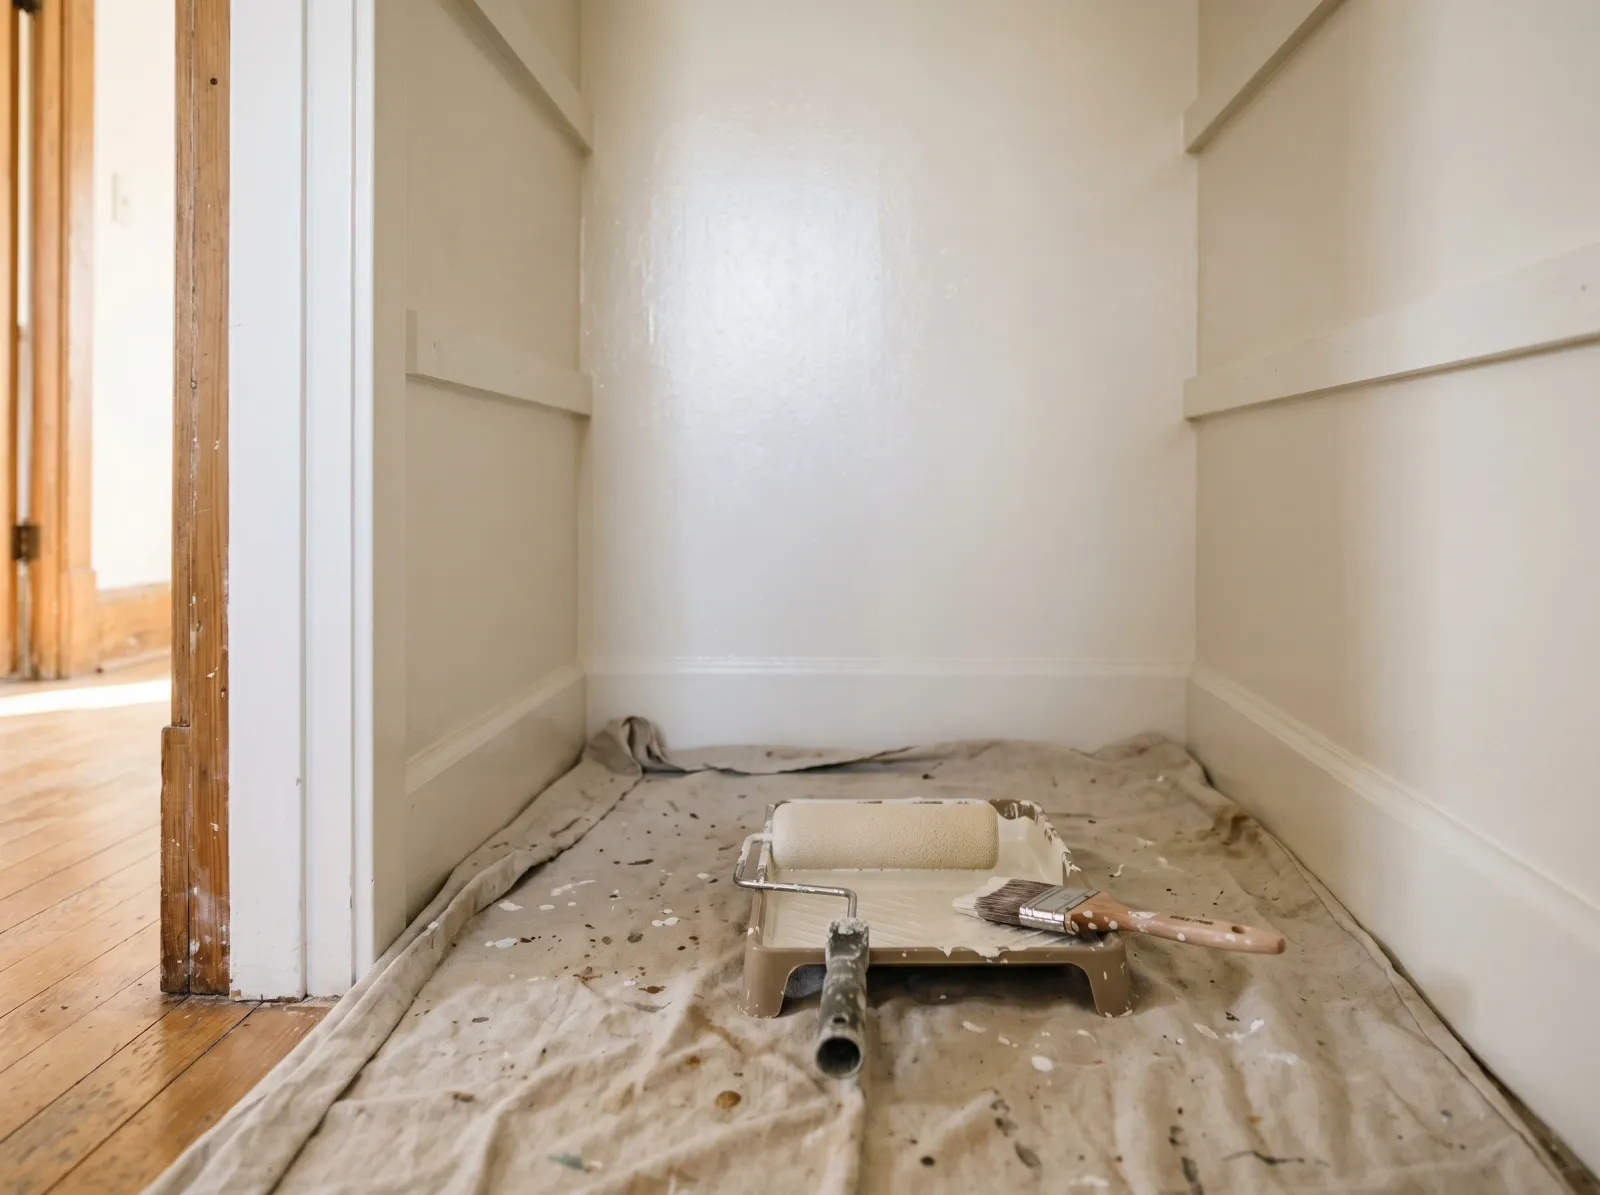 Cut in the edges with the brush, then roll the flats. Two thin coats beat one thick one every time.
Cut in first. Run the 2-inch angled brush around every edge: the corners, the top where the wall meets the ceiling of the pantry, around the door frame, down the back-wall seams. Then roll the open wall faces with the foam roller while the cut-in is still wet, so the brushed band and the rolled area blend instead of leaving a visible line.
Two thin coats, not one thick one. A thick coat sags and dries blotchy in a dark space where you can’t see it happening. Let the first coat dry the time on the can (usually 4 hours for water-based) before the second.
Watch out for the corners you can’t see. A pantry is dark and your own body blocks the light. Clip on a work light or wear a headlamp, and after each coat shut the door, then open it and look again with fresh eyes. You’ll catch the holidays (painter’s word for missed spots) you walked right past.
Step 5 — Paint the Shelves
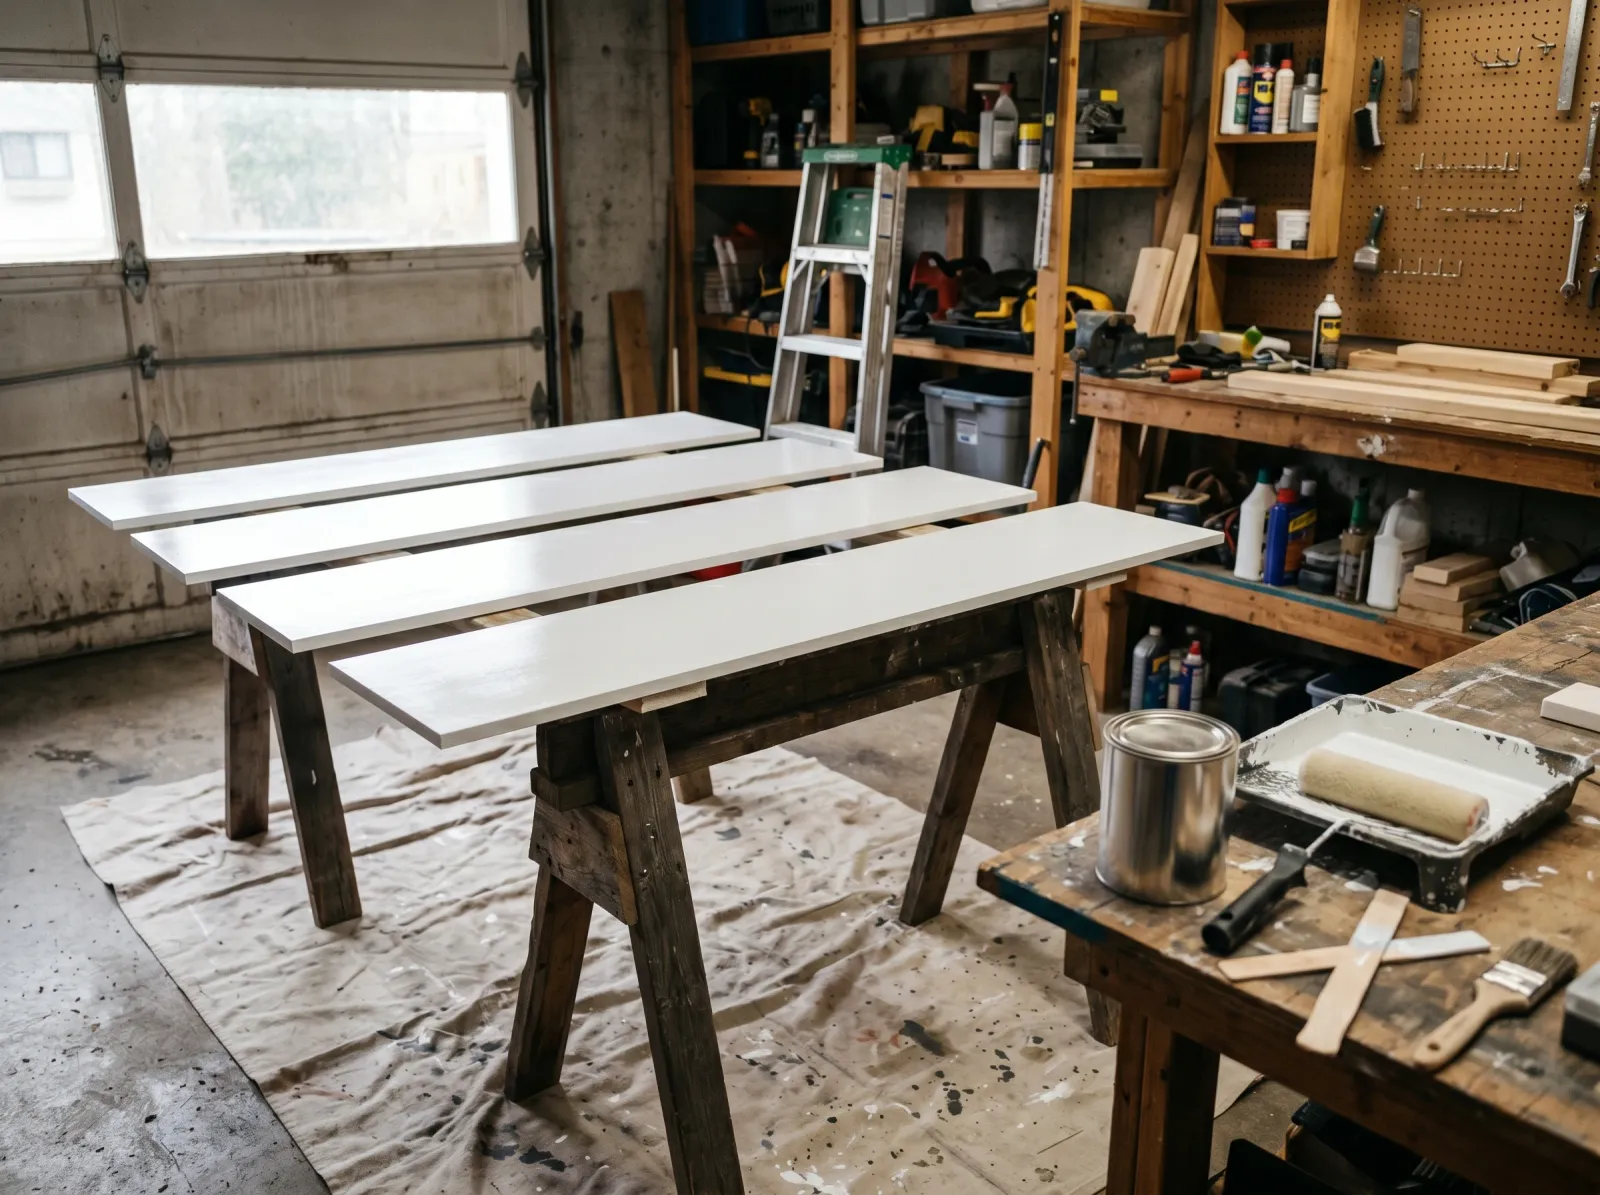 Shelves laid flat and enameled. Painting them flat means no drips run down the front edge.
Lay the shelves flat across sawhorses or two chairs. Paint the top, the front edge, and a few inches of the underside where it’s visible. Use the enamel here, not the wall paint, because shelves take real abuse.
Two thin coats, brushed or rolled with the foam mini. If you’re brushing, a little Floetrol (a latex extender that erases brush marks) keeps the surface smooth. Let each coat dry fully, and let the whole shelf cure before you put weight on it. Enamel feels dry in hours but stays soft for days.
If your shelves are wire, not wood, read the FAQ below before you paint them. Wire shelving needs its own prep and most people skip painting it entirely.
Common Mistakes
- Painting over the grease film by the door. New paint peels off greasy wall in sheets within weeks. Degrease the door-side wall first, every time, even if you can’t see the grease.
- Using flat wall paint inside a pantry. Flat won’t wipe clean, and a pantry is all about wiping clean. A spilled sauce jar leaves a mark you can never scrub out. Use satin or semi-gloss.
- Painting wood shelves with wall paint. Wall paint stays soft and gummy under the weight of cans, and it scuffs off where things slide. Use a cabinet or trim enamel that cures hard.
- Restocking too soon. Cans dragged across a shelf that hasn’t cured leave scratch tracks right down to the primer. Wait a week before you load up the shelves with heavy stuff.
- Putting food back while it still smells. A closed pantry traps the off-gassing smell, and it’ll transfer to open boxes. Air it out for two or three days with the door propped before anything edible goes back.
Cure Schedule
| Time after the final coat | What’s safe |
|---|---|
| 2 hours | Touch dry, don’t bump it |
| 24 hours | Reinstall the shelves, gently |
| 48-72 hours | Restock sealed cans and jars after airing out |
| 7 days | Slide heavy items, wipe spills |
| 30 days | Full cure, scrub with a sponge |
Maintenance and Touch-Ups
A pantry painted in satin and semi-gloss holds up for 7 to 10 years, longer than a high-traffic kitchen wall because nobody’s leaning on it. The shelves wear first, usually a scuff line where a heavy bag sits.
For a scuff, wipe with a damp microfiber cloth first. Most marks are dirt, not damage. For a real scratch on a shelf, dab the leftover enamel on with a small artist’s brush. Keep the leftover quart labeled with “pantry” so you can match it years from now without guessing.
If the back wall goes dingy again fast, the grease wasn’t fully cleaned off the first time, or there’s a moisture issue (a pantry sharing a wall with a fridge or a dishwasher can run damp). Track that down before you repaint or you’ll be doing this every year.
Cost Breakdown
| Item | $ |
|---|---|
| Wall paint, 1 quart satin | $18 |
| Shelf enamel, 1 quart semi-gloss | $22 |
| Stain-blocking primer, 1 quart | $14 |
| Foam roller, brush, tray | $18 |
| Tape, drop cloth, spackle, degreaser | $15 |
| Total | $87 |
You’ll have leftover paint, which is fine, it’s your touch-up stash. A bare-bones version reusing brushes you own runs closer to $45. A walk-in pantry needs a gallon of wall paint instead of a quart, which adds about $15.