How to Paint Linoleum
Painting linoleum that actually lasts: clean off the wax, scuff-sand the shine, bond-prime, then two thin coats of floor paint and a clear topcoat to walk on.

Most painted linoleum floors fail for the same reason. The owner cleaned it, rolled paint straight on, and it looked great for a month. Then it started peeling at the doorway where shoes scuff, and by spring it was coming up in sheets.
Linoleum has two things working against paint. A slick factory finish, and a film of floor wax most people forget is even there. Paint can’t bite through either one. The fix is boring and it’s the whole job: strip the wax, sand the shine dull, and prime with something built to grab glass. Do that and the rest is just rolling paint.
What You’ll Get
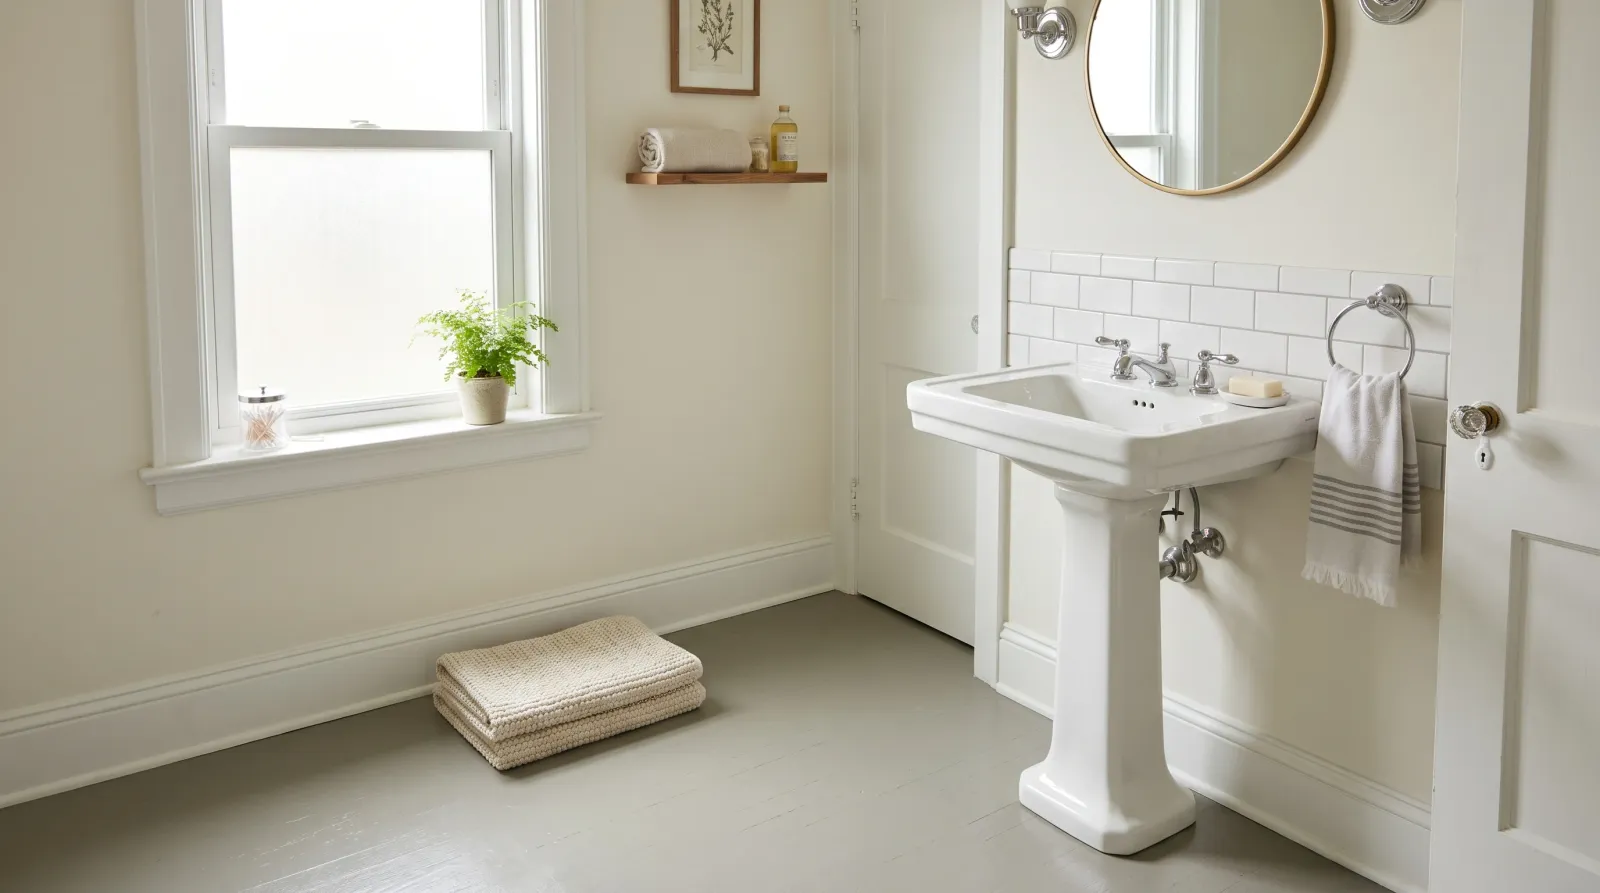
A painted linoleum floor that takes foot traffic, wipes clean, and stays put for years instead of months. It won’t read as tile or hardwood up close, but from standing height it looks like a solid painted floor, and it buys years before a real floor replacement.
Honest Take on Difficulty and Time
Medium job. No single step is hard, but there are a lot of dry-time gaps and you can’t skip any of them. Active work is one weekend. The clock is longer.
A small bathroom is a Saturday of prep and painting, then you stay off it for three days. A galley kitchen is a full weekend. Most of the elapsed time is waiting: primer to recoat, coat to coat, last coat to cure. If you’ve got one bathroom in the house, plan around not using it.
The thing that bites people isn’t the painting. It’s the prep they cut short to save an hour.
What You’ll Need
Paint and Primer
You need three products in this order, and they each do a different job.
- Bonding primer. INSL-X STIX or Zinsser Bulls Eye 1-2-3. STIX is the one I’d grab. It’s built to grip slick surfaces other primers slide right off. This is the layer that makes the whole thing stick.
- Porch-and-floor enamel. INSL-X Tough Shield, Rust-Oleum Porch & Floor, or BM Floor & Patio. This is the color. It cures harder than wall paint, which matters when a chair leg drags across it. A small bathroom takes one quart for two coats; a galley kitchen takes two.
- Clear floor polyurethane. A water-based satin or semi-gloss like Varathane, or Bona Traffic if the floor sees real abuse. This is the wear layer. It’s the part that takes the traffic, and it’s the part you’ll re-coat down the road instead of repainting.
Don’t reach for a paint-and-primer-in-one here. That’s a wall product. On a slick floor it has nothing to bite. For why the bonding step matters on smooth surfaces, the ceramic tile guide walks through the same problem on a different slick floor.
Tools
- 2.5-inch angled sash brush for cutting in along baseboards and around the toilet flange.
- 9-inch roller frame and two 1/4-inch nap microfiber sleeves. Short nap lays flat on a smooth floor; a fat nap leaves stipple you’ll feel underfoot.
- Roller tray, liners, and an extension pole so you can roll standing up.
- TSP substitute or Krud Kutter, rubber gloves, safety glasses.
- 120-grit and 220-grit sanding sheets, a sanding pole or block, and a shop vac.
No decent roller setup yet? The picks in the roller round-up cover what works on smooth floors.
Step 1 — Clear the Floor and Strip the Wax
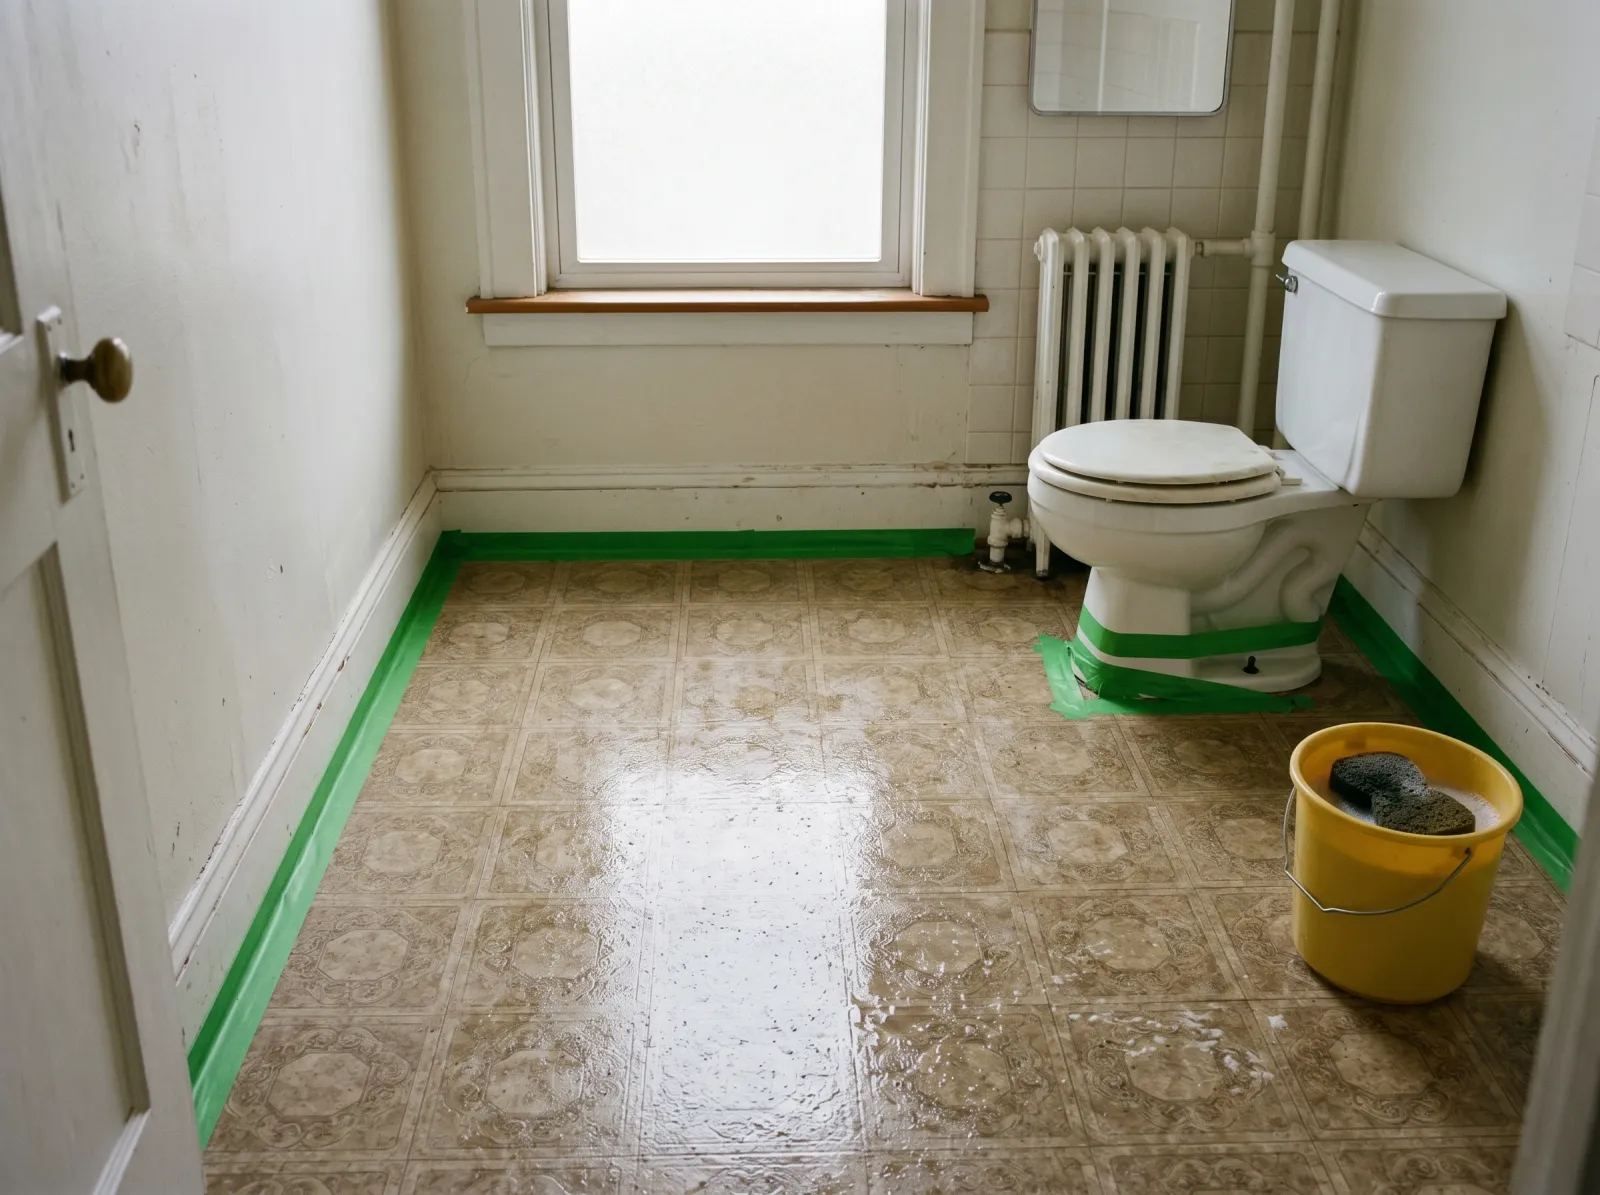
Everything off the floor, the old wax scrubbed off with degreaser, tape along the baseboards.
Pull everything off the floor. Pull the toilet if you want a clean job around the base, or tape tight around it if you don’t.
Now the part people skip. Linoleum almost always has floor wax on it, often years of built-up wax. Paint will not stick to wax. Mix TSP substitute per the label or spray Krud Kutter straight on, scrub the whole floor, and rinse with clean water. The rinse matters as much as the scrub. Let it dry a couple hours.
Watch out for the buildup in corners and along the baseboards. That’s where the wax is thickest and where peeling starts. Scrub those hard.
Step 2 — Scuff-Sand the Shine Off
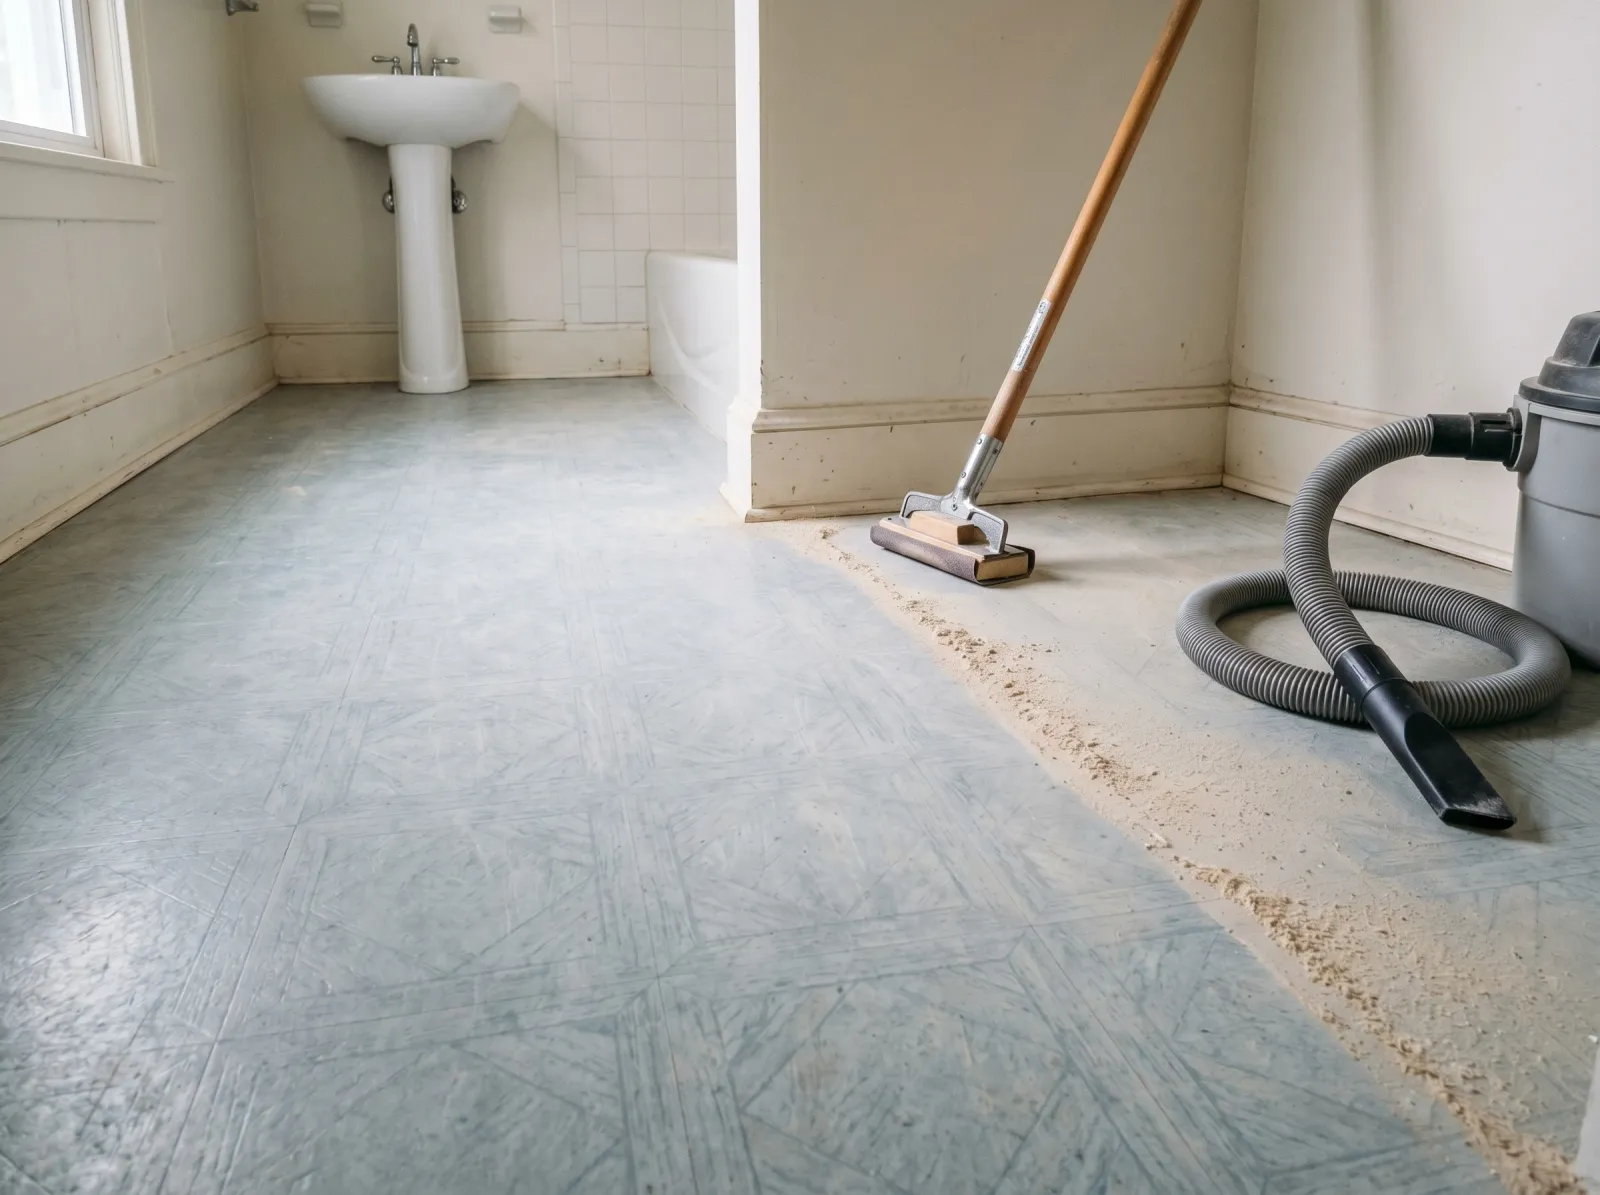
The factory shine knocked off with 120-grit so the primer has something to grab.
You’re not sanding the floor down. You’re knocking the gloss off it. Run 120-grit over the whole surface with a sanding pole until the shine is gone and the floor looks uniformly dull. That dull surface is tooth, and tooth is what the primer grips.
Vacuum every speck of dust with the shop vac, then wipe with a damp rag and let it dry. Grit left on the floor turns into bumps under your finish.
Watch out for glossy spots you missed. Hold a light low across the floor and look for shine. Any patch that still reflects is a patch the primer can let go of later.
Step 3: Tape and Cut In the Edges
Press the green tape along the baseboards and around the toilet base. Push the edge down hard with a fingernail so paint can’t creep under it. Lay the drop cloth in the doorway and the hall you’ll be backing into.
Cut in a 2-inch band of bonding primer along every edge with the angled brush before you roll. The roller can’t reach tight to a baseboard, and without a cut-in band you get a stripe of bare floor at every edge.
Step 4 — Roll the Bonding Primer
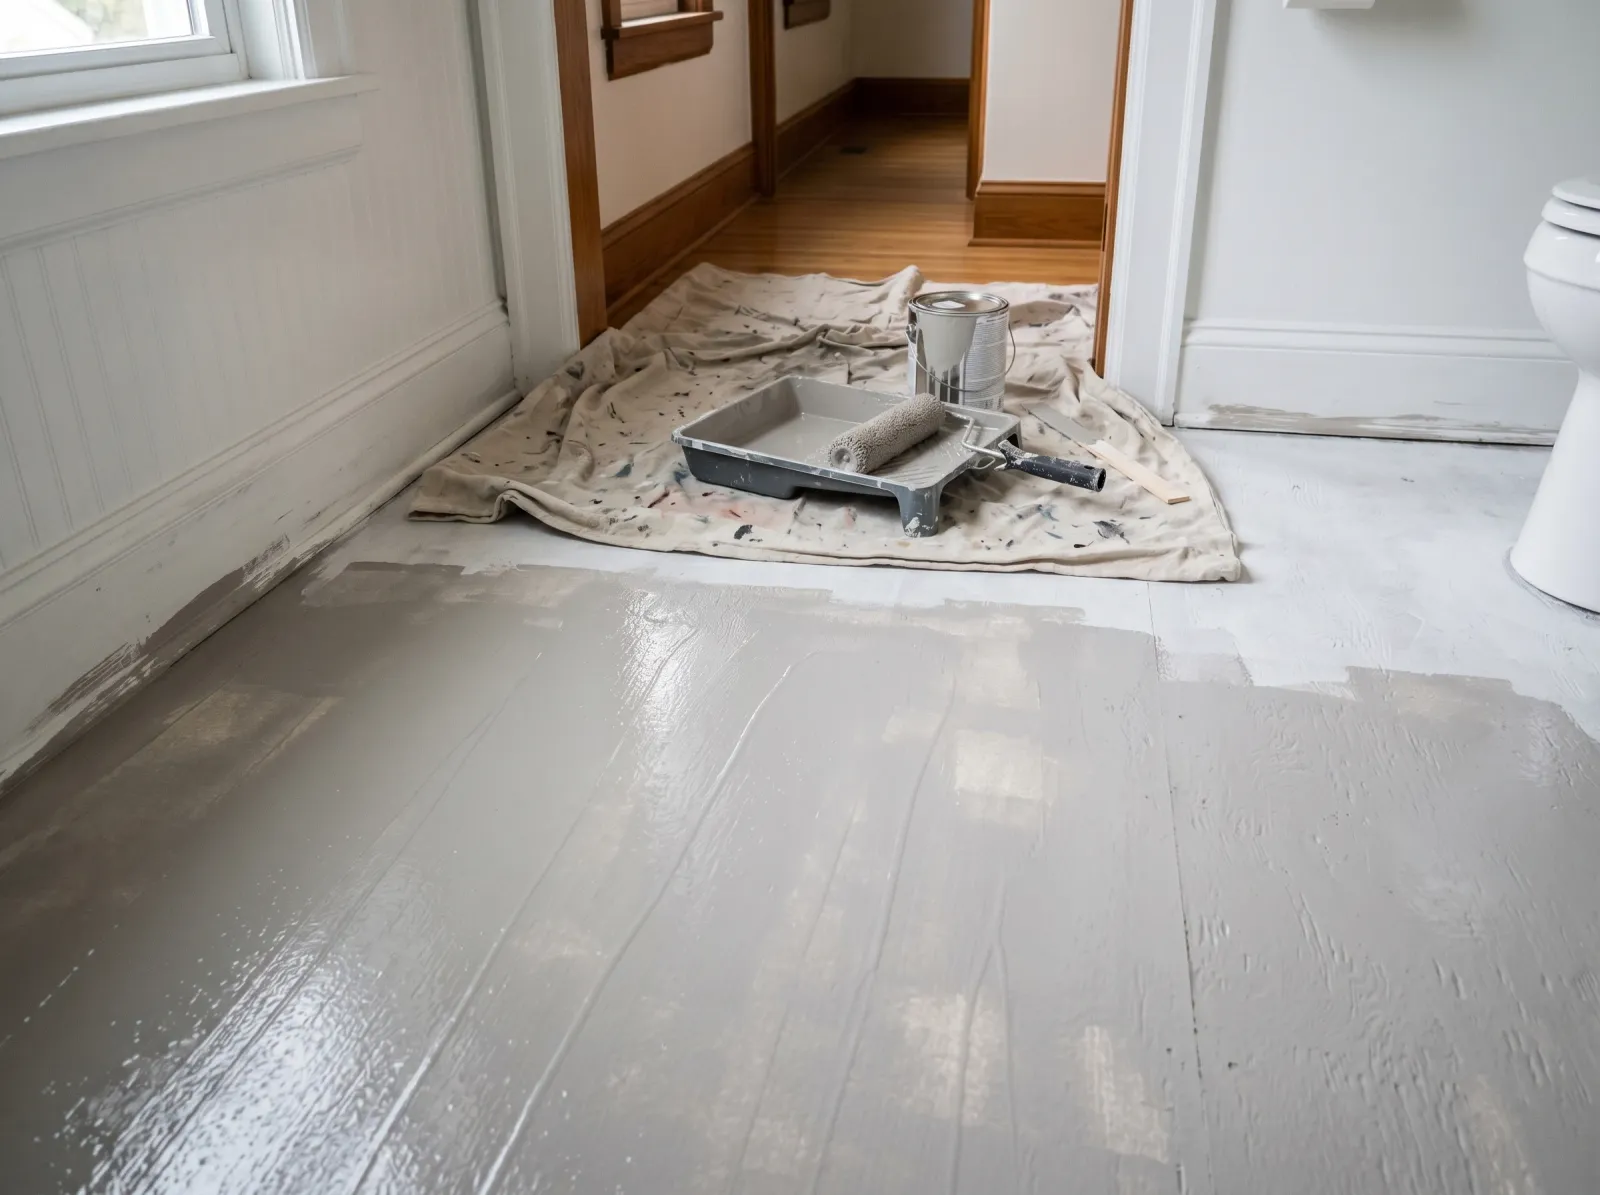
One thin coat of bonding primer, a flat grey-white film over the whole floor.
One thin coat. Thin is the rule on a floor. A heavy coat of bonding primer dries slower, stays soft, and bridges the tooth you just sanded in, which defeats the point.
Load the 1/4-inch roller, roll off the excess, and work backward out of the room toward the door so you don’t paint yourself into a corner. Keep a wet edge and don’t go back over a tacky section.
Let STIX cure the full time on the can before you recoat. Usually that’s a few hours, but check the label, because rushing the primer is how you get paint that peels off in sheets down the line. The bond happens during that cure window.
Watch out for walking on the primer to check your work. Stay off it. One footprint at the wrong time and you’ve got a flat spot in the finish.
Step 5 — First Coat of Floor Enamel
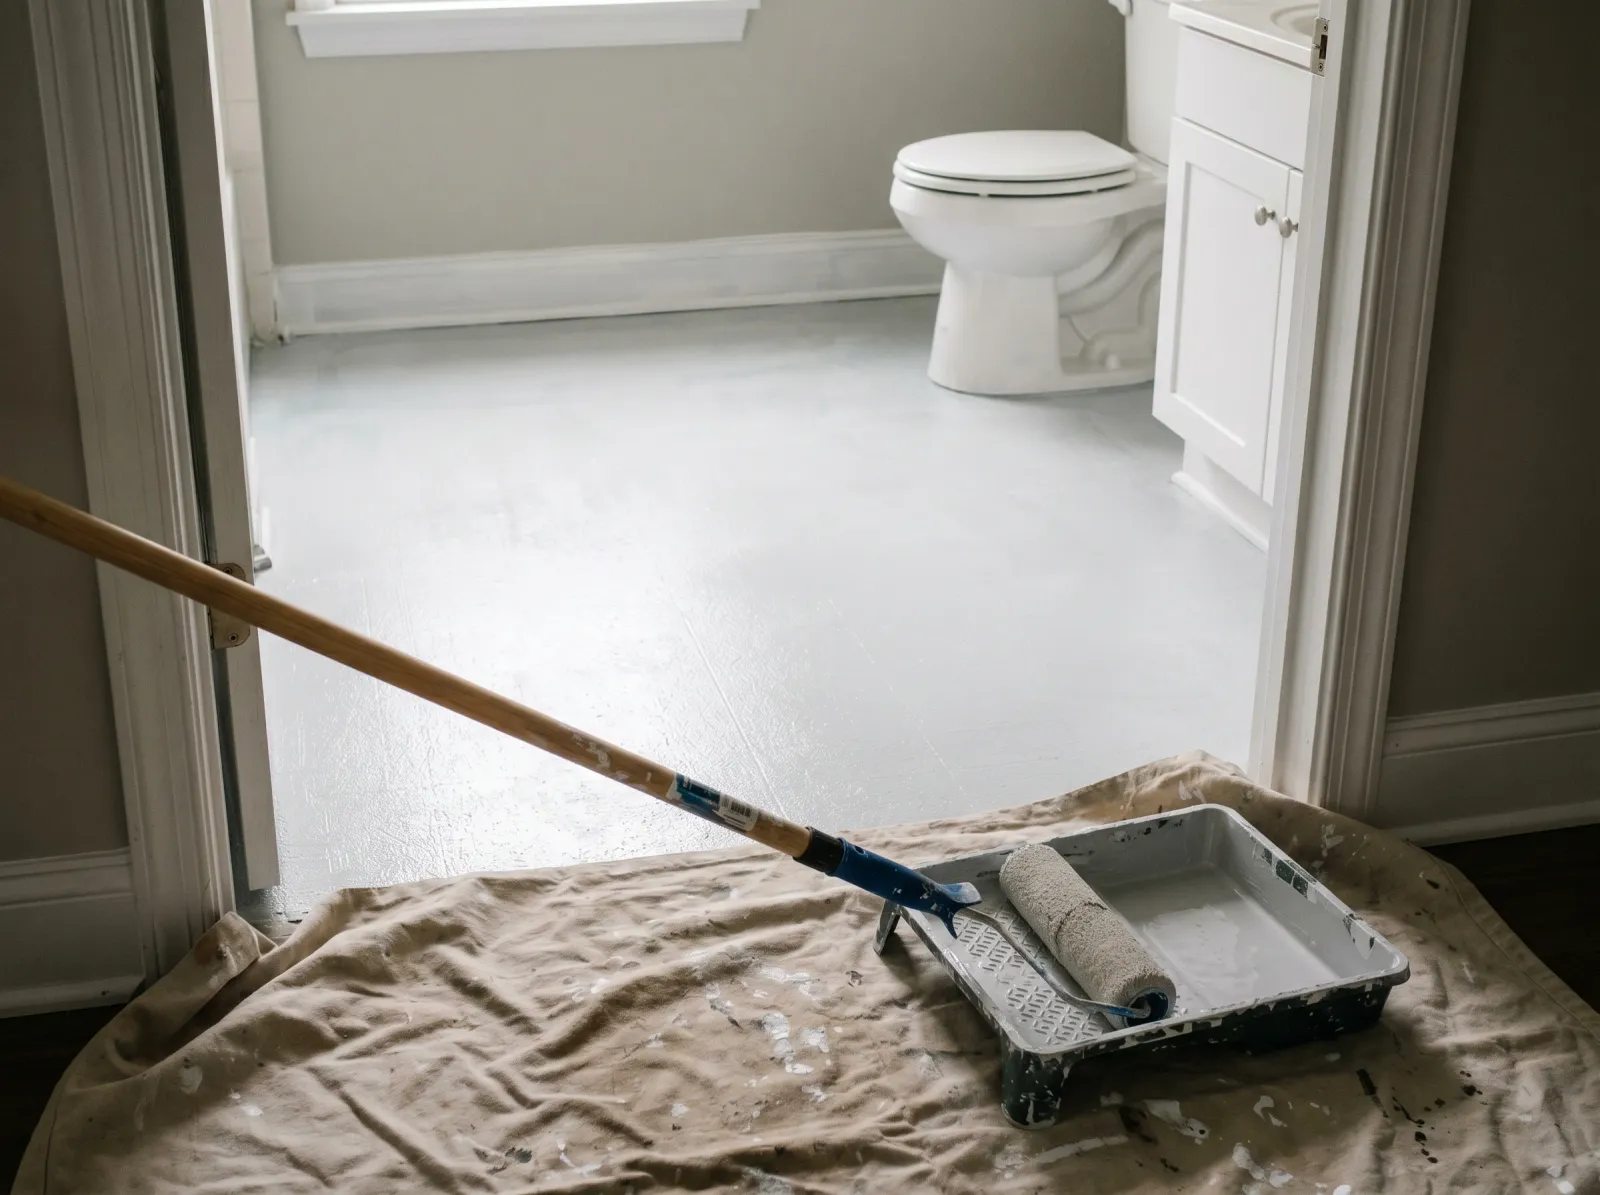
First color coat rolled thin, working out of the room toward the door.
Same routine as the primer. Cut in the edges, then roll thin, backing out toward the door. The first coat will look streaky and translucent in spots. That’s normal on a floor. Don’t try to fix it by piling on more paint.
Floor enamel takes longer to recoat than wall paint, often overnight. Read the can and wait the full window. Recoat too soon and the second coat drags the first one around and you get a gummy mess that never hardens right.
Step 6: Second Coat, Then the Clear Topcoat
Roll the second color coat the same way. Two thin coats beat one thick one every time. The color fills in and evens out on this pass, and the floor finally looks done.
Once the second color coat has dried per the can, roll on the clear poly. The topcoat is the layer that actually takes the abuse. Two thin coats of poly beats one heavy one here too. Satin hides scuffs and footprints better than semi-gloss; semi-gloss reads cleaner but shows every shoe mark in side light.
Watch out for bubbles in the poly. Don’t shake the can or overwork the roller. Lay it down and leave it. Going back over half-set poly is how you trap bubbles in the finish.
Common Mistakes
- Painting over the wax. This is the number-one floor failure. The floor looks clean, but invisible wax is still there, and paint over wax lets go in sheets at the doorway within months. Strip it with TSP substitute or Krud Kutter and rinse.
- Skipping the scuff-sand. Even a bonding primer wants tooth on a glass-slick floor. Twenty minutes with 120-grit is the difference between five years and five months.
- Using wall paint instead of floor enamel. Wall paint never hardens enough for a floor. It stays soft, scuffs gray, and peels where chairs drag. Floor enamel cures hard. That’s the whole point of it.
- No clear topcoat. People stop after the color coat because it looks finished. Bare floor enamel wears through at the traffic lanes fast. The poly is the sacrificial wear layer, and it’s cheap insurance.
- Walking on it too soon. Touch-dry isn’t cured. Furniture and shoes at three days, not three hours. Early traffic prints footsteps into the finish that never come out.
Cure Schedule
| Time after the clear topcoat | What’s safe |
|---|---|
| 2 hours | Touch dry, stay off it |
| 24 hours | Light stocking-foot traffic |
| 3 days | Shoes, light furniture back in |
| 7 days | Normal use, dragged chairs, dropped pans |
| 30 days | Full cure, wet-mop and scrub |
The poly drives this schedule, not the color coat. Let it have the time.
Maintenance and Touch-Ups
A painted linoleum floor in a bathroom or laundry room runs 5 to 8 years. A kitchen entry that catches grit and traffic is more like 3 to 5. Sweep the grit off regularly. Grit underfoot is sandpaper, and it wears the topcoat at the doors first.
Here’s the good part. When the floor starts looking tired, it’s the clear poly that’s worn, not the color. Clean the floor, scuff it with 220-grit, and roll one fresh coat of poly. One afternoon, and the floor looks new again. You don’t repaint.
For a deep gouge that reaches the color, dab floor enamel into just the scratch with a small brush, let it dry, then spot the poly over it. Keep a labeled half-quart of each in the closet.
Cost Breakdown
| Item | $ |
|---|---|
| Bonding primer, 1 quart | $20 |
| Floor enamel, 1-2 quarts | $25-$45 |
| Clear poly topcoat, 1 quart | $25 |
| TSP substitute or Krud Kutter | $10 |
| Sanding sheets, tape, liners | $20 |
| Roller, sleeves, brush (if buying) | $25 |
| Total | $90-$170 |
If you already own the roller and brush, knock $25 off. The poly is the line item people want to cut. Don’t. It’s the part that makes the whole floor last.
What’ll Bite You in Two Years
The floor itself will be fine if you prepped it. What gets people is the edges. Linoleum moves a little with temperature and humidity, and the seam where the floor meets the tub or the baseboard is where the topcoat cracks first. Run a thin bead of clear caulk at those seams after the floor cures, and re-coat the poly before it wears through to color, not after. Catch it early and this floor outlives the next two tenants. For floors that take heavier abuse than a bathroom, the floor paint that takes real traffic covers the harder-wearing systems, and the residential concrete floor guide uses the same prime-and-topcoat logic on a different surface.