How to Limewash a Brick Fireplace
How to limewash a brick fireplace for a soft chalky finish. Mixing, dampening the brick, working the wash, and rubbing it back to the look you want.

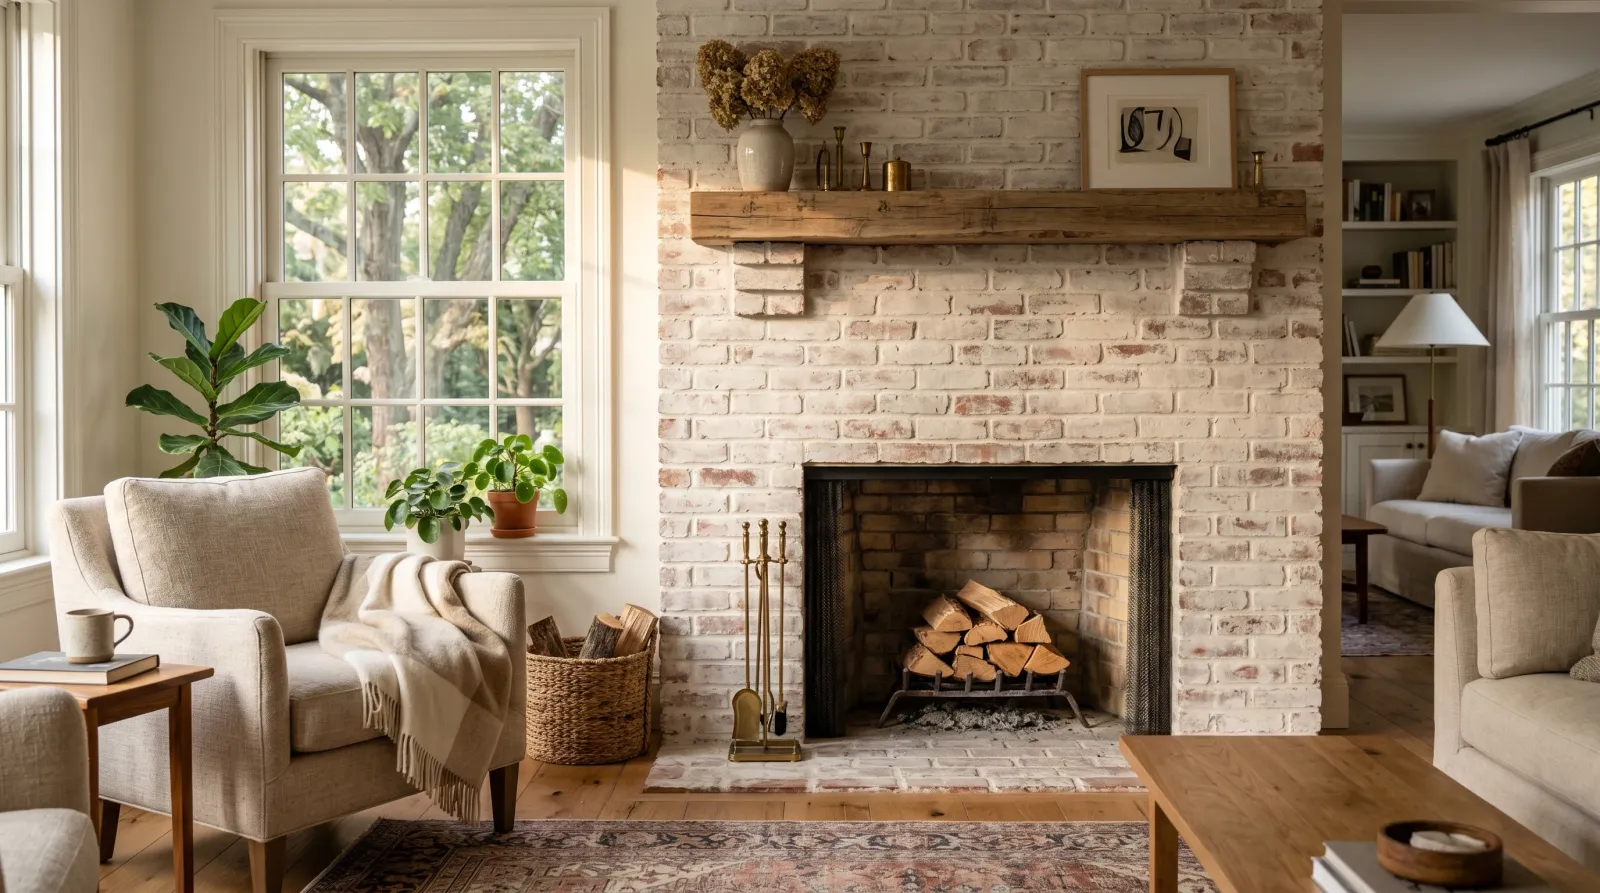
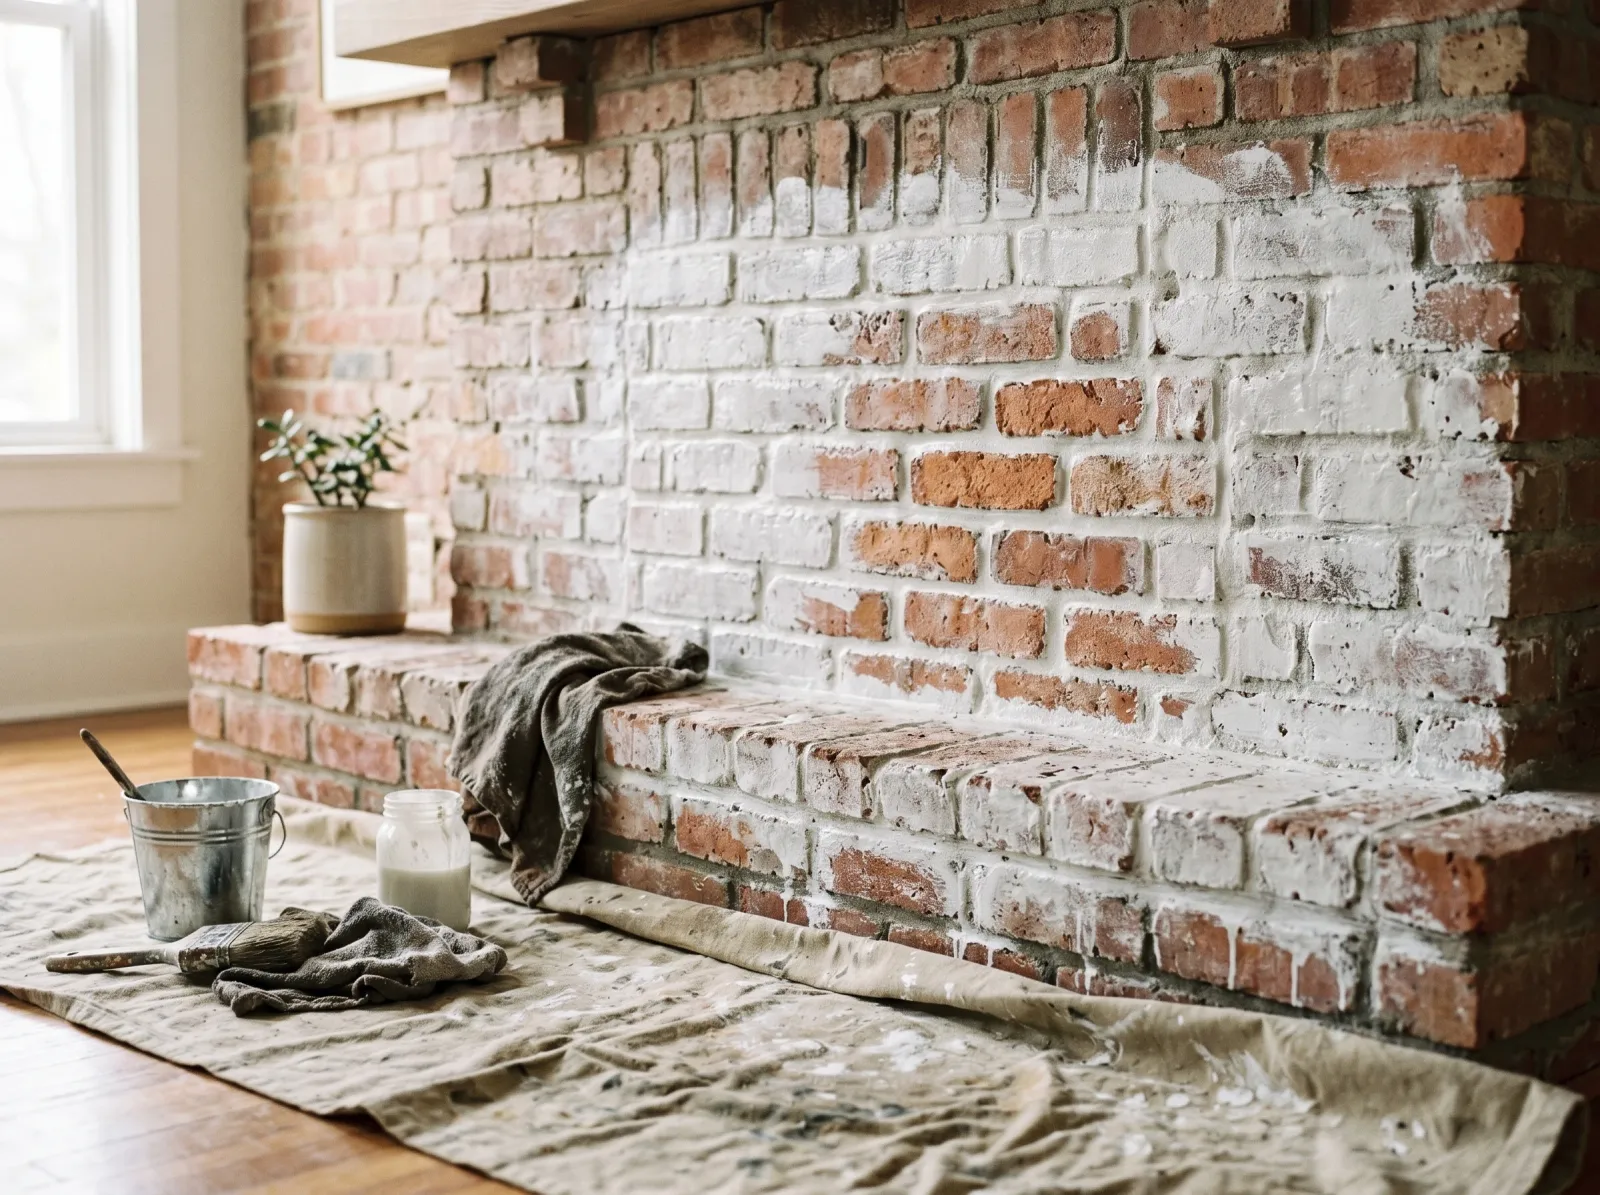
There’s a moment with a red-brick fireplace where you realize the brick is running the whole room. It pulls everything toward orange. The trim looks colder than it should, the wood floor goes muddy next to it, and a perfectly nice gray sofa starts to read pink. The brick isn’t ugly. It’s just loud, and it’s deciding things for you.
Limewash quiets it. Not with a coat of paint that buries the texture, but with a thin lime-and-water wash that sinks into the brick and softens the color from inside it. The red doesn’t disappear. It warms down to a chalky, weathered off-white with the original tone still reading faintly through in places, the way old European masonry looks after a few decades. And the best part for a first-timer: while it’s wet, almost any mistake wipes back off.
TL;DR
- Limewash is lime and water, not paint. It soaks into bare brick and cures hard, so it ages and softens instead of peeling.
- Only works on bare, porous brick. Already painted? You’ll need a mineral or limewash-look paint instead, or you strip back to bare brick first.
- Dampen the brick before you wash it. Wet brick pulls the wash in evenly. Dry brick drinks it in blotches.
- Go thin and build up. Two thin coats read better than one thick one, and thin lets you control how much red shows through.
- Rub it back while it’s wet with a damp rag to expose the high points of the brick. This is where you dial in the mood, light and chalky or deep and mottled.
- No sealer indoors. A topcoat kills the soft breathable finish that makes limewash worth doing.
What You’ll Get
A brick fireplace that reads soft, chalky, and quietly old, with the brick texture fully intact and the red tone warmed down to a barely-there blush under the white. It stops fighting the rest of the room.
Honest Take on Difficulty and Time
This is one of the easier finishes you can put on brick, and it’s genuinely hard to ruin. The forgiveness comes from the medium: limewash goes on translucent and you build the look in layers, so nothing is a single committed stroke the way a coat of glossy paint is. Wipe it, add to it, walk away and look at it in different light.
A standard fireplace surround takes about four working hours of brushing and rubbing, spread across a weekend so each coat can set. Mixing and dampening eats more time than you’d guess. You mist the brick down, brush, decide whether to wipe back, then let it cure overnight before the second coat.
The look develops as it dries. Wet limewash always looks too thin and too translucent. Don’t judge it wet. It chalks up and lightens dramatically as the water leaves, sometimes over a full day. First-timers panic at the wet stage and pile on too much. Resist that.
What You’ll Need
Limewash
A gallon of true limewash covers a standard fireplace surround with two coats. Romabio Classico Limewash is the easiest one to find at a big-box store, and it comes pre-mixed in a slaked-lime base. A masonry supplier will sell you a lime putty wash you mix yourself, which costs less, but pre-mixed is the calmer first-time choice.
Limewash is white or off-white in the can, and you can tint it slightly with mineral pigment if you want a warmer cream or a cooler gray-white. For a first fireplace, plain white over red brick gives you the most room to control the warmth by how much you rub back.
If your fireplace is already painted, true limewash won’t bond. You want a mineral-based limewash-look paint instead, or you strip to bare brick first. For the full picture on what limewash actually is and how it differs from paint, see what limewash is.
Tools
A thick natural-bristle masonry block brush is the one tool that matters. A fine sash brush meant for trim won’t hold enough wash and won’t push it into the mortar lines. You want a wide, stiff, thirsty brush. Add a spray bottle or garden mister for dampening the brick, a stiff scrub brush for cleaning it first, a bucket, rubber gloves (lime is alkaline and dries your hands fast), painter’s tape, and a canvas drop cloth. Limewash spatters more than wall paint, so cover more than you think you need to.
Step 1 — Clean the Brick and Mask the Room
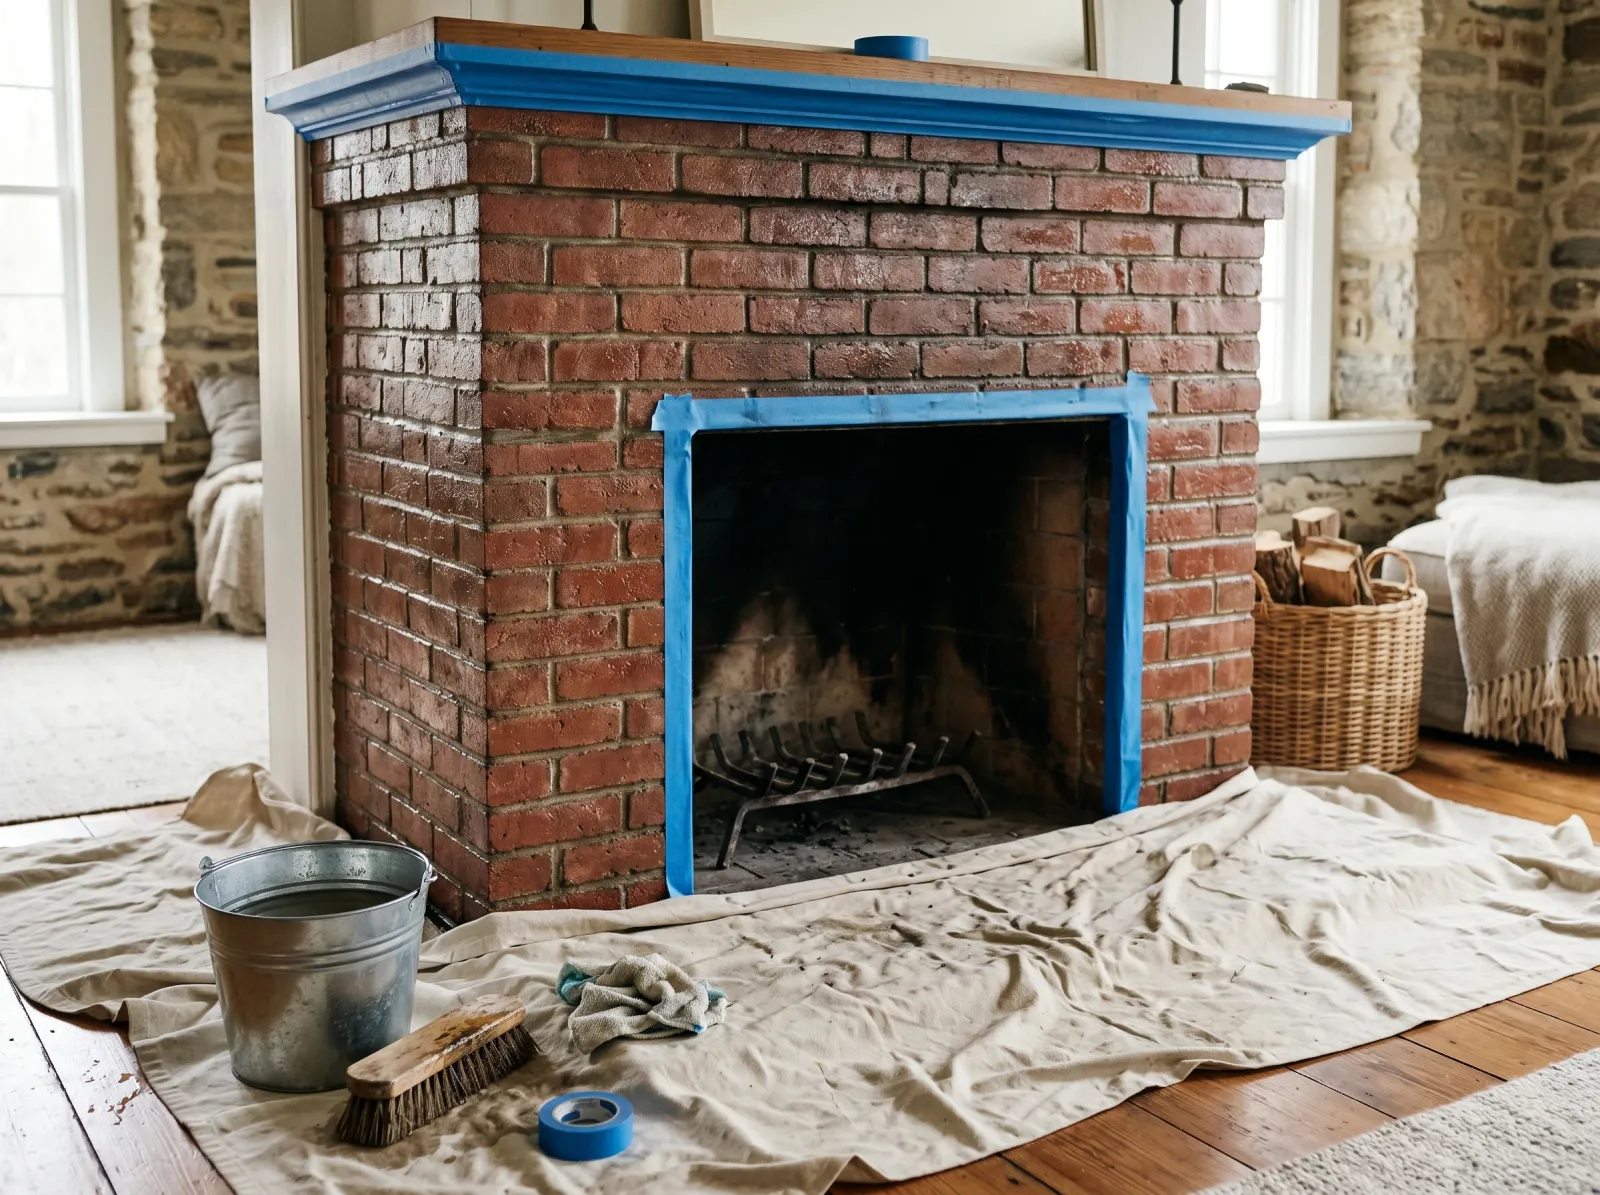 Every bit of dust and soot scrubbed off the brick, mantel taped, drop cloth down.
Limewash bonds to clean, bare, porous brick and nothing else. Scrub the whole surround with a stiff brush and water to pull off dust and loose mortar grit. If the brick near the firebox is sooty or greasy from years of fires, wash it with TSP or a strong degreaser and rinse well. Soot is oily, and limewash slides off a greasy spot and leaves a thin patch.
Tape off the wood mantel, the hearth edge, and the firebox opening. Lay the drop cloth wide.
Watch out for brick that’s been sealed at some point. Flick a few drops of water on it. If the water soaks in and darkens the brick, you’re good. If it beads on the surface, the brick is sealed and limewash won’t grab. Sealed brick needs a mineral paint instead.
Step 2 — Dampen the Brick
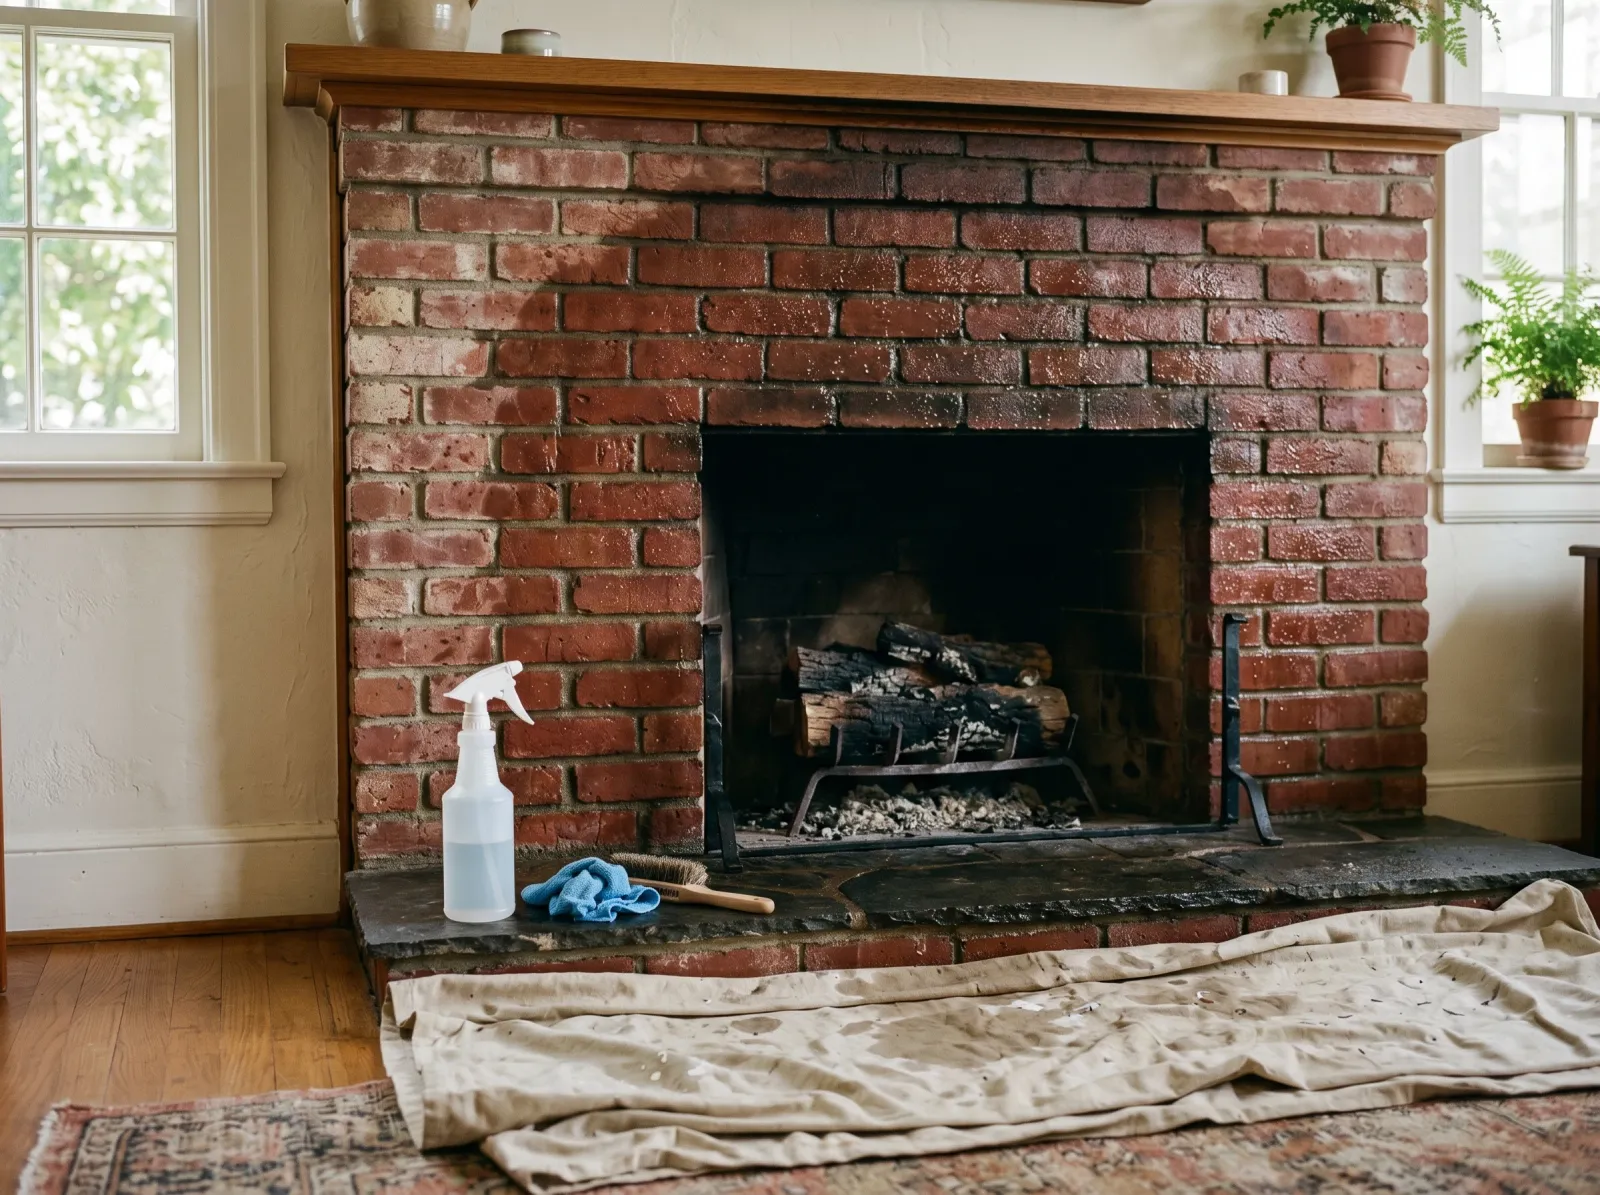 A light mist over the whole surface. Damp brick pulls the wash in evenly instead of drinking it in patches.
Mist the brick with clean water until the surface is evenly damp but not dripping. This one step separates a smooth even finish from a blotchy one. Dry brick is thirsty and grabs the wash unevenly, leaving dark and light patches as different bricks drink at different rates. Damp brick takes the wash in slowly and evenly.
Work in a section you can finish before the brick dries back out, usually a few square feet at a time near the surround. Re-mist as you go.
Step 3 — Mix and Brush On the First Coat
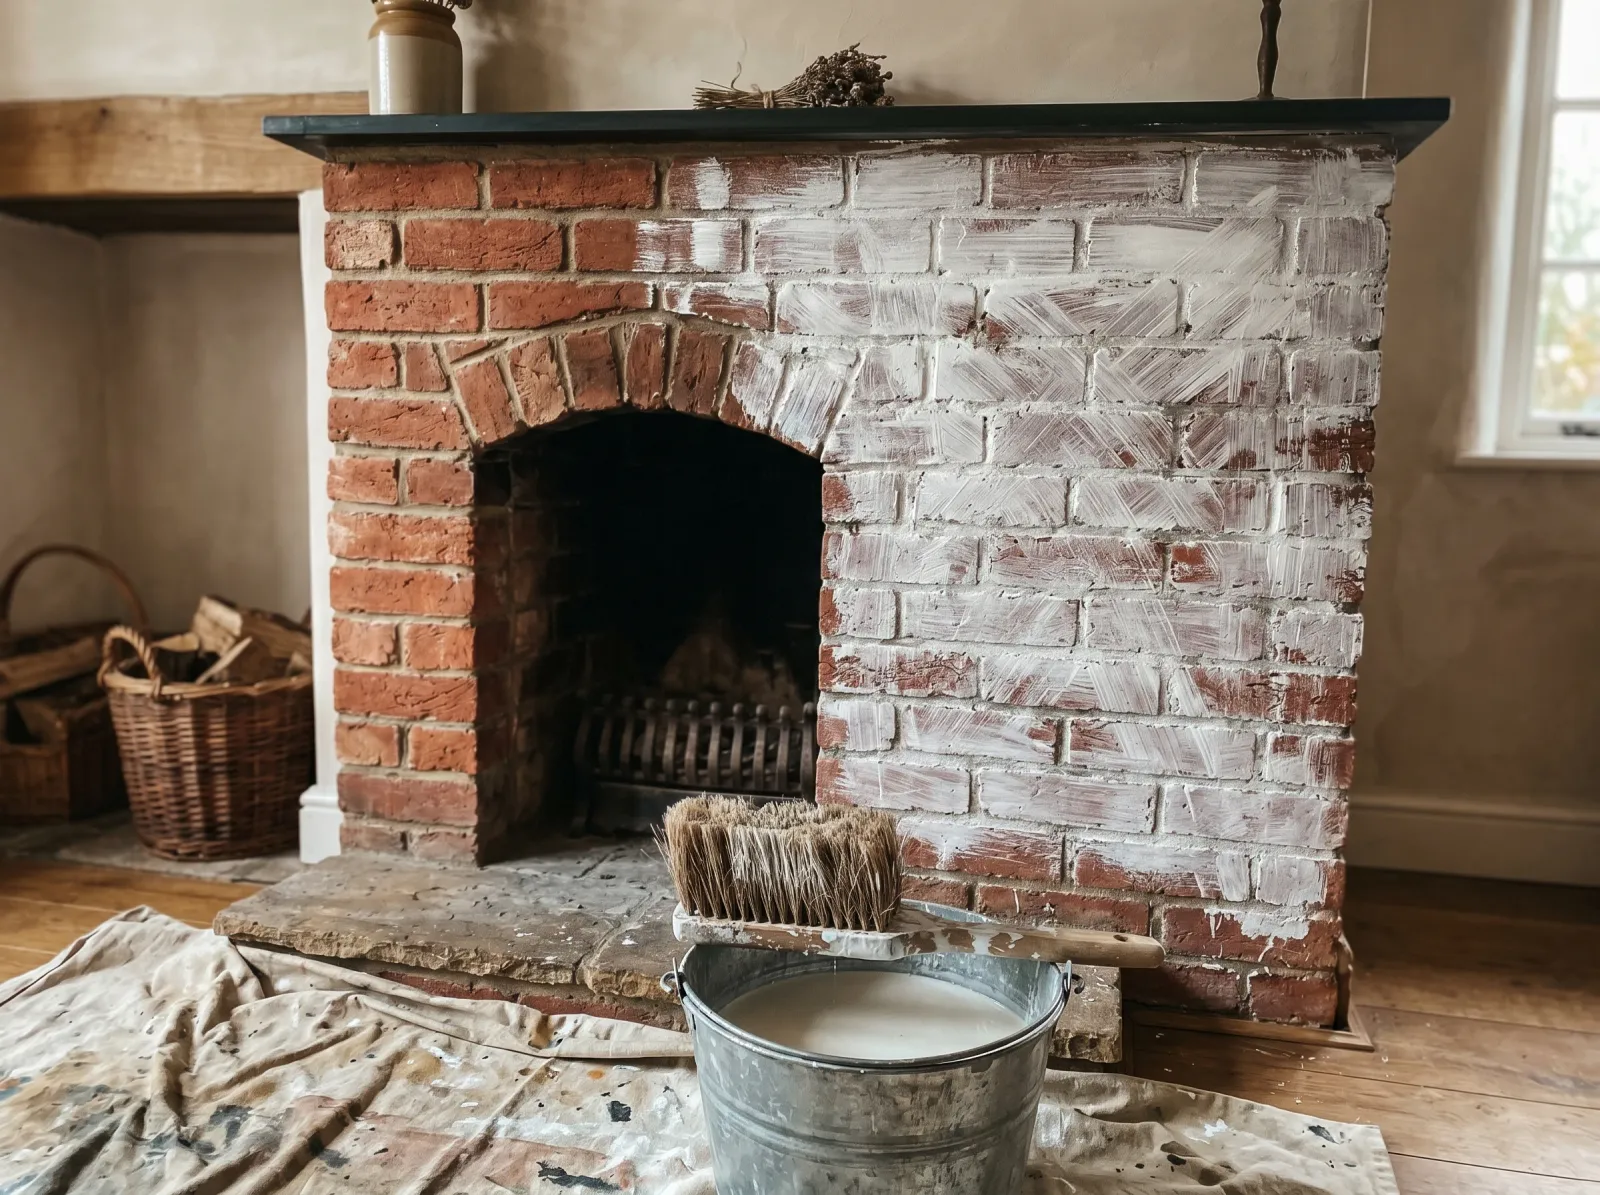 The wash goes on thin and milky, almost translucent. It looks like dirty water at first. Trust it.
Stir the limewash well, then thin it with water if it’s thicker than whole milk. The first coat especially should be thin and loose, closer to skim milk. Lime settles fast, so stir it every few minutes as you work.
Load the block brush and work the wash on in loose crisscross strokes, not neat parallel lines. The crisscross is what gives limewash its soft mottled drape instead of a flat painted look. Push it into the mortar lines and the pitted face of each brick. It will look alarmingly thin and translucent, like you’ve barely changed anything. That’s correct. It lightens as it dries.
Let the first coat cure overnight. It will be much chalkier and whiter in the morning than it looked going on.
Step 4 — Rub Back to Set the Look
 Wipe some of the wash off the high points of the brick to let the red show through. This is where you set the mood.
This is the step that makes the finish yours, and it’s why limewash beats a flat coat of white paint on brick. While the wash is still slightly damp, take a damp rag and wipe some of it off the raised faces of the brick. The lime stays down in the mortar lines and the pitted recesses while the high points of the brick show their red warmth again. The result reads dimensional and weathered instead of uniformly painted.
How much you wipe is the whole decision. Wipe a little for a soft, mostly-white finish with just a blush of warmth. Wipe more for a heavily distressed, old-stucco look with a lot of red showing. Check it in the room’s actual afternoon light before you commit, because limewash reads cooler in north-facing light and warmer in late-day western light, and the brick’s red will sit differently against your floor at 4pm than at noon.
If you wipe back too far, you haven’t ruined anything. Brush a little more wash over the spot and start again.
Step 5 — Second Coat, Then Let It Cure
A second thin coat after the first has cured deepens the chalky body and evens out thin spots. Dampen the brick again, brush on a loose coat, and rub it back the same way once it’s set. Two thin coats almost always beat one heavy one. A thick single coat dries flat and a little plastic, which is exactly the painted look you’re avoiding.
Pull the tape once the wash is no longer wet to the touch. Reset the mantel after a full day.
Common Mistakes
- Brushing onto dry brick. The wash drinks in unevenly and dries blotchy, with hard edges between bricks. Always mist the brick damp first and work in small sections so it stays damp under the brush.
- Going on too thick. A heavy coat dries flat and opaque and loses the soft chalky depth. Thin to skim-milk consistency and build in layers. You can always add more; you can’t easily take a thick coat back.
- Judging it while it’s wet. Wet limewash looks far too thin and too translucent, so first-timers pile on more and end up with a heavy painted finish. Let a coat cure overnight before you decide it needs more.
- Sealing it indoors. A topcoat or acrylic sealer traps the lime and kills the breathable chalky finish. Indoors, limewash needs no sealer. Leave it bare.
- Limewashing already-painted brick. True limewash can’t bond to a painted or sealed surface and will rub right off once dry. Strip to bare brick, or switch to a mineral limewash-look paint made for coated surfaces.
Cure Schedule
| Time after the final coat | What’s safe |
|---|---|
| 1 hour | Pull the tape |
| Overnight | Add another coat if you want it whiter |
| 3 days | Touch it gently; it still chalks a little |
| 7 days | Lean furniture near it, run a hand along it |
| 30 days | Fully cured and stable |
Maintenance and Touch-Ups
A limewashed interior fireplace holds its look for 10 to 15 years because indoors there’s no rain or sun to weather it. It softens with age rather than failing. Dust it with a dry cloth, and don’t scrub it hard with water in the first month while it’s still chalky.
Touch-ups are the easiest part of the whole finish. There’s no patch to feather, no sheen line to match. If a corner ever looks tired or gets scuffed, dampen the brick there and brush a thin coat of the same limewash right over it. It blends into the surrounding wash with no visible repair. Lime is lime, so buy a fresh small batch years later if you’ve run out.
Cost Breakdown
| Item | $ |
|---|---|
| Limewash, 1 gallon | $40 |
| Masonry block brush | $15 |
| Tape, drop cloth, gloves | $20 |
| Degreaser (if needed) | $10 |
| Total | $75–$85 |
A pre-mixed gallon of Romabio runs higher than a mixed-yourself lime putty wash from a masonry supplier, which can drop the total under $50 if you’re comfortable mixing. Either way it’s one of the cheapest ways to completely change a brick fireplace.