How to Paint a Hallway
Painting a hallway is easy if you plan around the long walls and the scuff zones. Pick a scrubbable sheen, keep a wet edge, and put two coats down right.

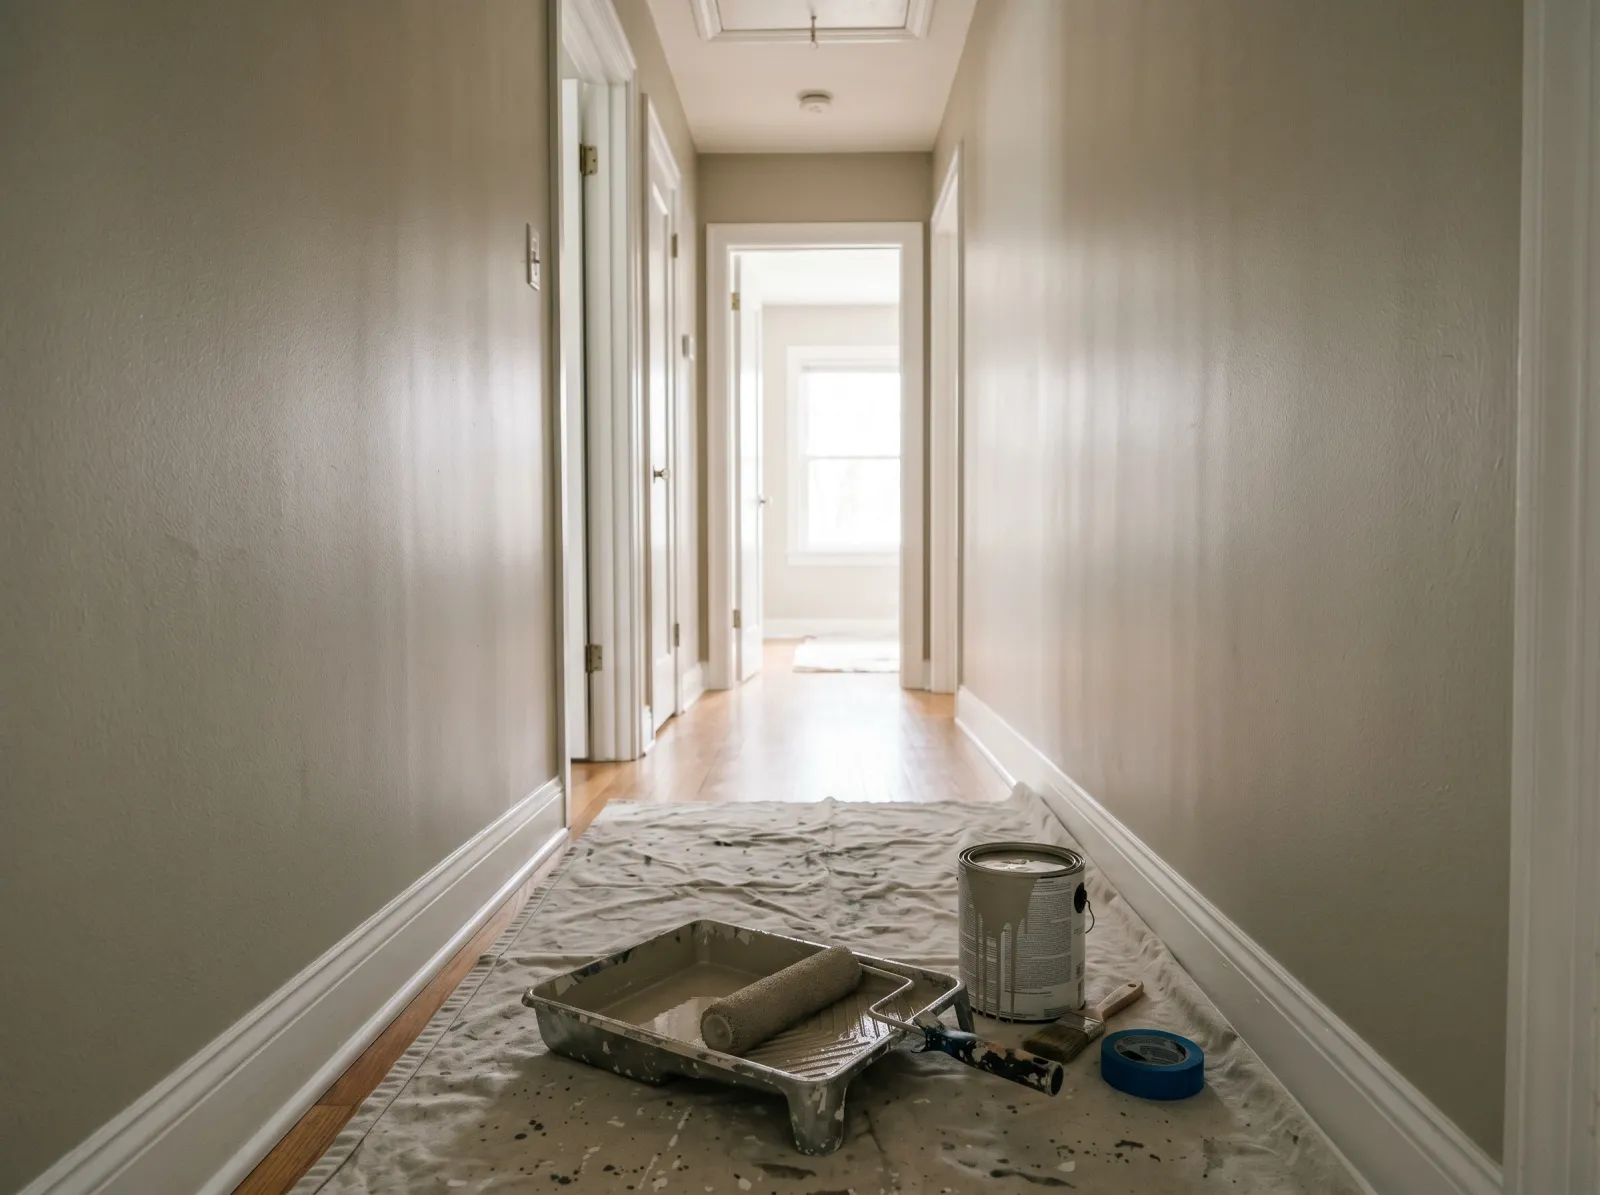
Okay, so the hallway is the part of the house you walk through a hundred times a day and never really look at, until one morning you do, and it’s a mess of scuffs and gray handprints around the light switch. Painting a hallway feels like it should be the easy one. Small space, not much wall. Here’s the thing: a hallway has its own quirks. The walls are long and narrow, the light is usually bad, and almost every inch of it gets touched. Plan around those three things and it’s a one-day job.
The trick that makes or breaks a hallway is keeping a wet edge down those long walls. Stop in the middle of a 12-foot run to answer the door and you’ll see the seam in side light forever. I’ll show you how to avoid that.
What You’ll Get
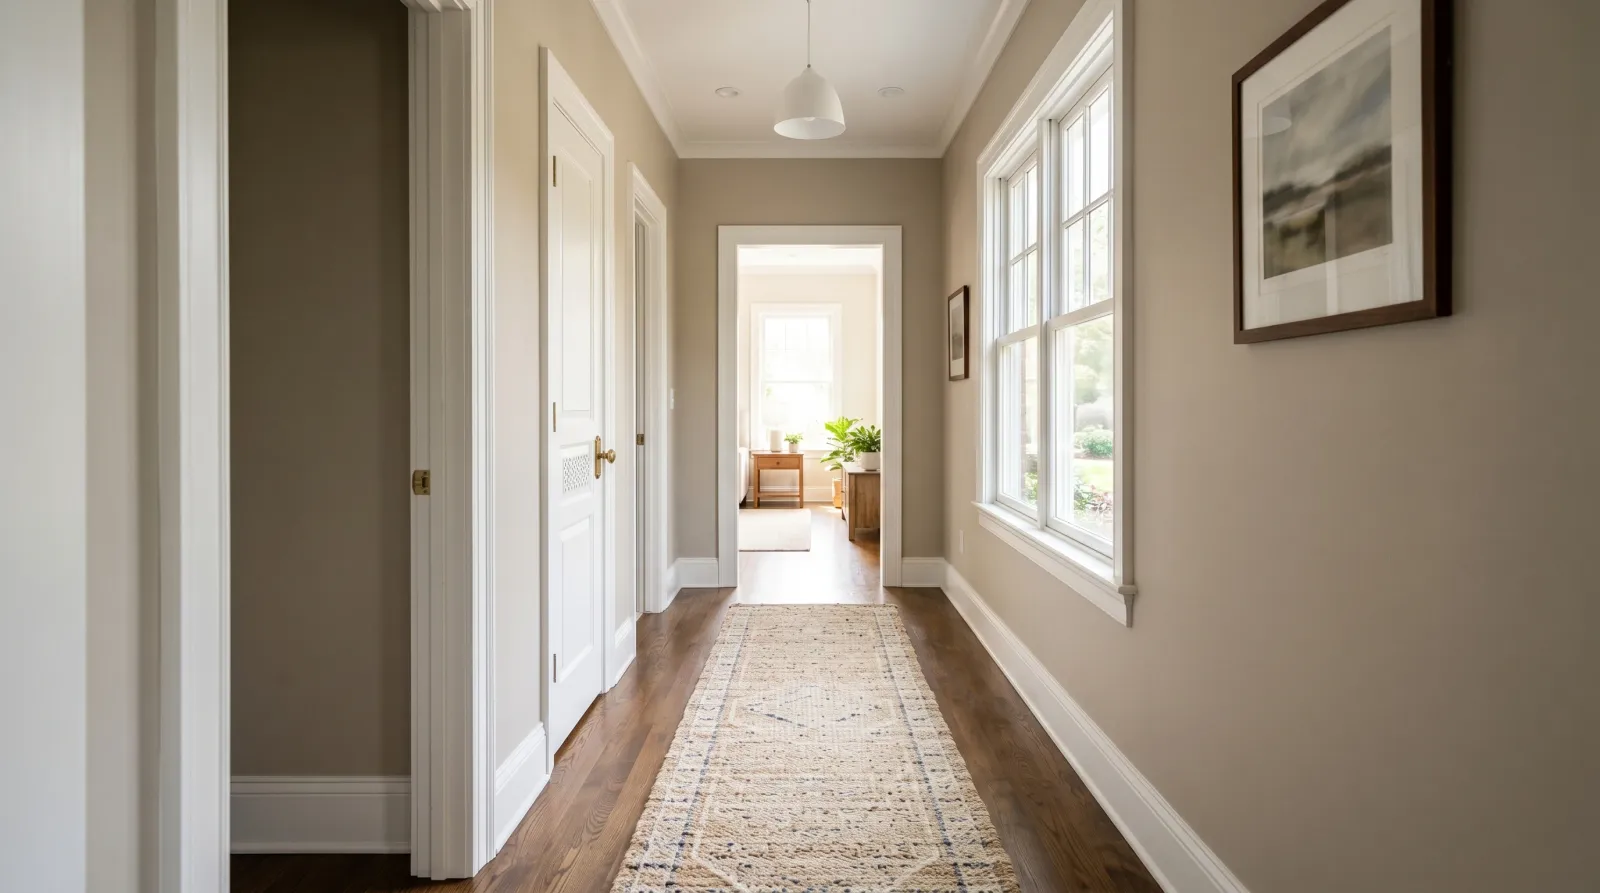
A clean, freshly painted hallway in a sheen that wipes down when someone drags a muddy backpack along it. The space will feel brighter and a little wider, which is most of why people paint a hallway in the first place.
Honest Take on Difficulty and Time
Easy project. The hard part isn’t skill, it’s the awkward shape and the lighting.
A short hallway between two bedrooms is a Saturday morning. A long entry hall with a couple of doors is most of a Saturday. A stairwell run, where one wall climbs two stories, is a full day and a place where you should think hard about ladder safety before you start.
| Hallway type | Active time | Total elapsed |
|---|---|---|
| Short hall (under 10 ft) | 2–3 hrs | One morning |
| Long entry hall | 4–6 hrs | One Saturday |
| Stairwell run (tall wall) | 6–8 hrs | One full day |
Add 24 hours of dry time before you rehang pictures and put the coat rack back.
What You’ll Need
Paint and Primer
A 1-gallon can of wall paint in satin or eggshell. Satin (a soft low shine that wipes clean) is the safer pick for a hallway because the walls get touched constantly. Eggshell (slightly flatter, hides drywall flaws a little better) is fine if your hallway is wider and less of a high-traffic chute. The sheen guide walks through the difference. Whatever you do, don’t use flat in a hallway. You’ll regret it the first time you try to wipe a fingerprint off.
A quart of semi-gloss trim paint if the baseboards and door casings need freshening. They usually do in a hallway, since that’s where shoes and vacuum cleaners hit.
Most hallways take about a gallon for two coats. Buy the whole gallon even if you think you’ll use three-quarters. Leftovers are how you touch up scuffs for the next several years, and a hallway scuffs more than any other room.
You usually don’t need primer here. If you’re going dark-to-light, or covering an old water stain near a ceiling leak, spot-prime just the trouble with a stain blocker like Zinsser BIN. See the best interior wall paint round-up for color and SKU picks.
Tools
A 9-inch roller frame with two 3/8-inch nap microfiber sleeves. A 2.5-inch angled brush for cutting in (brushing a clean band along the edges where the roller can’t reach). An extension pole, because the high band along the ceiling and the tall stairwell wall are easier with a few feet of reach. A tray, painter’s tape, spackle, a sanding sponge, and a canvas drop cloth.
Don’t cheap out on the brush. A $4 brush sheds bristles into your cut line. A good Wooster or Purdy holds a crisp edge for years. The roller matters too on long walls, where an even nap is what stops streaks. Picks are in the paint roller round-up.
Step 1 — Clear the Hallway and Patch the Holes
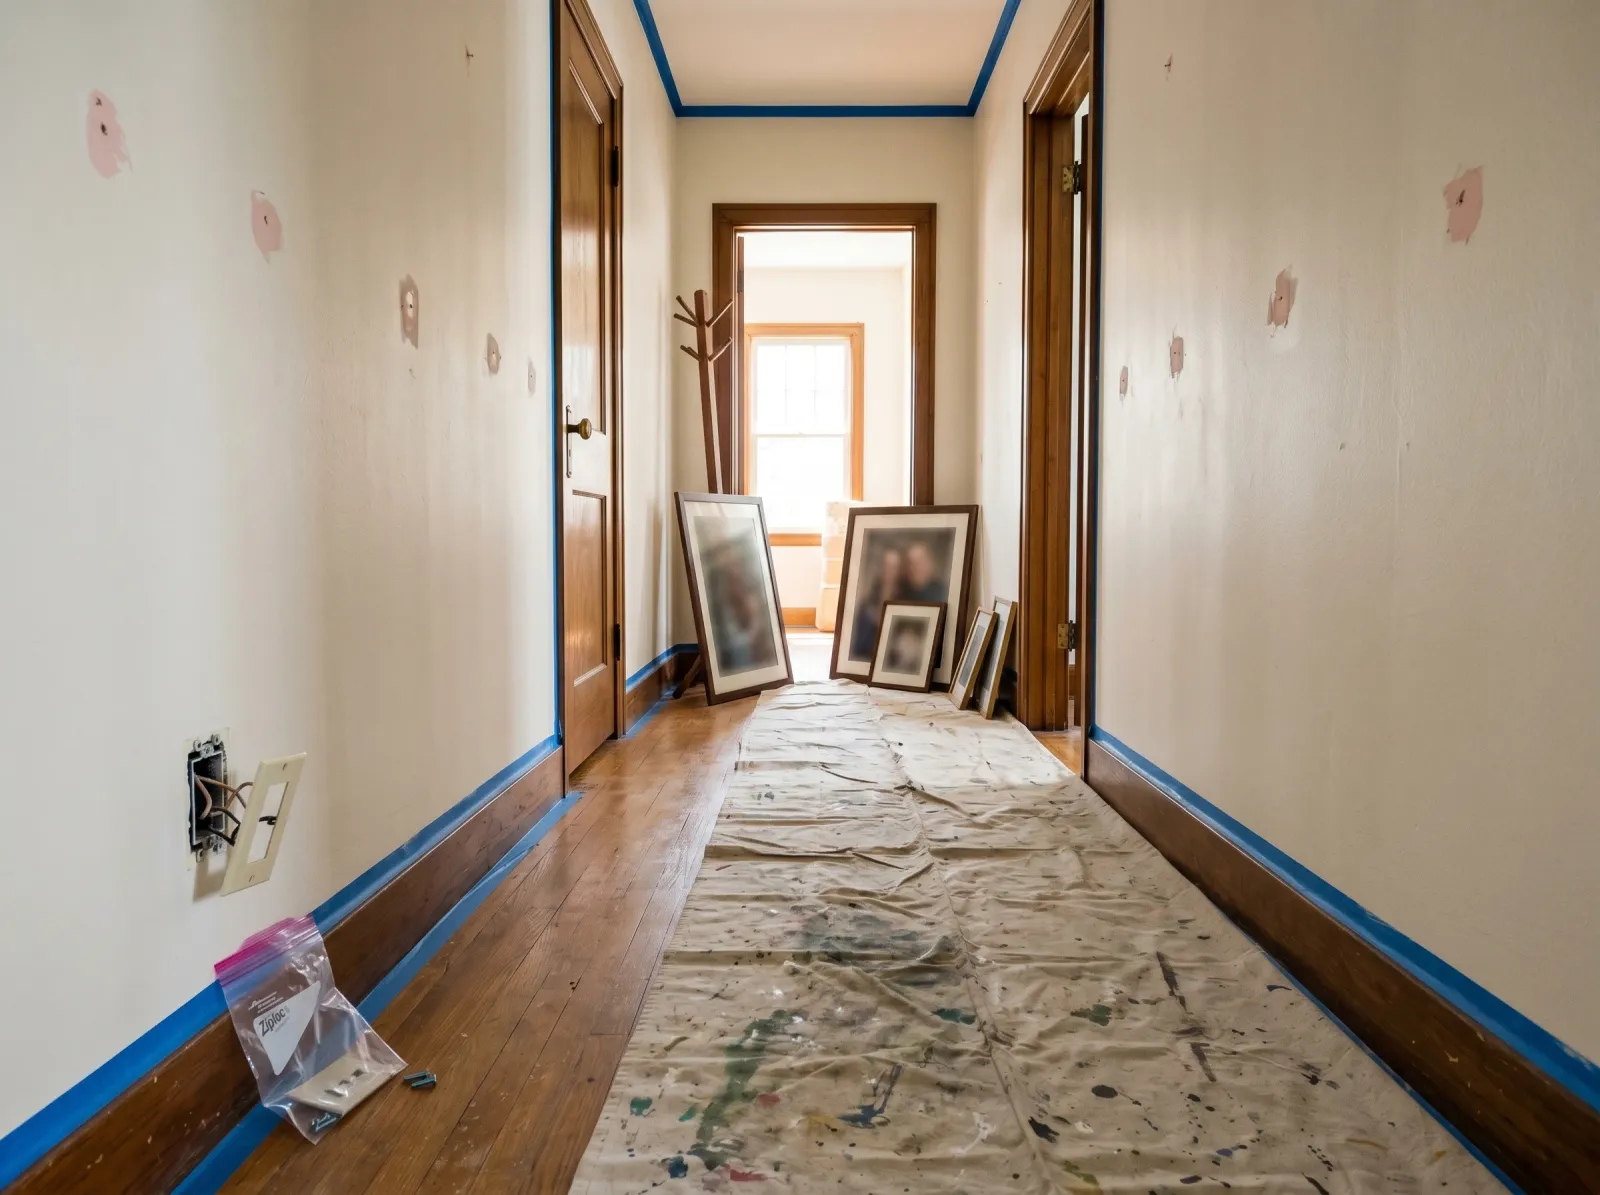
Pictures and coat hooks down, every hole spackled, switch plates off, tape along the trim and ceiling line.
Take down everything on the walls. Framed photos, the coat rack, the little shelf by the door, the thermostat cover if it pops off. Hallways collect picture hooks. Find every hole, press spackle into it with the putty knife, scrape flush, let it dry 30 minutes, then sand smooth with the 220-grit sponge.
Unscrew the light switch and outlet plates. There are usually more switches in a hallway than you’d expect, because it’s the junction between rooms. Bag the screws and tape the bag to the back of a plate so you don’t lose them.
Watch out for the grime around the switches. That’s the dirtiest spot on the wall, and spackle won’t stick to a greasy fingerprint zone. Wash those patches before you patch and paint.
Step 2 — Wash the Touch Zones, Then Tape
Hallway walls have invisible hand grime in predictable places: around every switch, along both edges of each doorway, and the lower two feet where bags and shoes and pet tails hit. Wipe those zones with a sponge, warm water, and a drop of dish soap. Let them dry.
Tape along the top of the baseboard, around every door casing, and at the ceiling line if you’re not painting the ceiling. Press each strip down hard with your thumbnail so paint doesn’t bleed under it (bleed is paint creeping past the tape and leaving a fuzzy line on the trim). Work in three-foot sections and press as you go.
Lay the canvas drop cloth down the length of the floor. Canvas doesn’t slide underfoot the way plastic does, which matters in a narrow space where you’re shuffling back and forth all day.
Step 3 — Paint the Trim and Doors First
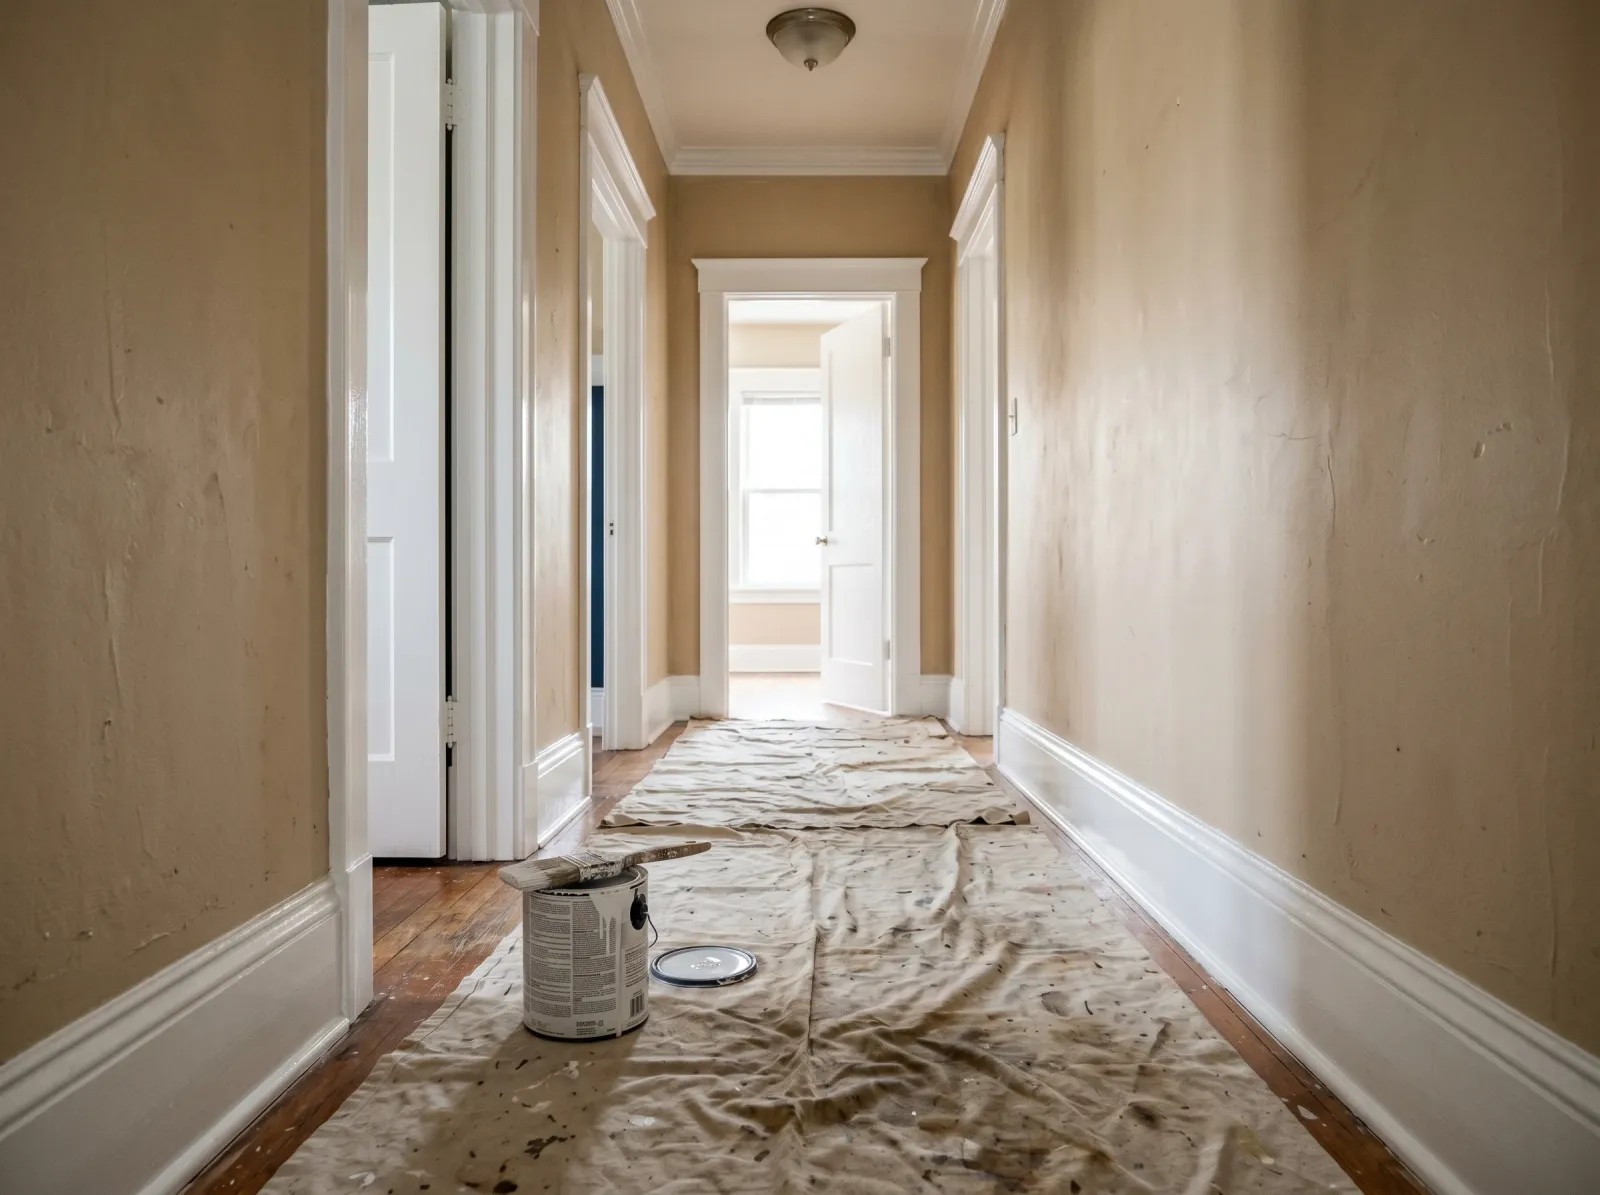
Baseboards and door casings in semi-gloss. The fiddly part is done while you’re fresh.
Trim first, while you’re sharp. Baseboards, then door casings, then the doors themselves if they need it. Use the 2.5-inch angled brush, dipped only a third of the way in so it doesn’t drip. Brush long smooth strokes along the grain. Two thin coats beat one thick one.
Let the trim dry the time on the can, usually about 4 hours for water-based, before the second coat. For the full baseboard routine, see how to paint baseboards.
Watch out for drips at the bottom edge of the baseboard, right where it meets the floor. Check that line every few minutes for the first half hour and brush out any drip while it’s still wet.
Step 4 — Cut In One Wall at a Time
Brush a band along every edge, then roll the long wall top to bottom without stopping mid-run.
Once the trim is dry, tape over it. Now cut in the walls. Brush a 2- to 3-inch band along the ceiling line, down the corners, around each door, and around the switch boxes. The angled brush rides right onto the tape. That’s what the tape is for.
Cut in only one wall at a time. Here’s why that matters more in a hallway than anywhere else: the walls are long, and if the cut-in band dries before the roller reaches it, you get a visible picture-frame line of different sheen running the whole length. Cut one wall, roll it, then move to the next.
Watch out for the inside corners where two walls meet. Don’t overload the brush there or paint pools in the corner and runs. A lighter touch in the corners, heavier on the flats.
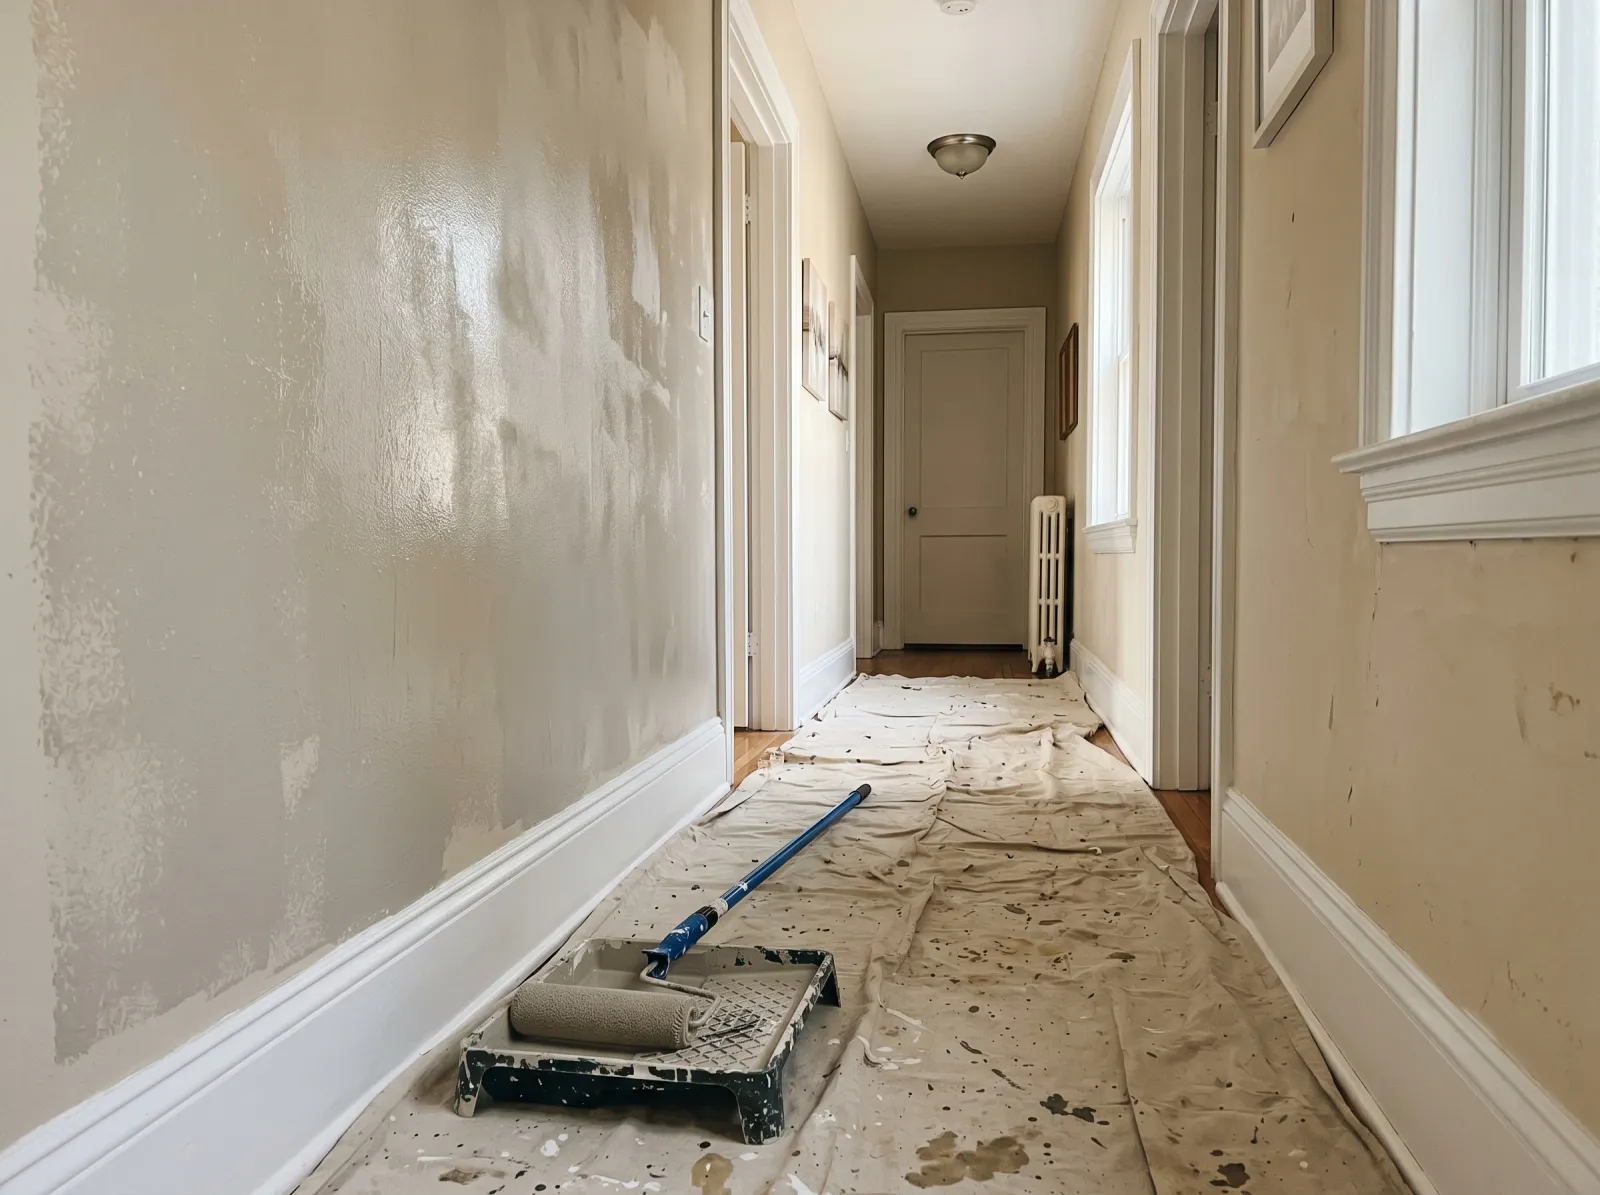
Step 5 — Roll the Long Walls Without Stopping
Pour wall paint into the tray about a third up. Load the roller, roll it on the tray’s ramp until it’s evenly coated and not dripping, then onto the wall. Roll in a big W about 3 feet wide, then fill it in with up-and-down passes. Move along the wall, overlapping the wet edge by a few inches each time.
The one rule for a hallway: finish a whole wall before you set the roller down. Long walls are exactly where the wet edge catches you out. The wet edge is the still-damp band of fresh paint you roll into as you move along. Let it dry before you overlap it and the seam shows in raking light, which a hallway gets plenty of from the doorway at the end. If someone rings the doorbell, let it ring. Finish the wall.
On a stairwell, set up the ladder so you can reach the tall section safely, and use the extension pole for the very top band instead of stretching off a ladder rung.
Step 6 — Wait, Then Roll the Second Coat
Second coat rolled while the cut-in is still wet. The patchy first coat is gone.
The first coat will look patchy and thin. Every wall does. Don’t panic and don’t go back over half-dry spots; you’ll leave roller marks. Wait the recoat window on the can (usually 2 to 4 hours), touch the wall with a knuckle to check it’s dry and not tacky, then do the second coat the same way: cut in, then roll, one wall at a time.
You’ll know it when you see it. The color fills in, the streaks close up, and the wall looks like a painted wall instead of a damp patchwork.
Step 7 — Pull the Tape and Put It Back
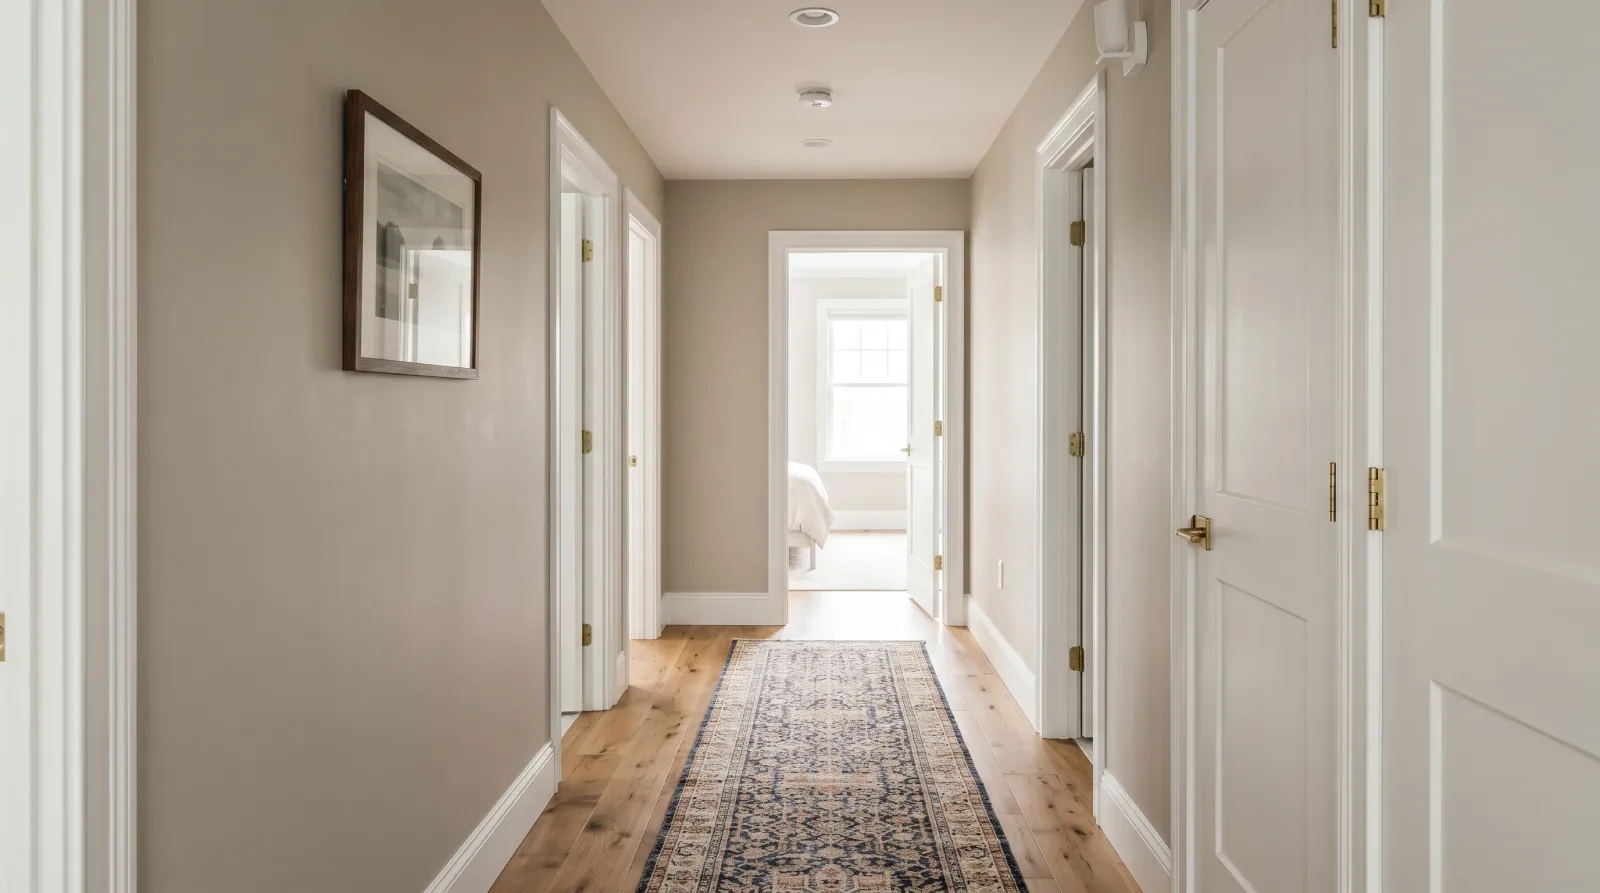
Second coat dry, tape peeled, pictures rehung, runner rug back down.
Pull the tape while the last coat is still slightly tacky, about 30 to 60 minutes after rolling. Pull slow, at a 45-degree angle, in one continuous strip. Wait until the paint is bone dry and the film bonds across the tape edge, so you peel a ragged strip of paint off with it.
Switch plates back on. Wash the brush and roller under warm water until it runs clear. Wait 24 hours before you rehang heavy pictures and put the coat rack back against the wall. The film is dry to the touch long before it’s hard enough to take a knock.
Common Mistakes
- Using flat or matte to “hide flaws.” A hallway is the worst room for flat. Every hand that touches the wall leaves a mark you can’t wipe off, and you wipe a hallway constantly. Satin or eggshell, every time.
- Stopping in the middle of a long wall. The wet edge dries, the overlap doesn’t blend, and you see a vertical seam in side light forever. Finish the whole wall before you take a break.
- Painting in bad light. A dim hallway hides streaks while you work and reveals them at 8 a.m. the next day. Clip a work light at each end so you can actually see the wall.
- Skipping the wash around switches. Hand grime sits thickest right where everyone touches the wall. Paint over it and that patch won’t bond evenly, and it shows as a dull spot. Thirty seconds with a soapy sponge fixes it.
- Forgetting the ceiling line in a low hallway. If the ceiling is white and the walls go darker, a wobbly cut-in line at the top draws the eye and makes the ceiling feel lower. Tape it or cut it carefully.
Cure Schedule
| Time after final coat | What’s safe |
|---|---|
| 30–60 min | Pull the painter’s tape |
| 2 hrs | Touch dry; switch plates back on |
| 24 hrs | Rehang pictures, put the coat rack back |
| 7 days | Wipe scuffs off with a damp cloth |
| 30 days | Full cure; scrub a stubborn mark with a little dish soap |
Maintenance and Touch-Ups
Satin walls in a hallway hold up about 5 to 8 years before the high-traffic stretches dull from wiping. The lower two feet near the door wear fastest. When it comes time, you often only need to repaint that lower band, not the whole wall.
For day-to-day, most hallway marks are dirt, not damage. A damp microfiber cloth with a drop of dish soap takes off scuffs and handprints once the paint is past its 7-day mark. For an actual scrape down to the wall, dab leftover paint with a small piece of roller, not a brush, so the texture matches.
Keep a labeled quart of the wall color and the trim color somewhere you’ll find them. Of all the rooms in the house, the hallway is the one you’ll touch up most.
Cost Breakdown
| Item | $ |
|---|---|
| Wall paint, 1 gallon satin or eggshell | $40 |
| Trim paint, 1 quart semi-gloss | $20 |
| Brush, roller, tray, sleeves | $35 |
| Tape, drop cloth, spackle | $25 |
| Total | $120 |
Numbers are mid-tier paint (Behr Premium Plus or BM Regal Select). Skip the trim quart if your trim is already clean and you’re closer to $90. Top-shelf paint pushes it toward $150.