How to Paint a Garden Fence
Painting a fence the right way: scrape and sand, spot-prime the knots and bare wood, then two thin coats. What lasts five years and what flakes off by spring.

A fence is the hardest exterior thing a homeowner paints, and almost nobody preps it right. It takes weather on both sides. It sits in wet grass at the bottom and bakes in full sun at the top. The boards twist and split and the old paint flakes off in sheets. Then someone rolls a fresh coat straight over the flakes and wonders why it looks bad again in two springs.
Here’s the rule. The paint is the easy part. The prep is the whole job, and the prep is what buys you five years instead of two.
What You’ll Get
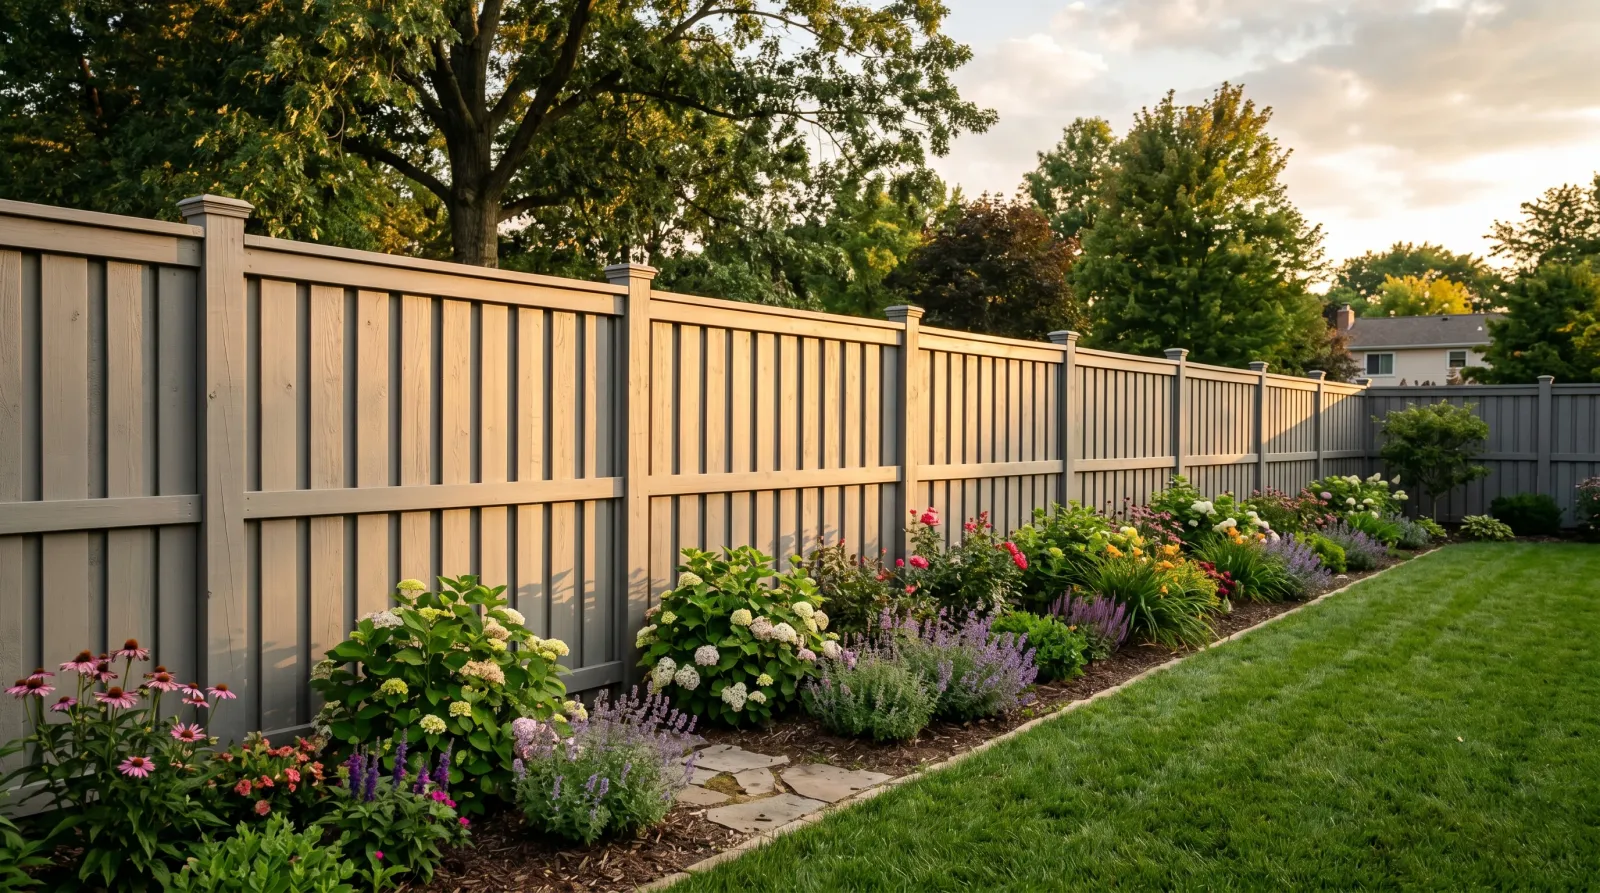
A fence that’s one even color, sheds water, and stays looking painted for four to six years instead of flaking off by next spring. The sun side will always wear first. Prepped right, even that side holds.
Honest Take on Difficulty and Time
This is a medium job, not an easy one. A 50-foot board fence is one weekend of work plus drying days you can’t rush.
Plan it like this. Day one: scrape, wash, and let it dry. Then two dry days before you touch it with primer. Spot-prime and first coat on day one of the second weekend, second coat the next day. The dry time between the wash and the paint is where people cheat, and cheating there is why their fence blisters.
If anyone tells you a fence is a Saturday-afternoon job, they sprayed one coat over dirty boards and it’ll show. Painting both sides roughly doubles the brush time. Count it.
What You’ll Need
Paint and Primer
Exterior acrylic paint or a solid-color stain. On a rough board fence I lean toward solid stain, because it soaks into the wood instead of sitting on top, so it can’t peel the way a film paint peels. If you want the harder, more washable finish of paint, use a real exterior acrylic, not the cheap one-coat stuff. The exterior paint round-up has the SKU picks.
You’ll want a quart of stain-blocking primer for the knots and the bare gray wood. Knots bleed sap and tannin through any topcoat if you don’t seal them first, and you’ll get brown rings showing through your new color. Zinsser Cover Stain or KILZ Original both shut that down.
Still deciding between paint and stain? The paint vs stain breakdown lays out which one survives on rough exterior wood.
Tools
A 4-inch block brush for the wide board faces, a 2.5-inch angled sash brush for the rails and the post edges. A stiff wire brush and a scraper for the loose paint. A garden sprayer or a hose with a pressure nozzle for the wash. Sandpaper, 80-grit for the gray wood, 120-grit for scuffing.
The brush is where you don’t go cheap. A $4 brush sheds bristles into the finish and drags lap marks. A real exterior brush holds its edge and feathers the wet edge clean. Picks are in the best paint brushes round-up.
Method: Brush, or Spray-Then-Back-Roll
A sprayer is fast and tempting. It’s also how you get a fence that looks painted and isn’t. Spray lays the paint on top of the wood; it doesn’t drive it into the grain or into the gaps between boards, which is exactly where water gets in and lifts the coat.
If you spray to cover ground fast, follow right behind the gun with a brush while the paint’s still wet and work it in. That’s back-brushing, and it’s the only way spraying a fence doesn’t bite you later. For most homeowners with one fence, just brush it. Slower, better, done once.
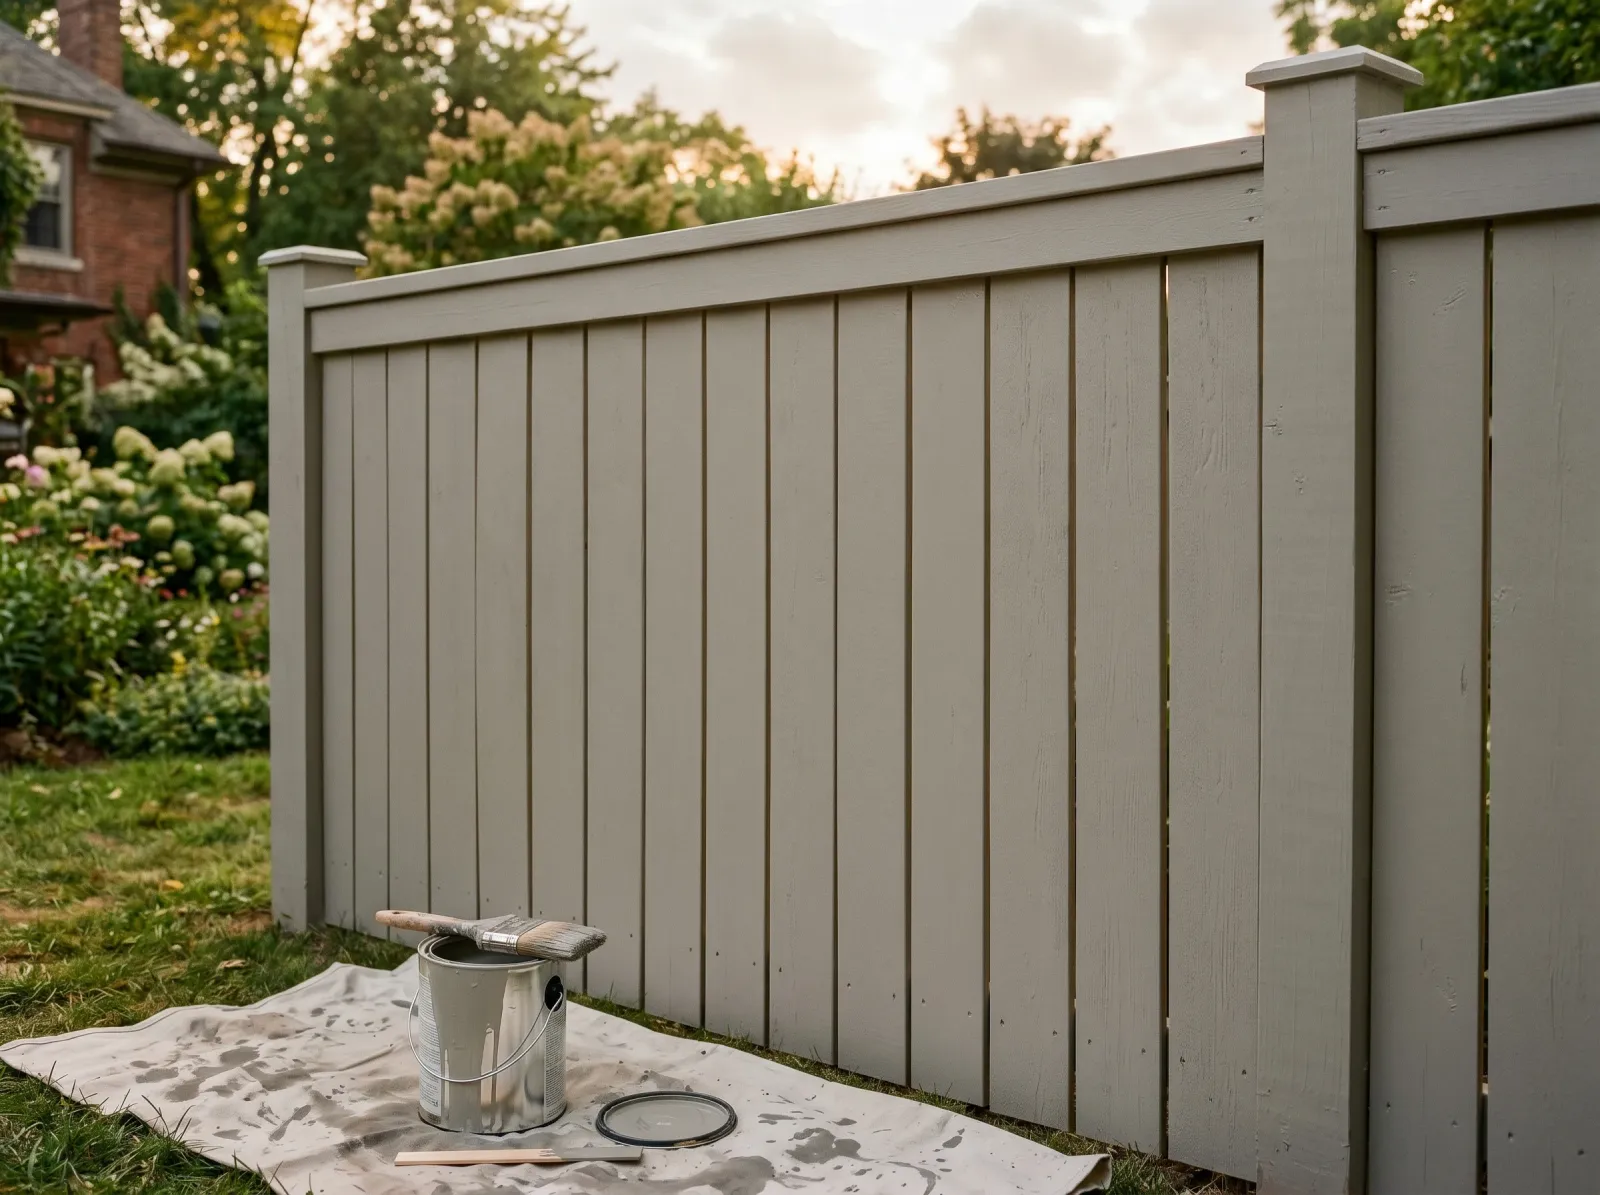
Step 1: Scrape, Wash, and Kill the Mildew
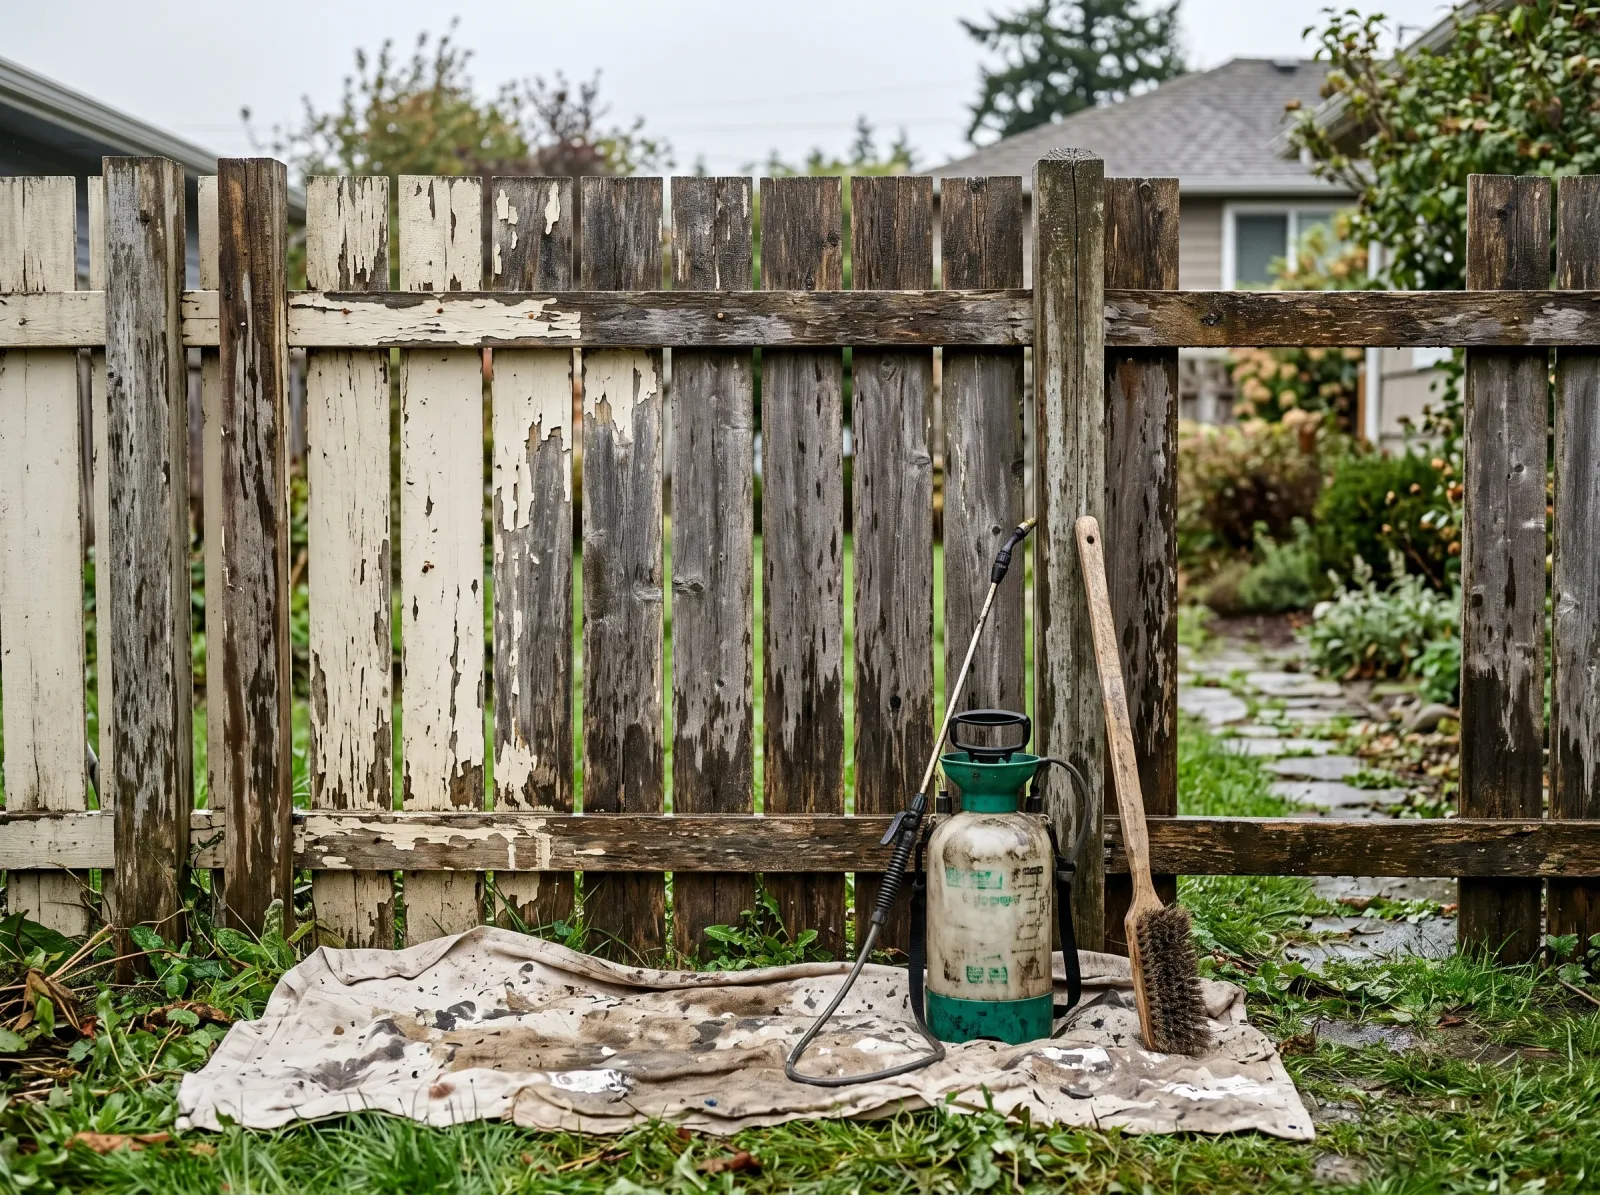
Old flaking paint scraped off, the shady side scrubbed clear of mildew, the whole run rinsed and left to dry.
Run the scraper over every board and knock off everything loose. If a flake lifts when you slide the scraper under it, it has to come off, all of it. New paint bonds to the board, not to a flake that’s already letting go.
The shady, north-facing side will have a green-black film on it. That’s mildew, and paint won’t stick to it. Scrub it with a bleach-and-water mix, 1 part bleach to 3 parts water, then rinse. Wash the rest of the fence down with the sprayer or hose to clear dust and pollen.
Watch out for the bottom rail and the board ends sitting in the grass. That’s where rot starts and where the old paint is worst. Scrape hard there and check for soft, punky wood. Soft wood doesn’t take paint; it needs replacing.
Step 2: Sand, Fill, and Let It Dry
Sand the bare gray wood with 80-grit until you’re into sound, lighter-colored wood. Gray is dead, sun-cooked fiber, and paint laid over it peels with the top layer. Scuff-sand anything still glossy with 120-grit so the new coat has something to bite.
Fill splits and gouges with exterior wood filler, let it set, and sand it flush. Then stop and wait. The wood has to dry to under 15 percent moisture before anything goes on, which after a wash is two dry days, more if the weather’s been wet. A cheap moisture meter takes the guessing out of it.
Watch out for painting too soon. This is the single biggest fence mistake. Moisture trapped under the film pushes back out, blisters the paint, and you’re scraping again by fall. Two dry days, minimum.
Step 3: Spot-Prime the Knots and Bare Wood
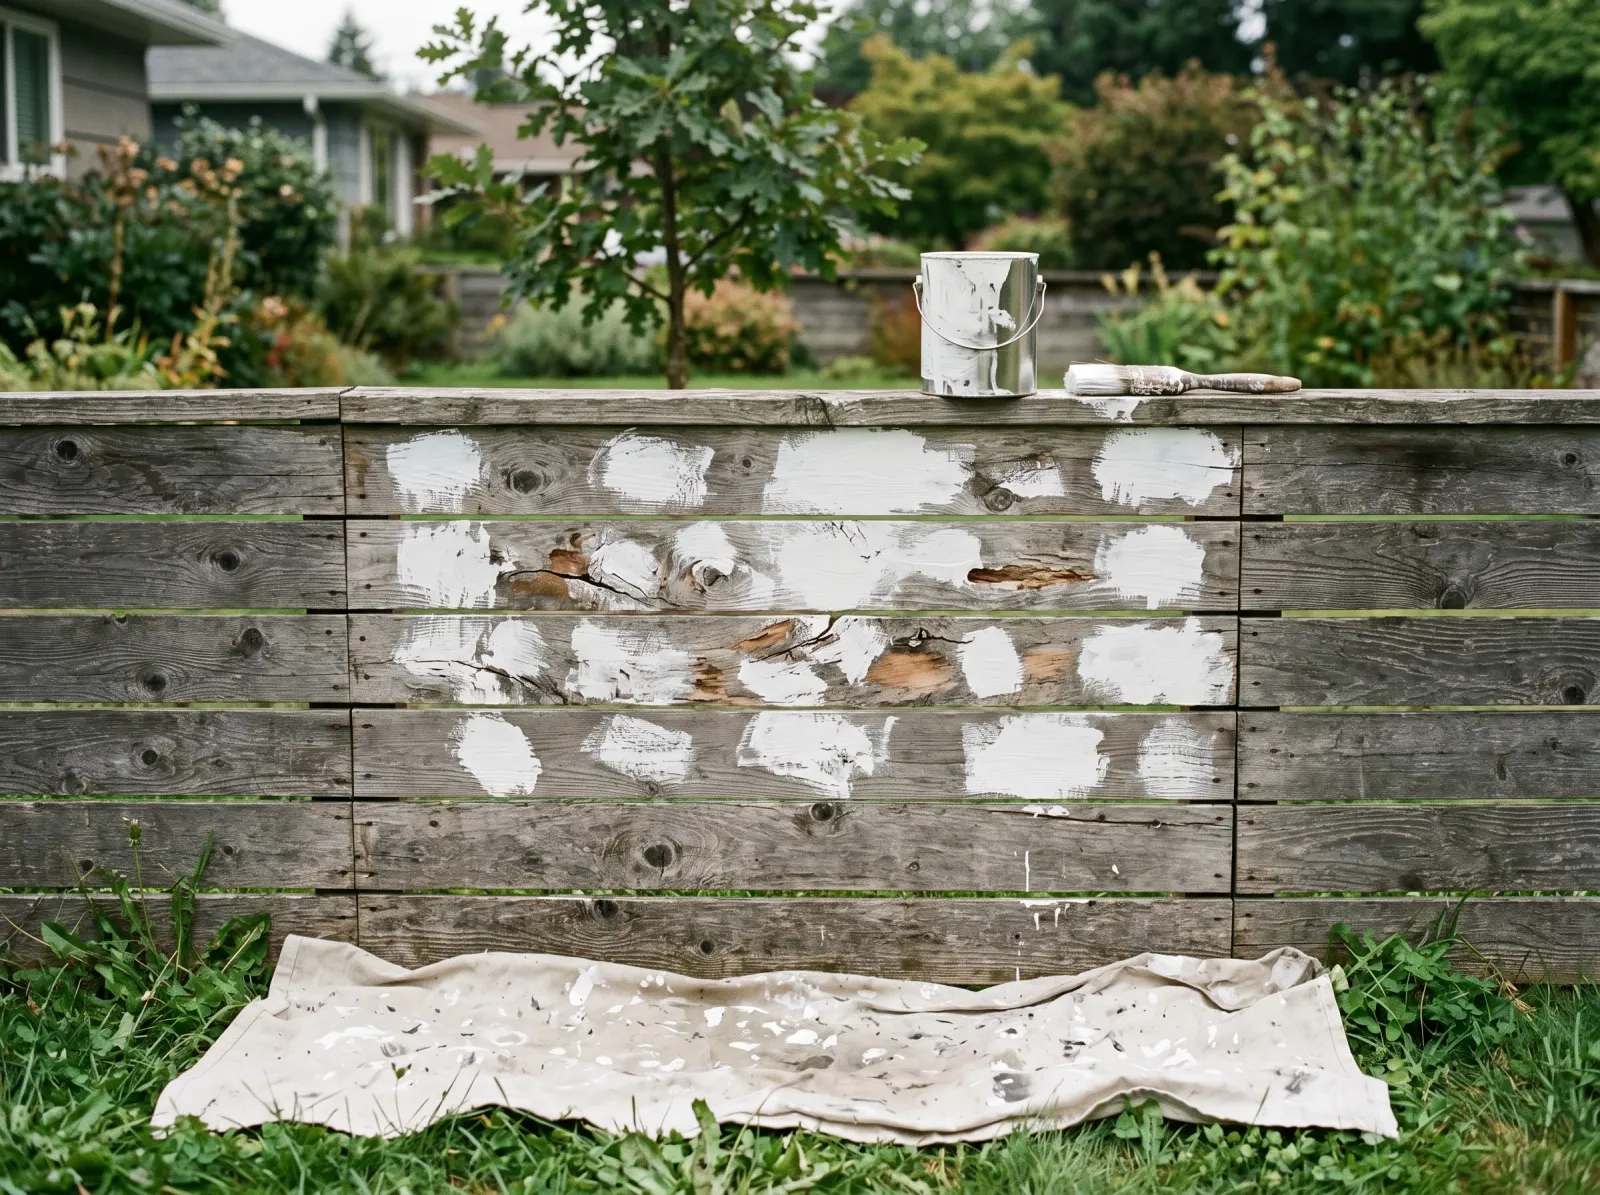
Every knot, sap streak, and bare gray board hit with stain-blocking primer. The rest of the fence left as is.
You don’t have to prime the whole fence if the old sound paint is still gripping. You do have to prime every knot, every sap streak, and every patch of bare wood where you sanded through. Dab the stain-blocker on those spots and let it dry per the can.
Knots are the ones that get people. Skip them and the sap bleeds a brown halo up through your finish coat within a season. There’s a block-the-knots fix if you’ve already had bleed-through on an old job and want to understand why it happens.
Watch out for thin priming over big bare sections. If you sanded a whole board back to raw wood, prime the whole board, not a smear. Raw wood drinks the topcoat unevenly and you’ll see flat dull patches.
Step 4: First Coat, Worked Into the Grain
First thin coat worked into the grain, top to bottom, one board at a time. Still a little translucent in spots.
Load the brush a third of the way and work board by board, top to bottom, following the grain. Get paint into the gaps between boards and onto the board edges, because the edges are where water sneaks in. Don’t flood it on. Thin coats that soak in beat one thick coat that skins over and traps moisture.
Don’t stop in the middle of a board run. Work to a post or a natural break and finish there. Stop mid-run and the wet edge sets up before you get back to it, and you’ll see a lap mark right where you quit.
Watch out for drips down the board faces and runs at the bottom rail. Check behind yourself every few minutes and brush them out while they’re wet.
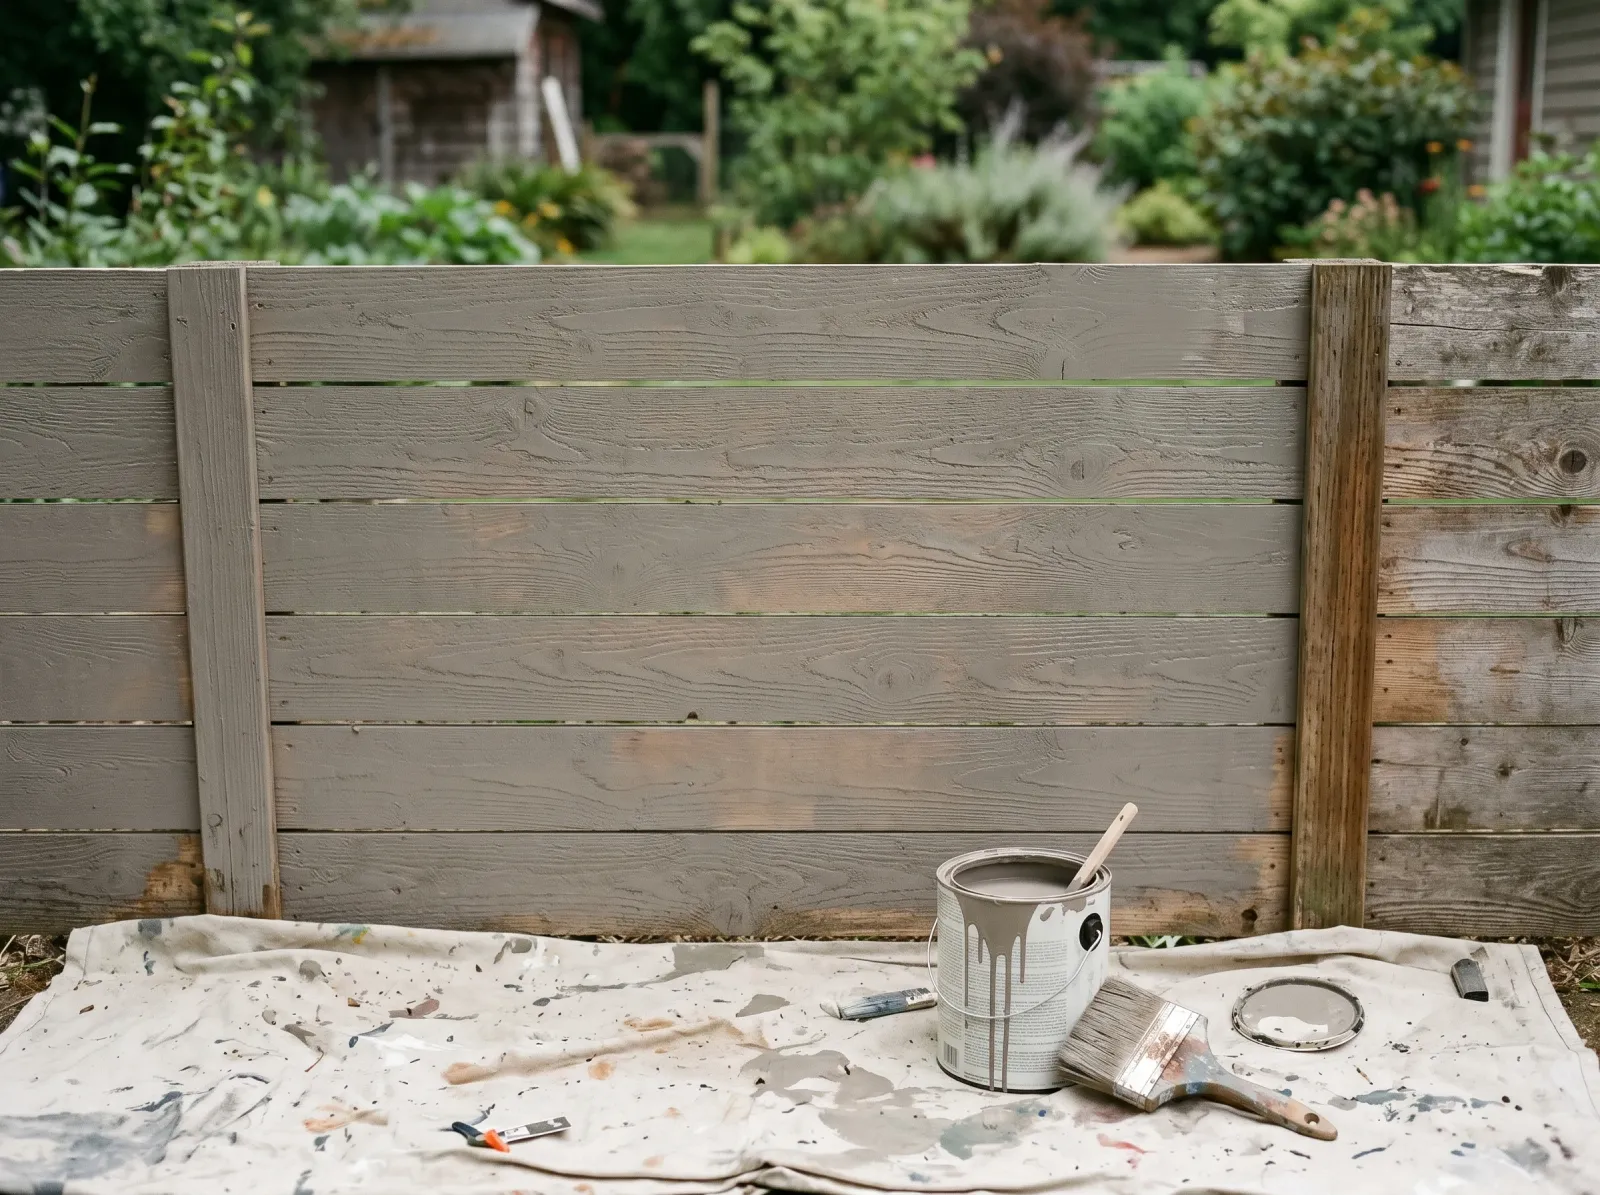
Step 5: Second Coat
Second coat after the first dried. Color is solid and even now, every board the same.
The first coat will look thin and streaky. That’s normal on rough wood. Wait the recoat window on the can, usually 4 hours for acrylic in warm dry weather, and put the second coat on the same way: board by board, into the grain, edges included.
Two coats. Always two coats. One coat on a fence is one coat under perfect lab conditions, and your backyard isn’t a lab. The second coat is what gives you the even color and the film thickness that actually sheds water.
Then do the other side. Same prep, same two coats. The shady side gets less sun but more mildew, so don’t skimp on it.
Step 6: Clean Up and Stay Off It
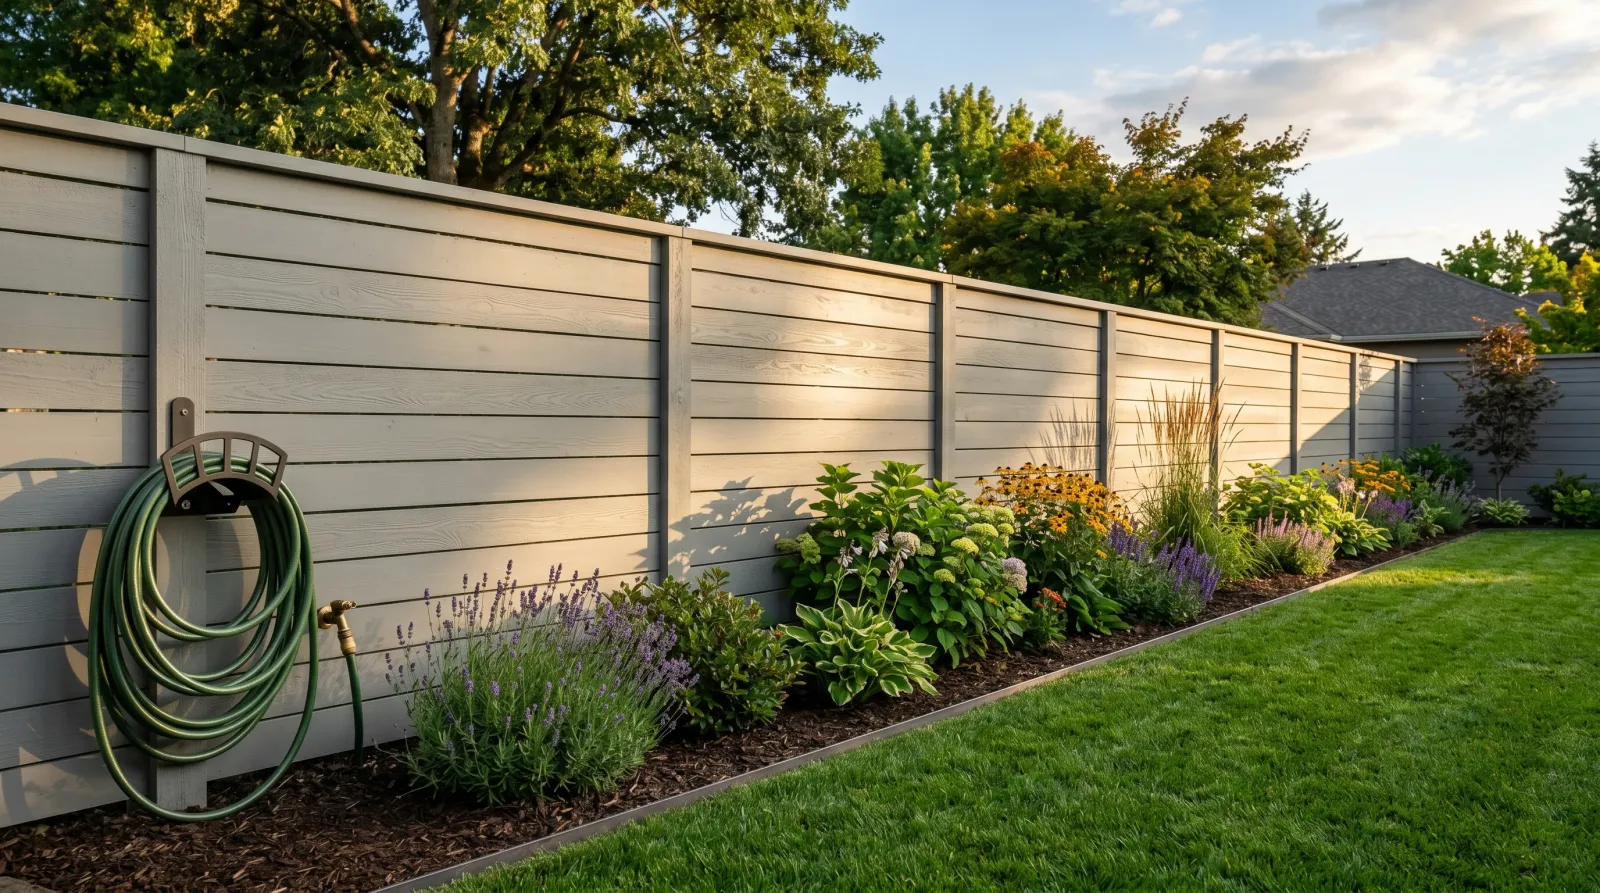
Drop cloths pulled, beds replanted, fence done. The grass at the base is clean.
Pull the drop cloths, wash the brushes under warm water until it runs clear, and put your beds back. Then watch the forecast. The paint needs 24 hours of dry weather before rain, some acrylics want 48. Rain inside that window washes uncured paint off and leaves streaks you’ll stare at for years.
Common Mistakes
- Painting over loose flakes. New paint sticks to the flake, not the wood, and falls off with it. Scrape every flake first. If it lifts under the scraper, it goes.
- Painting damp wood. The biggest one. Trapped moisture blisters the film from underneath. Wash, then wait two dry days, and check with a moisture meter if you have one.
- Skipping the knots. Sap and tannin bleed brown rings up through the finish within a season. Spot-prime every knot with a stain-blocker before you topcoat.
- Spraying without back-brushing. Spray sits on top of the wood and doesn’t fill the grain or the gaps. Brush it in, or follow the gun with a brush while it’s wet.
- One thick coat to save time. It skins over, traps moisture, and peels at the board ends. Two thin coats worked into the grain last twice as long.
- Ignoring the bottom rail. It sits in wet grass and rots first. Prep it hardest, paint the edges, and keep grass and mulch off it.
Cure Schedule
| Time after final coat | What’s safe |
|---|---|
| 1-2 hours | Touch dry in warm dry weather |
| 24 hours | Safe from light rain (check the can) |
| 48 hours | Safe to lean things against it |
| 7 days | Plants and vines back against it |
| 30 days | Full cure, fully weather-hard |
Maintenance
A solid stain on a prepped fence holds 4 to 6 years. Film paint holds 3 to 5 before it starts to flake at the board ends and the bottom rail. The sun side wears first, every time.
Walk the fence at year three. Hit the worn spots with the leftover can: scrape the failing edges, sand the spot, spot-prime any bare wood, and brush two coats over the patch. Feathering the edge of the patch into the sound paint hides the repair. Catching it at year three is what stretches a five-year job to seven.
Keep a quart sealed and labeled with the color and the brand off the lid. You’ll want it for the touch-ups.
Cost Breakdown
| Item | $ |
|---|---|
| Exterior paint or solid stain, 1-2 gallons | $45-$110 |
| Stain-blocking primer, 1 quart | $14 |
| Wire brush, scraper, sandpaper | $20 |
| Block brush + angled sash brush | $25 |
| Mildew remover or bleach | $8 |
| Total | ~$110-$175 |
Lower end is mid-tier stain on a short run. Top end is premium exterior acrylic (BM Aura Exterior, SW Emerald) on a longer fence painted both sides.