How to Paint a Ceiling
Painting a ceiling without lap marks: flat ceiling paint, a wet edge you never let dry, and the primer step for water stains. Every term explained for first-timers.


Okay, so the ceiling is the part of the room everybody dreads. It’s over your head, you can’t see what you’re doing, and your neck aches by the third row. Here’s the thing: the ceiling is the most forgiving surface in the house. It’s flat paint, so it hides almost everything, and nobody stands two inches under it studying for roller marks. Don’t worry. You’ll finish this faster than you think.
The whole trick to a ceiling is one thing, and I’ll repeat it a few times because it’s the only thing that goes wrong: keep a wet edge. Ceilings dry fast, and if you let one row dry before you roll the next one into it, you get a streaky line. Everything below is built around not letting that happen.
What You’ll Get
A smooth, even, flat-white ceiling that disappears the way a ceiling should. No yellow stains, no streaks in the afternoon light. One room, one afternoon.
Honest Take on Difficulty and Time
A standard 12-by-12 ceiling is about three to four hours of work for a first-timer, plus dry time. It’s an easy project. The hard part isn’t skill, it’s your arms and neck. Rolling overhead is tiring in a way wall painting isn’t, and that’s why people rush and get lap marks. They get tired and start moving too fast.
The fix is an extension pole. Don’t do the whole ceiling on a ladder with a short roller. Pole the field from the floor, and only climb the ladder for the cut-in around the edges. That one change cuts the fatigue in half.
If you have a popcorn or textured ceiling, add time and read the watch-out in Step 4. Textured ceilings drink paint and shed if you fight them.
What You’ll Need
Paint and Primer
A 1-gallon can of flat ceiling paint. Flat means zero shine, and that’s on purpose. A ceiling is rarely perfectly smooth, and flat paint hides every ripple and seam that a shinier finish would put a spotlight on. Ceiling paint is also made to drip less and grip overhead, which you’ll appreciate the first time a loaded roller passes over your head. A gallon covers a standard 12-by-12 ceiling in one coat with some left over.
Some ceiling paints go on pink or pale blue and dry white. That tinting is so you can see where you’ve already rolled, which is genuinely useful on a white-over-white job where the wet and dry sections look identical.
You only need primer if you’ve got trouble: water stains, smoke yellowing, or you’re covering a ceiling that was painted a real color. Water-based ceiling paint will not seal a water stain on its own. The ring bleeds straight back through. Spot-prime those areas with a stain-blocker like Zinsser BIN or KILZ first. For the full picks, see the best ceiling paint round-up, and if you’re still deciding why flat over eggshell, the sheen guide walks through it.
Tools
A 9-inch roller frame with a 1/2-inch nap sleeve. Nap is the fuzz on the roller. A thicker nap holds more paint, so you reload less often and keep that wet edge moving, and it reaches into any light texture. A 3/8-inch nap works on a glass-smooth ceiling, but 1/2-inch is the safer pick.
The tool that matters most is the extension pole. Four to eight feet, screws into the roller handle, lets you roll the whole ceiling from the floor. Get one even if it’s just for this.
You’ll also want a 2.5-inch angled brush for cutting in (painting the edge along the walls where the roller can’t reach), a tray with liners, painter’s tape, a step ladder for the edges, and safety glasses. Roller picks live in the best rollers round-up.
Step 1 — Clear the Room and Cover the Floor
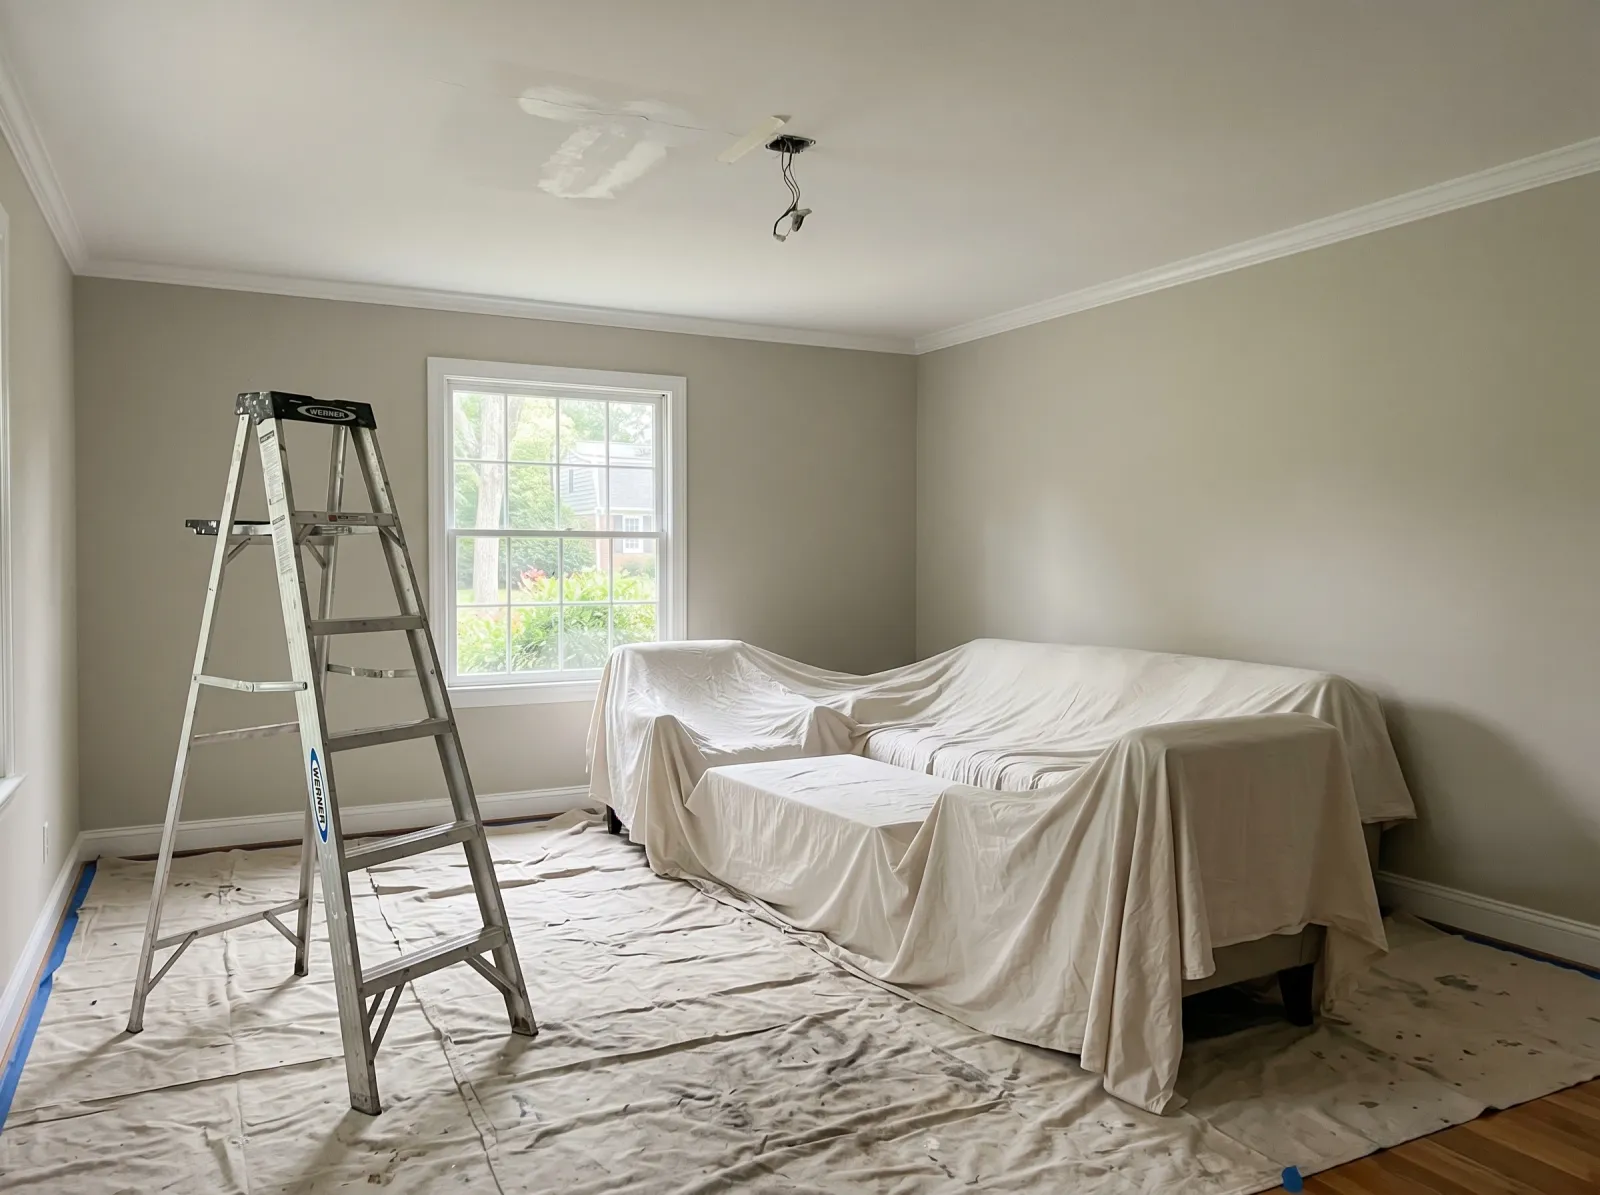
Furniture pulled to the center and sheeted, the whole floor under a drop cloth, hairline ceiling cracks spackled.
Pull the furniture to the center and throw a sheet over it. Ceiling spatter travels, so cover the whole floor with a canvas drop cloth, not just a strip along one wall. Take down ceiling fixtures or at least loosen the canopy so you can paint behind it. Kill the power at the breaker first.
Look for hairline cracks, usually along drywall seams. Press a little spackle into each, scrape flush, let it dry, and sand smooth with the 220-grit sponge.
Watch out for the light fixture. If you can’t drop it, tape a plastic bag around it so you don’t bake paint onto it.
Step 2 — Spot-Prime Any Stains
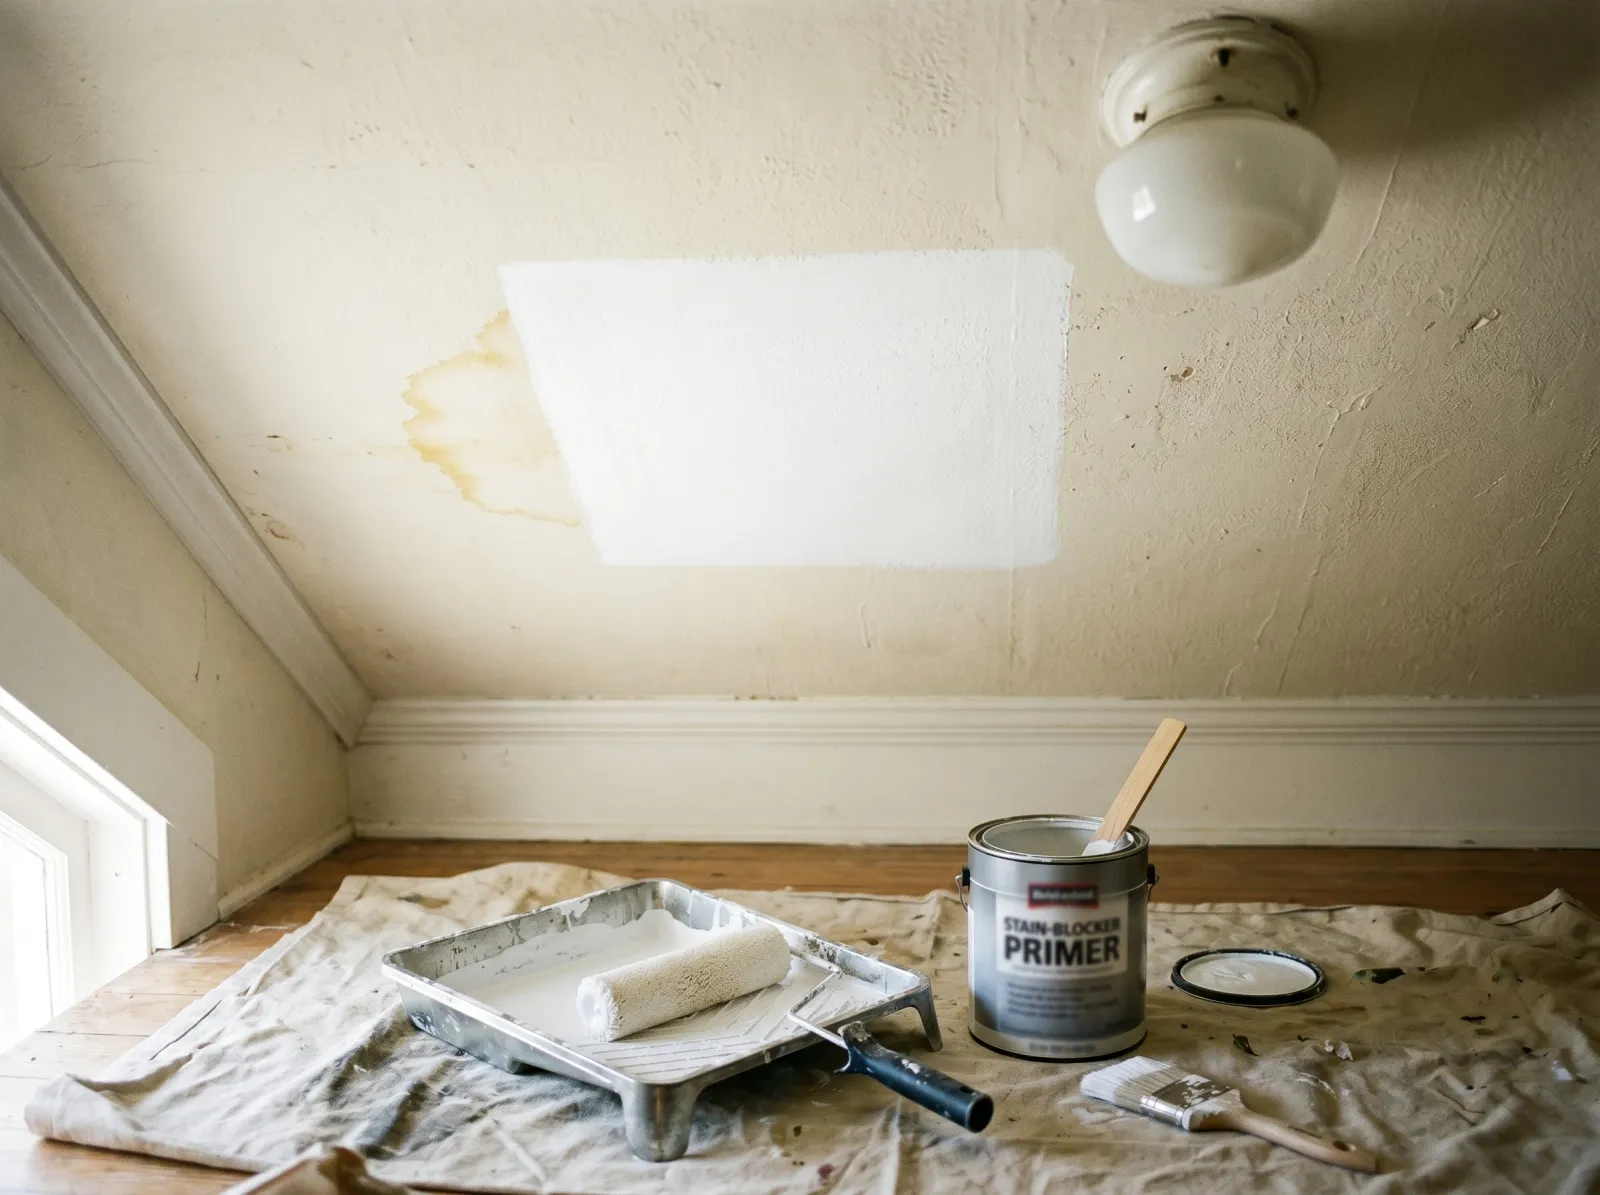
The yellow-brown water stain sealed with a coat of stain-blocking primer so it won’t bleed through.
If your ceiling is clean and white, skip this step. If there’s a yellow-brown water ring, smoke yellowing, or any kind of stain, this is the step that saves your whole project.
Brush or roll a coat of stain-blocking primer over each stain. Zinsser BIN (the shellac one) dries in 20 minutes and blocks the worst stains cold. If the stain is still ghosting through after it dries, hit it again. Don’t move on until the primed spot is solid white.
A stain is a symptom. Find where the water came from and fix it first, or the ring comes right back. The water-stain fix guide walks through finding the source.
Watch out for skipping the primer to save time. Ceiling paint alone will not hold back a water stain. You’ll roll a beautiful white ceiling and watch the brown ring float back up by the time it dries.
Step 3 — Tape the Ceiling-Wall Line and Cut In
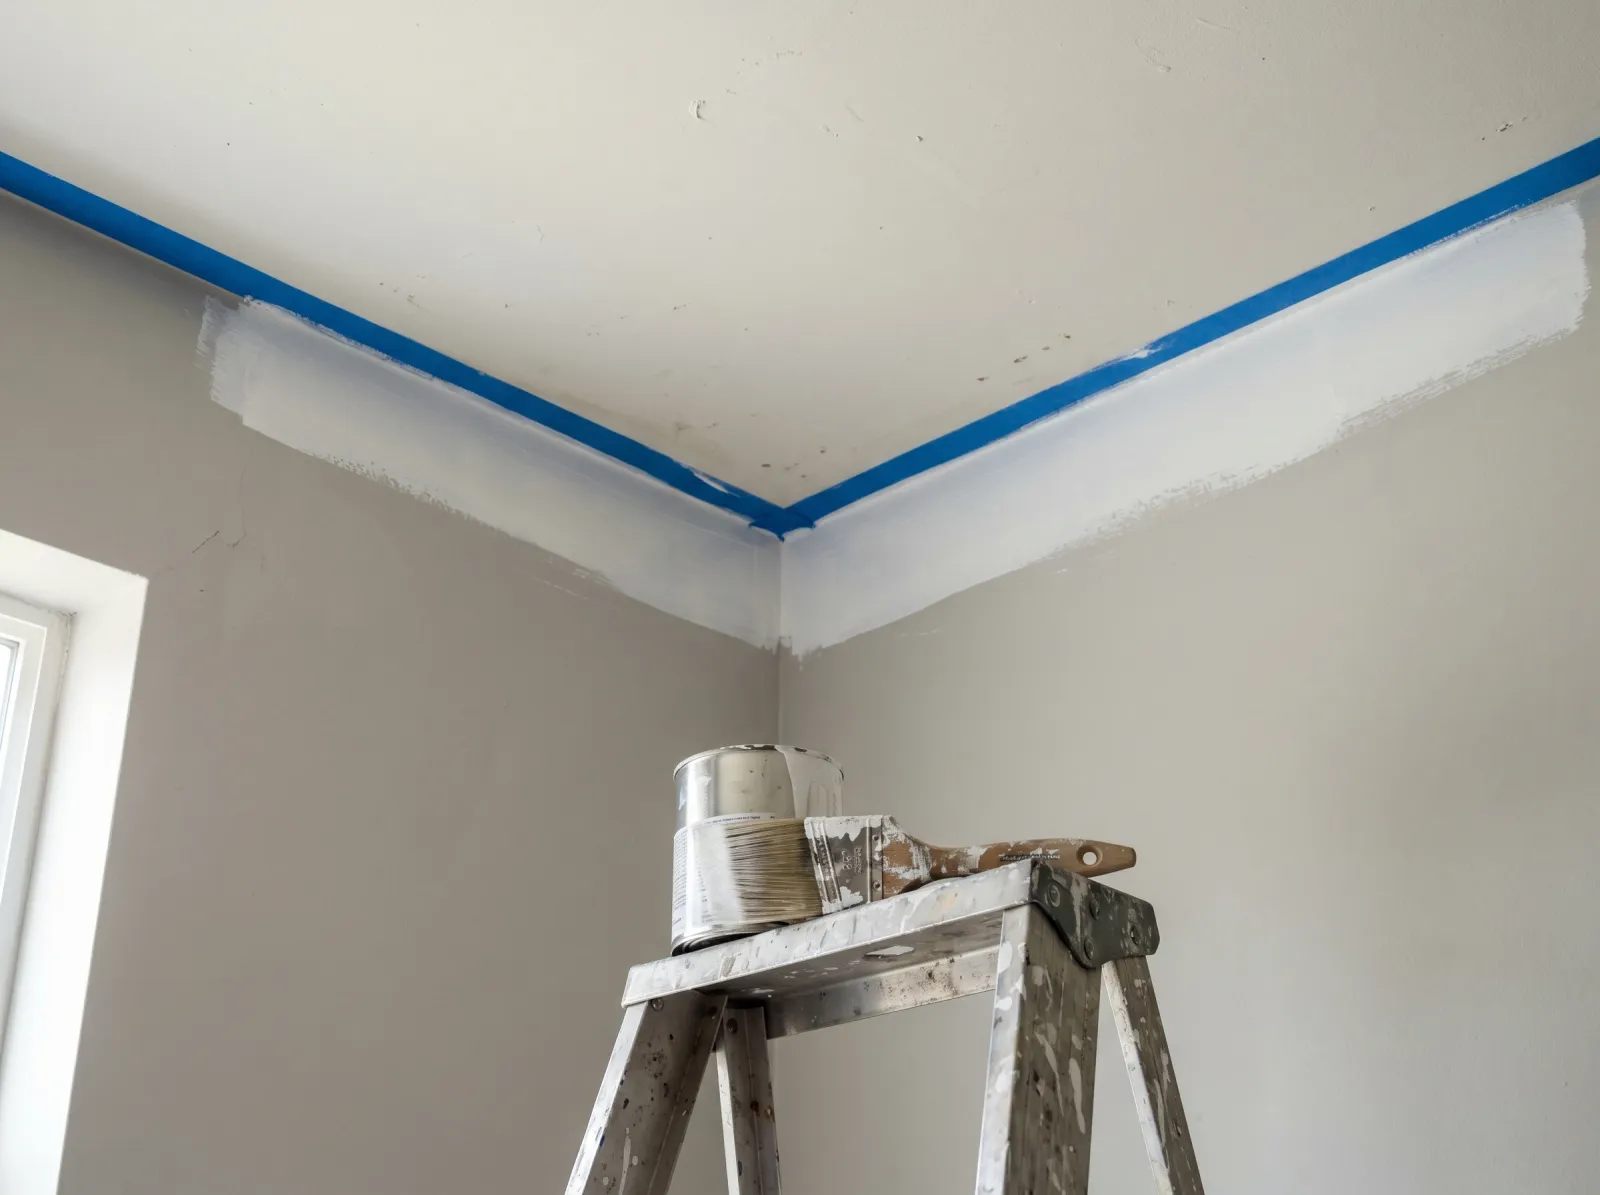
A two-inch band of ceiling paint brushed along the entire wall line before the roller starts.
Run painter’s tape along the top of the walls, right at the ceiling line, all the way around the room. Press the edge down firm with your thumbnail so paint can’t bleed under it.
Now cut in. Cutting in means brushing a two- to three-inch band of ceiling paint along the entire edge of the ceiling, in the corner the roller can’t reach. Load the brush a third of the way, tap off the excess, and brush the band around the whole room from the ladder. Do this for the whole ceiling before you pick up the roller.
Cut in the whole perimeter first so the band is still workable when the roller crosses it and the two textures blend. Cut one wall, roll, then cut the next, and you’ll chase yourself around the room with joins that show.
Step 4 — Roll the Ceiling, Keeping a Wet Edge
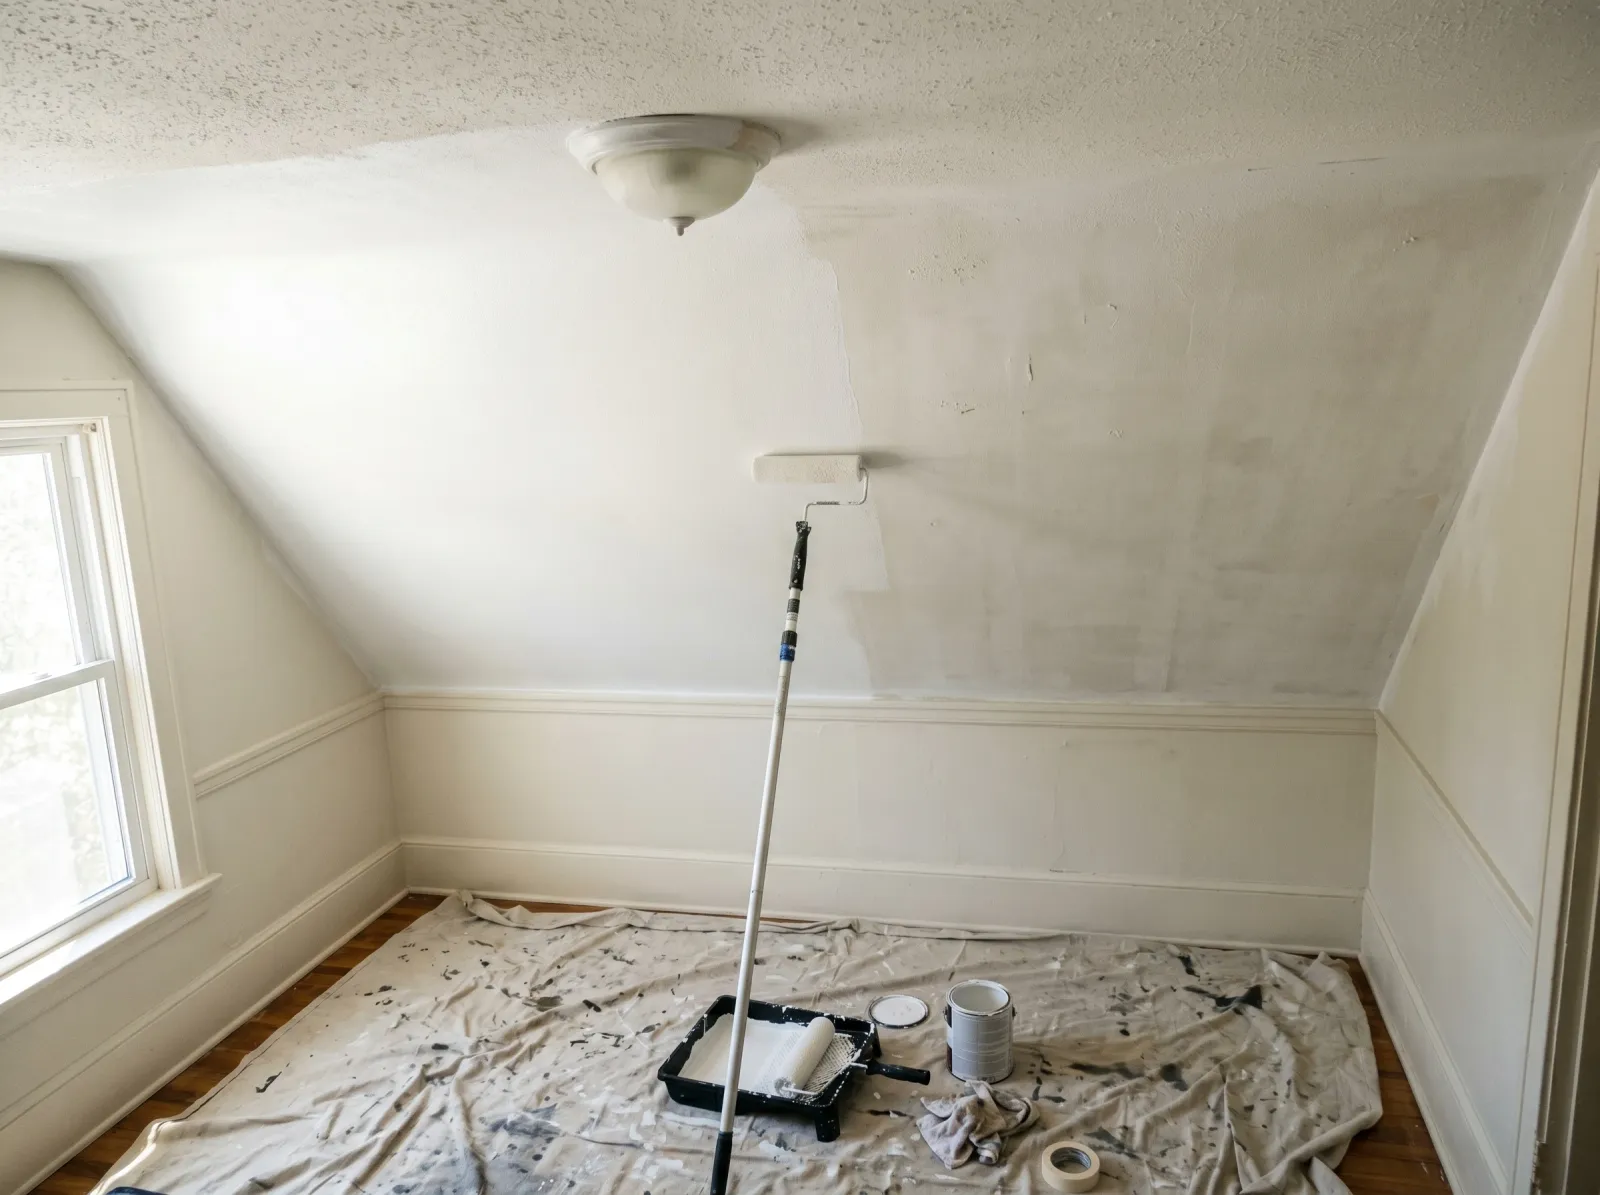
The whole ceiling rolled in overlapping rows, working away from the window so the wet edge never dries.
This is the part that decides whether your ceiling looks good. Screw the roller onto the extension pole. Load it in the tray and roll off the excess so it’s evenly coated, not dripping.
Start in the corner nearest the window and work away from it. Painting away from the light means you’re always looking into the wet sheen and can catch a missed spot before it dries. Roll in straight rows about three feet wide. Finish one row, then start the next so it overlaps the wet edge by a couple of inches. Don’t stop in the middle of the room to rest. Finish the whole ceiling in one go.
Roll slow. A fast roller flings spatter and skips coverage. Slow keeps the wet edge alive.
Watch out for popcorn and textured ceilings. Unpainted popcorn can drag off in clumps when rolled wet. Test a small corner first. If it’s pulling off, it needs a spray application or a very light roll with a thick nap, barely pressing. A previously painted popcorn ceiling usually takes a 3/4-inch nap and a light touch.
Step 5 — Check It, Then Pull the Tape
Once the whole ceiling is rolled, step back and look at it in the raking light from the window. Wet paint hides nothing, so any thin spot or missed strip shows now. Touch it up while it’s still wet. Don’t re-roll a section that’s started to set, or you’ll burnish a shiny streak into the flat finish. Just feather the wet edge.
For a second coat (stain coverage or a color change), let the first dry the time on the can, usually two to four hours, then roll the second the same way and same direction.
Pull the tape while the last coat is still slightly tacky, at a 45-degree angle, slow and steady. Pulling bone-dry paint can chip the edge.
Common Mistakes
- Letting the wet edge dry. This is the one that gets everyone. Ceilings dry fast, you rest for five minutes mid-job, and now there’s a hard line across the room. Roll the whole ceiling in one continuous session, narrow rows, always overlapping into wet paint.
- Using eggshell or satin instead of flat. A shinier finish turns every drywall seam, screw pop, and ripple into a shadow in the afternoon light. Flat ceiling paint hides all of it. This is the whole reason ceiling paint exists.
- Painting over a water stain without priming. Water-based paint can’t seal a stain. The brown ring bleeds back through as the paint dries. Spot-prime with Zinsser BIN or KILZ first, every time.
- Overloading the roller and rolling fast. A dripping roller moving fast throws spatter all over you and the floor, and leaves ridges. Load lighter for overhead, roll slow.
- Skipping the extension pole. Doing the whole ceiling on a ladder with a short roller wears you out, and tired arms rush and cause lap marks. Pole the field, ladder only for the edges.
Cure Schedule
| Time after the final coat | What’s safe |
|---|---|
| 1 hour | Pull the painter’s tape |
| 2–4 hours | Touch dry; reinstall light fixtures |
| 24 hours | Furniture back, normal use |
| 7 days | Wipe a smudge gently if you must |
| 30 days | Full cure |
Flat ceiling paint isn’t made to be scrubbed. If it gets dirty, you touch up or repaint.
Maintenance and Touch-Ups
A flat ceiling holds up for 10 years or more, longer than walls because nobody touches it. The two things that send people back up the ladder early are new water stains (fix the leak, spot-prime, touch up) and cooking film in kitchens.
Touch-ups on a flat ceiling blend better than on walls. Use the same can of paint and a small piece of roller, not a brush. A brush leaves a different texture that catches light even when the color matches. Keep the leftover gallon labeled with the room name.
Cost Breakdown
| Item | $ |
|---|---|
| Ceiling paint, 1 gallon flat | $30 |
| Stain-blocking primer, 1 quart (if needed) | $15 |
| Roller frame, 1/2-inch sleeve, tray | $20 |
| Tape and drop cloth | $20 |
| Total | $70–$85 |
If you already own a pole, tray, and drop cloth, a ceiling costs just the $30 gallon. Cheapest room-improvement in the house.
Most people paint the ceiling because the walls are next. If that’s you, ceiling first (it’s done now), then the trim, then the walls. The full order is in the whole-room painting guide.