How to Paint a Built-In Bookshelf
Painting a built-in bookshelf? Honest prep for stained, varnished, or MDF shelves, the right enamel for shelves that hold weight, and how to dodge brush marks.

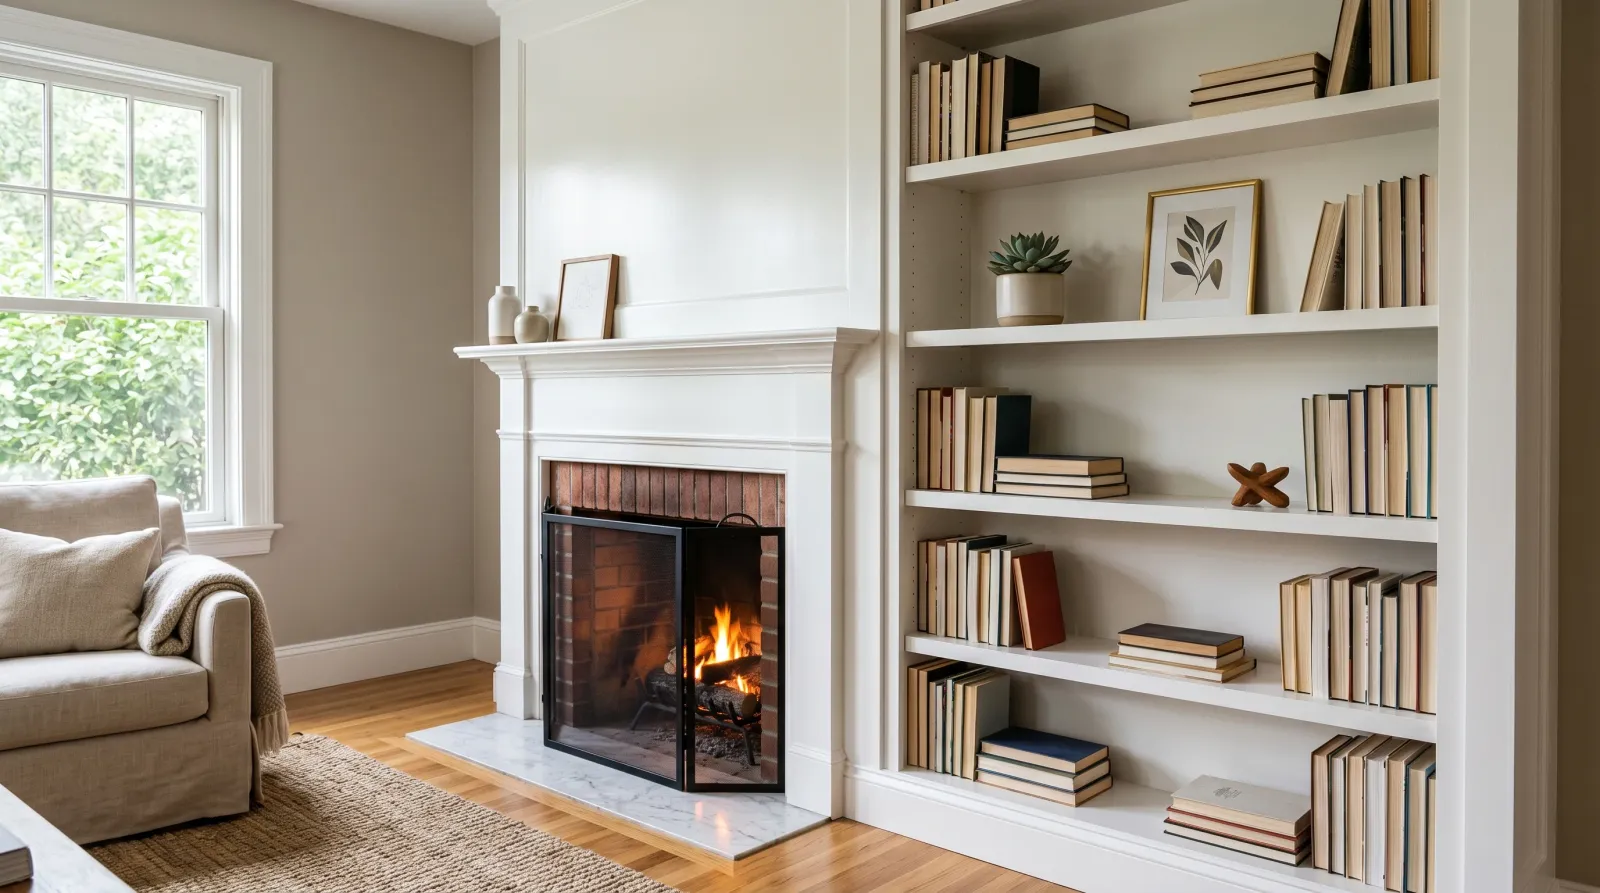
Okay, so you’ve got a built-in. Maybe it’s the dated oak unit flanking the fireplace, maybe it’s a wall of shelves the last owner stained dark, maybe it’s a closet system you want bright white. And here’s the part that makes a built-in different from every other paint job: you can’t take it outside, and you can’t take it apart. It’s screwed to the wall. It’s right there in the living room where everyone will see it.
That changes the whole approach. No spraying in the garage, no laying it flat on sawhorses for most of it, no hiding a bad coat. You’re painting a fixed piece of furniture in place, in a finished room, and the surfaces have to hold weight without the paint grabbing your books.
Don’t worry. It’s a weekend, and the prep is the part that matters.
TL;DR
- Use cabinet enamel (BM Advance, SW Emerald Urethane, INSL-X Cabinet Coat), never wall paint. Wall paint stays soft and your books stick to it.
- Scuff-sand every face with 220-grit and prime before painting. Slick varnish or melamine needs a bonding primer or the topcoat peels.
- Caulk the seam where the unit meets the wall. That one bead is what makes it read as built-in, not a box.
- Roll the big flats with a foam-mini, brush only the corners and edges. That’s how you dodge brush marks.
- Wait to reload. Light decor after a week, heavy books after two. Enamel is touch-dry fast but cures hard slowly.
What You’ll Get
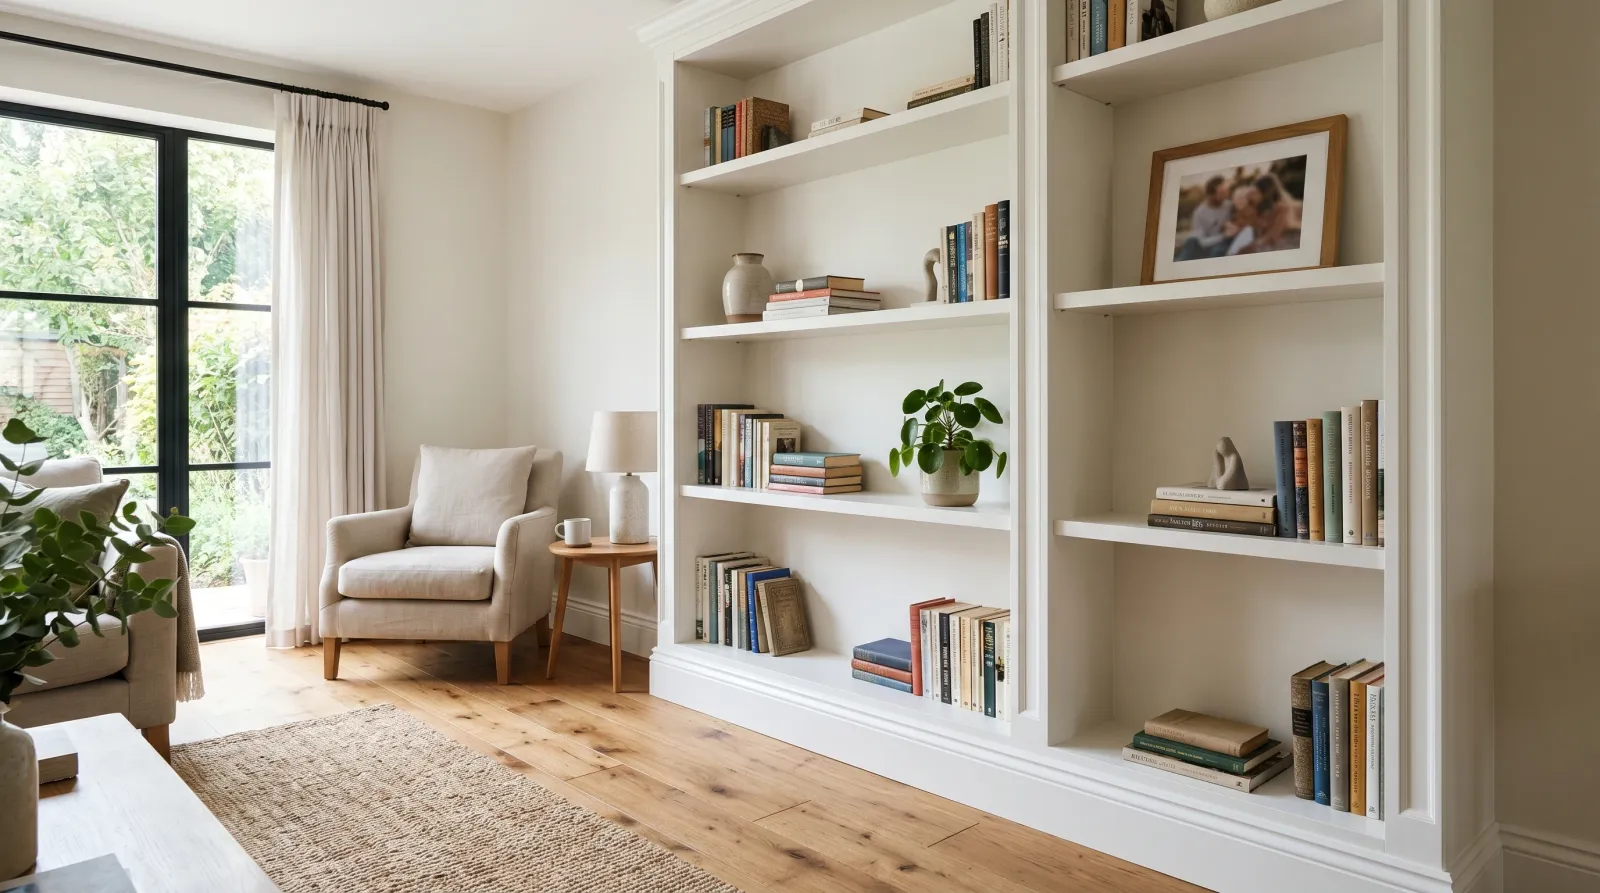
A built-in that looks built-for-this-house instead of leftover from 1994. Crisp shelves that wipe clean and don’t stick to your stuff. The thing that costs a cabinetmaker a few thousand dollars to install looks new again for under $110 and a couple of days.
Honest Take on Difficulty and Time
This sits a notch above repainting a dresser. It’s not hard, but there’s a lot of surface, a lot of inside corners, and a lot of edges you have to reach by leaning into the unit instead of walking around it.
| Part of the job | Active time |
|---|---|
| Empty, clean, caulk, tape | 1-2 hrs |
| Scuff-sand and dust off | 1-2 hrs |
| Prime (one coat) | 1-2 hrs |
| Two finish coats | 3-4 hrs over two sessions |
Real elapsed time is one weekend of work plus a week of cure before the heavy books go back. The dry time between coats is what stretches it. You can’t rush a built-in into use the way you can a wall.
What You’ll Need
Paint and Primer
Cabinet enamel, not wall paint. This is the one decision that makes or breaks the job. Wall paint stays soft. Books, picture frames, and decorative boxes will stick to it and pull the finish up when you move them. A cabinet-grade enamel (Benjamin Moore Advance, Sherwin-Williams Emerald Urethane, or INSL-X Cabinet Coat) cures to a hard surface that releases clean. It’s the same waterborne alkyd you’d use on kitchen cabinets, and a built-in is open cabinetry. See the best trim and shelf paint round-up for the SKU comparison.
A quart covers a small to medium built-in. A full wall unit wants a gallon.
For primer, match it to what’s underneath. Slick varnish, lacquer, melamine, or laminate gets a bonding primer (INSL-X Stix or Zinsser Bulls Eye 1-2-3 Plus). Knots, dark stain, or old water marks that might bleed through get shellac-based BIN (the shellac primer explainer covers when you need it). Bare or sound painted wood can take a standard bonding primer too.
Tools
A 2-inch angled brush for the corners and edges, and a 4-inch foam-mini roller for the broad faces. The roller is what saves you from brush marks on the big flat shelf tops and the sides of the unit. A foam or microfiber sleeve lays down a smoother film than a brush ever will. Brush picks live in the paint brush round-up. Plus a caulk gun, paintable caulk, wood filler, painter’s tape, a vacuum, and a couple of drop cloths.
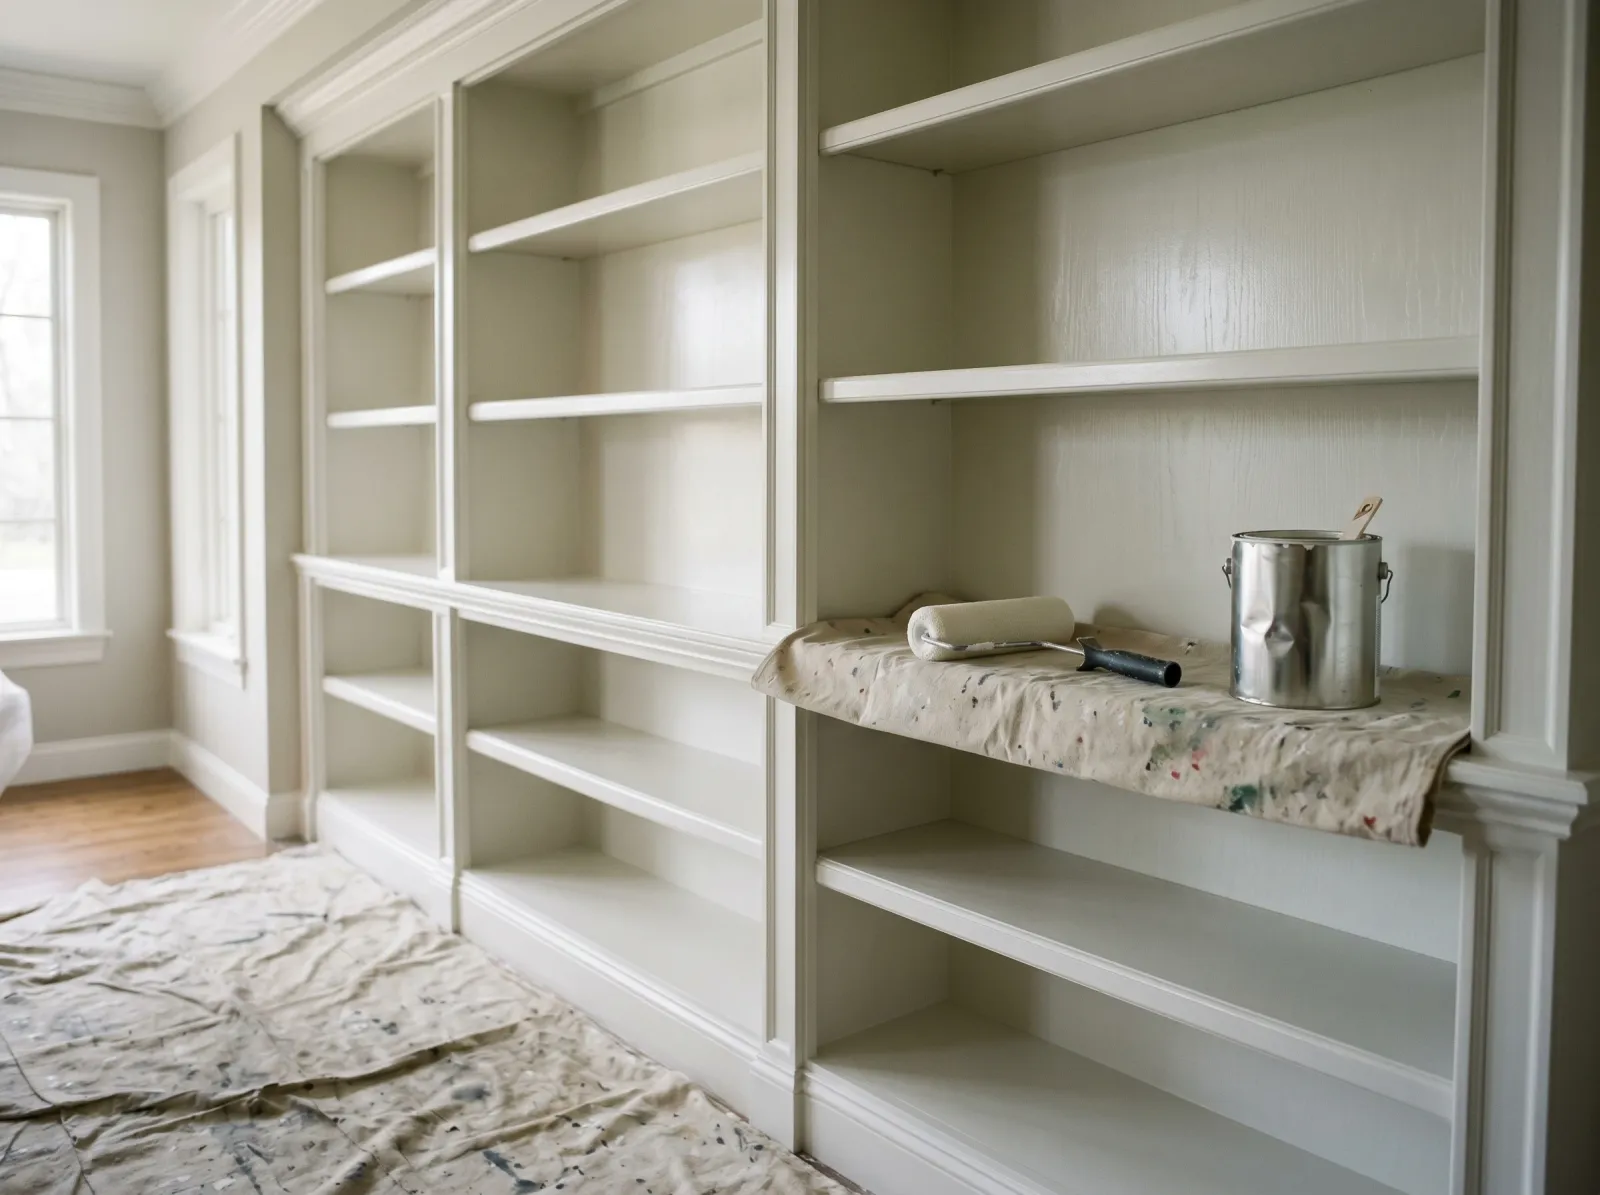
Step 1 — Empty It, Clean It, and Caulk the Gaps
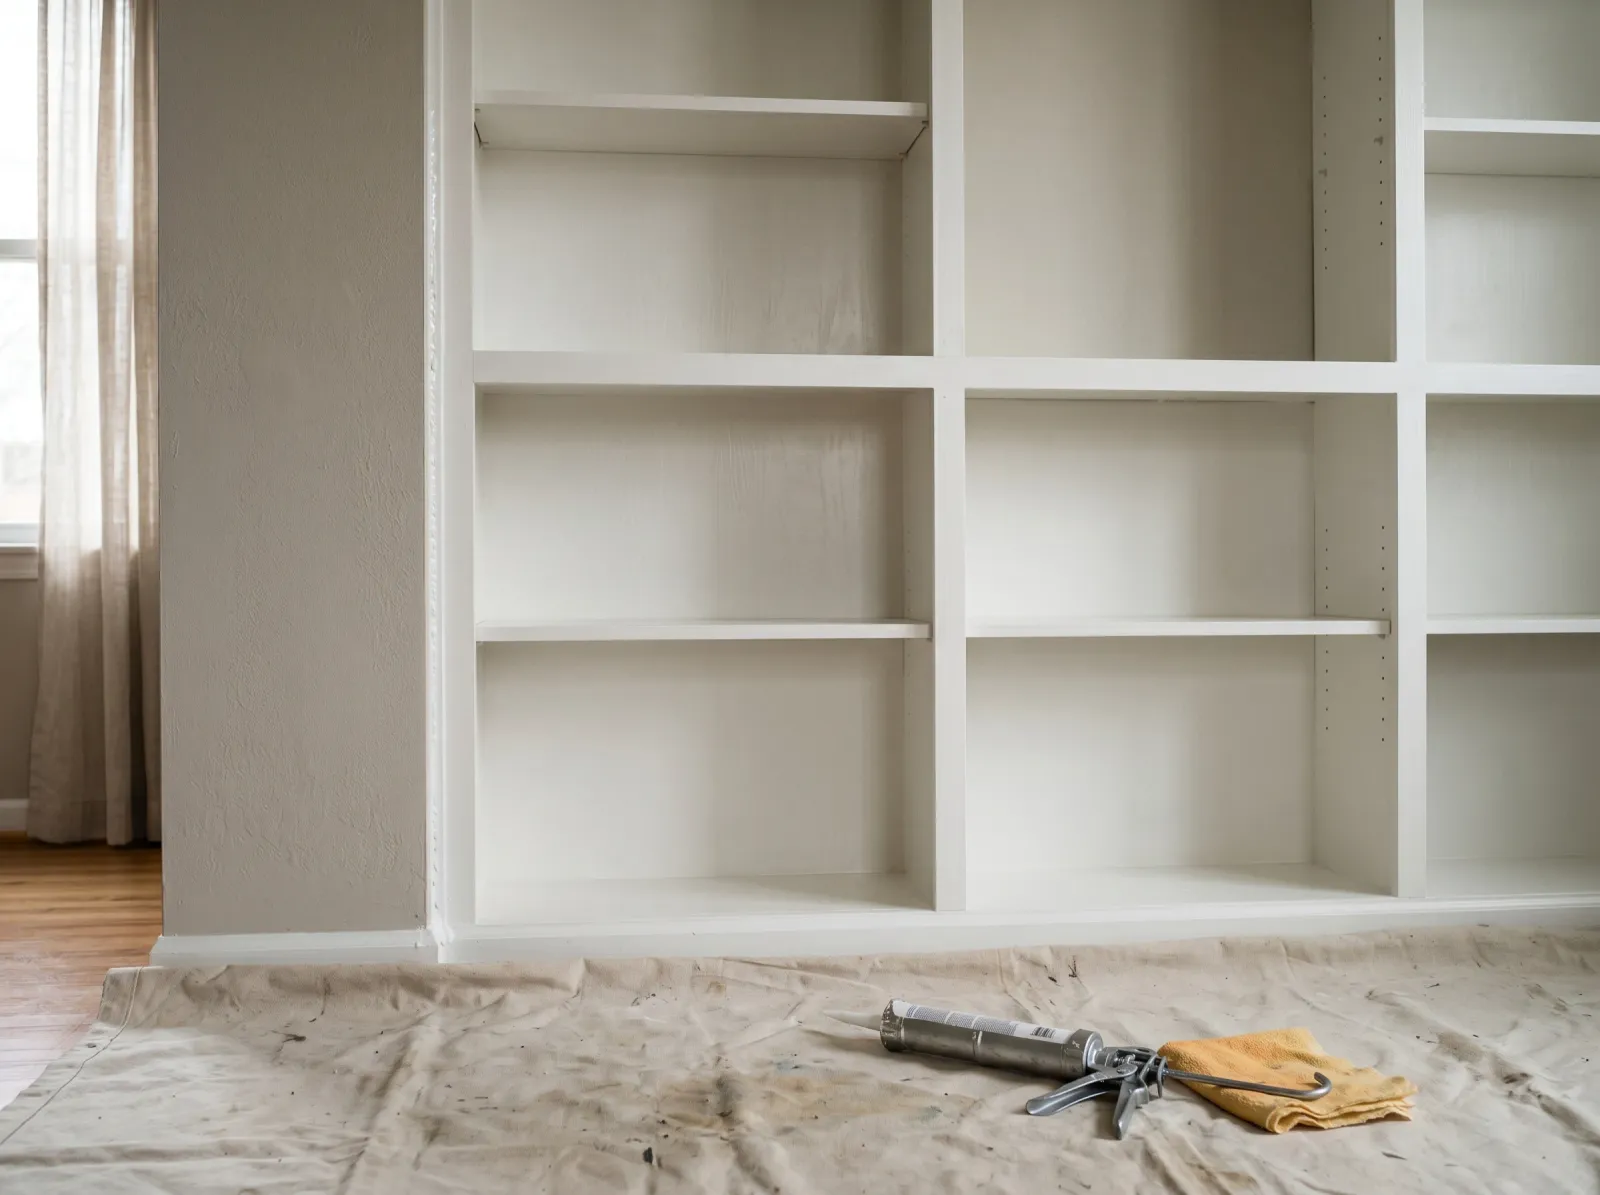 Everything out, the unit wiped down, and the seam where it meets the wall filled before any paint goes on.
Pull every book, basket, and bracket out. If the shelves lift out on pins or pegs, take them out and label each one and its holes with a strip of painter’s tape and a number. Adjustable shelves almost never sit level if you swap their spots, so they go back exactly where they came from.
Wipe the whole unit down. A built-in collects years of dust, candle soot, and hand oils on the shelf edges. Use a degreaser (a little dish soap and warm water works) and let it dry fully. Paint will not stick to grime.
Now caulk the seam where the unit meets the wall, and any open joints in the trim, with a thin bead of paintable acrylic-latex caulk smoothed with a wet finger. Fill nail holes and dings with wood filler, let it dry, sand flush. This is the step that makes a built-in look built-in instead of like a box pushed against a wall.
Watch out for caulking gaps wider than about 1/4-inch in one pass. A fat bead of caulk cracks as it shrinks. Big gaps want wood filler or a backer first, then caulk on top.
Step 2 — Scuff-Sand Everything
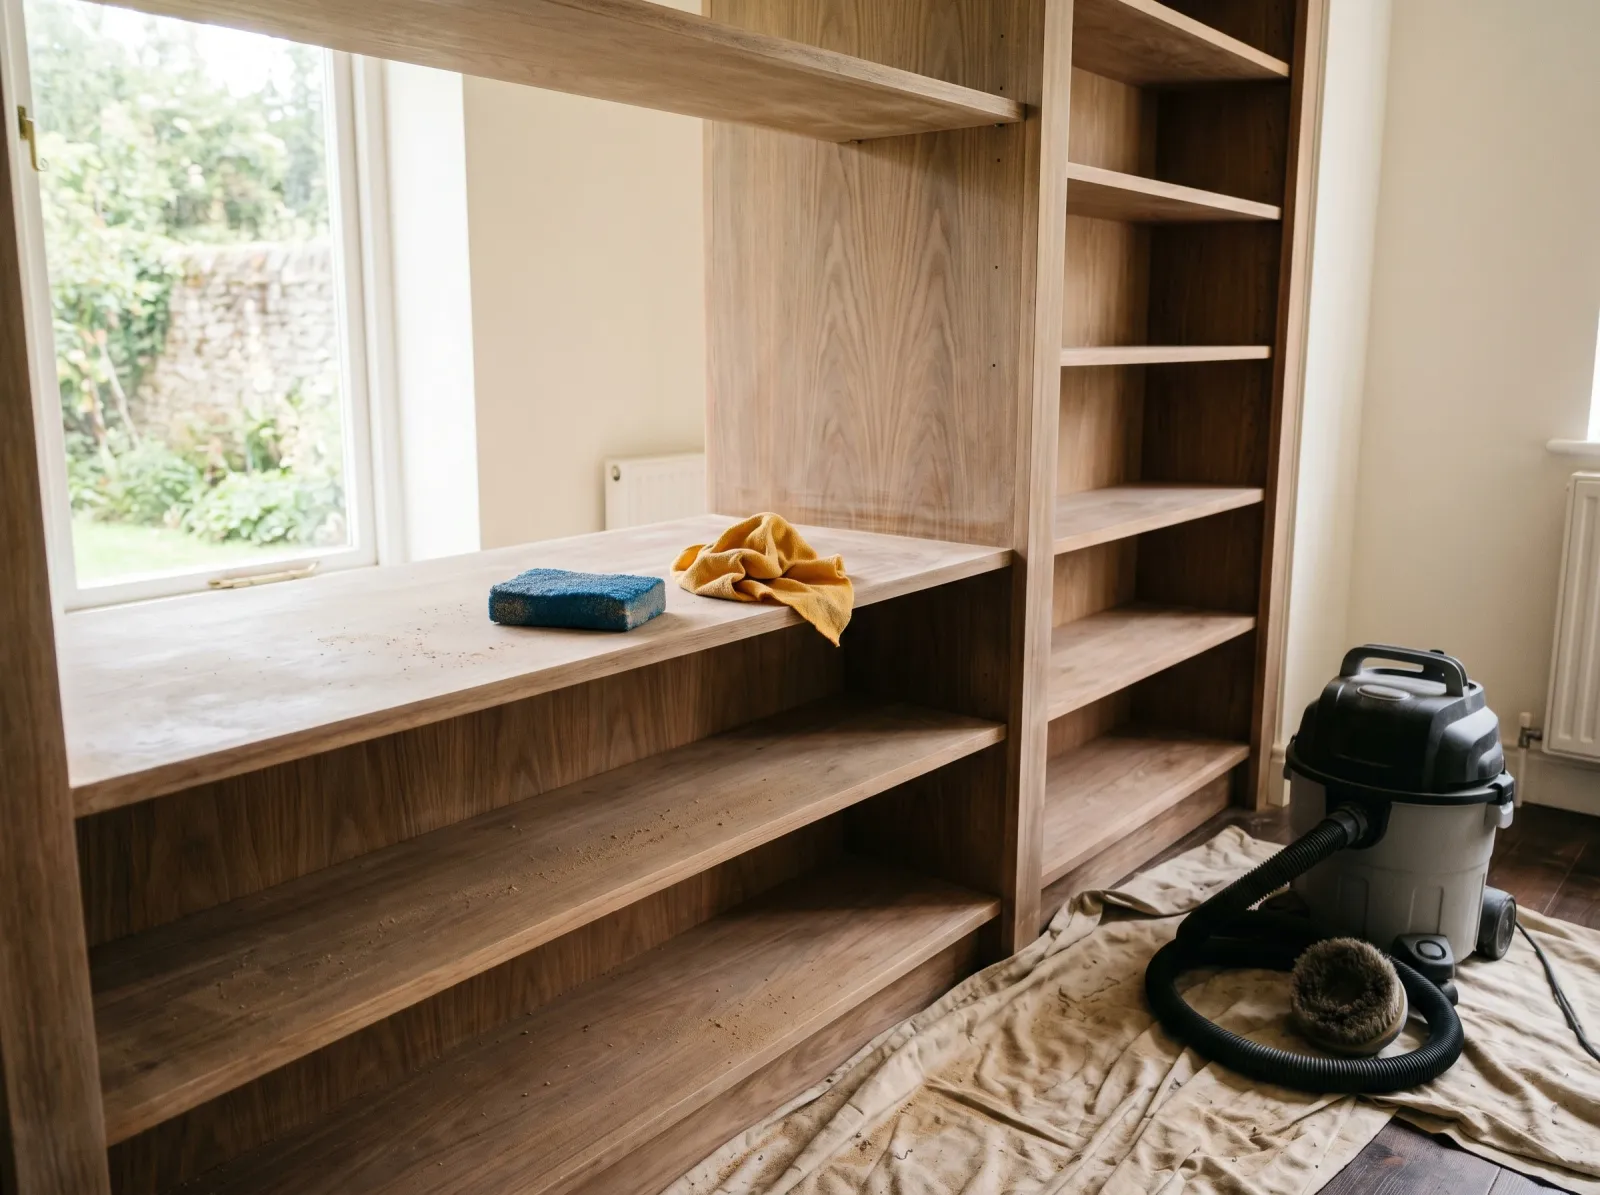 The old gloss knocked down to a dull haze. You’re roughing the surface, not stripping it.
You’re not sanding to bare wood. You’re dulling the old finish so the primer has something to grip. Run a 220-grit sanding sponge over every face, every shelf, every vertical, until the gloss goes to a soft haze. A sponge gets into the inside corners better than a flat block.
If the existing finish is heavy, glossy varnish (common on older oak built-ins), step down to 120-grit first to cut the shine faster, then smooth with 220.
When you’re done, vacuum the whole unit with a brush attachment, then wipe every surface with a tack cloth. Sanding dust left in the corners turns into gritty bumps under your first coat. For a glossy varnished unit specifically, the varnished trim guide walks through the deglossing options if you’d rather not sand by hand.
Watch out for sanding through to bare MDF on a shelf top. MDF core soaks up paint and swells. Keep the scuff light on engineered surfaces and seal any exposed edges before priming.
Step 3 — Prime in One Thin Coat
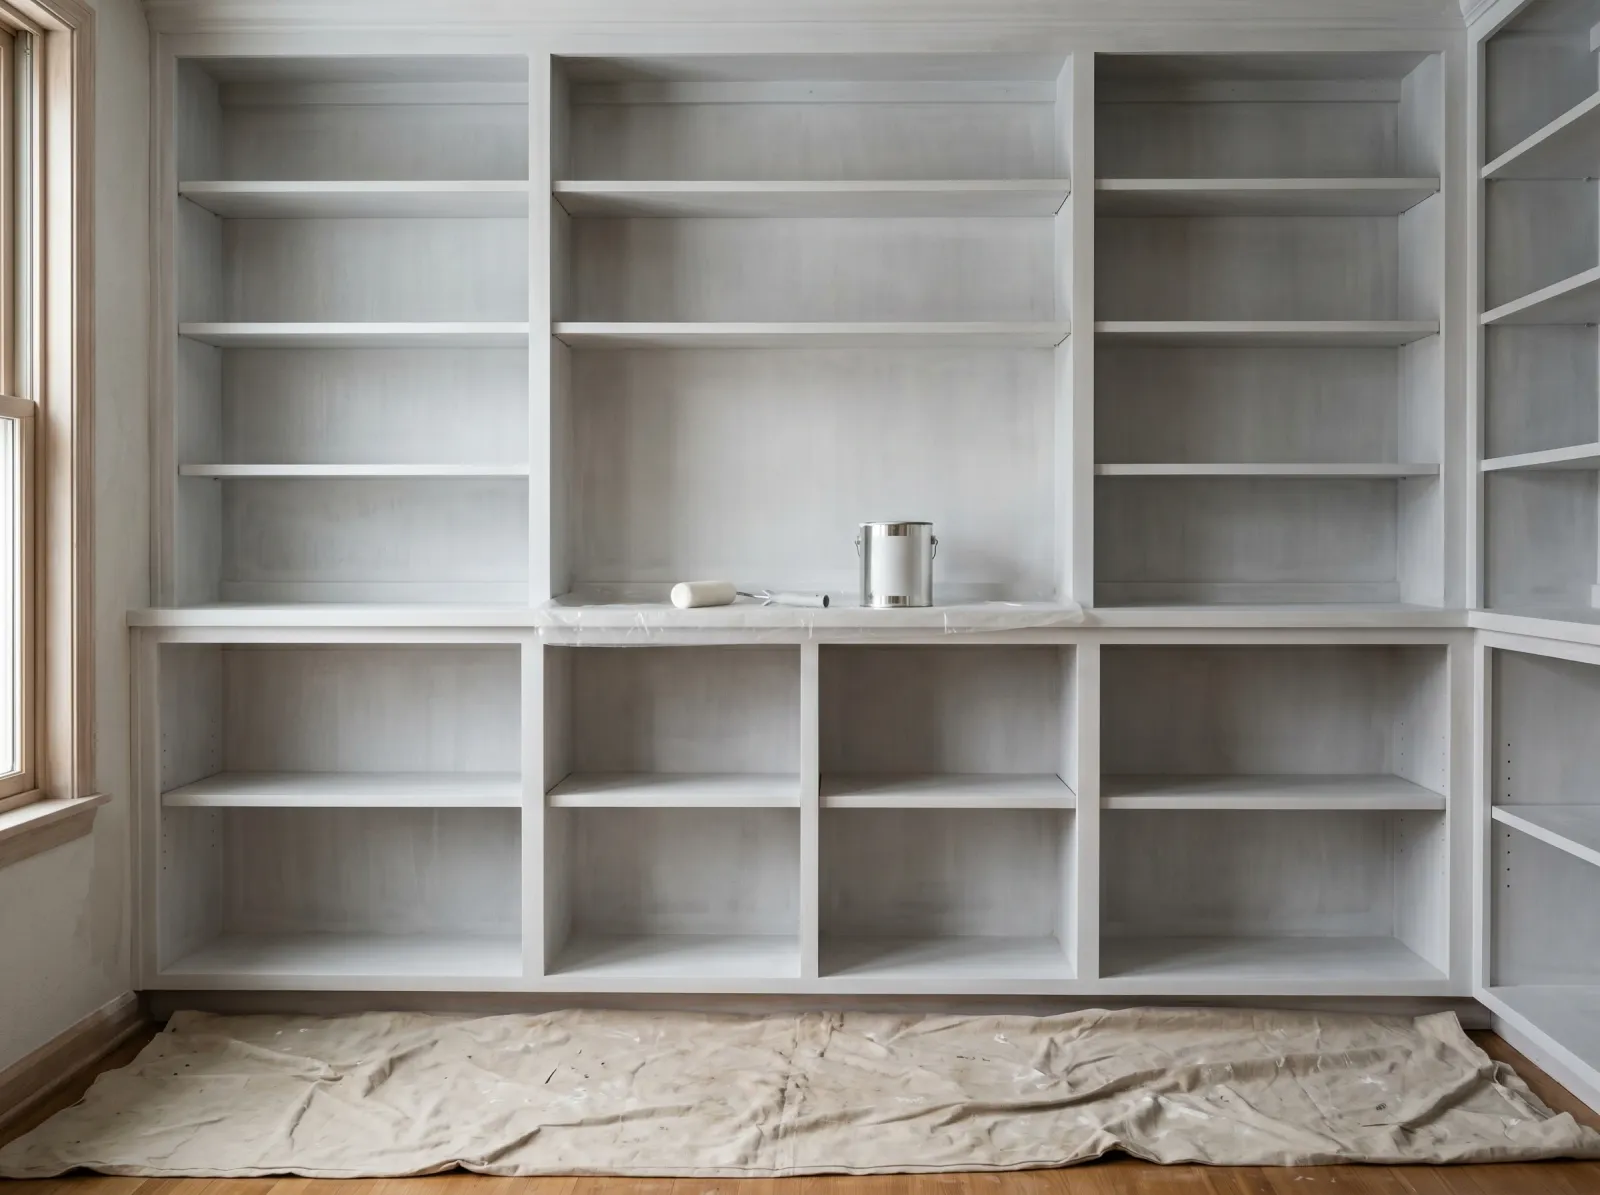 One coat of bonding or stain-blocking primer, brushed into the corners and rolled on the flats.
Prime the way you’ll paint: brush the inside corners and the back edges of each shelf first, then roll the broad faces with the foam-mini while the brushed paint is still wet. Working brush-then-roll keeps them from drying at different rates and leaving a line where they meet.
One coat of bonding primer is enough. BIN shellac primer for stain-blocking wants two thin coats. Let it dry the time on the can, then knock down any raised nibs with a light 220 pass and tack it again.
If your built-in is MDF or has any MDF parts, this is where you seal the raw edges so they don’t drink paint and fuzz up. The MDF painting guide has the edge-sealing method.
Step 4 — First Coat of Finish Enamel
 Brush the corners, roll the flats. Thin and even beats thick every time.
Same order as the primer: brush the corners and edges, roll the faces. Add Floetrol to the enamel at about 5% (roughly 6 ounces per gallon) to extend the wet edge and let brush marks level out before the paint skins over.
Two thin coats, always. A thick coat sags on the verticals, pools at the front edge of the shelves, and never cures as hard. Dip the brush only a third of the way and tap it on the inside of the can instead of dragging it across the rim.
Order on the unit: top down. The crown or top, then the verticals, then each shelf working down, then the face frame. That way drips land on surfaces you haven’t painted yet.
Watch out for going back over a stroke that’s started to set up. Cabinet enamel skins fast. Once it’s tacky, leave it alone or you’ll drag a ridge into it that you can’t sand out without going back to primer.
Step 5 — Second Coat, Then Wait
 Two coats dry, a week of cure, and your stuff back on the shelves.
Let the first coat dry the full recoat time on the can (BM Advance wants 16 hours, most others around 4 to 6). Light scuff with 220 if you feel any roughness, tack it, then lay the second coat exactly like the first.
The second coat is where the color fills in and the surface evens out. The first coat almost always looks patchy and thin. You’ll know it’s right when you see it on the second pass.
Pull the painter’s tape while the last coat is still slightly tacky, at a 45-degree angle, slow. Then the hard part: wait. The shelves are dry to the touch in a few hours but the enamel keeps hardening for about two weeks. Light decor can go back after a week. Heavy books wait the full two.
Can You Paint a Built-In Without Removing the Shelves?
If the shelves are fixed in place, you don’t have a choice - you paint them where they sit. Use the foam-mini roller for the shelf tops and undersides, and a brush for the spot where the shelf meets the back panel.
If the shelves lift out, take them out and paint them flat on sawhorses or a pair of paint cans. Flat surfaces self-level, dry without sags, and you can reach every edge without contorting yourself into the unit. Number them so they go home correctly.
The back panel is the one surface people forget. On many built-ins it’s a thin hardboard back that needs an extra coat to cover. Prime it the same as everything else and don’t skip it - an unpainted back behind painted shelves reads as unfinished the second you take the books off.
Common Mistakes
- Using wall paint instead of enamel. Wall paint never cures hard enough for shelves. Your books bond to it and peel the finish when you slide them off. Use a cabinet-grade enamel every time.
- Skipping the scuff-sand on glossy varnish. Primer and paint slide right off slick old varnish. Dull it with 220 first, or use a bonding primer made to grip gloss, ideally both.
- Loading heavy books back too soon. Touch-dry is not cured. Enamel needs about two weeks to reach full hardness. Load it in week one and you’ll get book-shaped dents and stuck spines.
- Forgetting to caulk the wall seam. The gap between the unit and the wall is the thing that screams “this is furniture, not a built-in.” A thin caulk bead before painting makes it disappear.
- Brush marks on the big flat faces. A brush leaves tracks on wide horizontal shelf tops. Roll the flats with a foam-mini and save the brush for corners and edges only.
Cure Schedule
| Time after final coat | What’s safe |
|---|---|
| 4-6 hours | Touch dry; pull tape; don’t load |
| 24 hours | Light dusting with a soft cloth |
| 7 days | Light decor, small frames, plants |
| 14 days | Heavy books and full daily use |
| 30 days | Fully cured; wipe clean with mild soap |
If you absolutely have to put something heavy back before two weeks, slip a sheet of wax paper or a felt pad under it so it doesn’t bond to the surface while the enamel finishes hardening.
Maintenance and Touch-Ups
A built-in painted in cabinet enamel holds up 8 to 12 years. The wear shows first on the front edges of the shelves where things slide on and off, and on the face frame at hand height.
For a chip or scratch, dab the original enamel on with a small artist’s brush. Don’t feather it across a whole shelf - a touch-up of cured enamel reads slightly brighter than the surrounding paint and you’ll see the seam if you spread it. Keep the leftover quart labeled with the room name.
Cost Breakdown
| Item | $ |
|---|---|
| Cabinet enamel (1 quart-1 gallon) | $25-$70 |
| Primer (1 quart) | $15-$20 |
| Caulk and wood filler | $10 |
| Foam-mini roller and sleeves | $12 |
| Angled brush | $15 |
| Sponges, tack cloth, Floetrol | $20 |
| Total | $50-$110 |
Smaller built-in on the low end, full fireplace-wall unit on the high end. Either way it’s a fraction of what new built-in cabinetry costs to install.
A Specific Recommendation
For a typical living-room built-in in sound shape: Benjamin Moore Advance in satin, INSL-X Stix bonding primer, a 2-inch Wooster Silver Tip, and a 4-inch foam-mini roller. Caulk and sand Saturday morning, prime Saturday afternoon, two coats Sunday and Monday evening. Light decor back the following weekend, heavy books the weekend after.
If the unit is older oak with heavy glossy varnish, don’t fight it with light sanding alone. Hit it with 120-grit first, then bonding primer, then the enamel. The varnish is the thing that’ll make your paint peel in a year if you cut the prep short.