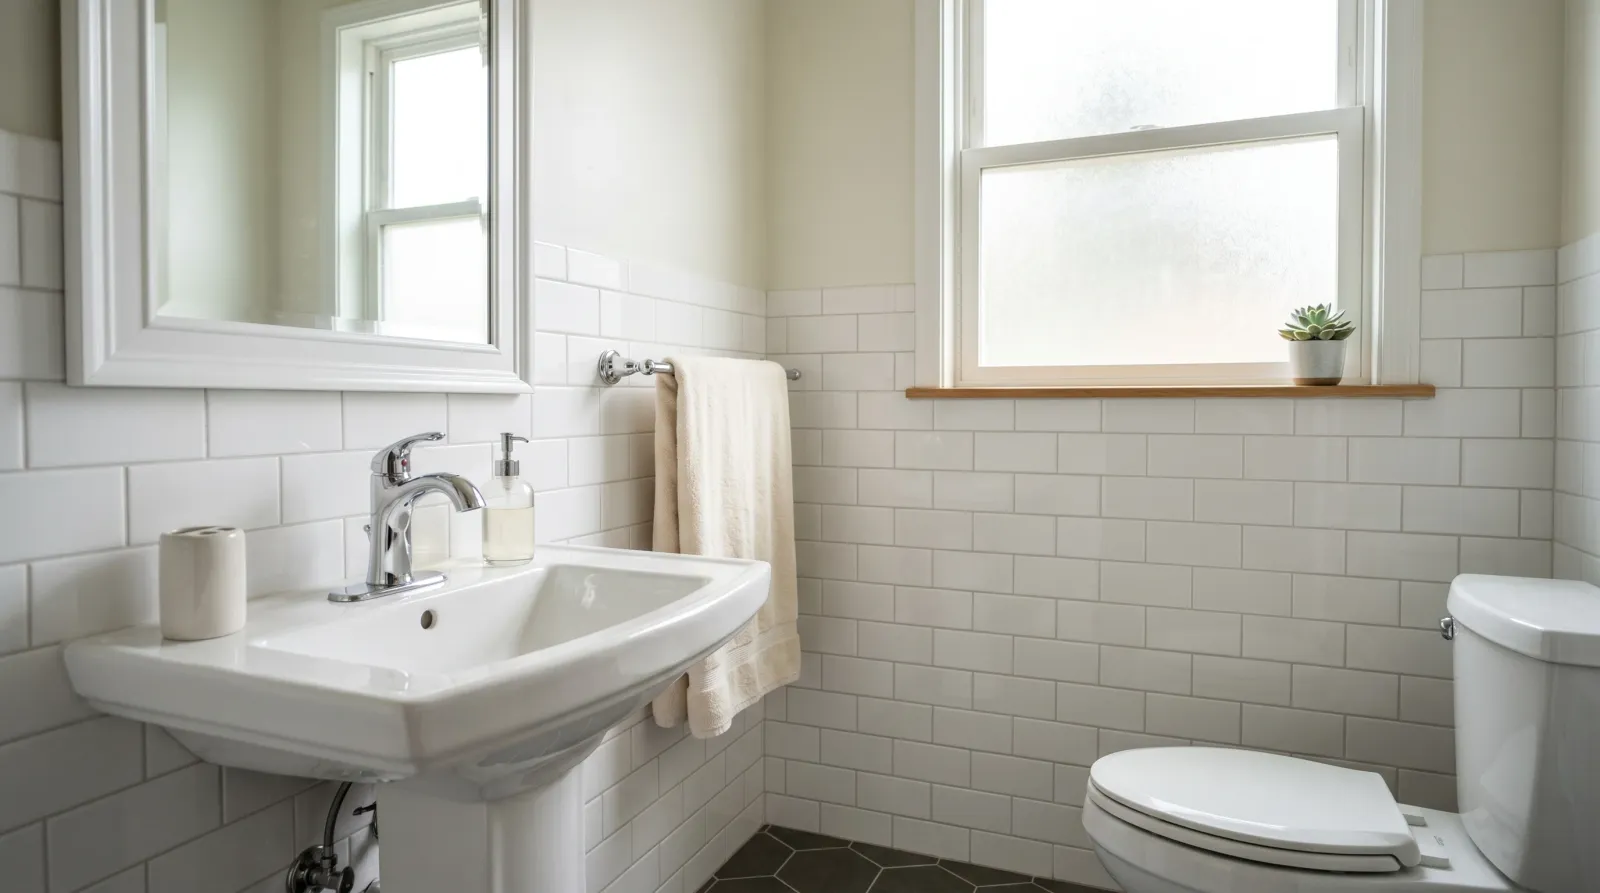
How to Paint Bathroom Tile
Painting bathroom tile that lasts means deglossing, a bonding primer, and a hard topcoat. Here is the order, the products, and the spots where paint peels first.


People paint bathroom tile because retiling a small bathroom runs into the thousands and a quart of primer plus a quart of enamel runs under fifty bucks. The math is obvious. The reason it gets a bad name is that most people skip the two steps that make it stick, then post a photo six months later of paint hanging off the shower wall in sheets.
Tile glaze is glass. Paint does not grab glass. Your whole job here is giving the paint something to bite, then putting down a finish hard enough to live in a wet room. Do those two things and it holds for years. Skip them and you are repainting by fall.
This is a medium job, not a hard one. The skill is in the patience, not the brushwork.
What You’ll Get
Wall tile and a backsplash that read clean and freshly glazed, wipe down with a sponge, and hold up for five to ten years. Wet zones like a shower or tub surround get a separate, tougher coating and a shorter clock. Set your expectations there before you start.
Honest Take on Difficulty and Time
The painting is one weekend. The waiting is the rest of the week.
| Zone | Active time | What holds up |
|---|---|---|
| Backsplash / vanity wall | Half a day | 7-10 years, easy |
| Full wall tile (dry) | One day | 5-10 years |
| Shower surround / tub wall | One day + epoxy cure | 3-5 years, refresh job |
| Bathroom floor | One day | 3-5 years, floor coating only |
Add the cure time on top. A painted shower you stepped into on day two is a peeling shower on day thirty. The slow part is real and you cannot rush it.
Method: Sand It or Liquid-Degloss It
Two valid paths to dull the glaze before you prime.
Sand it. 100-grit, by hand or with a sanding sponge, until the shine is gone everywhere. Best grip, worst dust. In a tiny windowless bathroom the dust is a problem.
Liquid-degloss it. A deglosser (Krud Kutter Gloss-Off or Klean-Strip) wiped on, no sanding. Cleaner, faster, slightly less tooth than sanding. Fine for a backsplash, and I lean on it when the bathroom has no fan. Open a window either way.
Either one works. What does not work is doing neither. The bonding primer is good but it is not magic, and it needs a dull surface to lock into.
What You’ll Need
Paint and Primer
The primer is the whole game. Get a real bonding primer rated for glossy and tile surfaces. INSL-X Stix bites slick glaze better than anything else I have used; Zinsser Bulls Eye 1-2-3 and KILZ Adhesion are the backups. Do not use a standard PVA wall primer here. It will not stick to glaze and neither will what goes over it.
For the color coat, match the product to the zone. Dry walls and a backsplash take a hard cabinet-grade enamel: BM Advance, SW ProClassic, or Behr Urethane Alkyd. These cure to a tough film that wipes clean. For a shower surround, a tub wall, or a floor, step up to a two-part epoxy made for tile. See the best tile paint round-up for the SKU picks by zone, and the sheen guide if you are torn between satin and semi-gloss. On tile I go semi-gloss. It sheds water and shows scrubbing less.
For the prep details on the tile itself, the ceramic tile substrate guide goes deeper on glaze types and why some tile takes paint better than others.
Tools
A 2-inch angled brush for the grout lines and corners. A 4-inch foam mini-roller for the flats. Foam matters here. A nap roller leaves a stipple texture that reads wrong on smooth tile; foam lays down flat and glassy. Grab a few refills, foam tears.
Tape, painter’s caulk for cracked grout joints, a tack cloth, gloves, and glasses. If you spray or use epoxy, wear a respirator with organic-vapor cartridges. Bathroom plus solvent plus no airflow is a headache you do not want. Roller picks are in the paint roller round-up.
Step 1 — Scrub, Rinse, and Degloss
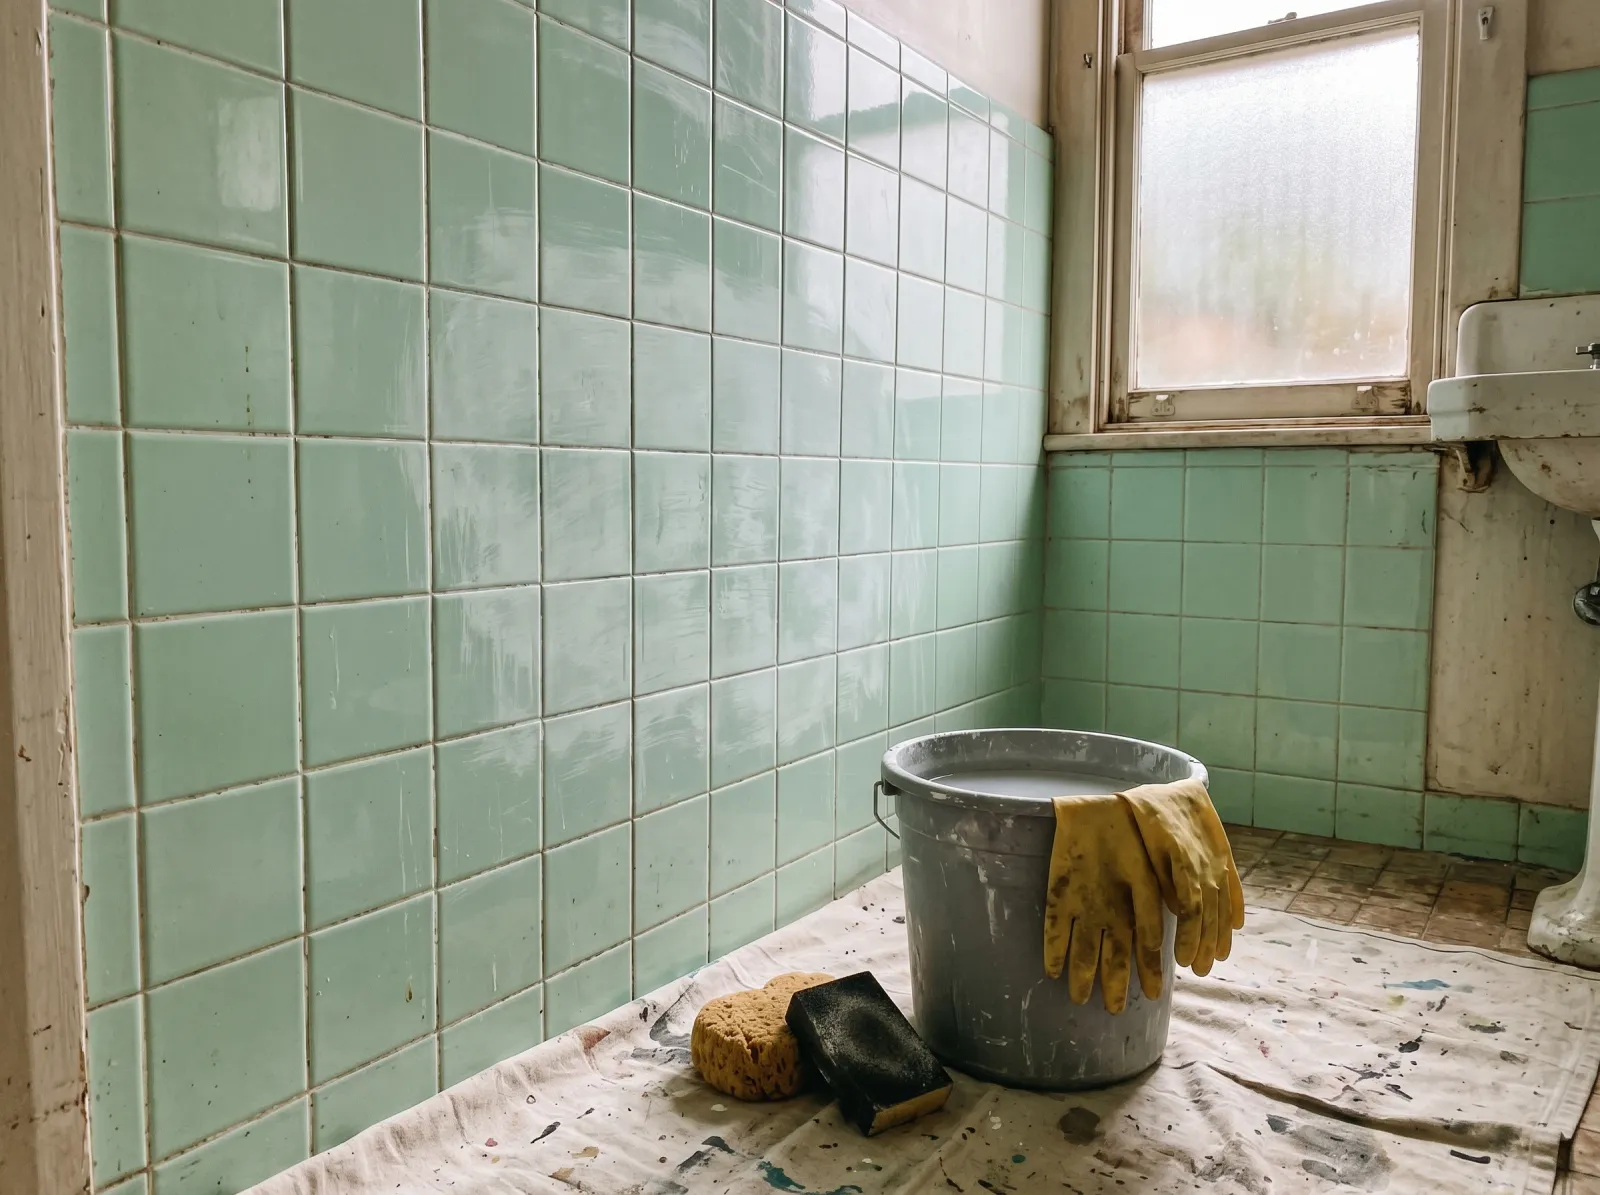
Tile washed with degreaser, rinsed, dried, then scuff-sanded so the primer has something to grab.
Bathroom tile carries a film of soap scum, body oil, and old cleaner residue. Hit every tile with TSP substitute or Krud Kutter, gloves and glasses on. Scrub the grout lines, they hold the most. Rinse with clean water and a fresh sponge, then let it dry fully.
Now dull the glaze. Sand with 100-grit until the shine is gone, or wipe on a liquid deglosser per the label. Wipe the sanding dust off with a tack cloth so nothing gets trapped under the primer.
Watch out for the grout. If any joint is cracked or crumbling, dig it out and fill it with white painter’s caulk now. Paint will not bridge a moving crack. It just splits there in a month.
Step 2 — Tape, Then Prime With a Bonding Primer
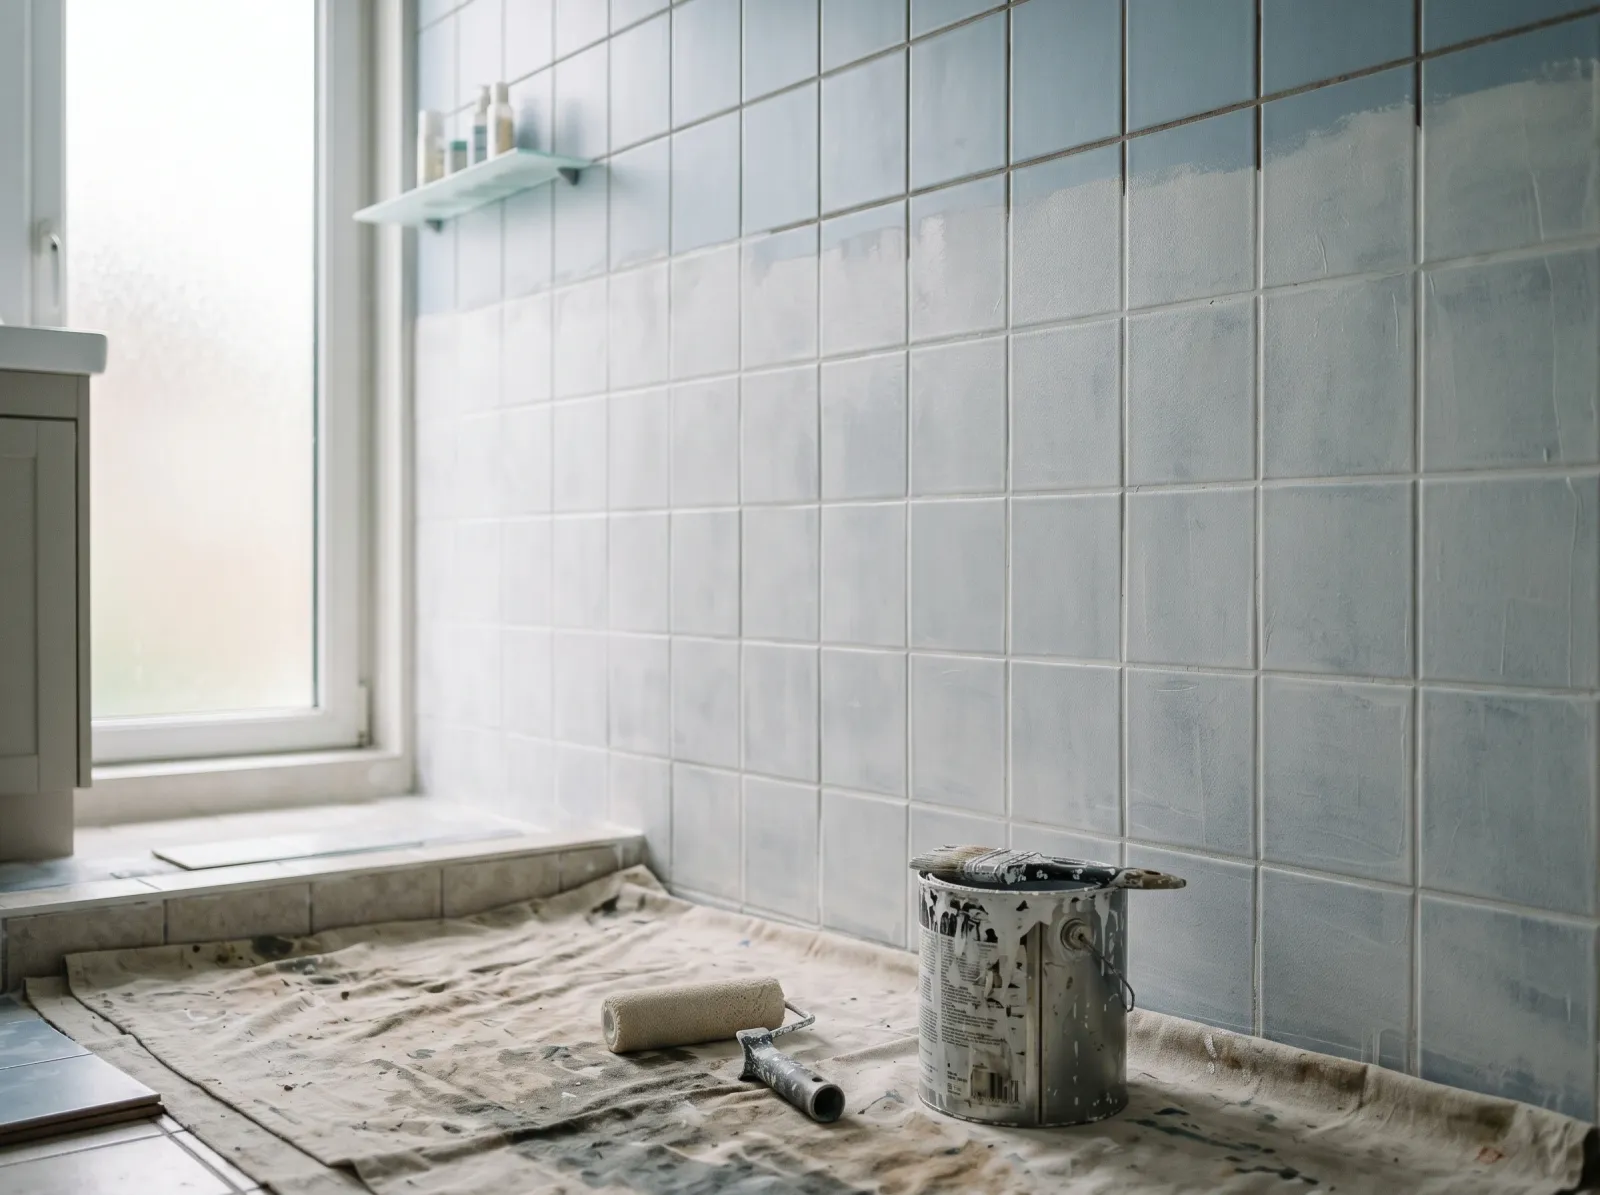
One thin even coat of bonding primer over every tile and grout line. This is the coat that makes the paint stick.
Tape off the tub edge, the fixtures, the trim, and anywhere tile meets a wall you are not painting. Press the tape down hard with a fingernail so it seals.
Cut the grout lines in with the brush first, then roll the tile faces with the foam roller. One thin even coat. Bonding primer goes on thinner than you think it should, and a thick coat stays gummy and never grips right. You want it almost translucent in spots. Let it cure the full time on the can, usually a few hours, before you touch it.
Watch out for rushing the recoat. Bonding primers need their stated dry time to develop the bite. Paint over a primer that is still soft and you have built your whole finish on a coat that never locked down.
Step 3 — First Color Coat, Thin
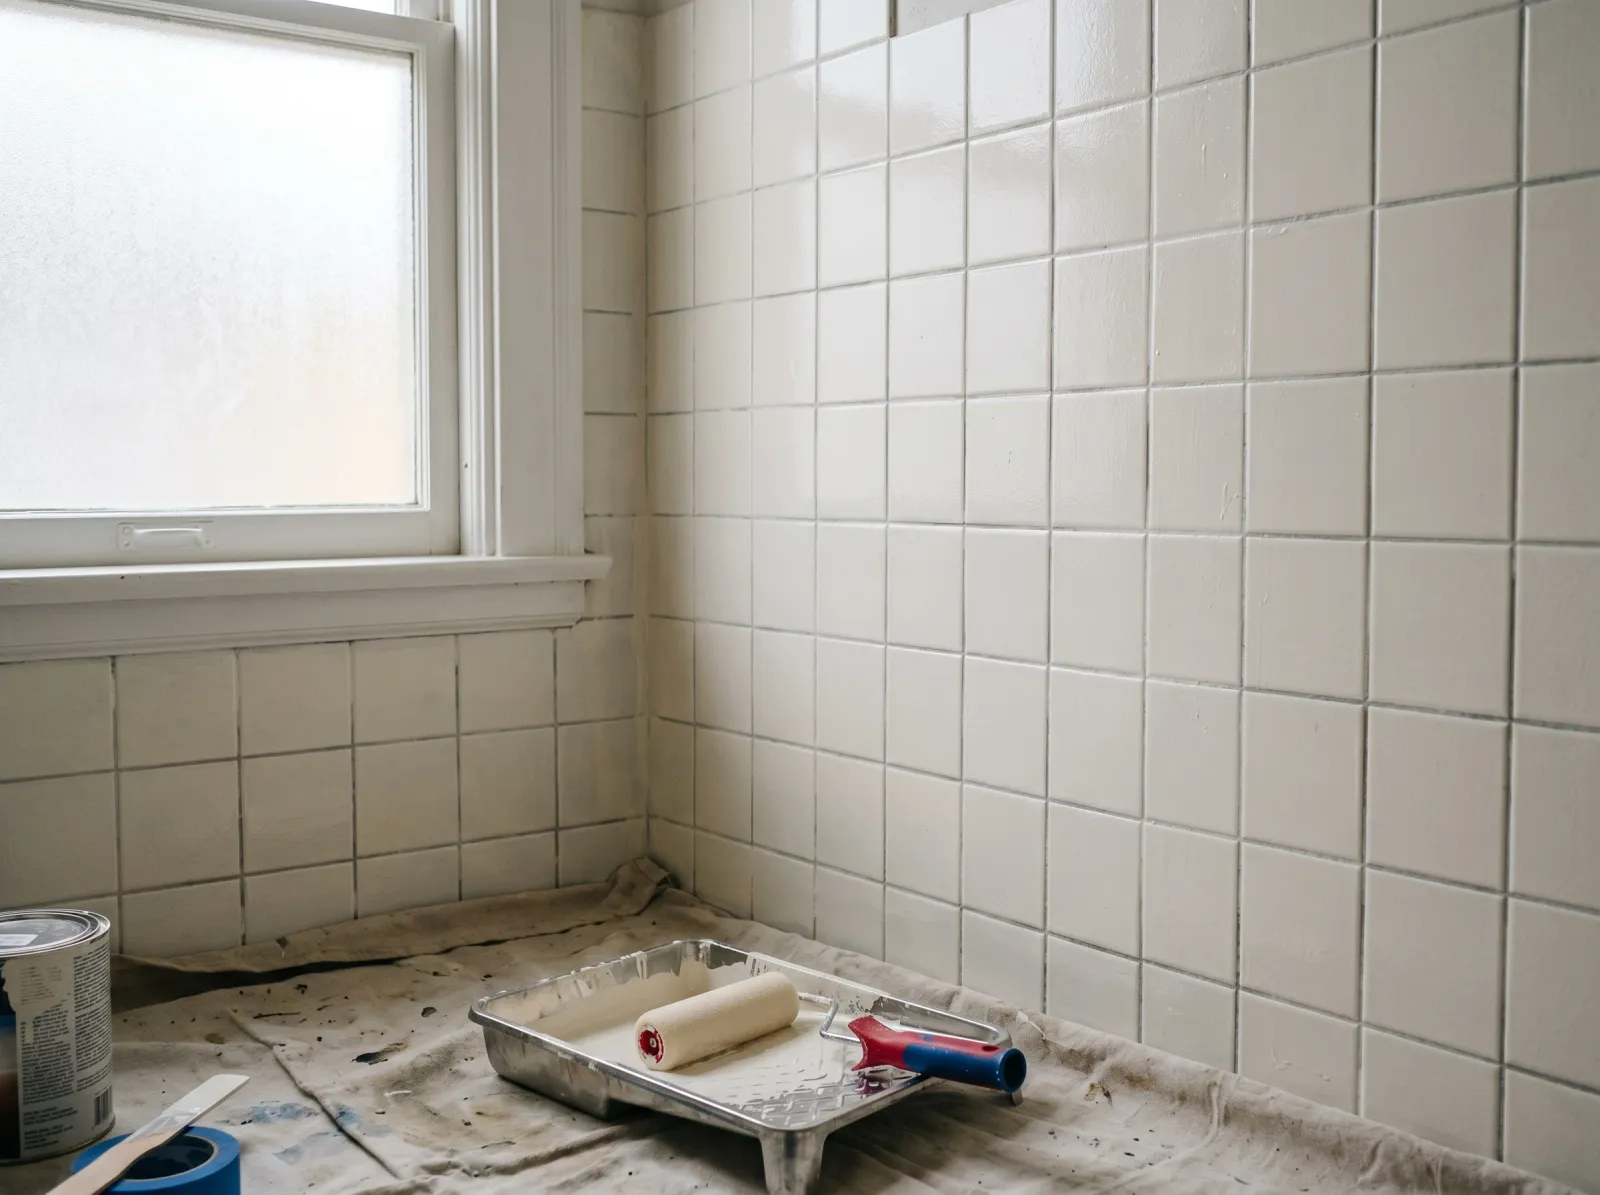
First coat of enamel rolled thin with a foam roller, grout lines cut in with a brush first.
Same order as the primer. Brush the grout lines, then foam-roll the faces. Keep it thin. Enamel and epoxy both run on a vertical tile face if you load them heavy, and a sag in a glossy finish shows forever.
The first coat will look patchy and the grout lines will still shadow through. That is normal. Do not chase it by going back over half-set paint. You will drag the film and leave roller marks. Lay it down, leave it, let it dry the recoat window on the can.
Step 4 — Second Coat Brings It Up Solid
Second thin coat brings the color up solid. No grout shadow, no roller texture.
Knock down any dust nibs or a stray sag with 220-grit, wipe with the tack cloth, then lay the second coat the same way. Cut the grout, roll the faces, thin and even. The color comes up solid and the grout shadow disappears.
Two coats. Always two coats. One coat of enamel over primer reads thin and the grout grins through under bathroom lighting. If you are running epoxy on a shower, follow the can, some want two coats and some are one heavy pass, and the mixing pot has a working time you cannot beat.
Watch out for the recoat window on a two-part epoxy. Miss it and the second coat will not chemically bond to the first. The can gives a min and a max number of hours. Stay inside it.
Step 5 — Pull the Tape, Then Wait
Tape pulled, fixtures back, the bathroom dry-cured before any water touches it.
Pull the tape while the last coat is still slightly tacky, slow, at a 45-degree angle. Wait until it is bone dry and the hard enamel film cracks along the tape edge.
Then leave it alone. This is the step everyone fails. The paint is dry to the touch in hours but it is not cured. Give wall enamel a full 7 days before any steam or splashing, and give epoxy whatever the can says. Run that shower on day two and the hot steam softens the half-set film, and it peels exactly where the water hits first.
Common Mistakes
- Painting straight over the glaze with no degloss. The film never bonds. It lifts off the slick tile in one sheet the first time something bumps it. Dull the glaze, every tile, no exceptions.
- Using regular wall paint instead of a bonding primer and enamel. Wall paint stays soft, holds water, and grows mildew in a wet room. Bonding primer plus a hard enamel, or epoxy in wet zones. Nothing softer.
- Wall enamel on a shower floor or tub surround. Standing water and daily steam chew through enamel fast. Those zones get a two-part tile epoxy, and even that is a refresh, not a lifetime job.
- Loading the coats heavy to finish faster. Thick paint sags on a vertical tile face and stays gummy in the grout valleys. Thin coats, more of them.
- Running water before the film cures. Touch dry is not cured. Seven days minimum on enamel. The whole job rides on the patience nobody has.
Cure Schedule
| Time after final coat | What’s safe |
|---|---|
| 1 hour | Pull the painter’s tape |
| 4 hours | Touch dry, do not bump it |
| 24 hours | Fixtures and accessories back |
| 3-7 days | Light use; epoxy shower per can |
| 7 days | Wall enamel takes steam and splashing |
| 30 days | Full cure, scrub with a soft cloth |
Maintenance and Touch-Ups
A painted backsplash or dry wall holds 5 to 10 years. A painted shower surround is a 3-to-5-year refresh, sooner if it is the main shower and runs hot every day. The grout lines wear first because they are the low spots and they hold water.
Clean it with a soft sponge and a mild cleaner. No abrasive pads, no bleach scrub, those dull and thin the film. For a chip, scuff the spot with 220-grit, dab on the leftover bonding primer, let it cure, then dab the enamel with a small foam piece so the texture matches. Keep a labeled half-quart of each in the cabinet.
When it does start to peel, it peels at an edge or a corner. Catch it early. Scrape the loose film back to where it still grips, feather the edge with 220-grit, re-prime that patch, and recoat. A small repair is an afternoon. Letting it run until half the wall is lifting is a full redo.
Cost Breakdown
| Item | $ |
|---|---|
| Bonding primer, 1 quart | $18-$28 |
| Enamel or tile epoxy, 1 quart | $25-$55 |
| Degreaser + deglosser | $12-$20 |
| Sandpaper, tape, caulk | $15-$20 |
| Foam roller, brush, tray | $15-$25 |
| Total | $85-$150 |
A retile on the same small bathroom runs $1,500 and up with labor. That gap is why this job exists. Just know the trade: you are buying a few years and a fresh look, not a permanent surface.