How to Paint an Attic
Painting an attic, with sloped ceilings, bare rafters, and no airflow. Every term defined inline, the ventilation rules that keep you safe, and what to do when it goes wrong.

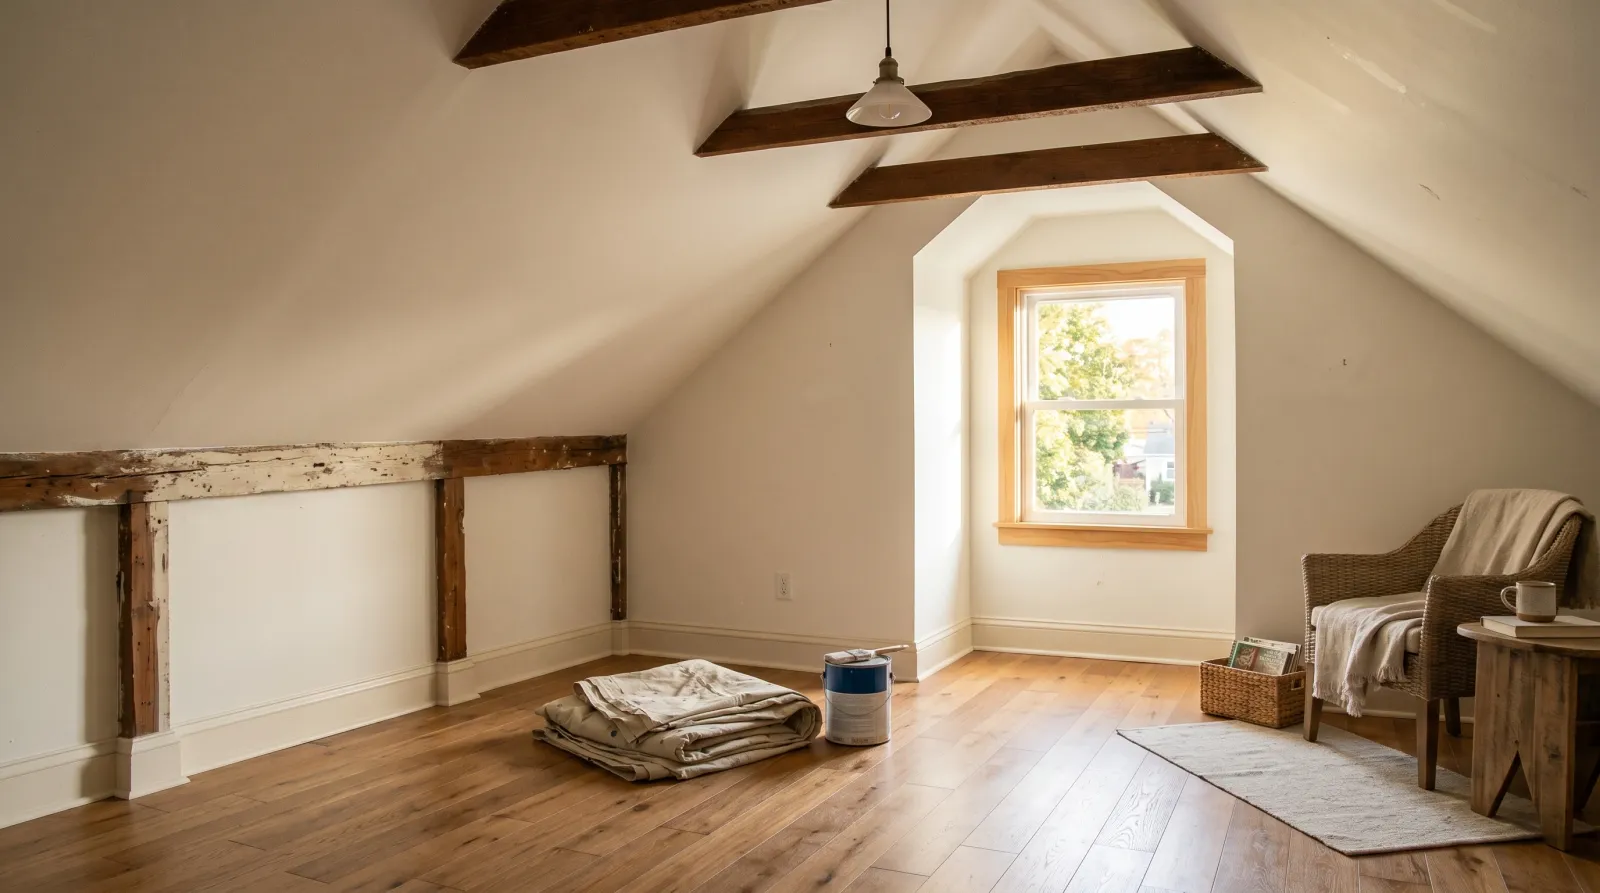
Okay, so you climbed up into the attic, looked around, and realized it could actually be a room. Or it’s already a room, but the slopes are a tired beige and the bare wood up by the peak makes the whole space feel like a crawlspace. Either way, you want to paint it. And then you noticed the ceiling comes down to meet the wall, there’s no clean corner anywhere, and it’s about fifteen degrees hotter up here than the rest of the house. Don’t worry. The attic is more awkward than it is hard.
Here’s the thing about an attic. It’s a normal paint job wrapped around two problems that don’t show up in a regular room: the angles, and the air. Sort those two out first and the painting part is the same as any wall.
TL;DR
- Paint in the morning with a box fan running. Hot still attic air ruins the finish.
- Prime bare wood, plywood, and OSB before any color, and spot-prime knots and water stains with Zinsser BIN.
- Paint the slopes, knee walls, and peak all one light color. There’s no clean corner up there to break two colors on.
- Cut in the peak and the slope joints first, then roll the slopes top to bottom on an extension pole.
- Walk only on joists in an unfinished attic. The insulation is not a floor.
What You’ll Get
A finished attic that reads as a real room instead of storage. Bright sloped ceilings, sealed knee walls (those are the short vertical walls where the roof slope meets the floor), and a space that feels a foot taller than it did. One long weekend, plus dry time.
Honest Take on Difficulty and Time
A 12-by-16 attic room takes about 14 working hours over two days. It’s a notch harder than a square bedroom, not because the painting is harder but because of the body positions. You’ll be crouched under slopes, reaching up into a peak, working around a dormer (the little box that sticks out for a window). Your neck and shoulders will feel it.
The honest version: day one is prep, ventilation setup, and priming any bare wood. Day two is two coats on everything. Add a full day of dry time before you move furniture up.
If the attic is raw rafters and OSB sheathing, add half a day. Bare wood needs priming, and priming is most of the work.
What You’ll Need
Paint and Primer
For a finished attic you’ll live in, use a 1-gallon-plus can of eggshell (a soft low-shine wall finish) or matte. Matte hides the dings and ripples in old attic drywall better; eggshell wipes cleaner if the space sees daily use. A 12-by-16 attic with slopes needs about 1.5 gallons for two coats, because the angled ceilings are more surface than the floor below them.
Primer is where the attic differs from a regular room. If your walls are bare wood, plywood, or OSB (the brown chip-board sheathing on a lot of attic walls), you need a coat of drywall primer-sealer (Zinsser Bulls Eye 1-2-3) over the whole thing. Bare wood drinks paint unevenly and lets knots bleed through. For water stains from old roof leaks, or for bare-wood knots, spot-prime with Zinsser BIN first. BIN is a shellac primer, which means it seals stains that water-based paint can’t touch.
See the best ceiling paint round-up if your attic has a true flat ceiling at the peak, and the drywall painting guide for prepping new attic drywall before any color goes on.
Tools
A 2.5-inch angled brush for cutting in. A 9-inch roller, an extension pole, a tray, painter’s tape, and canvas drop cloths. If your walls are textured or bare wood, swap the standard 3/8-inch roller sleeve for a 1/2-inch nap, which holds more paint and pushes it into the texture.
Two attic-only tools matter. A box fan in the window, running the whole time, because attic air is dead still and paint smell pools up there. And a work light, because attic lighting is always bad and you cannot see a thin spot in dim light. Roller picks live in the best paint rollers round-up.
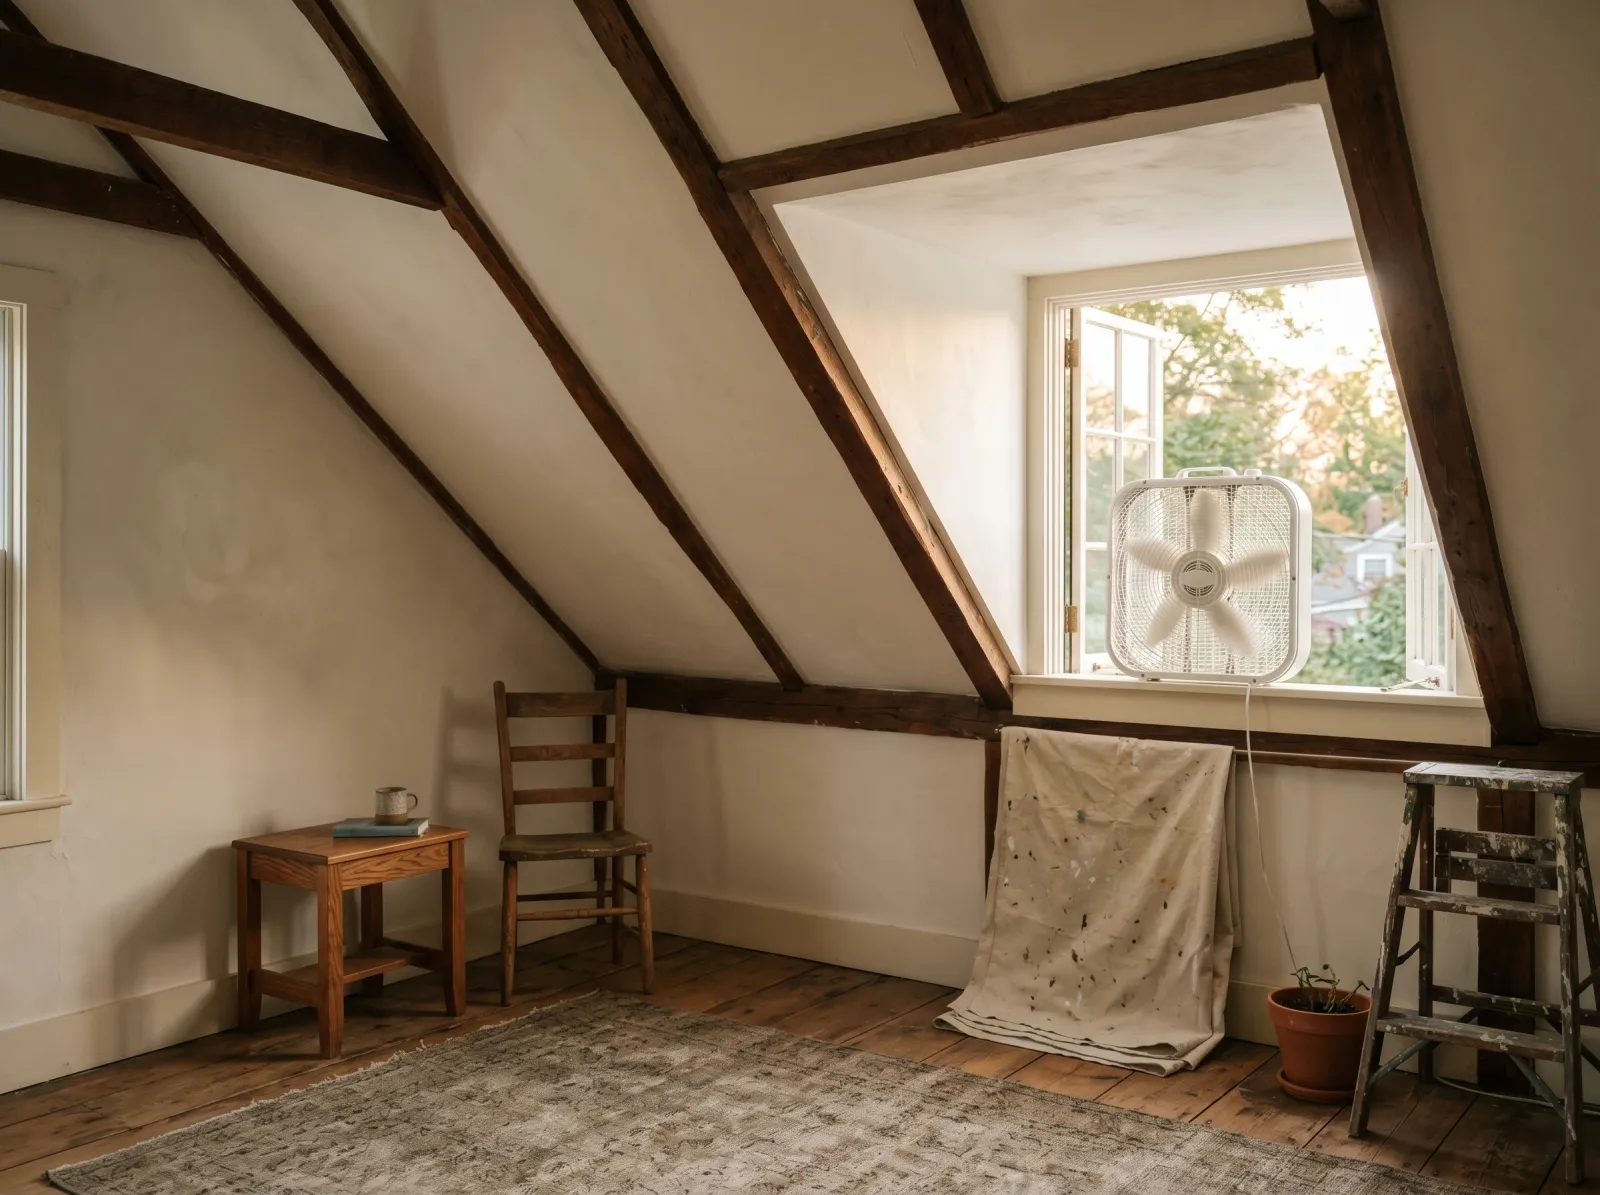
Step 1: Clear It Out and Get Air Moving
 Box fan in the window, floor covered, every nail hole and knot spotted.
Empty the attic completely if you can. Boxes, holiday bins, the exercise bike nobody uses. Whatever can’t come down gets pushed to the center and draped with a sheet. Lay canvas drop cloths over the floor. Attic floors are rarely flat or clean, and canvas grips better than plastic on rough subfloor.
Now the part people skip. Put a box fan in the window blowing out, and crack another opening if you have one, so air actually moves through. An attic with the paint can open and no airflow gets unpleasant fast.
Watch out for floor joists with no subfloor between them. Some attics are just joists and insulation. Step only on the joists or a board laid across them, never on the insulation, or your foot goes through the ceiling below.
Step 2: Patch, Spot-Prime the Trouble, Then Prime Bare Surfaces
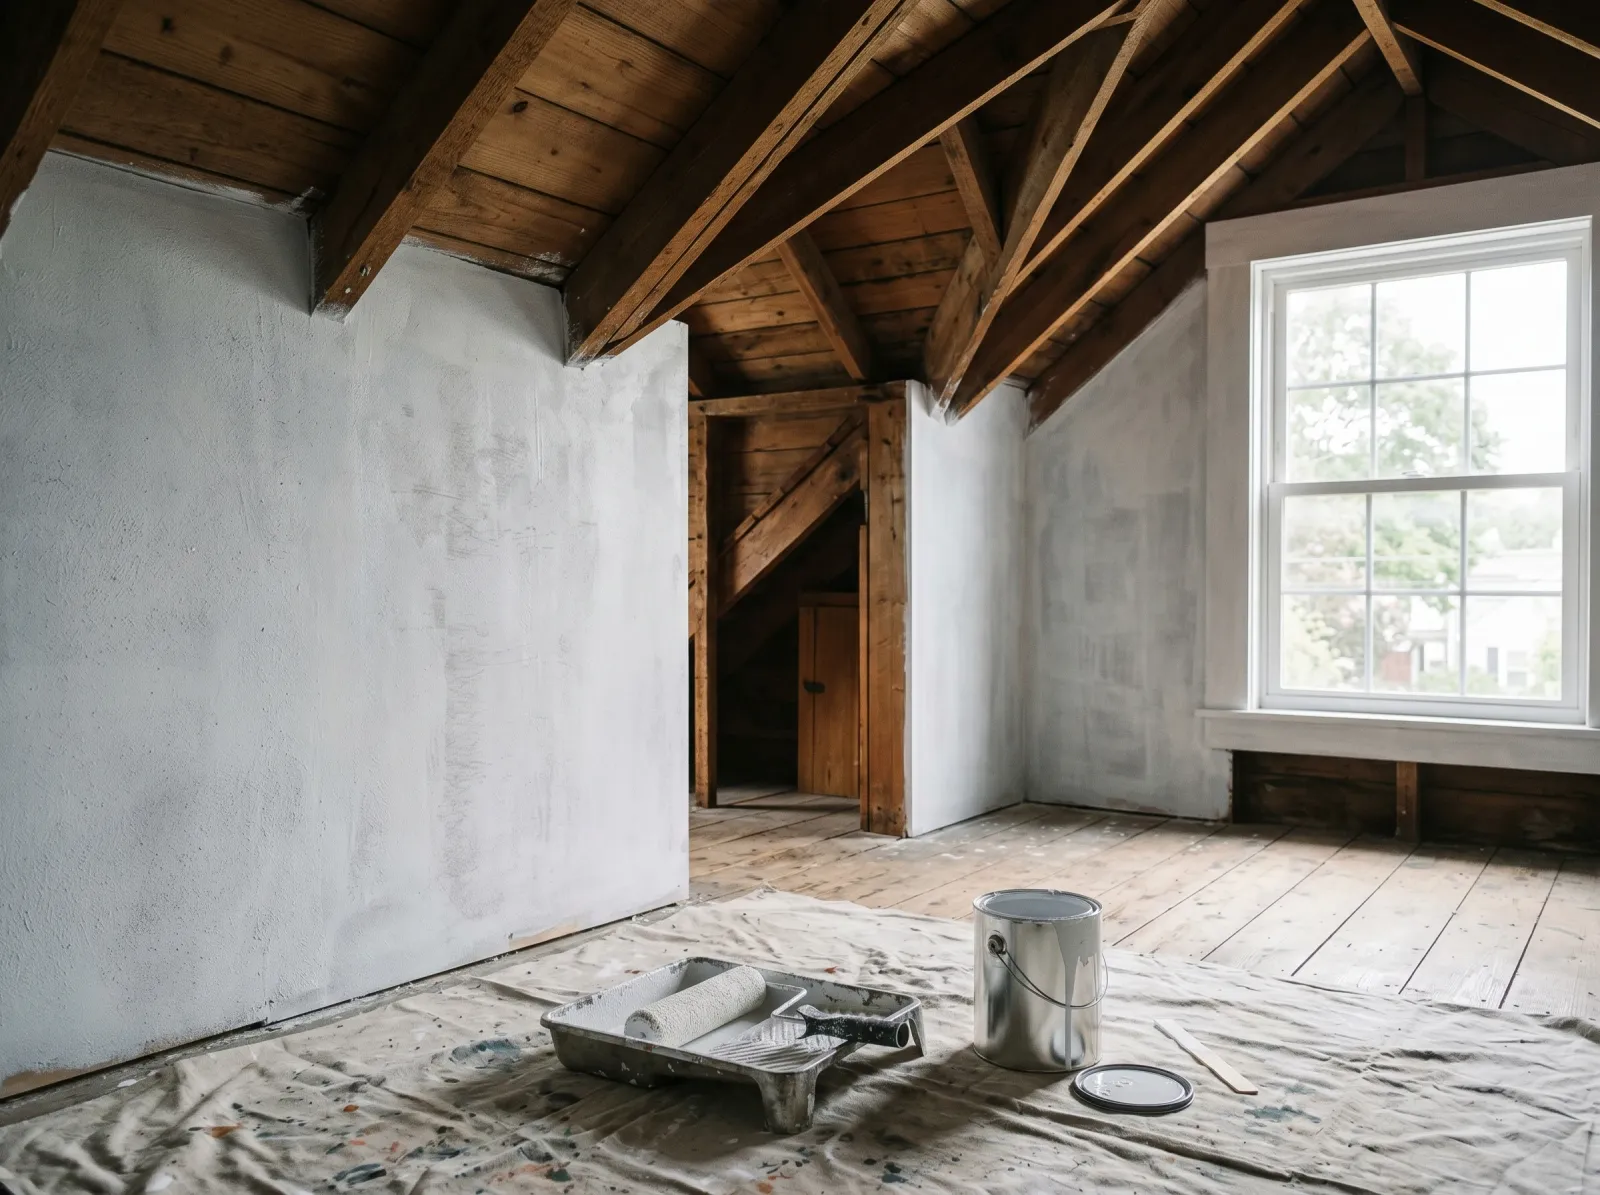 Raw rafters, knots, and any water stains sealed before color goes near them.
Find every nail hole and crack in the drywall and press spackle in with the putty knife. Let it dry, sand smooth with the 220 sponge.
Then deal with the attic-specific stuff. Any brown water stain (old roof leak) gets a coat of Zinsser BIN. Any knot in bare wood gets a dab of BIN too, because the knot will bleed brown resin up through your color otherwise. If the whole attic is bare wood or new drywall, roll a full coat of drywall primer-sealer over everything once the spot-priming is dry.
Watch out for soft or crumbly drywall near the roofline. That’s old moisture damage. Spackle won’t fix structural sag. If a patch feels spongy, the surface needs replacing, not painting. Painting over rot just hides it.
Step 3: Tape Off and Plan the Angles
Tape the floor line along the knee walls, around the window and any door, and along any trim. Press the edge down hard with your fingernail so paint doesn’t bleed under it.
Here’s the angle question every attic raises: where do you stop one color and start another? In a low sloped attic, the answer is usually you don’t. When the ceiling slopes straight down into the knee wall, there’s no clean corner to break the color on, and trying to mask a line on a slope looks fussy. Paint the slopes, the knee walls, and the peak all one light color. The room reads bigger that way. Save two colors for the rare attic with full-height walls and a real flat ceiling.
Step 4: Cut In the Tricky Joints
Attics have more inside corners than a normal room: slope-to-slope at the peak, slope-to-knee-wall, slope-to-dormer. Cut in (brush a clean band where the roller can’t reach) all of these first with the 2.5-inch angled brush. Dip the brush a third of the way, no more, because loaded brushes drip and in an attic the drip lands on your face.
Work the peak first while your arms are fresh. It’s the worst reach in the room. Then the slope-to-knee-wall joints, which you’ll do crouched.
Watch out for drips running down the slope. On a sloped ceiling, gravity pulls paint sideways and down in a way it doesn’t on a flat wall. Check your cut-in band every few minutes and brush out any sag before it sets.
Step 5: Roll the Slopes and the First Coat
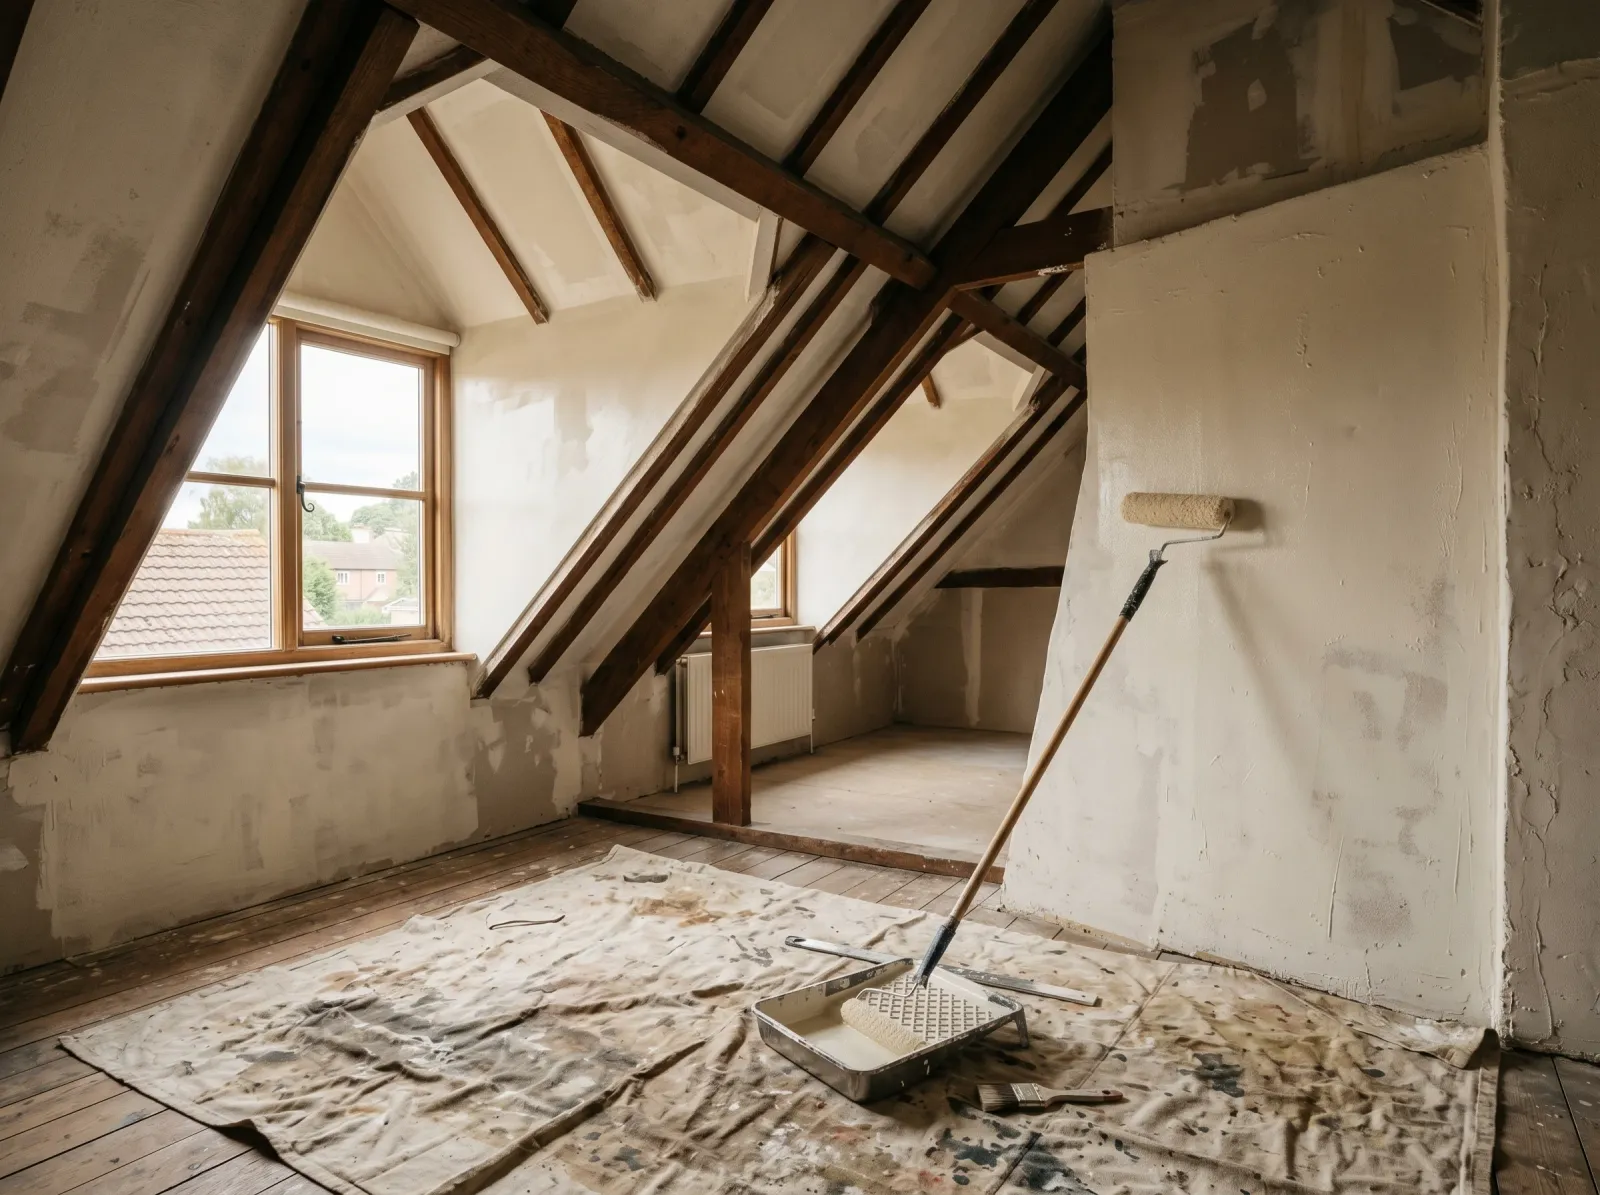 Cut in where the slopes meet, then roll the big angled planes top to bottom.
Put the roller on the extension pole. Roll the slopes top to bottom, from the peak down toward the knee wall, in the same W-shape you’d use on a wall: a big W about 3 feet wide, then fill it in. The pole does the reaching so you’re not holding your arms overhead the whole time.
Roll the knee walls last, since they’re low and easy. Keep a wet edge, meaning don’t let a section start drying before you roll the next one into it, or you’ll see the seam in side light.
One coat will look patchy. It always does, and on bare-wood-over-primer it looks especially blotchy. Don’t panic. The second coat is where the color fills in.
Step 6: Second Coat, Then Pull the Tape
 Even second coat down, fan moving air so the slow attic heat doesn’t trap solvent smell.
Wait the time on the can, usually 4 hours for water-based paint, longer if the attic is cool. Keep the fan running between coats. Then roll the second coat the same way.
Pull the tape while the last coat is still slightly tacky, not bone dry, at a 45-degree angle. Dry paint can chip along the tape edge if you wait too long.
Wash the brushes and roller under warm water until it runs clear. Leave the fan running another hour or two after you finish. Attic heat holds the smell longer than a downstairs room would.
Common Mistakes
- Painting in the afternoon heat. Attic air hits 95 degrees by noon in summer and paint dries on the roller before it levels, leaving lap marks and a sandy finish. Paint in the morning, fan running, or wait for a cooler day. This is the mistake that ruins more attic jobs than any other.
- Skipping primer on bare wood and OSB. Raw wood soaks the first coat unevenly and knots bleed through brown. You burn two extra gallons of topcoat and it still looks blotchy. Prime first, always, on bare surfaces.
- Using plain latex primer over a water stain. Water-based primer doesn’t block water stains or knot resin; the brown comes right back through. Use Zinsser BIN shellac primer on stains and knots specifically.
- Trying to mask a clean color line on a slope. There’s no flat corner up there to break a color on, and the taped line looks crooked against the angle. One light color over the whole attic looks intentional and bigger.
- Stepping off the joists. In an unfinished attic, the insulation between joists is not a floor. A foot through the insulation is a foot through the ceiling below. Walk the joists or lay a board.
Cure Schedule
| Time after the second coat | What’s safe |
|---|---|
| 1 hour | Pull the tape |
| 4 hours | Touch dry, don’t bump it |
| 24 hours | Move furniture and storage back up |
| 48 hours | Hang anything on the walls |
| 7 days | Wipe scuffs with a damp cloth |
| 30 days | Full cure, scrubbable |
Attic cure runs slower in cool weather and faster in heat, but faster-in-heat is not better. Hot fast drying is what causes the lap marks. Keep the fan moving air and let it cure on its own schedule.
Maintenance and Touch-Ups
A finished attic doesn’t take the daily abuse a hallway does, so the paint holds 8 to 10 years easily. The thing to watch isn’t wear, it’s the roof. If a brown stain shows up on the slope months later, that’s a new leak, not a paint failure. Fix the roof first, then spot-prime the stain with BIN and dab on your leftover color. Painting over an active leak just buys you a week.
Keep a labeled quart in the basement. Attic touch-ups are rare but the color is impossible to match by eye after a few years of dust.
Cost Breakdown
| Item | $ |
|---|---|
| Wall paint, 1.5 gallons eggshell | $75 |
| Drywall primer-sealer, 1 gallon | $35 |
| Zinsser BIN, 1 quart (stains and knots) | $20 |
| Roller, brush, tray, sleeves | $35 |
| Tape, drop cloths, spackle | $30 |
| Total | $195 |
Numbers are mid-tier paint. A finished attic with drywall already painted skips the primer line and runs closer to $140. A bare-wood attic that needs a full prime coat everywhere lands nearer $280.