How to Paint Over Oil-Based Paint, With or Without Sanding
Test the surface with denatured alcohol first. If it is oil, you have two safe routes — a bonding primer with no sanding, or a scuff-sand and prime. Here is the chemistry behind both.

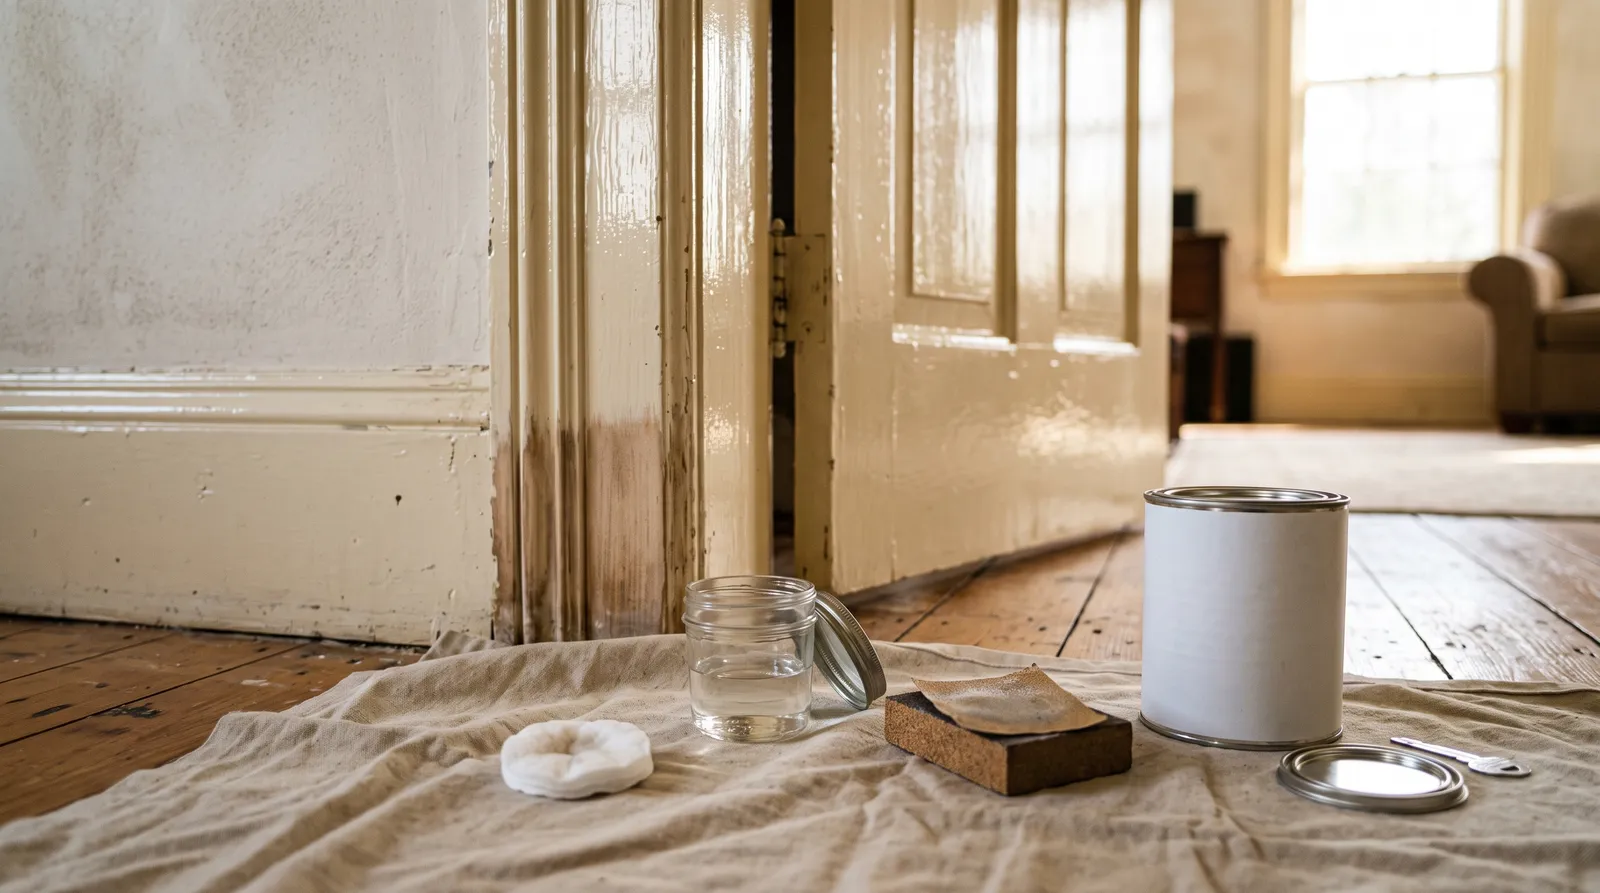
If the trim in your house is old, glossy, and rock-hard, it is probably oil-based paint, and rolling latex straight over it is the single most reliable way to make new paint peel. You have two working routes: prime it with a bonding primer and skip sanding entirely, or scuff-sand it to 180 grit and prime with almost anything. Both are fine. What is not fine is treating the surface like ordinary painted trim.
Before either route, you need to know what you are actually standing in front of. Most people guess by age and sheen. There is a better test, and it takes 30 seconds.
The Alcohol Test
Get a bottle of denatured alcohol (paint aisle, sometimes labeled methylated spirits) and a white cotton pad or a piece of old white T-shirt. Pick a hidden spot — the inside edge of a door, behind a hinge, low on a baseboard. Wipe it clean of dust first. Then soak the pad, press it to the surface, and rub for about 30 seconds with firm pressure.
Color comes off on the pad, surface feels tacky or gummy → latex. The alcohol partially redissolves the acrylic binder, which is a thermoplastic film — the particles fused together but never chemically cross-linked, so a strong solvent can still soften them apart.
Pad stays clean, surface stays hard and glossy → oil-based (alkyd). An alkyd cures by oxidation. Oxygen from the air cross-links the resin’s fatty acid chains into a permanent three-dimensional network. Once that reaction has run, alcohol has nothing to grab. That is also why the film is so hard and so unforgiving to paint over.
A few notes on reading the result. Test in more than one place — a door casing and a baseboard in the same room are often different vintages, and someone may have already put latex over oil in one spot and not the other. If the pad picks up a faint yellow-brown tint but the surface stays hard, that is usually old dirt or nicotine, not softened binder. And if you get an ambiguous result, treat it as oil. The prep for oil works fine over latex; the reverse is not true.
Two Backup Tests
Acetone or lacquer thinner. Same procedure, stronger solvent. Latex will soften noticeably and often wrinkle. Alkyd may dull slightly but will not come away on the rag. Use this when the alcohol test is inconclusive.
The sanding-dust test. Take 220-grit and rub a small patch. Latex tends to gum up and roll into little rubbery balls on the paper. Cured alkyd powders into a fine chalky dust and the paper stays clean. Do not use this one on pre-1978 trim.
Age is a weak clue, but a real one. Oil-based enamel was the default for interior trim and doors in North America until roughly the 1980s, and hung on in some markets well into the 1990s. Yellowed white trim is another hint — alkyd resins amber over time in low light, which is why the inside of a closet door is often two shades warmer than the outside face.
Why Latex Peels Off Oil in the First Place
This is worth understanding, because it explains why both fixes work.
Adhesion between two paint layers comes from three things: mechanical keying into surface roughness, chemical or polar attraction between the two films, and wetting — whether the wet paint spreads out and makes intimate contact instead of beading up.
A cured alkyd enamel, especially a semi-gloss or gloss one, is hostile on all three counts.
It is smooth. Gloss is literally a description of surface flatness at the microscopic scale; a high-gloss film has almost no profile for a new coat to key into.
It is non-porous. The cross-linked network is dense. Nothing soaks in. Compare that to bare drywall paper or weathered wood, where a primer can physically anchor itself in the substrate’s pore structure.
And its surface energy is low. Cured alkyd surfaces are fatty in the chemical sense — the outward-facing part of the film is dominated by long non-polar hydrocarbon chains. Waterborne latex is a polar system. Polar liquid on a non-polar solid does what water does on a waxed car: it pulls into itself rather than spreading out. Even when it looks like it covered fine, the actual contact area at the interface is far smaller than it appears.
So the latex film forms above the alkyd rather than with it. It is a strong film — that is the frustrating part. It has real cohesive strength, which is exactly why it comes off in long intact sheets when something catches an edge. If it were weak it would just wear away. Instead you get the classic failure: a door that looks perfect for four months, then a fingernail catches the latch edge and lifts a strip the length of the stile.
The bonding primer explainer goes deeper into the resin chemistry that solves this. The short version follows.
Route 1: Bonding Primer, No Sanding
This is the route most people want, and it is legitimate — not a shortcut, just a different way of solving the same adhesion problem. Instead of creating mechanical profile with abrasive, you use a primer whose resin is engineered to wet and grip low-energy surfaces chemically.
Step 1 — clean it properly. This is the step people skip, and it is the step that decides whether the whole job holds. A bonding primer bonds to whatever is on the surface. If that is kitchen grease, furniture polish, silicone, or hand oil from a decade of use, the primer bonds to the contaminant and the contaminant lets go. Wash with a degreasing cleaner — TSP substitute, or a strong dish soap solution — then rinse with clean water and let it dry fully. On kitchen cabinets, wash twice.
Step 2 — pick a bonding primer, not a general-purpose one. These are the products actually rated for glossy alkyd with no sanding:
| Primer | Chemistry | Recoat | Notes |
|---|---|---|---|
| Insl-X Stix | Waterborne urethane-acrylic | ~3–4 hr | The reference product; also handles melamine, PVC, tile |
| Sherwin-Williams Extreme Bond | Waterborne acrylic-urethane | ~1 hr | Very similar performance; sold at SW stores |
| KILZ Adhesion | Waterborne modified acrylic | ~1 hr | Widely stocked at Home Depot; good value |
| Zinsser B-I-N | Shellac in alcohol | ~45 min | Grips almost anything and blocks stains; brittle, strong smell |
A standard drywall primer will not do this job. It has the same wetting problem the latex does, plus less film strength. If the can does not say bonding, adhesion, or glossy surfaces without sanding on the label, put it back.
Step 3 — one full wet coat, not two starved ones. Adhesion develops while the film is wet and in contact with the substrate. A skimpy coat that you spread too far starves the interface. Roll or brush it on at the spread rate the label gives, resist the urge to overwork it, and let it flow out.
Step 4 — respect the recoat window and the cure window. These are two different numbers. Recoat time is when you can put the next coat on. Cure is when the bond reaches full strength, and for waterborne bonding primers that takes days, not hours. Do not test a freshly painted door by picking at it. Do not reinstall cabinet doors and start slamming them the same evening.
Step 5 — topcoat with what you like. Once a bonding primer is down, the surface behaves like an ordinary primed surface. Any quality interior latex, acrylic enamel, or waterborne alkyd will hold on it.
Where the No-Sand Route Is the Right Call
Pre-1978 homes where the paint may contain lead — sanding creates the hazard, priming does not. Detailed millwork, spindles, and carved doors where sanding into every profile is impractical. Rentals and quick turnarounds. And any job where dust control matters more than the last 10% of adhesion margin.
Route 2: Scuff-Sand and Prime
Mechanical prep is still the strongest option when it is safe to do.
Use 180 to 220 grit. You are not stripping. The goal is to knock the sheen off uniformly so the surface reads dull matte from every angle — hold a light low and look across the surface for shiny holidays, because those are exactly where the new film will let go first. A sanding sponge follows profiles better than flat paper on molded trim.
Then vacuum with a brush attachment and wipe with a damp cloth or a microfiber tack rag. Sanding dust is a bond-breaker in its own right; a beautifully sanded surface with dust left on it fails like an unsanded one.
After a proper scuff you have more freedom in primer choice. A quality water-based general-purpose primer such as Zinsser Bulls Eye 1-2-3 will hold on a dulled alkyd. That said, on doors, cabinets, and any surface that gets touched, I would still use a bonding primer. Sanding plus bonding primer is belt and suspenders, and it is what I do on cabinet work where the failure mode is expensive.
Liquid Deglosser as a Middle Path
Liquid deglosser (sometimes sold as liquid sandpaper) uses solvents to soften and clean the top few microns of an old alkyd film. It removes contamination well and slightly raises surface receptivity. What it does not do is create real profile, and it does nothing at all for a modern hard enamel. Treat it as a cleaning step that helps, not as a replacement for either sanding or bonding primer. There is a longer breakdown in deglosser vs sanding.
Route 3: Skip the Primer Question With a Waterborne Alkyd
There is a third option worth knowing about, especially for trim and doors.
Waterborne alkyds are hybrids — alkyd resin dispersed in water. You get the flow, leveling, and hard cured film of oil-based enamel with soap-and-water cleanup and low odor. Benjamin Moore Advance, Sherwin-Williams Emerald Urethane Trim Enamel, and PPG Break-Through are the common ones.
Here is the honest limitation: a waterborne alkyd is still a waterborne coating going onto a slick low-energy surface. It is more tolerant of old oil than a straight latex, but the manufacturers still specify a scuff and a bonding primer over glossy alkyd. What it buys you is a topcoat that matches the old work’s look and hardness, so your repainted trim does not read as a downgrade next to the rooms you have not done yet. If you like the way old oil trim feels under your hand, this is how you keep that. More on the trade-offs in waterborne alkyd vs traditional alkyd and the broader oil vs water-based comparison.
You can also simply use oil over oil — chemically the easiest path, since fresh alkyd wets cured alkyd well and only needs a scuff and a clean surface. In several US states, though, oil-based architectural paint is now restricted or unavailable in the sheens you want.
Common Mistakes
- Skipping the wash because the surface “looks clean.” Invisible oils are the number one cause of bonding-primer failure. Degrease everything you touch with your hands.
- Using a self-priming paint as the primer. Self-priming means the finish paint carries enough binder to seal a normal wall. It says nothing about grip on cured alkyd.
- Sanding to 320 or finer. Too fine and you polish the surface instead of profiling it. Stop at 180–220.
- Topcoating a bonding primer too soon. Trapping solvent or water under a finish coat weakens the very interface you built.
- Dry-sanding pre-1978 trim. Assume lead until a swab test says otherwise, and take the no-sand route instead.
- Priming one coat over a still-glossy, unwashed door and calling it prepped. Bonding primer forgives a lot, but it does not forgive contamination.
The Short Version
Wipe a hidden spot with denatured alcohol. Clean pad and hard surface means oil. From there, wash it, then either scuff to 180 grit and prime, or skip the sandpaper and use a real bonding primer — Stix, Extreme Bond, KILZ Adhesion, or B-I-N. Let the primer reach its recoat time, topcoat with what you actually want to live with, and give the film a week before you treat it roughly.
The old alkyd under there is not the problem. It is a perfectly good film that simply has nothing on its surface for a waterborne coat to hold. Give the new paint something to hold, and it holds for decades.
Ask a Question