How to Open a Paint Can Without Wrecking the Lid
Use a paint can opener — hook it under the lid rim, lever up, move about 2 inches, repeat all the way around. Here is the full method, plus stuck lids, 5-gallon buckets, and how to reseal so it opens easily next time.

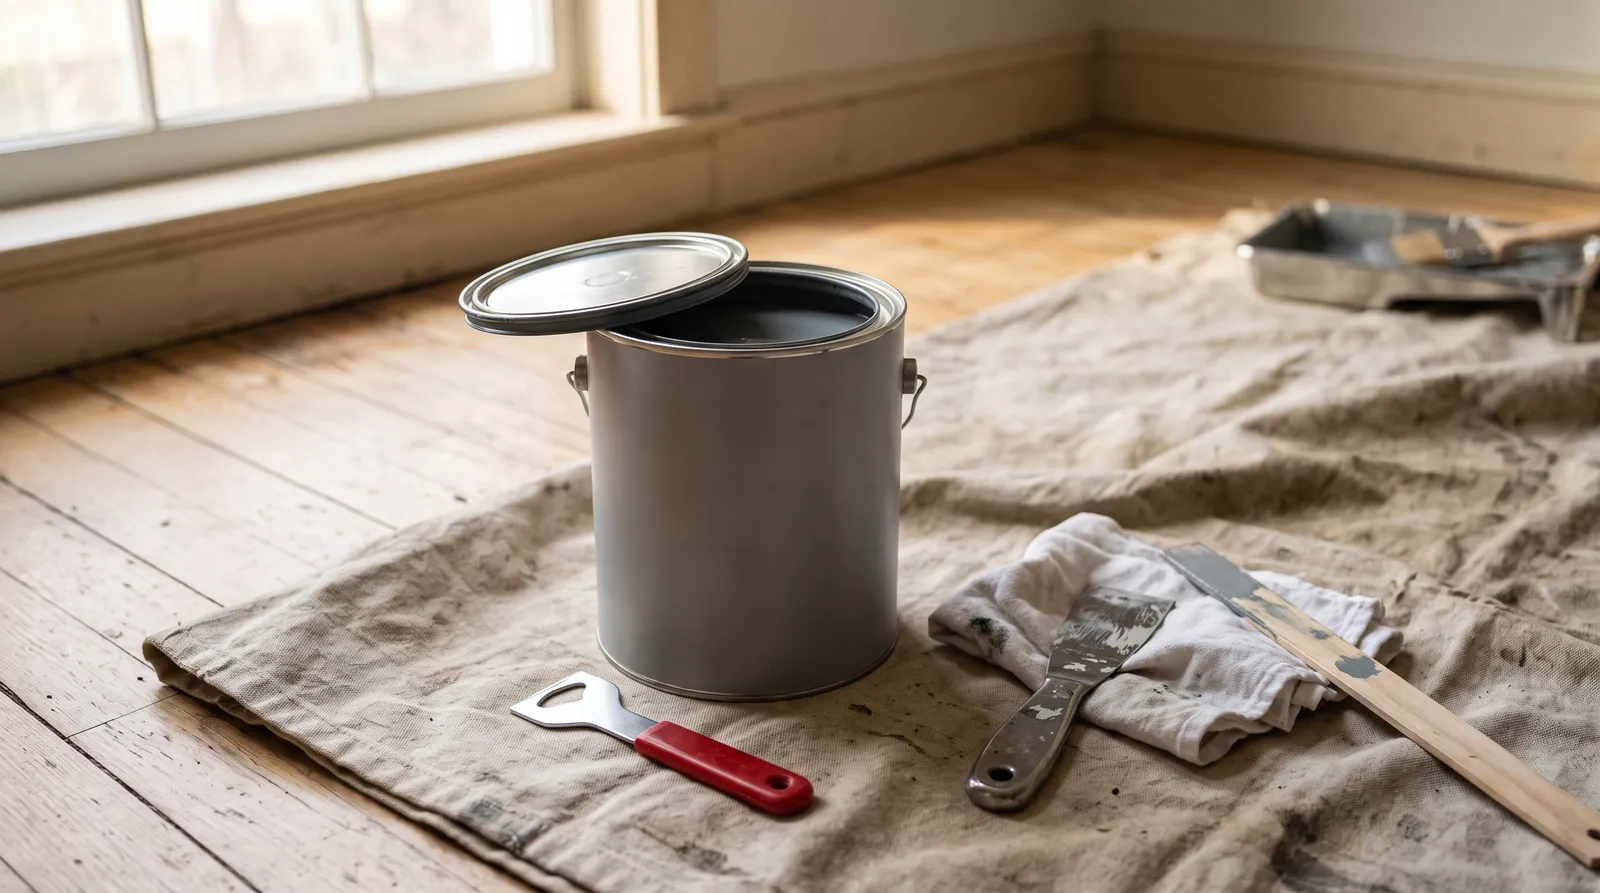
Use a paint can opener. Hook the curved end under the lip of the lid, press down on the handle so the lid pops up a little, then move about 2 inches around the can and do it again — and again, all the way around until the lid lifts off flat. That is the entire method, and the part everyone skips is the “all the way around” bit.
Okay, so here is the thing about paint cans. The lid is not screwed on, and it is not just resting there either. It is a friction fit — a shallow metal channel around the top of the can, and a lid pressed into it hard enough to make an airtight seal. That seal is what keeps the paint from drying out. If you pry the lid up in one spot with all your strength, you win, but you also bend the soft metal rim, and now the can will never seal properly again. Six months later the leftover paint has a rubbery skin on it and you are buying another gallon for touch-ups.
Small steps all the way around. That is the whole secret.
The Right Tool (It Costs About a Dollar)
A paint can opener is the flat metal hook they usually hand you free at the paint counter. Ask for one. It is thin, it is wide, and the width is the point — it spreads the prying force across a longer piece of the rim so nothing bends.
The upgrade is a 5-in-1 painter’s tool (sometimes called a painter’s multi-tool). It is a stainless blade with a curved notch cut into one side, and it does five jobs: scraping, spreading filler, cleaning a roller, pulling nails, and opening cans. If you are painting a room, this is the one tool worth buying before you start. Hyde and Red Devil both make good ones for under $10. More on the whole category in our 5-in-1 tool guide.
What not to use. A flathead screwdriver is the classic wrong answer. The tip is narrow and thick, so every bit of force lands on about a quarter-inch of rim and that rim folds. A sharp kitchen knife is worse — it slips, and your other hand is holding the can. If you truly have nothing else, a butter knife with a rounded tip and a lot of patience beats a screwdriver.
Opening a 1-Gallon Can, Step by Step
- Set the can on the floor, not a table. You want to be above it, pressing down. On a table you are pushing sideways and it wobbles.
- Wipe the top. If there is dust or dried drips in the groove, brush them off now. Anything sitting in that channel ends up in your paint.
- Hook the opener under the lid lip. Slide the curved end under the edge that sticks out past the can. What this looks like: the tool is angled down toward the floor, the hook is under the lid, and the can rim is acting like the fulcrum of a see-saw.
- Press the handle down, gently. The lid should lift maybe an eighth of an inch with a small pop. If you are straining, you are prying too far in one spot — back off.
- Move about 2 inches clockwise and repeat. Six to eight passes takes you around a gallon can.
- Go around a second time if needed. After one lap the lid is usually loose enough to lift with your fingers. If it is not, do another lap. Don’t force it on lap one.
- Lift the lid straight up and set it face-up on a rag. Face-up, always. Face-down glues it to whatever it is sitting on.
Quart cans work exactly the same way, but the rim is thinner and bends more easily, so use even smaller steps — an inch at a time, four or five passes.
Five-Gallon Buckets Are a Different Animal
There is no metal rim and no opener involved here, which throws people.
Plastic pails — which is almost all 5-gallon paint now — have a snap-on lid with a molded pull tab on one side. Pull that tab up and outward and the lid unhooks in that spot. Then hook your fingers under the lip and walk it around the rim, popping it loose section by section. Same principle as a gallon can: go around, don’t yank one side.
Some pails add a thin plastic tamper ring around the bottom edge of the lid. It has its own tab. Tear that off first or the lid physically cannot come up.
Metal pails with a wire lever-lock band are the other style. Flip the lever, unhook the wire, lift the band off, and the lid comes straight up with no prying at all.
If you are pouring from a 5-gallon bucket at all, do yourself a favor and use a bucket grid or a pour spout instead of tipping it — a full one weighs around 55 pounds. See our pour spouts and can accessories round-up.
Stuck, Crusted, and Rusted Lids
A lid that will not budge is almost always glued shut by dried paint in the groove, not by the seal itself.
Break the crust first. Run the sharp edge of your 5-in-1 tool around the seam where the lid meets the can, like you are cutting the edge of a pie. You are slicing the dried film, not prying. Then start your normal lap around the lid.
Add heat if that fails. Soak a rag in hot tap water, wring it out, and drape it over the lid for five minutes. The warmth softens the dried paint and the metal expands a hair. Re-cut the seam and try again. No heat gun, no torch — you are standing over an open container of flammable solvent.
Tap the rim. Hold a scrap of wood against the side of the lid rim and tap it with a hammer, or use a rubber mallet directly. Go around the whole lid. The little shocks break the bond. Tapping down on top of the lid also works and is safer than prying, because it re-seats the lid before it loosens.
Rust is the hard case. If the can is rusted through at the rim, whatever is inside probably has rust flakes in it. Open it outside, look at the paint, and if you see orange specks or the paint smells sour, that gallon is done. If it still looks and smells like paint, strain it through a mesh paint strainer before you use it.
And if you are opening something that has been in the garage for years, glance at our guide on how long leftover paint lasts before you spend an afternoon on it.
Closing It So It Opens Easily Next Time
This is the step that saves you the whole stuck-lid section above.
- Clean the groove. Wipe the channel around the top of the can with a rag or your fingertip. Paint sitting in there dries into a hard ridge that holds the lid up.
- Lay plastic wrap over the opening. One square, draped across the top. It stops the lid welding itself to the rim and it improves the seal.
- Set the lid on and tap around the edge. Rubber mallet, or a hammer with a scrap of wood in between. Work around the perimeter in small taps.
- Never hammer the middle of the lid. The center dents inward, the edges lift, and you have just made a can that leaks air. This is the single most common way people ruin a lid.
- Store it upside down if the seal is good. The paint itself forms a barrier against the trapped air. Only do this if you are confident the lid is seated — otherwise, obviously, you have a puddle.
Just Decant It
Honestly, the easiest way to protect a can is to stop working out of it.
Pour what you need into a roller tray or a small handled pail — a quart or two at a time — and close the can back up. Three things get better immediately. The rim stays clean, so the lid still seals. The rest of the paint is not sitting open all afternoon growing a skin. And you are not dripping down the outside of a can you have to carry.
If you are working from more than one can of the same color, pour them all into one big bucket and stir before you start. That is called boxing paint, and it evens out any small tint differences between cans so you don’t get a visible seam halfway down a wall.
For storing the leftovers long-term, a sealed plastic container beats the original can — our paint storage containers guide covers the ones worth owning.
If It Goes Wrong
Bent the rim? Don’t panic. Squeeze the bent section back down with pliers as best you can, then use the plastic wrap trick when you close it — the wrap fills small gaps surprisingly well. If the lid is badly folded, pour the paint into a clean sealable container and label it with the color name, the brand, and the room. You will want all three in a year.
And if the lid comes flying off and paint goes everywhere, that happens to everyone once. Wet latex comes up with warm water and a rag if you get to it fast.
Ask a Question