Best Paint Can Pour Spouts and Accessories
Six paint can pour spouts, hand pails, and lid tools tested across a full house repaint. Top pick: the Hyde 1-Gallon Pour Spout, plus where each one falls short.

Disclosure: Some links below are affiliate links. We earn a commission if you buy through them, at no extra cost to you.
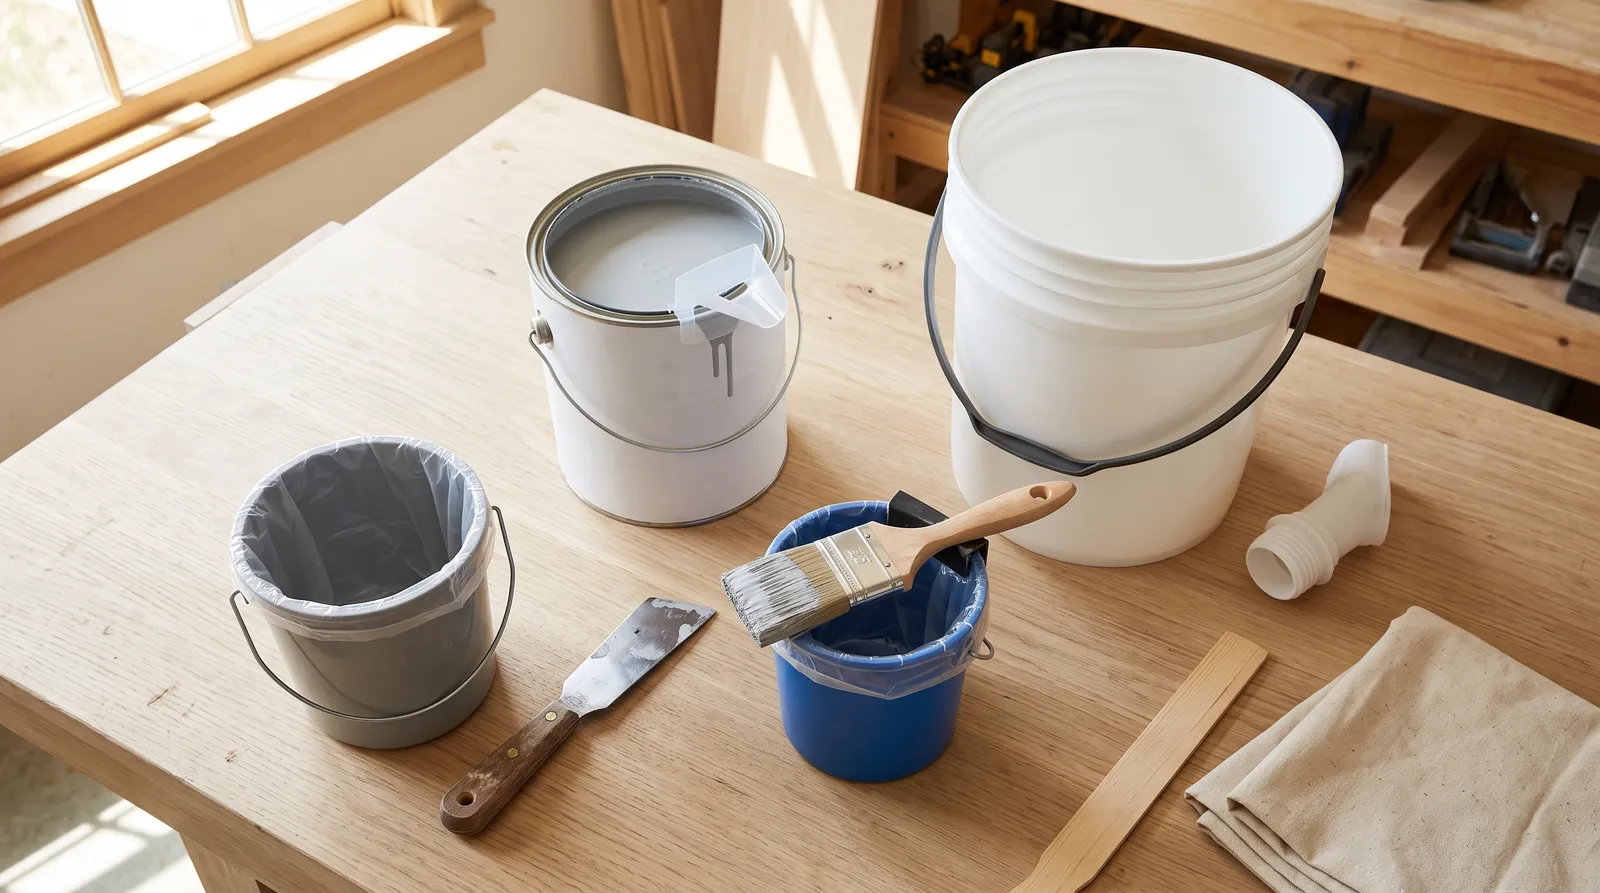
Top pick: the Hyde 1-Gallon Pour Spout, about five dollars. It clips into the chime of a standard round gallon can, gives the paint a defined lip to break from, and keeps the rim groove dry so the lid still seals on the tenth pour. It wins on the only thing a paint can pour spout is asked to do. It falls short on 5-gallon pails, where you want the Hyde 5-Gallon Pour Spout instead, a two-dollar screw-in that threads into the bucket’s tint-plug port. If you would rather not pour at all, the Wooster Pelican is the hand pail I used every cut-in day of this test. For whole-house roller work, the Wooster Wide Boy. For a cheaper cut pail with better grip options, the Purdy Pail with liners. And the Purdy Contractor 5-in-1 is what opens the can without folding the lid edge.
Five dollars of plastic protects more floor than most tools at that price.
What I Ran These Through
One full-house interior repaint, three weeks, eleven gallons. Walls in Benjamin Moore Regal Select eggshell, trim and six doors in Sherwin-Williams ProClassic waterborne enamel, ceilings out of a 5-gallon pail of flat. Every accessory in this round-up did real work on that job rather than sitting on a bench for a photo.
The pour test was deliberately dull. Bench at waist height, cardboard target marked underneath, five transfers per accessory at normal working speed. I counted drips running down the outside of the can and looked at the rim groove after each one. Then I hammered the lid home after the fifth pour, walked away for 72 hours, and came back to see whether the paint had skinned at the rim and whether the lid lifted by hand.
Hand pails were scored on an actual cut-in day. Two bedrooms and a hallway, ceiling line and baseboard, logged by refills, dropped brushes, and how long a color change took. The Wide Boy ran a two-day ceiling and wall job with a liner in it. The 5-in-1 got judged on ten open-and-close cycles on the same can.
Nothing was measured with an instrument. Everything was counted, timed, or photographed.
Why a Bare Gallon Can Dribbles
The failure is geometry, not technique.
A paint can has no lip. The rim is a flat rolled edge with a groove behind it, and that groove — the chime — is the sealing surface for the lid. When you tip the can, paint has nothing to break away from. Surface tension holds it against the metal, so it curls under the rim, runs down the label, and pools in the chime on the way.
That pooled paint is the real damage. A dribble on the side of a can is cosmetic. Paint sitting in the chime dries into a gasket of the wrong shape, and the next time you hammer the lid on, it seats at an angle. Air gets in. Three weeks later you open a gallon you paid $70 for and find a quarter-inch of rubber skin on top and a ring of dried film around the edge.
I have thrown away more paint to bad rims than to bad storage temperature.
A pour spout fixes both problems in one part. It bridges the chime so nothing pools there, and it extends a lip past the can body so the paint breaks clean instead of curling back. That is the whole mechanism. There is nothing clever in it, which is why the good ones cost five dollars and the expensive ones are not better.
Spout, Pail, or Bucket
Three different problems get solved by three different things, and buying the wrong one is the common mistake.
You are decanting a gallon into a pail or a tray. That is a pour spout job. Clip-on for a round gallon can, screw-in for a 5-gallon pail. Cost is under ten dollars for both.
You are cutting in with a brush. Do not pour at all beyond the first quart. Work from a hand pail, and keep the gallon closed on the floor. The Pelican or the Purdy Pail. This is also the contamination answer, because a brush that has touched a wall should never go back into your only container of that color.
You are rolling walls or ceilings for more than an afternoon. Skip the tray. A 5-gallon roll-off bucket loads a 9-inch roller properly, holds three gallons so you are not refilling, and takes a lid overnight. Trays are for one-room jobs and touch-ups, and I say that as someone who owns six of them.
The accessory follows the job. Buy in that order and you will not own three things that do the same job badly.
The Six, Side by Side
| Brand / Model | Type | Fits | Best for | Reusable | Price tier |
|---|---|---|---|---|---|
| Hyde 1-Gallon Pour Spout | Clip-on spout | Round 1-gallon cans | Decanting a gallon without wrecking the rim | Yes | $ |
| Hyde 5-Gallon Pour Spout | Screw-in spout | 5-gallon pails with a tint plug | Pouring off a bucket without lifting the lid | Yes | $ |
| Wooster Pelican 8619 | Hand pail, 1 qt | N/A | Brush and mini-roller cut-in work | Yes, with liners | $$ |
| Purdy Pail | Metal hand pail, 1 qt | N/A | Cheaper cut pail with the best grip options | Yes, with liners | $ |
| Wooster Wide Boy 8614 | Roll-off bucket, 5 gal | N/A | Whole-house roller days | Yes, with liners | $$$ |
| Purdy Contractor 5-in-1 | Lid and prep tool | Any can | Opening lids without folding the edge | Yes | $ |
1. Hyde 1-Gallon Pour Spout, Top Pick
The one that earns its place on every gallon you open. Rigid plastic, clips into the chime of a standard round gallon can, and gives the paint about an inch of lip to leave from.
Across five transfers of Regal Select eggshell, the can with the spout finished with a rim I could wipe with one pass of a rag. The bare-can control had paint standing in the chime after the second pour and a dried ridge by the fifth. When I hammered both lids home and came back 72 hours later, the spouted can opened cleanly and the paint underneath had no skin at the edge. The control lid needed the 5-in-1 to break it free and had a ring of dried film all the way around.
On paper the spout is a drip guard. In practice it is a lid-seal guard, and that is worth more.
Two real limits. It fits round metal gallon cans, which is still most of what a paint store hands you, but not the square plastic jugs some brands ship for their consumer lines. And it has to come off and get rinsed within the hour. Waterborne paint sets on the plastic fast, and a spout with dried enamel in the channel dribbles worse than a bare can. I keep mine in a jar of water on the bench during a job and rinse at the end of the day.
| Spec | Value |
|---|---|
| Fits | Standard round 1-gallon paint cans |
| Material | Molded plastic, reusable |
| Best for | Decanting into cut pails, trays, and sprayer cups |
| Cleanup | Rinse within the hour; solvent for oil-based |
| Approx. price | $4–$6 |
Buy it if: you open gallon cans more than twice a year and want the leftovers still usable next spring. Skip it if: your paint comes in square plastic jugs, or you decant a gallon once and finish it that day.
2. Hyde 5-Gallon Pour Spout, Best for Buckets
Different container, different fix. A full 5-gallon pail weighs around 55 pounds, and there is no dignified way to pour from it with the lid off. The screw-in spout threads into the tint-plug port on the lid, so the lid never leaves the bucket.
I used it to fill a Wide Boy three times over a two-day ceiling job. Tip the pail on the bench edge, let it run, cap it when the roll-off bucket is at three gallons. No lid wrestling, no wave of flat ceiling paint over the side, and the pail stayed sealed between fills so the top never skinned.
Flow is slow. Filling three gallons took a couple of minutes each time, and that is the trade-off for a controlled stream. The bigger catch is fit: this needs a bucket with an actual threaded tint plug, and plenty of store-mixed pails ship without one. Check the lid before you buy the spout. And do not tighten it with pliers, because the plastic threads strip and then you own a leaking bucket.
Buy it if: you buy paint in 5-gallon pails and decant more than once per pail. At around two dollars it pays for itself the first time you do not spill.
3. Wooster Pelican 8619, Best Hand Pail
The pail that made the cut-in days painless. One quart, a roll-off area that takes a mini roller up to 4.5 inches, a magnetic brush holder on the rim, and an optional lid and disposable liner.
The magnet is the feature I did not expect to care about. Parking a loaded 2.5-inch sash brush on a rim clip instead of laying it across the pail means the handle stays clean and the brush does not slide in. Over two bedrooms and a hallway I dropped a brush zero times, against two the week before with a pail I had to lay the brush across. The 8659 lid mattered on the trim days: a quart of ProClassic stayed workable overnight instead of skinning, so the morning started with painting rather than straining.
Cons are honest ones. The magnet weakens once paint builds on the contact face, and a heavy 3-inch brush will slide off a dirty magnet. The 8629 liners are an ongoing cost. And a quart runs out mid-wall on a long ceiling cut, which is annoying at the top of a ladder.
Buy it if: you cut in with a brush and also run a mini roller on doors and trim, and you want one container for both.
4. Purdy Pail, Best Budget Cut Pail
One quart of plastic that costs less than the Pelican and does most of the same work. Brush magnet, a 4.5-inch roller ramp, and three ways to hold it.
The grip is why it stays in the kit. A flexible bail for hanging, a coffee-cup side grip for the hand, and a ladder hook for when you need both hands on a corner. On the hallway ceiling line my hand was noticeably less tired at the end of an hour with the side grip than with a bail-only pail. Drop a Purdy liner in and a color change takes ten seconds.
No lid comes with it, so a half-full quart skins over during lunch. And the footprint is wide enough that it does not perch on a narrow ladder shelf; you hang it or you hold it.
Verdict: the pail I hand somebody painting their first room. Buy the liners with it.
5. Wooster Wide Boy 8614, Best for Whole-House Days
Five gallons, a 19-inch roll-off ramp, and a stance low enough that dragging a loaded 9-inch roller across it does not tip the bucket. This is the container that replaces a tray once your job is bigger than one room.
The ramp width is the spec that matters. A 9-inch roller loads across its full length and rolls off evenly, so you are not left with a cover that is heavy on one end and stippling the wall. On the ceiling job I filled it to three gallons, dropped an R479 liner in, and rolled two rooms without a refill. The 8624 lid kept the remainder wet overnight and I pulled the liner out on day three with the bucket still clean inside.
Too heavy to carry between rooms once it is loaded, so you stage it and bring the pole to it. Liners are proprietary and add up. And nobody painting one bedroom a year needs this.
| Spec | Value |
|---|---|
| Capacity | 5 gallons; usable load about 3 gallons |
| Roll-off area | 19 inches, takes a 9-inch roller |
| Accessories | Lid 8624, liners R479 and R472 |
| Best for | Whole-house walls and ceilings, exterior siding days |
| Approx. price | $30–$45 for the bucket |
Skip this if: your job fits in a 9-inch tray and one gallon. For that, see the roller round-up and buy a better cover instead.
6. Purdy Contractor 5-in-1, Best Lid Tool
A can lid opened with a screwdriver gets a folded edge, and a folded edge never seals again. That is the entire reason this tool is in a round-up about pour spouts.
The high carbon steel blade is thin enough to get under the lid lip and stiff enough to lift it in three moves around the rim rather than one aggressive pry. Ten open-and-close cycles on the same gallon and the lid still seated flat. It also scrapes a loaded roller cover clean, opens cracks for patching, and works as a putty knife, which is why it lives in a back pocket all day.
No hammer face, so you still need a rubber mallet to tap lids home. And the point is sharp enough to gouge drywall paper if you press hard.
Verdict: buy it, keep it in the pocket, stop opening cans with a flathead.
Things I Tried and Would Not Buy Again
- Magnetic stick-on can spouts. The magnet fights the pour angle and slides at the worst moment. The clip-in Hyde is cheaper and does not move.
- Silicone reusable “universal” spouts. Flexible enough to fit anything, floppy enough to fold under a full gallon. Paint went everywhere.
- Rubber can lids sold as reseal caps. They keep dust out. They do not seal against air, which is what actually skins paint.
- Paint can pour spouts sold in packs of ten. You need one, maybe two. The pack is a way to sell you nine spouts that dry shut in a drawer.
- Tray liners as a substitute for a bucket liner. Wrong shape, wrong depth, and they float once you pour paint in.
Keeping the Rim Clean and the Can Sealed
The accessories only pay off if the routine is right.
Wipe the chime before the lid goes on. Every time. A rag folded over a fingertip, one pass around the groove. Ten seconds. This single habit is worth more than any product on this page.
Seat the lid flat, then tap around the edge with a rubber mallet. Hammering one spot cocks the lid and pops the opposite side. Work around the circle twice.
Store gallons upside down when the seal is genuinely good. Any skin that forms sits on what becomes the bottom, and the paint you pour next spring comes out clean. Do not do this if the rim was dirty when you closed it, for the obvious reason.
Cap the 5-gallon spout and leave it in. Do not pull it out and hunt for the plug. The cap seals fine and the pail is ready next time.
Rinse spouts within the hour. Waterborne paint sets fast on plastic. A jar of water on the bench during a job solves it. For oil-based enamel, mineral spirits and a rag, and expect the spout to stain permanently. It still works stained.
Realistic life on these: the clip-on spout lasts years if you rinse it, the screw-in spout lasts until you strip the threads, the Pelican body outlives the magnet by a wide margin, the Purdy Pail outlives its own magnet, and the Wide Boy is a decade tool. The liners are the consumable.
Mistakes That Cost Me Paint
- Opening a can with a flathead screwdriver. Folds the lid edge, ruins the seal, and the gallon is a write-off in six months. Use a 5-in-1.
- Pouring a full gallon in one motion. The first two ounces are the ones that dribble, because the can is heavy and the angle is steep. Tip slowly, let the stream establish, then commit.
- Dipping a brush straight into the gallon. Contaminates the whole container and drops the level below the rim so you have to tip the can to load. Pour a quart into a hand pail.
- Leaving the spout on overnight. Dried paint in the channel makes it worse than no spout. Rinse it.
- Buying a 5-gallon spout without checking for a tint plug. No threaded port, no spout. Look at the lid first.
- Reusing a pail liner because it “looks clean.” It has a skin in the fold you cannot see, and that skin ends up as a lump on a door panel. On enamel work especially, a fresh liner every session. If you want the full argument about what grit does to a finish coat, the brush marks fix guide covers it.
- Skipping a drop cloth because the spout is doing its job. The spout handles the pour. It does nothing about roller spin-off. Both matter, and the drop cloth round-up covers the second half.
The Kit I Would Actually Buy
For a homeowner painting a couple of rooms a year: one Hyde 1-Gallon Pour Spout, one Purdy Contractor 5-in-1, one Purdy Pail with a sleeve of liners. Call it $20 all in, and every gallon you open stays good for the touch-up two winters from now.
Add the Wooster Pelican if you are doing trim and doors, because the lid and the magnet earn their price on a multi-day enamel job. It is the pail I keep beside me for a cabinet repaint, where the paint sits open for hours and every speck of grit shows.
Add the Wide Boy and the 5-gallon spout only when you buy paint in pails. Both are the right answer at that scale and both are dead weight below it.
Before any of it, work out how much paint the job actually needs. The coverage and gallons calculator decides whether you are a gallon buyer or a pail buyer, and that single answer picks half this list for you.
Ask a Question