How to Fix Brush Marks in Paint
Brush marks in paint mean the film set before it leveled. Diagnose the real cause, sand the ridges flat, and recoat with the right paint, brush, and open time so they vanish.

Brush marks mean the paint film set before it had time to flow out. The brush leaves ridges in any coat, every time. Good paint flattens them in the first few minutes while it’s still wet. Yours didn’t, because something cut that window short: wrong paint, wrong brush, or a room that dried the film too fast. Find which one, and the next coat reads smooth.
Does This Match What You’re Seeing?
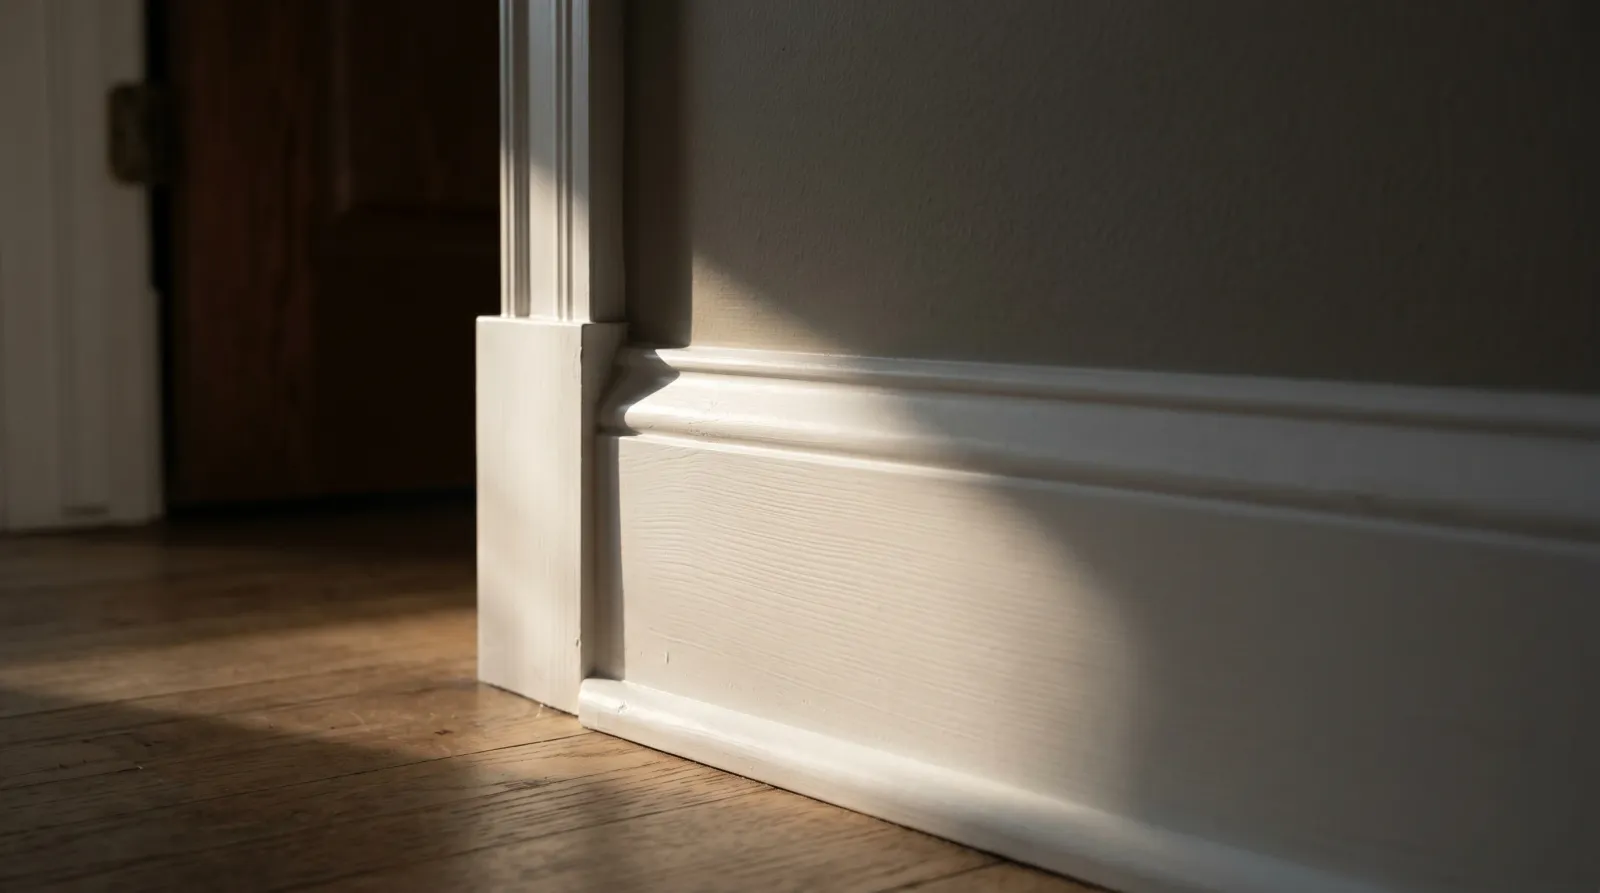
Look at the surface under raking light from the side. Low-angle sun off a window throws a shadow off any ridge. You’ll see one of these.
- Fine parallel lines running the direction you brushed: classic brush marks. The film skinned over before it leveled.
- Ridges only at the start and stop of each stroke: you reloaded and lapped onto a half-set edge. Open time ran out mid-wall.
- Heavy tracks with visible bristle gaps: a cheap or worn brush. The bristles aren’t releasing paint evenly.
- Marks on a door or cabinet but not the wall: wall paint on a trim surface. It’s engineered to grab fast and never flow out.
- A rough, gritty feel along the ridges: the paint was too thick or over-worked. You brushed it past its open window and tore the film.
If the lines only show in certain light and the surface feels smooth, that’s sheen, not texture. A flatter sheen hides what gloss reveals. See the sheen guide for which finish forgives a brush.
How Serious Is This?
Cosmetic. The film is bonded and sealed and doing its job. You can live with brush marks for a decade and nothing fails. The problem is you can’t unsee them once the morning sun lands sideways on a door or a baseboard.
Sand and recoat fixes it in almost every case. The trap is recoating without sanding, which copies the ridges into the new coat. Knock them flat first, every time.
Why Brush Marks Happen (root Cause)
Three things cause almost every brush mark I’ve seen. Usually all three at once.
Wrong paint. Wall paint and trim paint are built backward from each other. Wall paint dries fast and stays put so a roller can lay 400 square feet without sags. Trim paint dries slow and flows out so a stroke disappears before it sets. Brush wall paint onto a door and the bristle tracks freeze in place. That’s what wall paint is engineered to do. The fix is matching the paint to the surface, not fighting the chemistry.
Open time ran out. Most modern waterborne paint stays workable 5 to 15 minutes at 70°F and 50 percent RH. Push the room over 78°F, drop humidity under 40 percent, run a ceiling fan, or hit the surface with direct sun, and that window shrinks to 3 to 5 minutes. The film skins over while you’re still brushing. Leveling stops the second the surface sets, and the ridge you’re looking at is the ridge you keep.
Wrong brush or wrong load. A worn or cheap brush has blunt, uneven bristles that lay paint in stripes. A good brush is tipped and tapered to release a uniform film. Same goes for load. A starved brush drags and leaves tracks. An overloaded one sags and ropes. Half-dipped, tapped off, laid on, tipped off.
A fourth one shows up on humid days. Over-brushing. You keep working a section that already started to set, trying to even it out, and you tear the half-skinned film into a gritty ridge. Once it starts to grab, leave it. You’ll do more damage chasing it.
The Fix for Existing Brush Marks
Same repair regardless of which cause put them there.
Step 1. Sand the Ridges Flat
Use 220 grit on a sanding sponge for general trim, 320 for a near-finished surface you want to keep level. Light pressure, work the ridges until your fingertip can’t feel a line across them. Don’t sand through to bare wood or the previous color. You’re flattening the high spots, not stripping the coat. Vacuum the dust, then wipe with a tack cloth or a barely-damp microfiber.
Step 2. Spot-Prime Anywhere You Sanded Through
If you cut down to bare wood, MDF, or an old oil coat, spot-prime before you recoat. Zinsser Bulls Eye 1-2-3 for general work, INSL-X STIX where you sanded into a glossy oil surface. Twenty minutes dry, scuff lightly, move on. Skipping this gives you a flat dead spot that drinks the topcoat and reads different from the rest.
Step 3. Switch to Leveling-Grade Paint
If brush marks showed up, the paint in the can probably wasn’t built to flow. For trim, doors, cabinets, and baseboards, use a leveling enamel: Benjamin Moore Advance, Sherwin-Williams Emerald Urethane Trim Enamel, or INSL-X Cabinet Coat. These dry slow on purpose so the brush track has time to disappear. For the round-up, see the best interior trim paint.
For walls, most quality acrylics level fine once the room conditions are right. The wall fix is usually technique and open time, not a paint swap.
Step 4. Condition the Can
Stir in Floetrol, half a cup per gallon, for any waterborne paint. It adds 30 to 50 percent to open time without thinning the film, without shifting color, and without changing dry-to-touch by more than a minute. That extra window is what lets the paint flow out and swallow the brush tracks before it sets. For oil-based or traditional alkyd, use Penetrol instead. Same shelf, same brand, different chemistry. Don’t mix the two up.
Step 5. Brush It On Right
Use a real brush. A Wooster Silver Tip or Purdy XL lays a uniform film because the bristles are tipped and tapered. Load it halfway, tap off the excess against the can wall, and lay the paint on in the direction of the grain. Two thin coats beat one heavy one. Then tip off: with a near-dry brush, drag one light pass in a single direction across the wet film to pull the stroke lines out. Don’t go back over a section that’s started to set.
Safety
Cross-ventilate while priming and painting, especially with oil-based primer or any conditioner in the can. N95 during sanding. Eye protection overhead on doors and tall trim. Never mix bleach with vinegar, ammonia, or hydrogen peroxide if you’re cleaning a surface before paint. That combination makes toxic gas. If you cleaned with any of those, rinse with clean water and let it dry before paint goes on.
How to Brush Without Marks (the Technique)
The discipline is the fix. Order matters.
- Drop the room to 70°F and kill the airflow. Shut off ceiling fans, close the supply register over the work, and stay out of direct sun. Heat and moving air are what shrink your open window.
- Stir, don’t shake. Shaking whips air into the paint. Air bubbles dry as tiny craters that read like fine texture next to the brush marks.
- Load halfway and tap off. Dip a third to half the bristle length, tap each side against the can wall. Don’t drag across the rim. That starves the brush.
- Lay it on, don’t scrub. Long, light strokes in one direction. The brush distributes the paint. The paint levels itself if you give it room.
- Tip off in one direction. One final light pass with an almost-dry brush, same direction every time, while the film is still wet. This is the move that flattens the tracks.
- Leave it alone once it grabs. The second the surface starts to set, stop touching it. Over-working a half-set film is how you turn smooth paint into gritty ridges.
For the full door-and-cabinet version of this, including spray-and-tip-off, see how to fix brush strokes on doors and trim.
Recommended Product
Floetrol earns its spot on the shelf. Half a cup per gallon adds 30 to 50 percent to your open time, gives the paint long enough to flow out flat, and disappears in the cured film. No color shift, no LRV change, no compatibility problem with any waterborne latex or acrylic sold in the U.S.
For oil-based and alkyd paints, the same brand sells Penetrol. Same store shelf, different bottle. Latex paint with Penetrol in it, or oil paint with Floetrol in it, both go wrong. Match the conditioner to the paint.
Prevention
- Match the paint to the surface. Trim, doors, and cabinets want a leveling enamel. Wall paint on trim brush-marks every time.
- Buy one good brush. A Wooster Silver Tip or Purdy XL lays a uniform film. A $4 bristle brush leaves tracks no matter how good your technique is.
- Condition the can on any warm or dry day. Half a cup of Floetrol per gallon, Penetrol for oil. Buy a quart, treat eight gallons, stop thinking about it.
- Paint at 70°F with no airflow. Fans and direct sun shrink your open window and freeze the brush marks in.
- Two thin coats, not one thick one. A heavy coat sags and ropes. Thin coats level and tip off clean.
- Tip off every section while it’s wet. One light pass, one direction. This single habit removes most brush marks before they cure.
When to Call a Pro
- Cabinet doors and trim where you want a true sprayed finish and don’t own HVLP gear. Spray-and-tip-off is the right tool, and the rental plus the masking setup adds up fast.
- Heritage trim or skim-coated plaster where sanding to fix a brush mark risks pulling more material than the ridge is worth.
- Pre-1978 homes where you’d be sanding old paint. Lead test before sandpaper touches it. See the peeling-paint fix for the EPA RRP rules on containment and cleanup.
- High-gloss enamel work, where any ridge or holdback shows from across the room and the tolerance is zero.
What’ll Bite You in Two Years
You’ll repaint this trim again. If the coat underneath has brush marks and you roll or brush fresh paint over it, the ridges telegraph straight through. A new color over a marked surface doesn’t hide the marks. It copies them. Sand the whole piece flat to 220 before the recoat, not just the worst lines. Skip that and the next paint job has the same brush marks as the last, in a different color.