How to Clean Painted Walls Without Wrecking the Paint
Warm water, a drop of dish soap, and a soft cloth cleans most walls. What changes is how hard you can push — and that depends entirely on the sheen you are standing in front of.

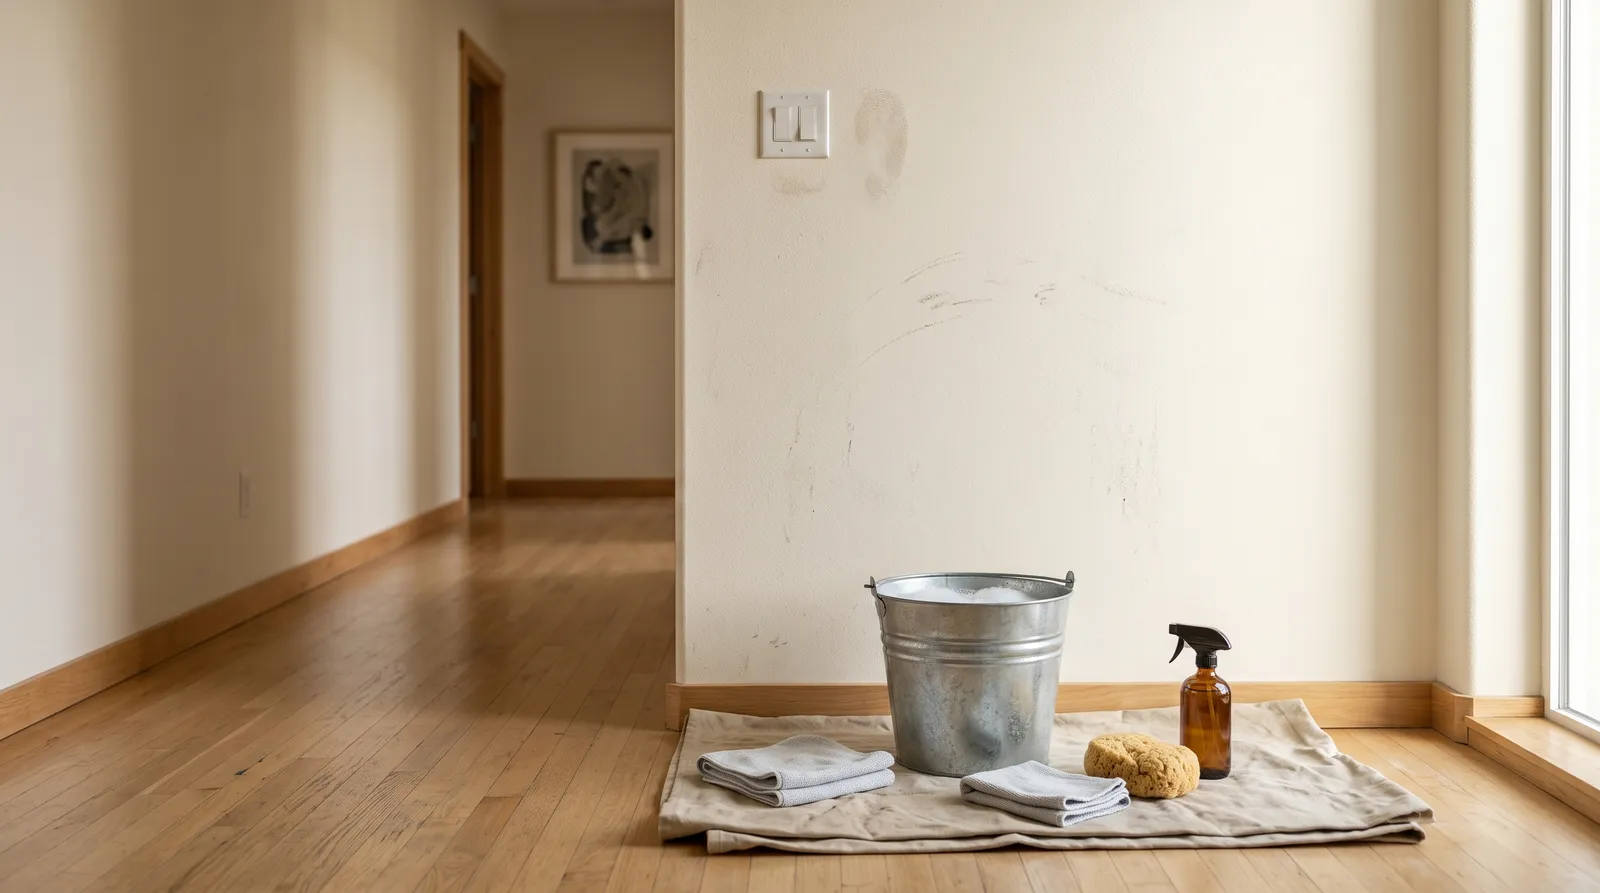
Warm water, a teaspoon of clear dish soap, and a soft microfiber cloth will clean about eighty percent of what shows up on an interior wall. The part that actually decides whether the wall looks better or worse afterward is the sheen — how shiny the paint is — because flat paint and semi-gloss paint tolerate completely different amounts of pressure.
Okay, so here’s the thing that nobody warns you about. You can absolutely clean a wall and end up with a wall that looks worse. Not dirtier — worse. A shiny halo where you scrubbed. A pale patch where the color came off on your sponge. A streaky arc that only shows up when the afternoon light hits it sideways. Every one of those is a pressure problem, not a cleaner problem, and every one of them is avoidable.
This guide goes in the order you actually need it: figure out your sheen, use the gentle method first, escalate only for real stains, and know when to quit and touch up instead.
First, Figure Out What Sheen You Have
Sheen is just how much light the paint bounces back. More sheen means more binder (the glue-like resin that holds the paint film together) sitting at the surface, and binder is what makes paint washable. Less sheen means more pigment and filler at the surface — great at hiding lumpy drywall, terrible at surviving a scrub brush.
You do not need the original can. Stand at one end of the wall and look down its length toward a window or lamp, so the light rakes across it at a low angle. Then match what you see:
| What you see | Sheen | How much cleaning it takes |
|---|---|---|
| Almost no reflection, chalky, light seems to sink in | Flat / matte | Dusting and very gentle spot-blotting only |
| A soft low glow, like an eggshell | Eggshell | Light washing with soap and water |
| A clear soft shine, slightly slick to the touch | Satin | Real washing; handles repeat cleaning |
| Bright reflection, you can see the window shape in it | Semi-gloss | Scrubbing, degreasers, repeat cleaning |
| Mirror-like, hard and glassy | Gloss | Basically bulletproof |
Trim, doors, and bathrooms are usually satin or semi-gloss. Ceilings are almost always flat. Bedroom and living room walls are the coin flip — modern builders often use flat or matte, and that is the paint that gets ruined most often. If you want the full rundown of what each finish is for, the sheen guide covers it properly.
One more thing worth knowing: “washable” and “scrubbable” are not the same word. Washable means the paint survives a gentle wipe. Scrubbable means it survives repeated abrasion, and there’s an actual lab test behind that claim with a cycle count attached. We break down what those numbers mean if you are curious, but the short version is that the number on the can goes up as the sheen goes up.
The Basic Method, Step by Step
This works on any sheen. Start here every single time, even when you are sure the mark needs something stronger. Half the time it does not.
1. Dust the wall dry, top to bottom. A microfiber duster on a pole, or a dry microfiber cloth wrapped over a flat mop head. This matters more than it sounds. If you go straight to a wet cloth, you are turning dust into mud and dragging grit across the paint. Grit is what scratches.
2. Mix the solution. One gallon of warm water plus about a teaspoon of clear liquid dish soap. Clear, not the creamy blue kind with moisturizers in it — those leave film. That’s it. You do not need a wall-cleaning product.
3. Test in a hidden spot. Behind a door, low in a corner, behind where the sofa sits. Wipe, wait two minutes, look at it in raking light. If color came off on your cloth or the spot looks shinier than its surroundings, stop. Your wall is flat paint and it is done being washed — skip to the touch-up section.
4. Wring the cloth almost dry. Two cloths, one bucket of soapy water and one bucket of plain rinse water, is the professional setup and it takes about ninety seconds to arrange. The cloth should be damp, not dripping. Water running down a wall leaves streaks and can seep behind switch plates.
5. Work bottom to top. This one feels backwards and it is not. Dirty water running down a dry dirty wall leaves streaks that are hard to remove. Dirty water running down a wall you already cleaned wipes right off. Work in sections about three feet square.
6. Rinse each section. Second cloth, plain water, wrung out. Soap left on a wall dries hazy and stays slightly sticky, which means the wall attracts dust faster than it did before you started.
7. Dry it. A third dry cloth, light pass. This is what prevents water spots on satin and semi-gloss.
Turn the power off at the breaker before you go near outlets and switch plates with anything damp. Take the plates off, wipe them separately in the sink, put them back when dry.
Cleaning by Sheen
Flat and Matte Walls
Treat flat paint as a dust-only surface with a small allowance for emergencies.
Dry dusting is your main tool. For an actual mark, use a barely damp cloth, no soap if you can help it, and blot — press, lift, press somewhere clean on the cloth, press again. Do not rub in circles. Rubbing polishes the paint film and creates a shiny spot that stands out worse than the original mark ever did. That effect has a name, burnishing, and it is permanent. Nothing you buy will un-shine it.
Flat paint is also porous, which means liquid stains soak in rather than sitting on top. A splash of coffee on flat paint is not a cleaning job. It is a touch-up job. Accept that early and you will save yourself an hour.
Eggshell Walls
Eggshell has enough binder at the surface to take real soap and water, gently. Damp cloth, light pressure, straight lines rather than circles, rinse, dry. Most fingerprint smudges and hallway dirt come off without any drama.
What eggshell still cannot handle is abrasion. No scrub sponges, no melamine erasers, no baking soda paste. Those all work by sanding, and eggshell’s film is not thick enough to lose a layer and still look even.
Satin Walls
Now you can actually clean. Satin takes repeat washing, mild degreasers, and moderate pressure with a soft sponge. This is why satin is the standard choice in kitchens, hallways, kids’ rooms, and rentals.
Still avoid abrasives, and still rinse. Satin shows soap haze more than flat does, because there is a shine there for the haze to interfere with.
Semi-Gloss and Gloss
Trim, doors, bathroom walls, kitchen backsplashes. These finishes are close to a hard plastic film and you can be genuinely aggressive: a soft scrub sponge, a real degreaser, repeated cleaning over years.
The limit is grit and solvents. No green scouring pads, no powdered cleanser, no acetone. And on semi-gloss you can still burnish the surface if you scrub one small spot hard — the shine goes up locally and reads as a bright patch. Feather your pressure out toward the edges of the area you are working on.
Cleaning by Stain Type
Different marks need different chemistry. Match the cleaner to what the mark actually is.
| Stain | What it is | What to use | Sheen limit |
|---|---|---|---|
| Fingerprints, light grime | Skin oil and dust | Dish soap and warm water | Any sheen, gently |
| Grease and cooking film | Airborne oil, sticky | Degreaser such as Krud Kutter, or hot water with dish soap | Satin and up |
| Crayon | Wax with pigment | Hair dryer to soften, then dry cloth; baking soda on a damp sponge for the rest | Satin and up |
| Scuffs from shoes or furniture | Rubber or finish transferred onto the paint | Dry microfiber first; then damp cloth with soap | Any sheen, dry method first |
| Pen and permanent marker | Dye, soaks in | Rubbing alcohol on a cotton swab, dabbed | Semi-gloss only, and often it just needs primer |
| Mildew in a bathroom | Living organism | One part household bleach to three parts water, or a dedicated mildew cleaner | Satin and up |
| Water rings and drip marks | Dissolved minerals and dust | Soap and water; if a brown ring stays, it is a stain not dirt | Any sheen |
| Smoke or nicotine film | Sticky yellow tar | TSP substitute, then rinse twice | Satin and up |
A few of these deserve more detail.
Grease is the one people fight hardest and lose. Kitchen grease is not sitting on the wall — it partly absorbs into the paint film, especially on flat and eggshell. You can pull the surface layer off with a degreaser and it looks clean, then the shadow comes back in a week as more oil migrates out. If that is what is happening, cleaning has already failed and you need to seal the grease and repaint with a stain-blocking primer.
Scuffs deserve one specific trick. Most black scuffs on a hallway wall are not damage to your paint at all — they are rubber or shoe polish sitting on top of it. A clean dry microfiber cloth with light circular pressure lifts a surprising number of them without introducing water at all. Try dry first, always. A tennis ball, of all things, works on baseboard scuffs for the same reason.
Mildew is not dirt and it will not respond to soap. If black speckles keep coming back in the same bathroom corner, you have a moisture problem, and cleaning is treating a symptom. Mold under paint needs the moisture source fixed and usually a mildew-resistant repaint.
What Actually Ruins Paint
These are the five things I see wreck more walls than dirt ever did.
Magic Erasers on flat paint. A melamine foam sponge is an abrasive with a rating roughly like very fine sandpaper. It does not dissolve the mark, it sands it off, and it sands your paint off with it. On flat and matte you get a shiny, slightly lighter patch, and the patch is bigger than the mark you were trying to remove. Semi-gloss and gloss can usually take it if you are gentle. Nothing below satin can.
Scrubbing in circles. Circular motion concentrates pressure and polishes the surface. Straight overlapping passes, light pressure, is the correct motion on any sheen.
Undiluted cleaner straight from the bottle. Degreasers and all-purpose sprays are formulated for hard surfaces like countertops. Full strength on eggshell will soften the binder and pull color. Dilute, and test.
Ammonia or bleach on fresh paint. Both attack a paint film that has not cured. Cured means chemically hardened, which takes two to four weeks for most interior latex — long after the wall feels dry to the touch.
Vinegar or acid on mineral finishes. Limewash, milk paint, and unsealed mineral paint are alkaline finishes. Acid etches them. Those surfaces get a dry brush and nothing else.
And one that is not a product mistake: cleaning one small square on a big wall. Even when it works perfectly, you now have one clean rectangle surrounded by five years of even, gradual grime. Clean corner to corner, or clean to a natural break like a corner or a door frame.
When Cleaning Fails: Touch Up or Repaint
At some point the honest answer is that the mark is not coming off. Here is how to decide what to do next.
Touch up when the damaged spot is smaller than about a dinner plate, you still have the original paint in the original can, and the wall is satin or lower in sheen. Feather the edges — load the brush lightly, dab rather than brush, and work from the middle outward so the new paint thins out toward the edges instead of ending in a hard line.
Fair warning: touch-ups often dry looking slightly different from the wall around them, even with the exact same paint. That is not you doing it wrong. Old paint has aged and the new spot has a different film thickness, so it reflects light differently. We wrote up why touch-up patches look duller and what actually reduces it. Using the same applicator as the original job — roller for roller, brush for brush — makes the biggest difference, because the texture has to match.
Repaint the whole wall when the damaged area is bigger than a plate, the sheen is semi-gloss or gloss (touch-ups on shiny paint essentially never blend), the wall is flat paint with burnish marks, or the stain keeps ghosting back through.
Prime first when the stain is grease, marker, crayon shadow, nicotine, or a water ring. Those are all soluble and they will bleed straight through fresh wall paint, no matter how many coats you put on. A shellac-based stain blocker like Zinsser B-I-N spot-primed over the mark is what stops it. Ordinary wall paint, even the good stuff, does not.
And when you repaint, buy the sheen up. If a hallway got dirty enough to need this, it will get dirty again. Moving from flat to eggshell, or eggshell to satin, changes wall cleaning from a repair job into a five-minute wipe. Every major line has a scrubbable option — Behr Marquee, Sherwin-Williams Emerald, Benjamin Moore Aura, Valspar Reserve, Glidden Diamond, and plenty of others — and all of them clean better in satin than any premium paint does in flat.
That is the real conclusion, honestly. Cleaning walls is mostly about knowing when to stop. Gentle first, test always, rinse and dry, and when the mark wins, touch it up instead of grinding a shiny crater into your paint trying to prove a point. Don’t worry — nearly every mistake here is fixable with a small brush and a leftover can.
Ask a Question