How to Paint Over Grease Stains in a Kitchen
Cooking grease and tar near the range eats fresh paint within months. Degrease with Krud Kutter or TSP-PF, scuff sand, then BIN or Stix primer before topcoat.

Cooking grease isn’t a stain. It’s a film. Paint won’t bond to a film, which is why the fresh coat you rolled over the range last fall is already peeling at the bottom edge. Fix the bond, not the color.
Does This Match What You’re Seeing?
Before you buy primer, confirm the problem. Grease shows up four ways in a kitchen:
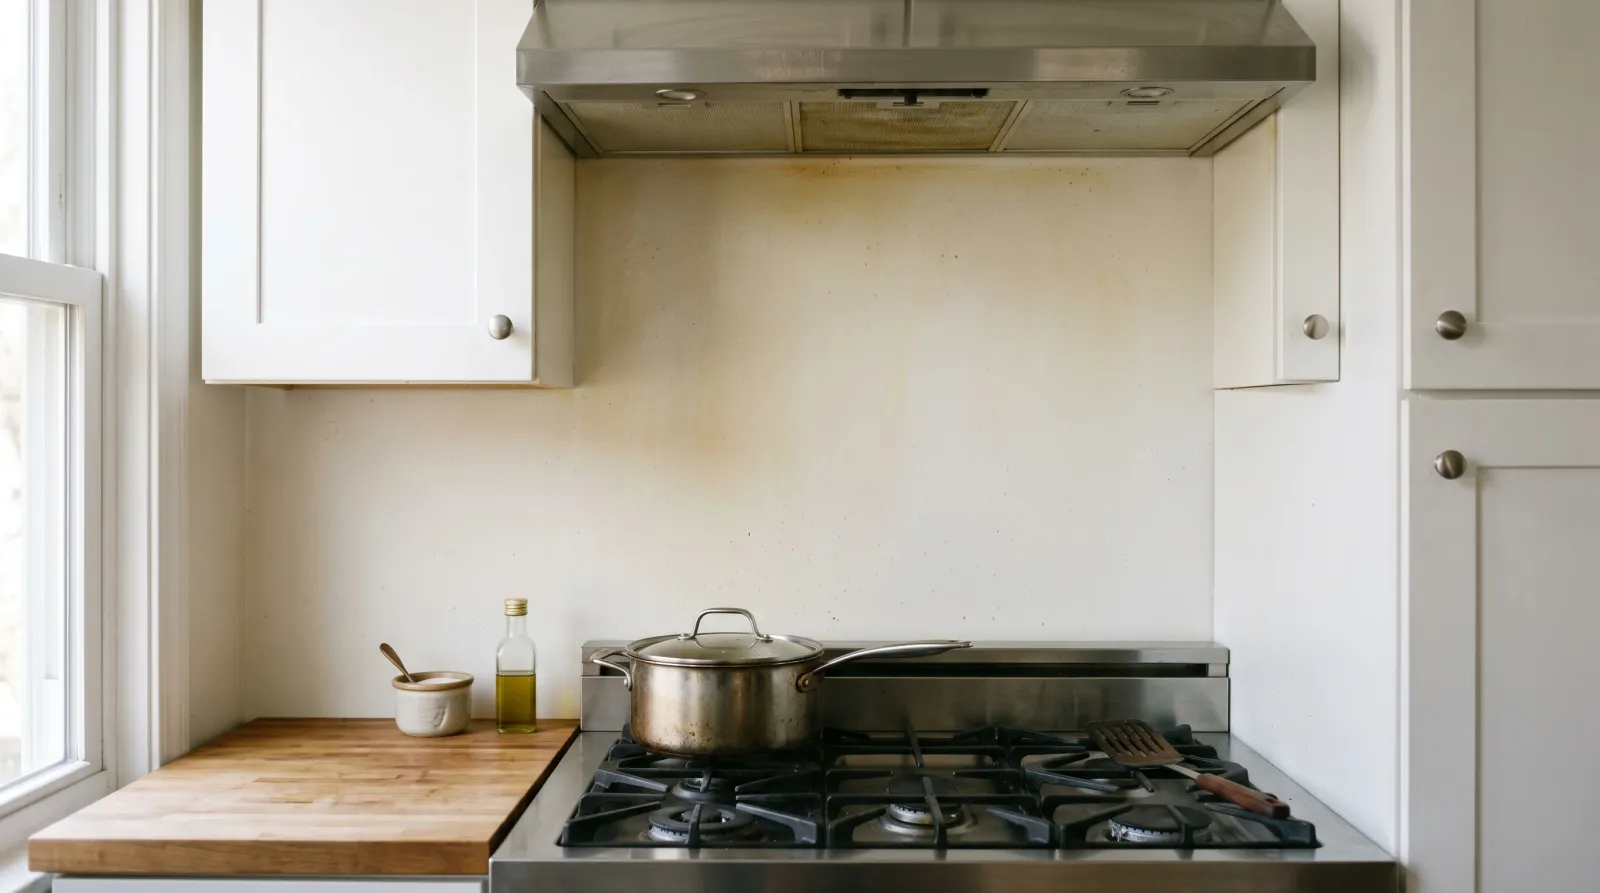
- Amber-to-brown tar above the range. Cooking oil aerosolizes, drifts up, condenses on cooler surfaces. Builds heaviest on the wall behind the range and the soffit under the hood. Feels slightly tacky when you press a clean fingertip to it.
- A hazy yellow film across the ceiling. Same residue, thinner layer, spread across the whole room by convection. Most visible on flat white ceiling paint near the cooking zone.
- Splatter spots near the burner. Discrete dots, often dried-on, sometimes with food particles in them. Surface-level, usually wipes off with a degreaser.
- Smoke staining from a one-time burn event. Darker, sootier, often with a smell. Different fix — see yellowing trim and smoke staining. This article is about everyday cooking residue, not fire damage.
If the discoloration scratches off with a fingernail and leaves bare paint underneath, you have surface grease. If it stays after scrubbing and shows through fresh paint, the residue has soaked in and you need a stain-blocking primer.
How Serious Is This?
If you can wipe a clean white cloth across the wall and it comes back yellow, the wall has enough residue to fail a topcoat. Same-weekend fix — degrease, sand, prime, paint.
If the wall is also soft, sagging, or smells smoky from a kitchen fire, that’s a different conversation. Smoke remediation is its own thing and a shellac primer alone won’t bury it. Call a pro if there’s any structural drywall damage or persistent odor after cleaning.
Why This Is Happening (Root Cause)
Cooking oil reaches 300°F+ in a hot pan. At that temperature, a fraction of it aerosolizes — tiny droplets ride the convection plume above the range, drift sideways under the hood, and condense on the first cool surface they touch. That’s almost always the wall directly behind the range and the soffit under the hood. Over months and years, the droplets polymerize. The clear film turns amber. The amber film turns into tar.
Latex paint doesn’t adhere to that tar layer. The acrylic resin needs a clean, slightly porous surface to grip. Roll a fresh coat over polymerized grease and you’re laying paint on top of a wax. It looks fine for two weeks, then it cracks at the corners, then it peels at the bottom edge, then it comes off in sheets when you wipe it.
There’s a second problem. Cooking grease contains compounds that bleed up through latex primers — the same way nicotine and tannin do. Even if you somehow bond the topcoat, the amber color migrates through and resurfaces. That’s why the prime step has to be shellac on the worst spots, not just any old primer.
The Fix
Step 1 — Ventilate and PPE
Open a window. Run the range hood on high. The degreasers below are alkaline and the shellac primer in Step 4 contains denatured alcohol. Wear an N95 mask, nitrile gloves, and eye protection. Pull anything off the counter that you don’t want sprayed.
Step 2 — Degrease
Mix Krud Kutter Original (ready-to-use, no dilution) or TSP-PF (phosphate-free TSP, mix per label — typically 1/4 cup per gallon of warm water). Spray or sponge onto the wall, working bottom to top so drips don’t streak clean areas. Let dwell 3-5 minutes. Scrub with a non-scratch nylon pad. Rinse twice with clean water, changing the rinse bucket between passes.
The second rinse matters. Residual cleaner left on the wall interferes with primer adhesion. Wipe with a clean, damp microfiber and let dry for at least 4 hours, ideally overnight.
Step 3 — Scuff Sand
Once dry, scuff the entire repaint area with 220-grit sanding sponge. You’re not stripping — you’re knocking the gloss off the old paint so the primer has tooth. Wipe the dust off with a tack cloth or damp microfiber. Don’t skip this on glossy kitchen walls; sanding is the difference between a primer that grabs and a primer that flakes.
Step 4 — Prime the Heaviest Spots with Shellac
On the amber tar behind the range and under the hood, brush or roll one coat of Zinsser BIN Shellac-Based Primer. Shellac is the only common primer that fully blocks grease, nicotine, tannin, and water stain bleed-through in one coat. Touch-dry in 15 minutes, recoat in 45.
It smells. Strong alcohol vapor for the first hour, lingering for a day. Keep the room ventilated and don’t shellac the whole kitchen — only the visibly stained zones. Clean the brush with denatured alcohol or ammonia; soap and water won’t touch it.
Step 5 — Prime Everything Else with a Bonding Primer
On the rest of the kitchen walls and ceiling — the areas that were clean after degreasing but still got scuffed — roll one coat of INSL-X Stix Acrylic Urethane Bonding Primer. Water-based, low-odor, sticks to glossy and previously-cleaned surfaces without sanding off paint. Dries in 1 hour, recoats in 4.
You can use Stix on the BIN-primed spots too once the shellac is dry. Skipping it everywhere except the stained zones works fine; the original kitchen paint is the substrate for the topcoat outside the stain belt.
Step 6 — Topcoat in Satin or Semi-Gloss
Two coats of a kitchen-rated satin wall paint — Sherwin-Williams Emerald Interior, Benjamin Moore Aura Interior, or Behr Marquee Interior in satin. On the range hood surround and any trim that catches splatter, step up to semi-gloss so the surface is harder and easier to wipe. Recoat per the label, usually 4 hours.
Two coats. Always two coats. One coat over a primer means uneven sheen and patchy color, and the kitchen is the room where uneven sheen shows the most.
Safety and Chemical Interactions
Don’t mix TSP-PF or Krud Kutter with bleach. Alkaline cleaners plus chlorine release fumes that irritate the lungs. If you’ve already bleached the wall (for mildew), rinse thoroughly with clean water and let dry overnight before degreasing.
Shellac primer is flammable while wet. No pilot lights, no gas stove on, no candles. Once dry, it’s inert.
Prevention
Paint isn’t the fix here. Ventilation is.
- Replace or upgrade the range hood. Many builder-grade hoods move 100-200 CFM. For a 30-inch gas range, you want 300+ CFM ducted to the outside, not recirculating. Recirculating hoods pass through a charcoal filter and put the grease right back into the kitchen air.
- Run the hood at full speed, every time, for the entire cook. Not just when something smokes. Leave it on for 10 minutes after you finish cooking to clear the residual plume.
- Wipe the wall behind the range monthly with a kitchen degreaser. Catches the film before it polymerizes into tar. Five minutes of maintenance saves the whole repaint.
- Pull the range out once a year and clean the wall behind it. Grease drifts down the back of the range too.
When to Call a Pro
- Smoke damage from a kitchen fire — different remediation, often involves insurance.
- Grease has soaked into the drywall paper and the surface is soft or wavy.
- Pre-1978 home with peeling paint — test for lead before sanding.
- Recurring tar build-up within 6 months of repaint — the ventilation problem is bigger than a hood upgrade can solve, and an HVAC tech needs to look at make-up air.
- The “wall” is actually a wood-paneled range surround or tongue-and-groove pine — sealed wood with cooking grease in it can take a full strip and refinish, not a paint job.
Related
The two-year warning. If you skip the shellac on the worst spots and prime the whole thing with latex bonding primer, the amber bleeds through within a year and you’ll be standing here again, doing it twice.