How to Treat Wood With Oil Before Painting
Oiling wood before painting usually fights the paint film. Here is the chemistry, when oil and paint actually mix, and how to prep already-oiled wood so paint sticks.

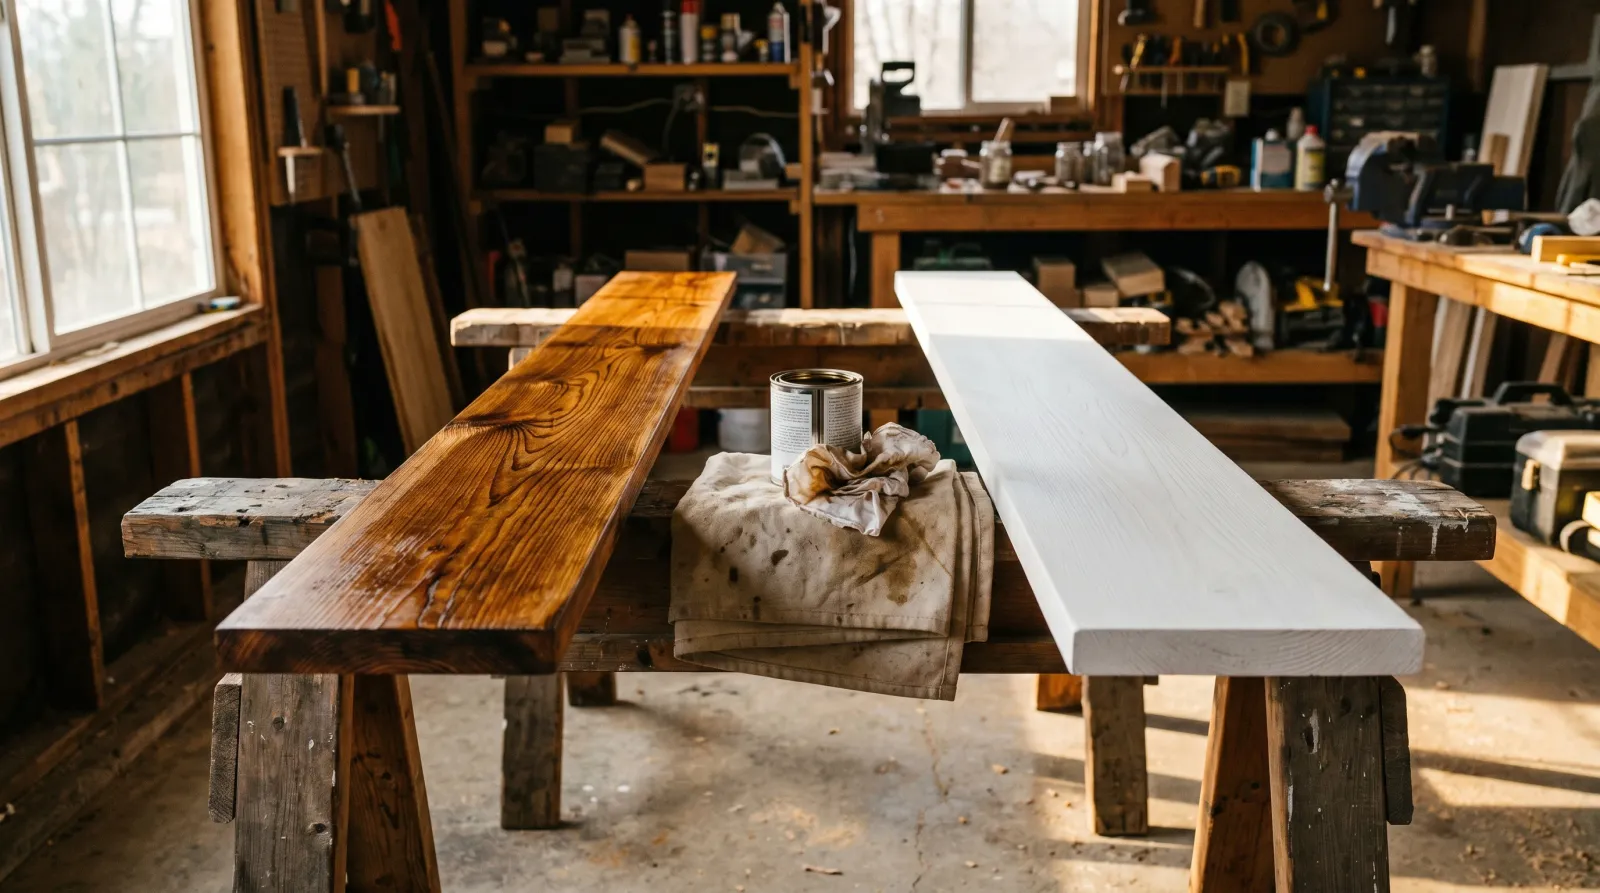
Search “oiling wood before painting” and you’ll find two camps giving opposite advice. One says oil the wood first so the paint lasts. The other says never put oil under paint. The reason for that disagreement is chemistry, and once you see it, the answer stops being a matter of opinion.
TL;DR
- Oil is not a paint primer. Penetrating oil under paint acts as a release layer; the topcoat peels
- Oil and paint are alternative finishes. Pick one. Don’t stack oil under a paint film expecting both
- Already-oiled wood can be painted, but only after you degrease, scuff-sand, and seal
- Primer that works: Zinsser BIN (shellac) first choice, Zinsser Cover Stain (oil-based) second
- Water-based primers struggle on oily wood because water beads instead of wetting the surface
- The test: drop water on the wood. If it beads, oil is still there and paint won’t bond
- Skill: medium. The prep is the whole job
What “Treating Wood With Oil” Actually Means
Wood oils fall into two families, and the difference decides everything that follows.
Drying oils oxidize. Boiled linseed oil, tung oil, and the teak and danish oils built on them pull oxygen from the air and slowly cross-link into a soft solid film. Cross-linking is the same chemistry that lets oil-based paint cure, which is exactly why these oils feel like they should play well with paint. They don’t, and I’ll get to why.
Non-drying oils never harden. Mineral oil, walnut oil, and most “food-safe” butcher-block conditioners stay liquid in the wood forever. They’re there to feed the fiber and repel water, not to build a film. Nothing bonds to a surface that stays oily, so these are a hard no under paint without full removal.
Either way, the oil’s job is to soak into the wood pores and sit on the surface. That surface is the problem. Paint needs that exact surface to grip, and the oil got there first.
Why Oil and Paint Fight Each Other
A drop of water beading instead of soaking in means oil is still on the surface. That bead is the paint adhesion problem, visible.
Here’s the chemistry. A paint film bonds to wood two ways at once. Mechanically, the binder flows into the microscopic peaks and valleys of the grain and locks in like a thousand tiny anchors. Chemically, the binder forms weak attractions with the wood’s own surface molecules. Adhesion is the sum of those two grips.
Now lay a film of oil over the wood. The oil fills the valleys the binder wanted to anchor into and coats the surface molecules it wanted to bond with. Brush paint over that and the binder coalesces into a continuous film against a slick, low-energy surface. It dries beautifully. It just isn’t holding onto anything. You’ve made a sheet of dried paint sitting on a layer of grease.
Then the wood moves. It expands and contracts with humidity, and a south-facing board swings 30 degrees hotter than the air on a sunny afternoon. The film flexes, the oil layer shears, and the paint releases in sheets. People call this peeling and blame the paint. The oil did precisely what oil is designed to do: reduce friction between two surfaces.
This is why the “oil it first for durability” advice is backwards. Oil makes a wood finish more durable when the oil is the finish, soaking in and shedding water on its own. Buried under paint, the same oil is a fault line.
So When Does Oil Belong First?
Rarely, and it’s worth being precise about the exceptions so you don’t read this as “oil is always wrong.”
Back-priming with a true oil-based primer is not the same thing. An oil-based alkyd primer is a binder-and-pigment system engineered to cure hard and bond, with the oil chemically locked into a resin. That’s a primer, not a “treatment.” On bare exterior wood that cut step protects end-grain and stops water wicking, which I cover in the exterior wood guide and the cedar siding guide. Do not confuse a cured alkyd primer with a wipe of teak oil.
Penetrating wood preservatives (the copper-naphthenate and borate products on ground-contact lumber) are sometimes oil-carried, and the label tells you to cure fully before coating. That’s still a 30-plus day wait and a degrease before paint. Tolerated, not recommended.
For everything a homeowner usually means by “treating wood with oil before painting,” skip the oil. If you plan to paint, the primer is the treatment. If you love the look of oiled wood, oil it and leave it alone, and decide whether paint or stain is the finish you actually want before you commit.
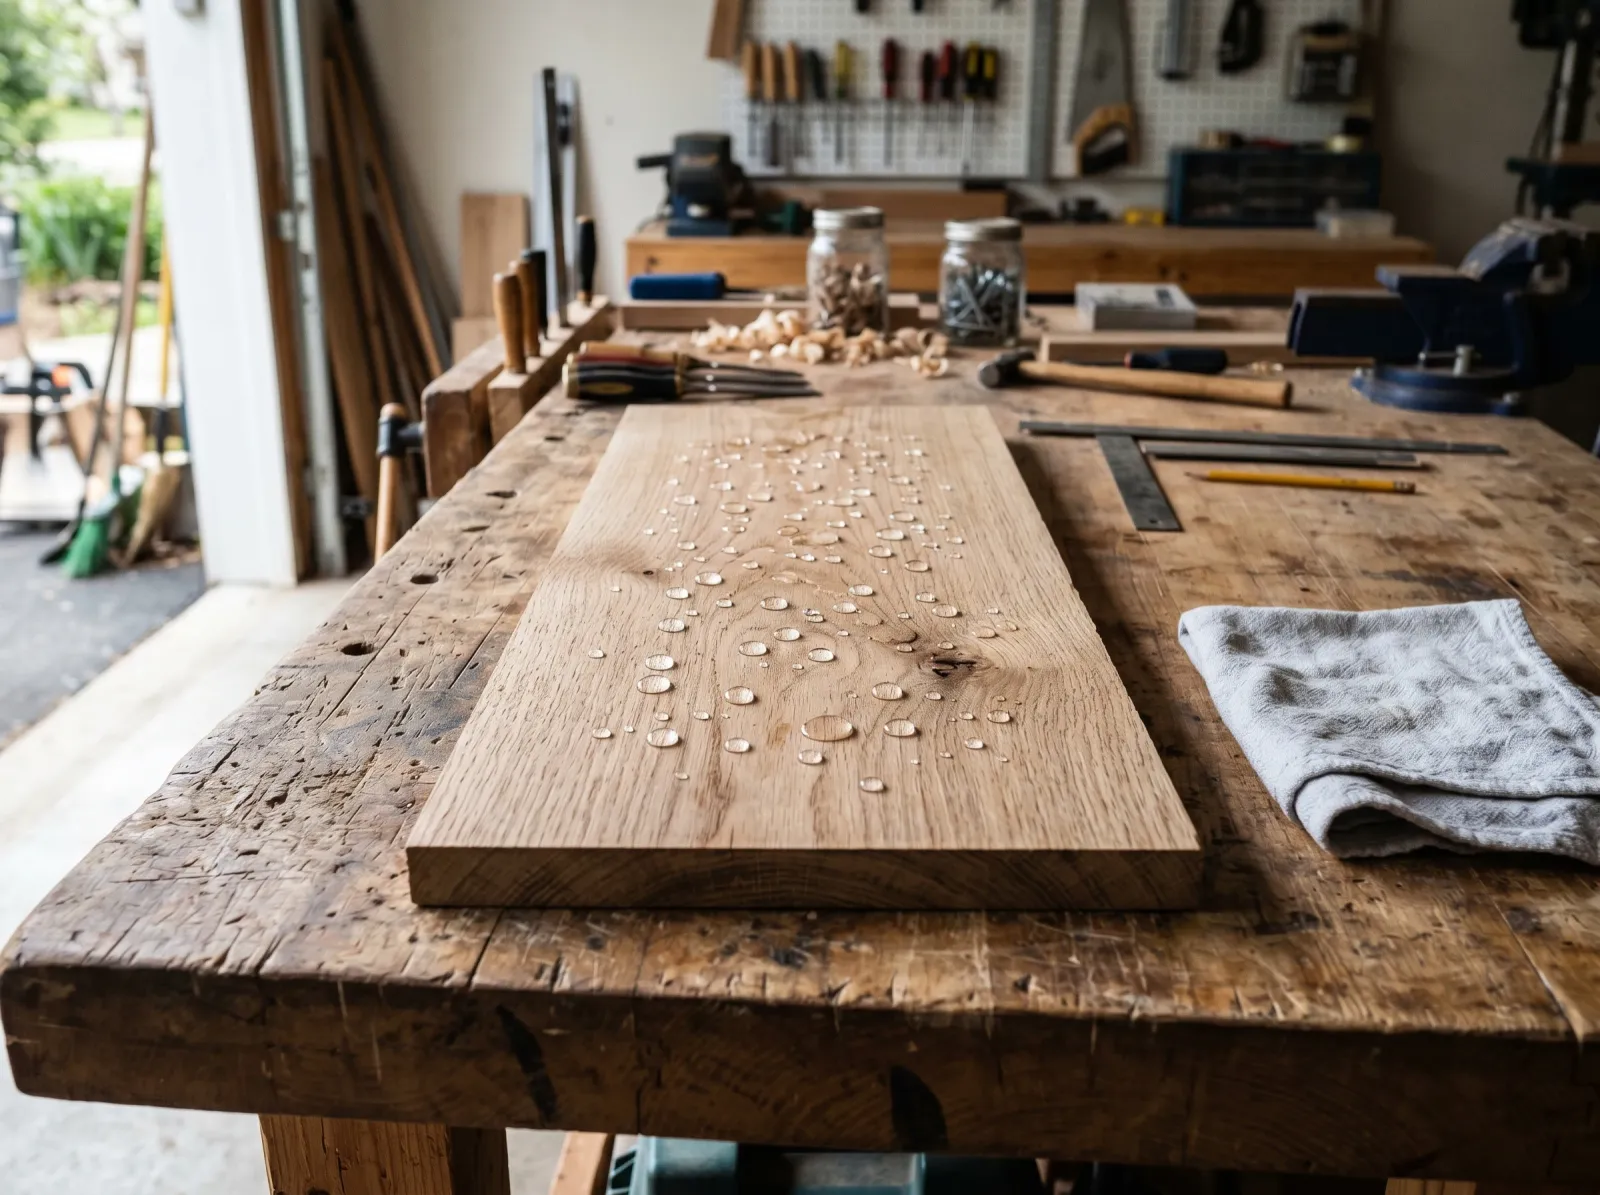
Step 1: Run the Water Test
Before any prep, find out what you’re dealing with. Drop a few beads of water onto the wood and watch.
If the water beads up and sits on top, oil is still on the surface and active. If it darkens the wood and soaks in within a minute, the surface is open enough to wet out. This single test tells you more than any product label, because it measures the thing that actually matters: whether liquid can reach the wood.
On furniture and butcher block, do this in a few spots. Oil collects unevenly, heavier near edges and end-grain where it was reapplied most. A board can pass the test in the field and fail at the ends.
Step 2: Degrease the Surface
Your goal is to strip the loose surface oil so the primer has a fighting chance.
Wipe the wood down with mineral spirits on a clean rag, turning the rag often so you’re lifting oil off, not smearing it around. For waxy butcher-block conditioners, mineral spirits is the right solvent. For general grime over oil, a TSP substitute or a dedicated degreaser cuts it. Work in one direction, let it flash off, then do it again with a fresh rag.
Don’t expect the wood to come fully bare. Penetrating oil lives down in the pores, below where any wipe reaches. Degreasing handles the surface layer; the primer handles the trace that’s left. Skipping the degrease asks the primer to do a job it can only half-finish.
Ventilate. Oily rags can self-heat and start a fire. Lay them flat outdoors to dry before you bin them, or soak them in water. Gloves and a respirator for this step.
Step 3: Scuff-Sand
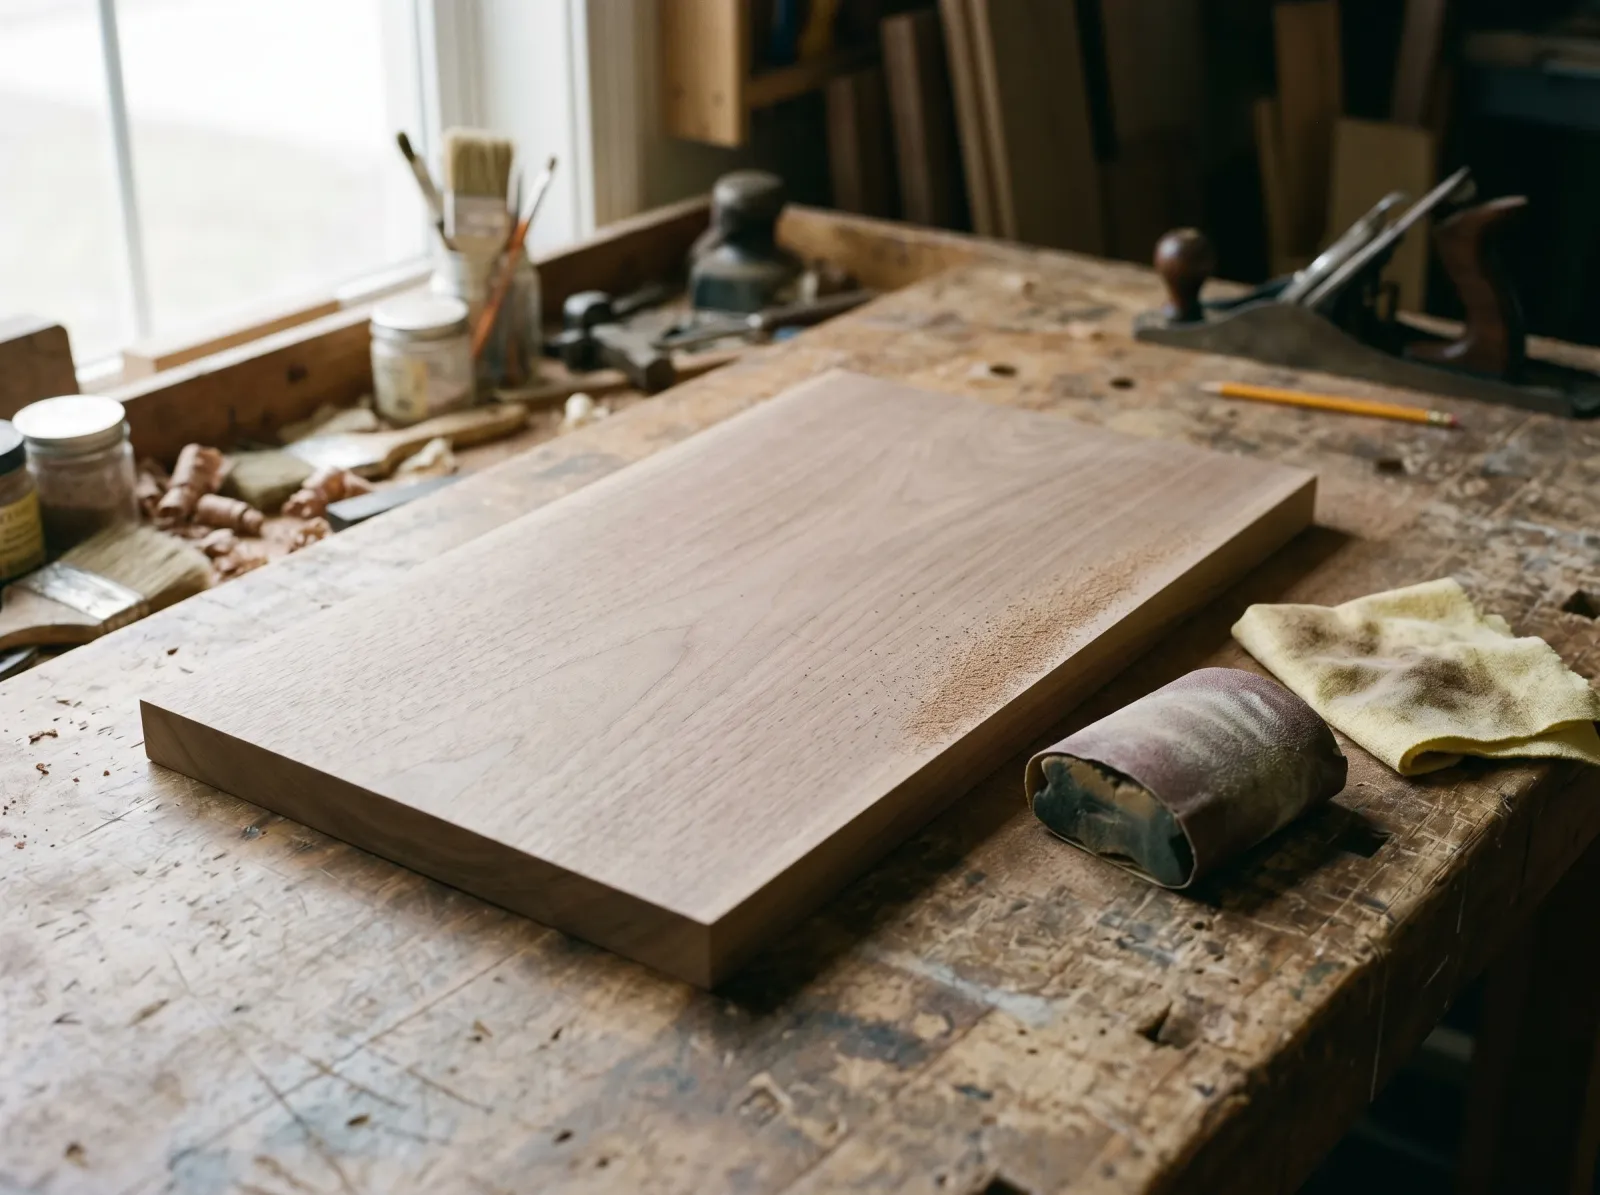
After degreasing and a 120-grit pass, the sheen is gone and the grain looks open. Now water darkens the wood instead of beading.
Sanding does two things on oiled wood. It knocks off any cured oil skin so the surface goes from slick to toothy, and it opens fresh wood pores the degreaser couldn’t reach. Both improve the mechanical grip the primer needs.
Go 120-grit across the whole surface until the sheen is dead flat and uniform. On a heavily oiled drying-oil finish that’s built up a film, you may need to cut harder with 80-grit first, then refine to 120. Sand with the grain. Vacuum, then tack-cloth every speck of dust, because dust on an already-marginal surface is one more thing keeping the primer off the wood.
Run the water test again. A degreased, sanded surface should darken instead of beading. If it still beads, repeat the degrease before you prime. You are not ready for primer until that bead breaks.
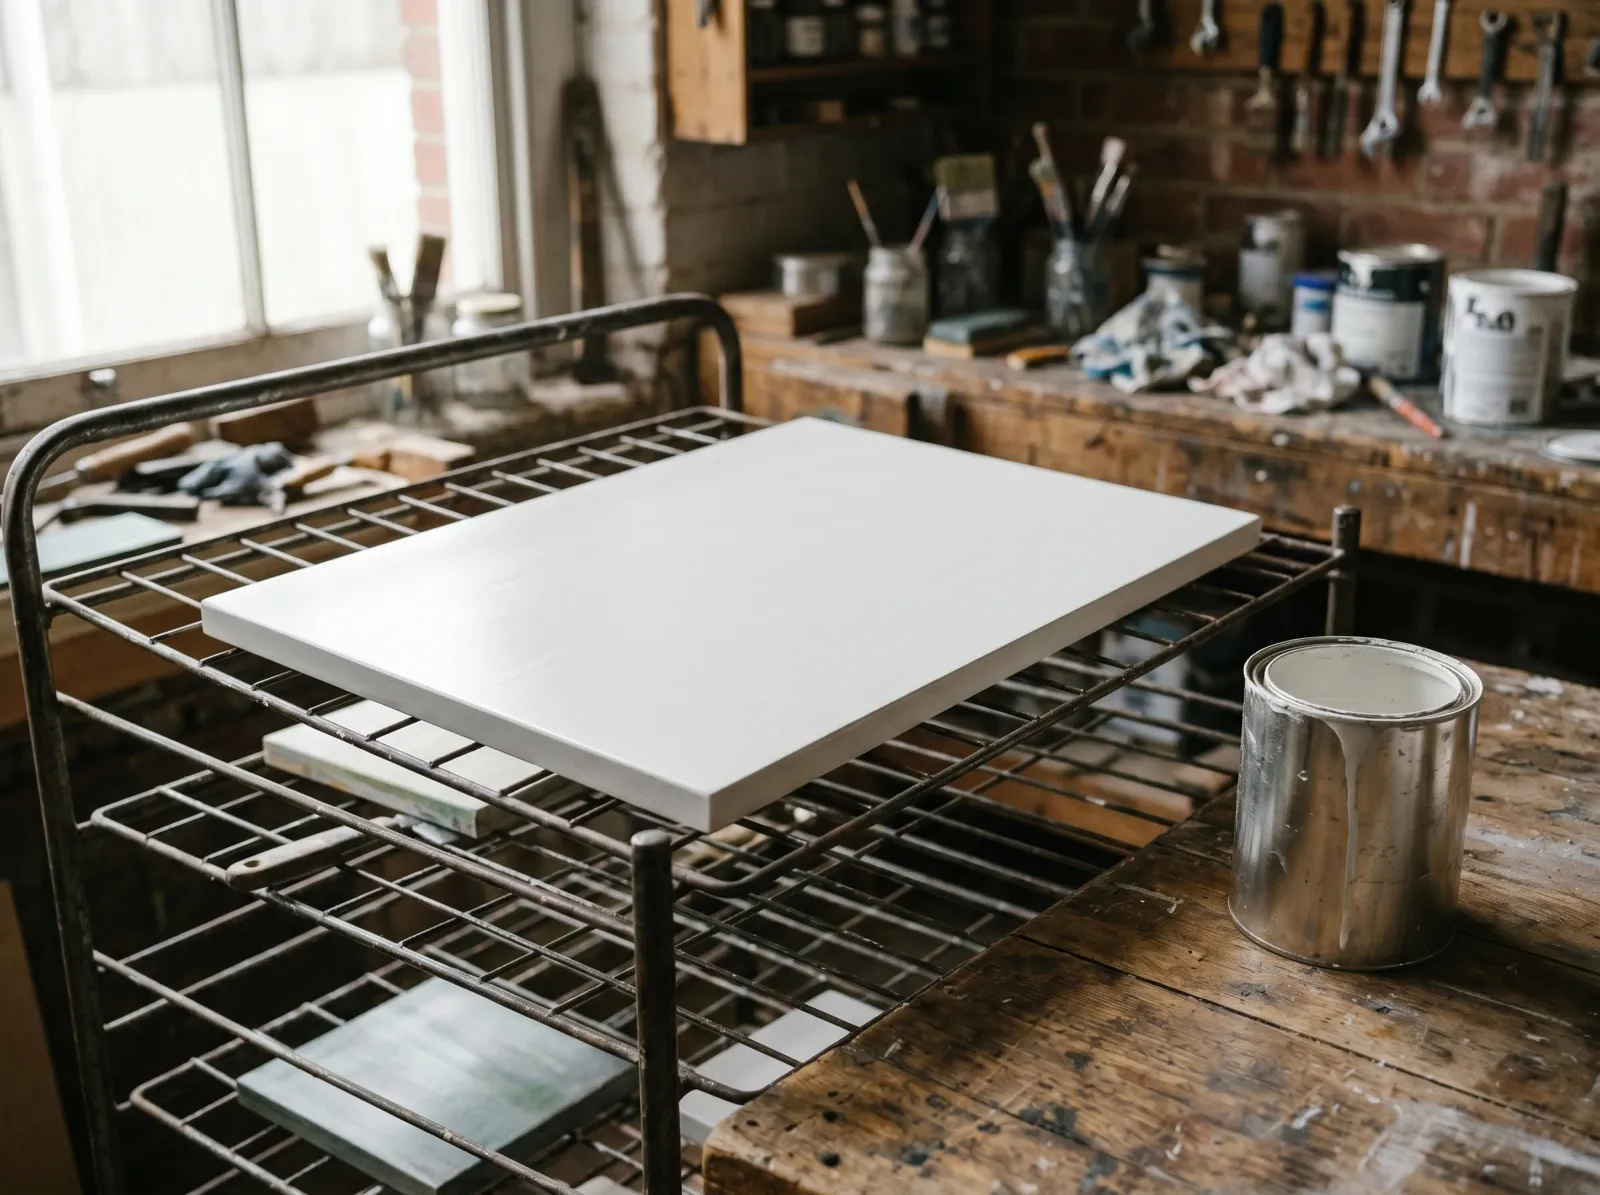
Step 4: Seal With the Right Primer
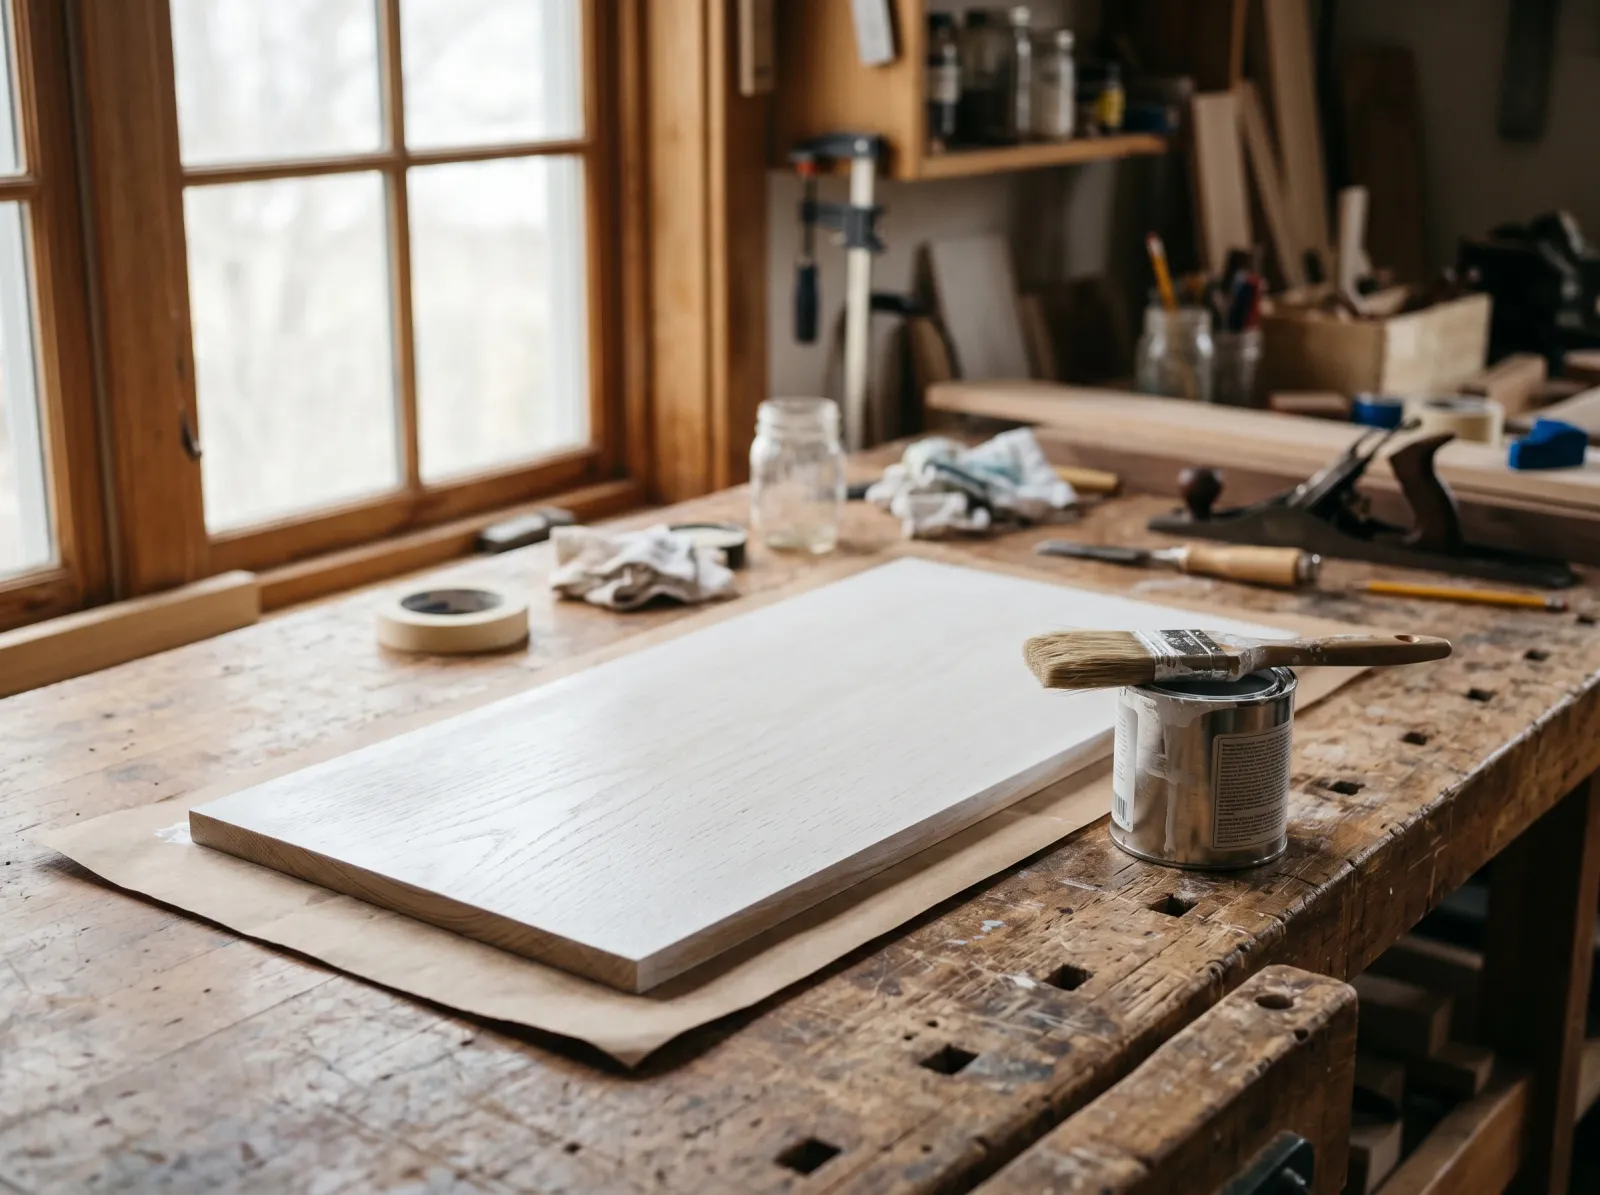
A coat of shellac primer over the degreased board. Shellac carries alcohol, not water, so it bites a surface that still holds trace oil.
This is where most jobs are won or lost, and the choice comes down to what the primer carries.
Zinsser BIN is shellac dissolved in alcohol. Alcohol wets out an oily surface far better than water, so BIN bonds where a water-based primer would crawl into beads. It also seals tannin and odor, dries in 45 minutes, and sands to powder. On furniture, cabinets, and trim that were oiled, BIN is my default. The trade-off is the alcohol smell and that it’s brittle on exterior surfaces over time, so keep it indoors or under a flexible topcoat.
Zinsser Cover Stain is an oil-based alkyd. It tolerates light surface oil because like dissolves like, and it stays flexible enough for exterior use. This is the call on oiled exterior wood where BIN’s brittleness would be a liability. The whole peeling-paint conversation is a primer conversation, which is why the peeling paint fix keeps pointing back to bonding primers.
Water-based bonding primers (Insl-X Stix, Bulls Eye 1-2-3) are excellent on clean bare wood and glossy surfaces, but they fight you on oily wood. Water beads on oil, the primer can’t wet the surface, and you get fish-eyes and weak adhesion. If you only have a water-based primer, your degrease and sand have to be near-perfect, and even then BIN is the safer bet.
One coat of primer is usually enough. Look at it in raking light; any spot that flashed differently or crawled is a spot where oil is still winning. Hit it again.
Step 5: Topcoat
Topcoat over the sealed surface. The film formed evenly because the primer gave the binder a clean substrate to coalesce against.
Once the wood is sealed, the oil underneath stops mattering and normal painting rules apply. The primer is now the substrate, and paint loves a primed surface.
For interior furniture, trim, and cabinets, a waterborne alkyd (Benjamin Moore Advance, Sherwin-Williams Emerald Urethane) levels out hard and handles handling. For walls or larger pieces, 100% acrylic in your chosen sheen. Two coats, brush the detail and roll the flats, keep a wet edge. The same picks I’d hand someone painting bare interior wood work here, because past the primer the job is identical.
If you’re not sure which sheen to run, the sheen guide walks through where each one earns its place. For SKU-level picks across the primer category, see the best bonding and stain-blocking primers.
Dry, Recoat, and Full Cure
BIN recoats in 45 minutes; Cover Stain wants two hours. Read the can, because temperature stretches both.
Waterborne alkyd topcoats recoat in 4 to 16 hours depending on the product. Two coats minimum. Full cure runs 14 to 30 days on most interior alkyd and acrylic systems, and that’s when the film reaches its real hardness. During cure, don’t scrub the surface, don’t set heavy objects on a painted shelf, and don’t put oiled hands or oily dishes back on a butcher block you just painted. A soft film picks up dents and prints that lock in permanently.
The cure window matters more than usual here. The bond is good, but it’s working against a substrate that was compromised, so give it the full month before you trust it with abuse.
Common Mistakes
- Oiling wood as “prep” before paint. The oil is a release layer and the topcoat peels in sheets. Fix: skip the oil entirely, or if it’s already on, degrease, sand, and prime with shellac.
- Painting over a non-drying oil. Mineral oil and many butcher-block conditioners never harden, so no bond is possible. Fix: sand back to bare wood, or accept that this piece stays oiled, not painted.
- Using a water-based primer on oily wood. Water beads on oil, the primer fish-eyes, adhesion fails. Fix: switch to BIN shellac or Cover Stain alkyd.
- Skipping the degrease and going straight to sanding. Sanding an oily surface just drives the oil deeper and clogs the paper. Fix: degrease first, then sand, then re-test with water.
- Treating boiled linseed oil as a primer. It stays soft for weeks, blocks adhesion, and feeds mildew outdoors. Fix: use a real oil-based alkyd primer for the durability you’re after.
- Not waiting out the oil cure. Painting over a drying oil that’s still off-gassing traps solvent under the film and softens it. Fix: 30 days minimum, then degrease and prime.
Maintenance and Longevity
A formerly oiled surface, once degreased and primed properly, holds paint about as long as the same paint over clean wood: 8 to 12 years on interior trim and furniture, less on a high-touch piece like a frequently used tabletop. The weak point is anywhere oil was thickest, usually end-grain and edges, so watch those first. Clean with mild soap and water, never with an oil-based polish, because a fresh wipe of furniture oil over your new paint film starts the adhesion problem over from the top.
If a section does let go, it almost always traces to a spot the degrease missed rather than the paint. Sand that area back, re-degrease, spot-prime with BIN, and recoat. When a whole piece sheds its paint, the fix isn’t a tougher paint; it’s a return to the prep, and the peeling paint fix covers the diagnosis.