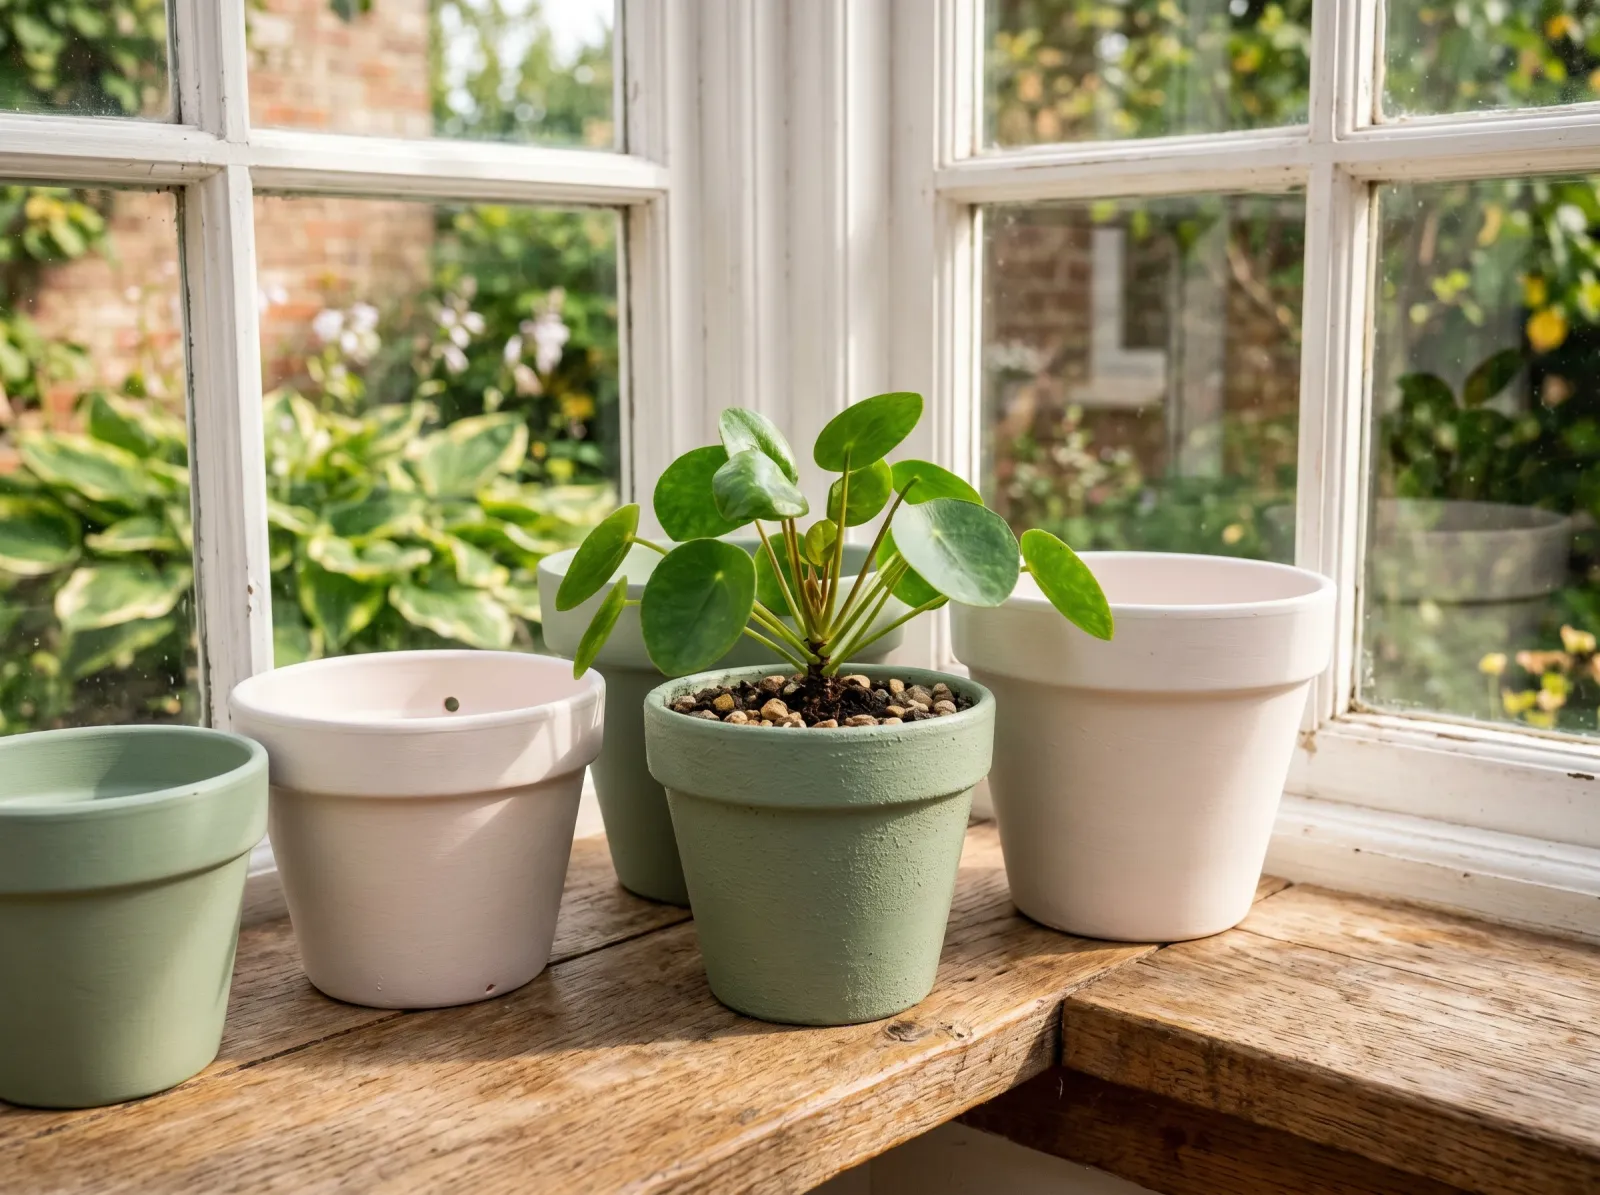
How to Paint Terracotta Pots
Painting terracotta the right way: how to seal the clay, which primer stops salt bleed, and the inside-pot step that keeps your plants alive and the paint on.

Terracotta drinks water. That’s the whole problem. Paint a raw pot without sealing it and the clay wicks moisture through the wall, the moisture pushes the paint off from behind, and a white salt crust blooms through whatever color you put on. The fix isn’t a tougher paint. It’s the sealer underneath and a clean, dry surface to start.
TL;DR
- Clean: scrub off the white salt crust with a vinegar soak, dry 24 hours
- Seal: water-based breathable masonry sealer, outside and inside
- Primer: bonding primer (Bulls Eye 1-2-3 or INSL-X Stix) on the outside
- Paint: acrylic craft paint indoors, 100% acrylic or masonry paint outdoors
- Topcoat: clear acrylic sealer outdoors, two coats
- Never: oil paint or thick waterproofing on a pot that holds a living plant
- Skill: easy. The sealing step is the whole job
What Terracotta Actually Is
Terracotta is fired clay. Italian for “baked earth.” Potters shape it wet, then fire it at a low temperature, lower than the kiln heat that makes glazed ceramic or porcelain. That low fire leaves the clay porous on purpose. The unglazed surface breathes, which is why gardeners like it. Roots get air, excess water evaporates through the wall, and the soil doesn’t stay swampy.
That same porosity is what fights paint. The wall is a network of tiny open channels. Water moves through them in both directions, and so does dissolved salt from the soil and your tap water.
Why Terracotta Is Different From a Wall
Drywall sits still and stays dry. A terracotta pot does the opposite. It’s wet on the inside, dry on the outside, and water is always moving from one to the other.
That moving water is the enemy of any paint film. It pushes from behind a coat that’s bonded to the front, and it lifts. The same wicking carries mineral salts out of the soil and the clay, depositing them as a chalky white crust on the surface. You’ve seen it on old garden pots: that powdery bloom around the rim and the lower third. It’s the same efflorescence that shows up on brick and masonry, and it does the same thing to paint. It crystallizes under the film and pops it off.
So the job isn’t really about the color coat. It’s about closing the clay’s pores so the paint has a stable, dry surface that isn’t constantly being shoved from the back.
Step 1: Clean and Dry
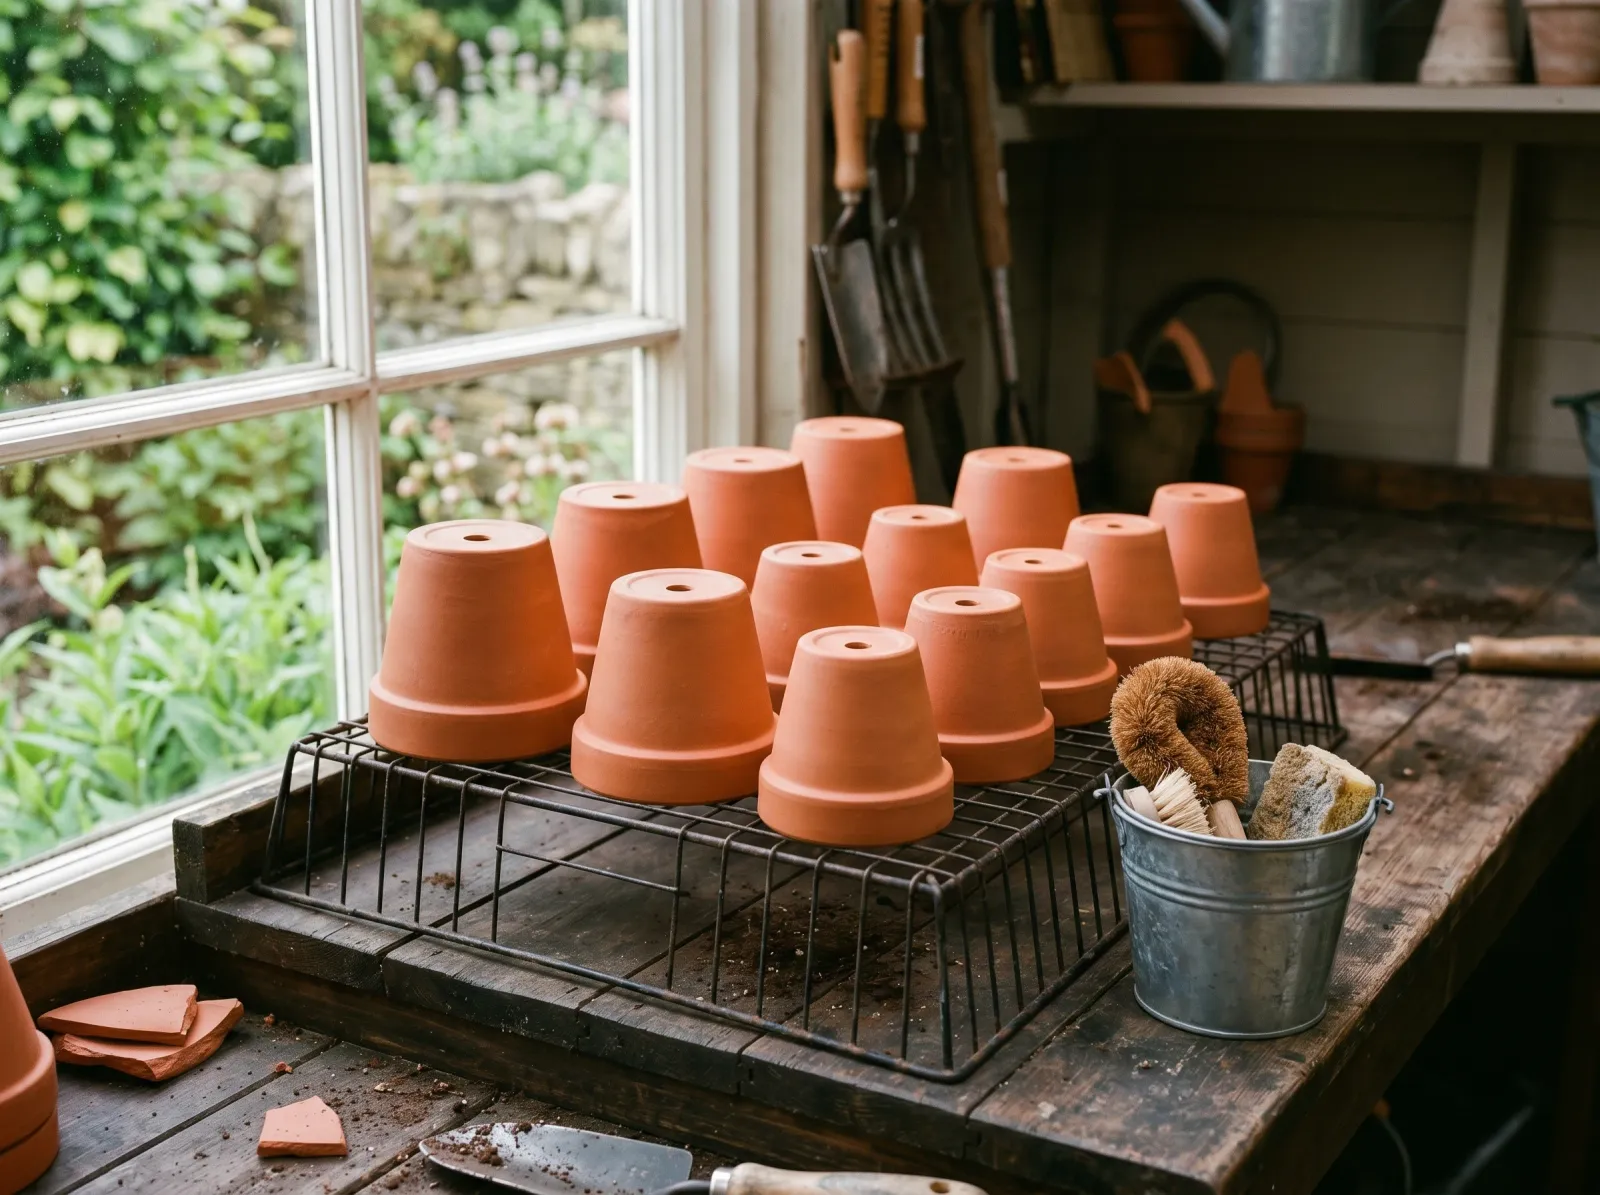
White vinegar soak knocks off the chalky salt crust. Then a full day to dry inside and out.
A used pot is filthy. Old soil, root crumbs, and that white salt crust baked into the surface. Paint over any of it and you’re painting over a layer that’s about to flake. The paint goes with it.
Knock off the loose dirt. For the salt crust, soak the pot in a solution of one part white vinegar to three parts water for 20 to 30 minutes, then scrub with a stiff brush. The vinegar dissolves the mineral deposits the way nothing else does. A little dish soap in warm water handles general grime. Rinse clean.
New pots straight off the shelf still need a wipe-down. There’s mold-release dust and warehouse grime on them, and the surface is bone-dry and dusty. A damp rag, then let it dry.
Now the part everyone rushes. Dry the pot a full 24 hours. Terracotta holds water deep in the wall long after the surface feels dry to the touch. Prime over a damp pot and the trapped moisture blisters the film within days. If you soaked it, give it two days somewhere warm.
Step 2: Sand the Slick Spots
Most terracotta is rough enough to grip primer as-is. But machine-made pots often have a slick band around the rim and sometimes a glaze-like sheen on the better grades. Scuff those with 220-grit until the shine is gone. The primer needs tooth.
If the pot has rough casting flash or a sharp seam, knock it down with 120-grit. Wipe the dust off with a dry cloth. Don’t wet it again; you just spent a day drying it.
This step is short on a basic garden pot and longer on a glazed-looking decorative one. Match the effort to the surface.
Step 3: Seal the Clay
Masonry sealer first, then a bonding primer brushed over the whole outside. Matte and even.
This is the step that separates a pot that holds its color for years from one that peels by August.
Brush a water-based masonry or concrete sealer over the entire outside of the pot. Get the rim, the body, and the bottom. This soaks into the open pores and closes them, so water stops wicking through to the back of your paint. One coat usually does it on a small pot; a thirsty large pot may want two.
For a pot that will hold a living plant, also seal the inside wall. Use the same breathable sealer, not a thick waterproof membrane. You want to slow the water loss and stop salt bleed, not suffocate the roots. A sealed interior is the difference between salt crusting through your paint in a month and the pot staying clean for seasons.
Here’s the rule for living plants: seal, don’t waterproof. A breathable sealer lets the clay still do its job at a slower rate. A rubbery waterproofing coat traps water against the roots and rots them. If the pot is purely decorative and will never hold soil, you can be heavier-handed inside. For anything growing, keep it breathable.
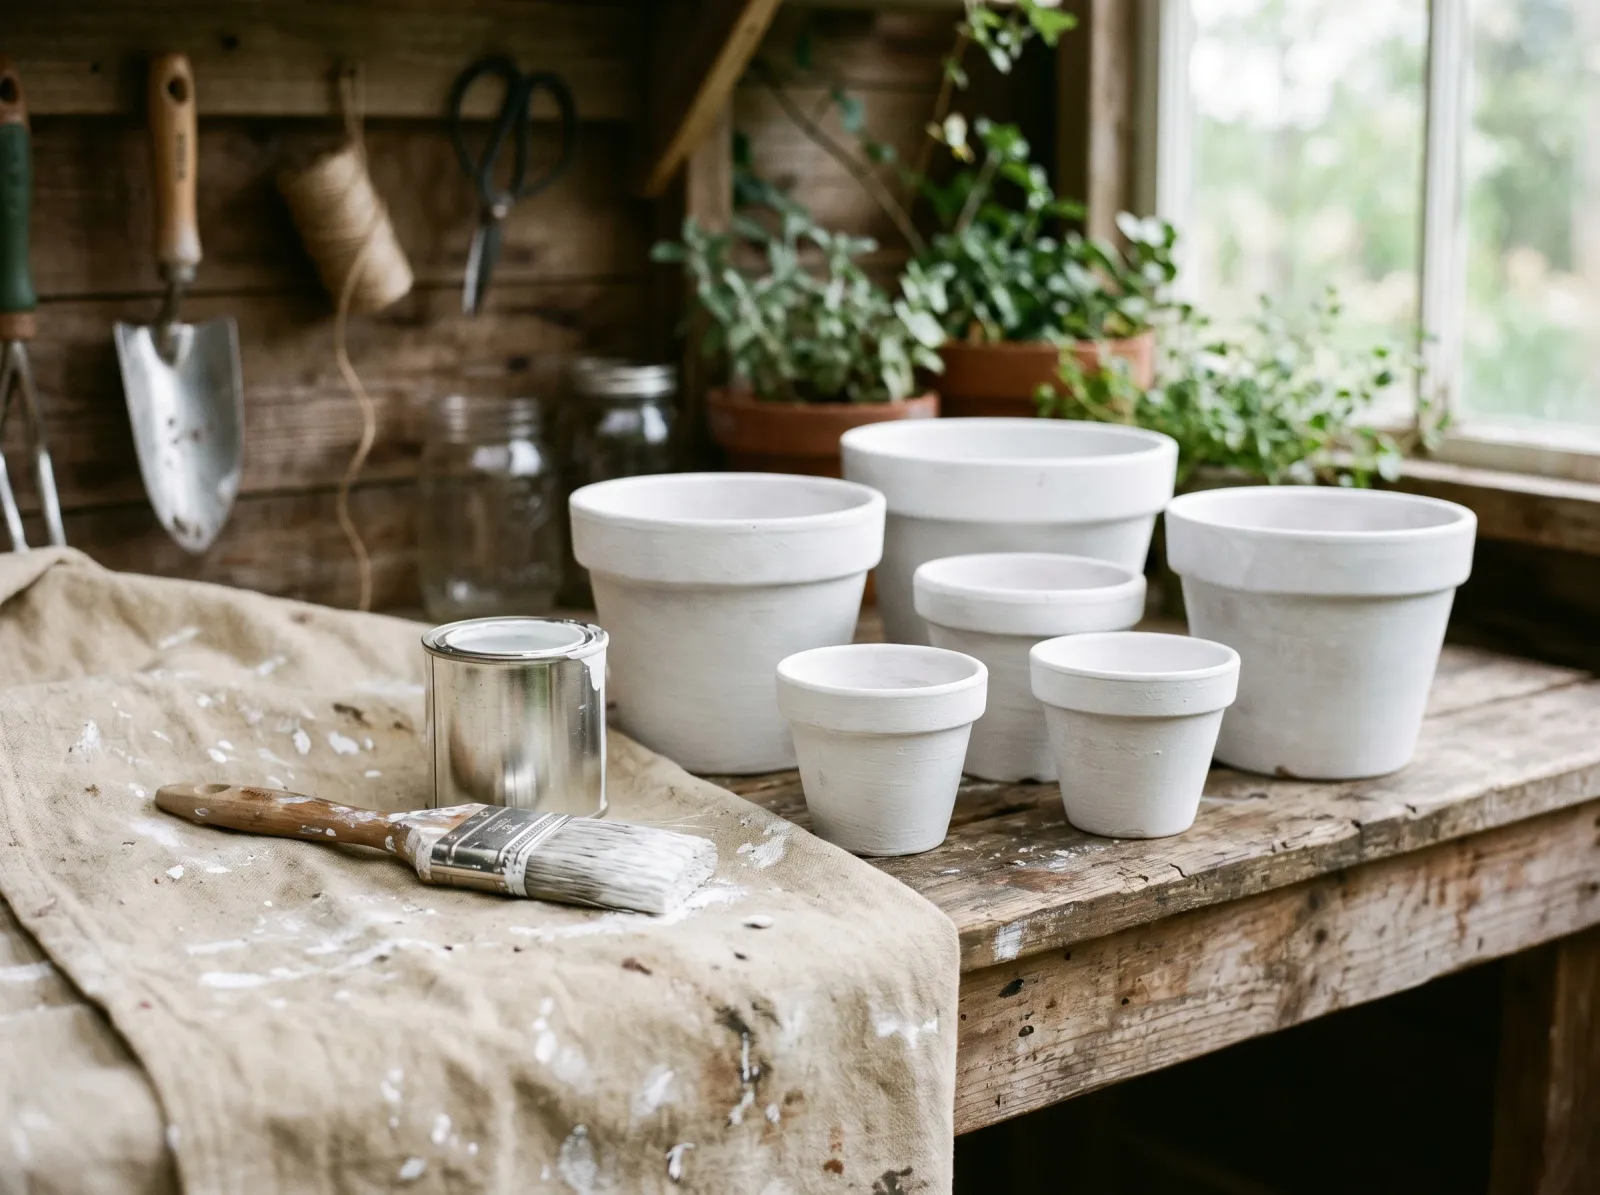
Step 4: Prime the Outside
Once the sealer is dry (check the can, usually a couple of hours), brush on a bonding primer. Zinsser Bulls Eye 1-2-3 or INSL-X Stix both grip the sealed surface and give the color coat something to bite into. One thin, even coat. Let it dry fully.
You can skip the separate primer if your acrylic paint is a self-priming formula and the pot is staying indoors as decor. But for anything that lives outside or gets watered, prime it. The bonding primer is cheap insurance against the color sheeting off the first time the pot gets soaked.
For larger outdoor planters, a coat of masonry paint over the sealer can serve as both primer and color. It’s built for porous mineral surfaces and bridges the small movement clay makes in heat.
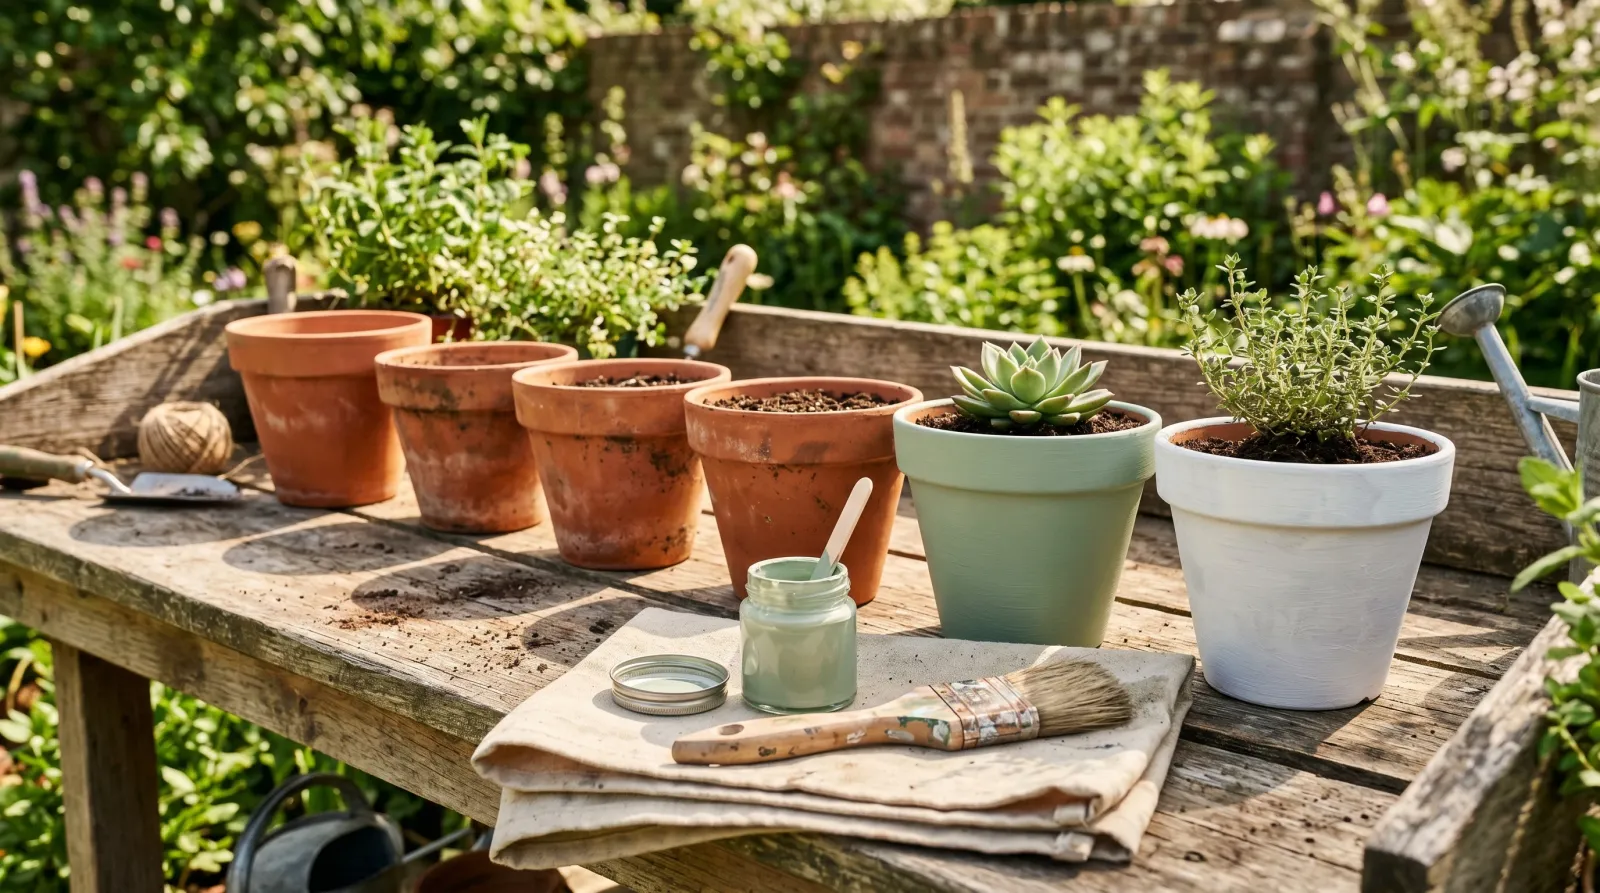
Step 5: Paint the Color
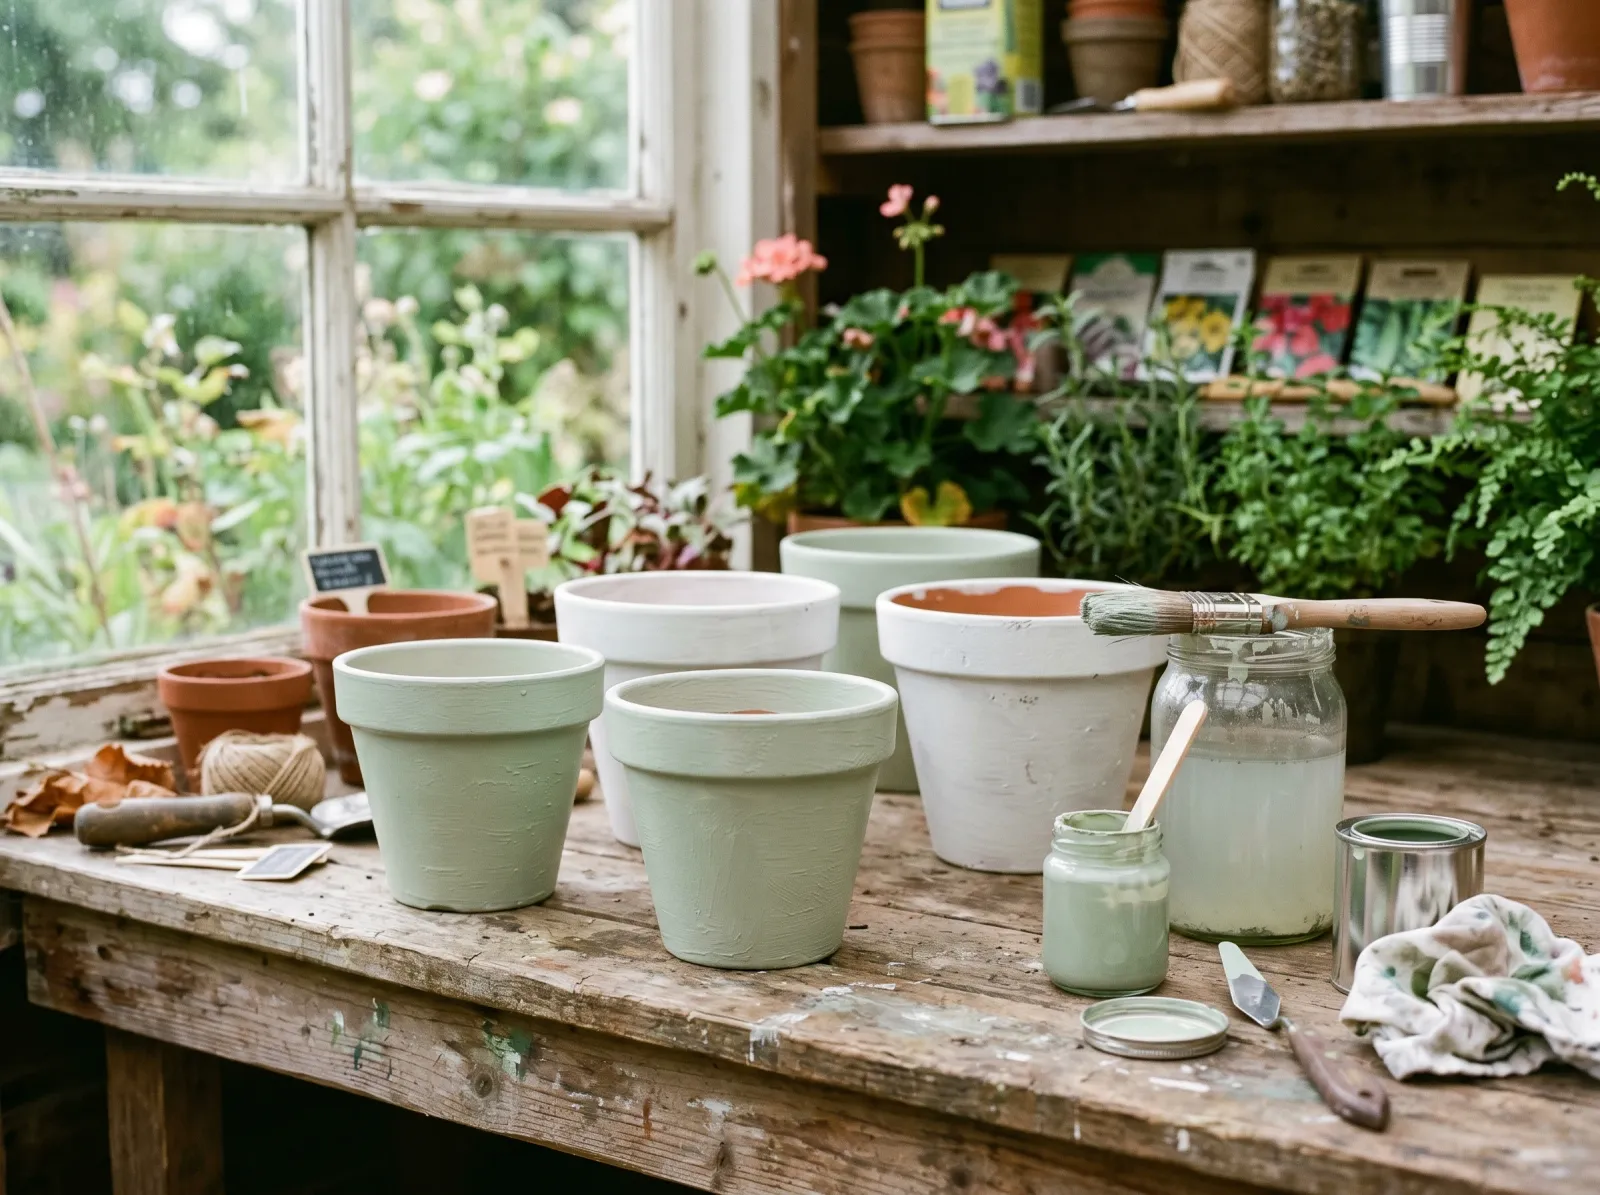
Thin coats, not one thick one. Brush the rim, then the body. Let it set before the second pass.
Acrylic is the answer. For indoor decorative pots, acrylic craft paint covers in two coats and comes in every color. For outdoor pots and big planters, step up to a 100% acrylic exterior paint or masonry paint. Both flex with the clay and shrug off UV and rain. Chalk paint also grips well and gives a flat, matte, vintage look that suits terracotta; it just needs a sealer over the top outdoors. See what chalk paint actually is before you reach for it, because it behaves differently from regular acrylic.
Skip oil-based paint entirely on a watered pot. Oil traps moisture in the clay and goes brittle, and a brittle film cracks the first cold snap.
Two thin coats beat one thick one. Always. A thick coat sags on the curved body, takes forever to dry, and traps solvent. Brush the rim first, then work down the body in long strokes. Foam rollers work well on the flat sections of big planters. Let the first coat set to the touch before the second; an hour for craft acrylic, longer for exterior paint. Read the can.
If you want a crisp painted band or a dipped look, tape the line after the first full coat has dried. Pull the tape while the top color is still slightly wet for the cleanest edge.
Step 6: Seal the Top, Then Cure
Two color coats, a clear outdoor sealer over the top, then back to work holding plants.
Indoor decorative pots that never get watered can skip the topcoat. Everything else needs one.
Brush or spray a clear acrylic sealer over the dry color. Mod Podge Outdoor, Minwax Polycrylic, or a clear spray acrylic all work. This is the layer that takes the abuse of rain, watering splash, and handling. Two coats on an outdoor pot, the second after the first is dry. It’s the difference between a pot that looks good for years and one that’s chalking by fall.
Then let it cure before you fill it. Acrylic is touch-dry in an hour but isn’t fully hard for a few days. Wait three to seven days before you put soil and water back in. Plant too soon and the watering can scuffs a film that hasn’t reached full hardness. This is the same dry-versus-cure gap that bites people on freshly painted trim and floors.
Common Mistakes
- Skipping the sealer. Result: water wicks through the clay and lifts the paint from behind, usually within a season. Fix is a breathable masonry sealer on bare clay before anything else.
- Painting over the white salt crust. Result: the crust keeps growing under the film and pops the paint off in flakes. Scrub it off with a vinegar soak first.
- Priming or painting a damp pot. Result: trapped moisture blisters the film in days. Dry the pot a full 24 hours, two days if you soaked it.
- Waterproofing the inside of a planted pot. Result: water stays against the roots and rots the plant. Use a breathable sealer inside, never a rubbery membrane.
- One thick coat instead of two thin ones. Result: sags on the curved body, slow dry, cracks early. Two thin coats, set between.
- Oil-based paint on a watered pot. Result: trapped moisture and a brittle film that cracks the first cold night. Acrylic only.
- No clear topcoat outdoors. Result: the color chalks and fades in a single summer. Two coats of clear acrylic sealer.
Maintenance and Longevity
A properly sealed and painted indoor pot holds its finish basically forever; it never gets wet from behind. An outdoor painted pot done right, sealed, primed, two acrylic coats, and a clear topcoat, holds 3 to 5 years before it wants a refresh. Watch the rim and the bottom third, where watering splash and ground moisture hit hardest. That’s where the first chalking and chips show up.
Wash painted pots with a soft cloth and mild soap, never a scrub pad. When the topcoat starts dulling, a fresh coat of clear sealer over a clean surface buys you another couple of seasons without repainting the color. Bring decorative outdoor pots inside over a hard freeze. Water trapped in the clay expands when it freezes and can crack the pot and the paint with it.
FAQ
Do I need to seal terracotta before painting? Yes, if the pot will hold a plant or live outside. Raw terracotta is porous. It wicks water through the wall, and that moisture pushes paint off from the back and carries salts to the surface as a white crust. A water-based masonry sealer on the outside (and ideally the inside) closes the pores so the paint has a stable, dry surface to grip. Skip it only on a purely decorative dry pot.
What kind of paint sticks to terracotta? Acrylic. Craft acrylic works for indoor decorative pots; 100% acrylic exterior paint or masonry paint holds up outdoors. Both flex with the clay and bond to a primed surface. Avoid oil-based paint on a pot that gets watered; it traps moisture and goes brittle. Chalk paint grips raw terracotta well and gives a matte look, but still needs a sealer over the top outdoors.
Can I paint the inside of a terracotta pot? Paint or seal the inside, but use the right product. A breathable masonry sealer on the interior wall slows water loss and stops salt bleed without suffocating the roots. Don’t coat the inside with thick acrylic or a waterproofing membrane on a pot that holds a living plant. Trapped water rots roots. For a dry cachepot, anything goes.
Why does my paint keep peeling off my terracotta pots? Three usual causes. You skipped the sealer, so moisture wicks through and lifts the paint from behind. You skipped the primer, so the paint never bonded to the slick or dusty surface. Or you painted over the salt crust instead of scrubbing it off. Fix all three: clean, seal, prime, paint. Outdoor pots also need a clear topcoat or they fail in a season.
How long should terracotta dry before painting? A full 24 hours after cleaning, longer if the pot was soaked. Terracotta holds water deep in the wall even when the surface feels dry. Prime or paint over a damp pot and the moisture blisters the film as it tries to escape. Set the pots somewhere warm and dry overnight before you open a can.