Silicone Masonry Paint: What It Is and How to Apply It
Silicone masonry paint sheds rain but breathes out water vapor. Here is the chemistry, the right primer, and how to apply it to brick, render, and block.

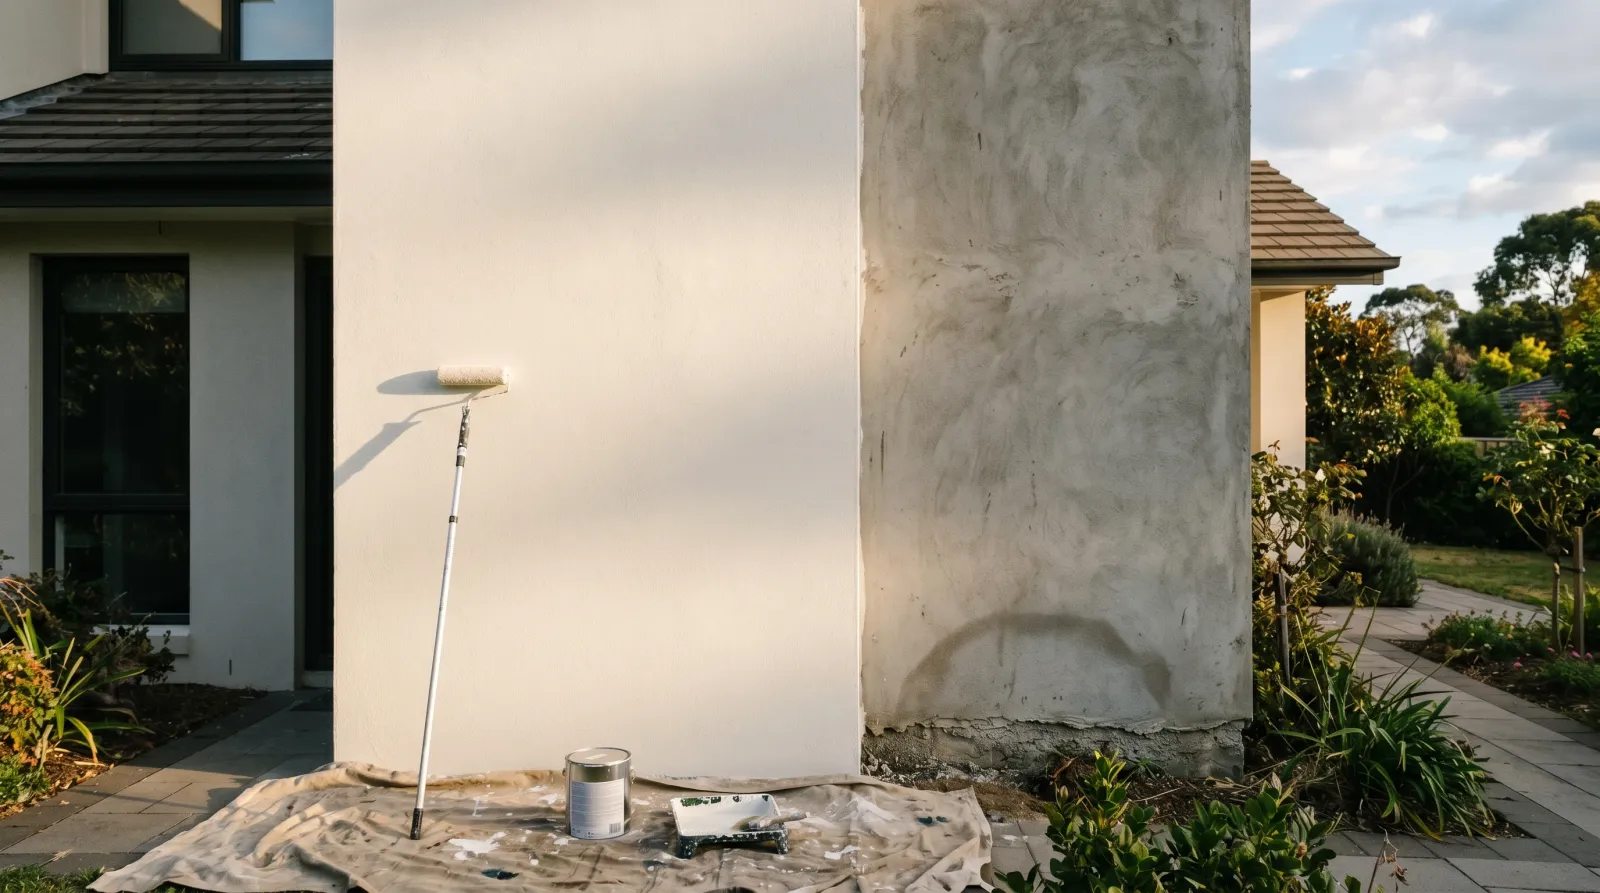
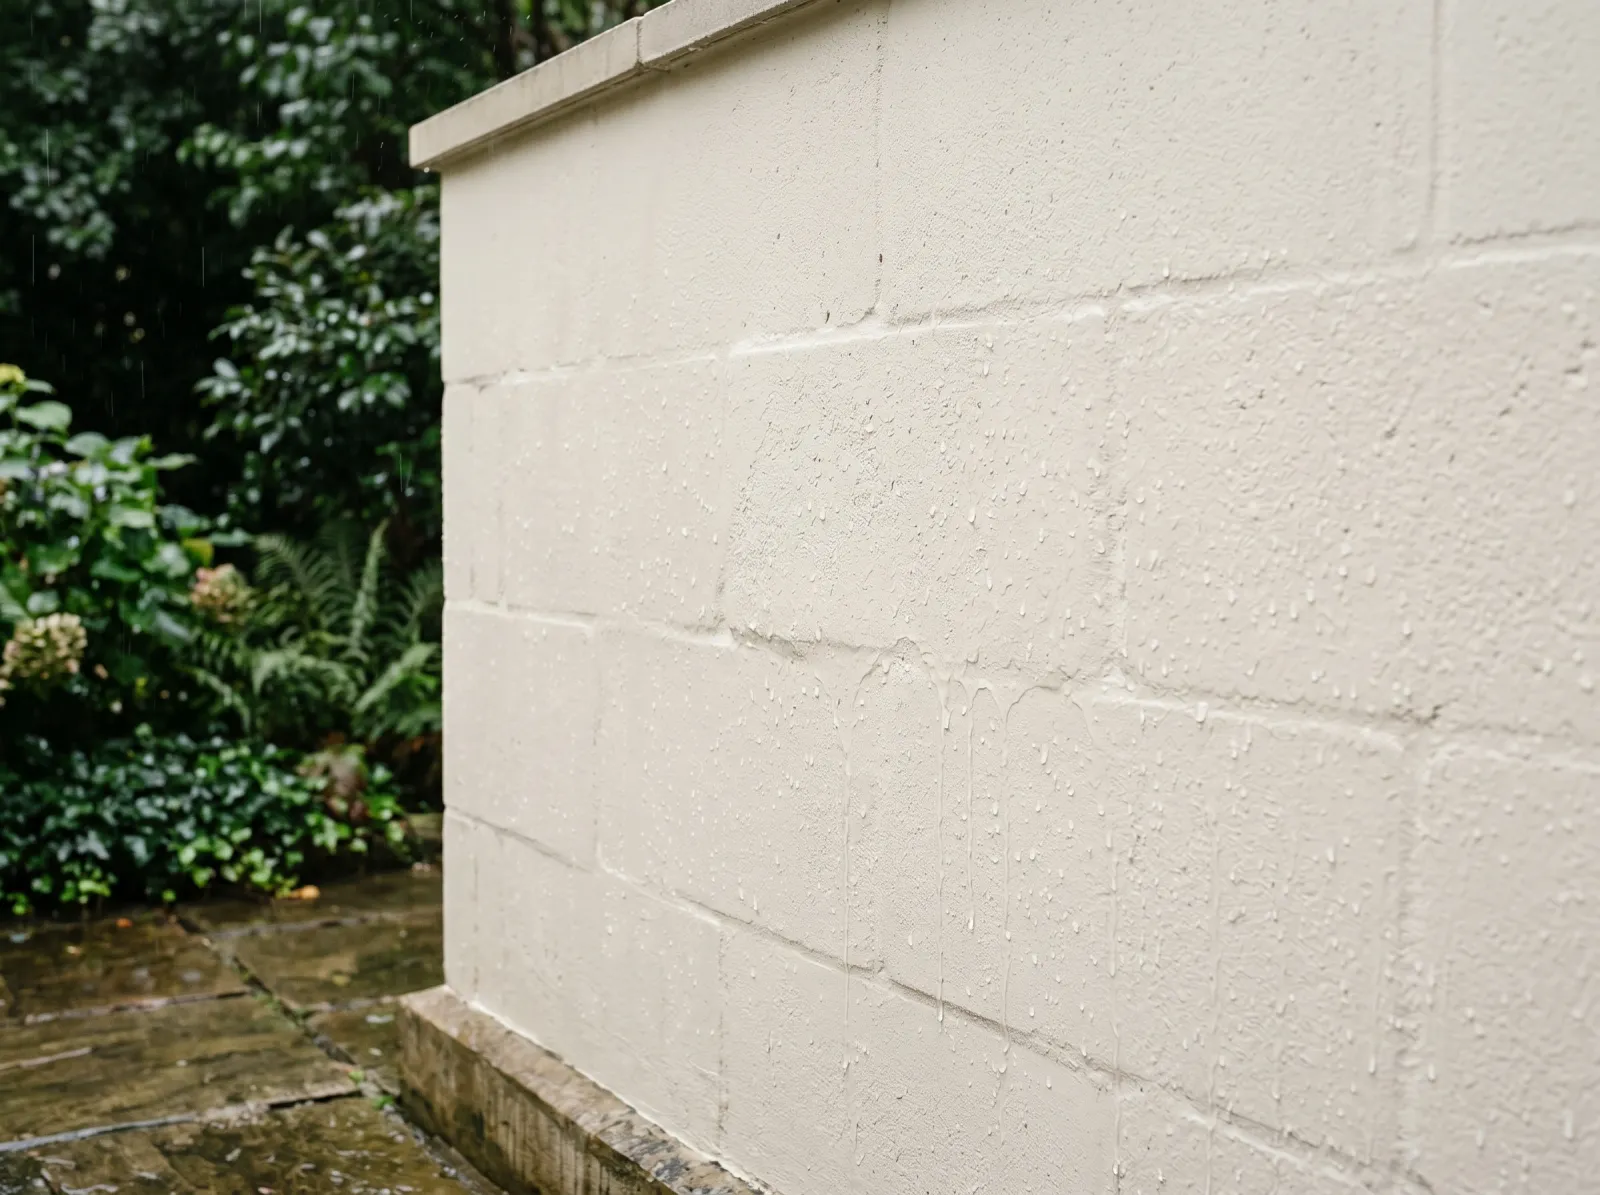
You’ve probably seen it on an older house: paint blistering off a masonry wall in fat bubbles, peeling in sheets near the ground, looking fine three feet up and ruined at the bottom. The paint isn’t failing because it’s cheap. It’s failing because the wall is wet behind it and has nowhere to send the water. That’s the problem silicone masonry paint is built to solve.
TL;DR
- What it is: masonry paint with a silicone (siloxane) binder that repels liquid water but stays open to water vapor
- Use it on: brick, render, concrete block, pebbledash, lime render. Walls that get wet and need to dry out
- Primer: clear stabilizing masonry primer on chalky or bare surfaces; often skippable on sound painted walls
- Paint: two coats of exterior-grade silicone masonry paint, full-bodied
- Method: long-nap roller worked into the texture, brush to cut in and load deep texture
- Cure: rain-safe in a few hours, full cure 7-14 days
- Lasts: 10-15 years, longer than standard acrylic
- Skill: medium. The prep and the moisture call are the whole job
What Silicone Masonry Paint Actually Is
Start with the binder, because the binder is the whole story. Standard masonry paint uses an acrylic resin: tiny plastic particles suspended in water that fuse into a continuous film as the water leaves. That film is good at keeping liquid water out. It’s also fairly good at keeping water vapor in, which is the part nobody mentions on the can.
Silicone masonry paint swaps in a siloxane binder. Siloxane is a silicon-oxygen polymer, the same chemical family as the silicone sealant around your bathtub, but formulated as a thin water-repellent network rather than a solid rubber. When it cures, it does two things at once. It lines the pores of the masonry with a water-hating skin, so liquid rain beads and runs off instead of soaking in. And it leaves those pores physically open, so water vapor from inside the wall can still walk out.
That combination is the trick. A wall painted with silicone is hydrophobic to liquid and permeable to vapor. The reason that matters is moisture pressure, and it’s worth two minutes to understand it before you buy anything.
Why Masonry Walls Need to Breathe
Masonry is porous by nature. Brick, render, and block all hold and move water through a network of tiny capillaries. In an older solid-wall house with no cavity, that’s not a defect; it’s how the wall was designed to work. Rain wets the outer face, the wall dries it back out, and as long as drying keeps pace with wetting, the masonry stays sound.
Paint changes that balance. Put a vapor-tight film on the outside and you’ve capped the wall. Water still finds its way in (driving rain, rising damp from the ground, a leaking gutter) but now it can’t get back out through the front. It builds up behind the paint film as vapor pressure, and the weakest bond gives way. That’s the blister.
This is the same mechanism behind efflorescence on brick, where moisture carries dissolved salts to the surface and leaves a white crust as it evaporates. Both are symptoms of a wall moving water it can’t fully release.
Silicone paint keeps the drying path open. The wall still wets and dries; the paint just makes the wetting slower and the surface easier to clean. If you’ve fought blistering or peeling on a masonry wall before, breathability is the property you were missing.
When to Use Silicone Over Acrylic
Silicone isn’t always the answer. Here’s the honest split.
Use silicone when the wall is solid masonry with no cavity, the wall faces driving rain or stays damp (north and west elevations in most of the US), the masonry is old lime render or soft brick, or you’ve had blistering before. Anywhere the wall needs to dry from behind, silicone earns its higher price.
A quality acrylic is fine when the wall is modern cavity construction that stays dry, the masonry is sound and well-detailed, and you’re after a cosmetic refresh on a budget. Acrylic masonry paint costs less and comes in more colors. For the SKU shortlist across both chemistries, see the best masonry paint round-up.
One mild opinion: the term “breathable” gets stamped on a lot of acrylic cans that aren’t very breathable at all. Vapor permeability is measured (in perms, or in sd-value in metric specs), and silicone siloxane coatings test meaningfully more open than standard acrylic. If breathability is the reason you’re buying, read the technical data sheet, not the front label.
Why Masonry Is Trickier Than Drywall
Three things make exterior masonry a different job from a drywall wall.
It’s porous and uneven. The surface drinks paint at wildly different rates across a single wall, so coverage and color can look blotchy if you under-apply. It moves and cracks. Thermal expansion, settlement, and freeze-thaw all open hairline cracks that a rigid film bridges poorly. And it carries water from multiple directions at once: rain from the front, ground moisture from below, condensation from inside. A primer and paint system has to handle all of that, not just hide the color underneath.
Step 1: Clean the Wall
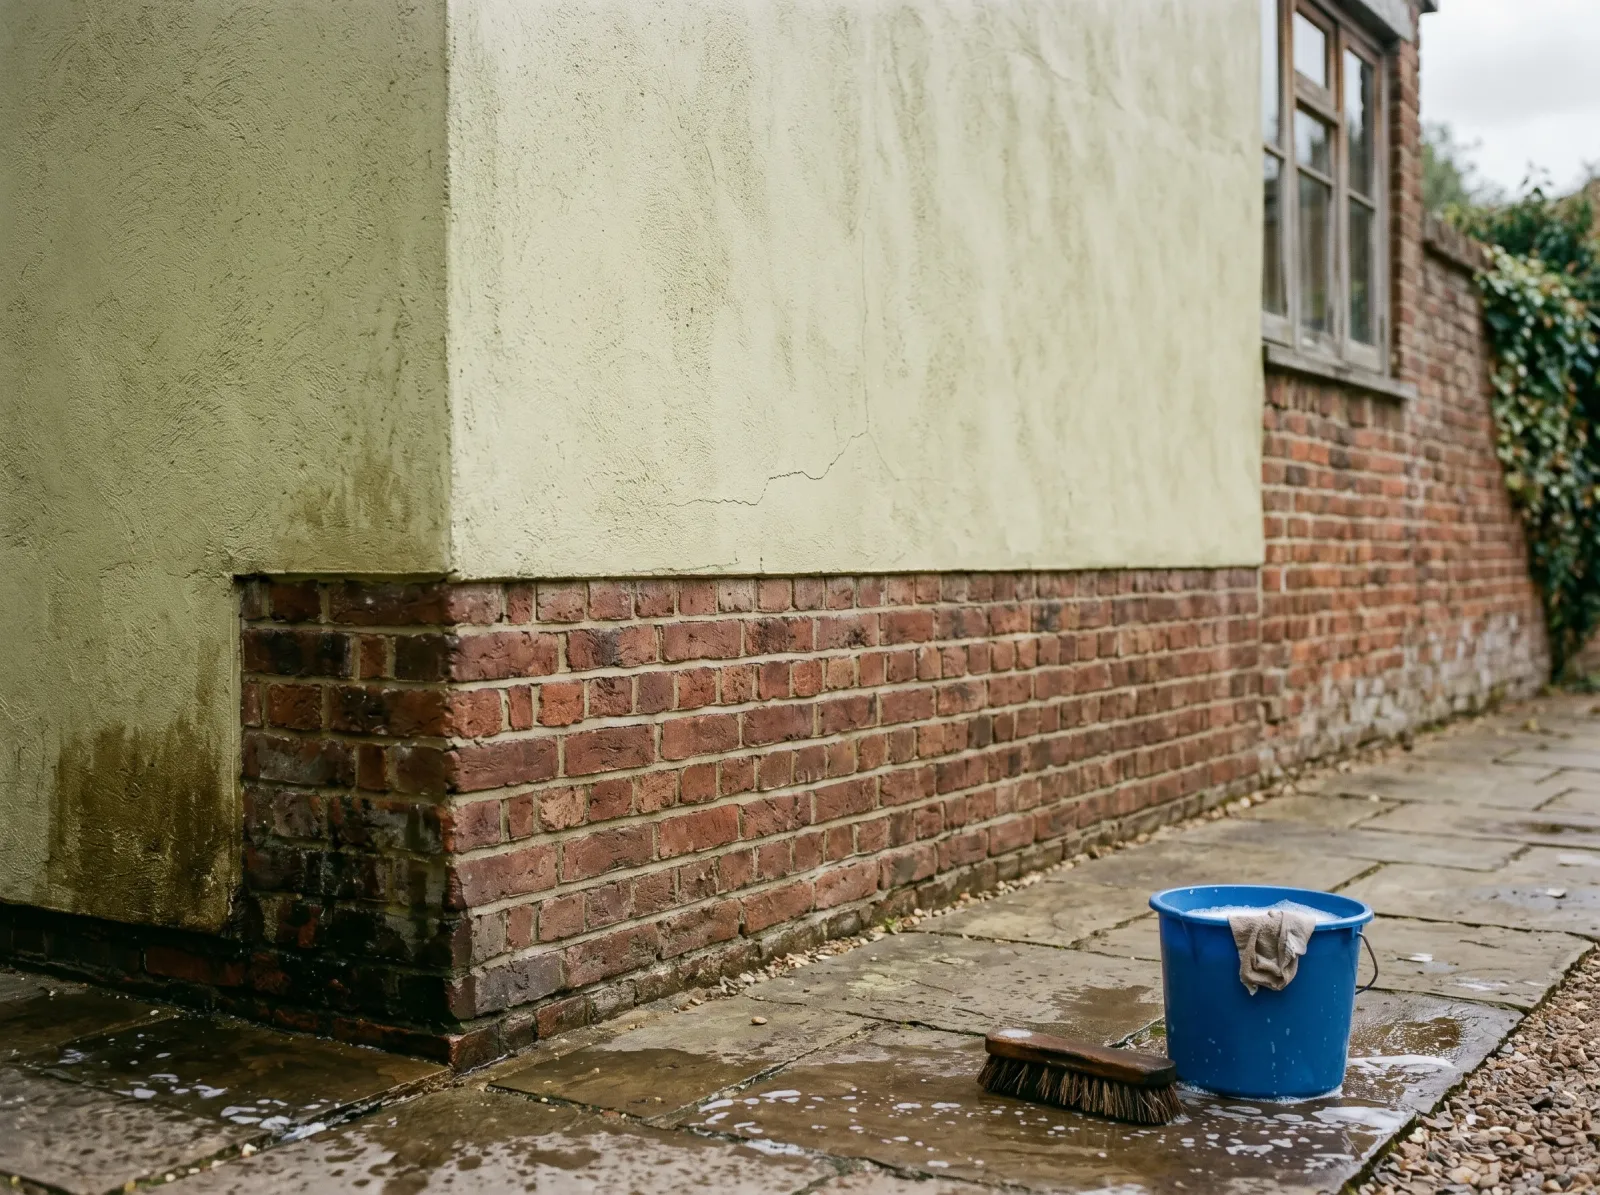
Algae and chalk scrubbed off, a hairline crack opened up, the whole wall left to dry for several warm days before anything goes on.
Masonry collects algae, mildew, atmospheric grime, and on painted walls, a layer of chalk where the old binder has degraded under UV. Silicone paint will not grip any of that.
Scrub the wall with a stiff brush and a fungicidal wash or a 3:1 water-to-bleach solution for green algae and black mildew. Let it dwell fifteen minutes, then rinse. A pressure washer speeds this up, but keep it gentle on render: 1,500 PSI is the ceiling, a wide tip, and hold it back from the surface. Soft lime render and old pebbledash will erode under a hard jet.
Then wait. Masonry holds water deep in its capillaries long after the surface looks dry. This is the step people skip and regret. Give the wall several warm, dry days, and check it with a moisture meter if you have one. Under 15% before you prime. Paint over a wet wall and you’ve built the blister in on day one.
Step 2: Repair Cracks and Bare Patches
Open every hairline crack slightly with the corner of a scraper so the filler has something to key into, then pack it with a flexible exterior masonry filler. Flexible matters here. Masonry moves, and a rigid filler cracks again at the same line by next winter.
Larger holes and missing render get a breathable patching mortar or repair render, not a generic filler. The reason for that is breathability again: a dense, vapor-tight patch in the middle of a breathable wall becomes a cold, damp spot where moisture concentrates. Match the patch to the wall’s permeability.
Let repairs cure fully before priming. Fresh cement-based render is alkaline and stays that way for weeks. New render generally needs a month to carbonate and drop its pH before paint goes on, or the alkalinity attacks the paint film. If you’re painting a freshly rendered wall, that wait isn’t optional.
Step 3: Prime the Surface
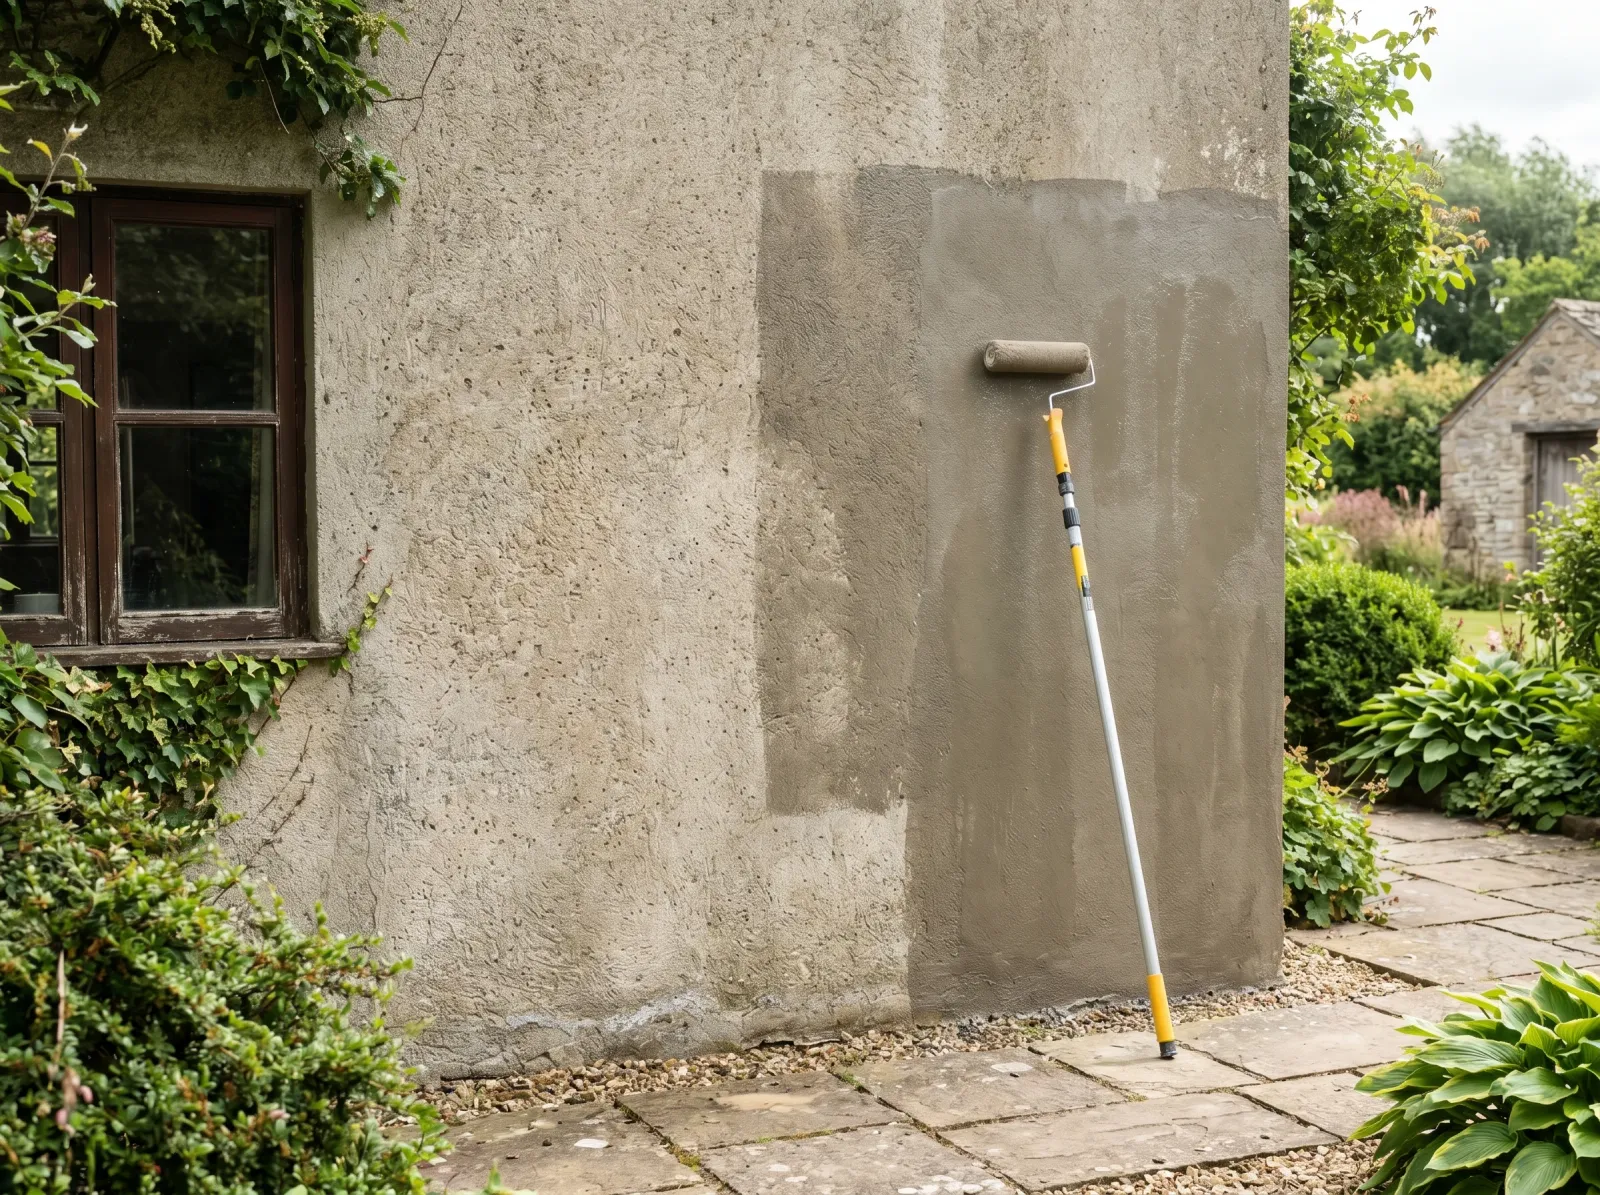
A clear silicone-compatible masonry primer soaked into the powdery render. The wall reads slightly darker and more even where the primer bound the surface.
Whether you prime depends on what the wall hands you.
Bare or chalky masonry: prime. Run your hand down the wall. If it comes away dusty, the surface has a weak, powdery top layer that hasn’t bound together, and anything you paint over it peels with that layer. A clear stabilizing masonry primer (sometimes sold as a stabilizing solution or masonry sealer) soaks in, glues the loose particles into a solid base, and gives the silicone topcoat real adhesion. Use a silicone-compatible stabilizer so the chemistries don’t fight; some brands sell a matched primer-and-topcoat pair, and pairing them removes the guesswork.
Sound, previously painted masonry: usually no primer. If the old film is bonded and you’ve washed off the chalk, the silicone paint grips it directly. Spot-prime any bare patches where old paint flaked away.
Highly porous or new masonry: a primer also evens out absorption so the first topcoat doesn’t disappear into thirsty spots. On a wall that drinks unevenly, this is the difference between two coats and four.
A note on primer chemistry, since it’s the question I get most. Don’t reach for a standard latex masonry primer if the topcoat is silicone and breathability is the goal. A tight acrylic primer underneath a breathable topcoat caps the wall just as effectively as tight paint would. The primer has to be as open as the paint. For the broader logic of when a sealer beats a primer, see the primer versus sealer comparison.
Step 4: Apply the Silicone Paint
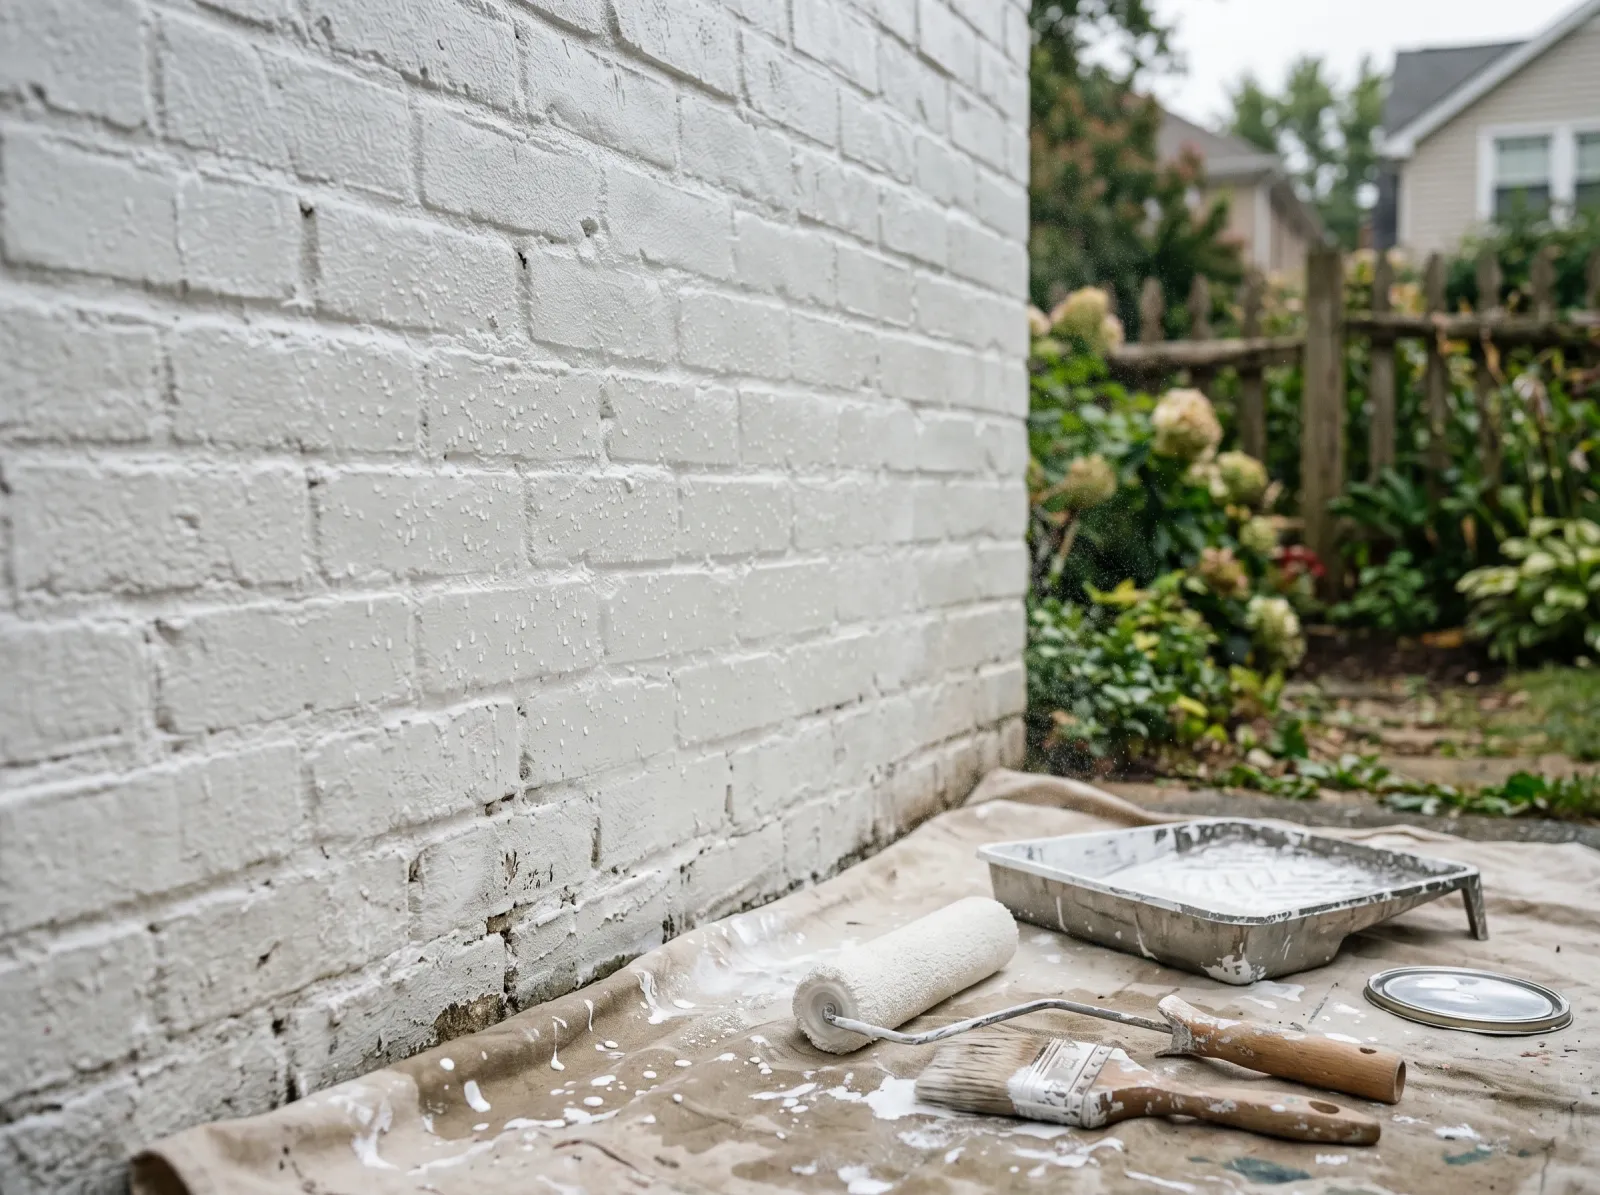
Full-bodied first coat worked into the texture with a long-nap roller, corners and trim edges cut in first with a brush. Beads of mist sit on the surface, not in it.
Silicone masonry paint is thick by design; the body is what carries water-repellency. Resist the urge to thin it past what the can allows, because thinning dilutes the siloxane network that does the work.
Cut in the corners, edges, and around trim with a 4-inch masonry block brush first. Then roll the field with a long-nap roller: 3/4-inch nap on smooth render, up to 1-1/4-inch on heavy texture, pebbledash, or raked brick. The long nap pushes paint into the valleys of the texture, which is exactly where thin coverage fails first. On deep pebbledash, follow the roller with a stippling brush to load the recesses the roller skims over.
Work in manageable sections and keep a wet edge. Masonry is unforgiving of lap marks because the porous surface flashes (dries to different sheens) where a wet coat overlaps a half-dry one. The same flashing mechanism shows up on porous interior repairs; if you’ve fought patchy drywall sheen, you’ve met it before. Stop at a natural break (a corner, a downpipe, a window reveal), never in the middle of an open wall.
Two coats. The first seals and evens the surface; the second builds the film thickness that makes the water-repellency work. One coat on porous masonry leaves pinholes the rain finds.
Step 5: Dry, Recoat, and Cure
Two coats, fully matte, the texture of the render still reading through. Rain sheets off the face while vapor still escapes from behind.
Touch-dry runs 1-2 hours in warm dry weather. Recoat after 4-6 hours, or follow the can; silicone formulas vary. Most exterior silicone paints become rain-resistant within a few hours, which is one of their practical advantages over slower-drying coatings.
Full cure (where the siloxane network finishes cross-linking and the water-repellency reaches its rated performance) takes 7-14 days. The film keeps developing its hydrophobic surface over that window, so a wall painted on Saturday won’t bead water at full strength until the following week. That’s normal. Don’t judge the water-repellency on day one.
Watch the weather. Apply above 50°F, below 90°F, and at least a few hours ahead of rain. Cold slows coalescence and the film never builds properly; hot direct sun on a south wall flashes the surface before it levels. Early morning or late afternoon on a sun-facing wall, the way you’d treat any exterior coat.
Common Mistakes
- Painting a wet wall. The single most common failure. The surface looks dry, the capillaries aren’t. The trapped water blisters the film within weeks. Meter under 15% and give it warm days after washing.
- Using a vapor-tight primer under breathable paint. Caps the wall just as effectively as tight paint. The whole breathability benefit is lost. Match the primer’s permeability to the topcoat.
- Silicone over intact acrylic and expecting it to breathe. The silicone surface beads water, but the old acrylic film underneath still blocks vapor. If the wall needs to dry out, strip the acrylic first. If it’s cosmetic only, painting over is fine.
- Skipping the chalky-surface test. Paint over an unbound, powdery render and it peels off with that layer inside a year. Wipe-test for dust, stabilize if it’s there.
- One thin coat to save money. Pinholes in the film let rain through and the water-repellency never reaches spec. Two full-bodied coats, no thinning past the can’s limit.
- Painting fresh render before it cures. New cement render is alkaline for weeks and attacks the paint. Wait the full cure time, roughly a month, before any coating.
- Ignoring the water source. If a gutter leaks or there’s rising damp, breathable paint slows the symptom but the wall stays wet. Fix the leak first. No paint outlives a water source.
Maintenance & Longevity
A properly applied silicone masonry system holds 10-15 years on most walls, beating the 8-10 typical of standard acrylic masonry paint. The siloxane binder resists UV and stays flexible, so it chalks and cracks slower. South and west elevations under hard sun age fastest; north walls that stay damp grow algae sooner. Wash the wall every year or two with a soft brush and a fungicidal wash to clear algae before it stains. The water-repellent surface makes that easier than it is on acrylic.
Watch for the early signs that the wall, not the paint, is the problem: a returning damp patch in the same spot, fresh efflorescence, or blistering that reappears after a repaint. Those point to a moisture source you haven’t fixed yet, and a fresh coat won’t outlast it.
For a full exterior repaint where masonry is one surface among siding, trim, and doors, the sequencing matters; see the exterior house painting walkthrough for the order of operations across a whole house.